It’s billed as the most southerly established hike in the world.
HOWEVER the Lago Windhond hike also out of Puerto Williams goes further south. But it’s far less popular.
From Here to Nowhere:
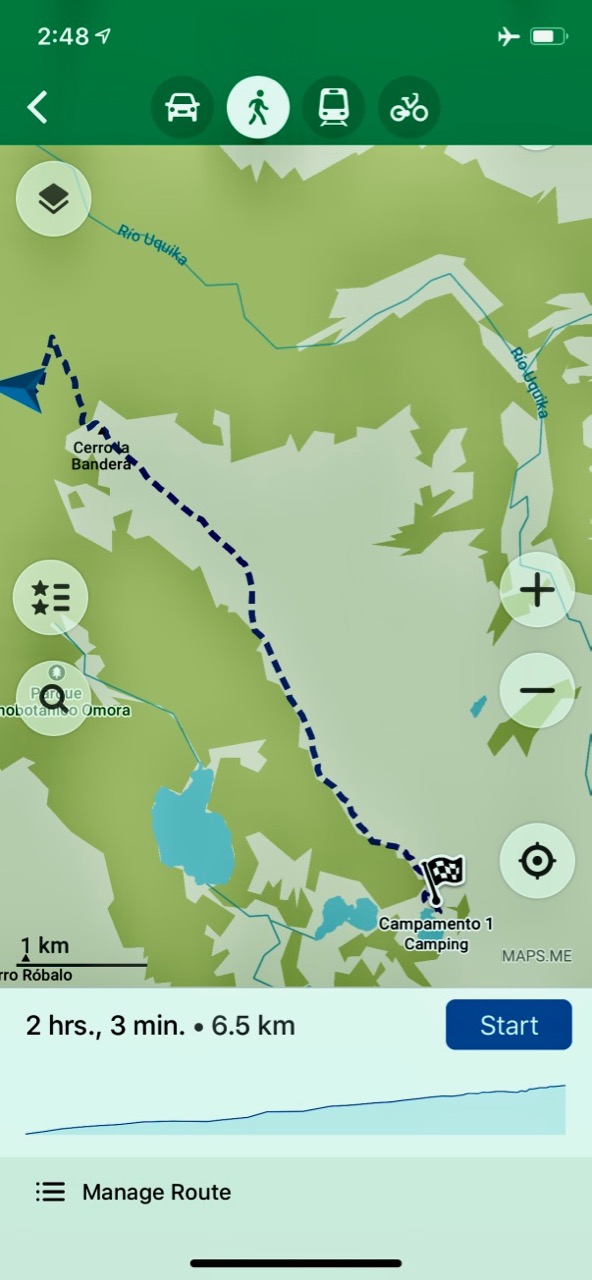
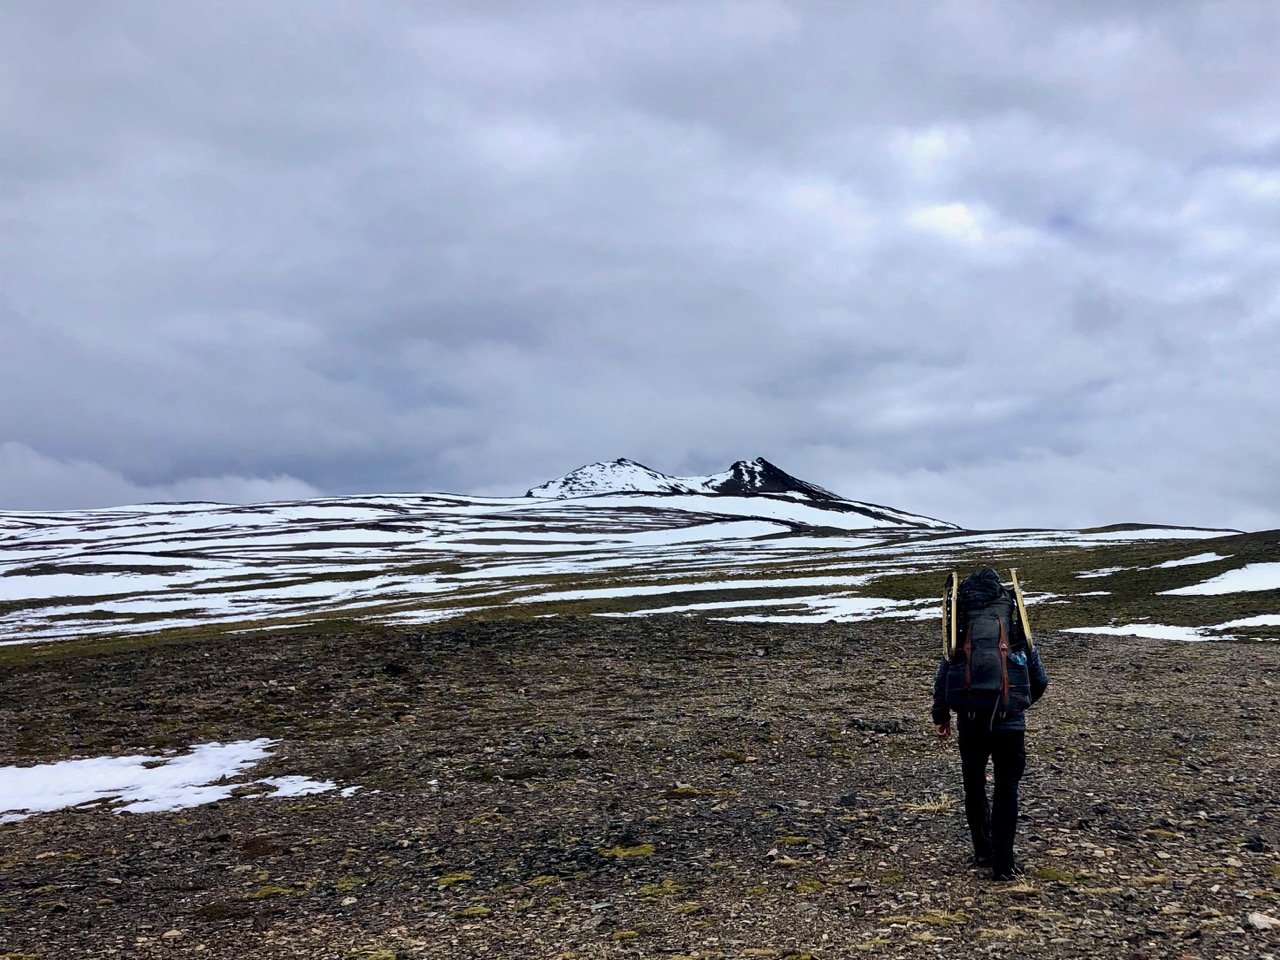
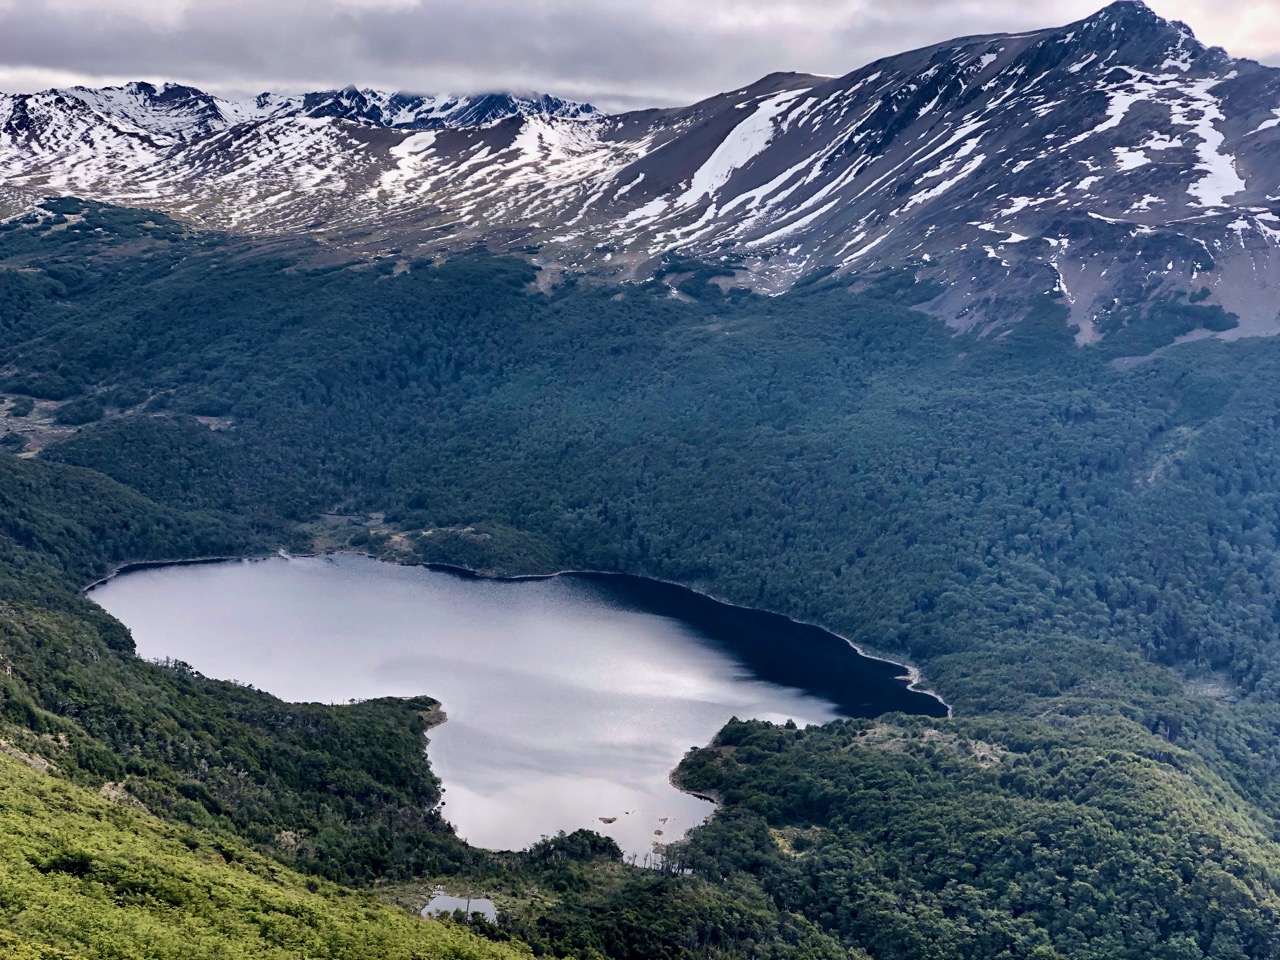
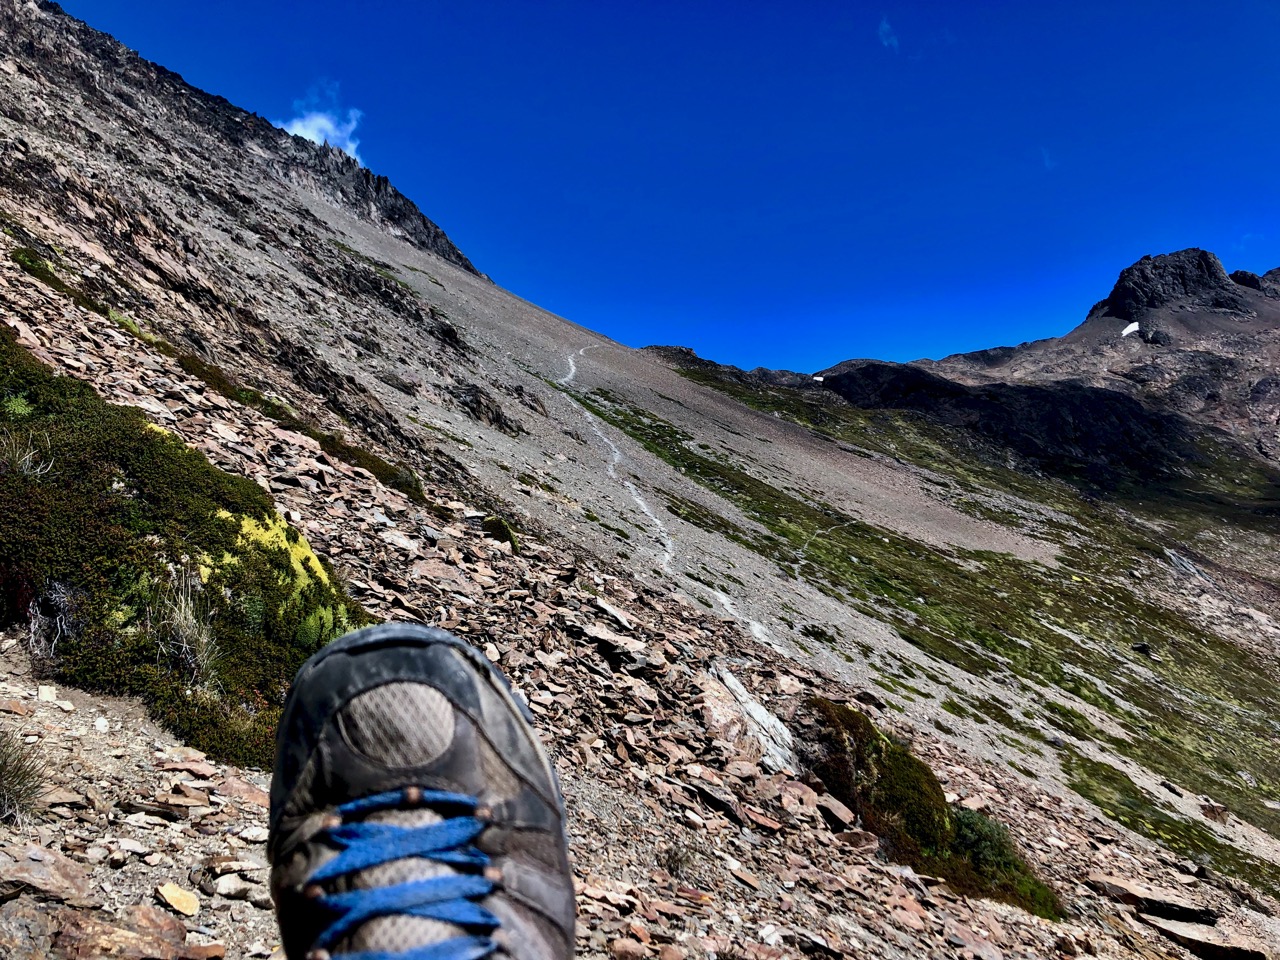
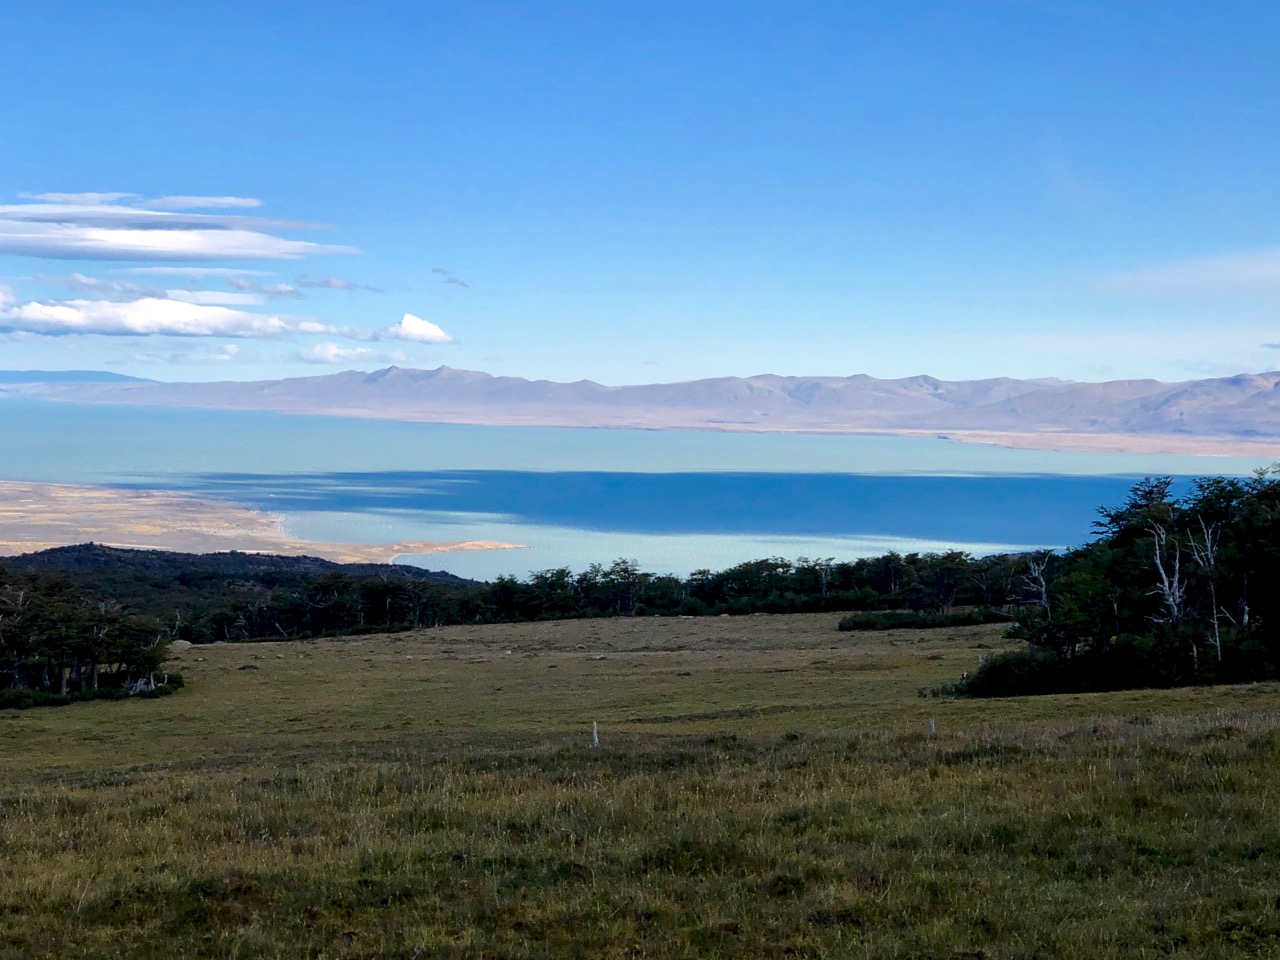
… Now, after failing to reach the Windhond trail from the Dientes Circuit a few days before due to dangerous snow conditions, my plan was to reach the lake via the Rio Ukika valley and, if time permitted, walk around the eastern edge of the lake to truly reach the southern end of Isla Navarino. Beyond that point Cape Horn is the only land before Antarctica. …
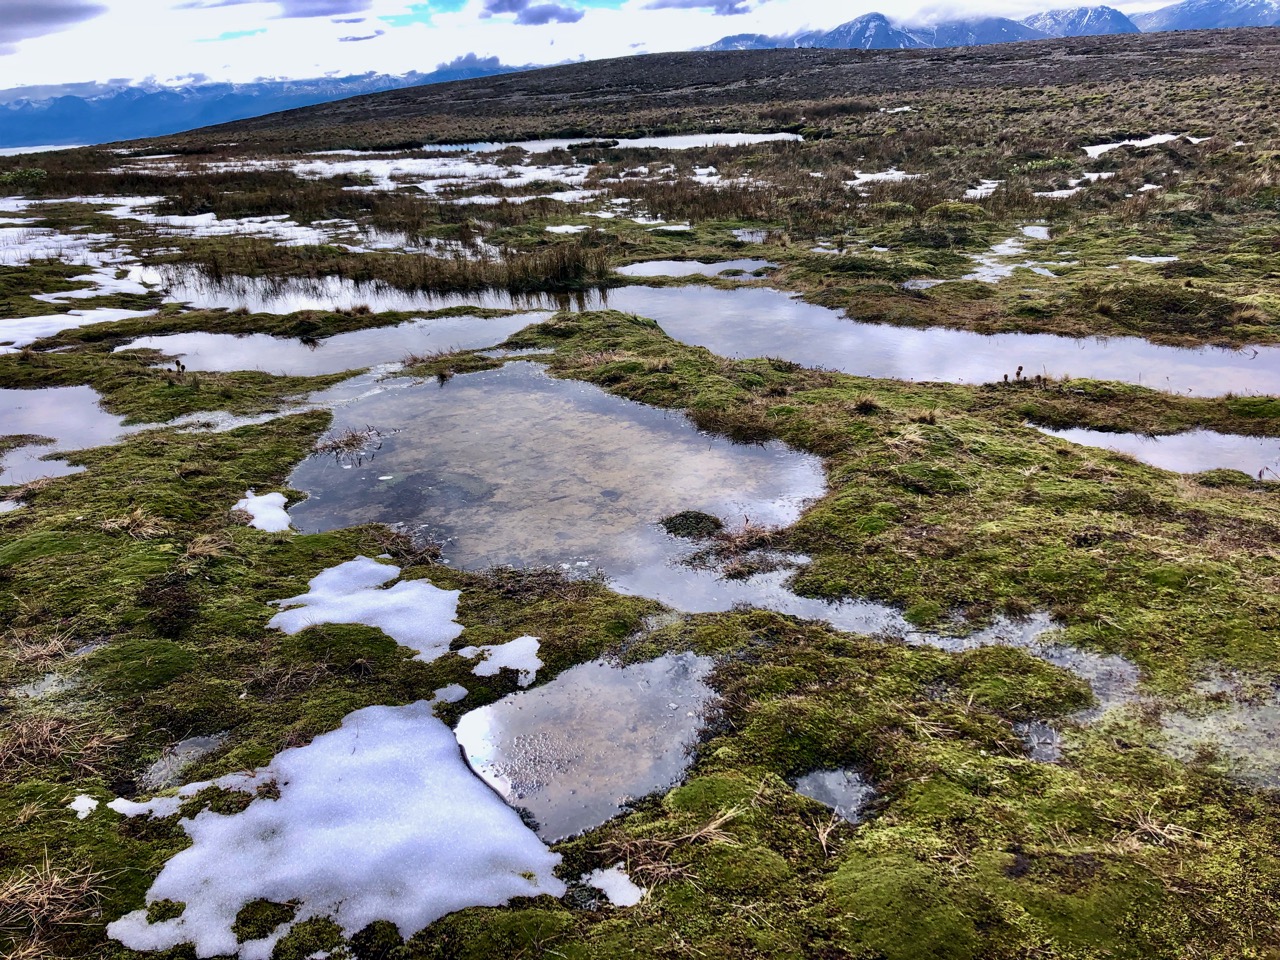
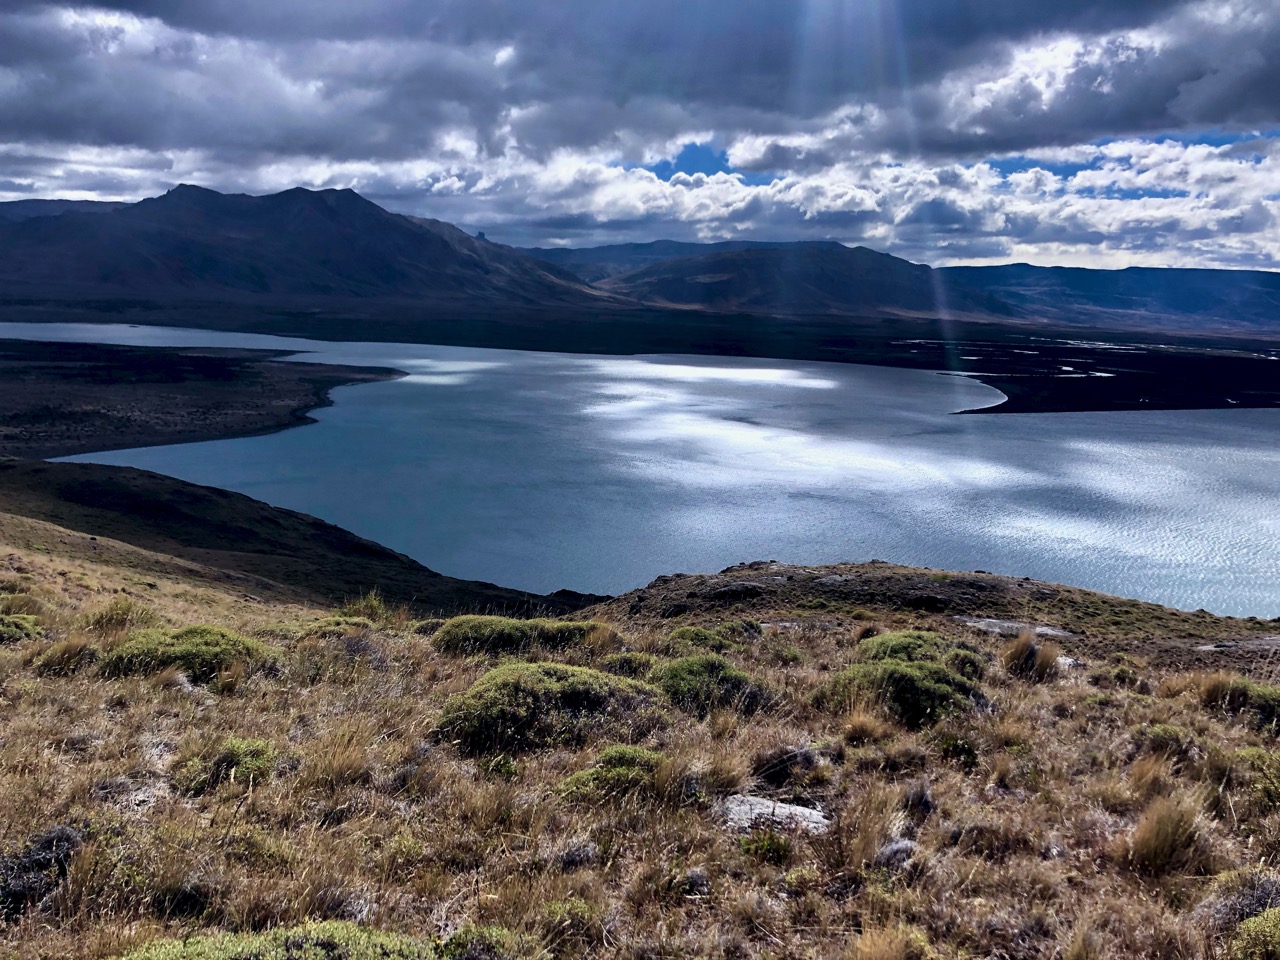
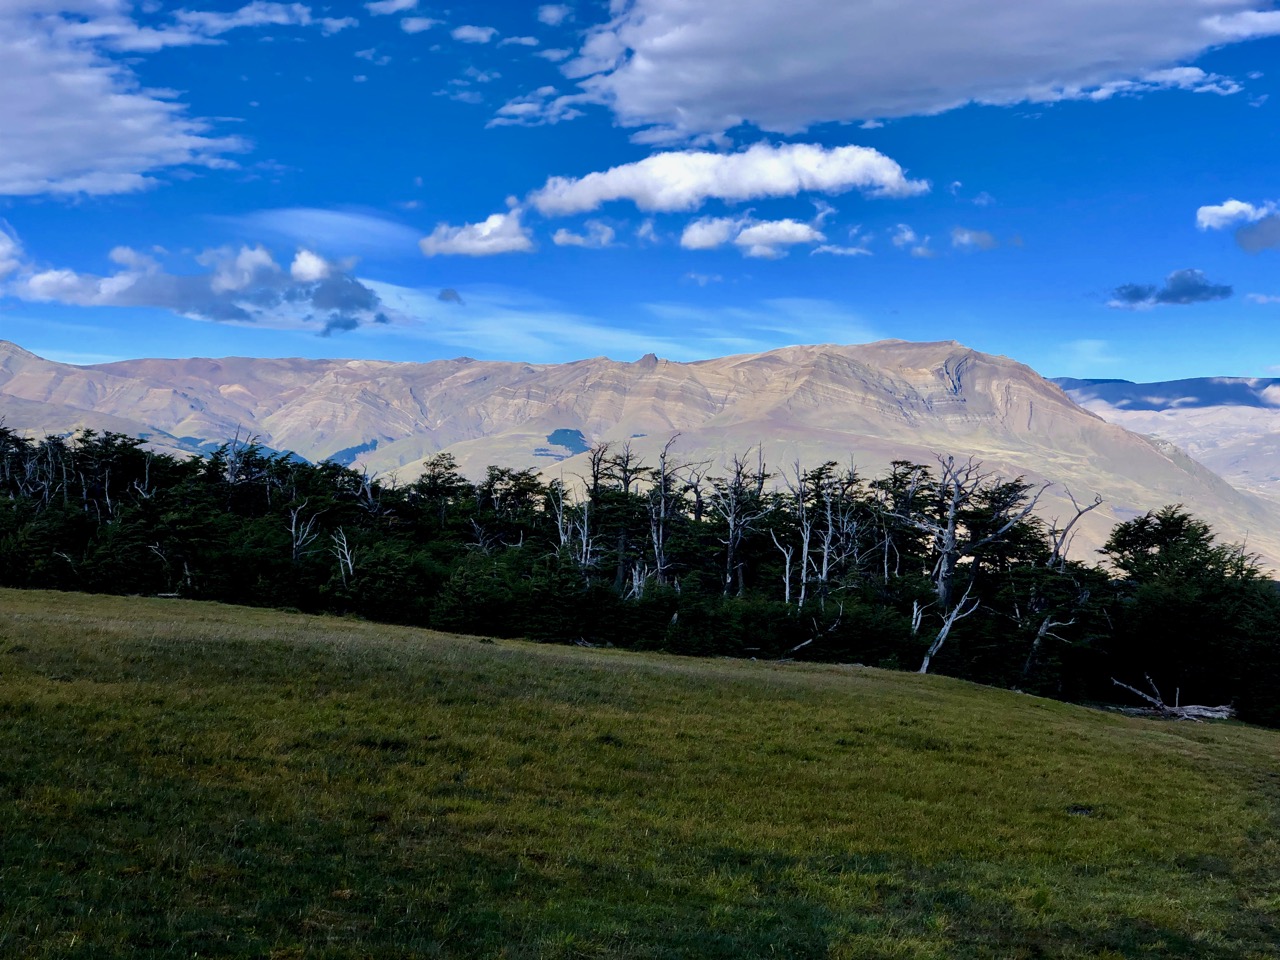
For the first half of the day the Windhond trail follows the Ukika valley, gradually climbing to its head, passing several pretty lakes which are the source of the Rio Ukika, and offering magnificent views of the backs of the mountains I walked along only a few days before on the Dientes Circuit.
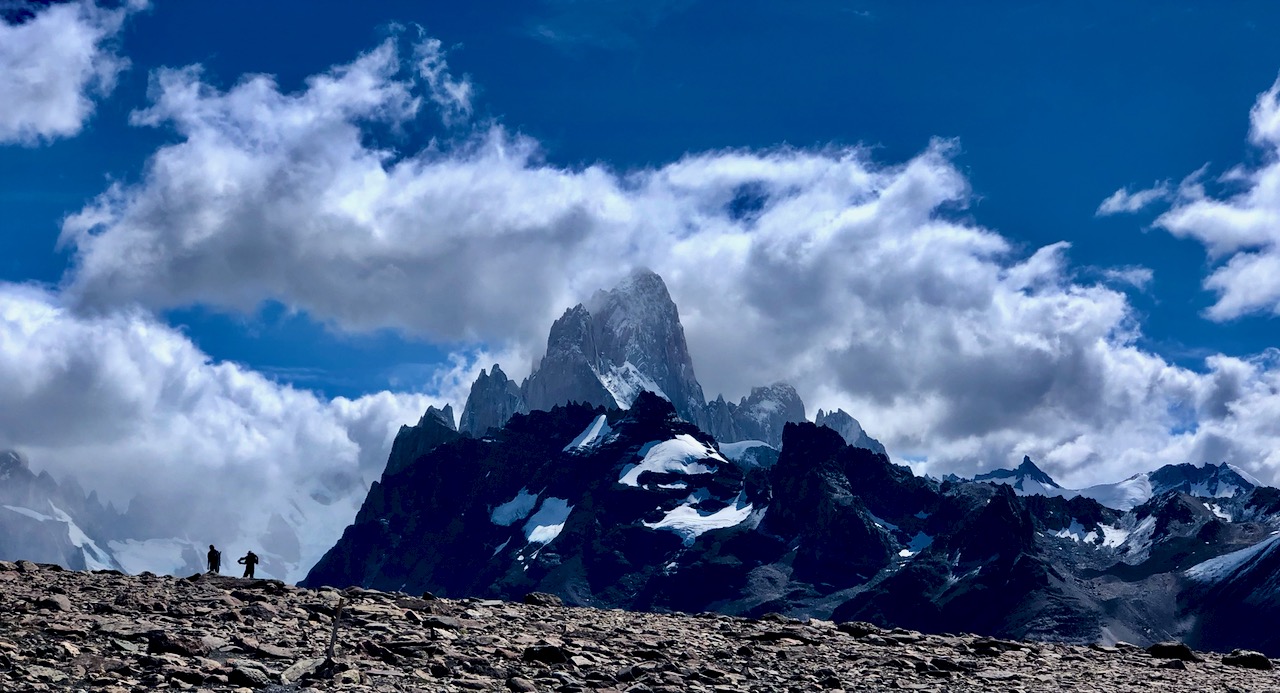
Ahead, the Dientes de Navarino slowly come into view – and to be honest, the views of the mountains were better than those from the Dientes Circuit. …
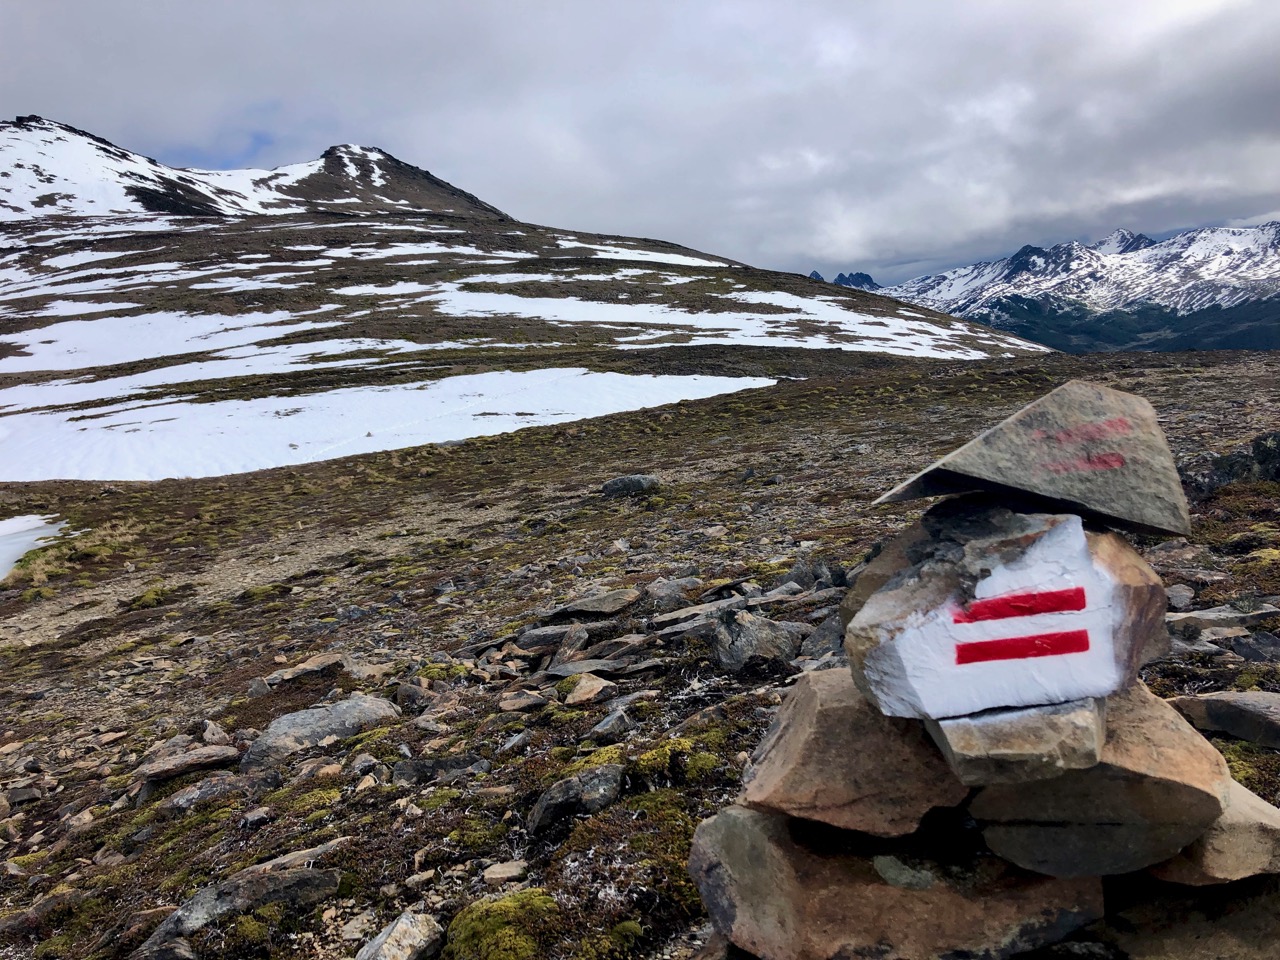
Compared to the Dientes Circuit there was very little elevation change involved, and after my experience on that circuit I decided not to be too fussy about following the path exactly when the markers disappeared because of beaver damage. …
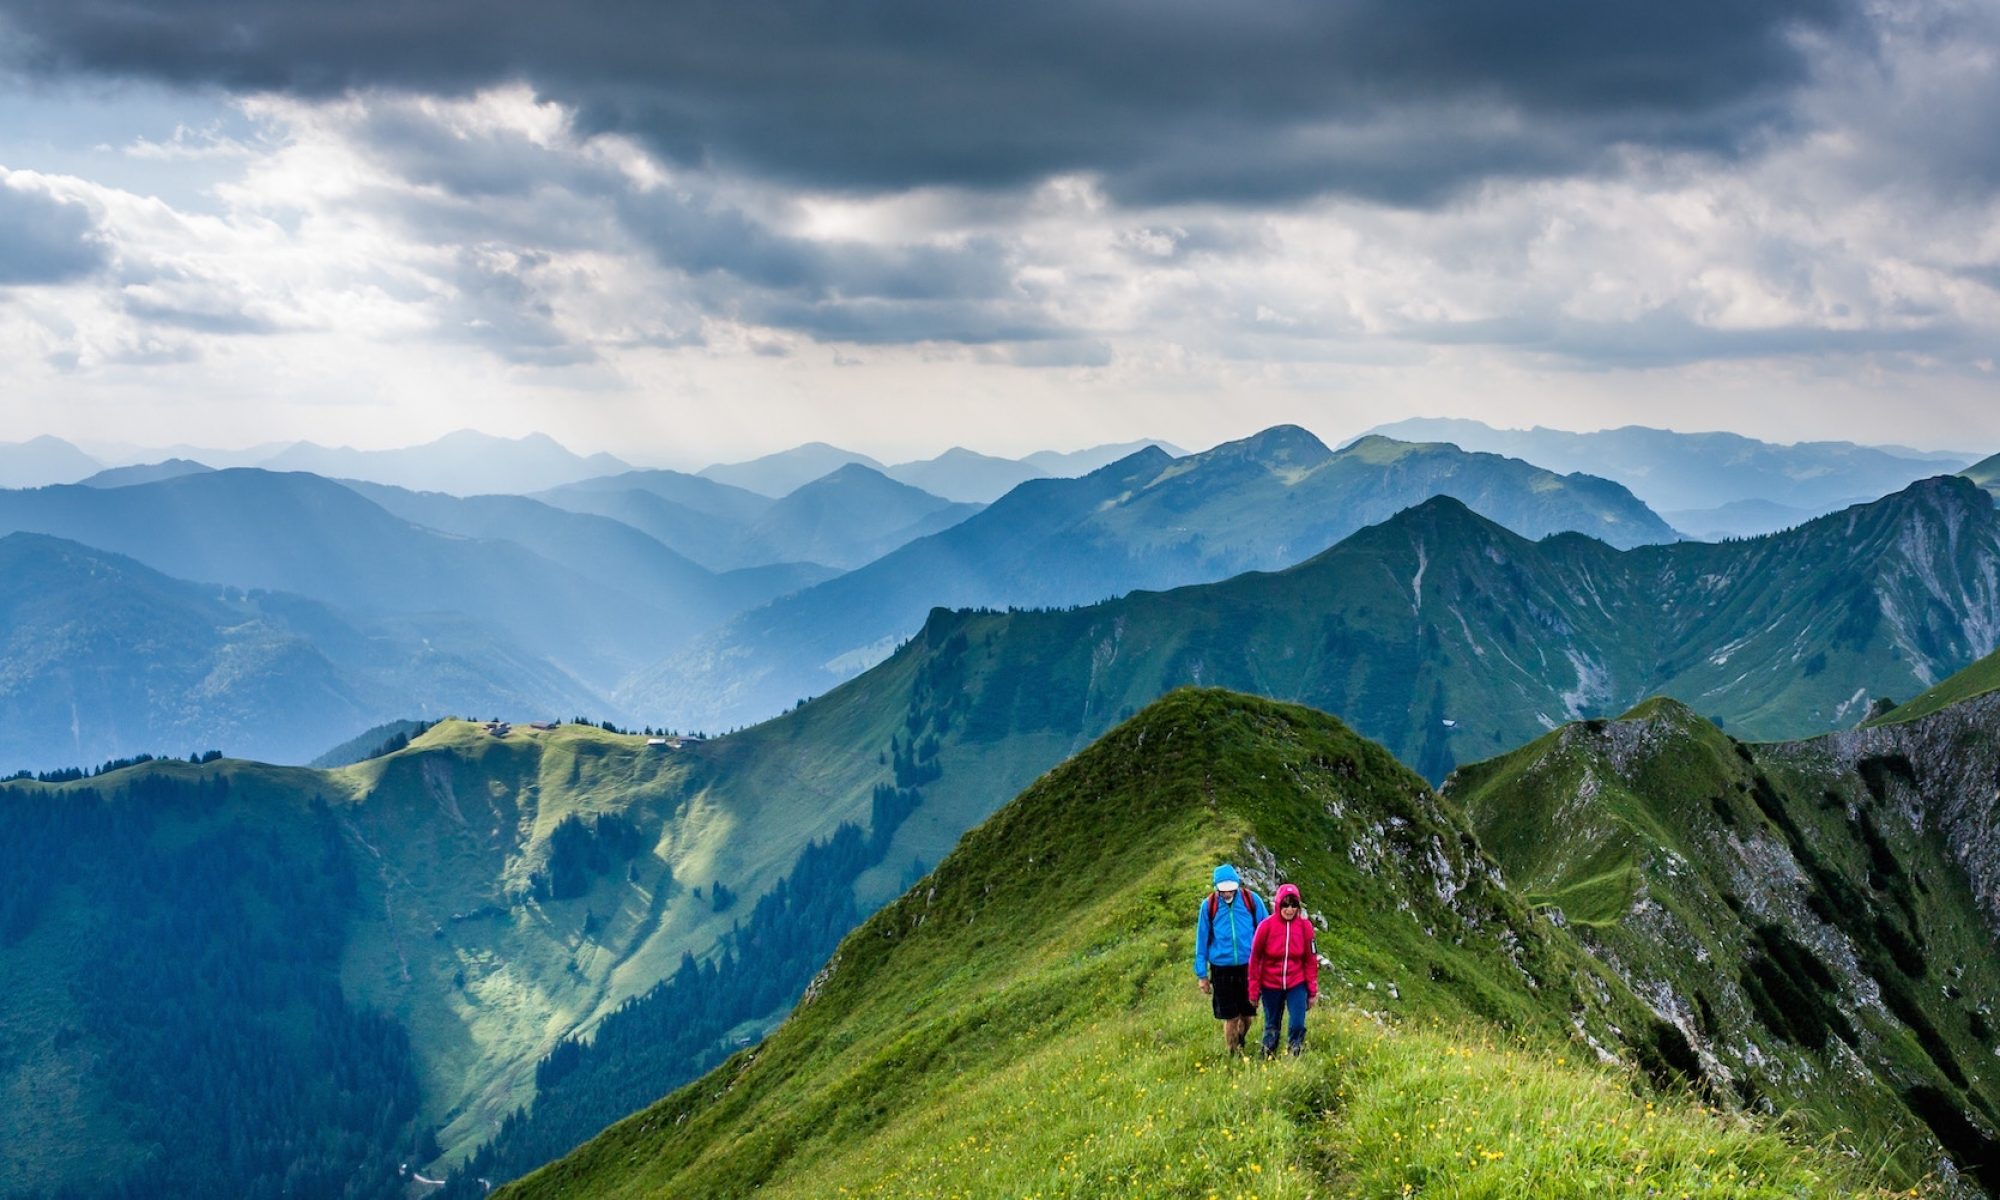
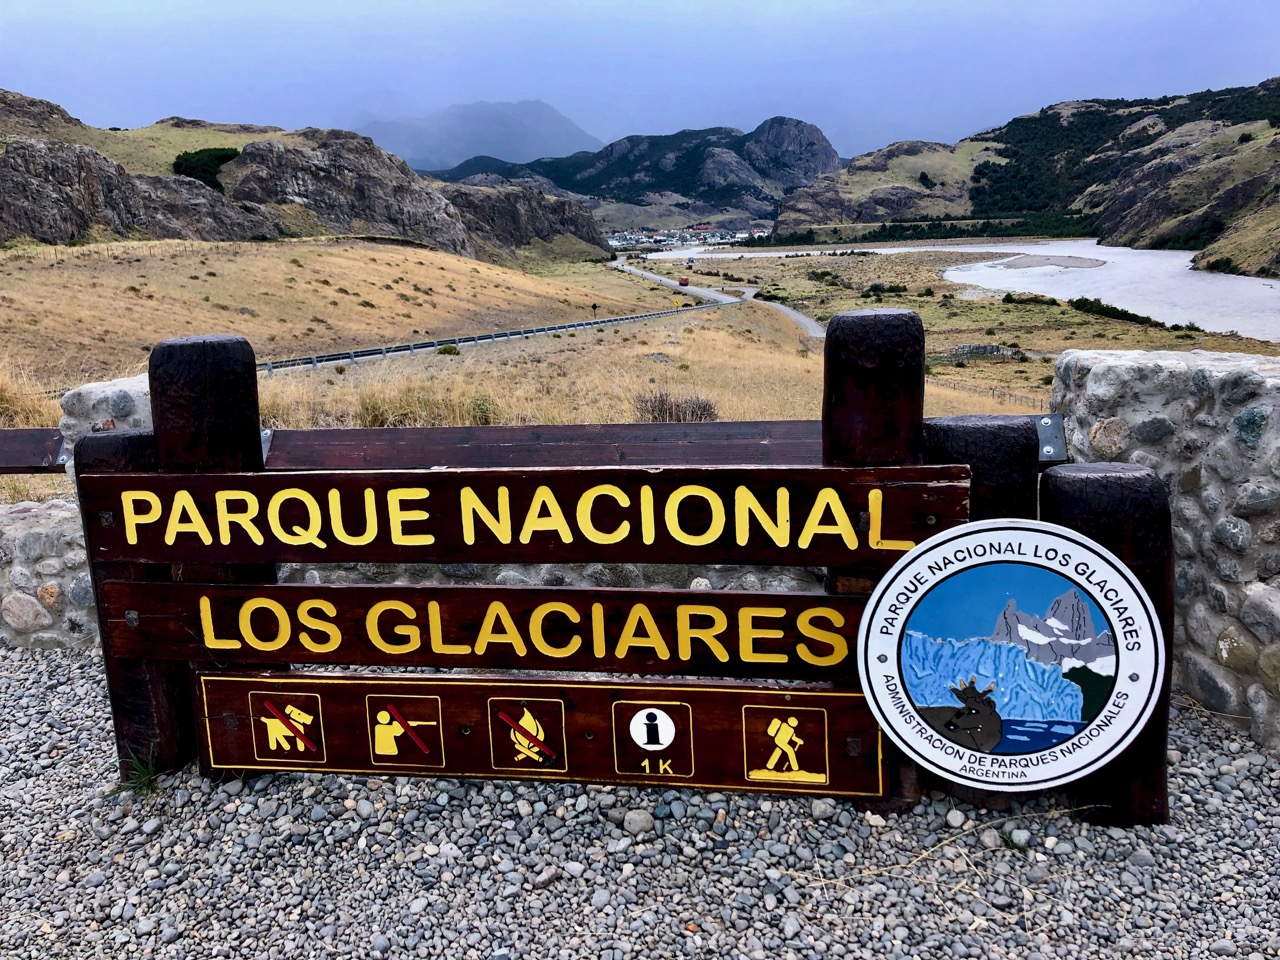
Dientes de Navarino (Teeth of the Navarino) is one of the best hikes in South America. The island of Navarino has the most southerly established trails in the world.
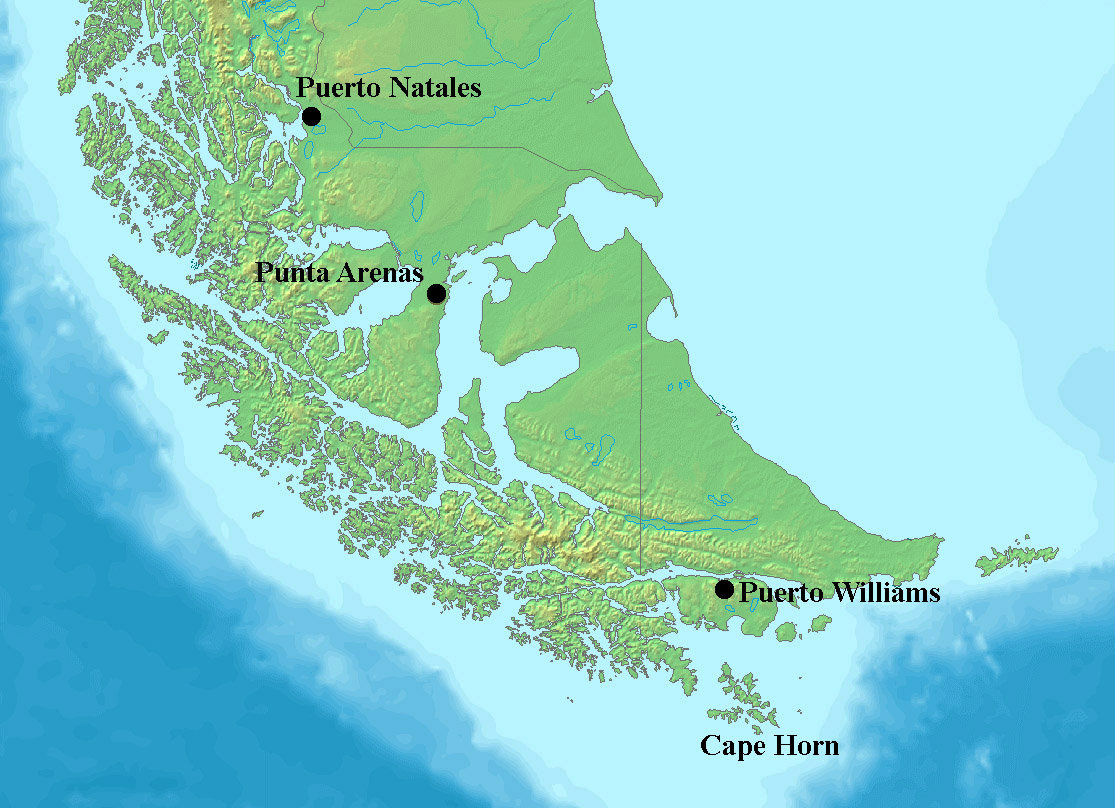
The jumping off point is Puerto Williams.
Most do the 50km over 4 days.
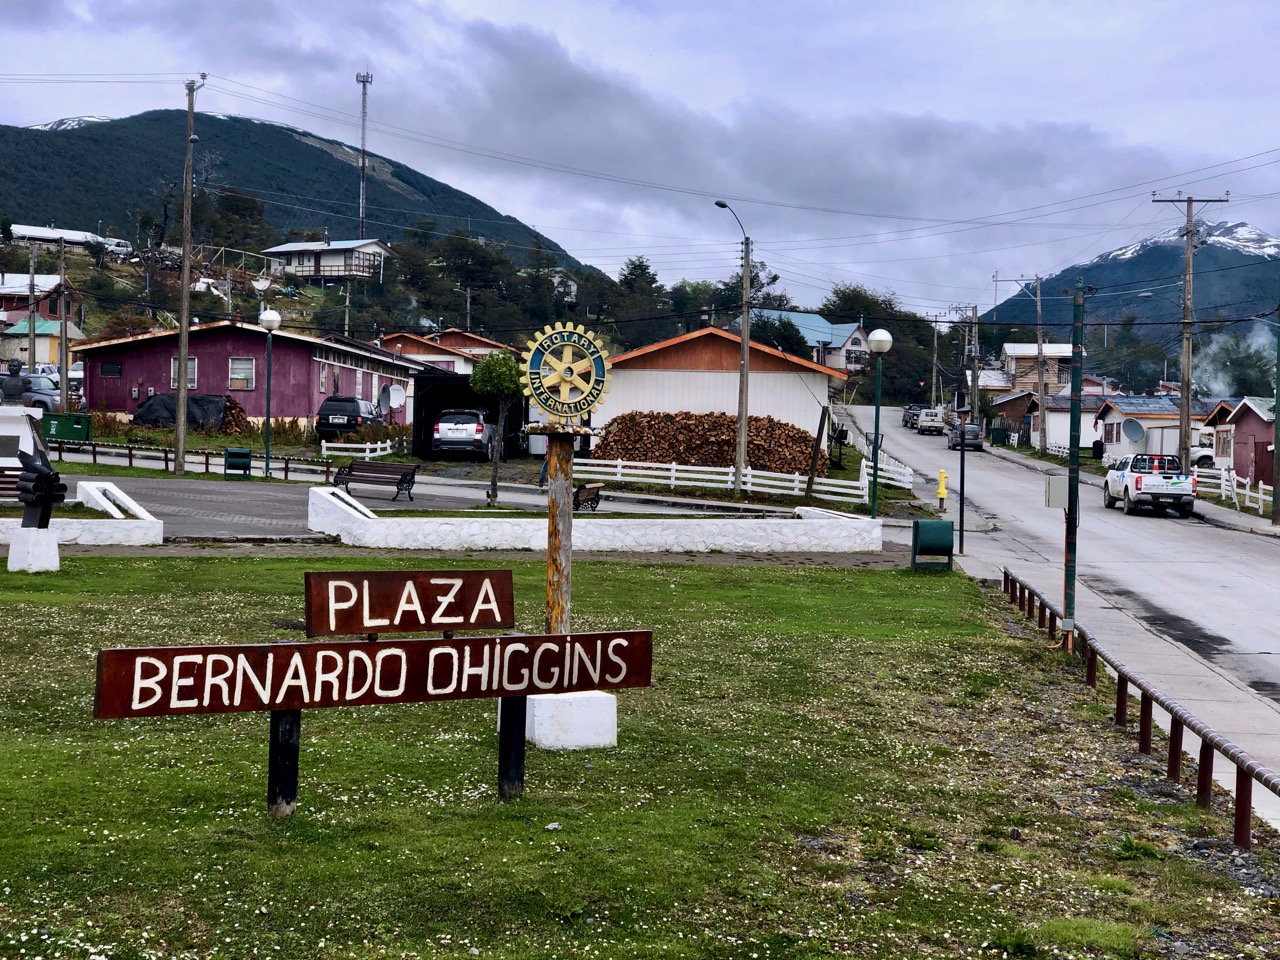
FIRST you need get to the end of the world. That’s Puerto Williams (pop. 2000) on the island of Navarino.
There are three ways:
– flight on small plane from Punta Arenas ($150 one way 2019)
– fast boat from Ushuaia (45min) and shuttle van (45min) about $100 one way 2019
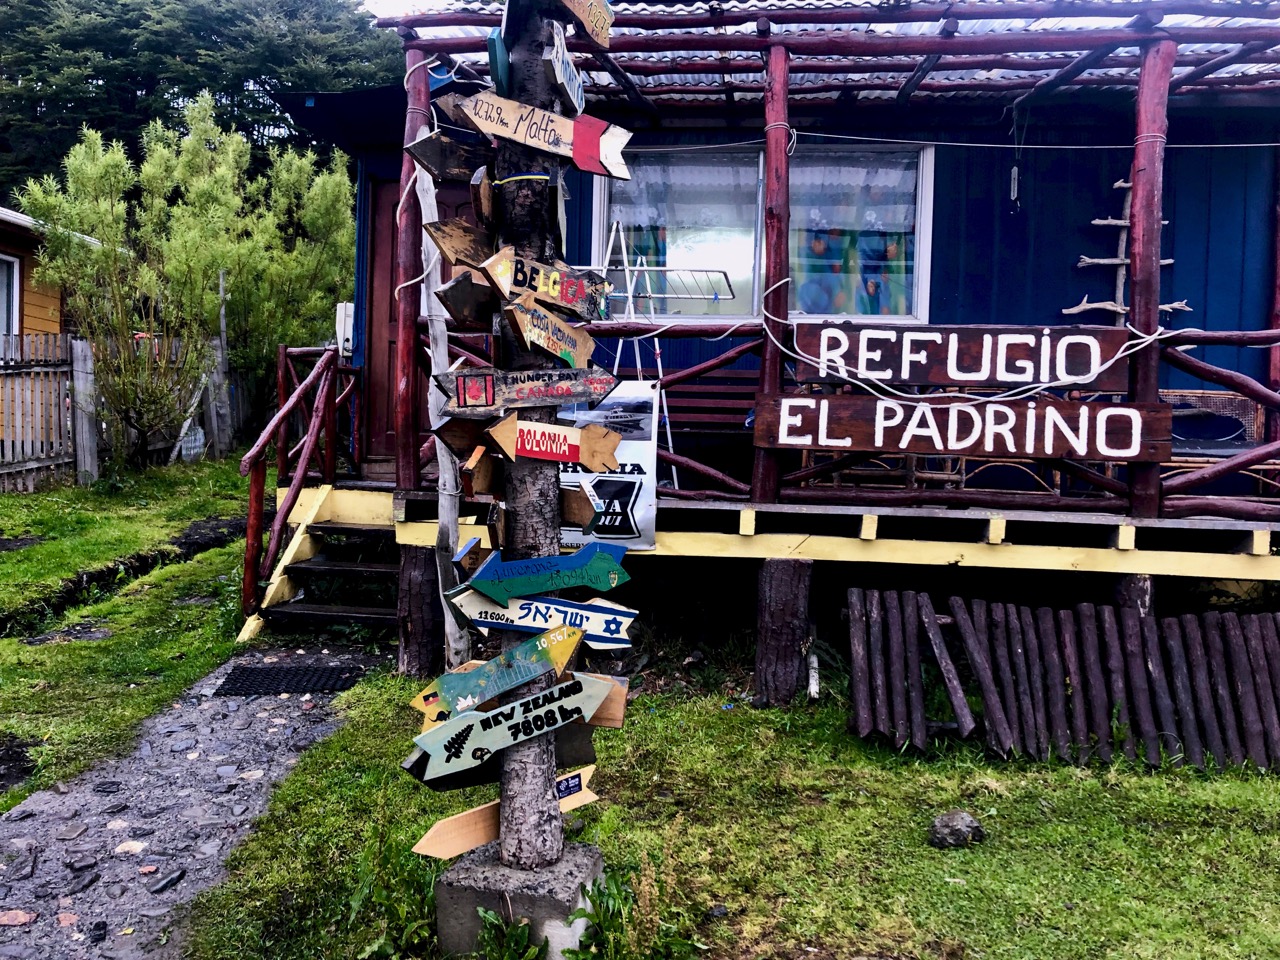
I stayed at the friendly and relaxed El Padrino hostel. Most people there are either coming from or going to a hike. It’s a great place to get maps and up-to-date information.
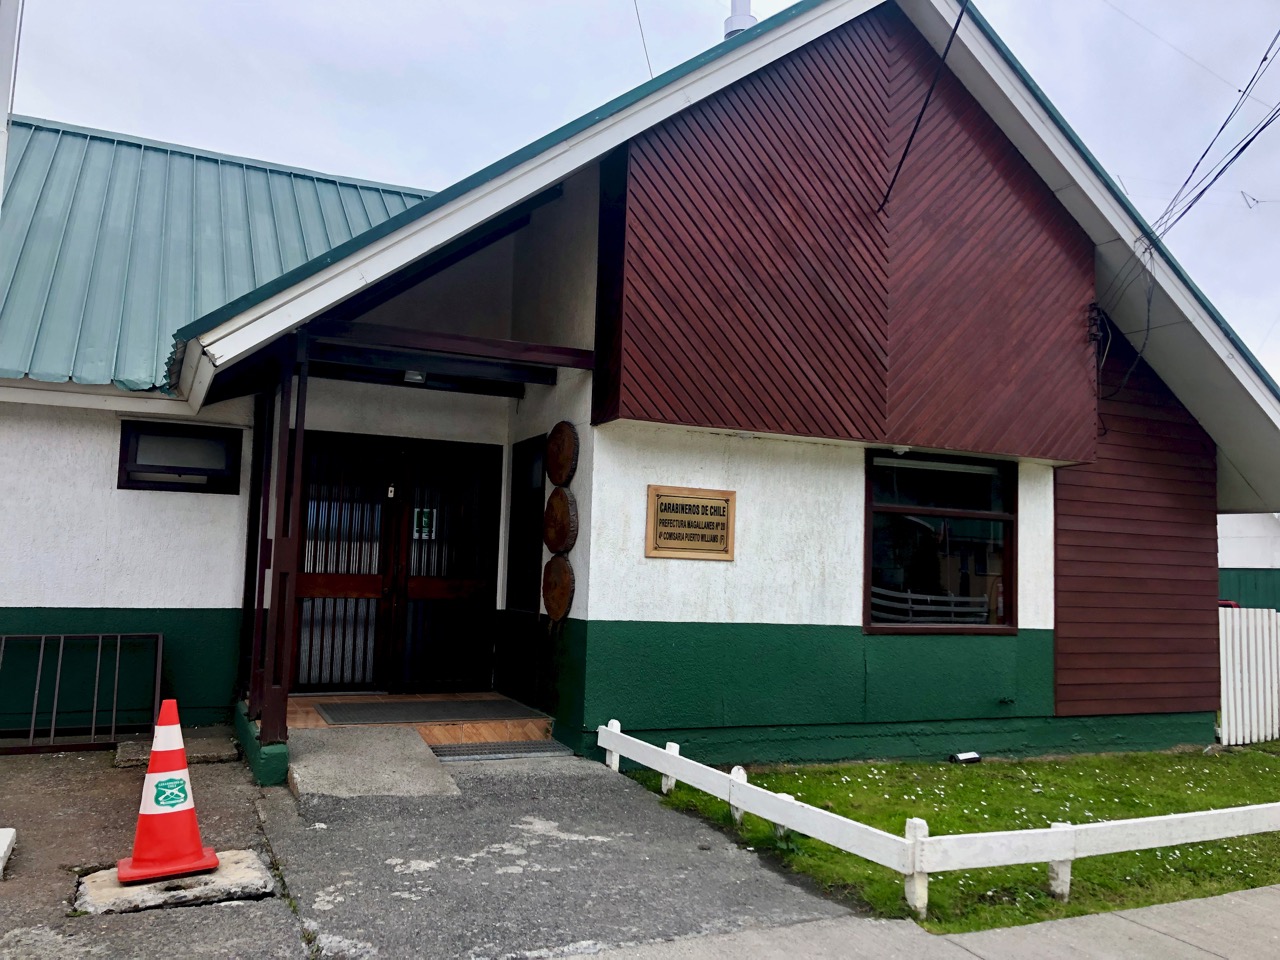
For overnight hiking you are asked to register (free) at the police station. I found it fast and efficient.
The day of my departure some left the hostel at 8am. As is often the case, I was last to get on the trail. I left town at 1pm. It was only 4-6 hours to the first campsite.
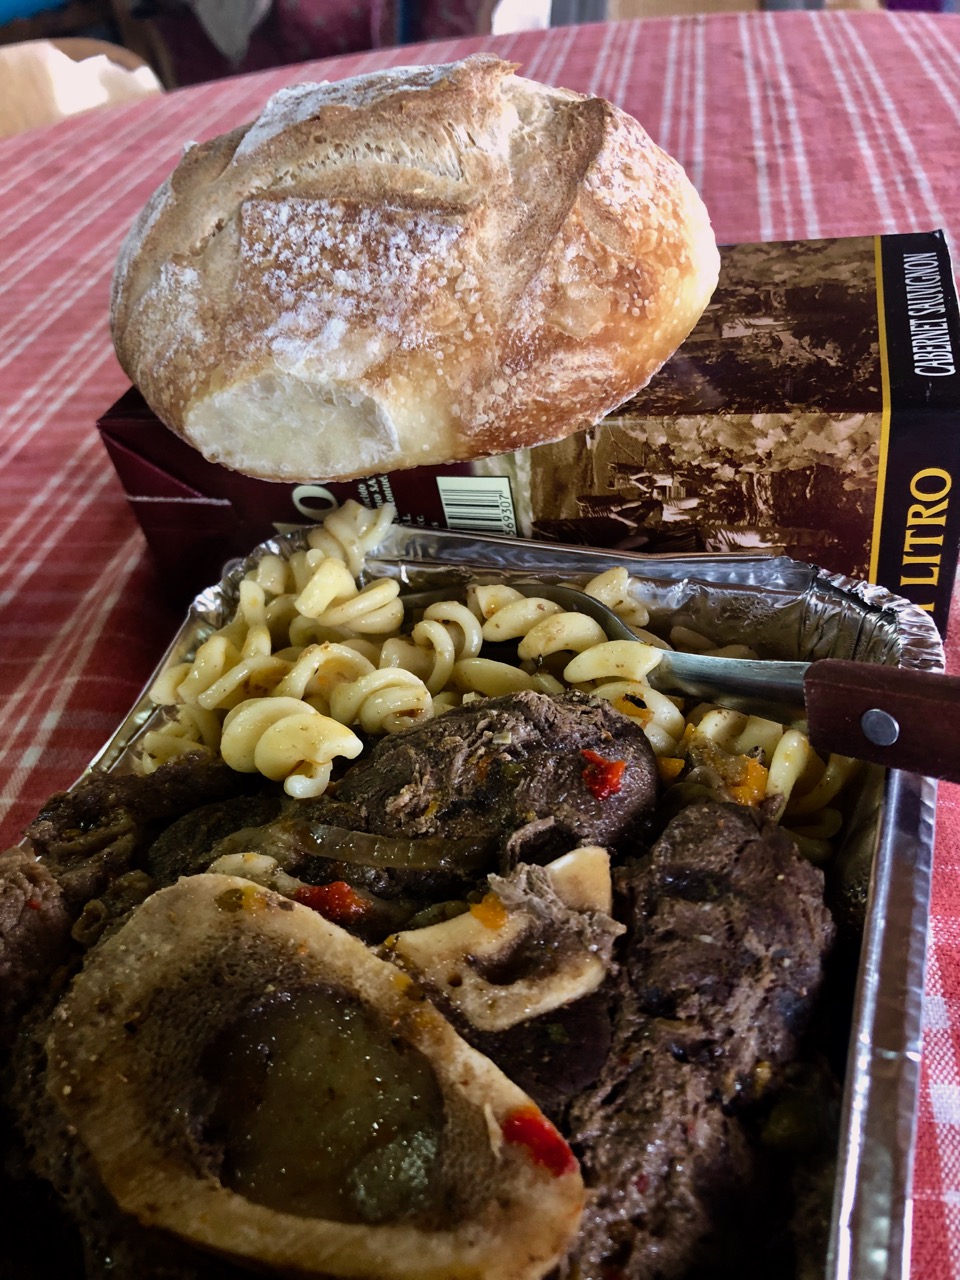
I had a hot un-dehydrated last meal for lunch. 🙂
The first big snowfall of the year was the previous week — the end of February.
Almost everyone that week had turned back after post-holing deep snow. Most trail markers were hidden.
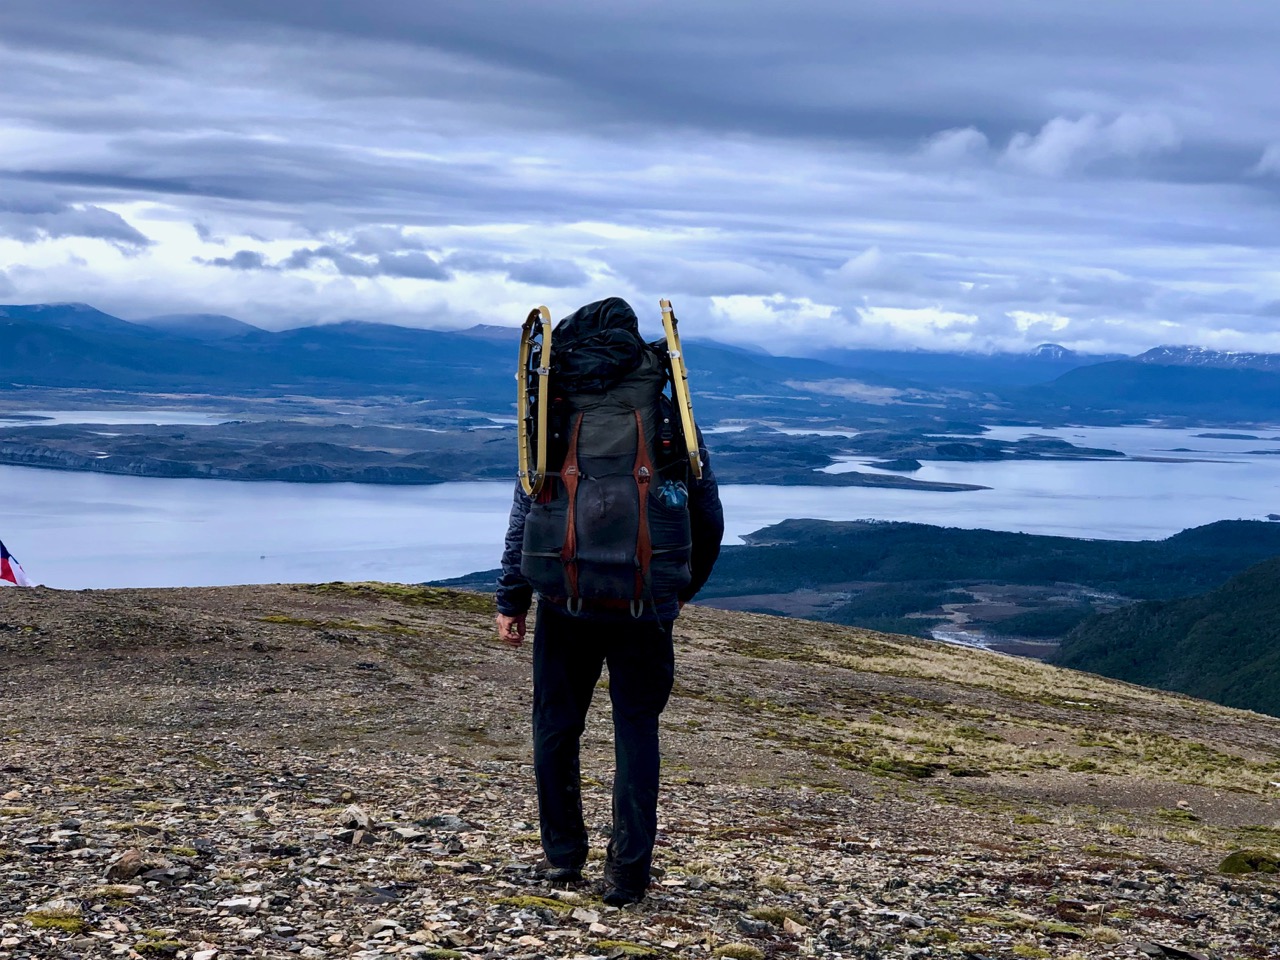
Weather was improving for my departure March 1st. But everyone had rented snowshoes over the past couple of days … just in case.
I’d decided NOT to rent snowshoes hoping enough people were gone ahead of me to put down a trail in the snow.
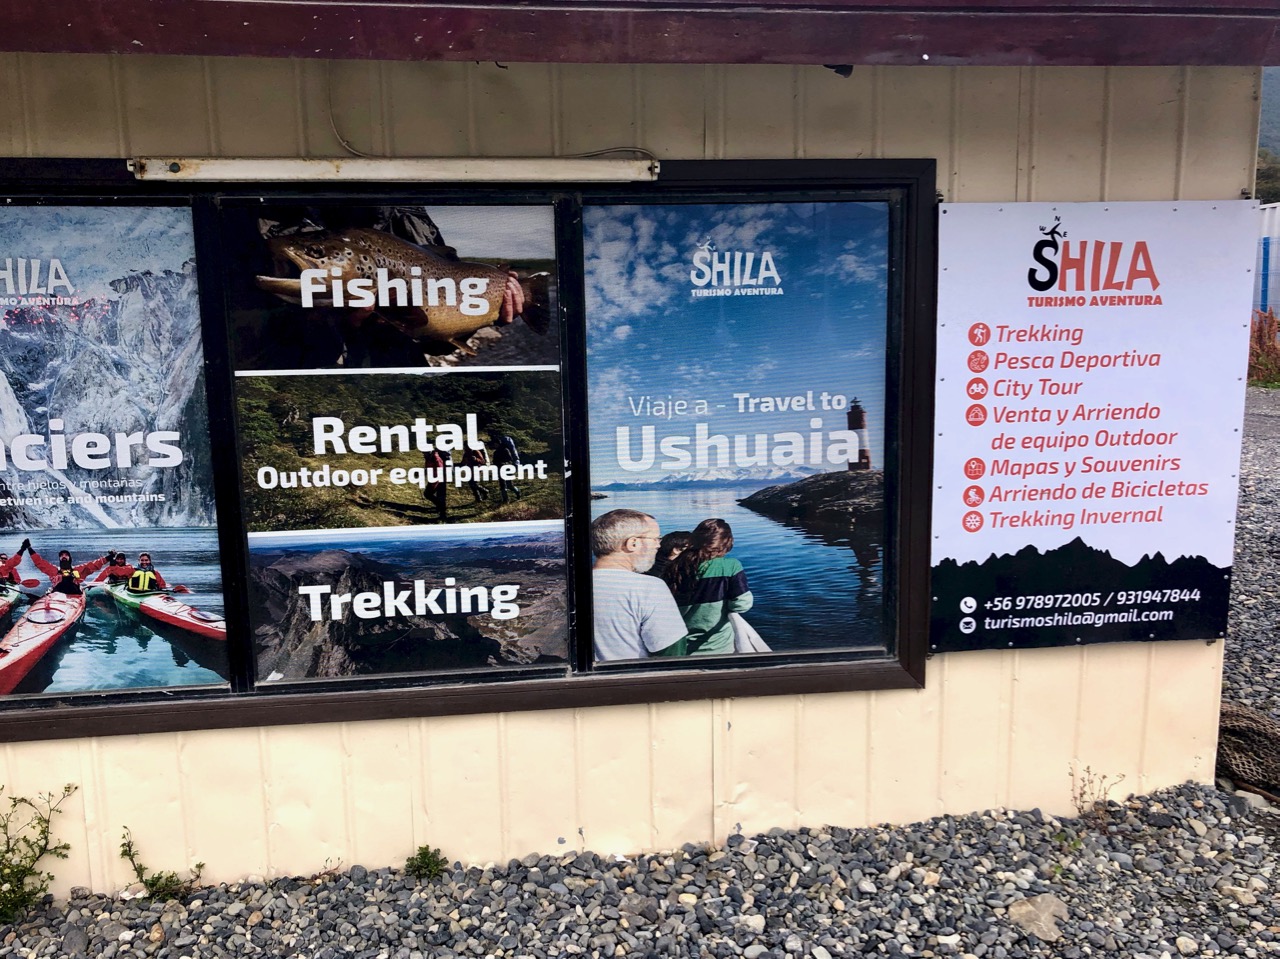
But Shila — the main gear store in town‚ happened to be open (for the first time) as I walked past on the way to the trailhead. I grabbed their last pair. ($3 / day)
Even if I didn’t use them, they would make me look more macho. 😀
It’s a couple of kilometres to the start. Most people walk from town.
Summer on Navarino island is lovely. I can’t imagine how it must be during the very long, dark, cold, wet winter months.
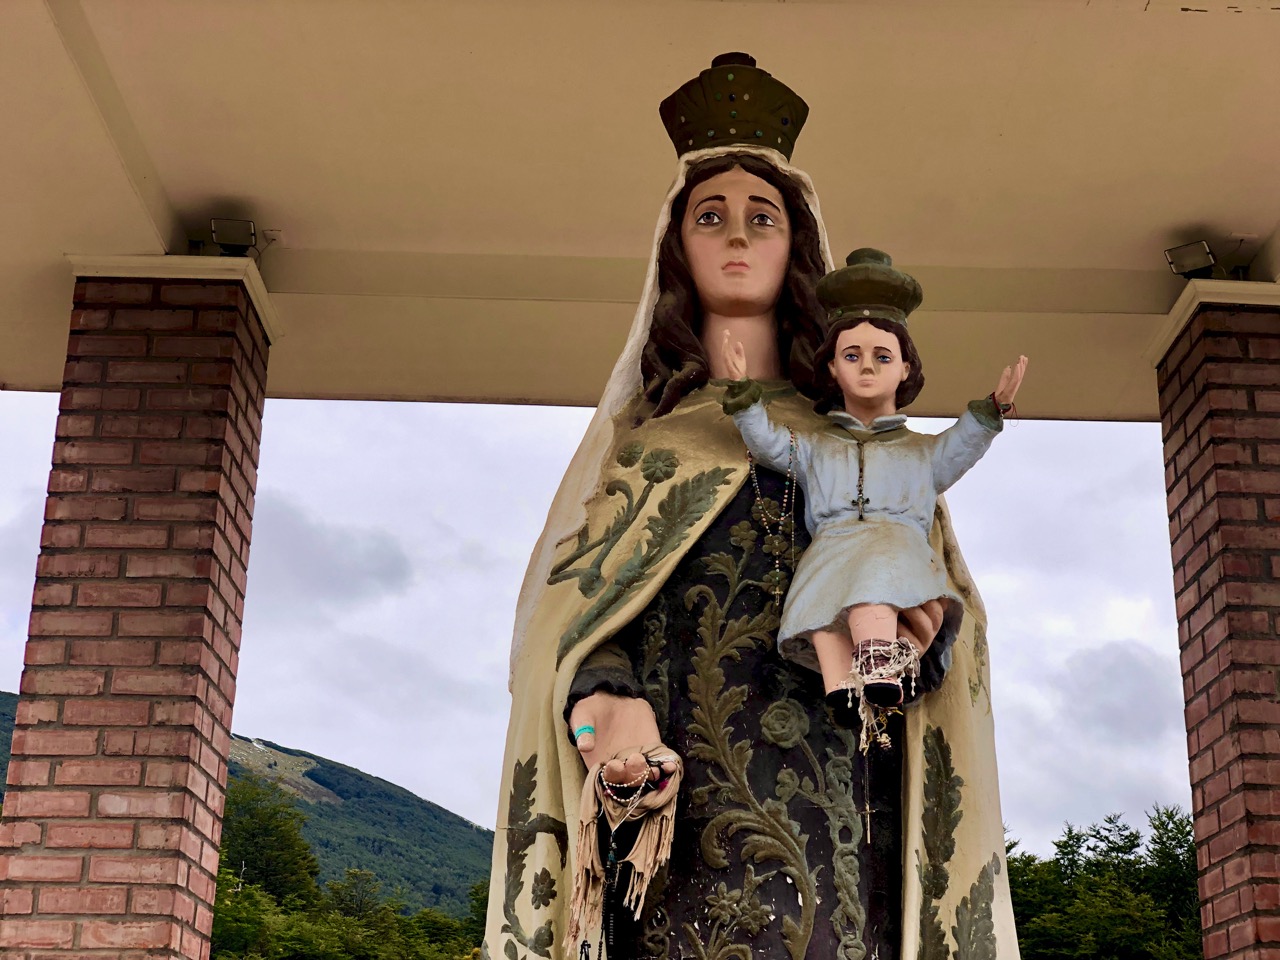
Everyone stops by to give their respects to the Virgin. It couldn’t hurt.
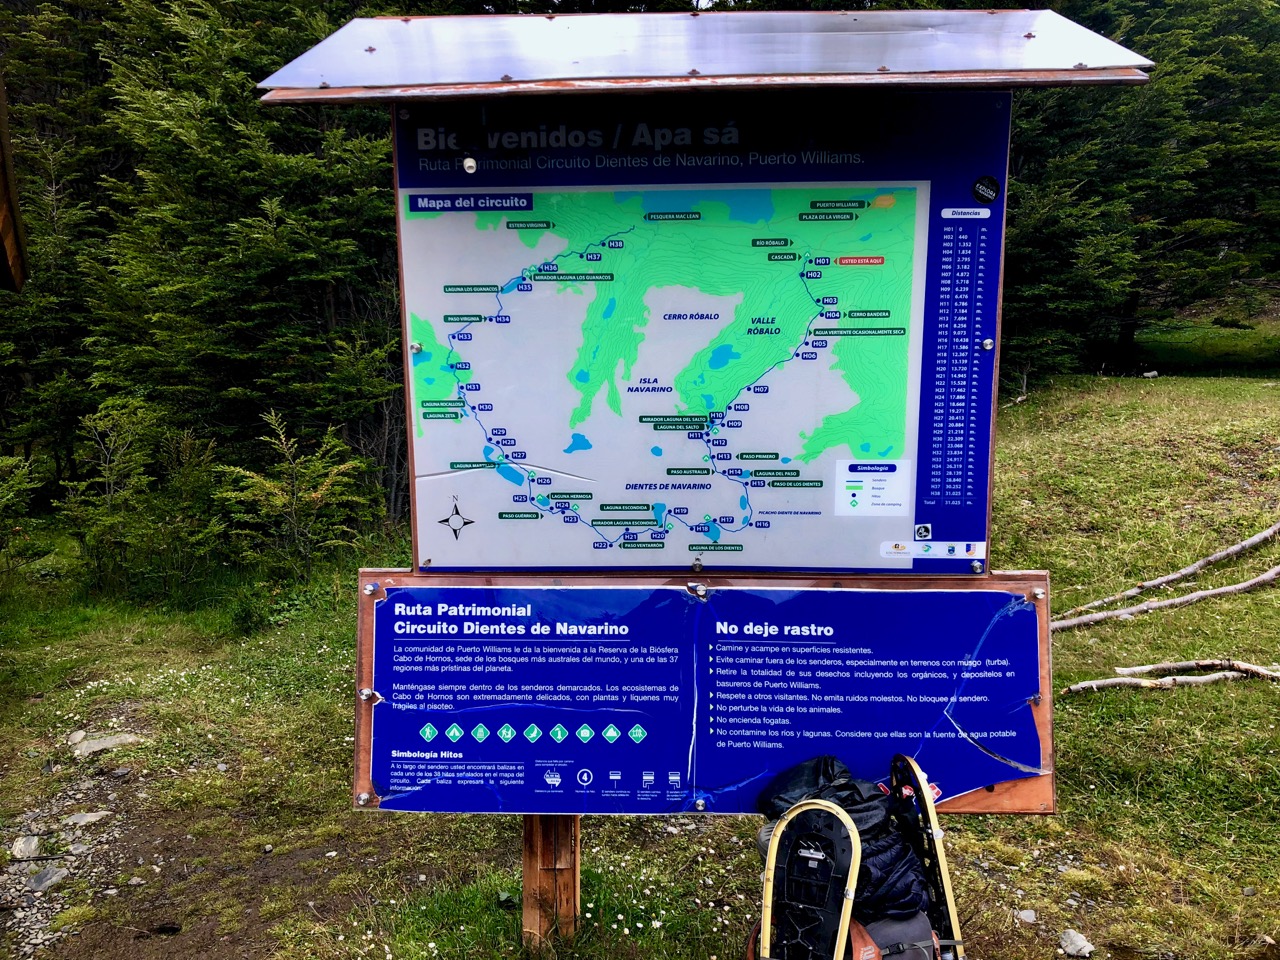
This trail is really well managed. RESPECT to whomever got this organized.
Trailhead
Actually, it was Lonely Planet’s Clem Lindenmayer who popularized it in his 1992 Lonely Planet guidebook Trekking the Patagonian Andes.
Clem died age-47 while hiking in China’s Sichuan Province, I’m sad to recall. I loved his book. It was part of the inspiration that had me start this site.
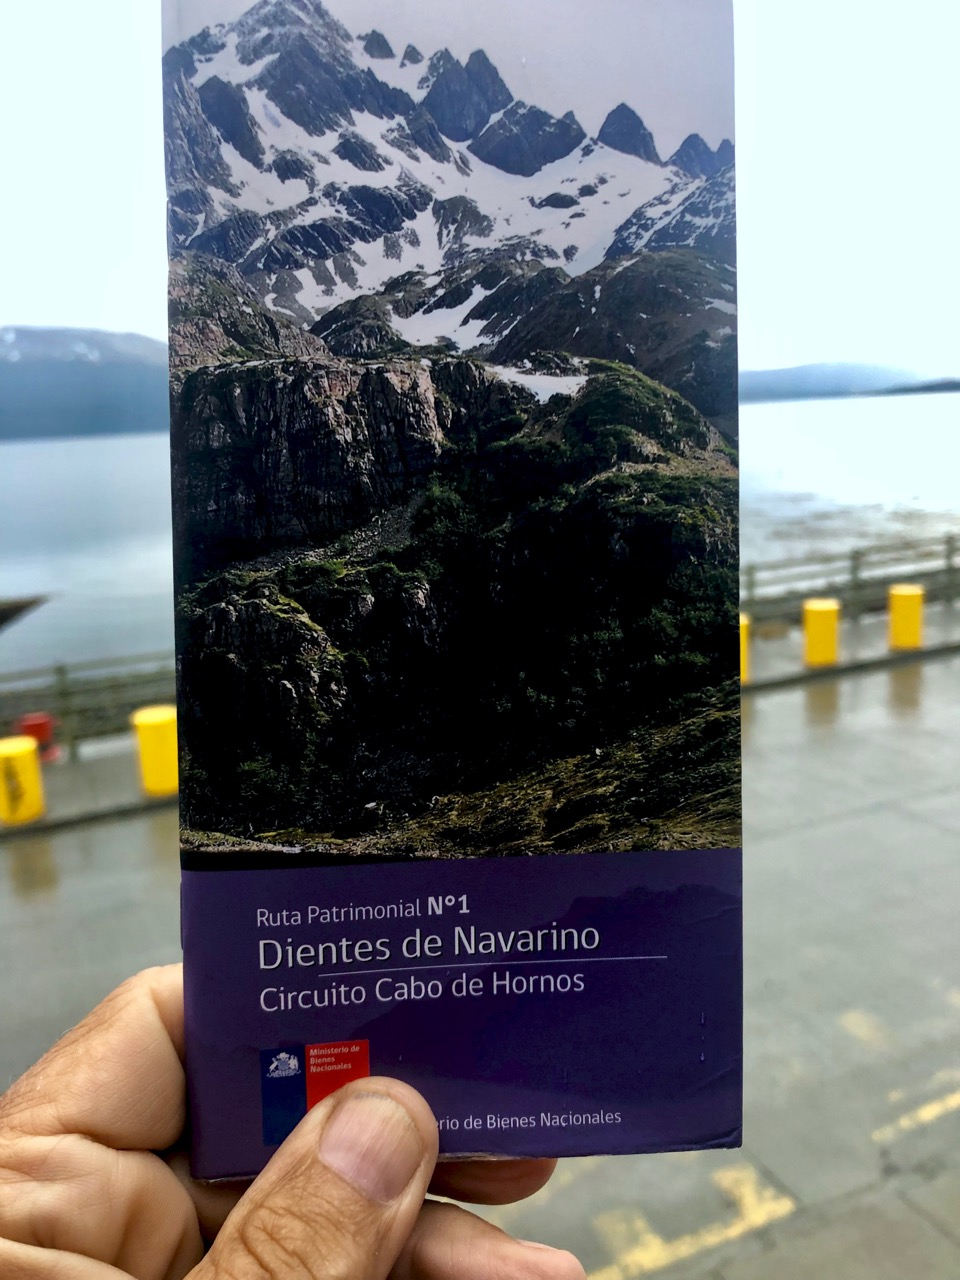
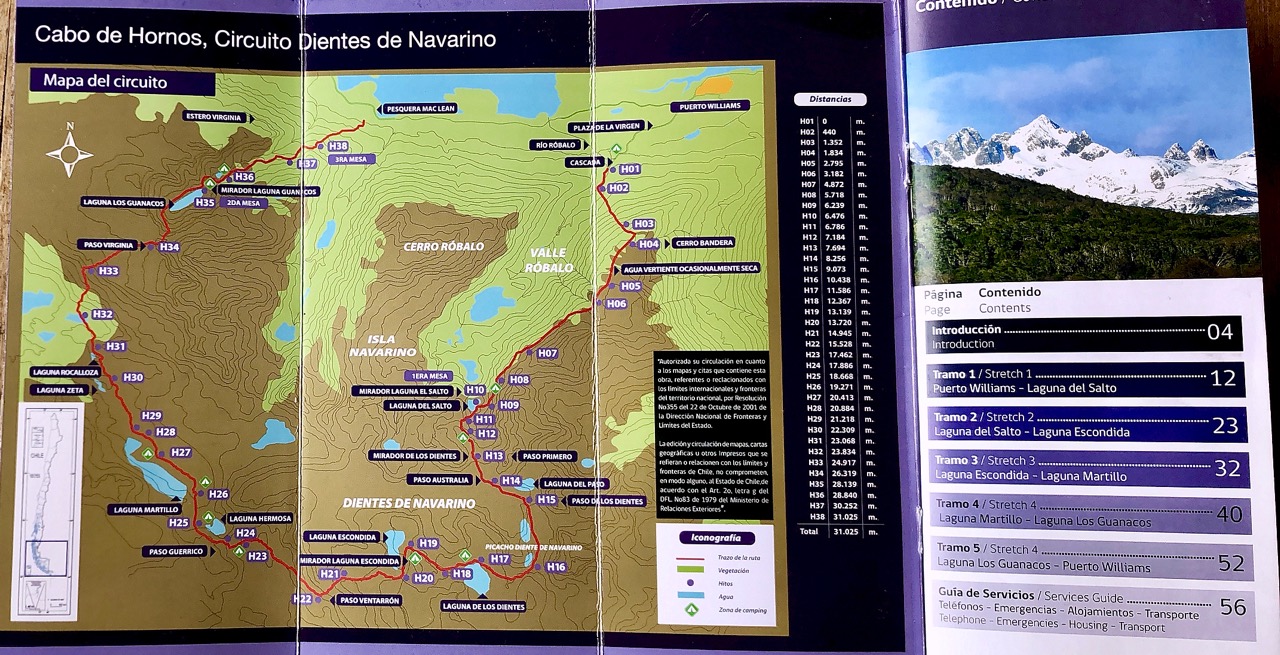
The BEST thing about the Dientes Circuit is this free pamphlet. I can’t recall a better one hiking brochure anywhere else in the world.
In Spanish with English translation, it’s crystal clear. All you need for navigation.
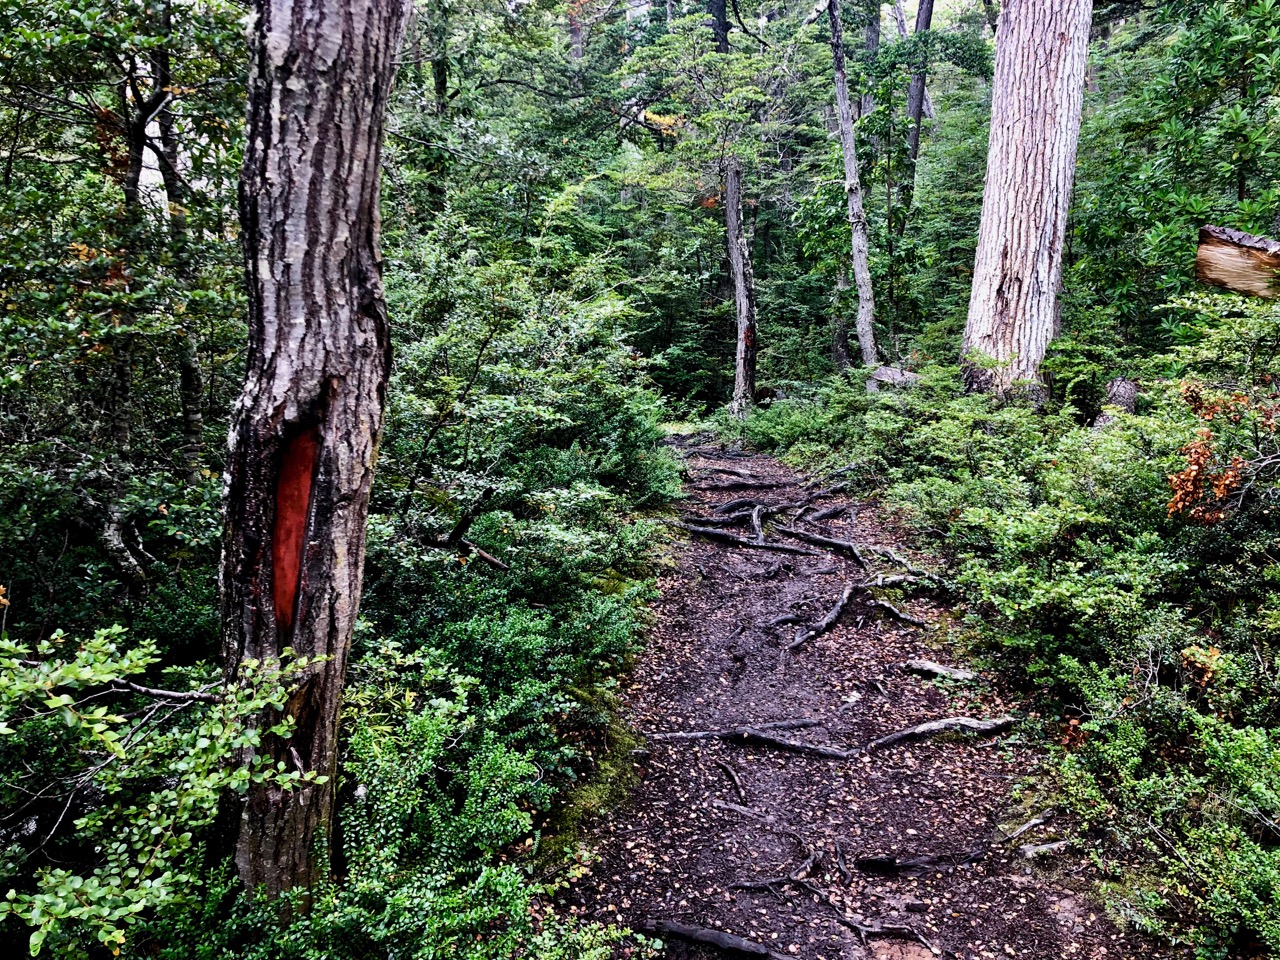
The start is up, up, up through the trees.
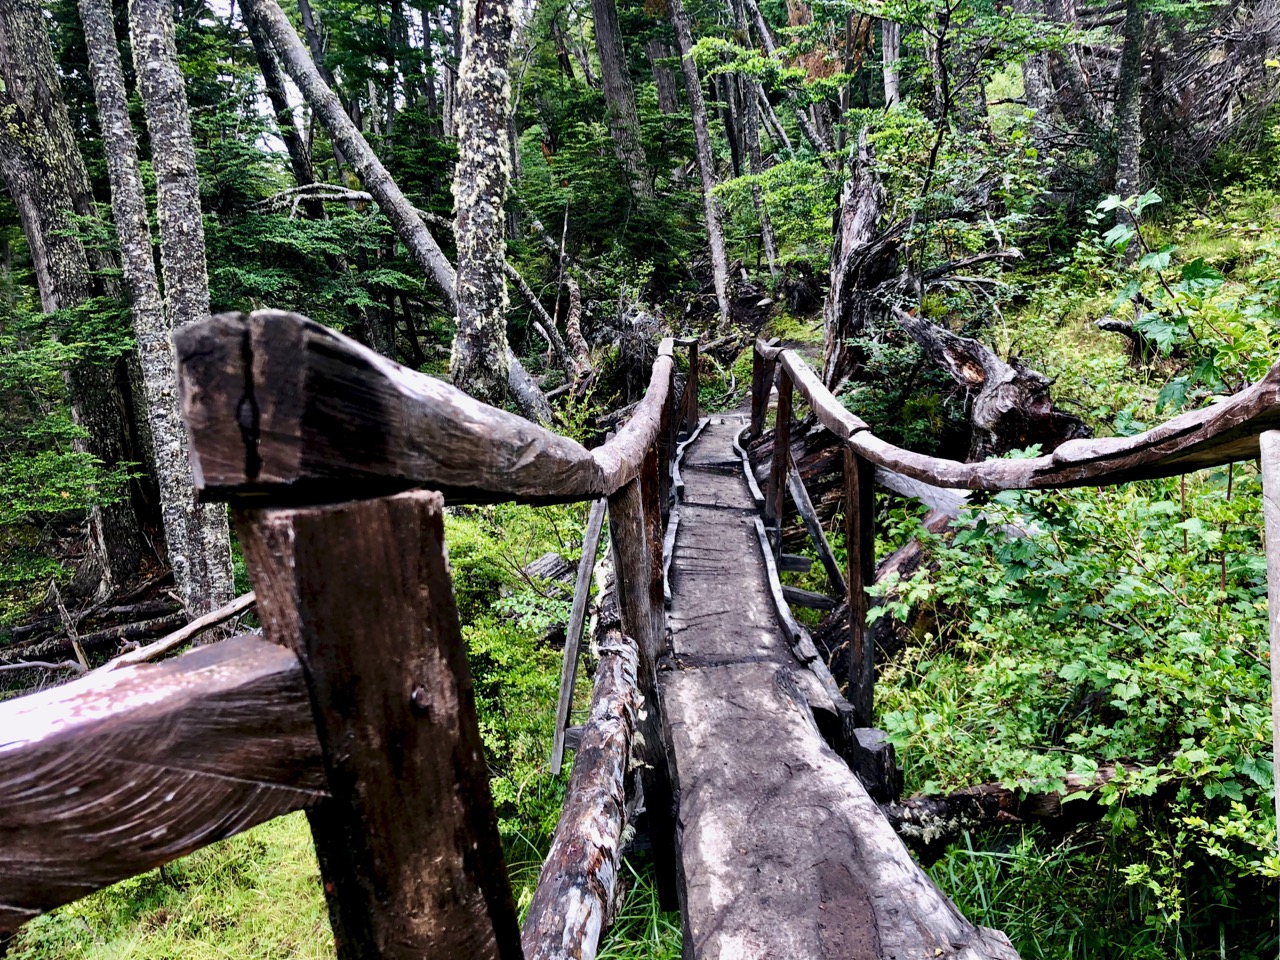
Quite a bit of trail maintenance has been done in this section.
I used Maps.me as a back-up to the pamphlet description.
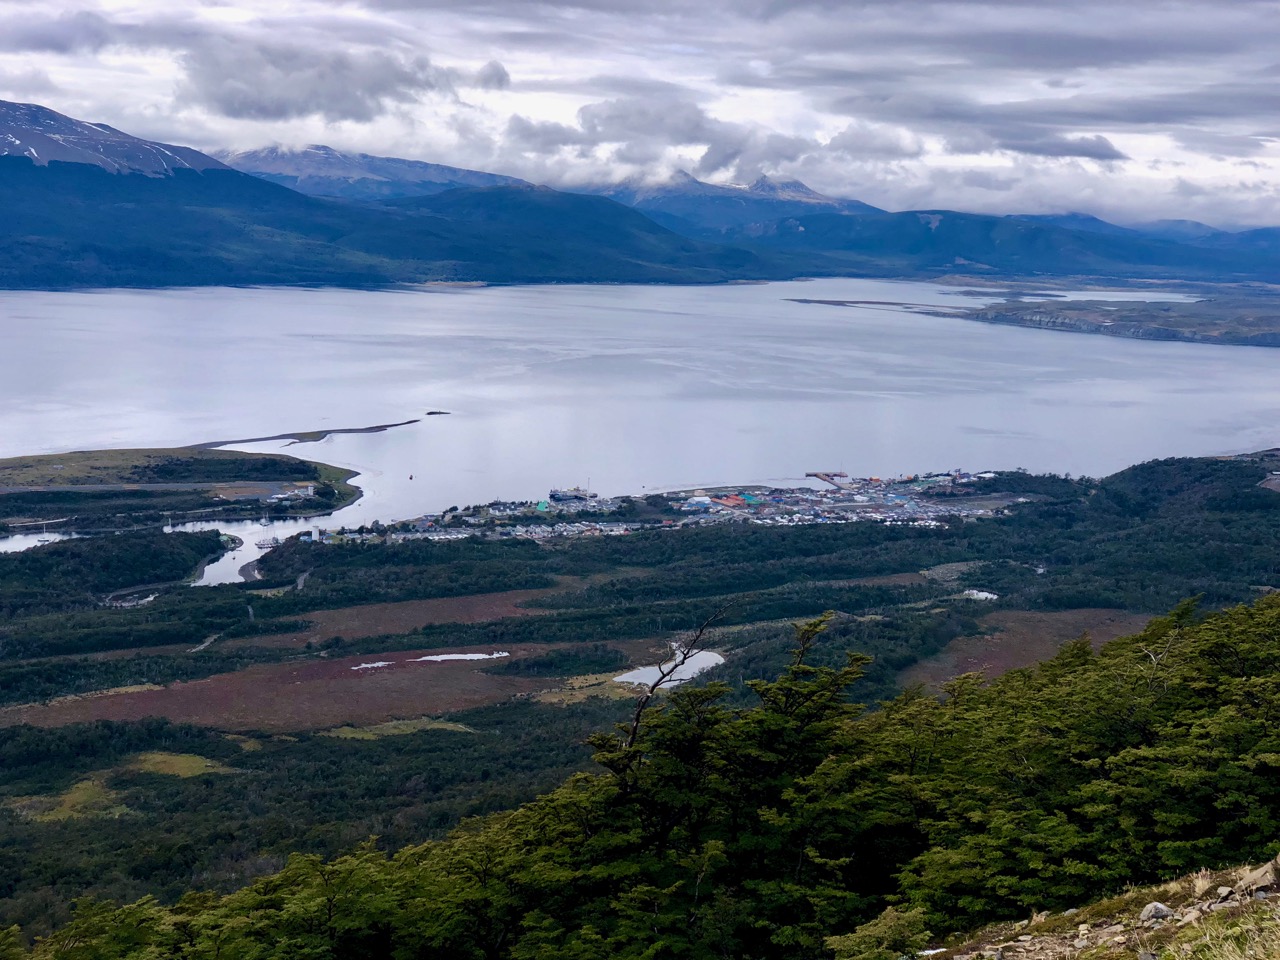
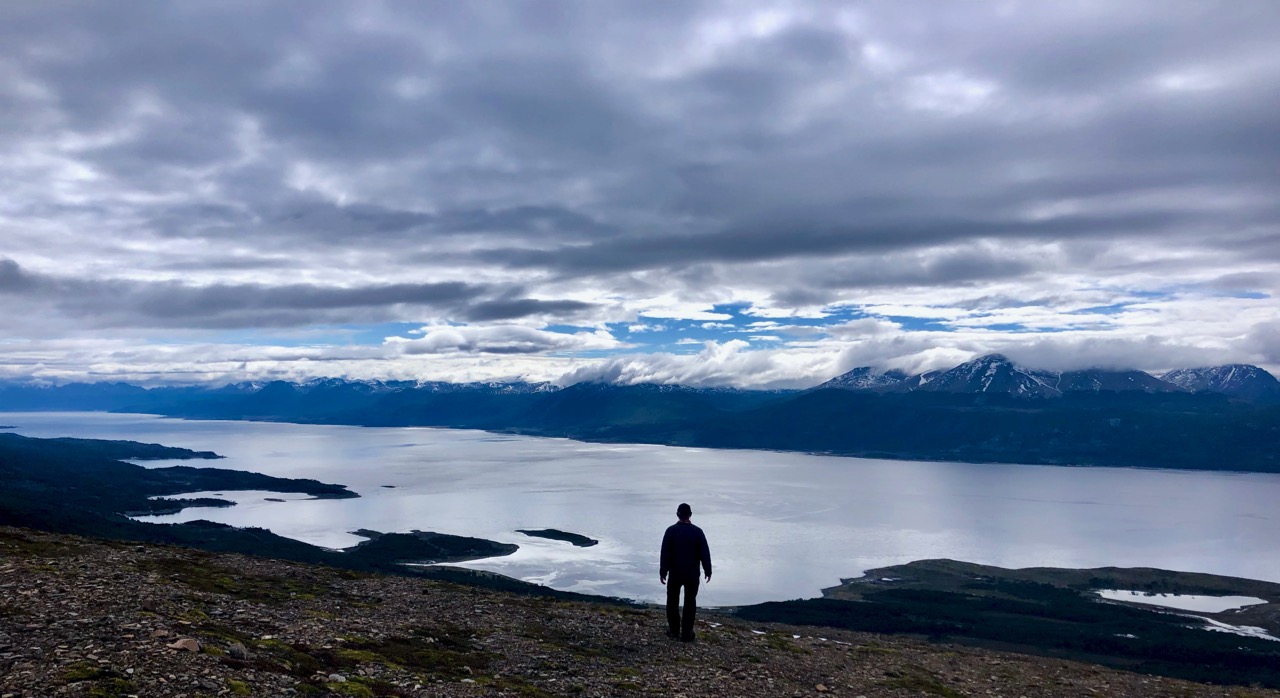
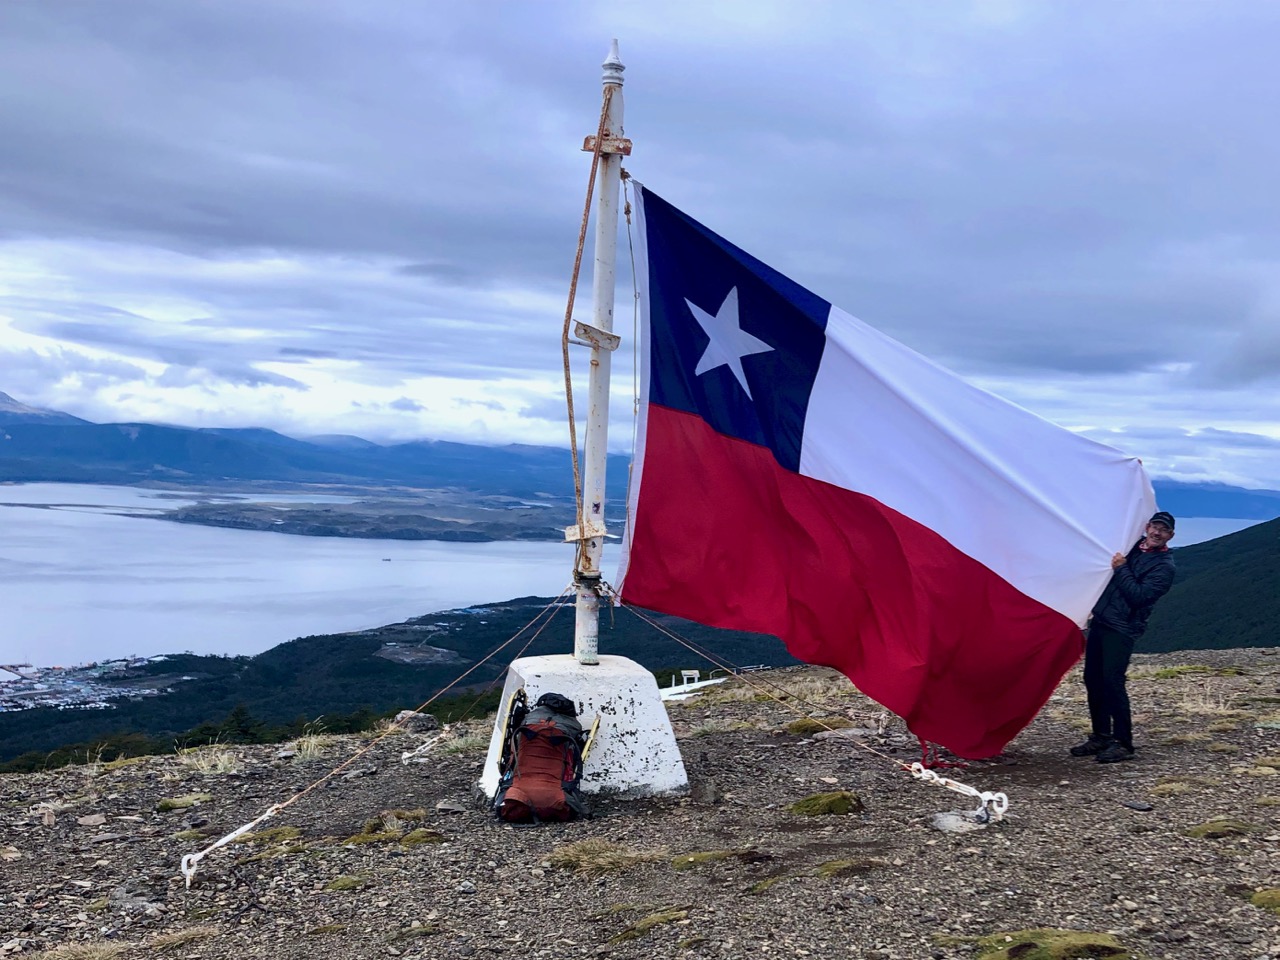
The start is the most popular dayhike out of Puerto Williams. Up to some viewpoints.
Puerto WilliamsBeagle channel
Most day hikers finish at the giant Chilean flag.
I continued up on the rocky plateau.
It’s fairly well marked here, as well, though you do have to keep your eyes peeled for cairns. In spots there are multiple trails to get to the same place.
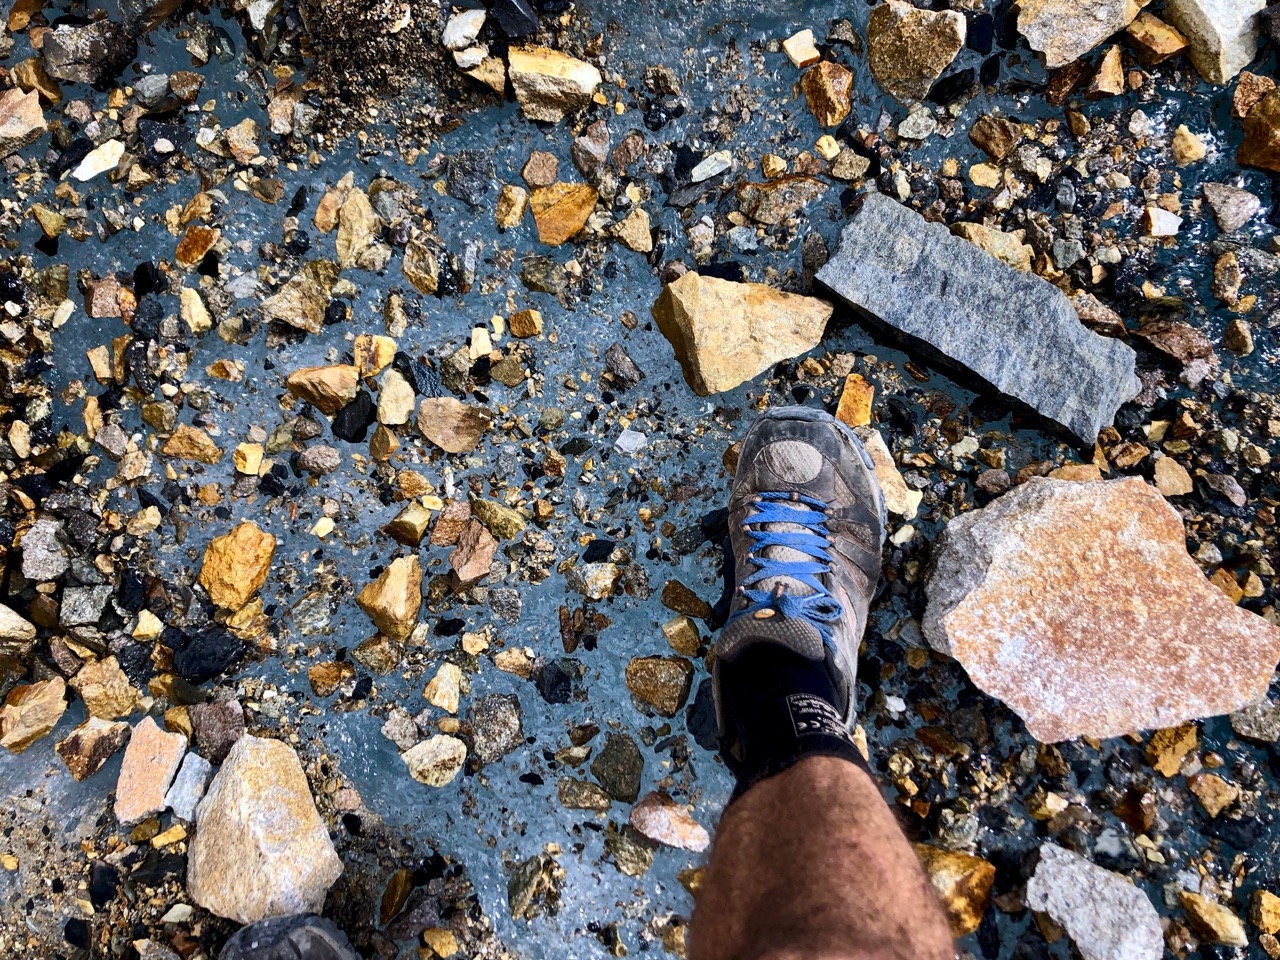
The only real problem is punching through snow or ice and getting your feet wet.
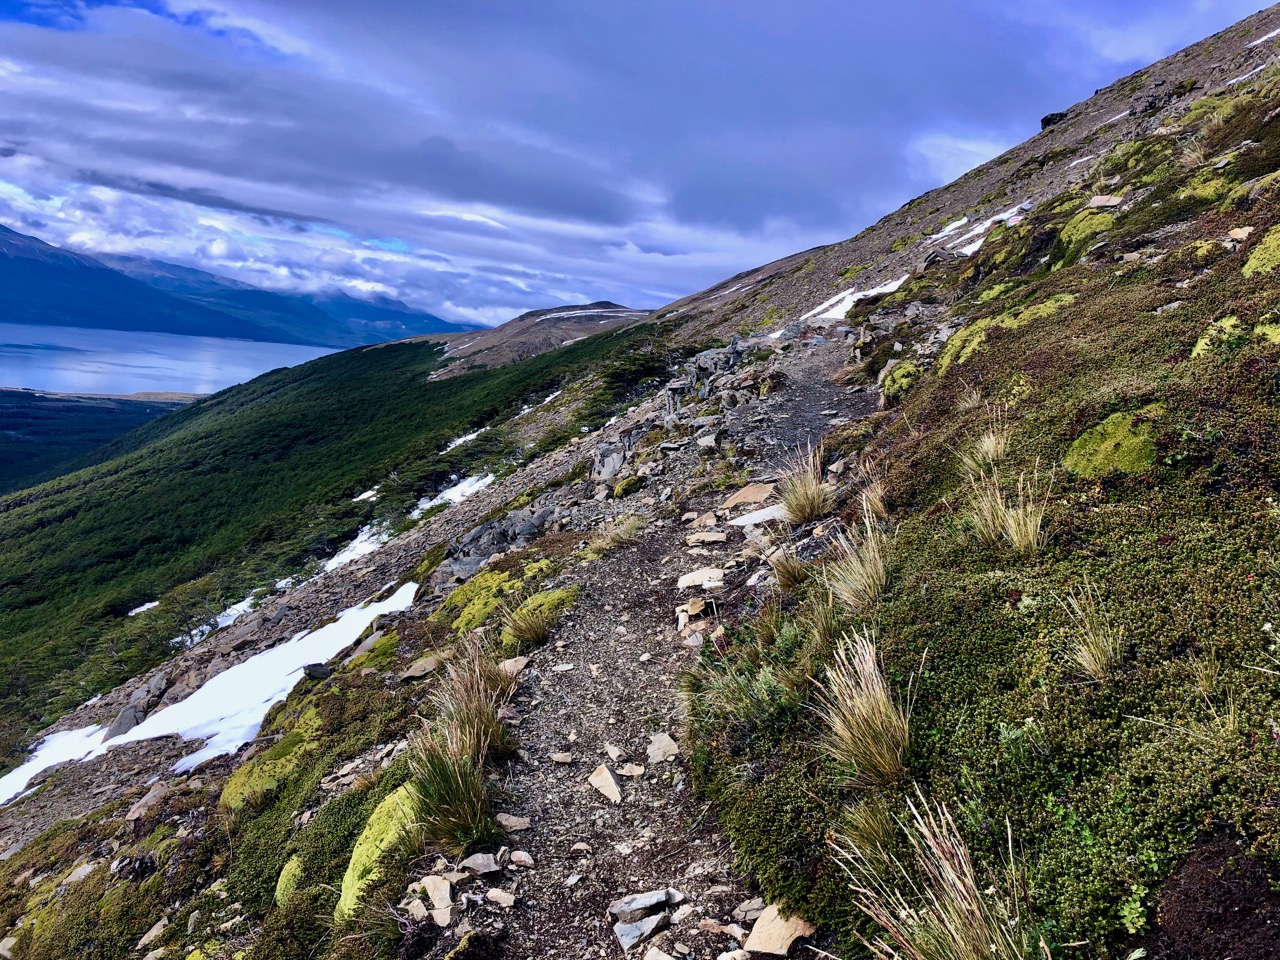
A difficult section is a long traverse along the side of a mountain.
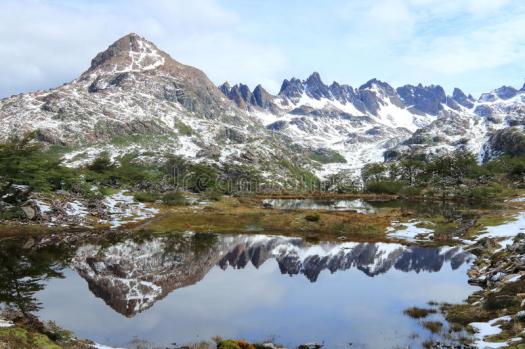
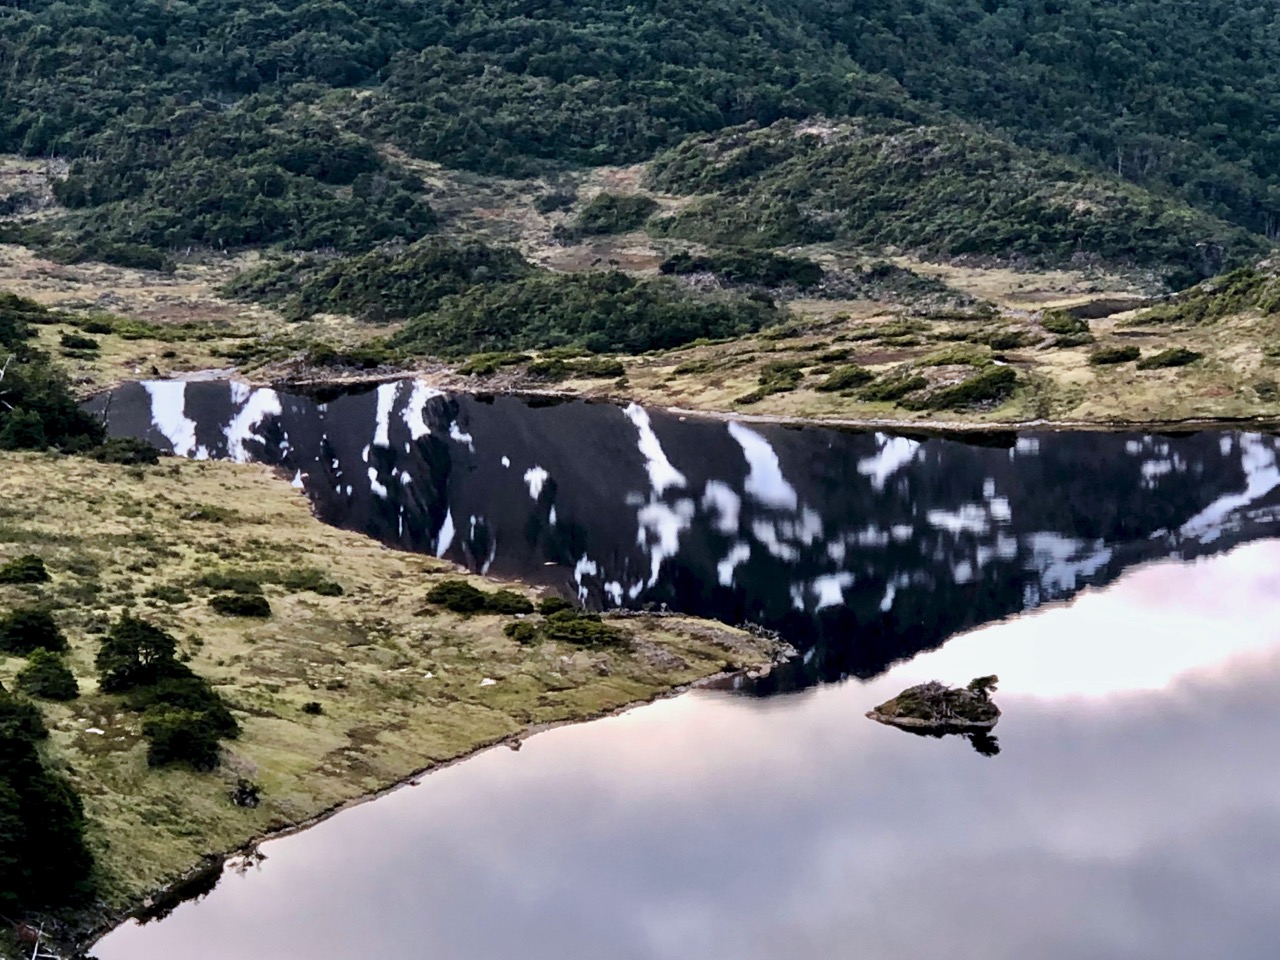
You pass a chain of pretty alpine lakes.
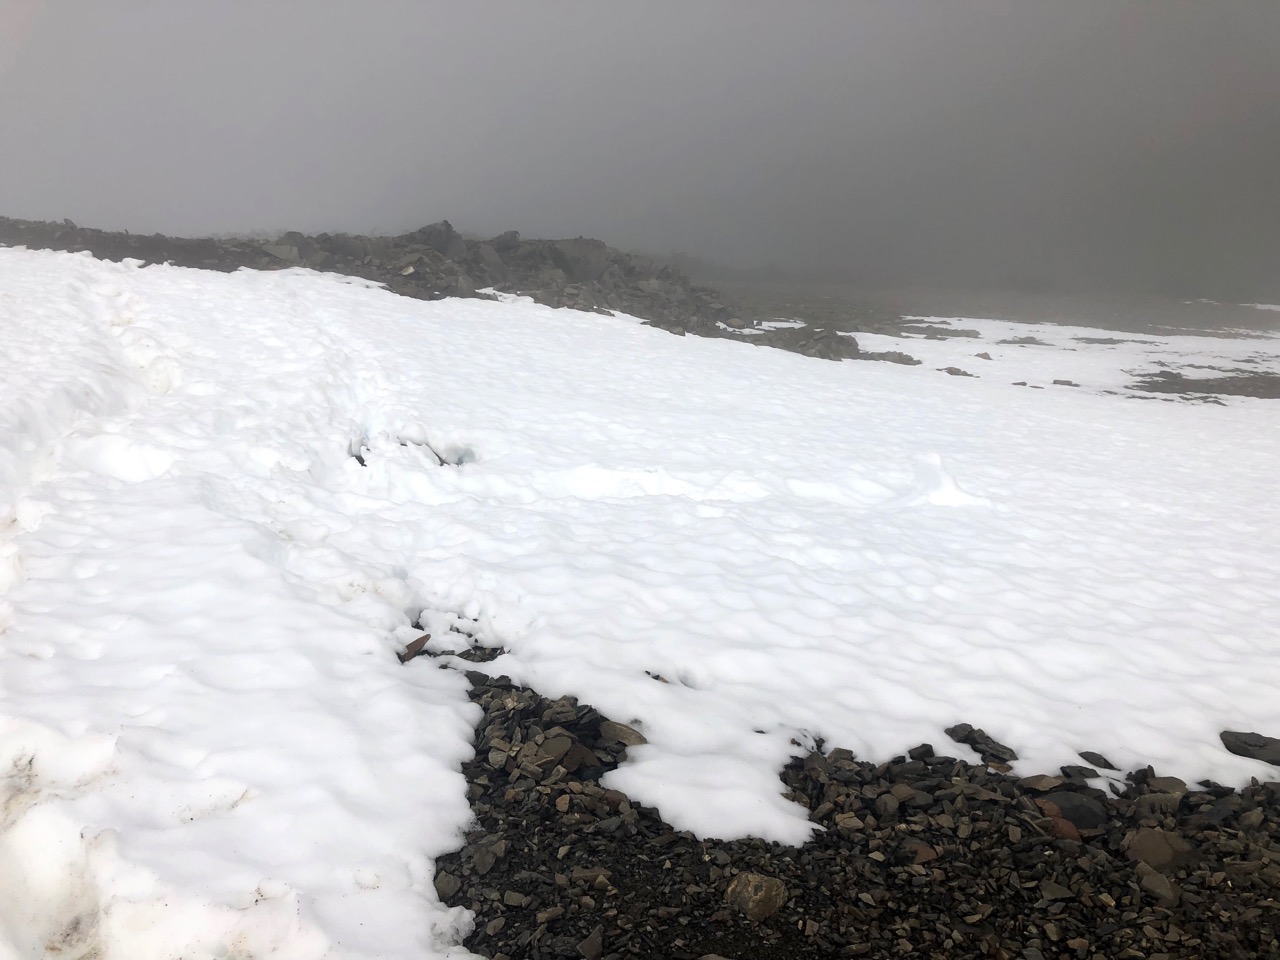
This is the kind of snow I faced on the first day. Easy — but with some exposure. If you slip it would be a long, painful fall.
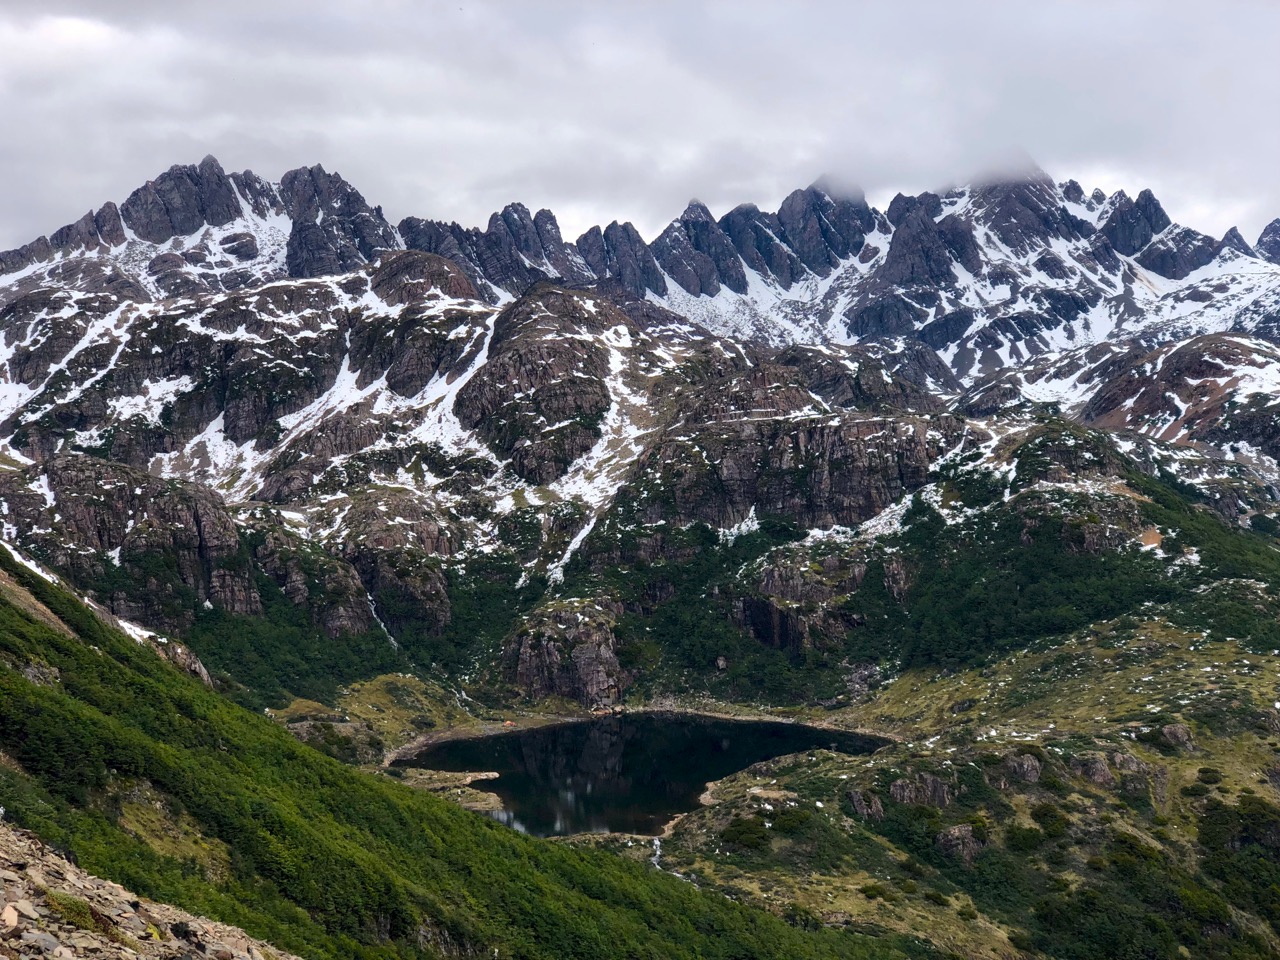
There’s my destination. Under the teeth of Navarino. It’s a steep scramble down.
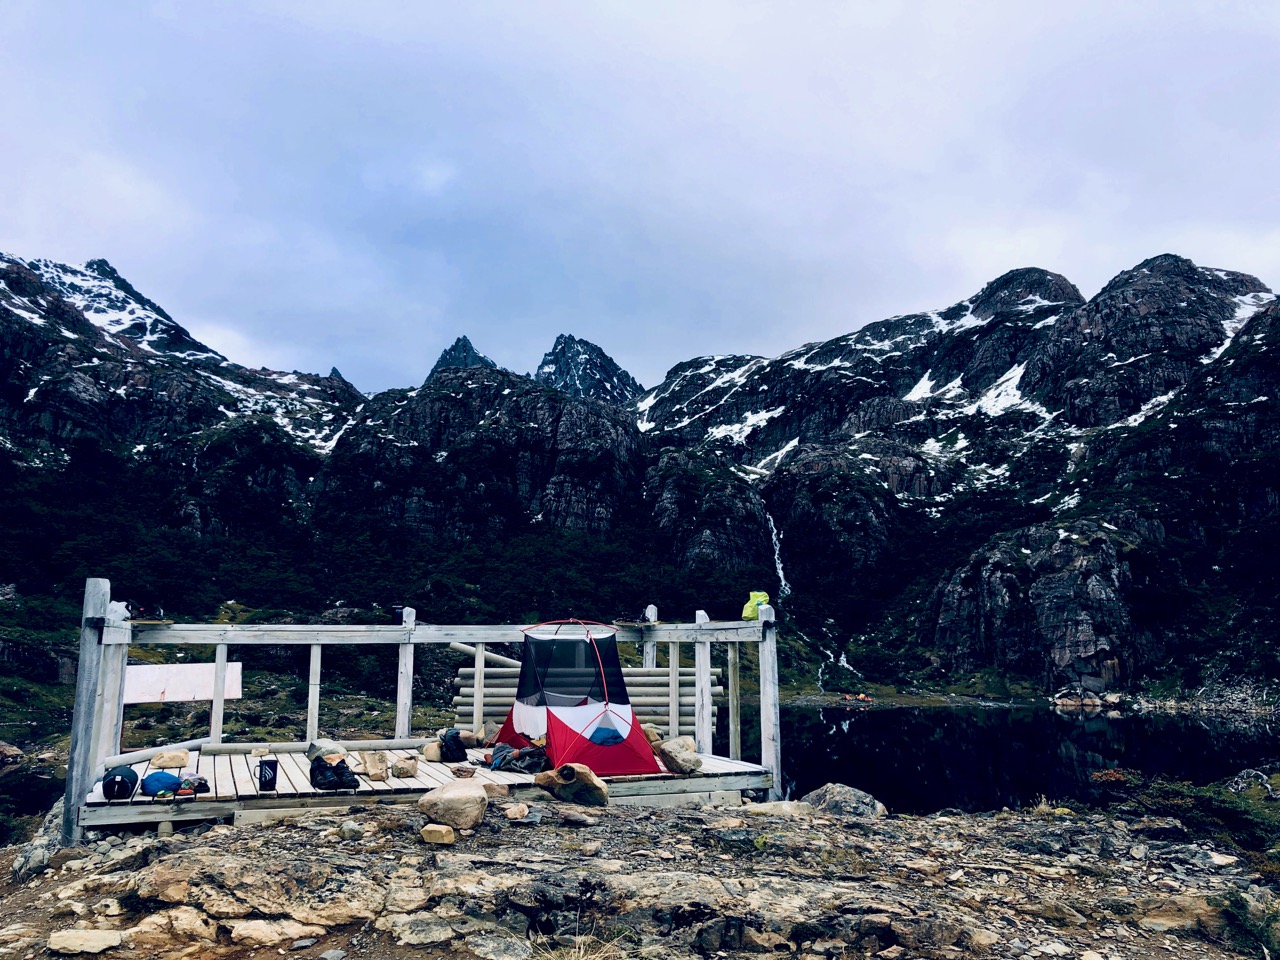
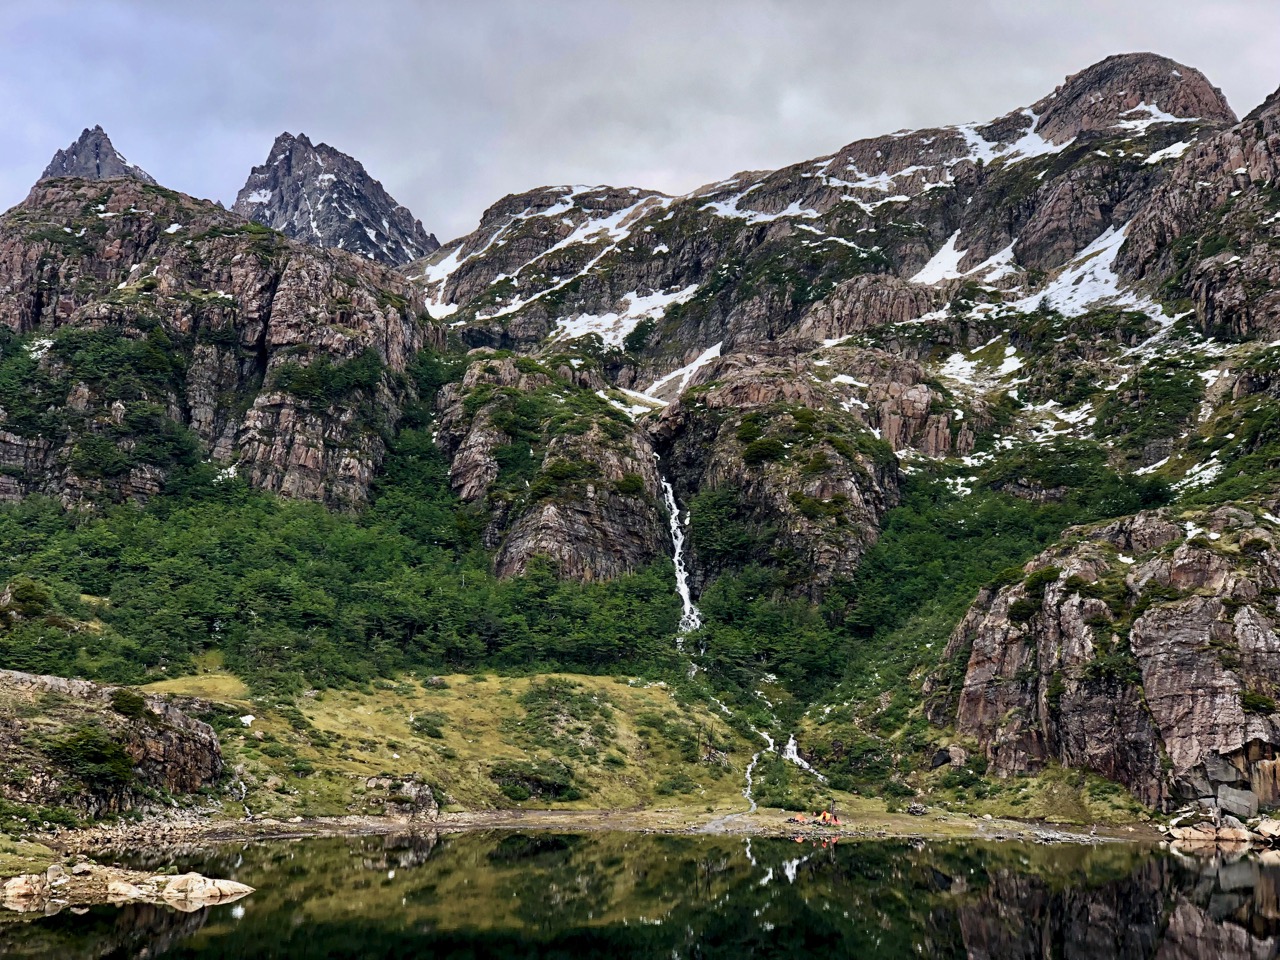
Laguna del Salto
I set up late in the day on the observation platform. Serious hikers sometimes day hike here and back. That would take at least 8 hours.
Most people tent over by the waterfall.
It was a gorgeous evening and night. I was optimistic for the weather next day.
Unfortunately clouds were getting denser when I awoke.
Here’s what I would face day 2 trying to get to Laguna Escondida. Lots of snow.
Potentially no vistas. Potentially a slog in the fog.
I also awoke with a bad stomach ache.
What to do? I had mixed feelings.
In the end I decided to hustle back to Puerto Williams and catch the 4pm ferry. It only runs twice a week in summer.
Back in town it looked to me like the highest peaks were clearing. My odds of getting through the circuit MIGHT have been 70% or more, I believe now.
Day 4 was my walkout back to El Chaltén. Everyone hikes counter-clockwise.
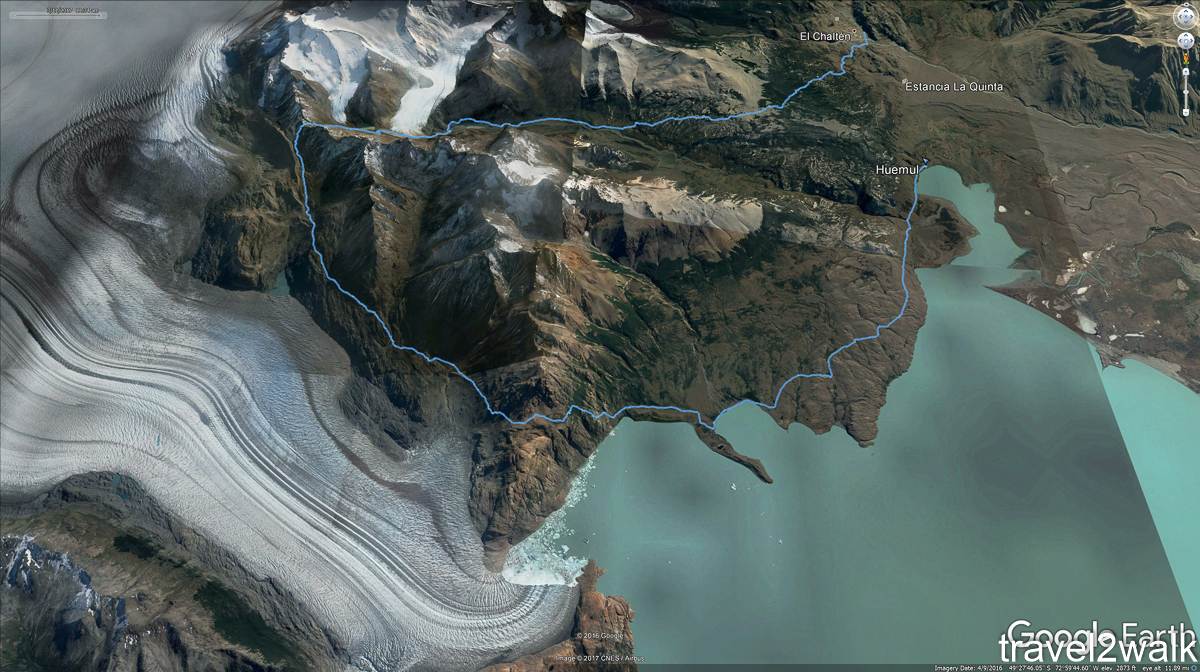
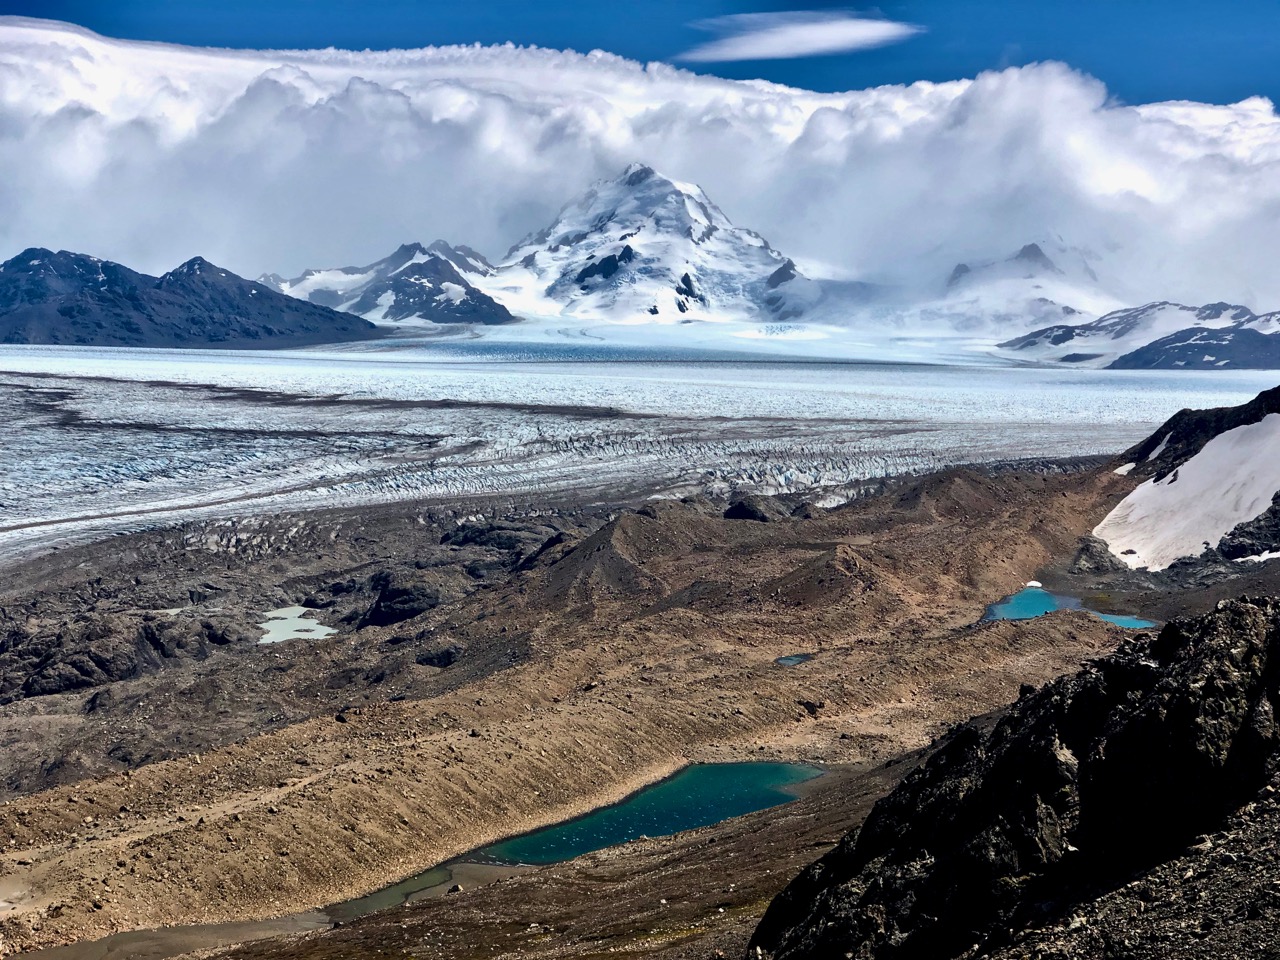
Here’s the whole circuit visiting the Southern Patagonian Ice Field.
Circuit map via Travel 2 Walk
Very atypical for me, I didn’t sleep well.
And it rained on and off through the night.
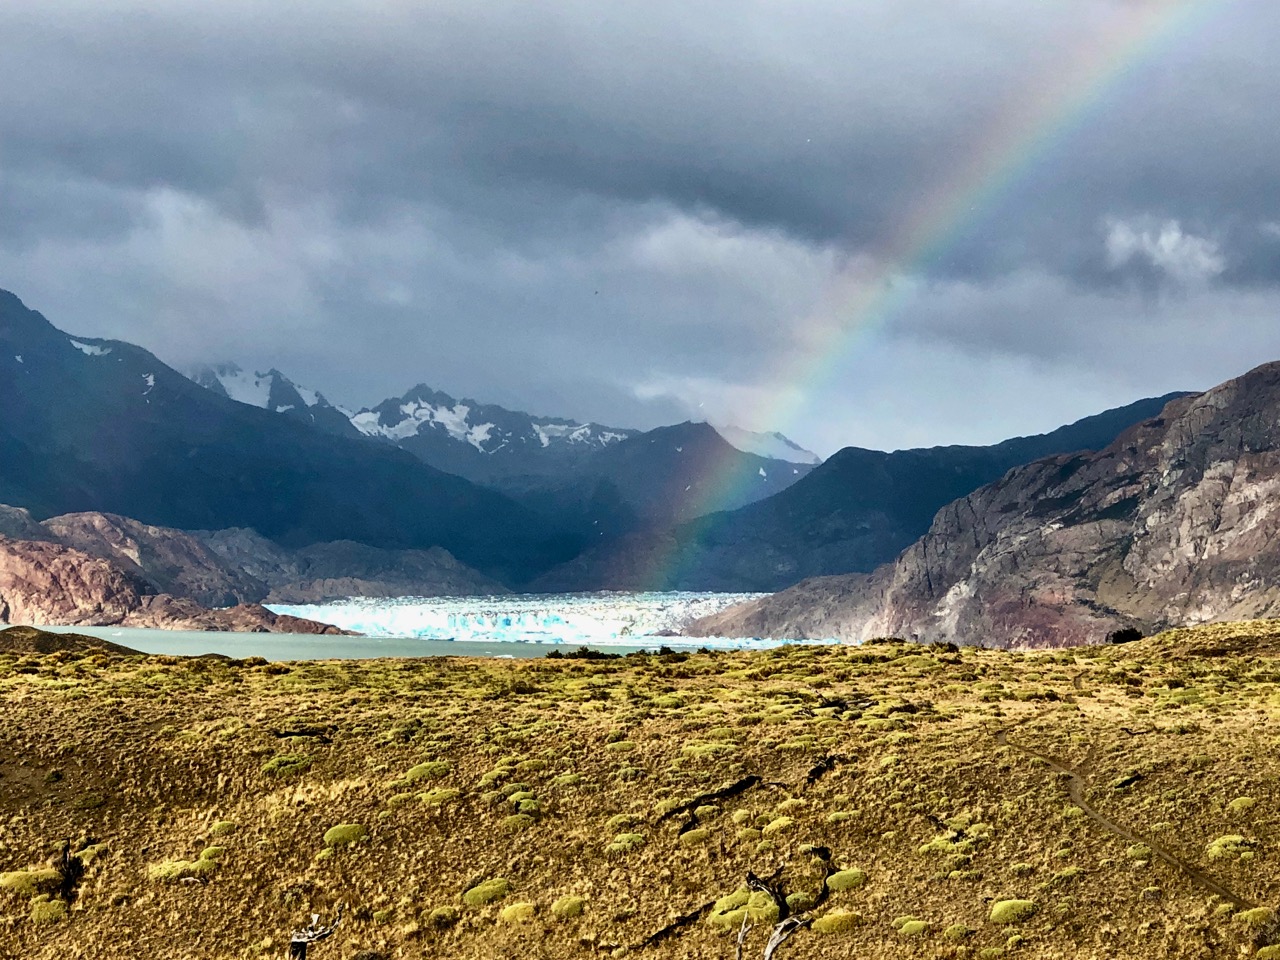
Happily the sun came out about the time I got out of the tent.
Despite my efforts of the previous day, I’d only saved about an hour by hiking past the designated campground. I could still see the glacier. And there was again a rainbow. 🙂
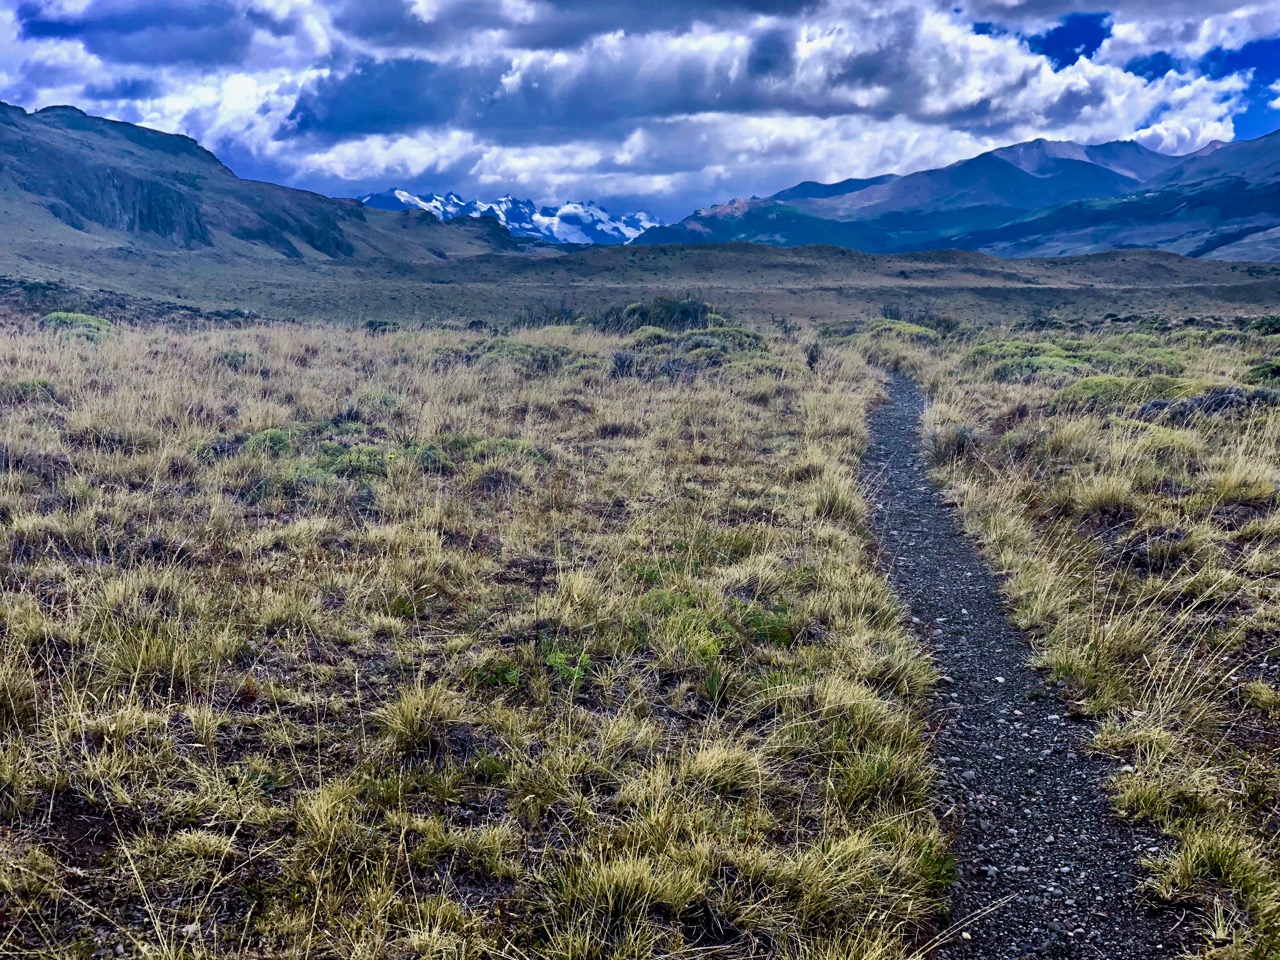
The trail continued in parallel to the Lake Videma shoreline thorough dry grasslands.
Though still beautiful, this was the least impressive day, I’d say. Not much variety.
The highlight was rabbits more rabbits. And one non-rabbit. He may have been a Patagonian mara.
When I caught a glimpse I assumed it was a plains viscacha, but it was more likely a mara.
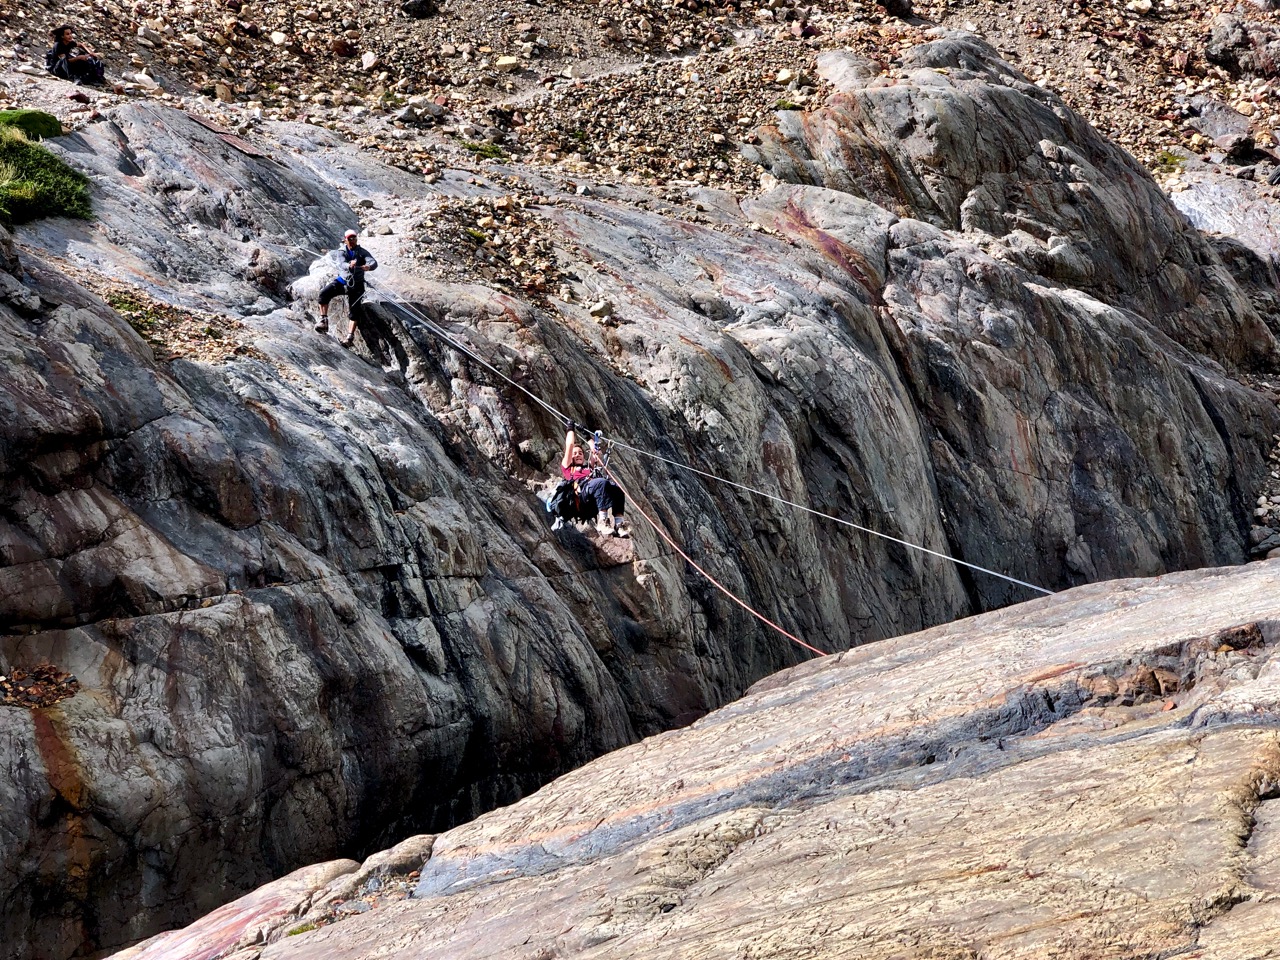
I was looking forward to the second Tyrolean Traverse.
Arriving alone, I found the pulley was at this, the far side of the river. 😕 There SHOULD have been a slim rope attached to pull it over to the start on the other side.
What to do?
I knew I could walk to the lake and (probably) wade the river mouth. But figuring a way across was more fun.
My alternatives:
1. Attach my pulley carabiner directly to the cable (rather than the pulley)
2. Use ONLY my steel carabiner (normally a redundant safety system). This is what the guide did once on our first Traverse.
I went with #1 thinking it was the safer option. That worked. But I had to pull myself every inch with friction from the carabiner resisting. It was exhausting.
Here are some guys wading.
Walk Patagonia
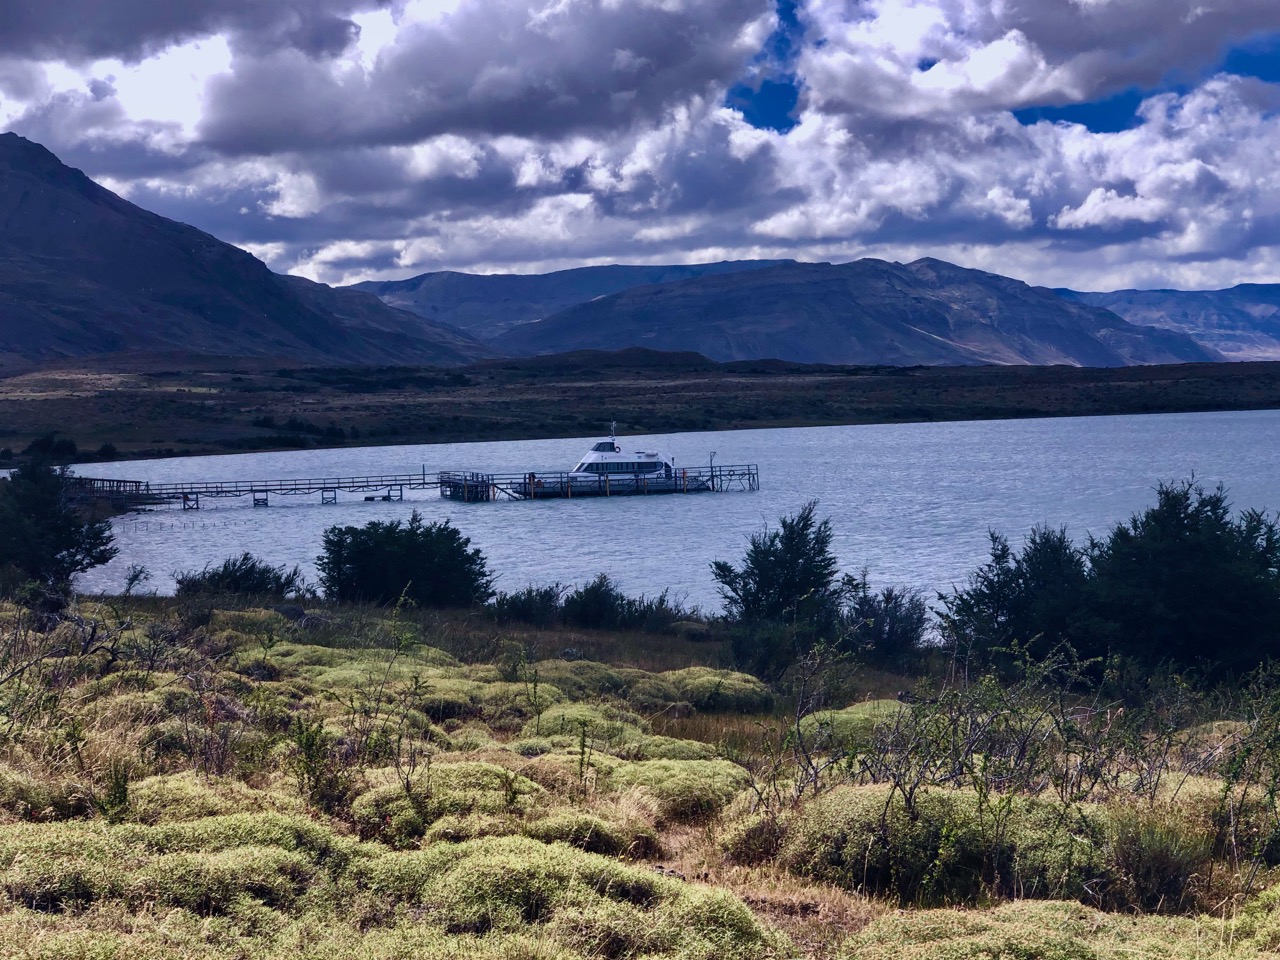
From there it was easy to find my way down to the Bahía Del Túnel dock.
This boat takes tourists to the Videma glacier.
I saw no people. No vehicles. So stayed on the ‘trail’ headed towards a ranch.
Actually, my hiking map showed the trail ending at the dock. Some probably walk the (much longer) road to town.
I could find no trail. Instead I worked my way through more grasslands in the direction of El Chaltén.
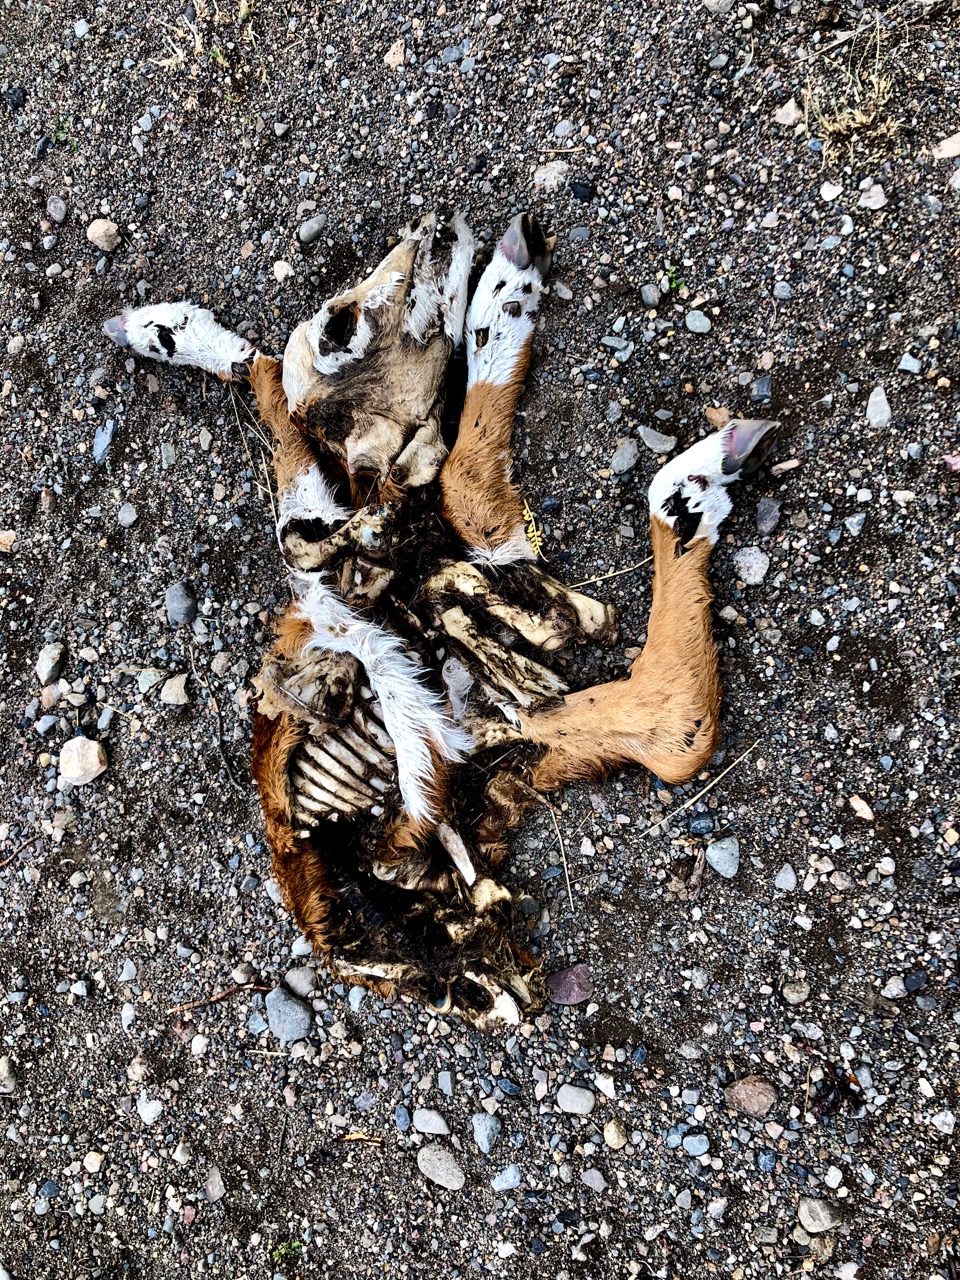
Ready to be done, I stumbled on to this calf. It was the second dead cow I’d seen.
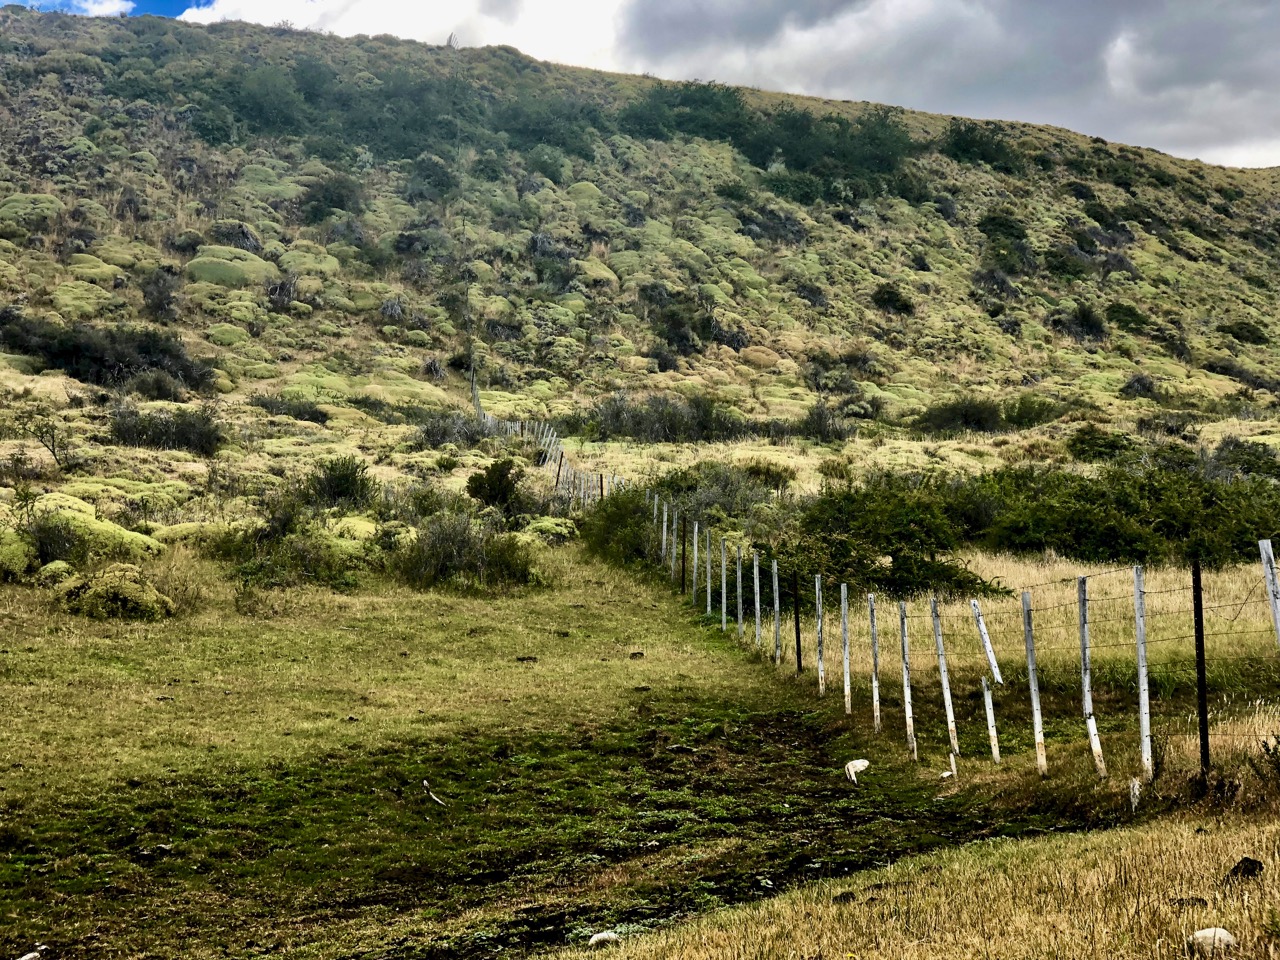
When I hit the first fence, being a polite Canadian, I tried to walk around the ranch.
That was a mistake. In the end I hopped about 5 fences and opened one gate. It wasted at least another hour. I should have hopped the first fence and headed directly to the highway.
It was with satisfaction and relief that my final fence hop delivered me to this roadside lookout.
From there was an easy 3km to town on pavement.
I dropped my registration form at the Parks information office. They seemed happy to see I had survived.
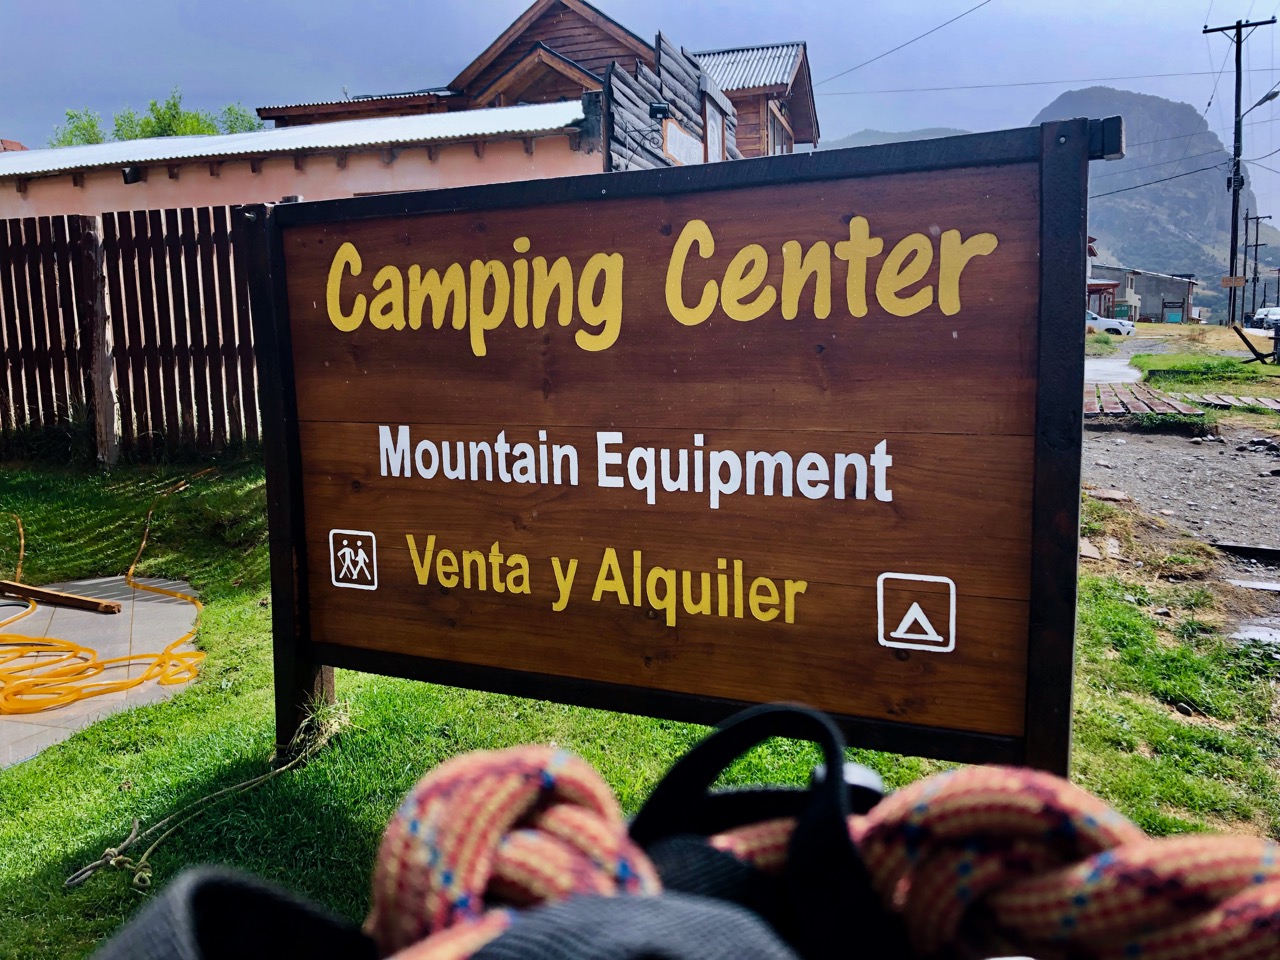
With a big smile on my face I returned my rental Tyrolean Traverse harness to ‘Camping Center’ in town. That was the only gear rental store I could find that doesn’t close for siesta.
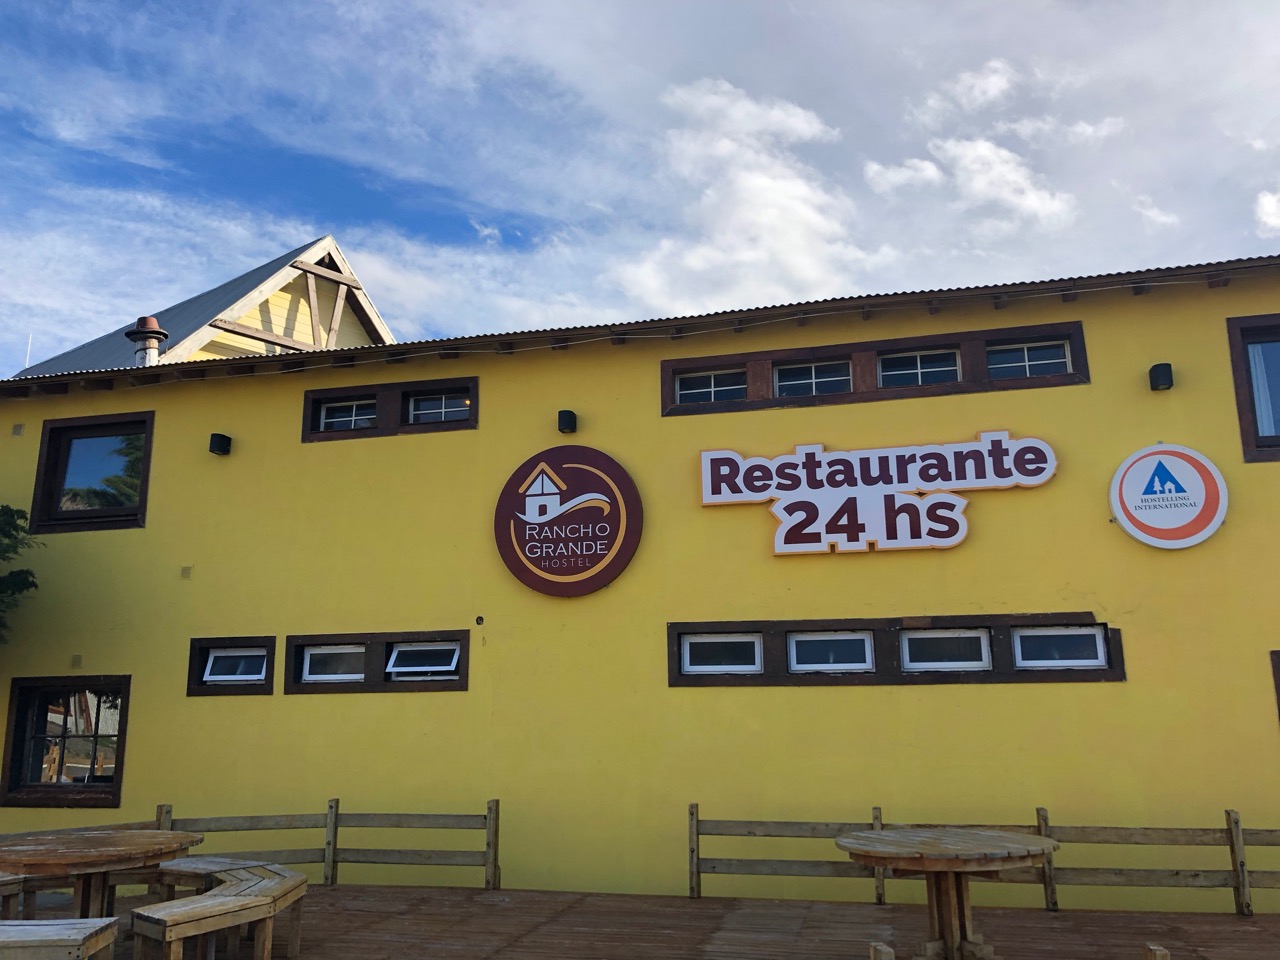
It was back to the hostel for a long, hot, long shower. 🙂
YES my hostel had a 24 hour a day restaurant! It’s popular with the late night partying backpacker crowd.
All I’d consumed this day was coffee. At 6:30pm I splurged on a huge meal. Breaded chicken a lo pobre.
The Huemul Route out of Fitz Roy, Argentina is superb. Some of the best vistas of my life. One of the very best hikes in the world.
____
If you are worried at all about the Traverses … and navigation, consider signing on with a guided group. Chalten Mountain Guides, for example.
I was up early and continued along the river another hour or so to reach the campground before everyone else had left.
On inspection, I was happy NOT to have slept at my assigned campground. The toilet is hideous, for one thing.
In excellent visibility I could make out the trail heading up and over the pass centre right. In poor visibility it could be difficult to find.
Old and wiserish, I followed a group to the first Tyrolean Traverse.
Then watched carefully as the guide showed his 3 clients how to do it. I hadn’t done one of these in decades.
It actually screwed up for this girl. The small rope used to pull back the pulley got tangled. The guide earned his money — and impressed me — by sliding over on the cable using his emergency back-up carabiner … and got her untangled.
It went fairly well for me, though I was very tired by the end.
We wore our packs, but it would probably be smarter to tow the backpack like this guy.
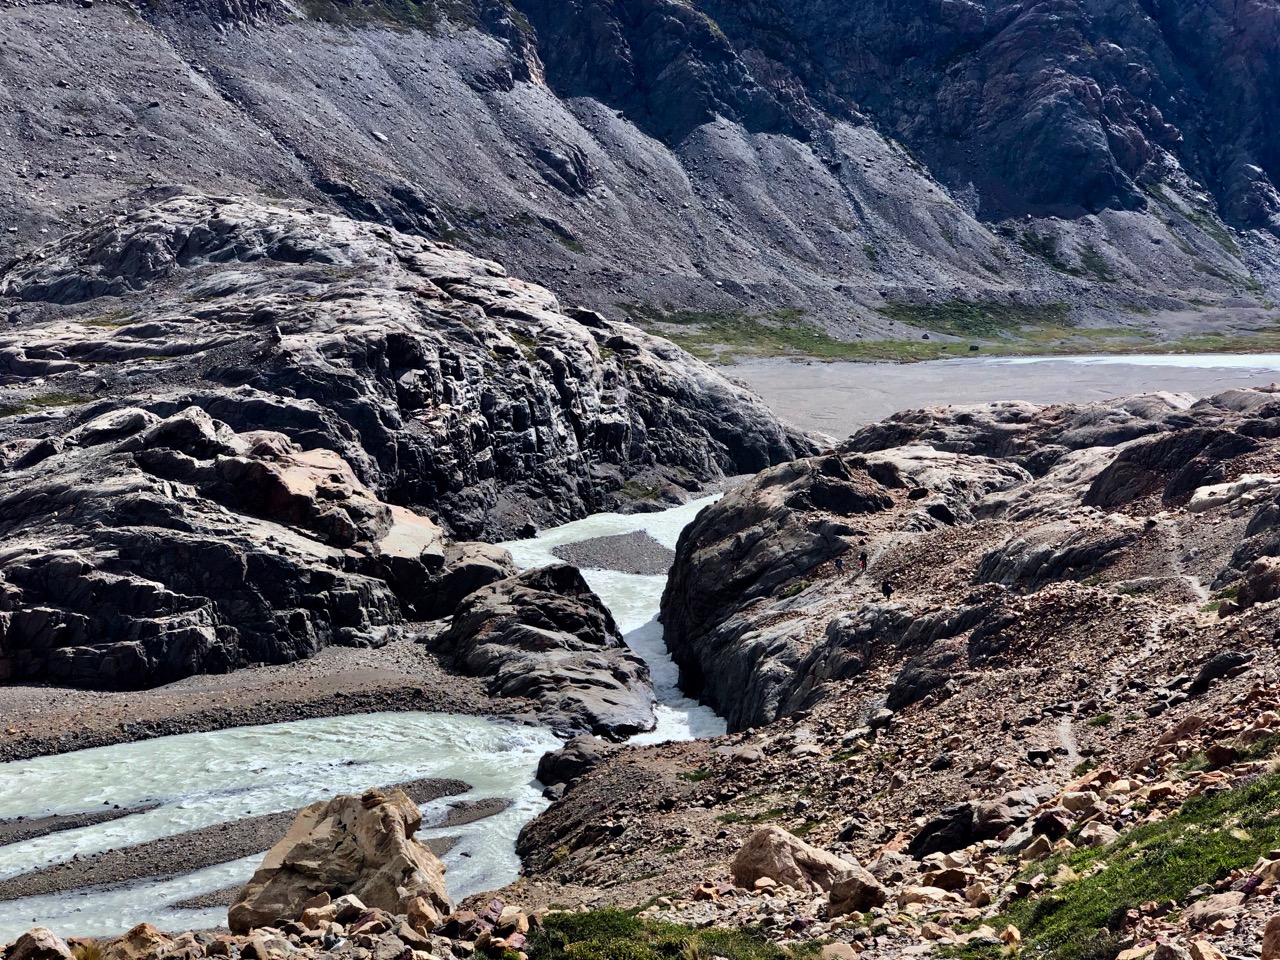
Here’s the gap crossed from above.
Actually, you can often wade the river instead. AND it looked to me that you could go around the lake to the left avoiding the crossing completely.
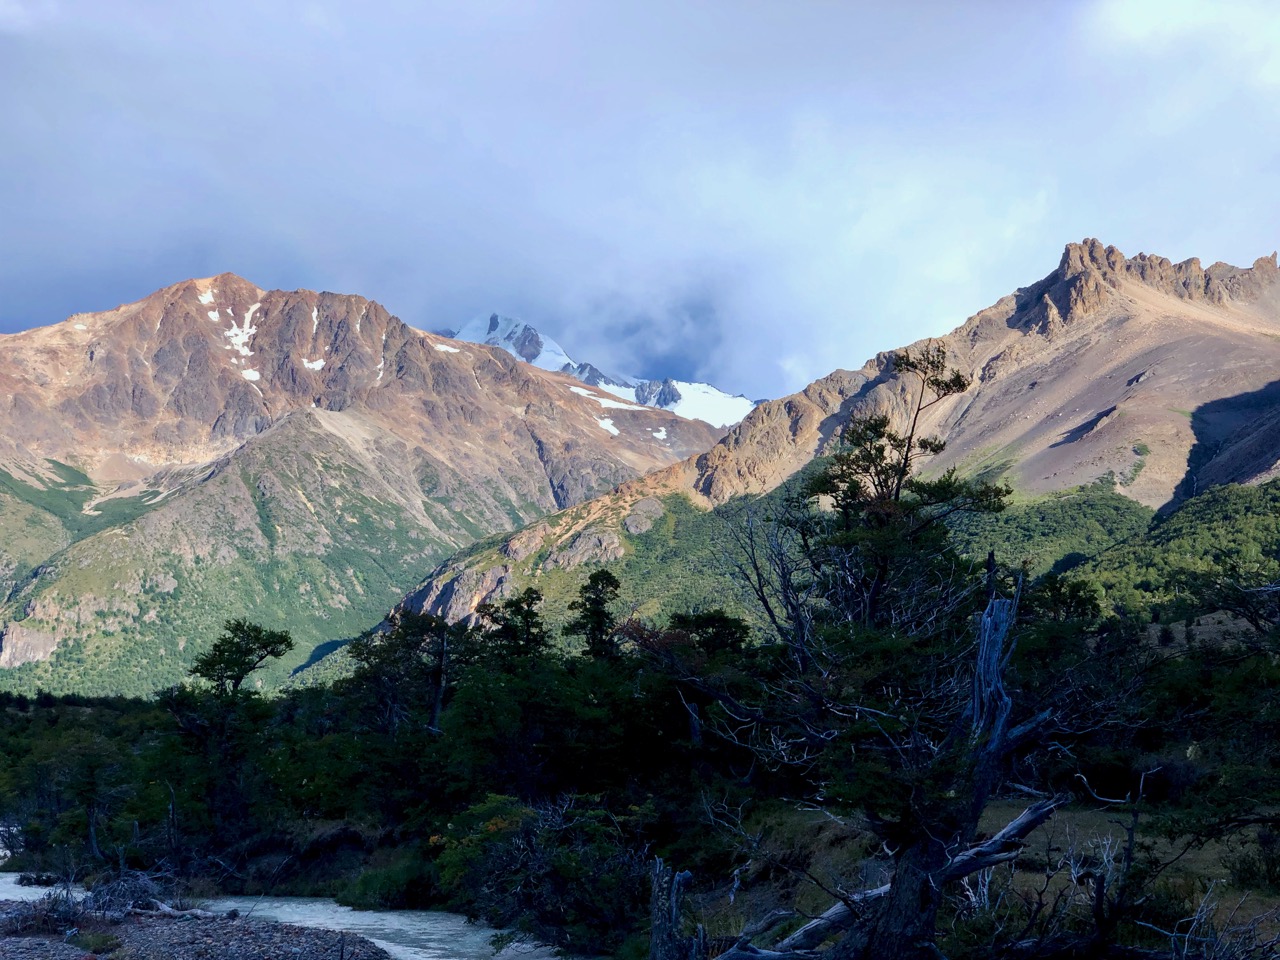
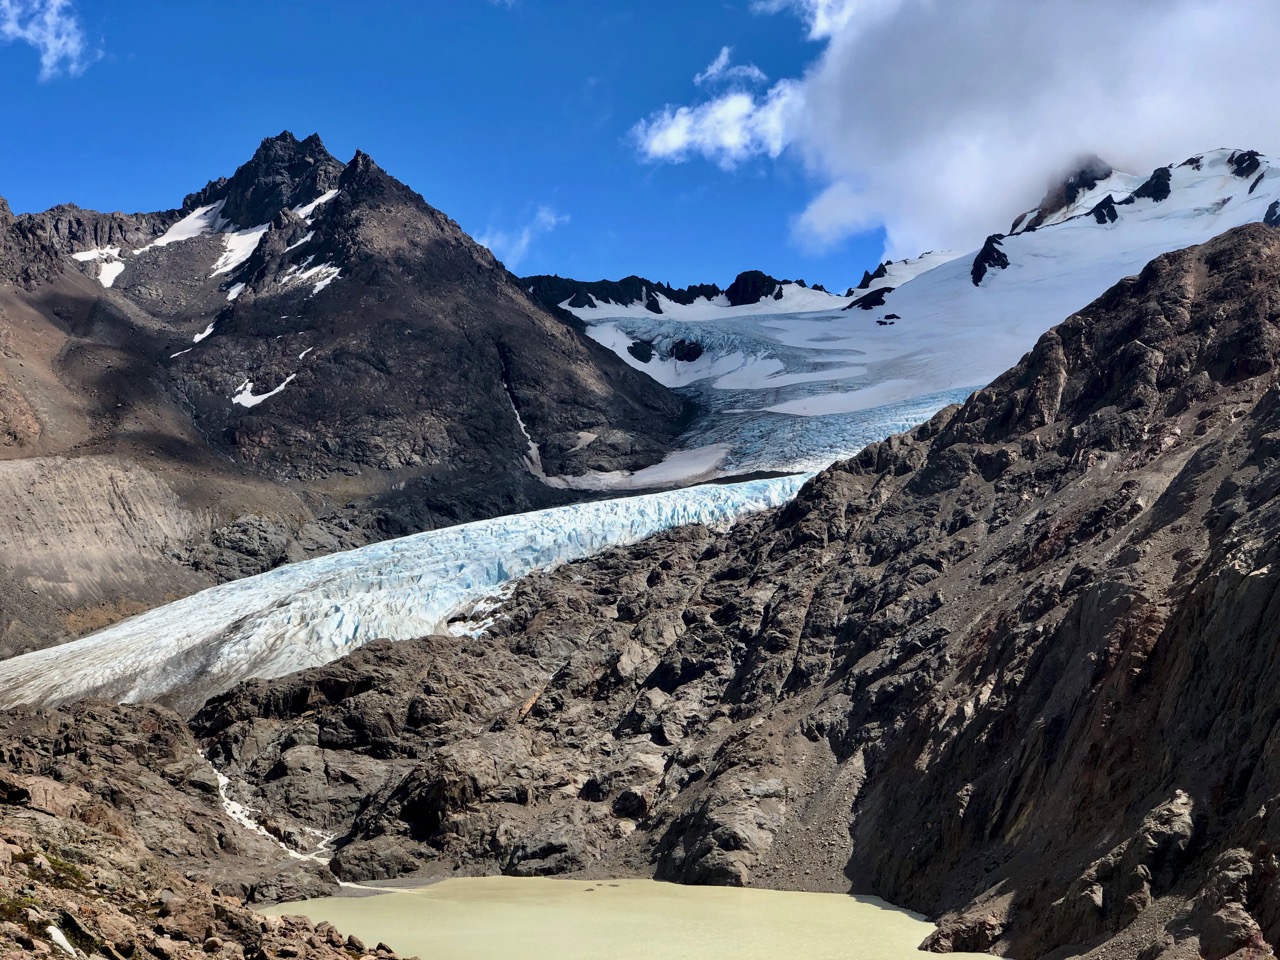
From here the views were spectacular. This was easily my favourite day.
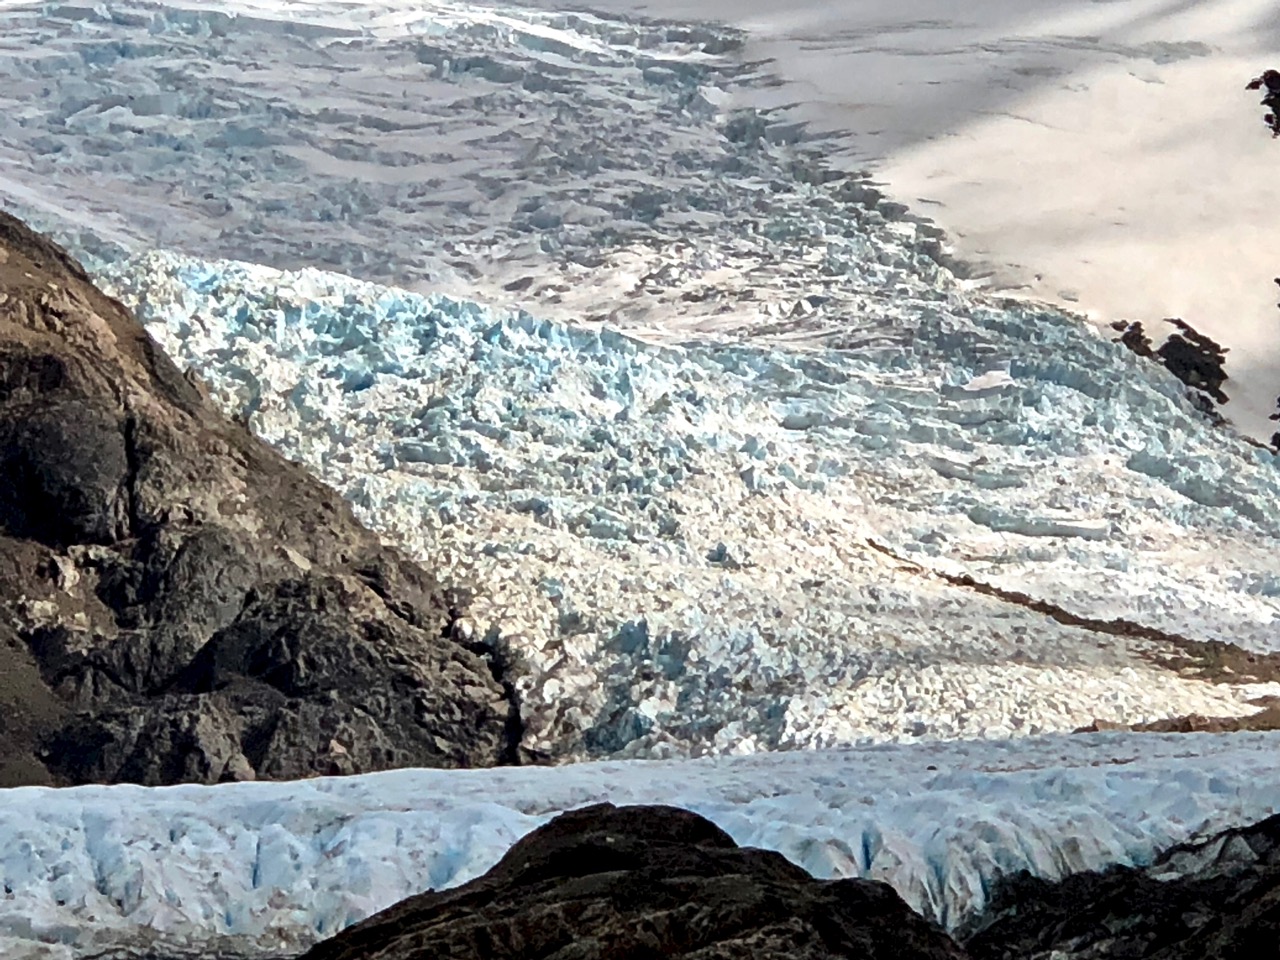
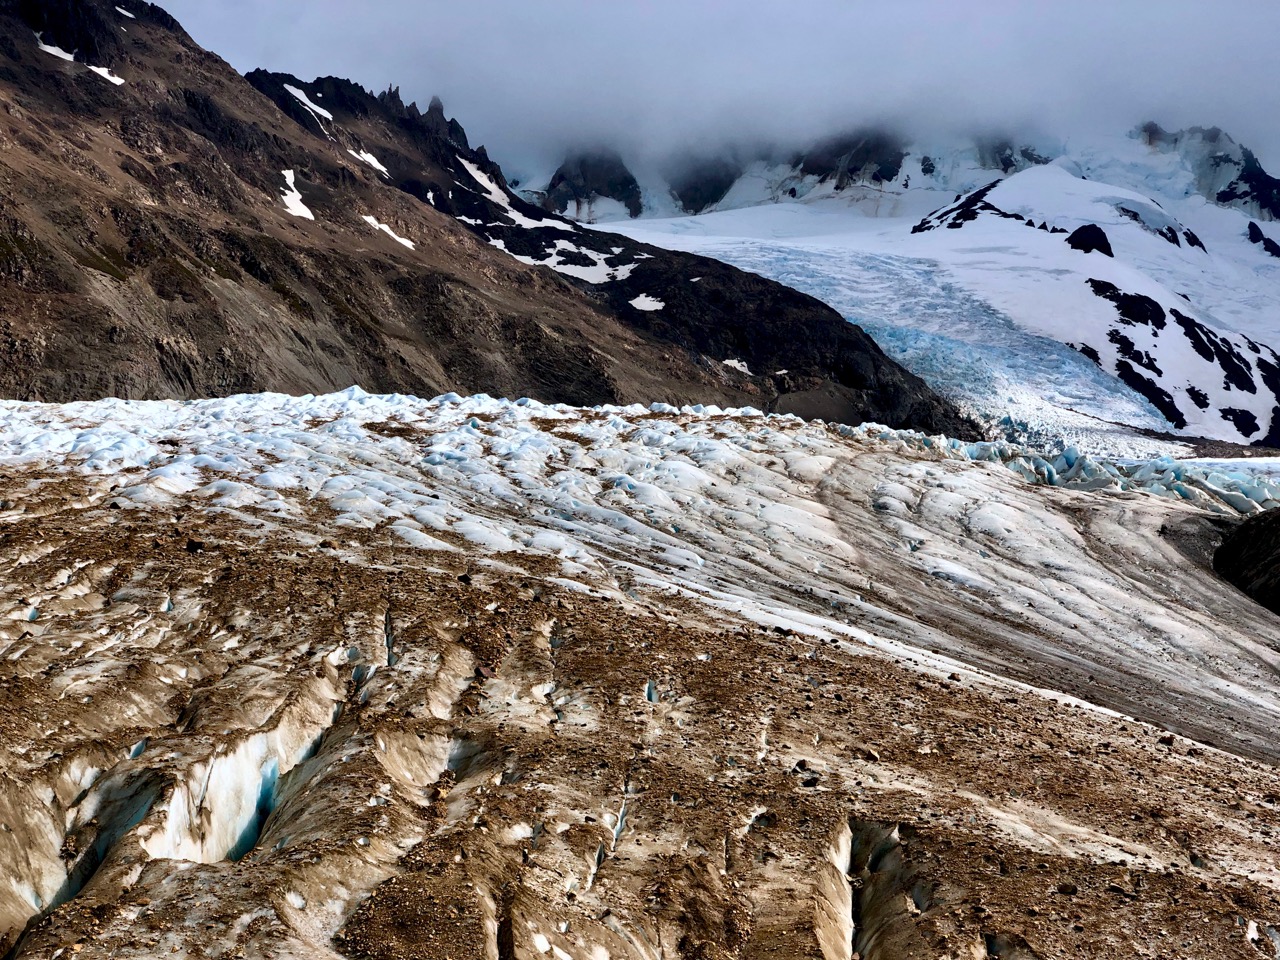
I stayed close to Glacier Río Túnel because it was so cool.
In Patagonia people pay a lot of money to walk glaciers. And have a shot of whisky.
My map showed this campground at the end of Glaciar Río Túnel Inferior. Sounds like it is no longer legal to tent here, however.
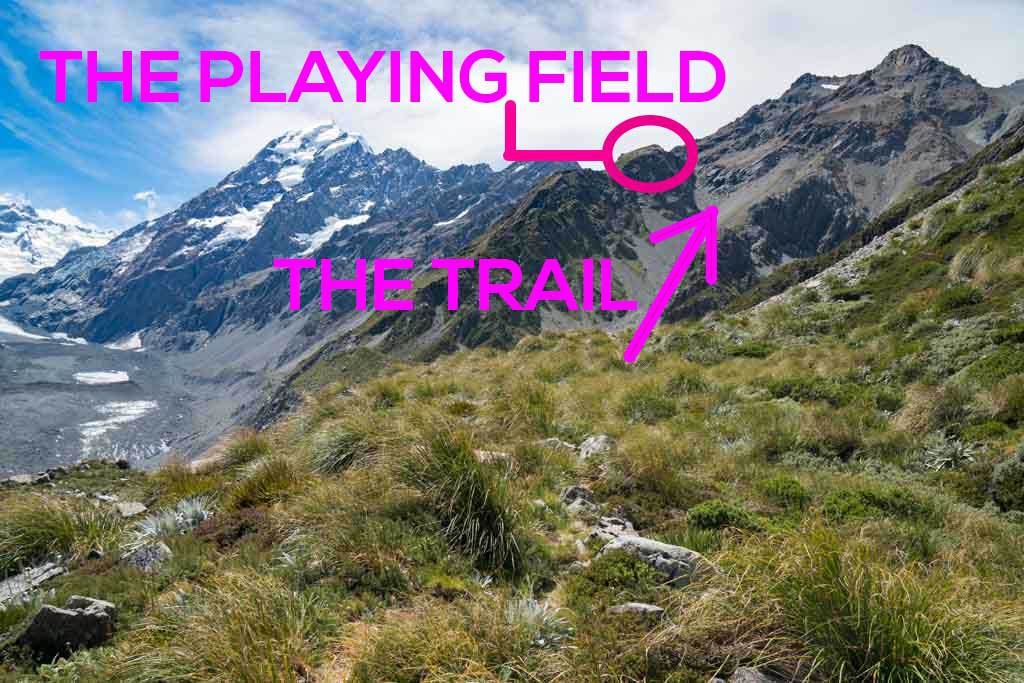
The guide had taken his clients up high immediately after the Tyrolean. Eventually I was forced to scramble up the loose moraine scree to catch up.
It was work. But with great views.
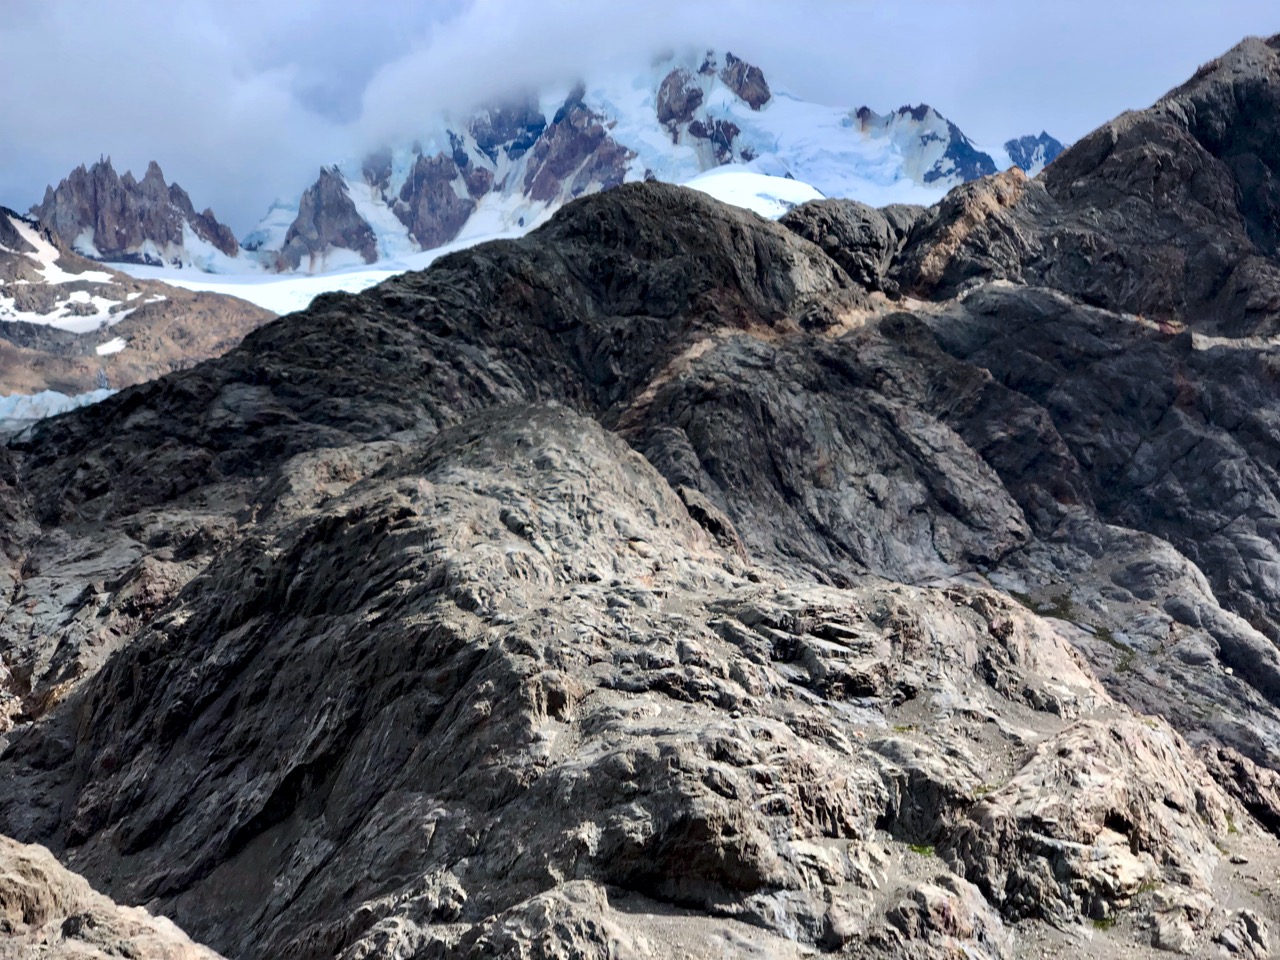
From here in good weather it looked an easy up-and-over.
Not so. It seemed to take forever to reach Windy Pass (Paso de Viento).
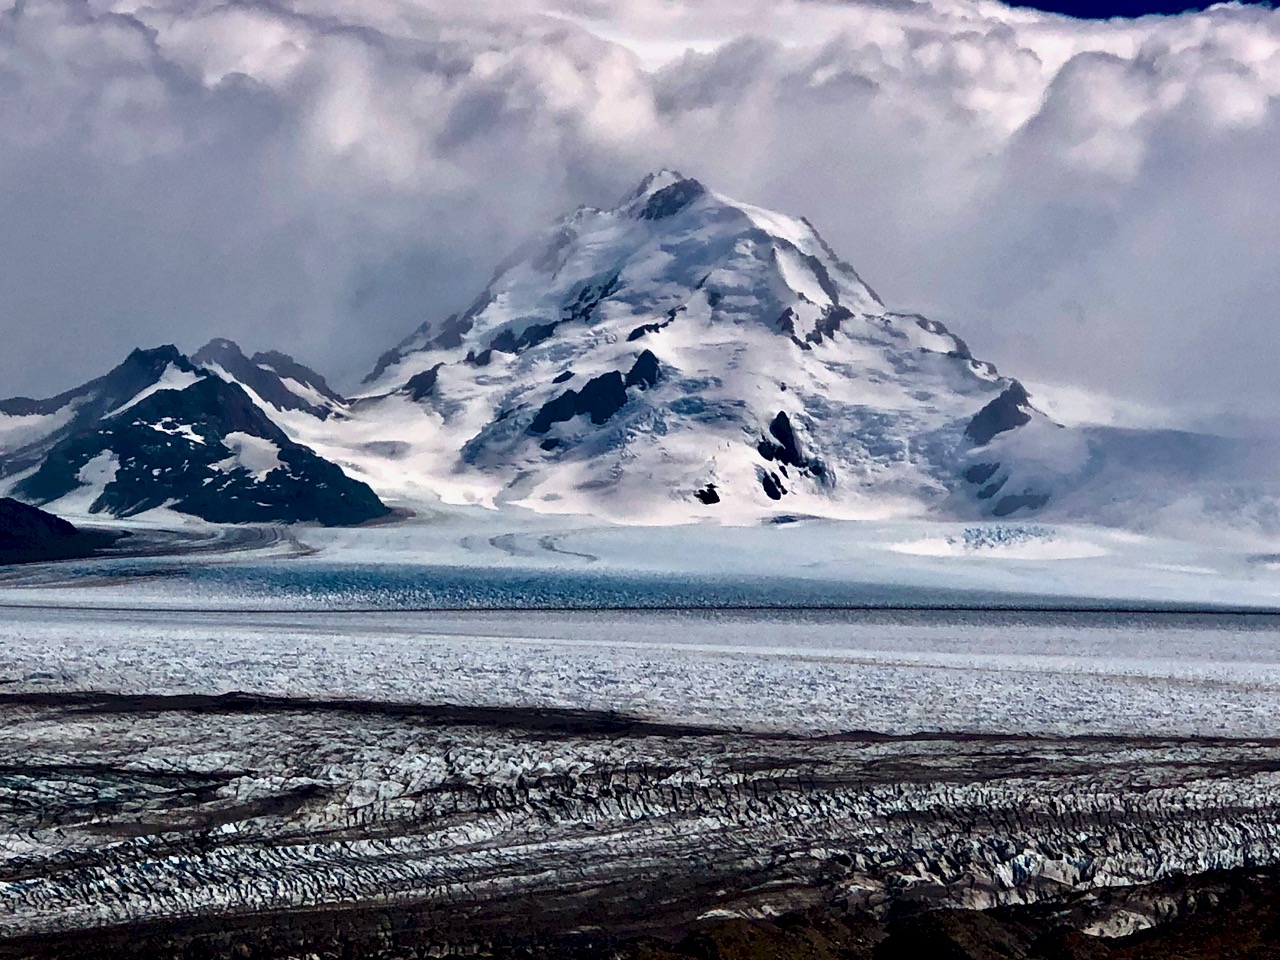
But the astonishing first vista on to the Southern Patagonian Ice Field was the highlight of the entire hike.
Though a bit windy, I stayed quite a while at the top. I tried to recall any hiking vista that impressed me more. Anywhere.
Travel 2 Walk compares this with the Paso John Gardner looking on to Glacier Grey in Paine. I concur that Windy Pass is even more impressive.
From the pass it’s a long but comparatively easy descent down to the moraine wall. There’s no real trail, but you can’t get lost.
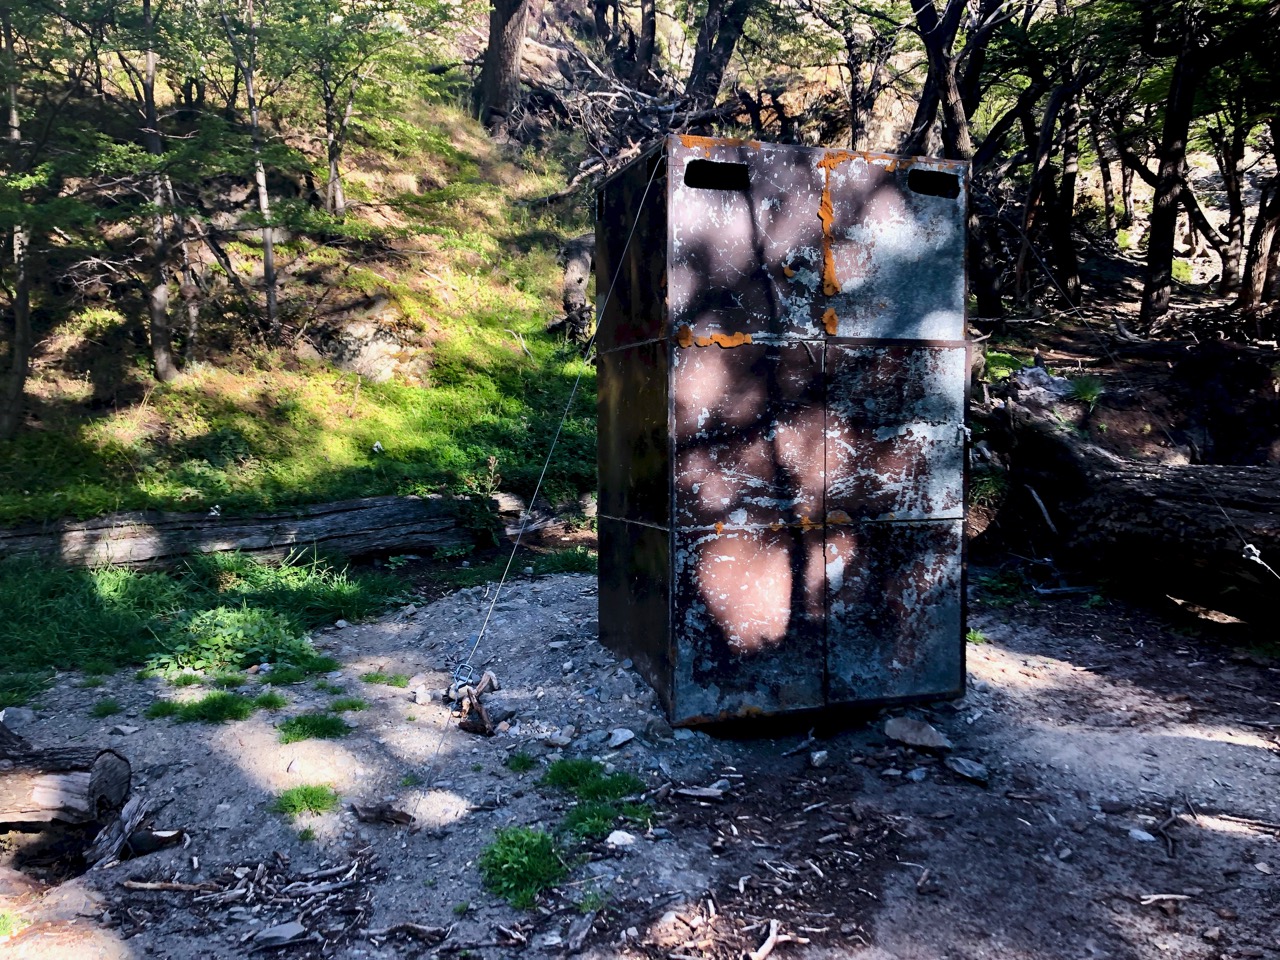
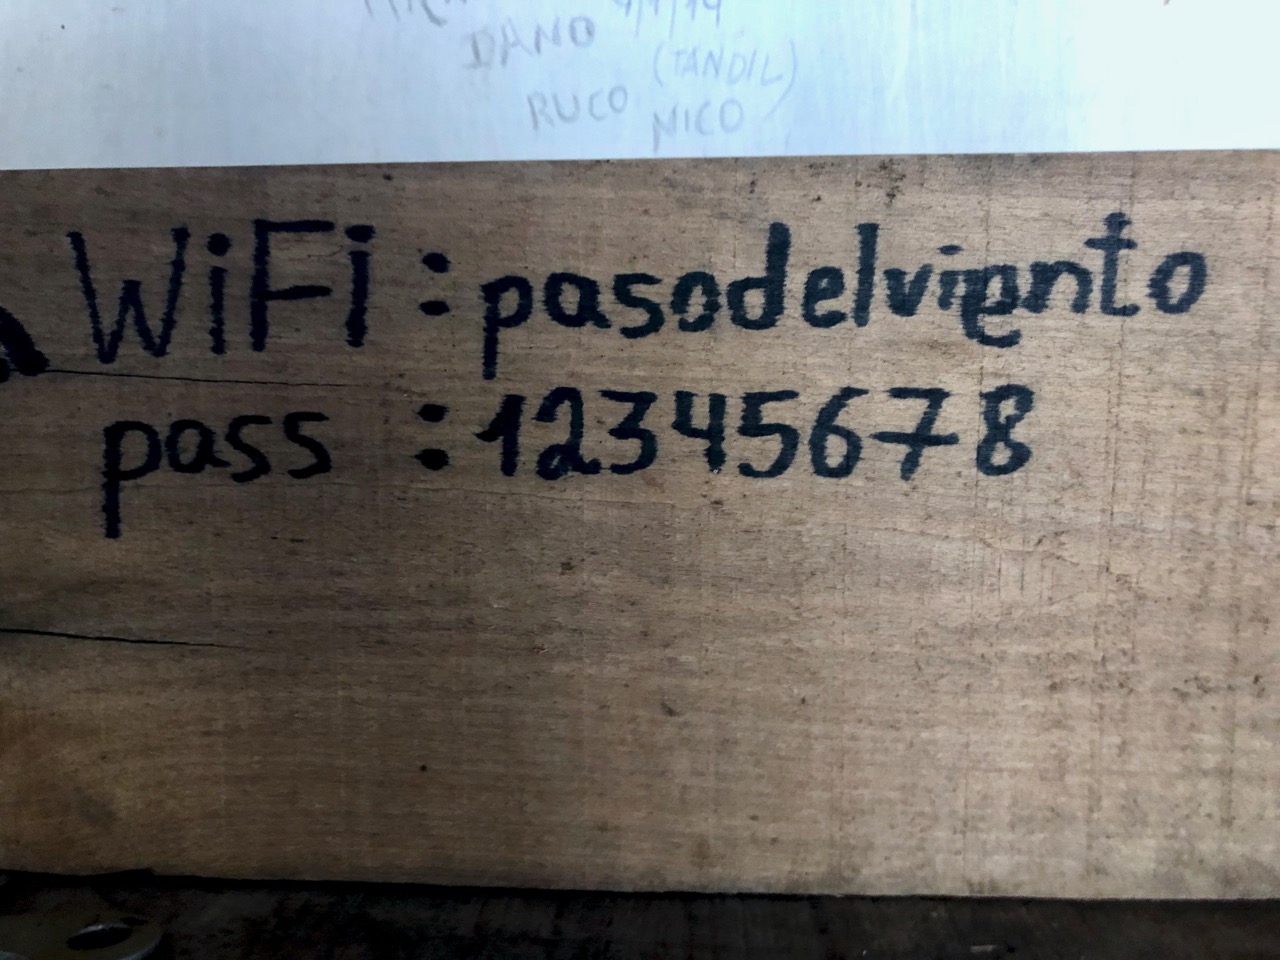
I decided to stay at the assigned bleak Paso del Viento Refuge and Campground as I wasn’t sure I could find better protection from the wind anywhere else.
The building is mainly used for cooking / eating. You’d only sleep inside in terrible weather. But it does seem to have wifi. 😀
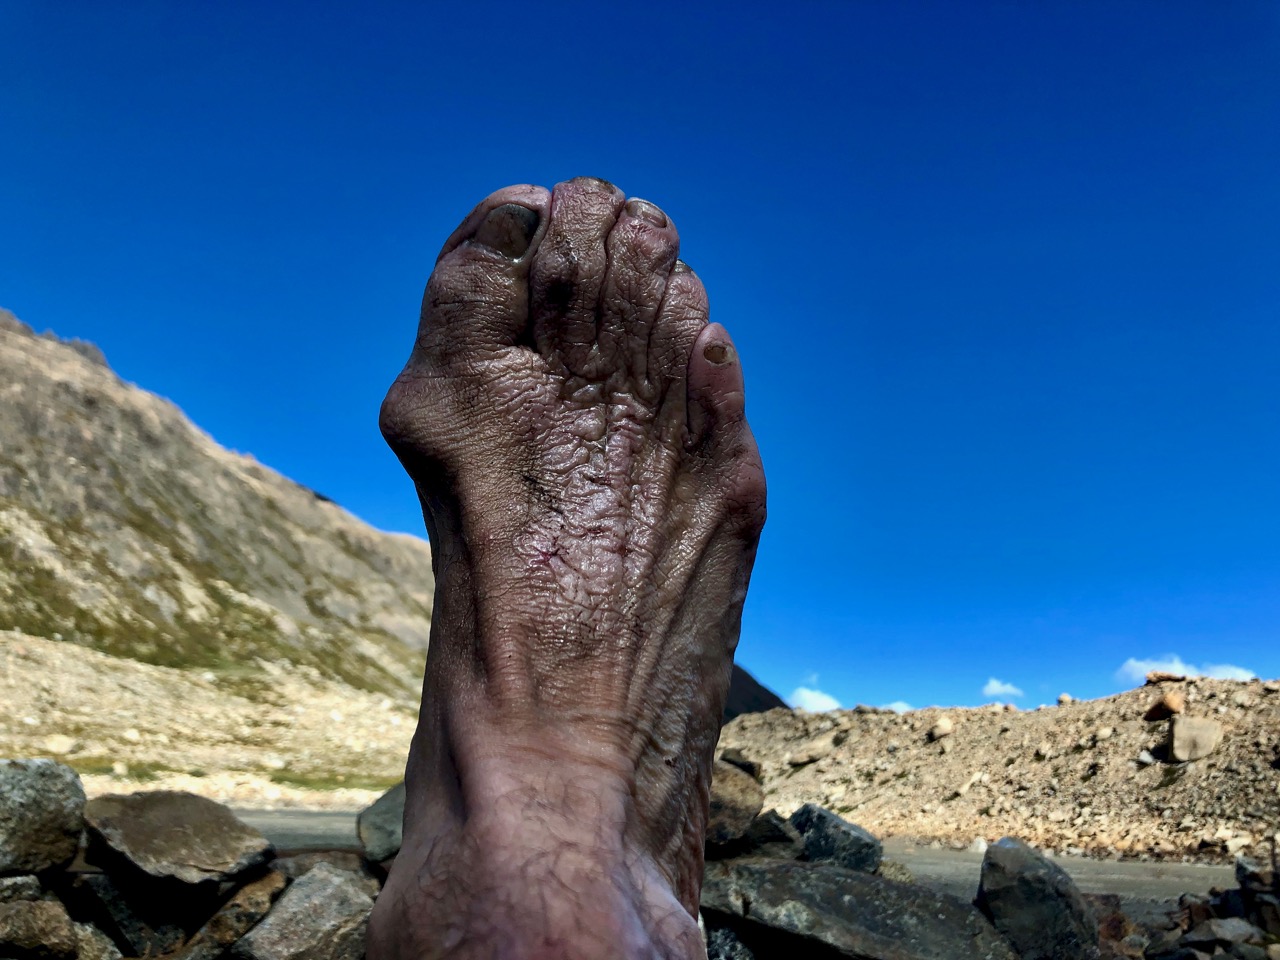
My biggest problem hiking over the years have been my feet.
Yet despite appearances, they are almost zero problem for me now. I’ve got them figured out. I wear the over-sized very wide shoes (for the bunions). Apply petroleum jelly each morning. And wear neoprene booties instead of socks on wet trails like these.
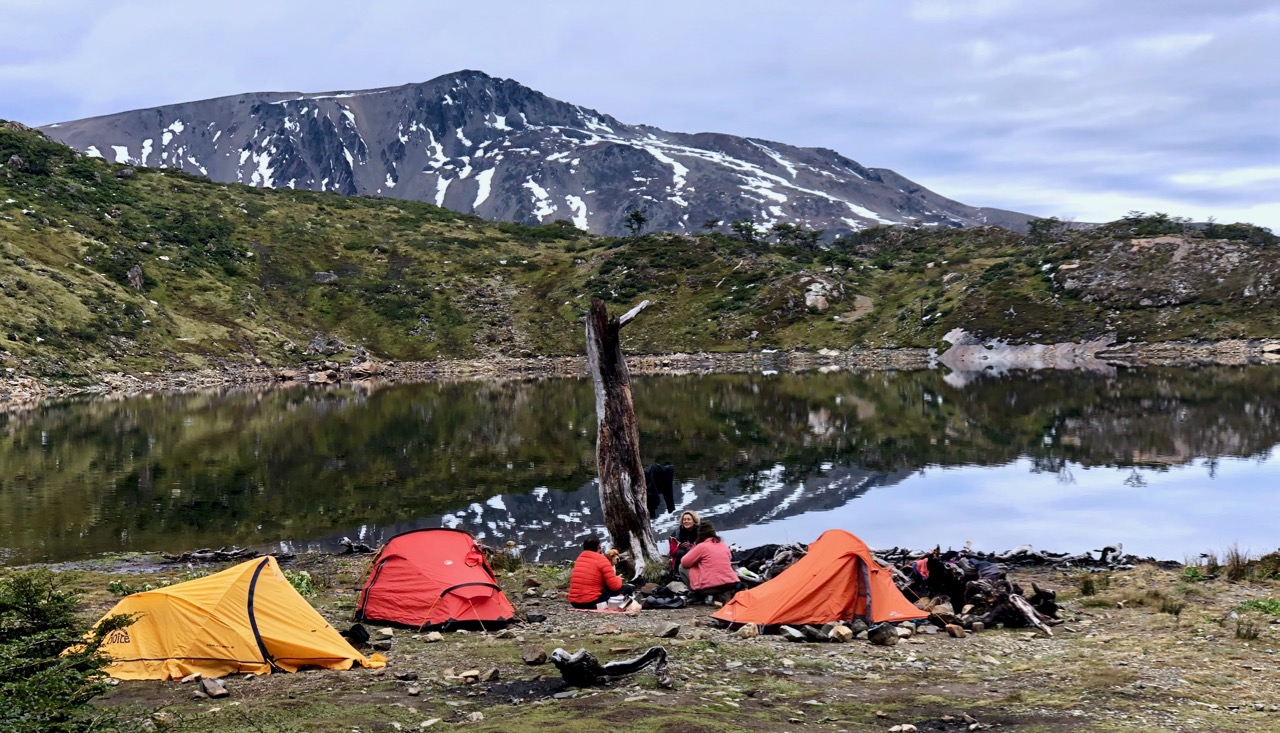
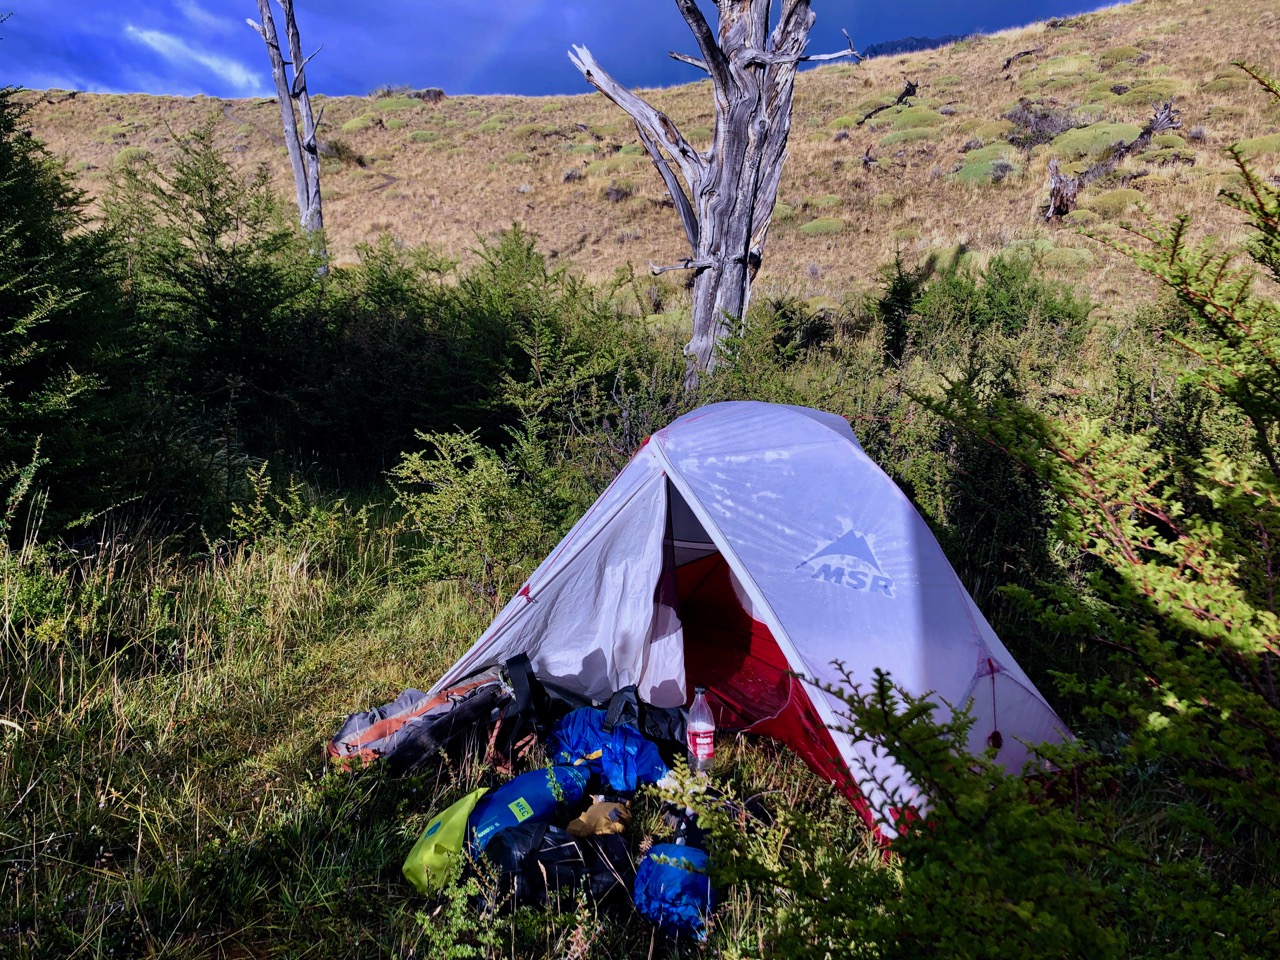
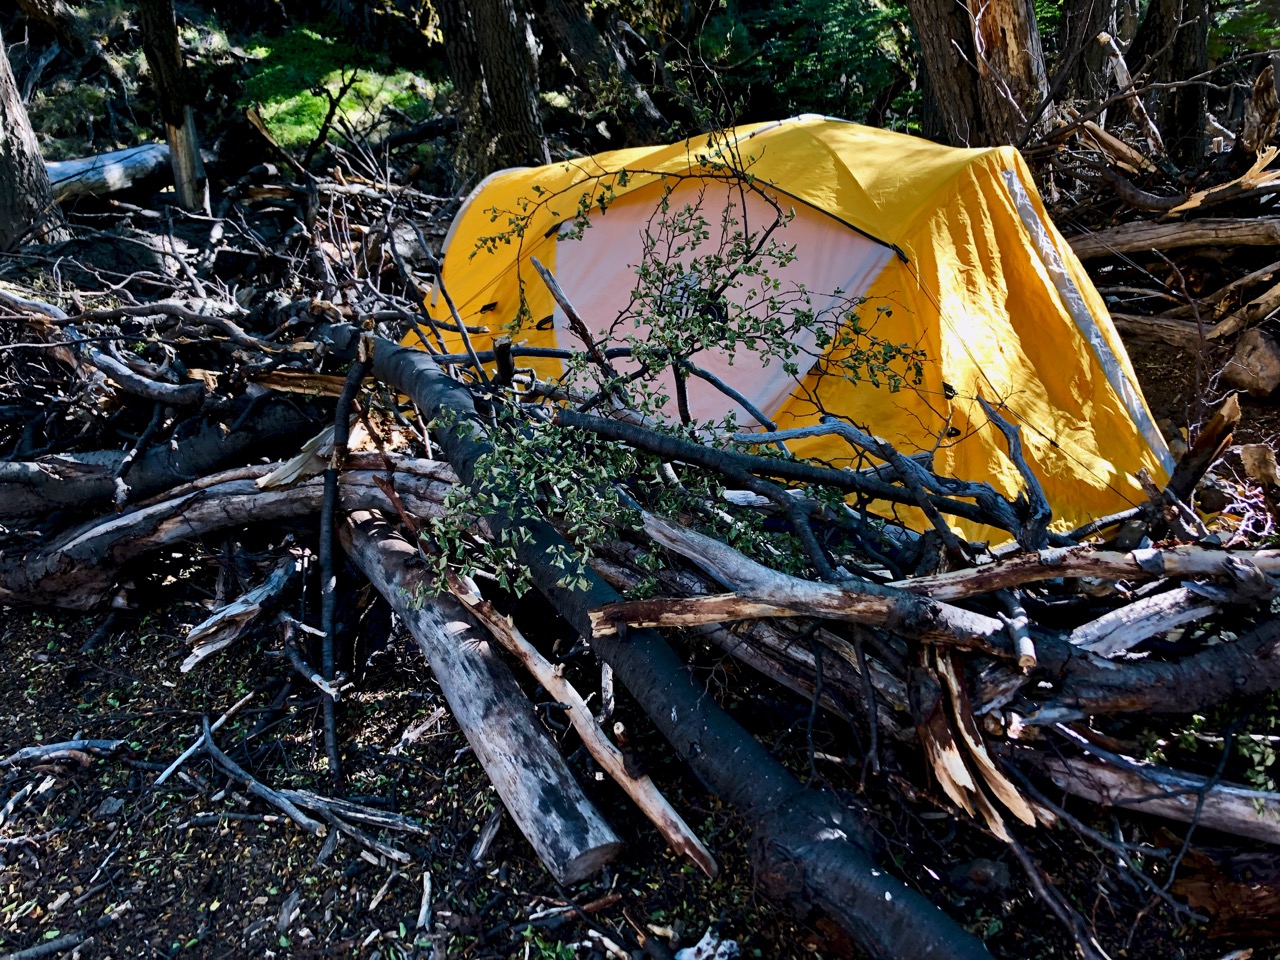
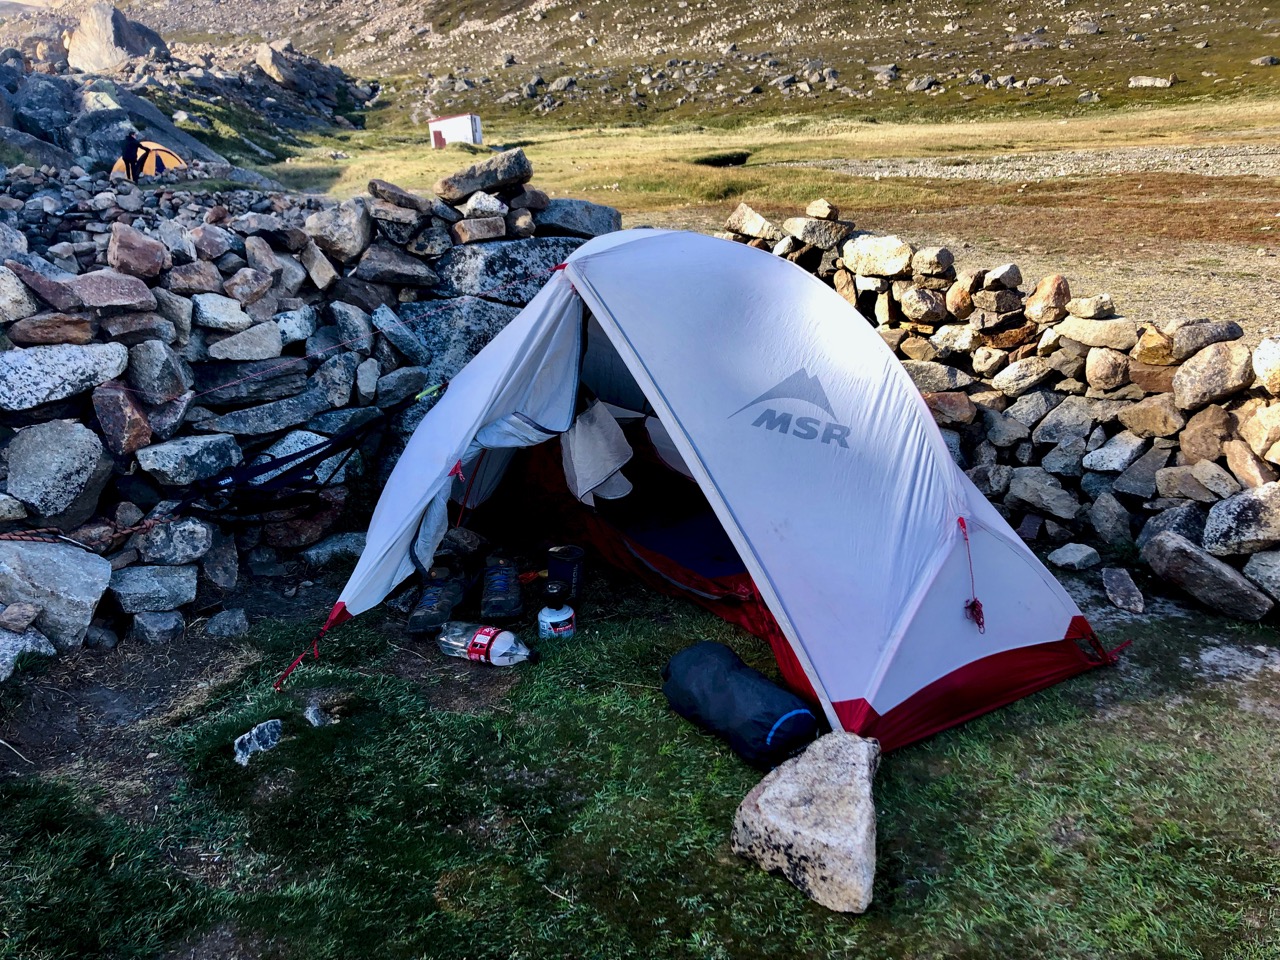
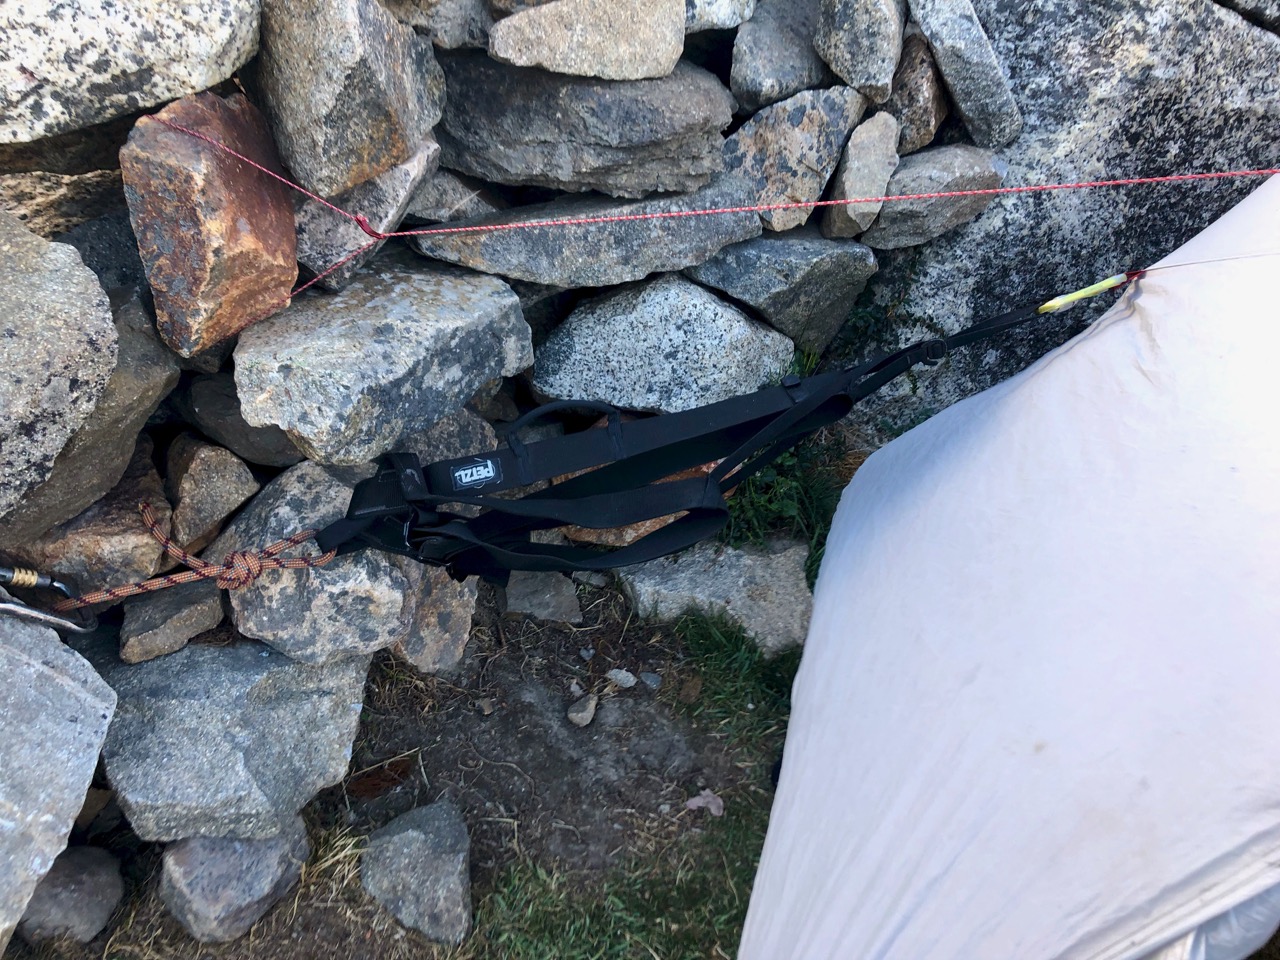
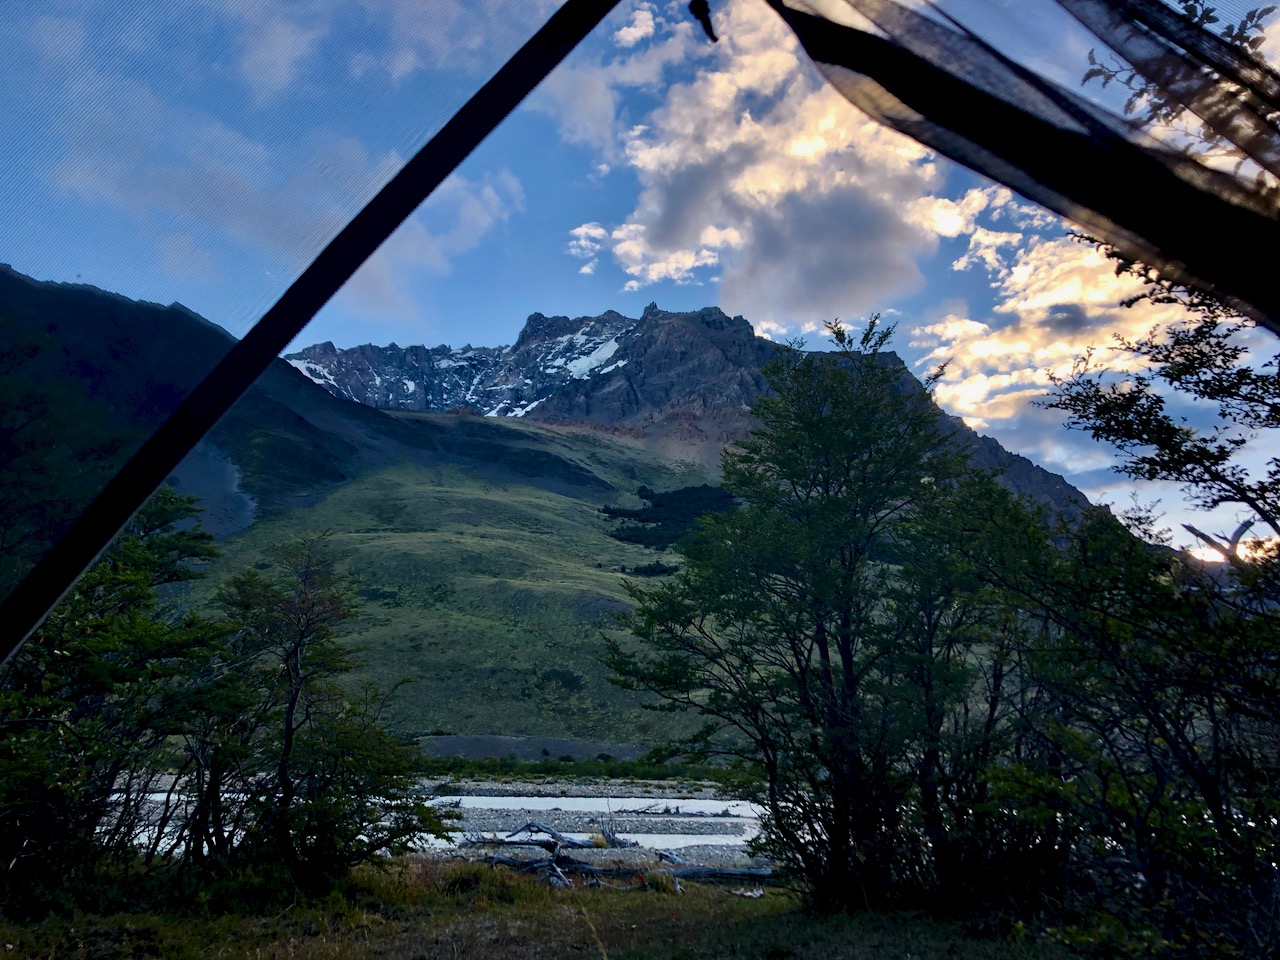
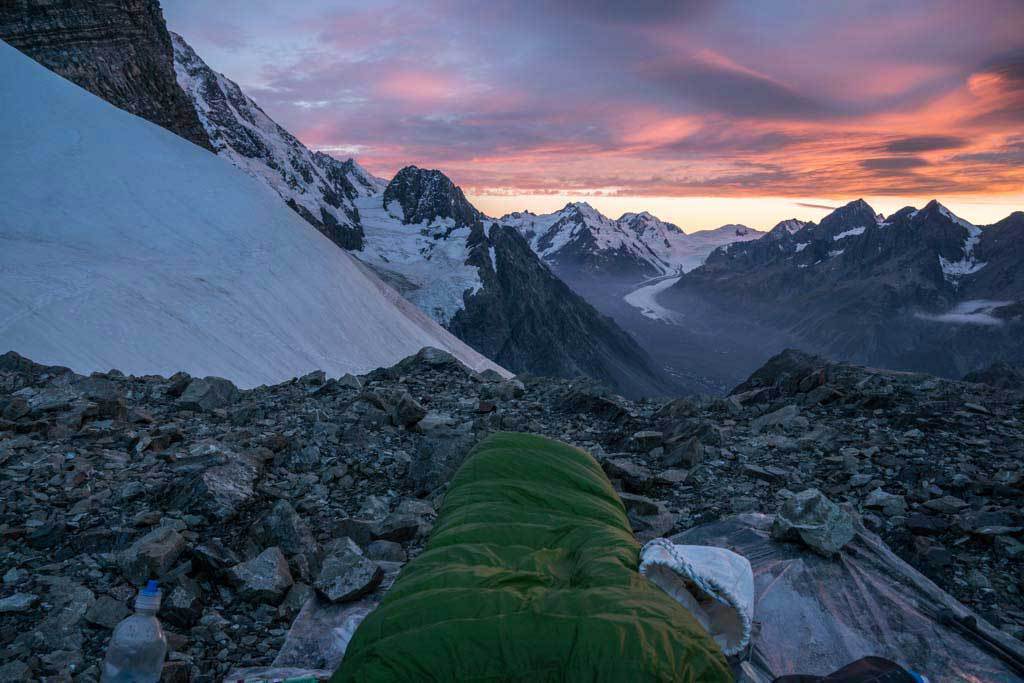
Here’s my tent site selected for wind protection.
Since I was carrying a climbing harness, I used it as a tie-down, as well.
Travel 2 Walk calculated 3055 ft ascent and 2214 ft descent on the day. Only 7.8 miles, but slow. Tough. And with PLENTY of photo stops.
Tired, I fell asleep by accident after dinner and wine. And therefore kept my food in the tent.
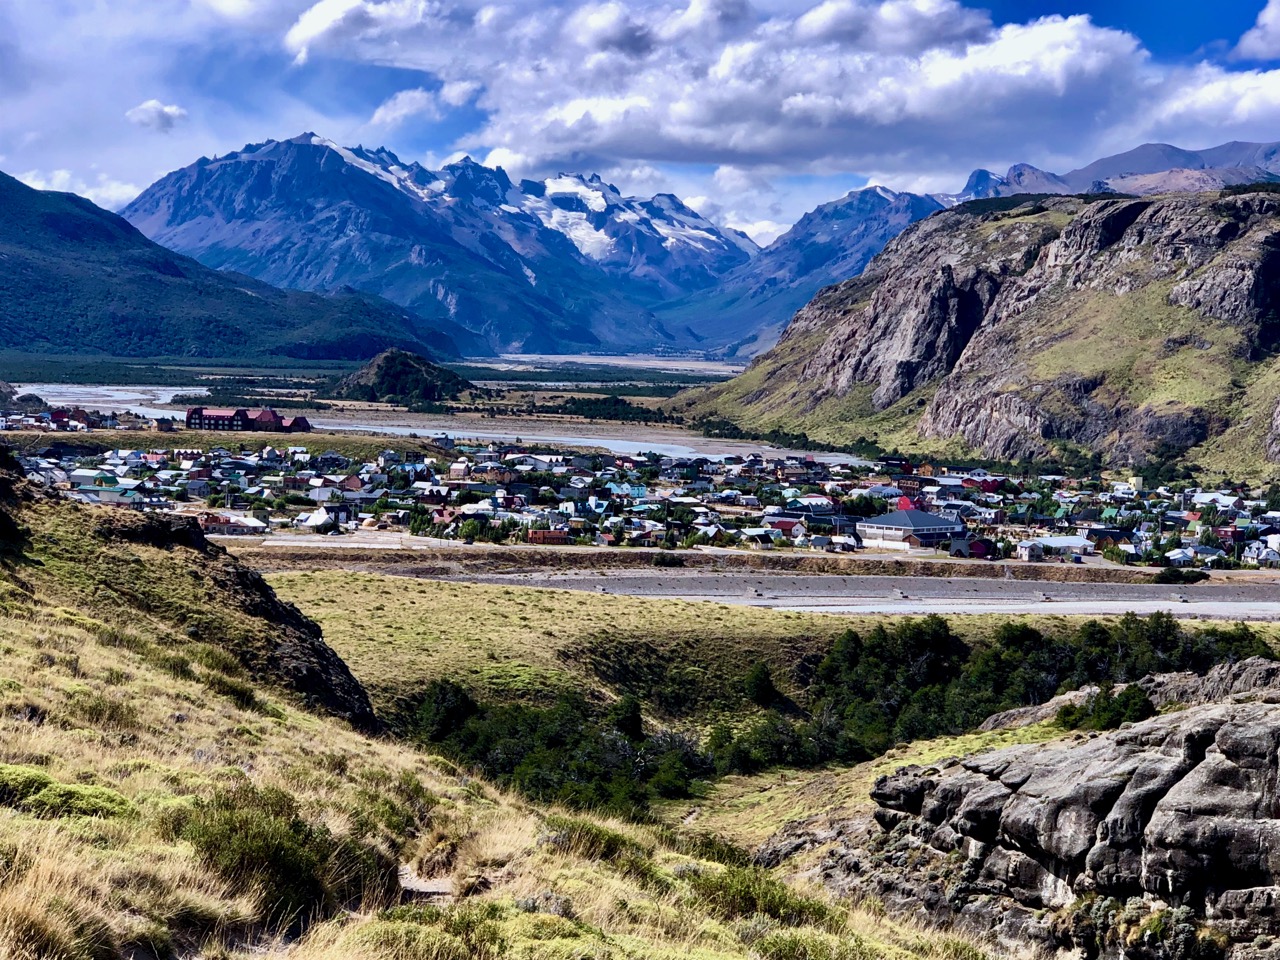
One of my big goals for this Patagonia trip was to do the NEWLY popular Huemul Circuit out of El Chaltén, Argentina’s Trekking Capital or Capital Nacional del Trekking. (I do have El Chaltén included in my list of the top 10 hiking towns of the world.)
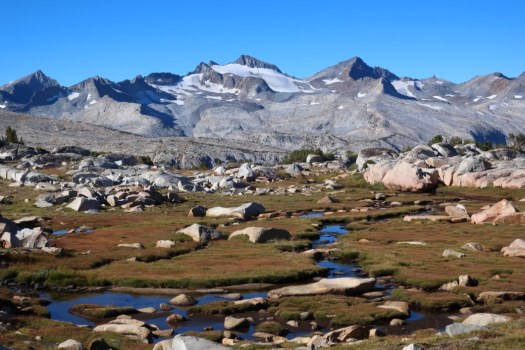
Huemul is a difficult, remote, wild visit to the Southern Patagonian Ice Field, the second largest in the world.
Here I call Huemul a route rather than a trail because navigation can be very challenging, especially in low visibility. I got lost 3 times for 1-2 hours, for example. ☹️
As weather was good, I rushed to get on the Huemel the day after my arrival.
NOTHING went right.
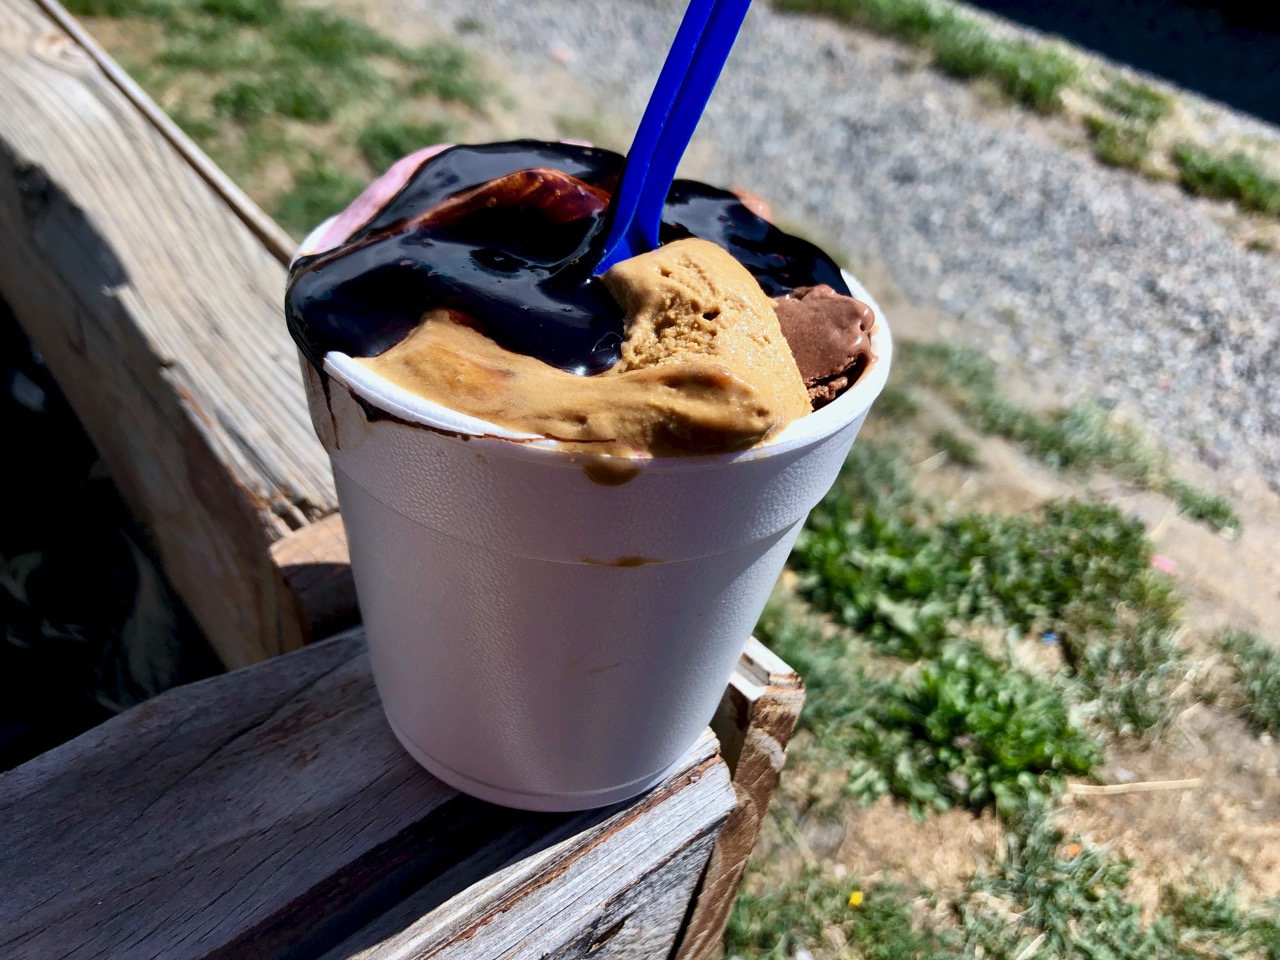
For example, after buying the required (and fairly useless) map, I decided to CARBO LOAD 🙄 with a half kilo of gourmet ice-cream. In that short visit I managed to lose my new map. Did it blow away? … And had to go back to the store to buy a replacement. ☹️
I must have walked 20km around town simply trying to get permit, gear and food for the trip. Many businesses still take a 3-4 hour siesta middle-of-the-day in Chaltén. ☹️
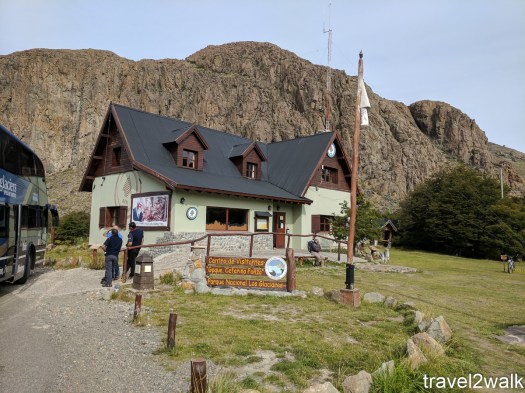
I waited for the shops to open to rent my Tyrolean Traverse harness, equipment you are suppose to show while filling out free registration at the National Park information station.
Rangers gave me excellent advice. Warned me of even BIGGER WINDS THAN USUAL forecast for day 2. And had me watch an orientation video for the Huemul.
They DISCOURAGE inexperienced hikers. And recommend you take a guide.
It was nearly 5pm before I started walking up the trail.
One GREAT thing about the Chaltén hikes is that all the popular ones walk out-of and back-to town. There’s no transport needed to get to trailheads.
El Chaltén
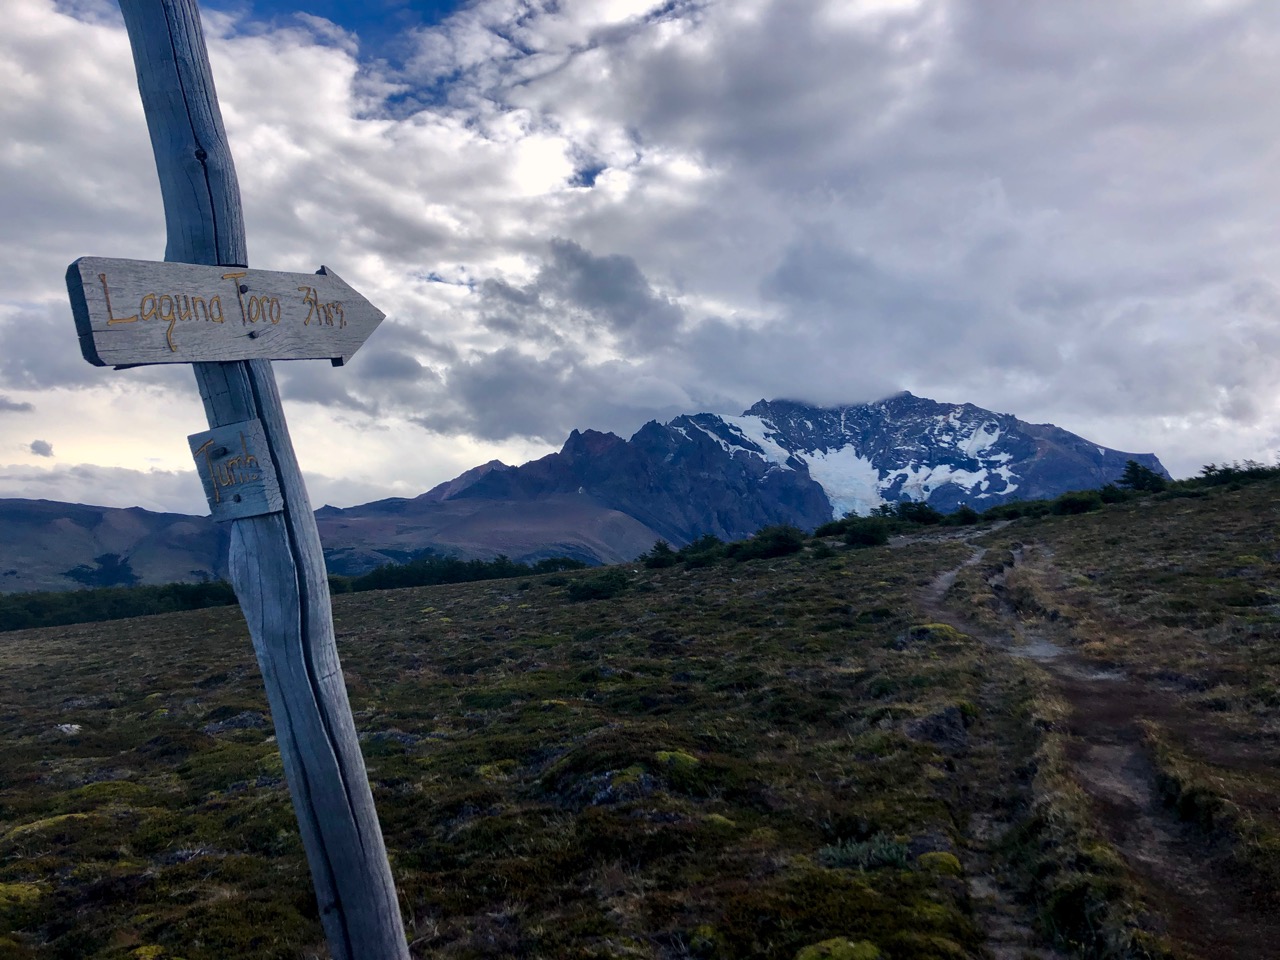
It’s an easy start on the well trod Laguna Toro trail. About 15km to reach the campground.
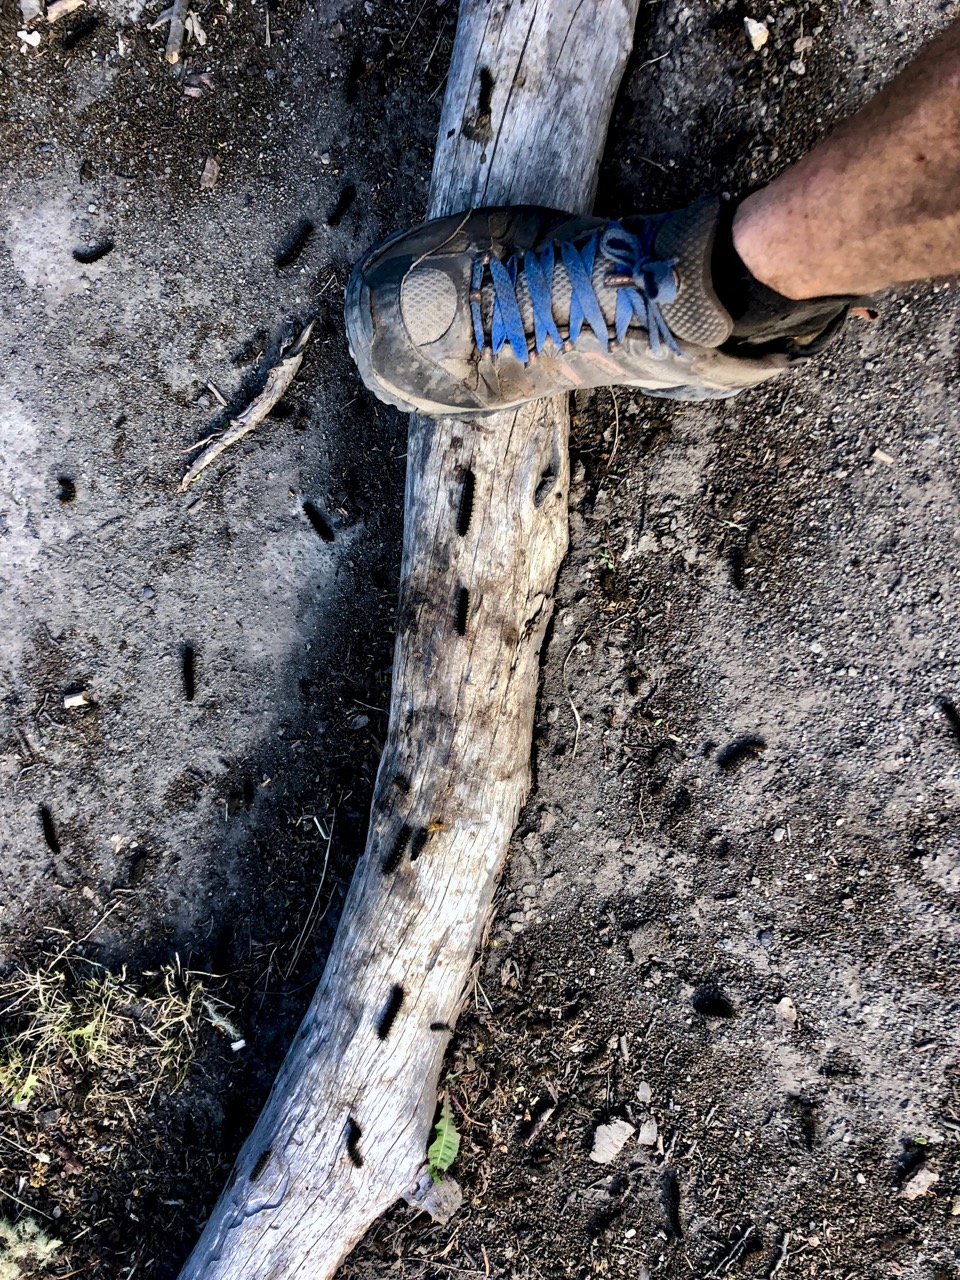
Weird were the hundreds of thousands of caterpillars on this section. Over the 4 days I accidentally touched two — very painful.
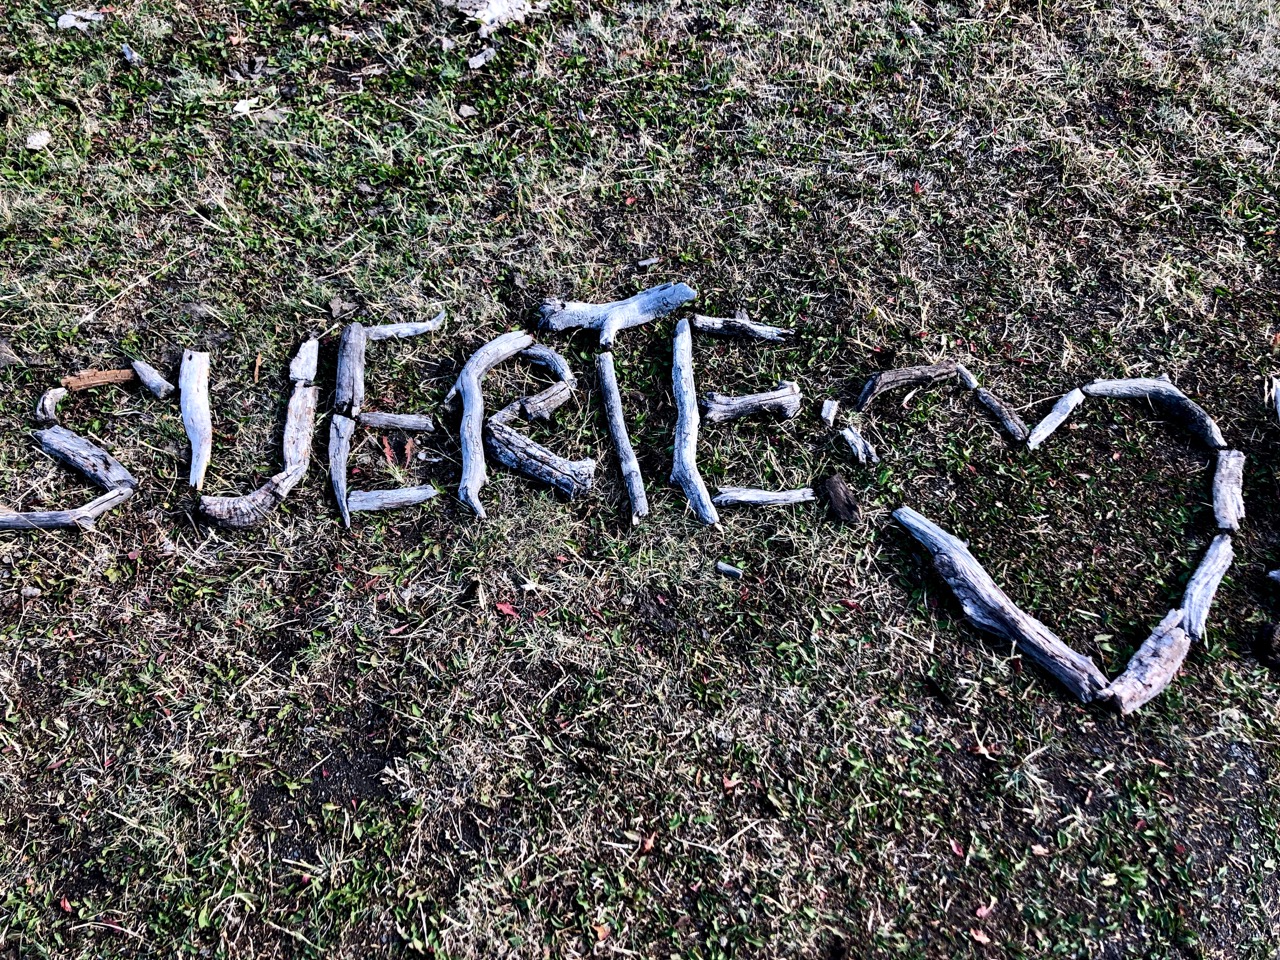
Good Luck
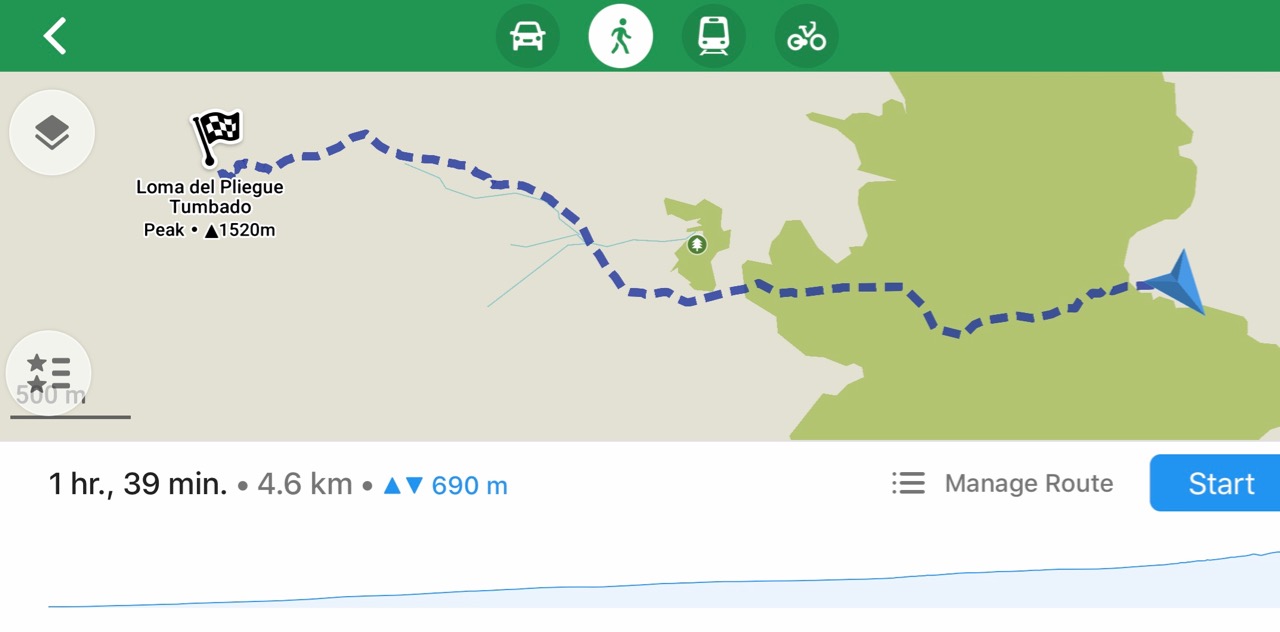
If you have time and energy — and the big peaks are clear — consider making the side trip to the Loma del Pliegue Tumbado lookout. That’s at least 3 hours return.
I didn’t have time so climbed up there following the Huemul.
below the Loma del Pliegue Tumbado lookout
The weather was lovely for this part of the world.
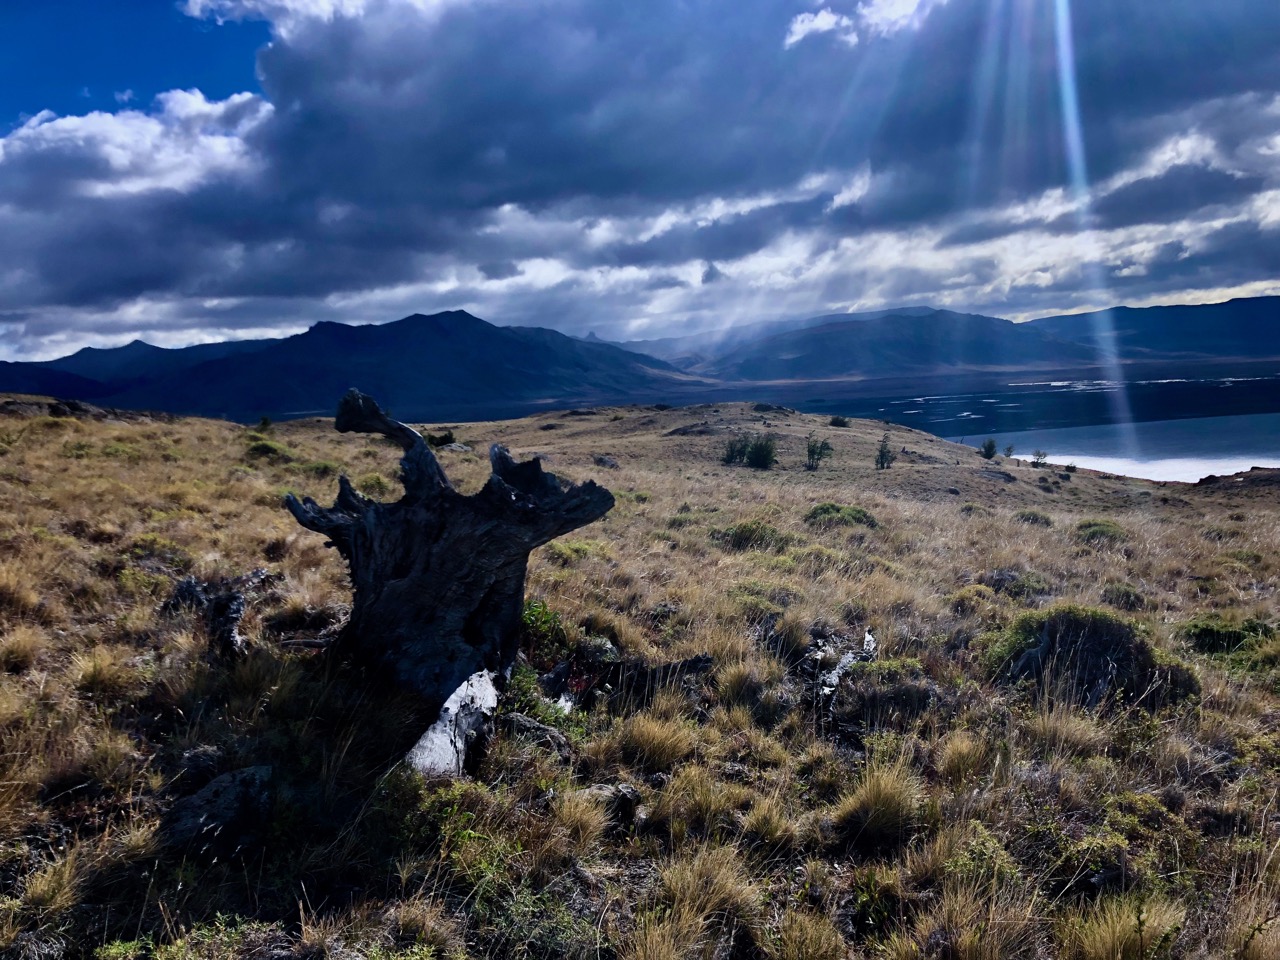
Off to my left was glacier fed Lago Viedma. That’s where I’d be finishing the loop.
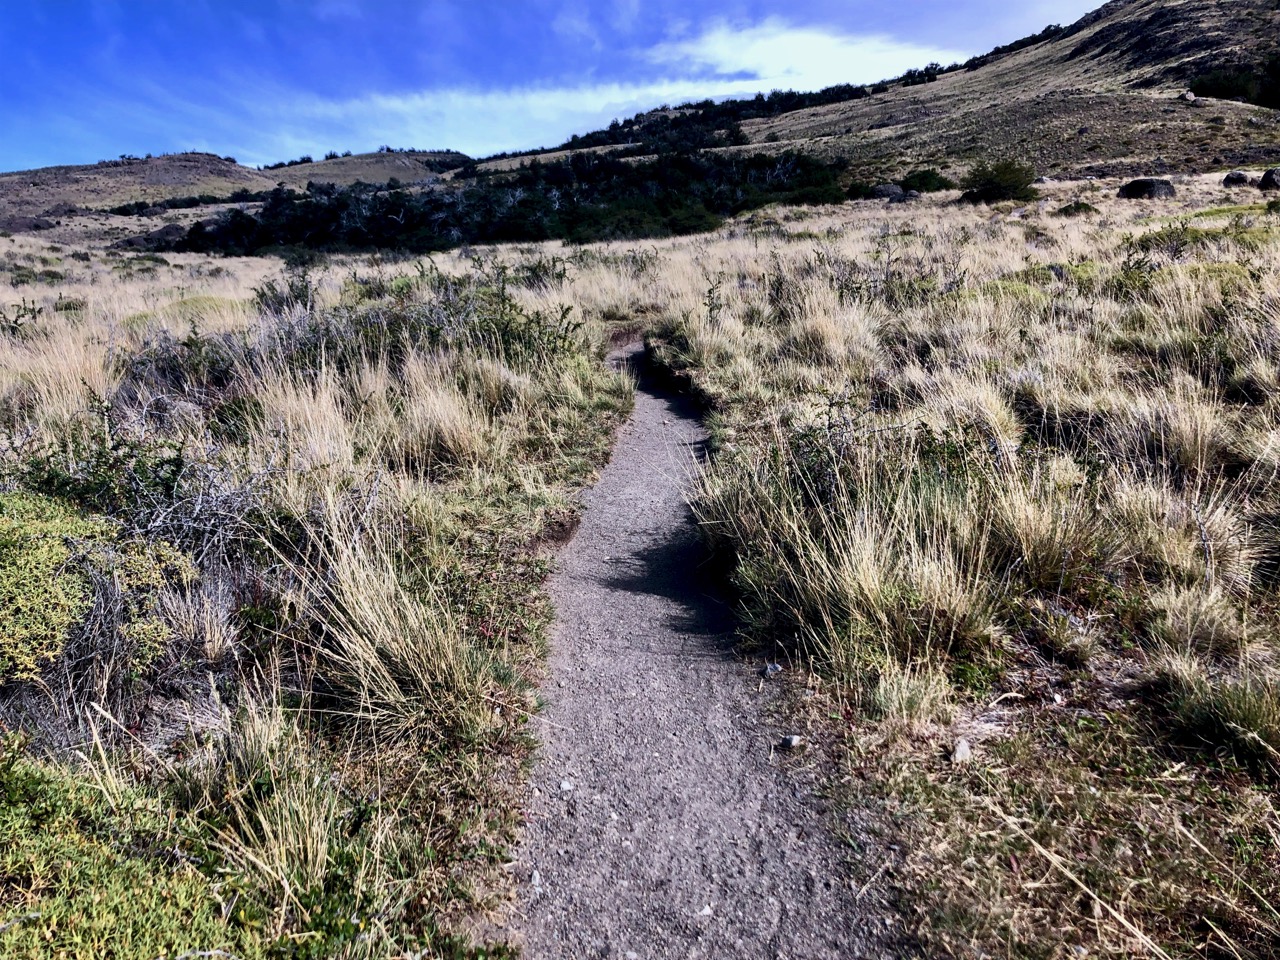
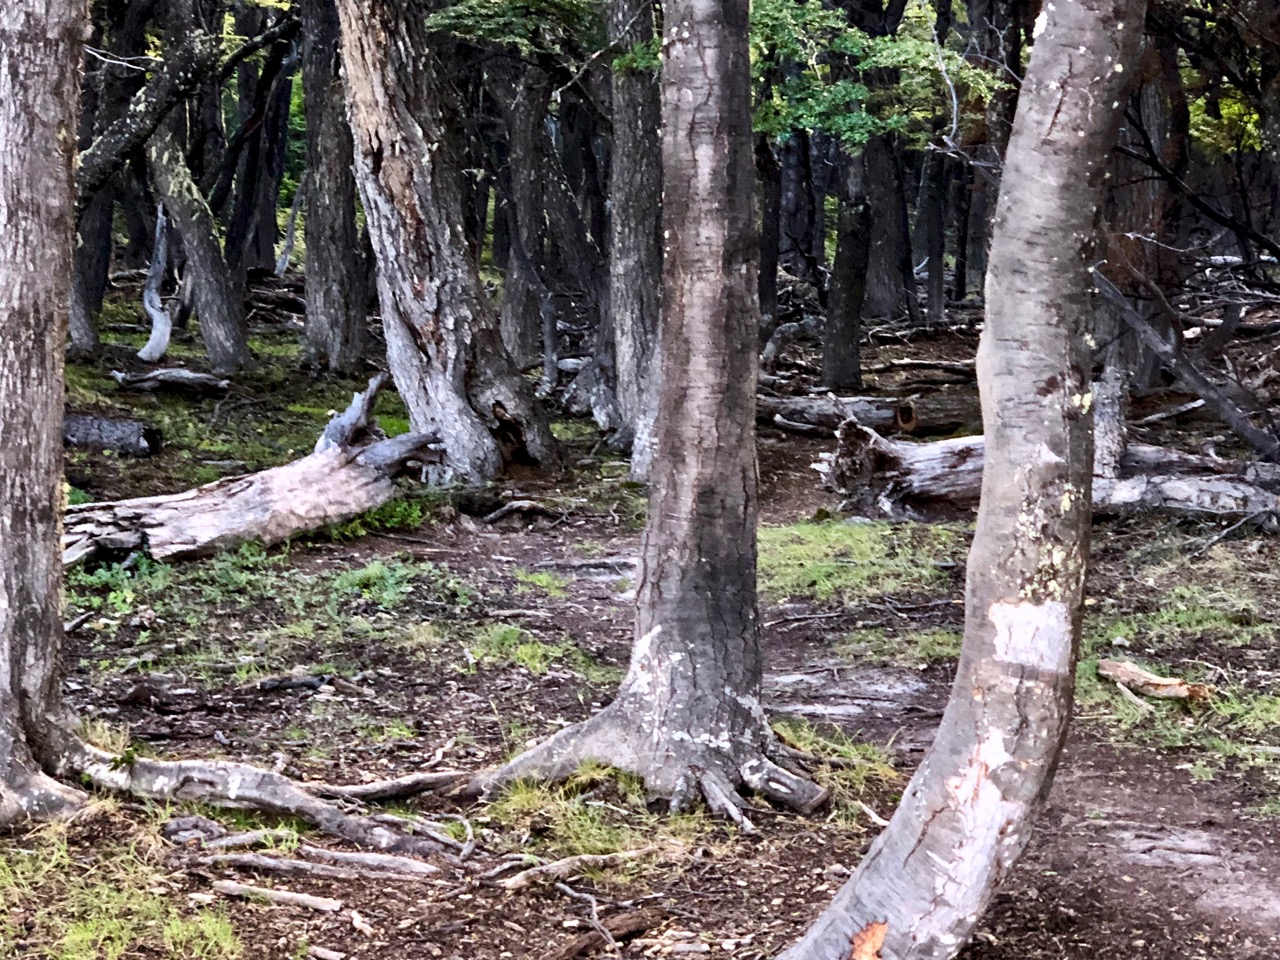
Most of this adventure is above tree line. But there are a few short sections day 1 through dark and gloomy forest.
When I saw this sign I decided I’d stop short of the official campsite.
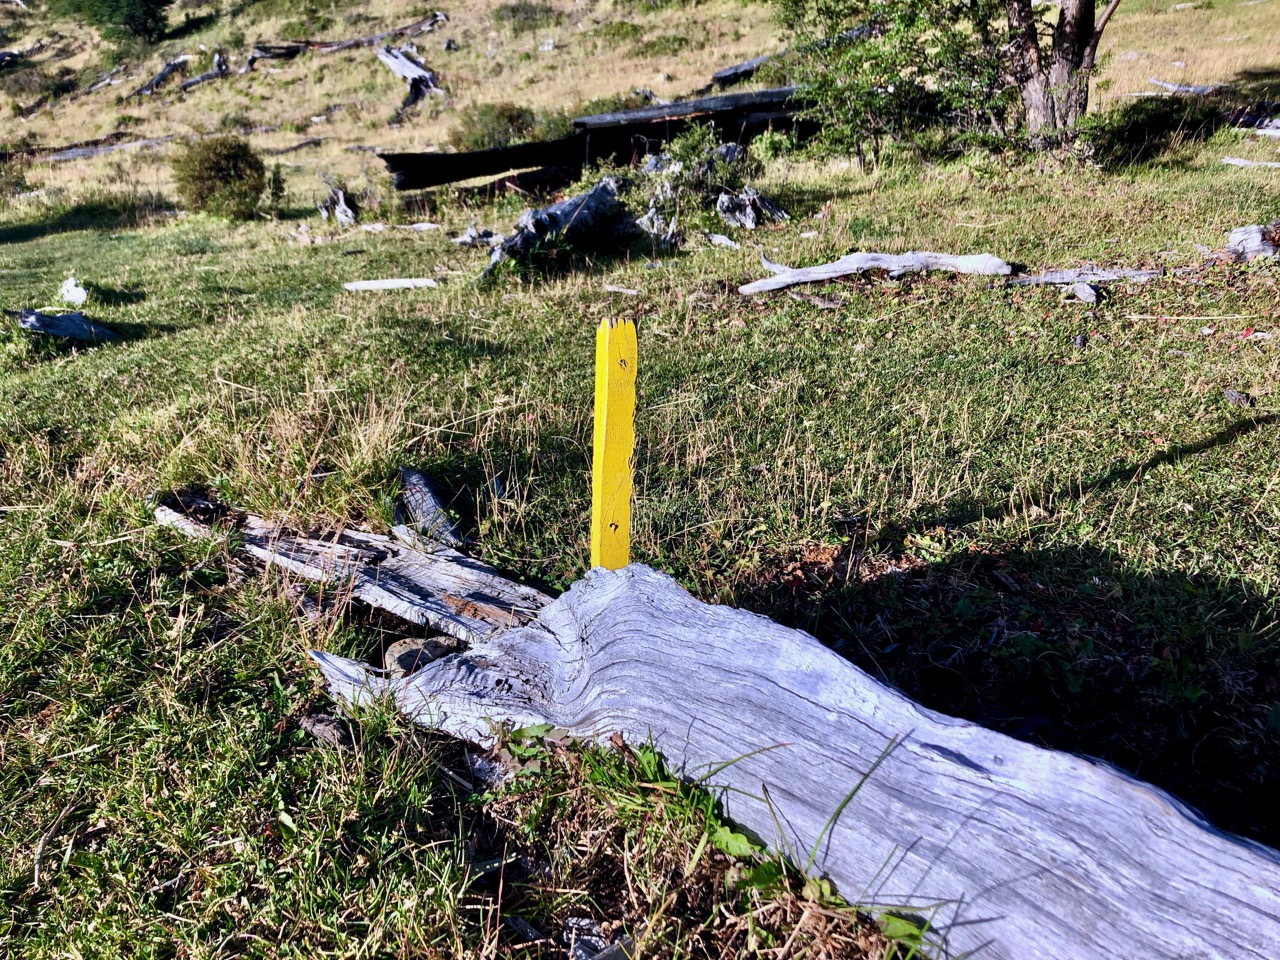
So far navigation had been a piece of cake. There are stakes on grass. And some random cairns on the rocky sections.
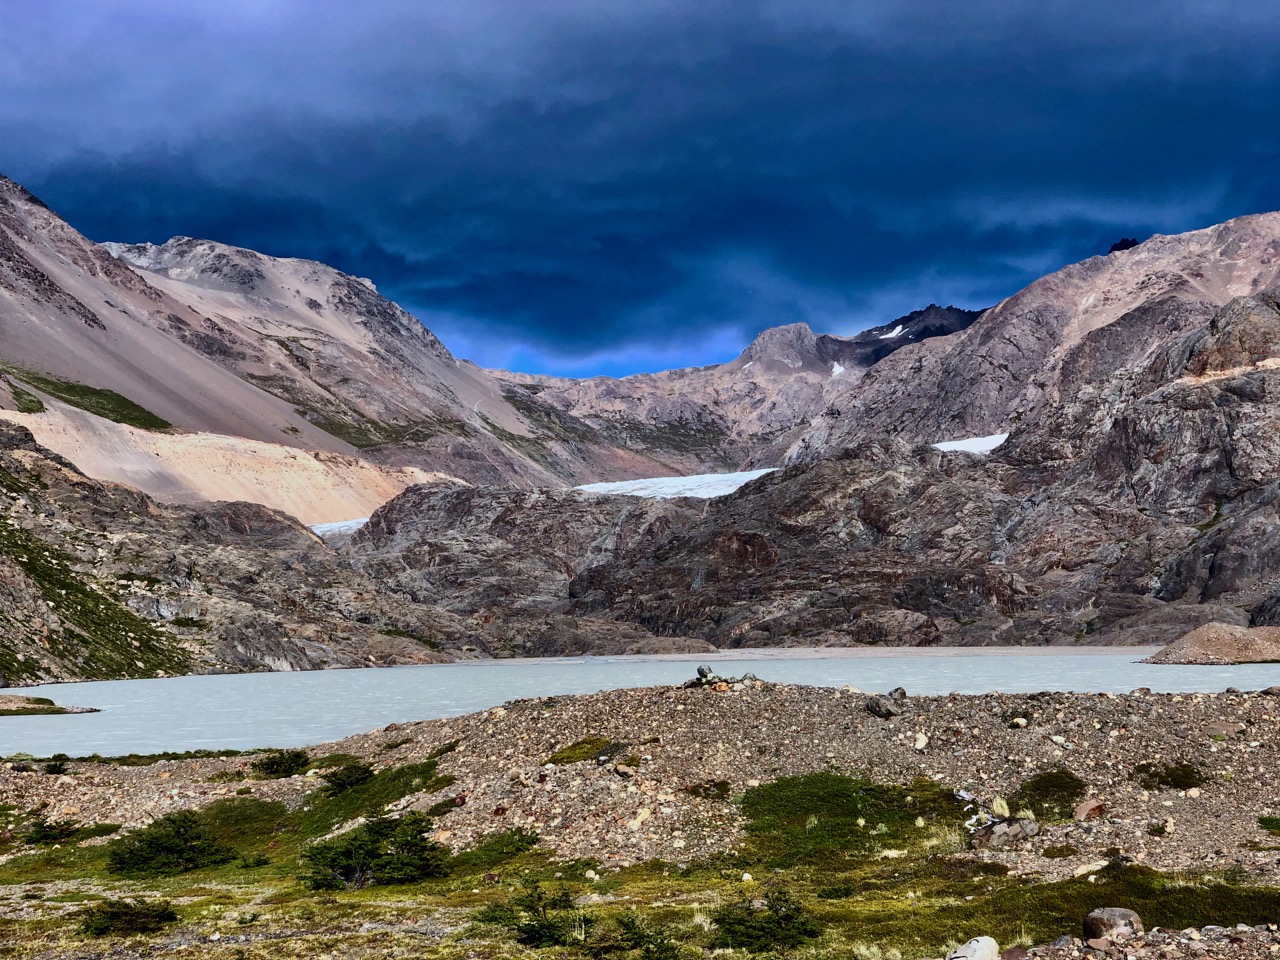
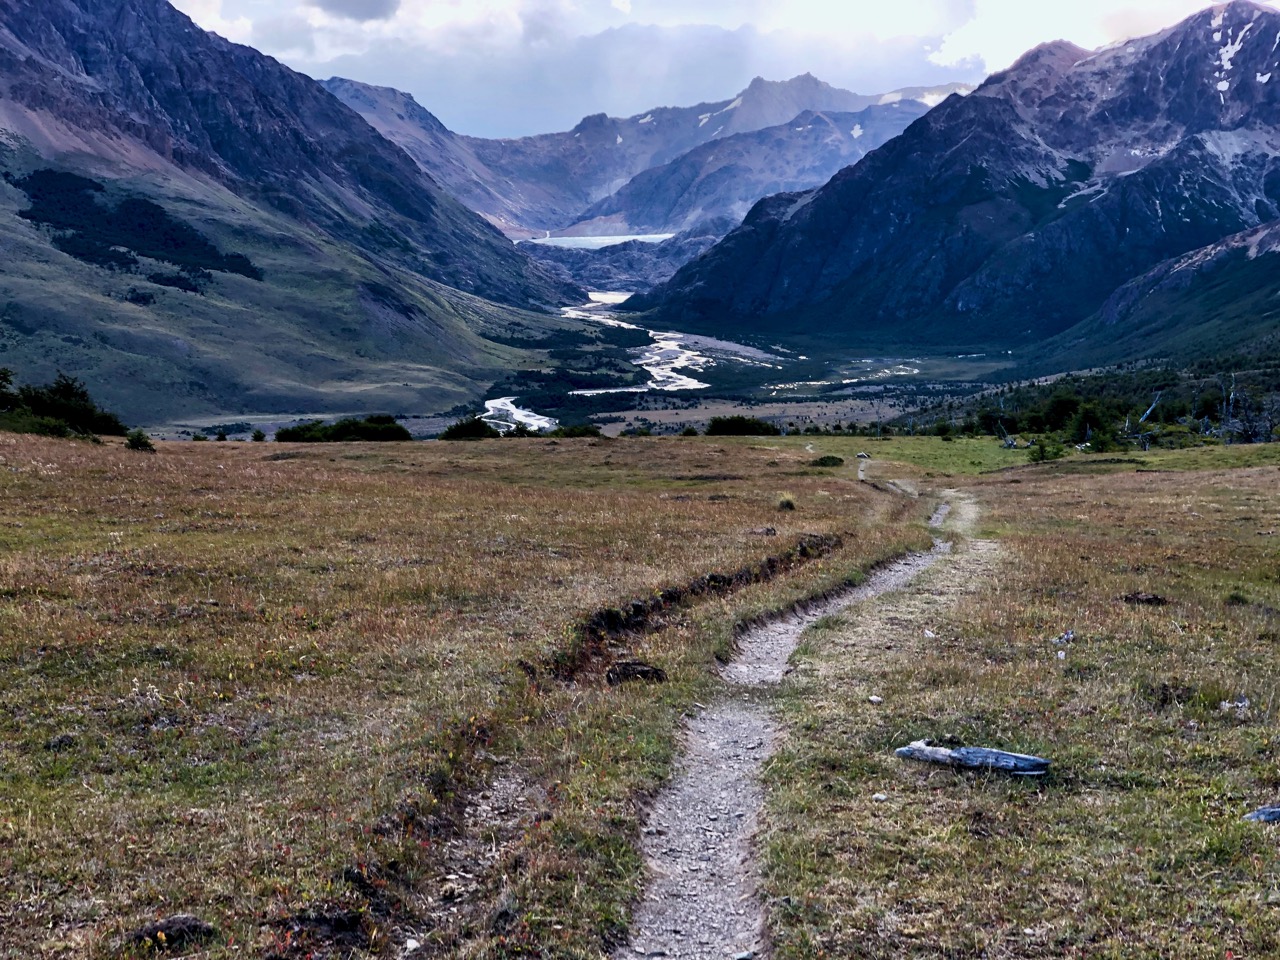
There’s Laguna Toro below the glacier.
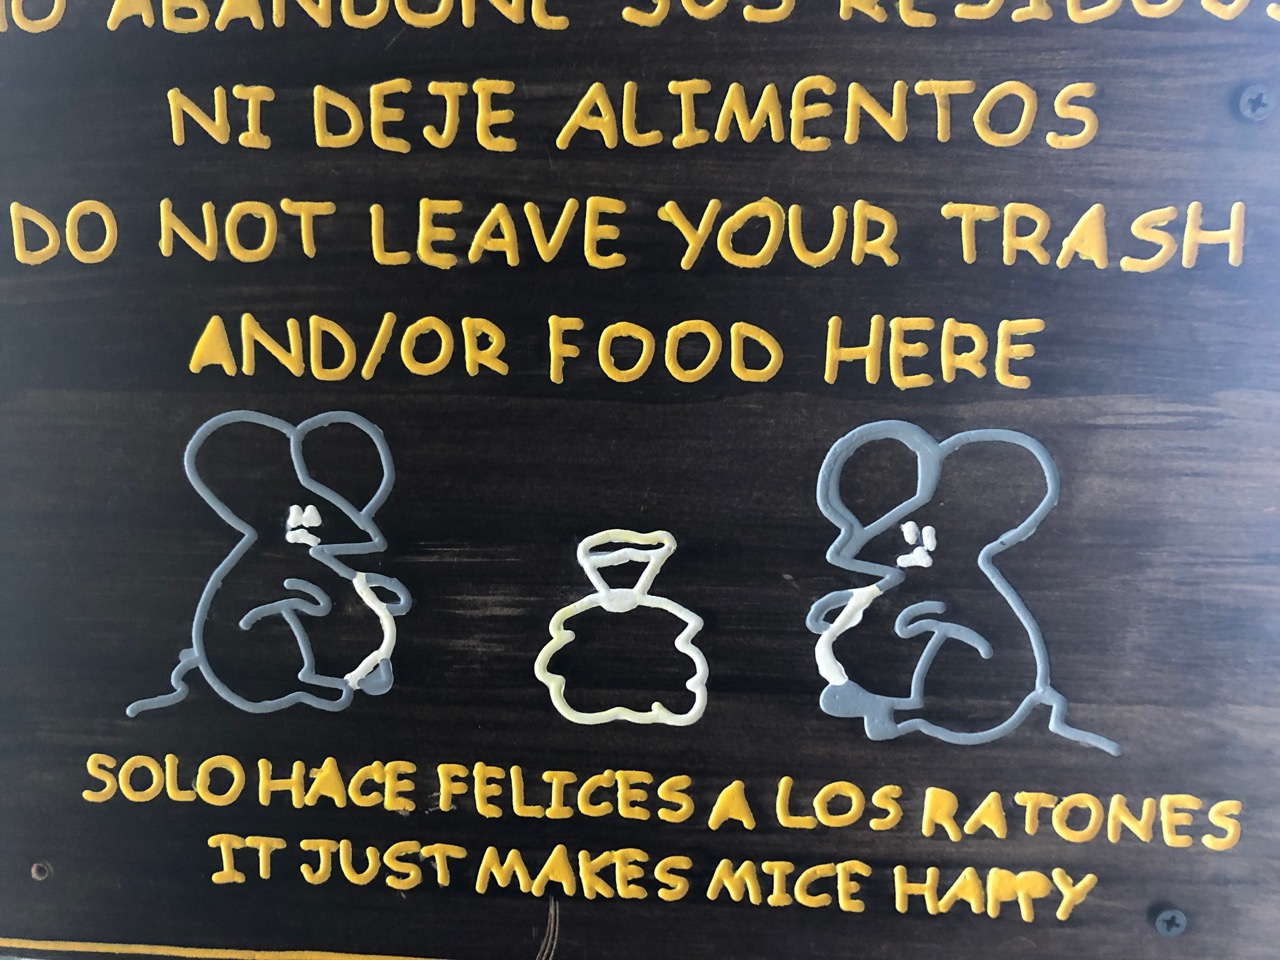
I’d heard some negative reports. Mice at campgrounds are a nuisance, for example. People have died of Hantavirus in the Andes.
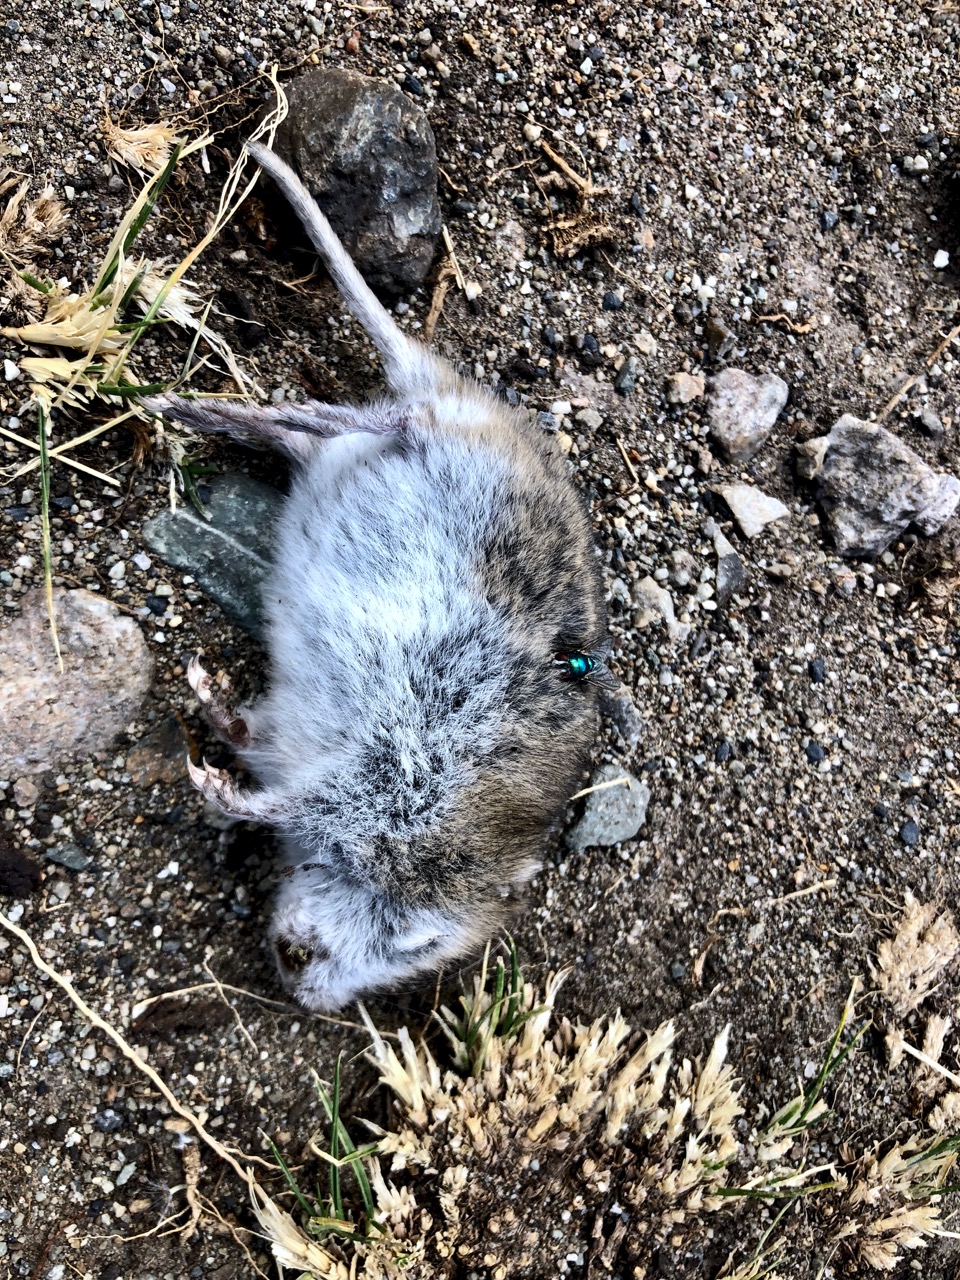
Here’s one species of mouse I found dead on the trail.
I set up in a cow pasture with this lovely view to the river.
Wild Camping is not allowed in the National Park. But I couldn’t see any harm.
No fly was required. The night perfectly clear. My best star gazing so far. I did see the Southern Cross.
I’ve twice been on the Annapurna Circuit. It has been degraded by road building. In fact, on the more recent trip I enjoyed mountain biking more than hiking.
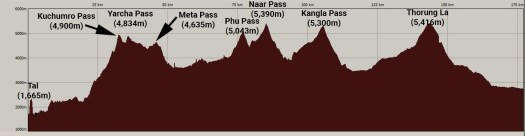
The Annapurna Seven Passes … is a 20-day trek that takes a trekker through seven high passes, four of which are above 5,000 meters. In addition to the challenge of the high passes, this trek offers a mix of wilderness and culture that is missing from treks that run through villages. …
He hopes to publish February 2019 to get the information out for next season.
As Skurka has envisioned it, the YHR forms a figure-eight from Dorothy Lake Pass in the north, pinching in the middle at Tuolomne Meadows, and extending as far south as the area surrounding Rodgers Peak, not far from Mt. Lyell. …
What are your favorite sections?
The “good stuff” on the Yosemite High Route runs south from Grace Meadow in upper Falls Creek and ends at Quartzite Peak at the northern end of the Clark Range. All the miles between these two points are world-class. You can’t go wrong. …
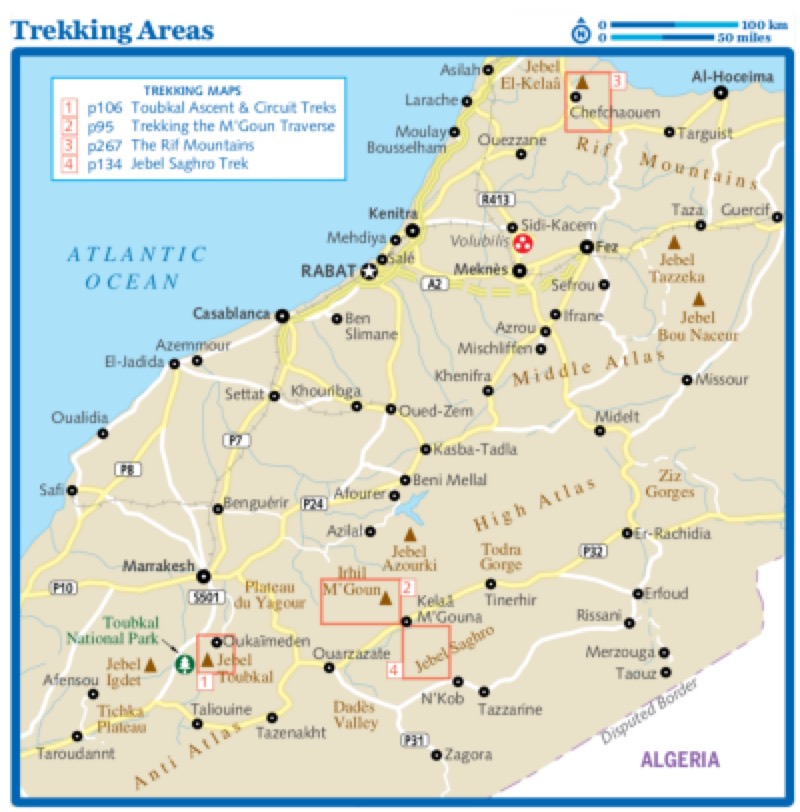
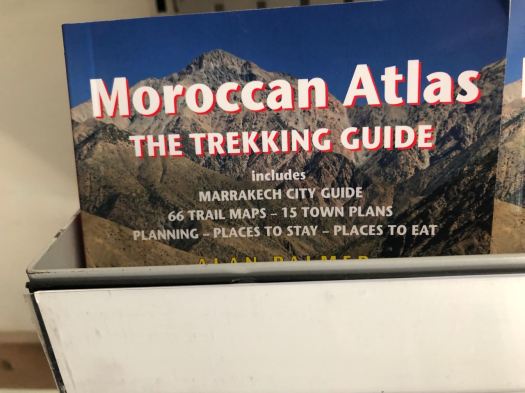
Unhappily I couldn’t find either camping fuel nor english language hiking guidebook for Toubkal in Marrakesh.
Lonely Planet said there were good gear shops in the trailhead town of Imlil (1740m).
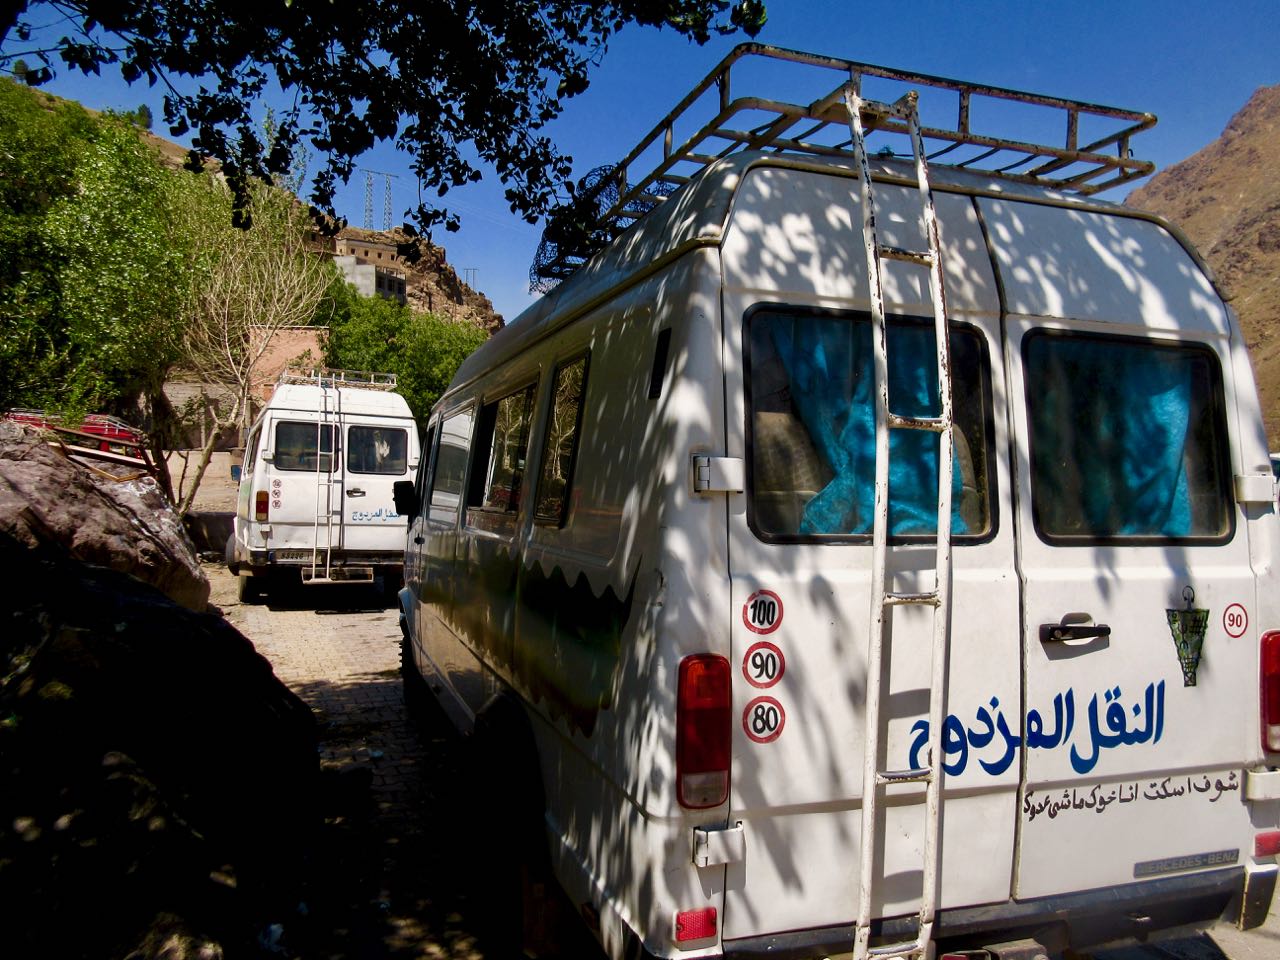
My hostel in Marrakesh told me where to find the shared cabs to Imlil. But that turned out to be my greatest navigational challenge. Shared taxis sprawl across several streets. A tout finally took me to the right one.
In 2018 locals paid 35 Dirham to get the 64km to Imlil. Foreigners 50 Dirham. ($5.40) Cost seemed to be non-negotiable.
Vans don’t leave until full … plus 3-5 more people.
It’s less than 2 hours from the hot city to the much cooler High Atlas mountains.
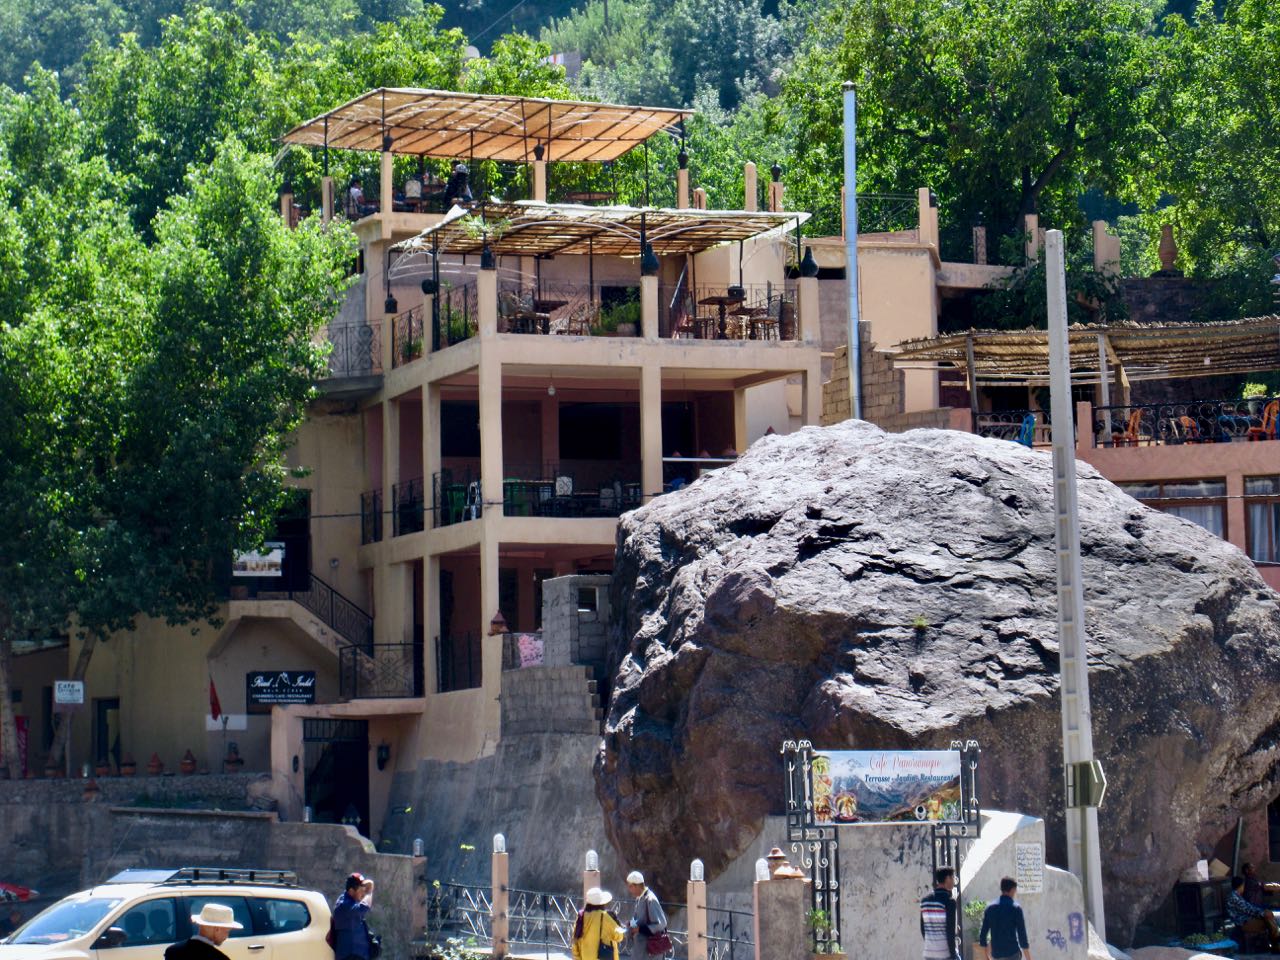
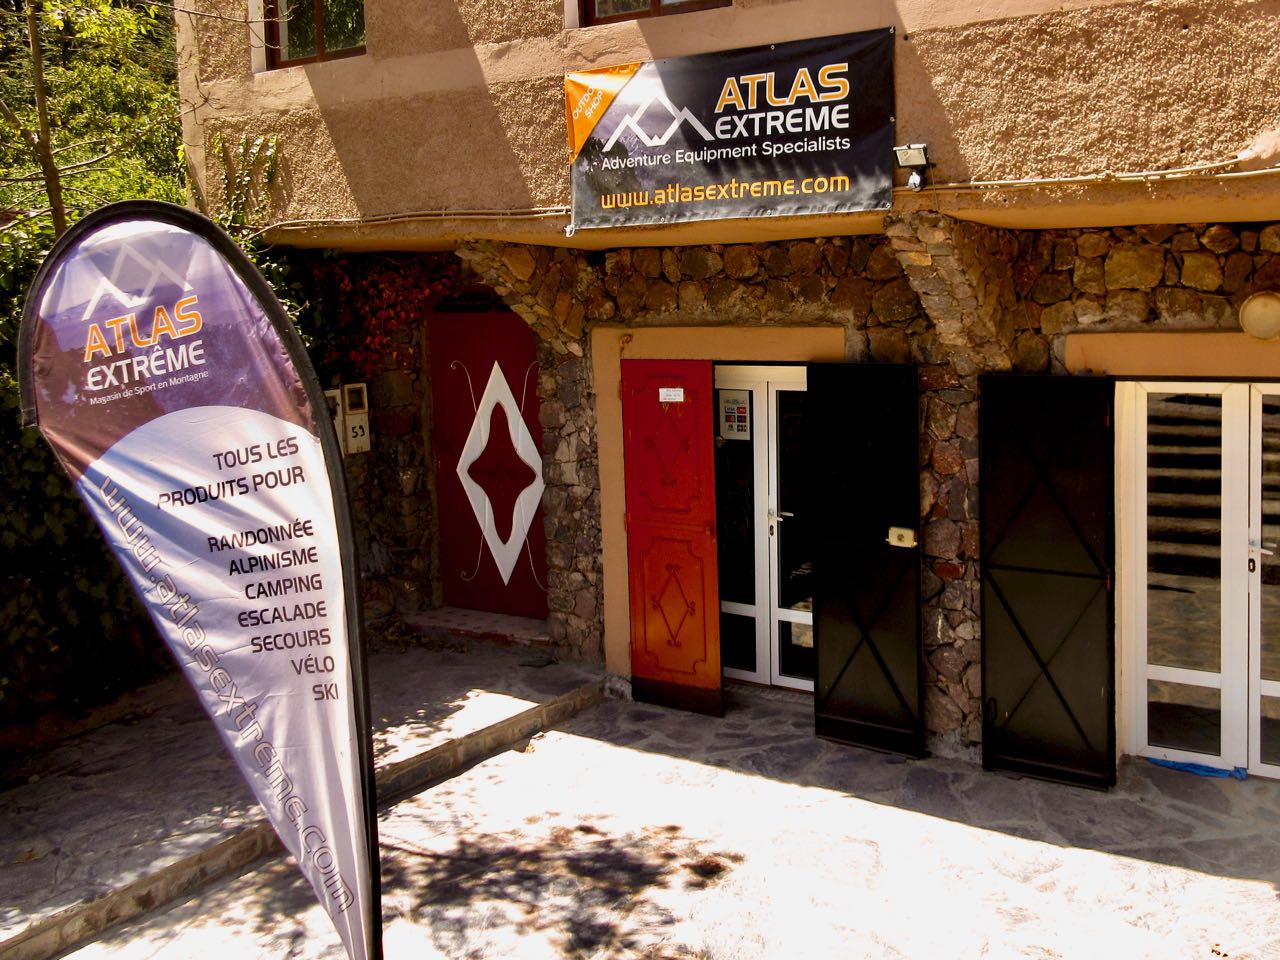
Imlil is an impressive and popular tourist town.
Unfortunately the best gear shop in town — Atlas Extreme — was closed when I arrive. For an hour? A day? A Week? None of the neighbours seemed to know.
I’d wanted this guidebook for the trip. But Trailblazer doesn’t sell a digital version. I needed a paper copy.
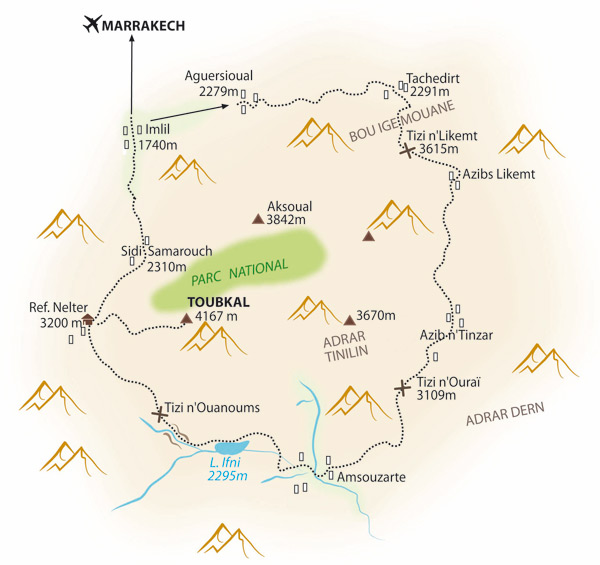
I managed to get some used stove fuel and the map of the region instead at a tiny stall. The map ($10 plus) was fairly useless. It doesn’t show the circuit route. I did have the 5 page Lonely Planet description on my phone. And I did have little maps like this.
Not wanting to wait around, I got off on to the “trail” as quickly as possible.
departing Imlil
It was a hot, sunny day. I saw very few water sources.
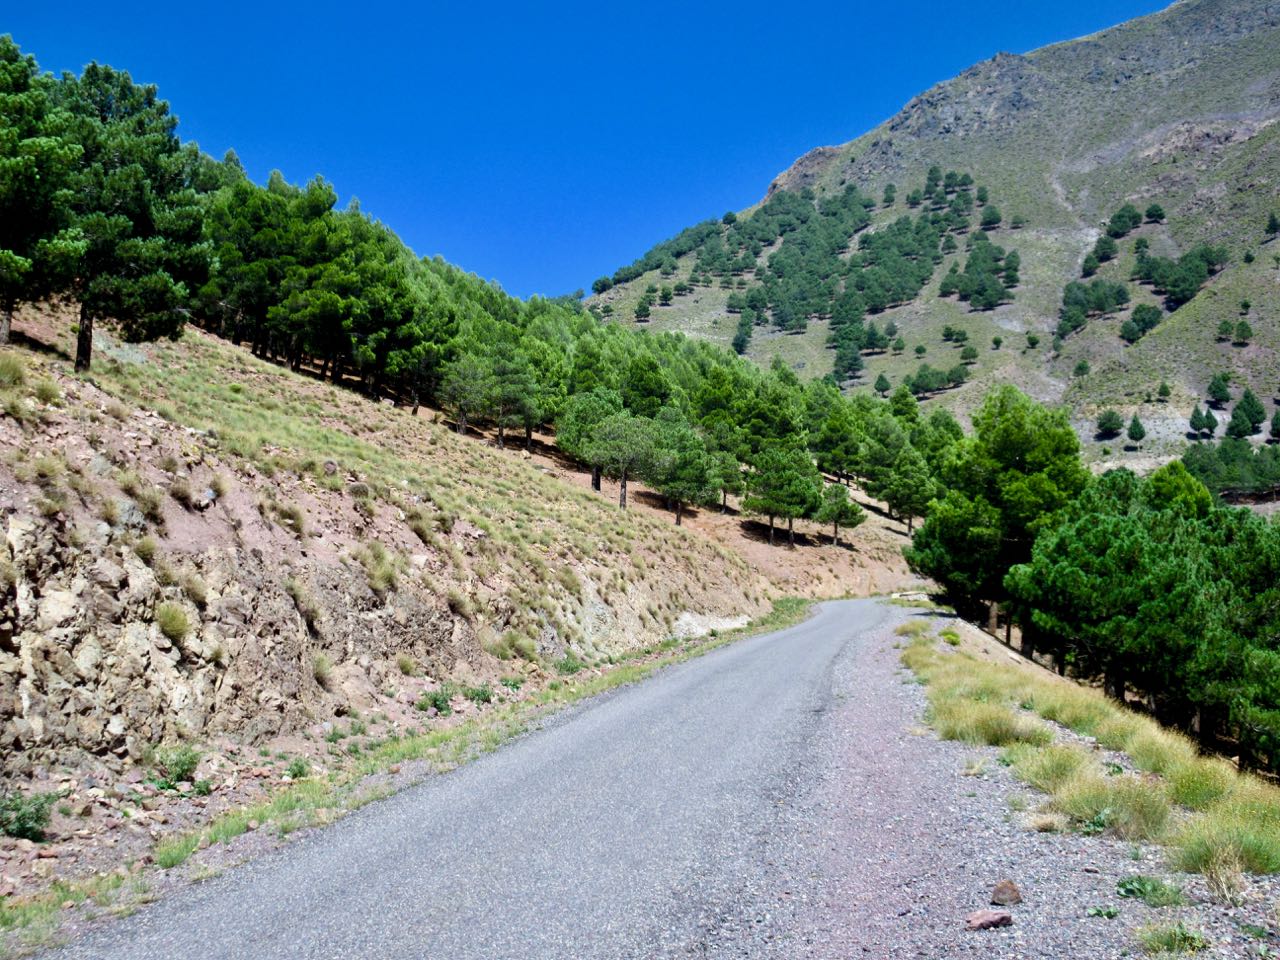
Why was I walking on a paved road?
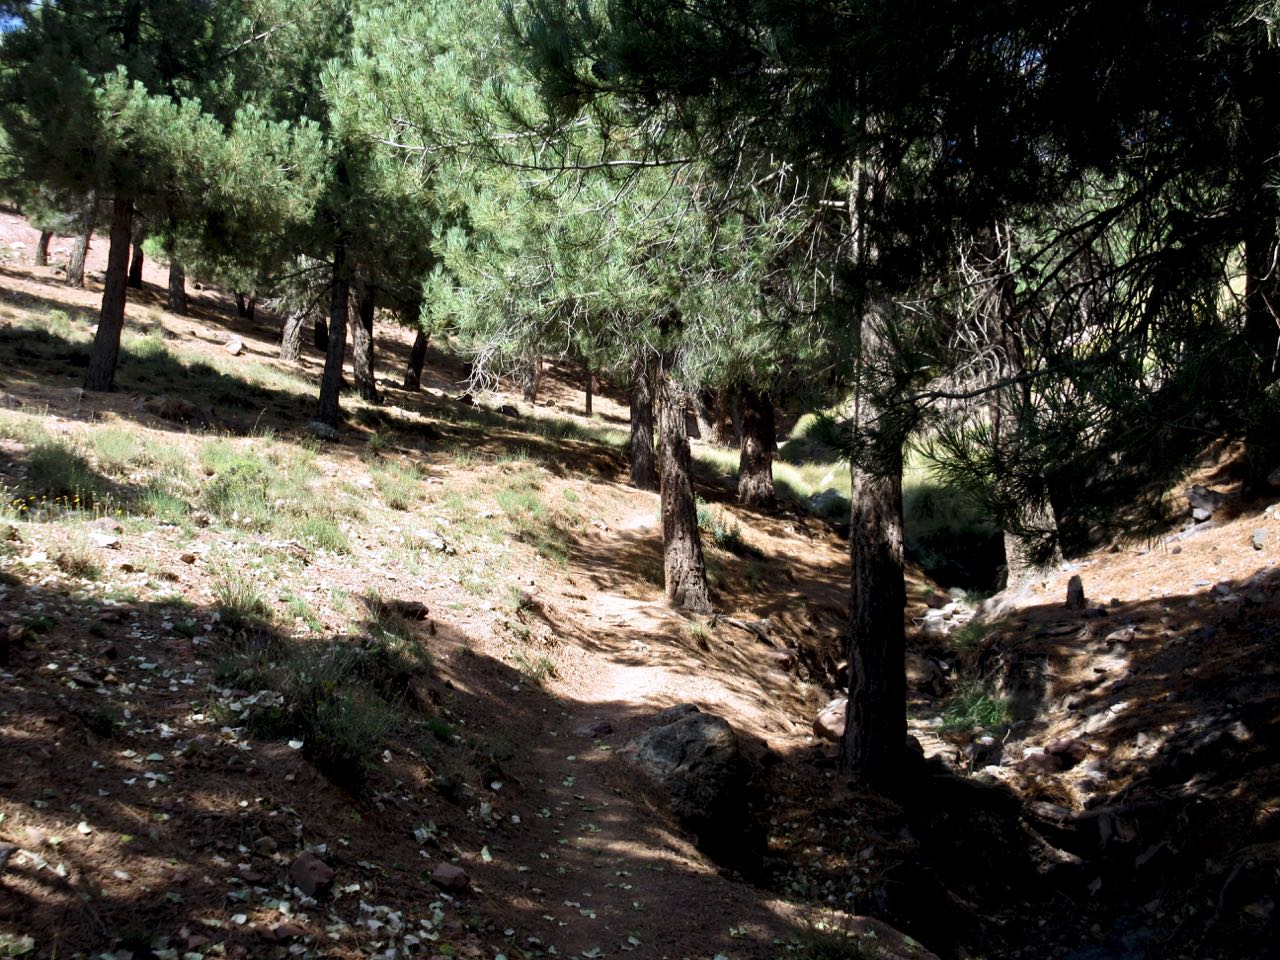
Only one stretch took me off-road and up through a village.
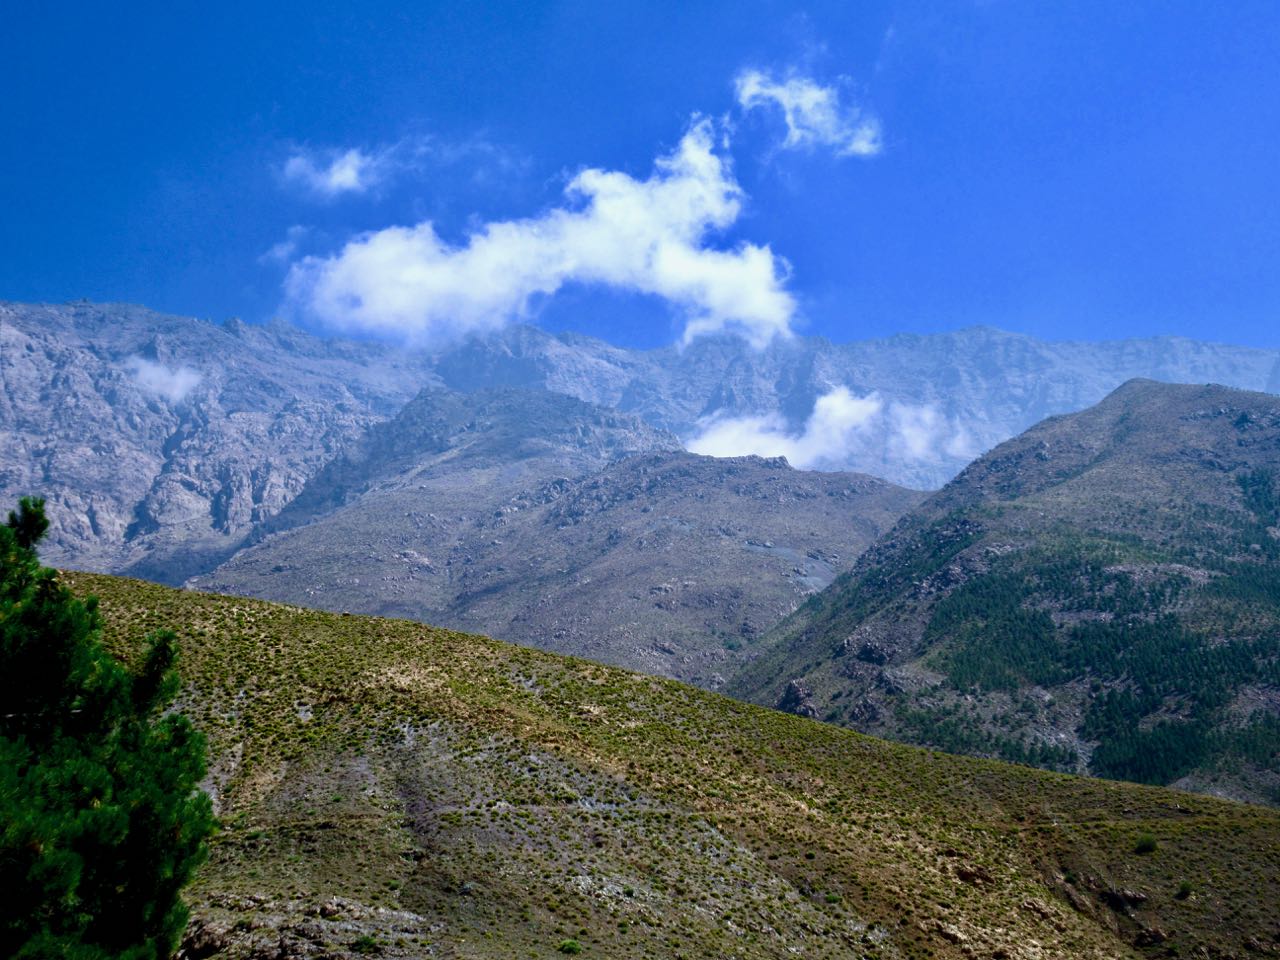
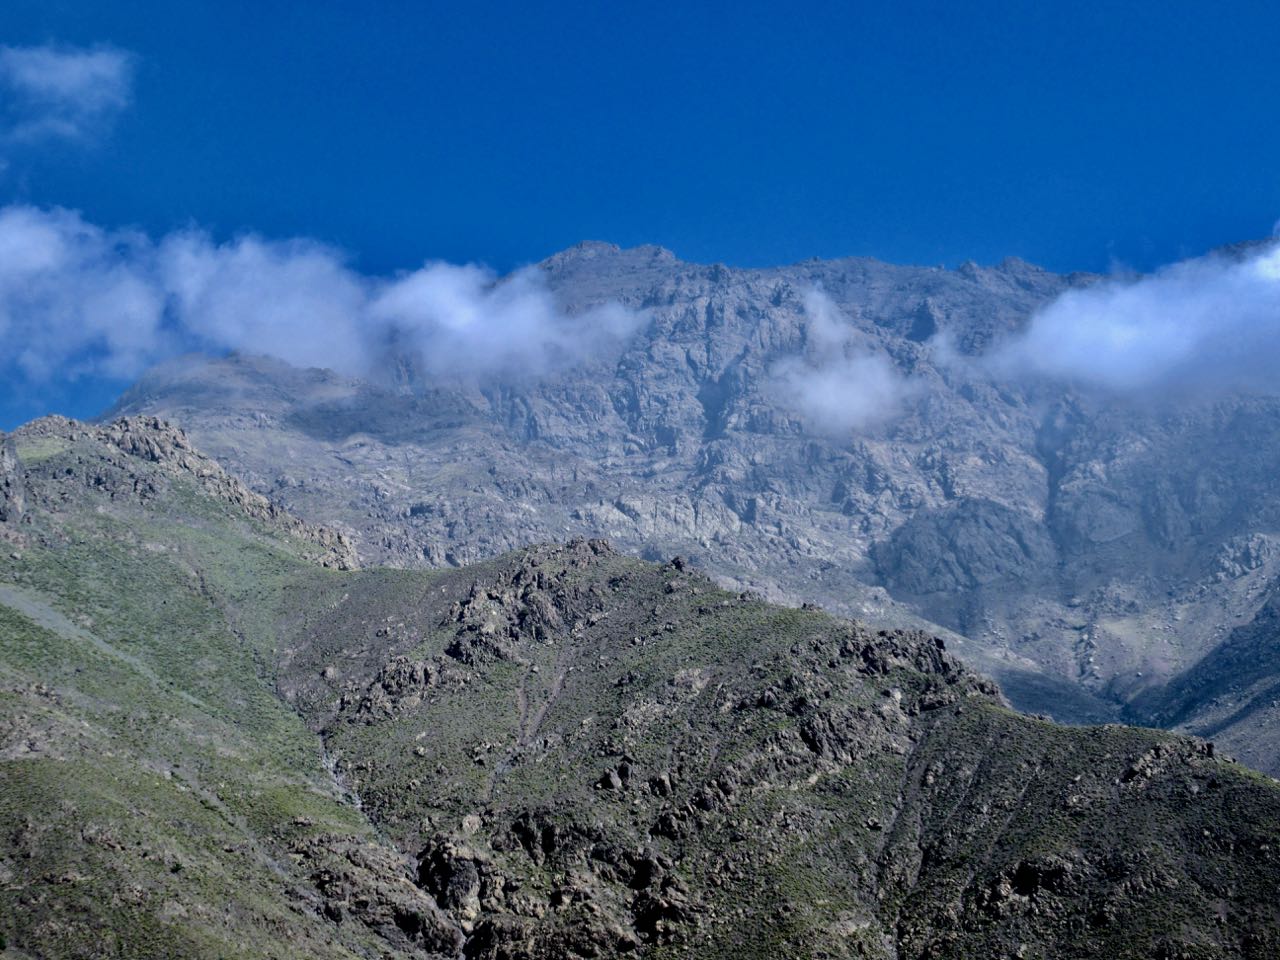
These mountains are massive.
I looked forwards to getting away from the heat.
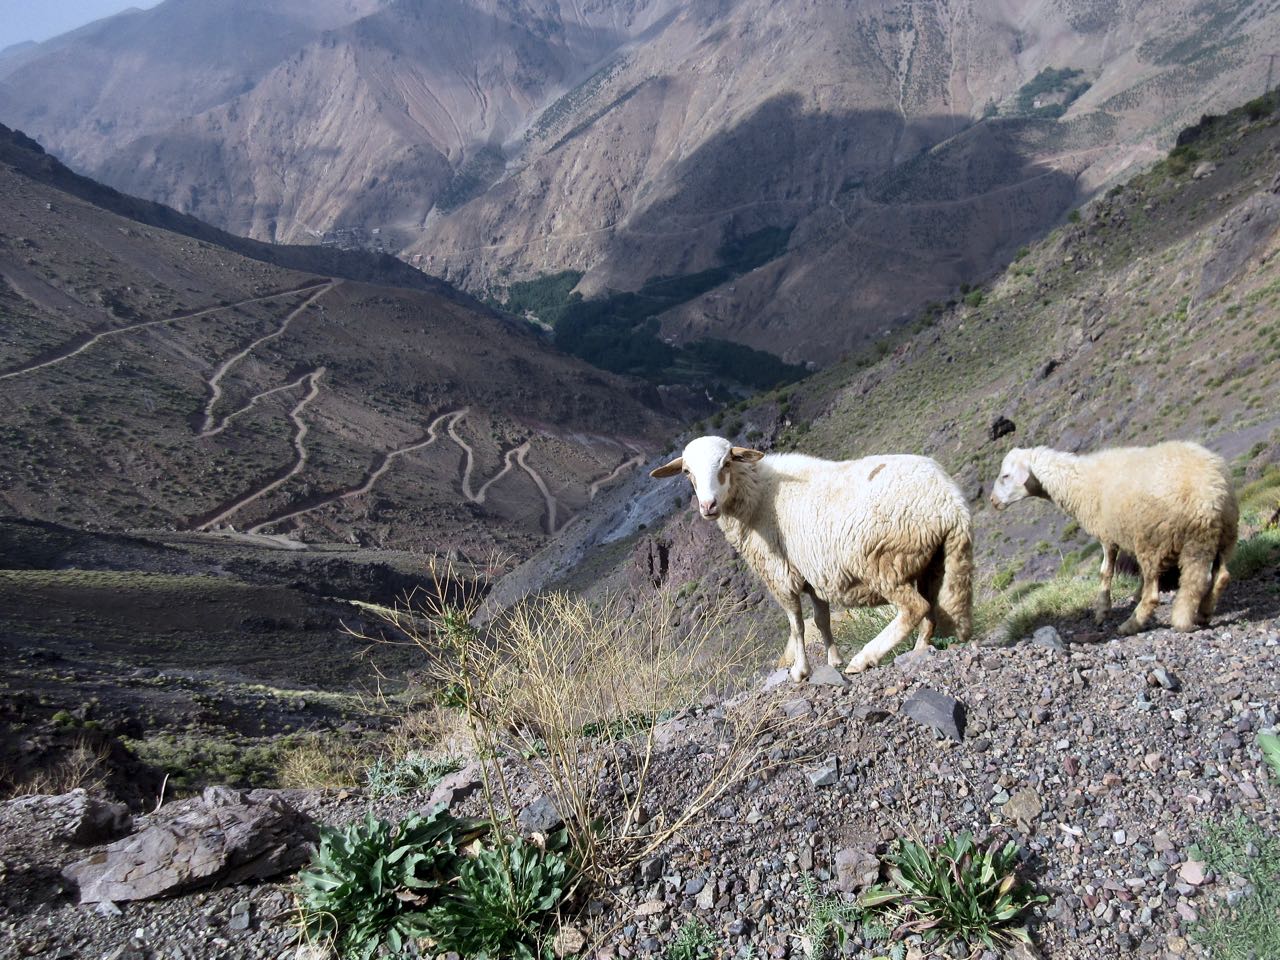
On this excellent road I saw very few vehicles. A lot of sheep.
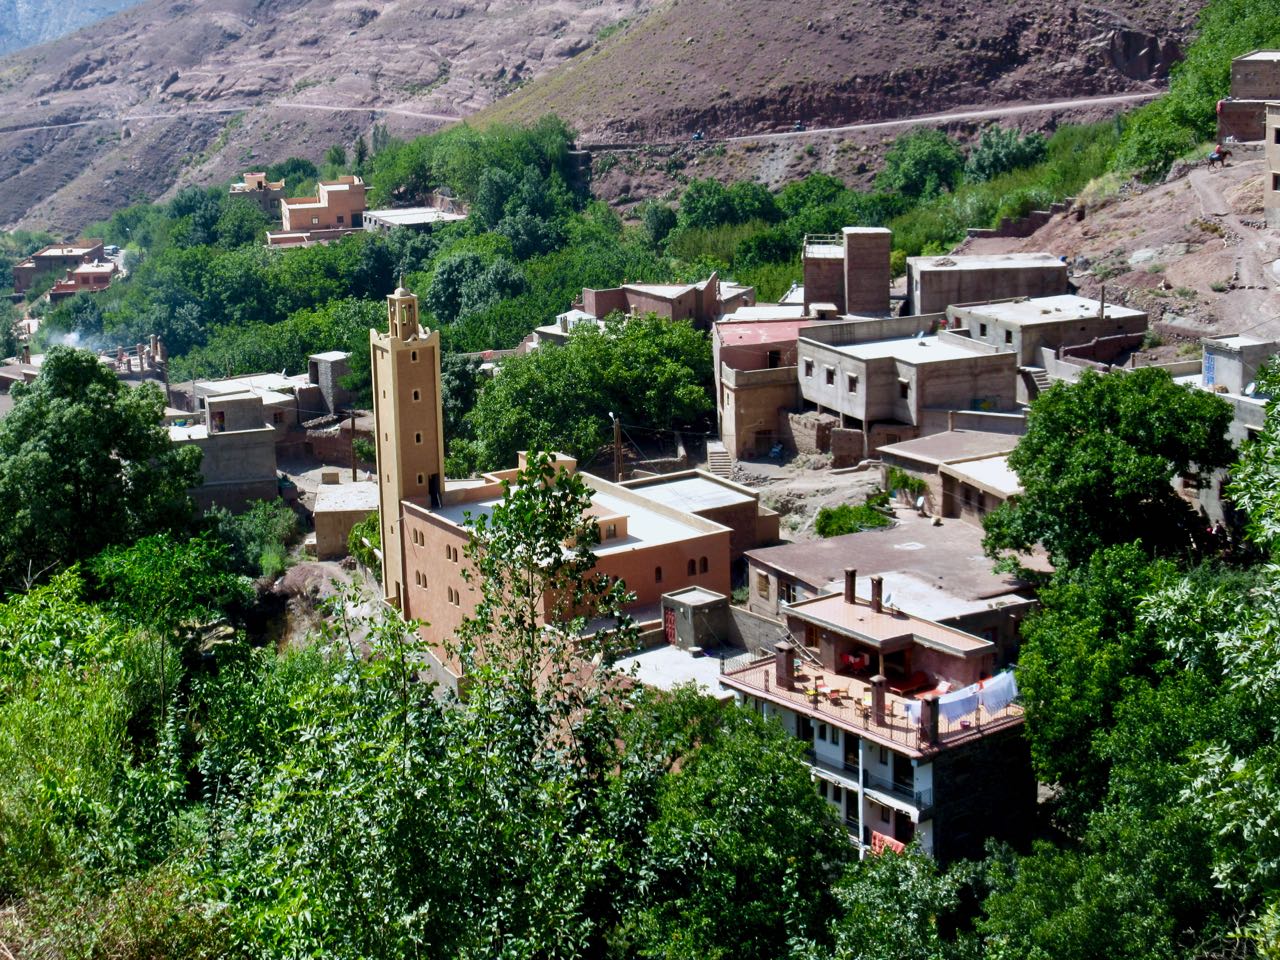
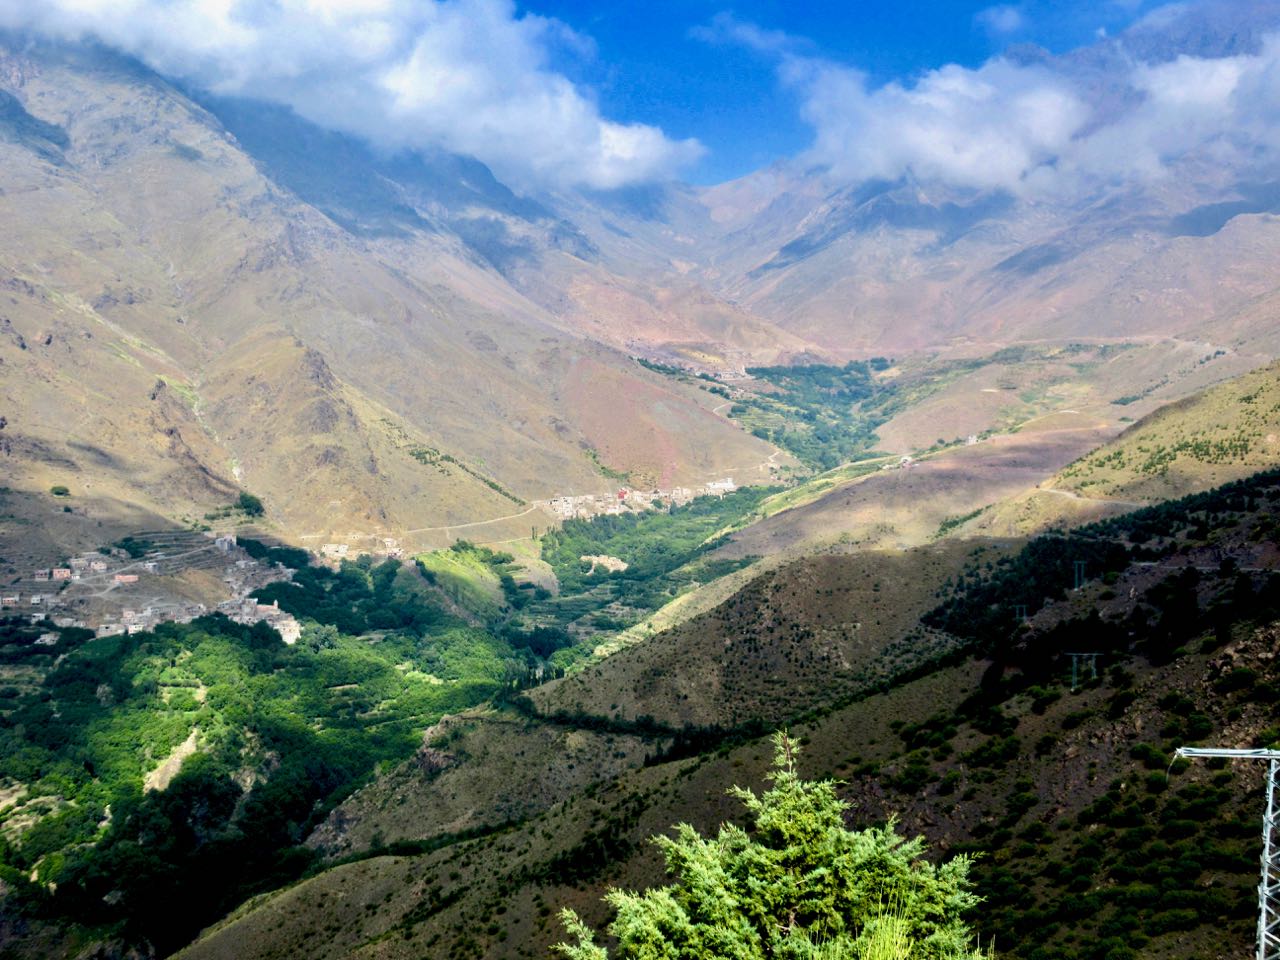
I walked up this valley past Berber villages Talate n’Chaoute, Tamguist and Ouaneskra.
Many locals ran out to greet me urging I stay in their homes or camp in their yards. I was unimpressed by most explaining that I planned to hike until 7pm.
Finally I passed a young man with a Canada cap. Stopping to chat with that group I met a guesthouse manager named Aziz. I liked him instantly. Everyone who passed by had a friendly word with him. Popular and charismatic.
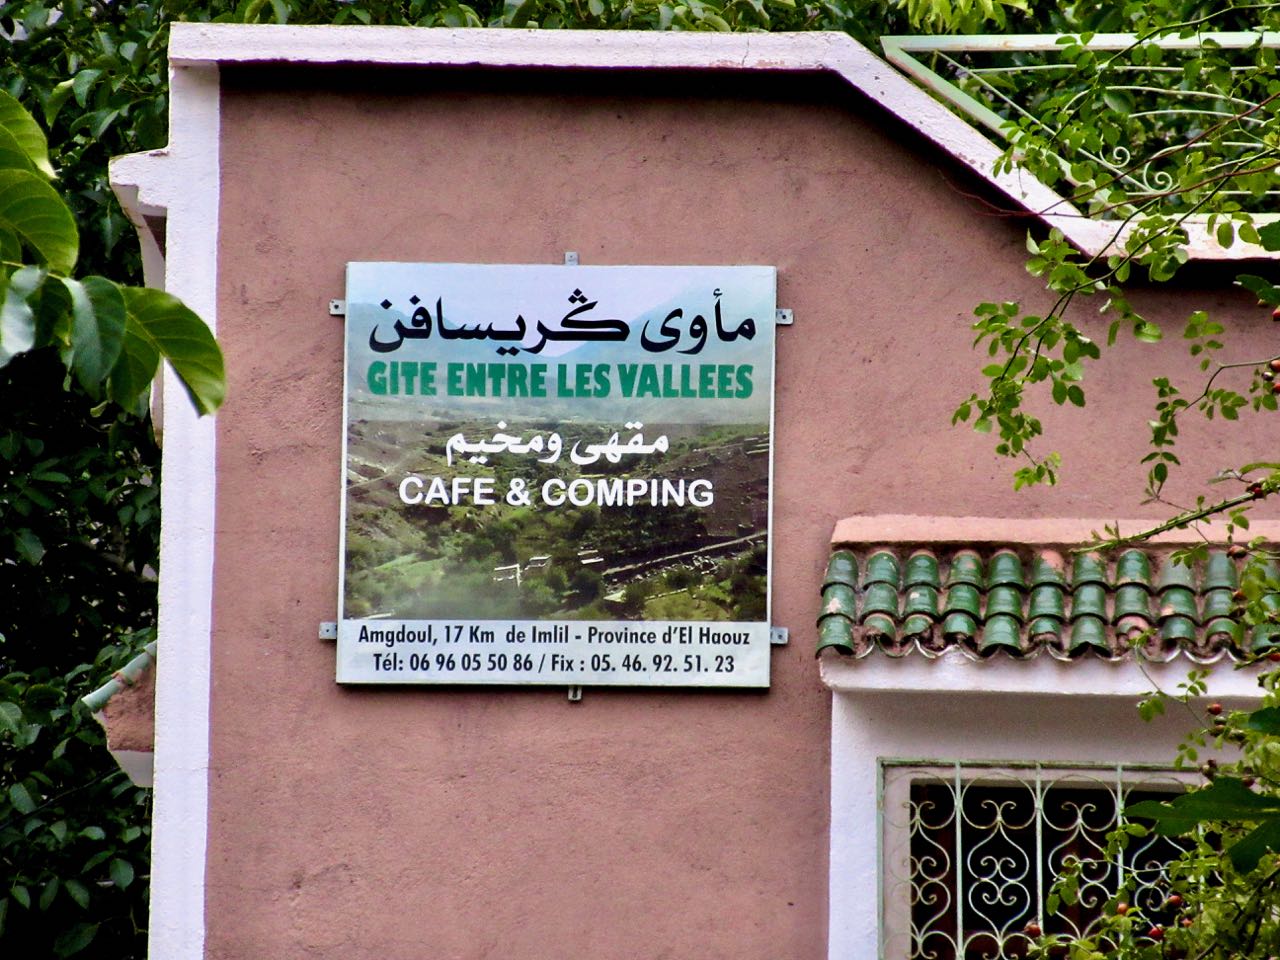
I decided to “comp” at Gite Entre Les Vallees. Aziz was surprised I didn’t want instead to sleep in any of the 13 empty beds he had inside.
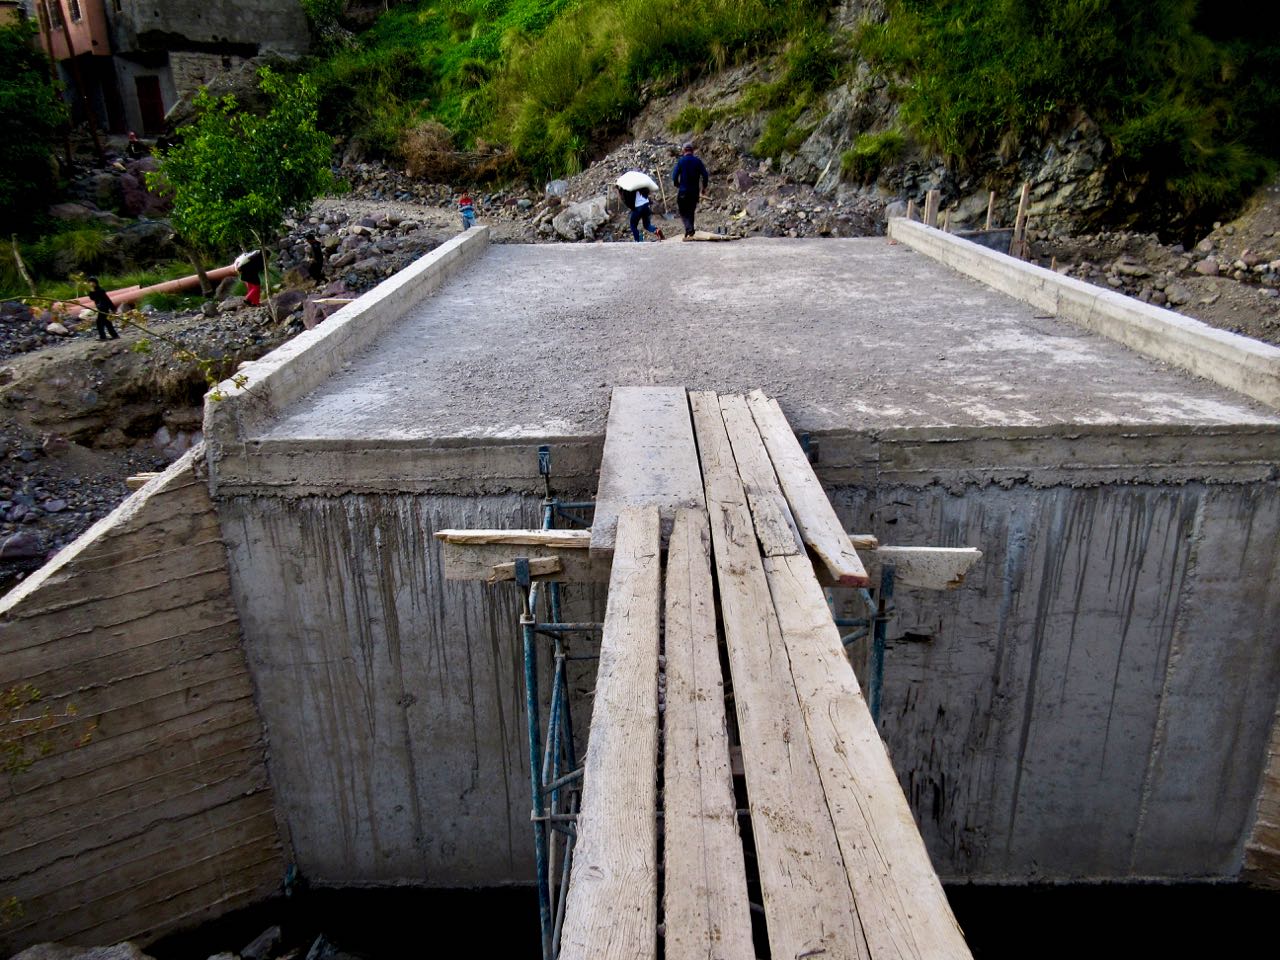
His location is ideal. A new bridge is being built across the river right next door. Soon he’ll have all the traffic.
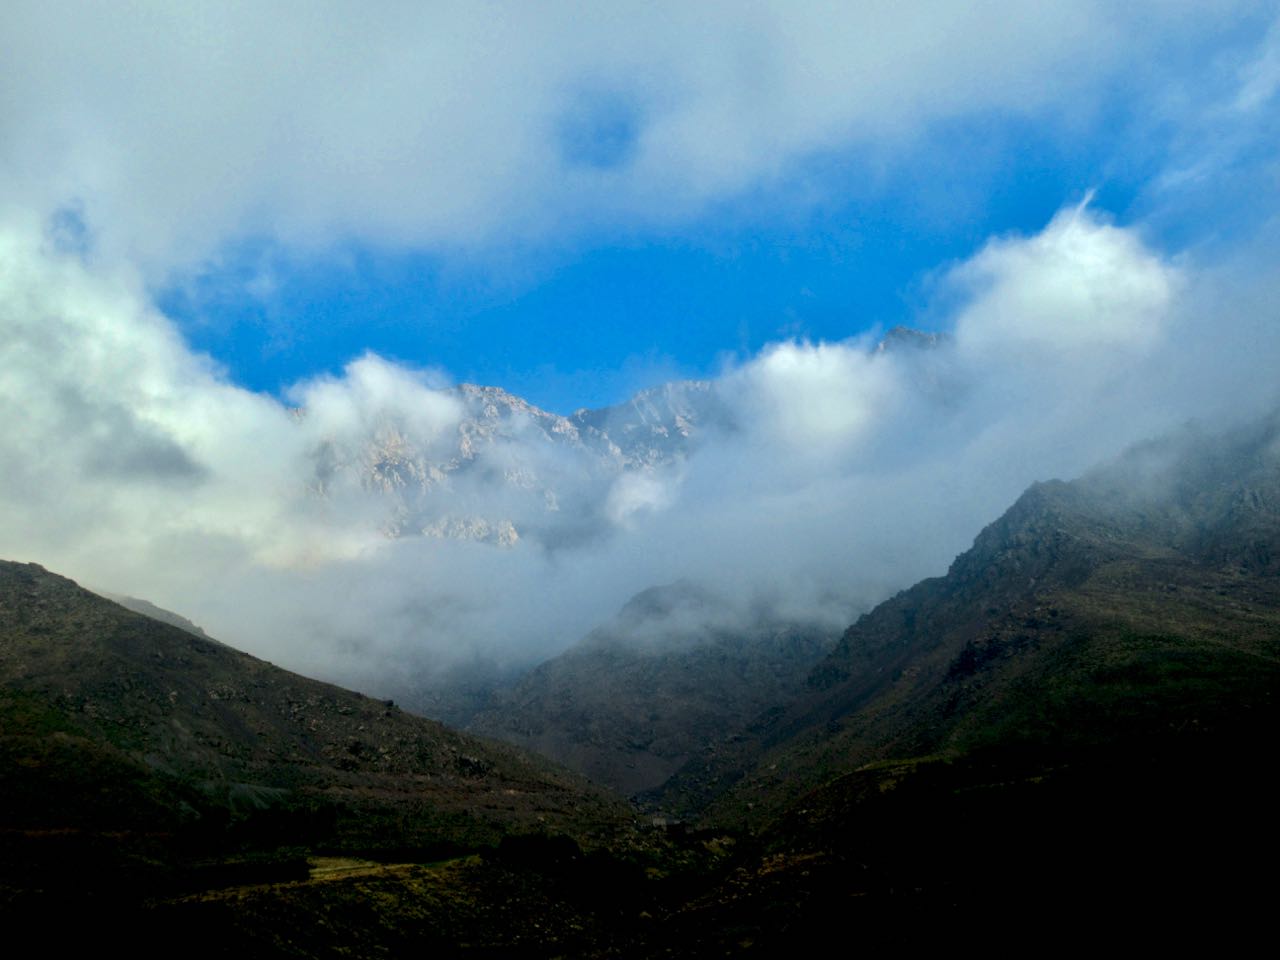
Before dinner I went for a walk on the other side of the valley to try to see my route for the next day. It looked intimidating.
I still had no idea which of those passes was the one I’d need to cross.
I did meet some French hikers who’d come up with a rent-a-car to climb a peak on this side of the valley. Acclimatization. It was over 3000m.
The first time I went to take a photo of a Berber woman in the fields she called up to me NO PHOTOS. I respected that injunction for the rest of the trip.
In South America early 2018 I quickly learned that most every tourist was using the free maps.me app every day.
I was using Google Maps offline.
Google has the best map data in the world.
Maps.me uses Open Street Map data.
Soon I was using both apps and comparing the results. Google Maps offline might be better but it’s far more complicated. You must define the exact square area you want to download. Files sizes are huge.
Maps.me does only one thing.And it does it well.
Opening the app in a new geographical area while on wifi results in one prompt asking if you want to download the maps for your current area. It’s dead easy.
Offline it uses GPS to pinpoint your location.
Surprisingly some hiking trails are included in the Open Street Map data.