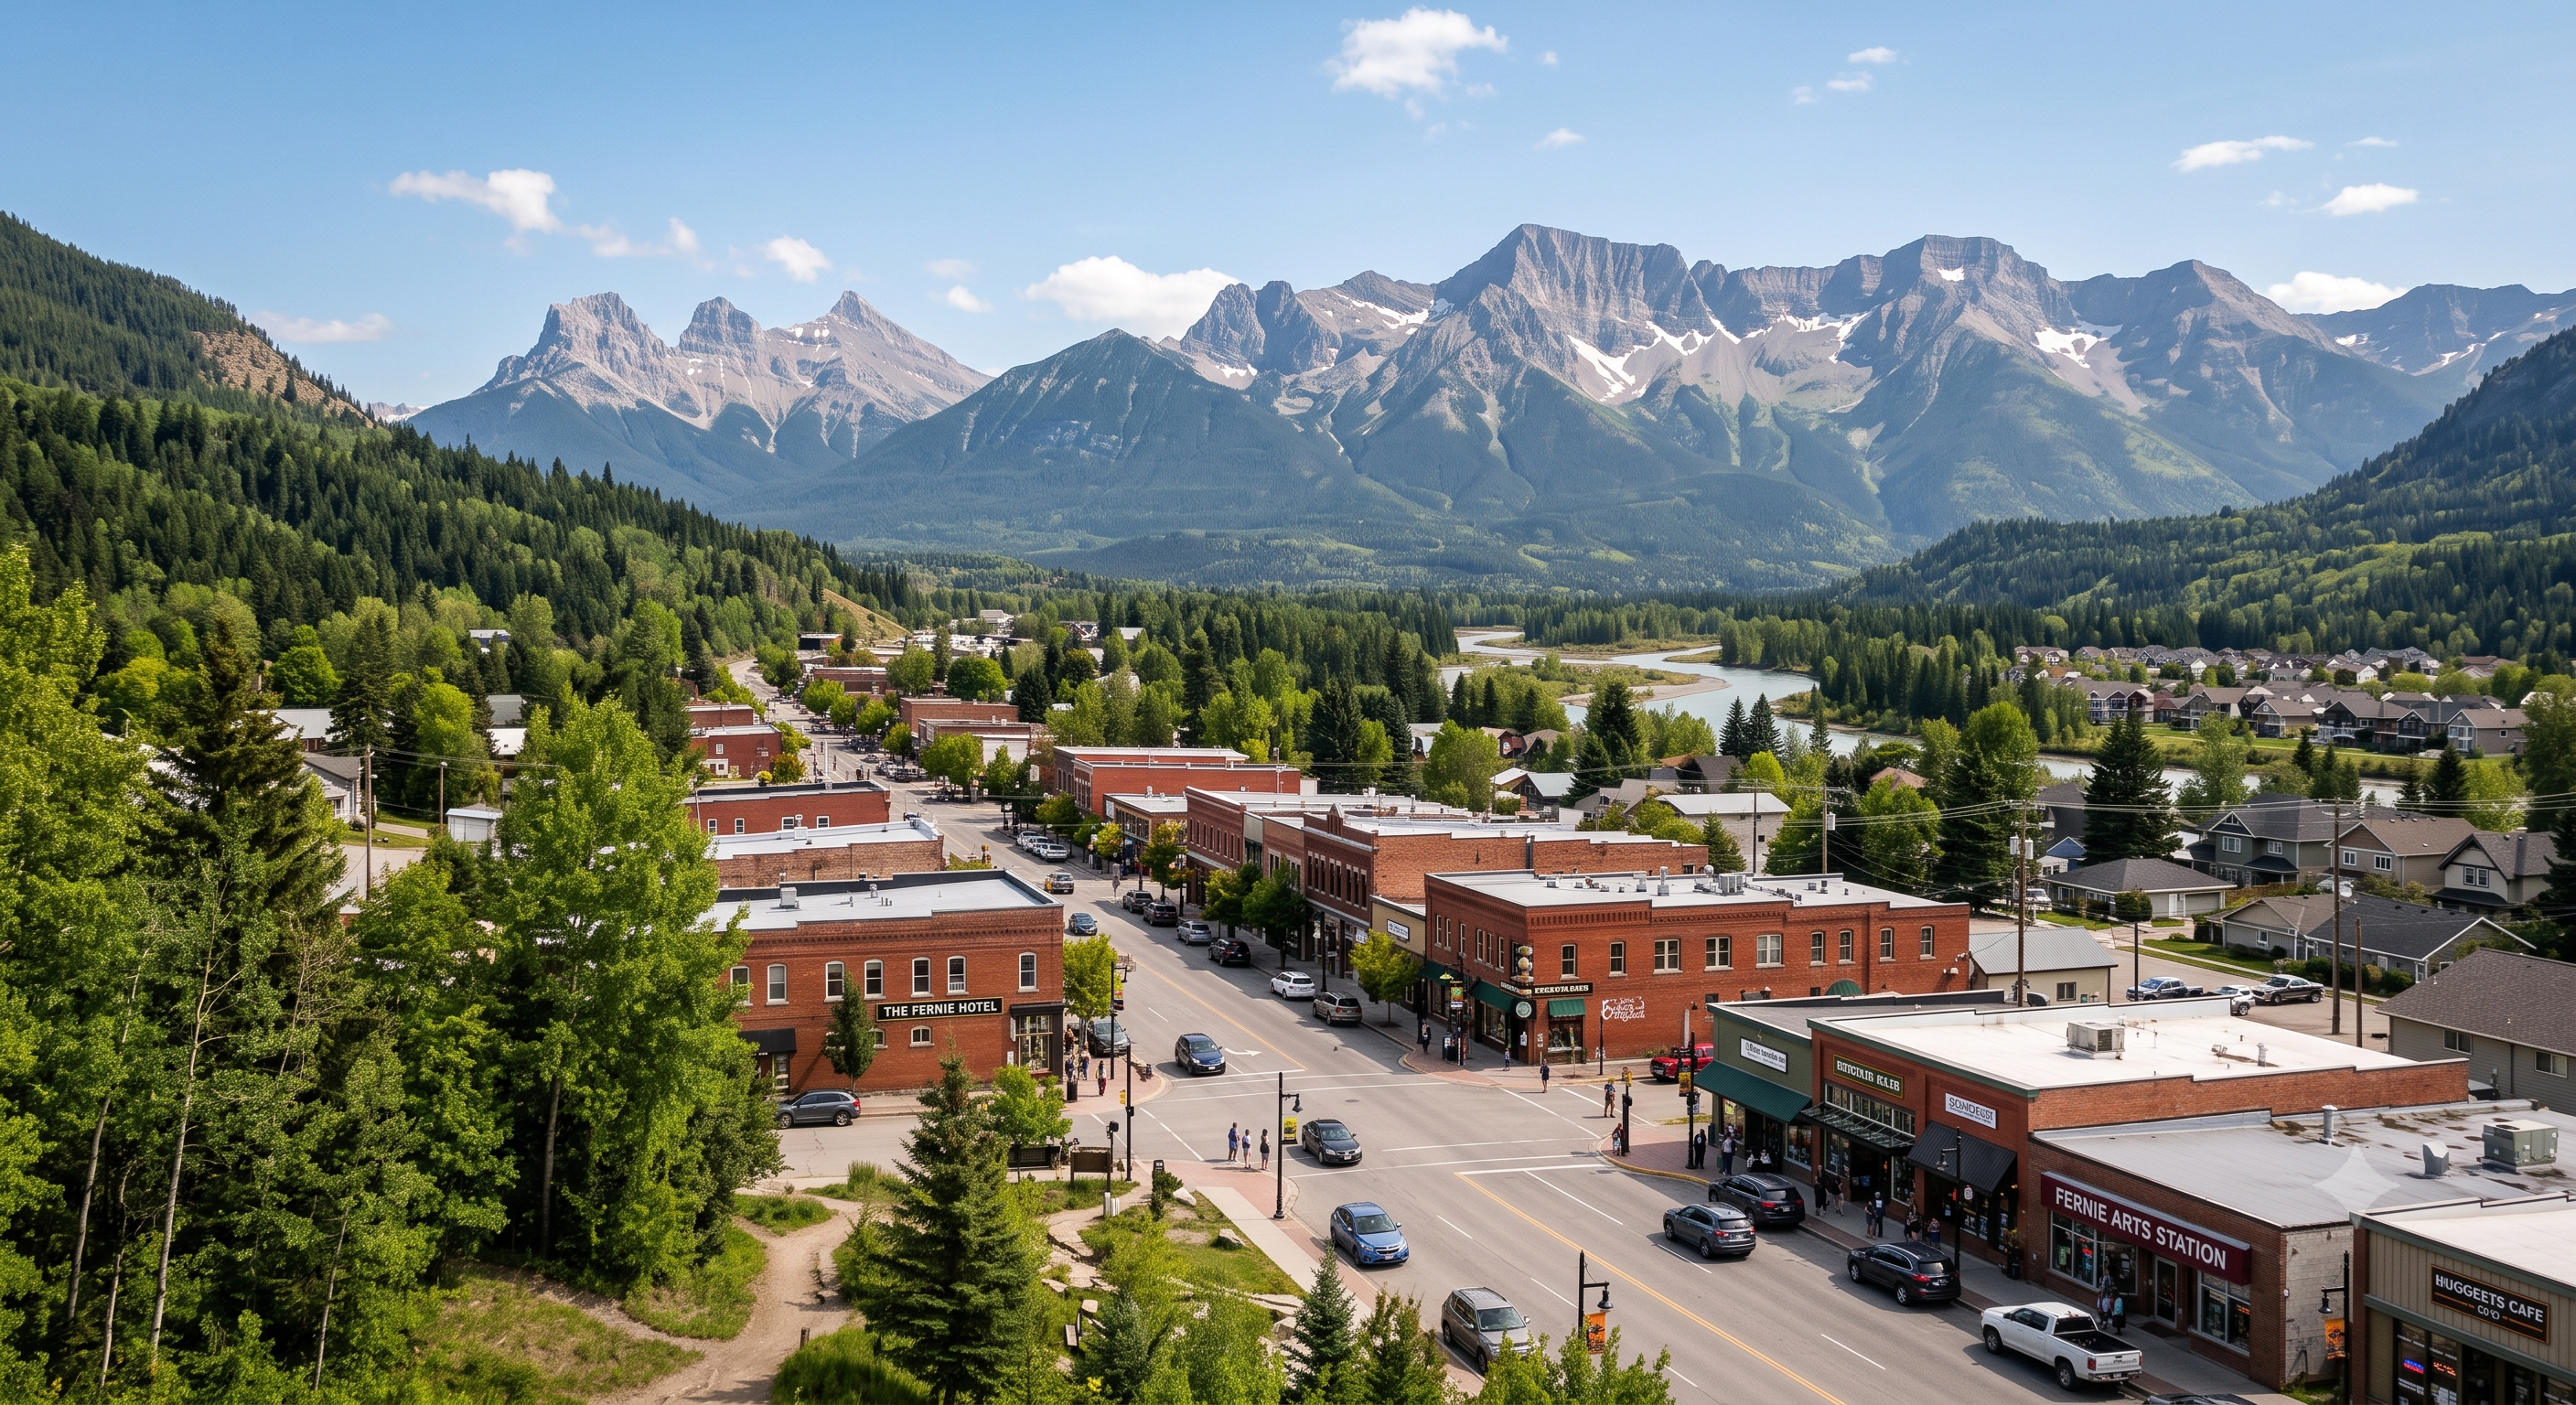
Fernie B.C. – GREAT Mountain Town

Though Iโ€™ve driven through Fernie, British Columbia, at least 100 times, Iโ€™d never before stopped as a tourist. ย 

It’s fantastic.

A.I.

A year round outdoor recreation mecca.

Hiking. Mountain biking. Rafting. River tubing.

Not to mention world-class fly fishing on the Elk River for cutthroat and bull trout.

Fernie is most famous for Alpine Skiing and Snowboarding.

There areย over 300 kilometersย of multi-use recreational trails accessible directly out of town.

The owner of Edge of the World snowboard shop pointed out that he can hike or bike in any direction from town โ€” and be on a fantastic trail in minutes. (He also had to deploy bear spray to dissuade a Black Bear on the day of my arrival. There is plenty of wildlife around Fernie.)

There are 4 dedicated bike and outdoor shops in a town of less than 6500 locals!

tourismfernie.com

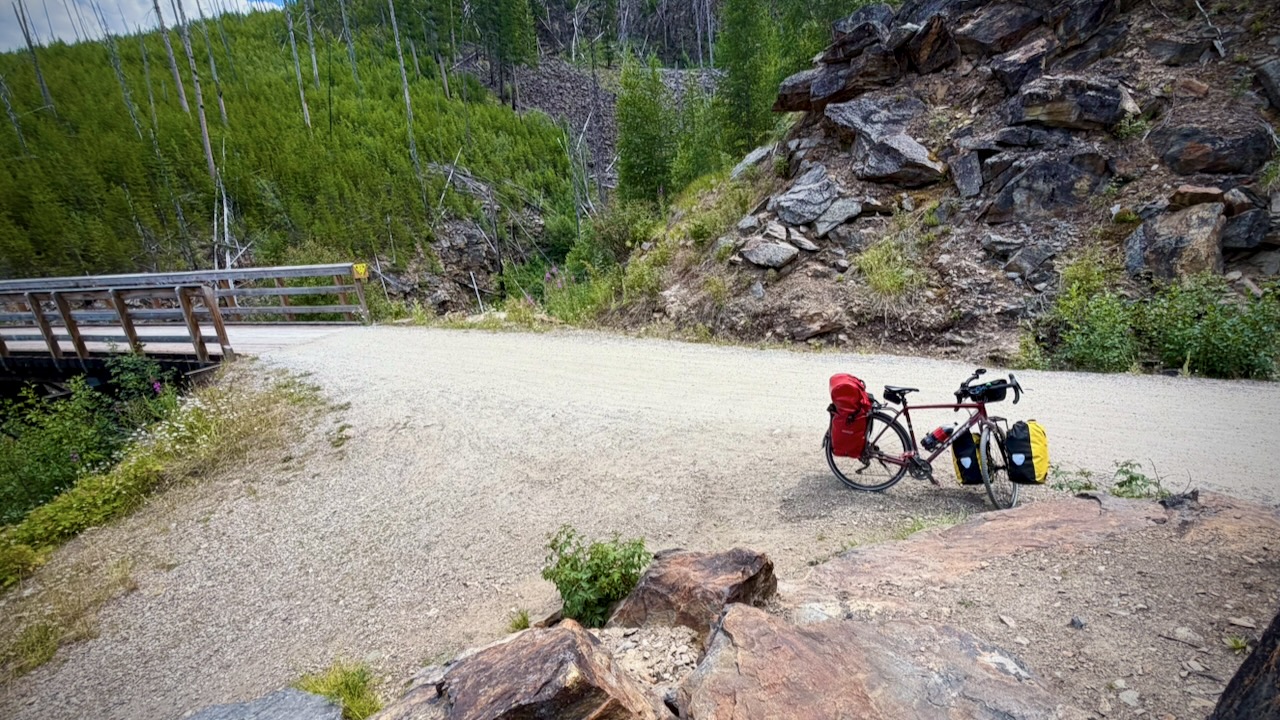
I only ended up exploring Fernie because I broke down my Bikepacking trip nearby.

I’ll be back for sure.

11 Days Cycling Vernon to Fernie, B.C.

Trip report by BestHike editor Rick McCharles

Out visiting friends in Kelowna and Vernon, my original plan was to cycle back to Calgary on the Trans Canada (Great) Trail.

I’d cycled Vancouver to Calgary on this route in 2020 โ€” so well knew the challenges. ๐Ÿ˜€

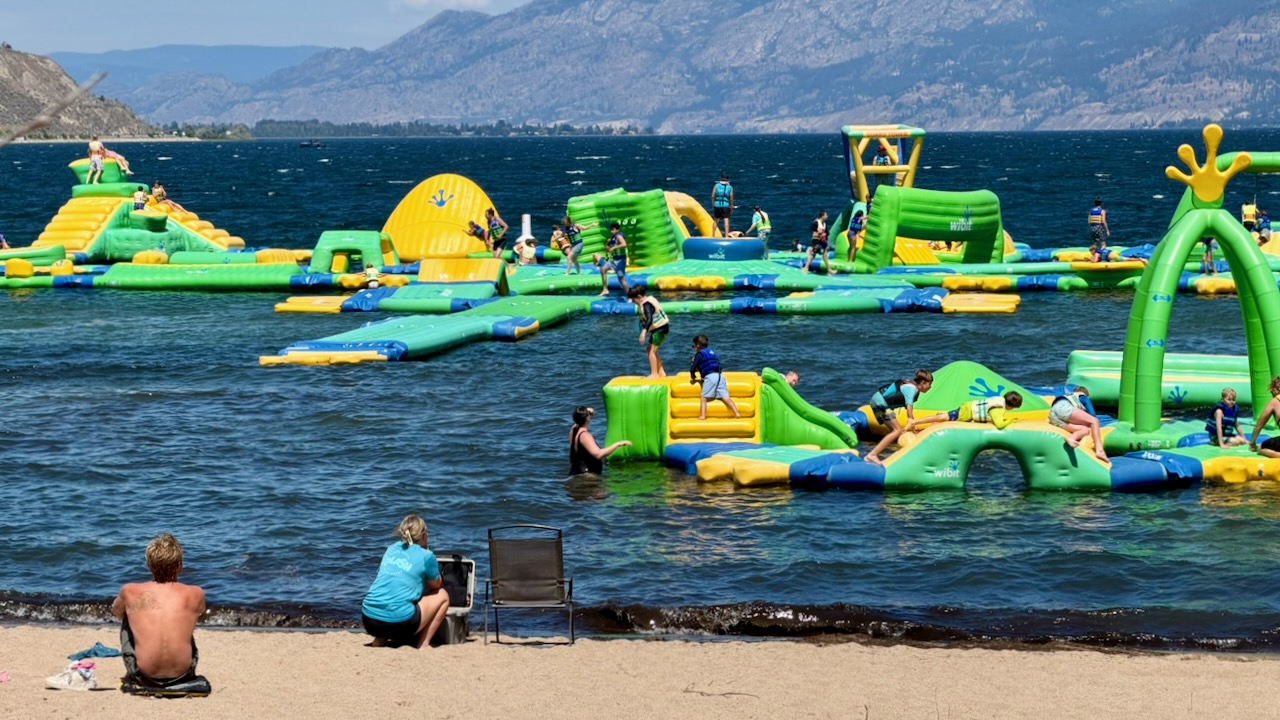
Vernon, Kelowna, Penticton

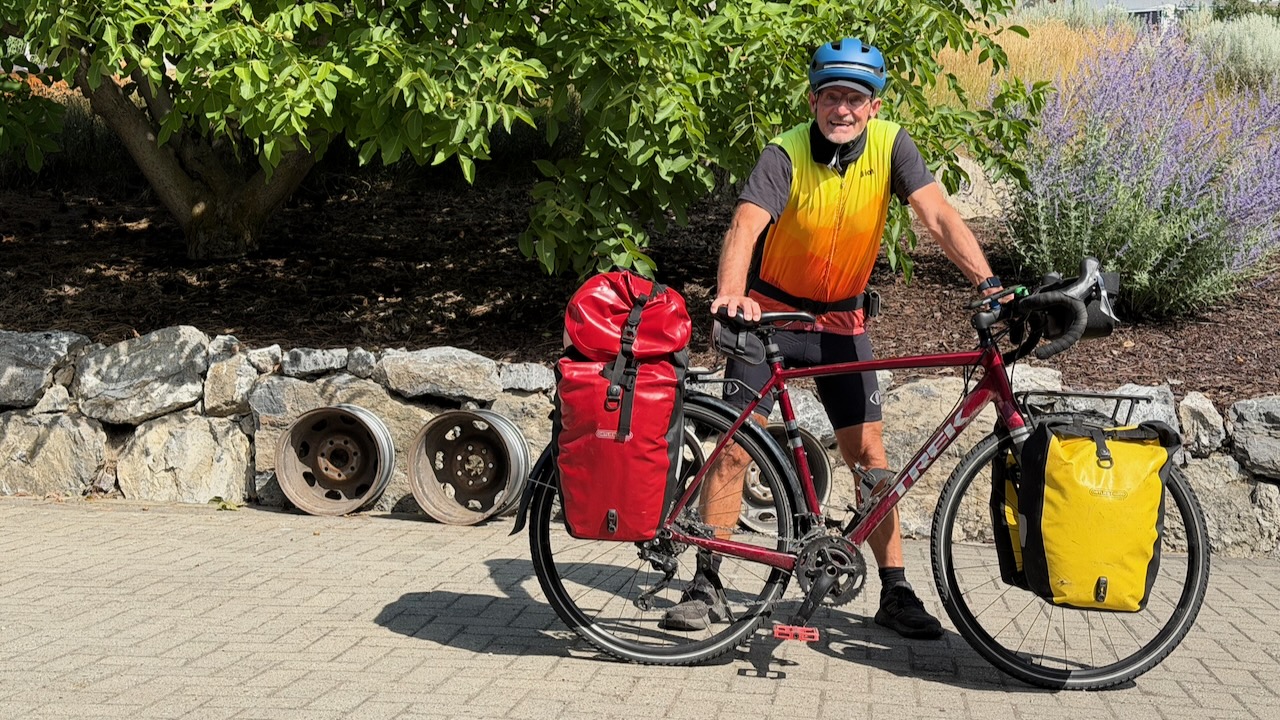
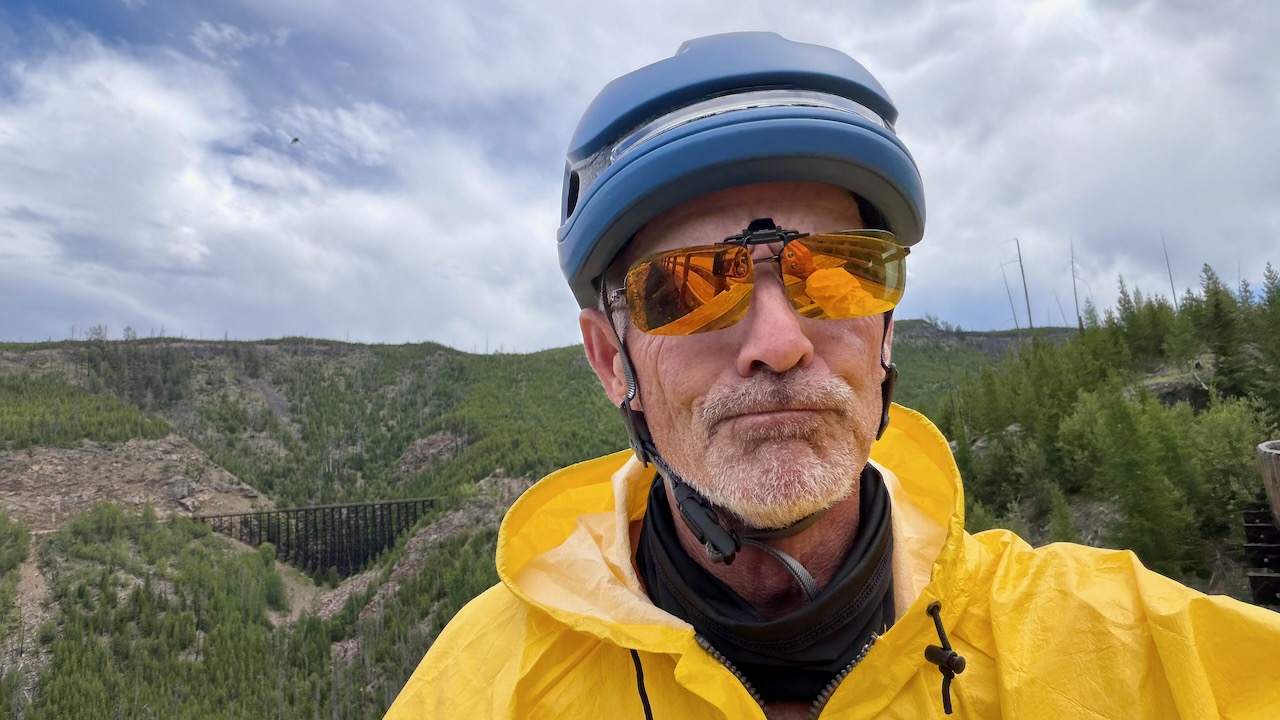
Here I am setting out from Vernon. Clean & keen.

I stopped by Sun Country Cycle in Vernon to have them top up air in the tires and look over the bike for any potential problems.

The Okanagan Rail Trail leaving Vernon is fantastic. This is not part of the Trans Canada Trail.

As you get closer to Kelowna, the route is not nearly so good. I was hurting, as well, and could barely walk after only about 60km. I checked into the hostel in Kelowna wondering if I’d be able to continue. My muscles were cramping badly.

BUT I did make it to Penticton. Still hurting, but less and less.

AND was able to cycle up to the Myra Canon trailhead โ€”ย though the 945-meter elevation gain at never more than 2% grade in the HEAT was tough!

I crashed that night.

Myra Canyon Trestles & Tunnels

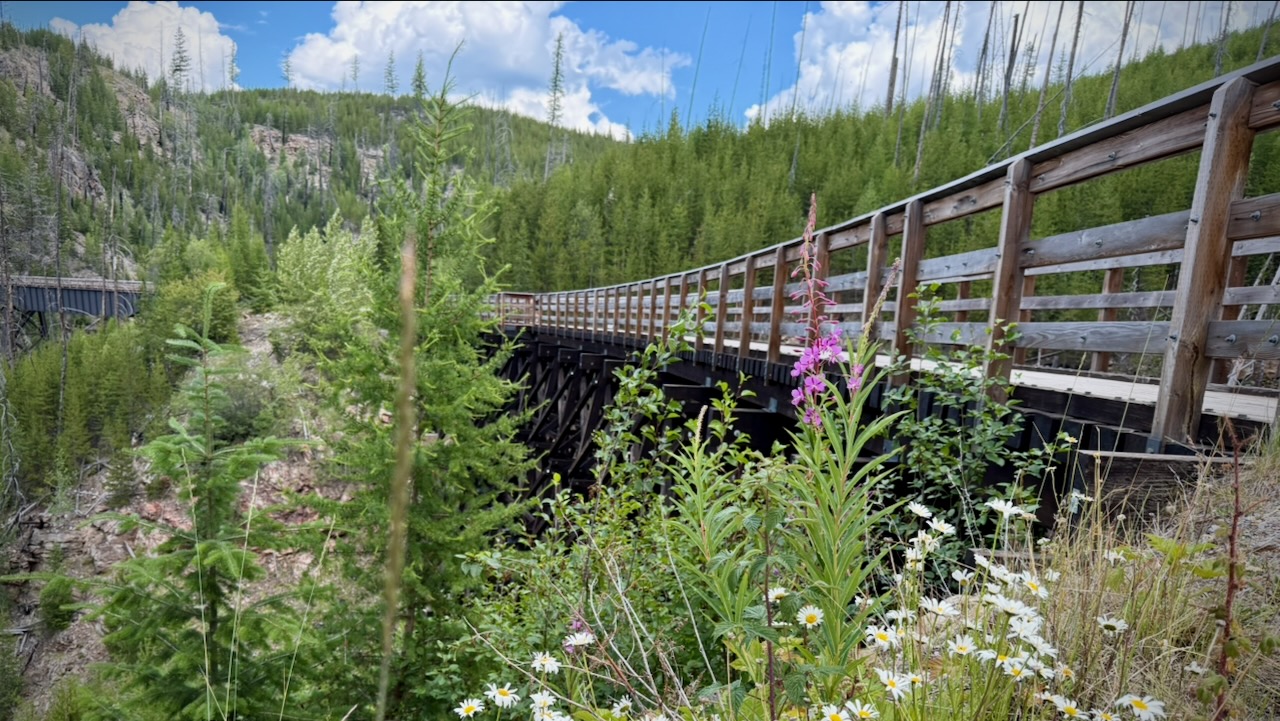
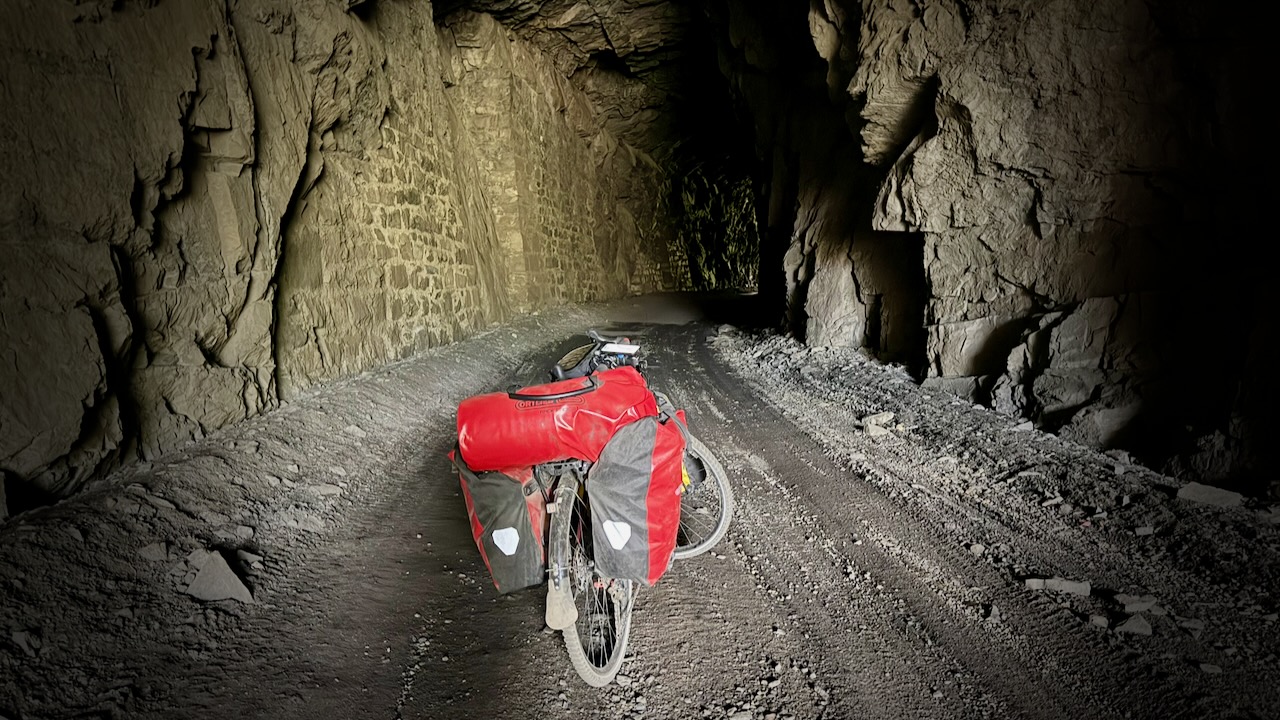
The 18ย trestlesย and 2ย tunnelsย are one of the highlights of the entire Trans Canada Trail. This was my 3rd time here and I enjoyed them as much as ever.

Click PLAY or watch it on YouTube.

Kettle Valley Rail Trail

Myra Canyon is one small part of the 650 km Kettle Valley Rail Trail.

I continued on the KVR towards Calgary.

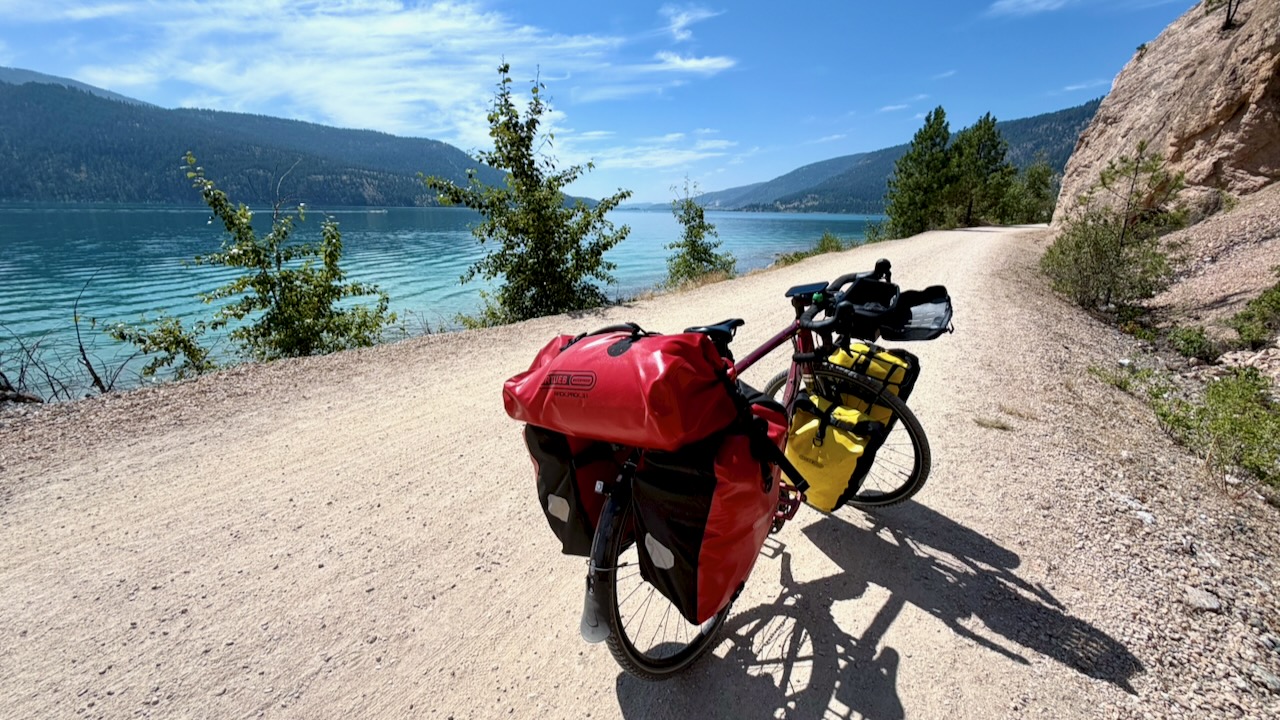
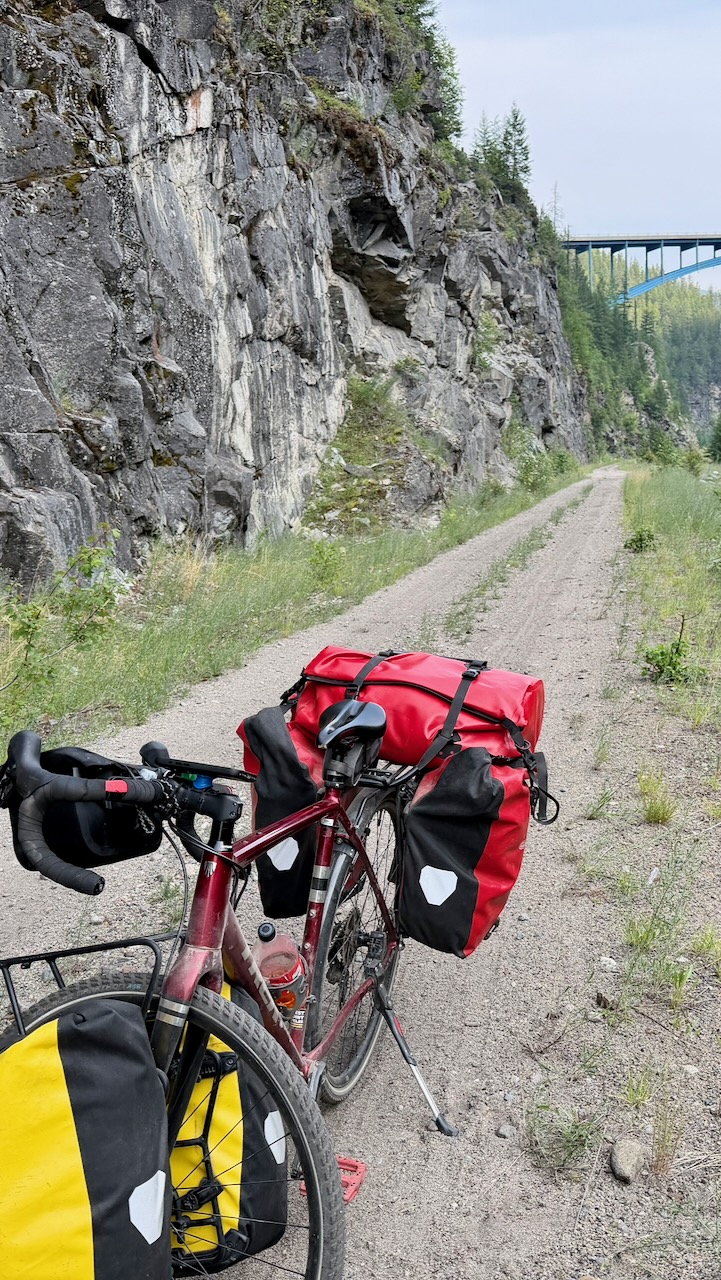
Fantastic views โ€” though the surface near Kelowna is very sandy & rocky. Those on eBikes were much happier than me. A good mountain bike would be better, as well, than my gravel bike.

On the other hand, I had the trail to myself most of every mile.

I stopped for coffee at Chute Lake, charging my electronics and filling up about 5 lites of water.

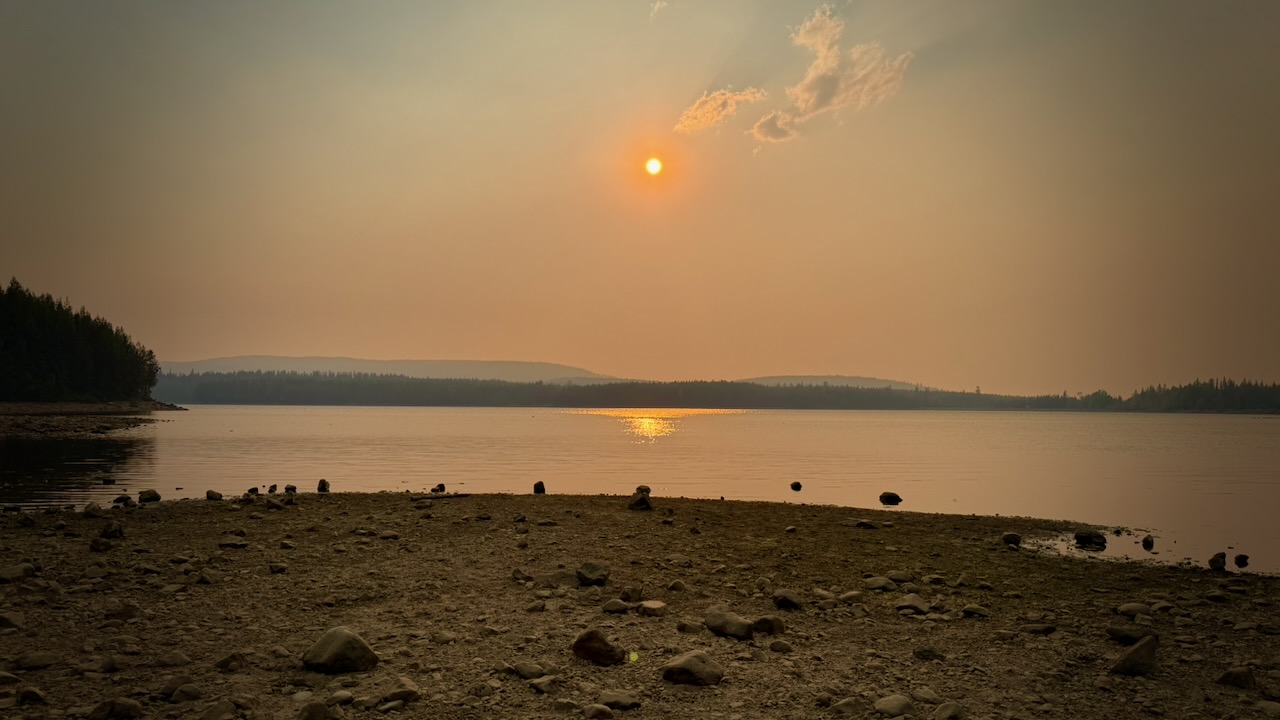
Up high on the trail, this was my brightest fire red sky at night. I was lucky to avoid any worse smokey air.

Columbia and Western Rail Trail

The KVR ends at Midway B.C.

I continued on towards the Columbia and Western Rail Trail. It’s about 162 km connecting Midway, Grand Forks, Christina Lake, and Castlegar.

Great sections, but not nearly as good as the KVR.

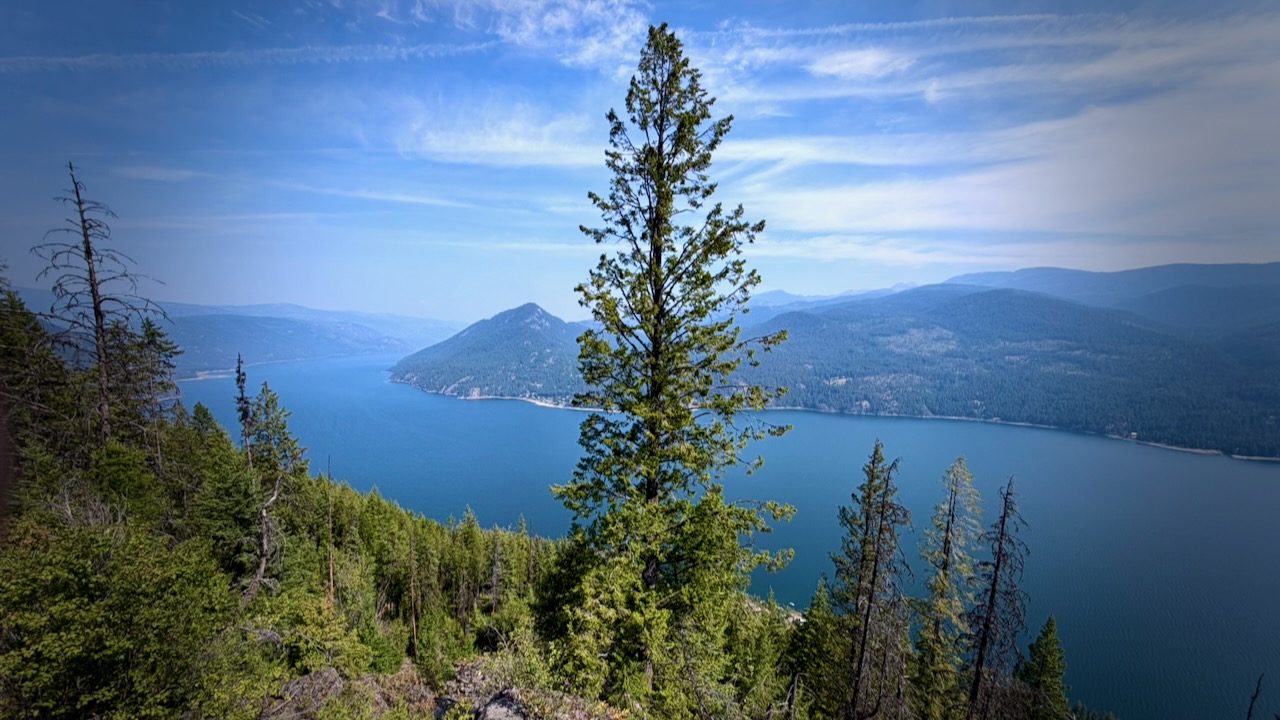
Highlights for me were sweeping views of the Granby Valley, Christina Lake, and Lower Arrow Lake.

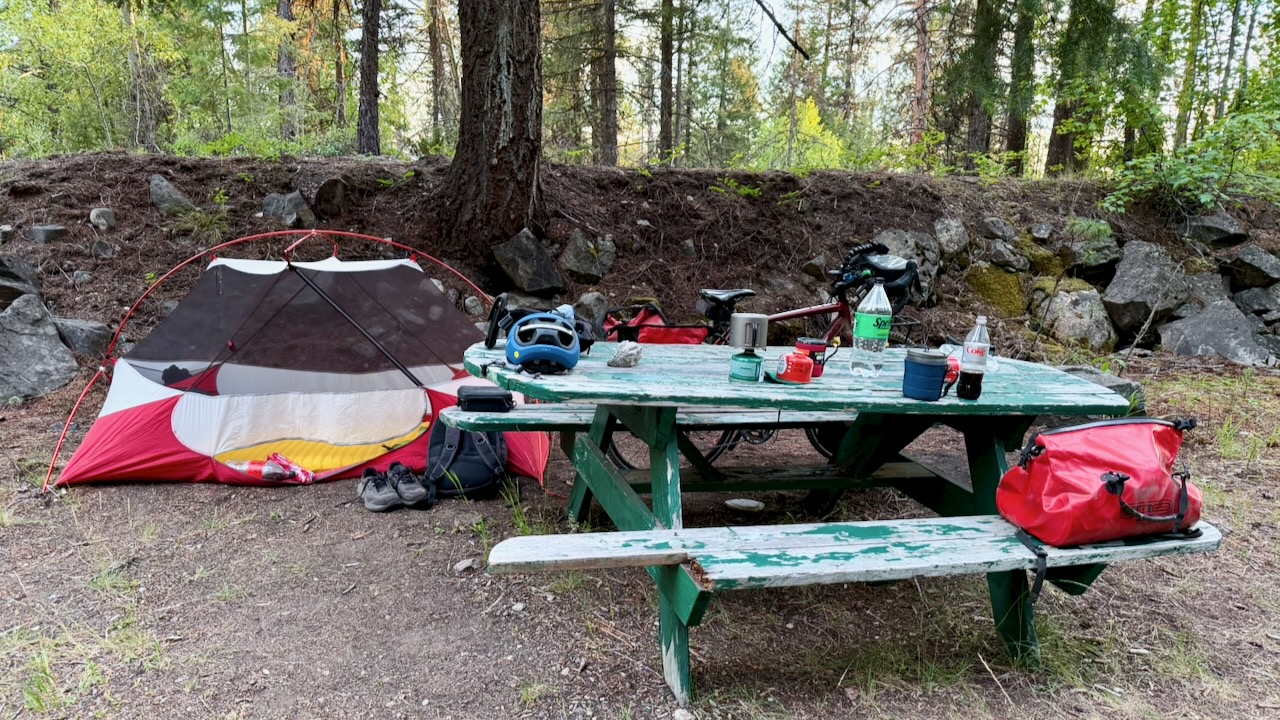
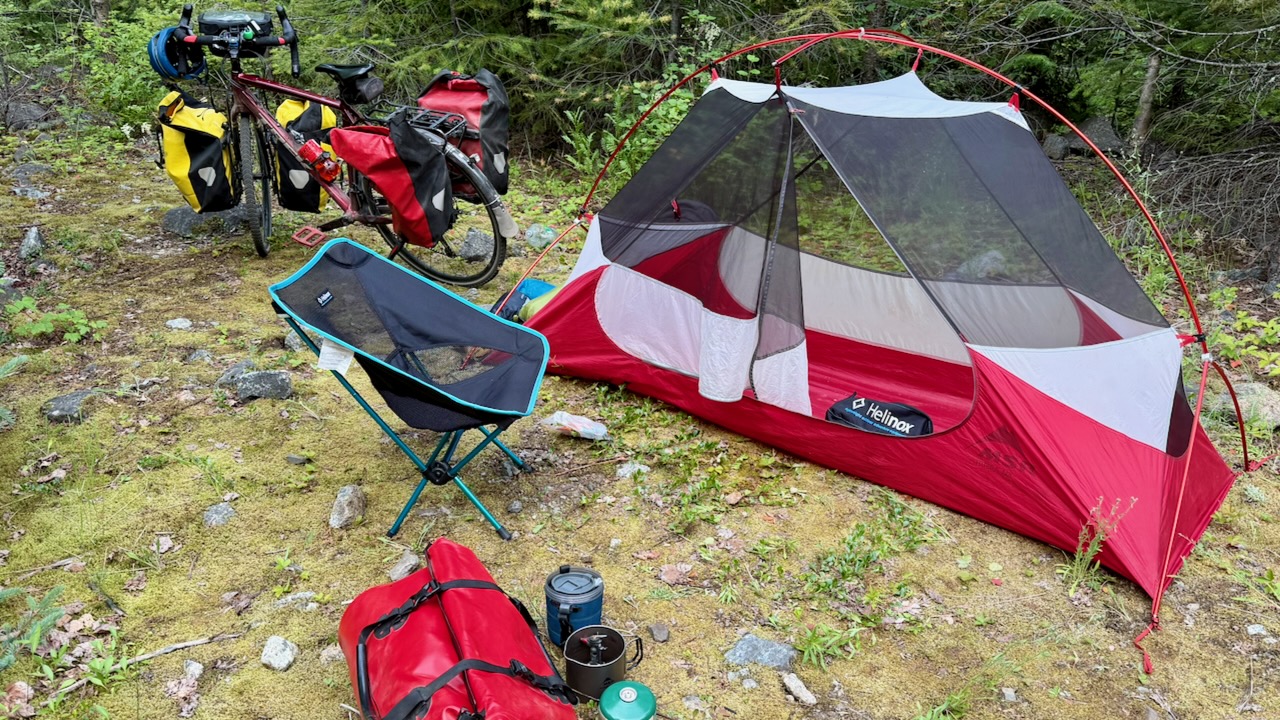
And it offers ideal wild camping โ€” though there are not all that many water sources.

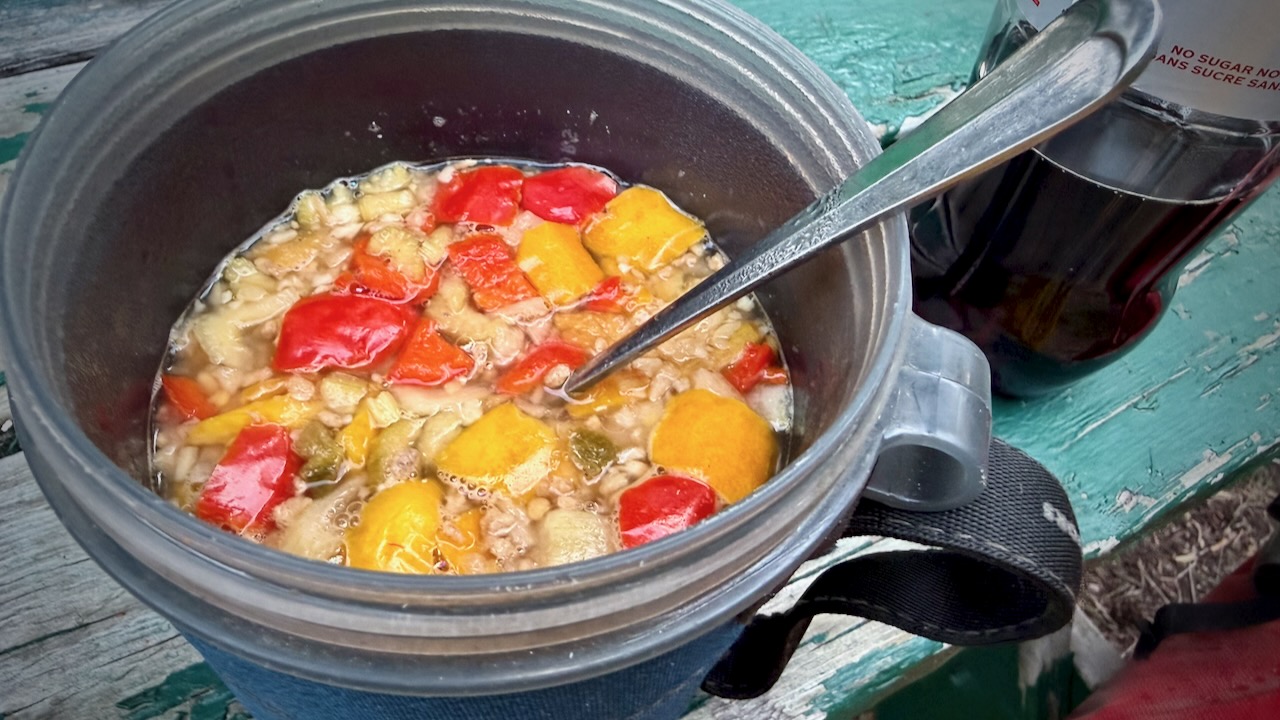
I enjoyed dinner every night, rehydrating meals frozen by my niece. Much tastier than any commercial camping dinners I’ve ever tried.

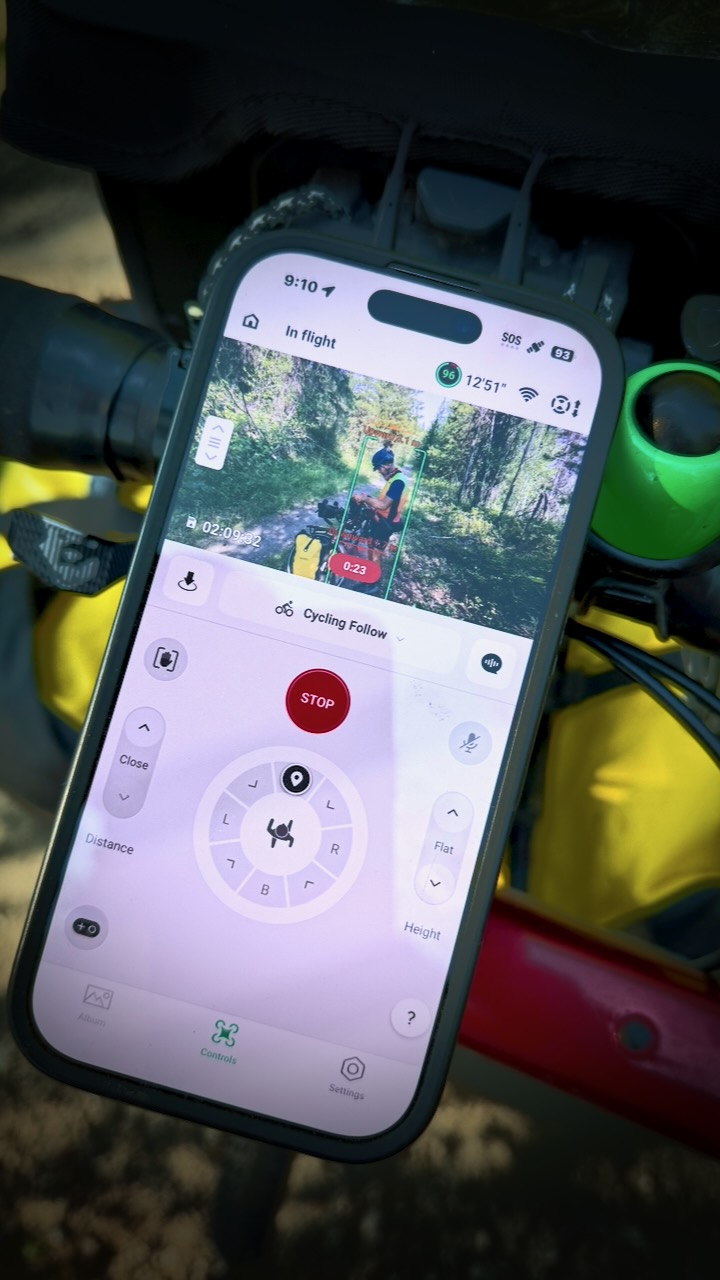
NEW for me is using a toy drone automatically following my bicycle.

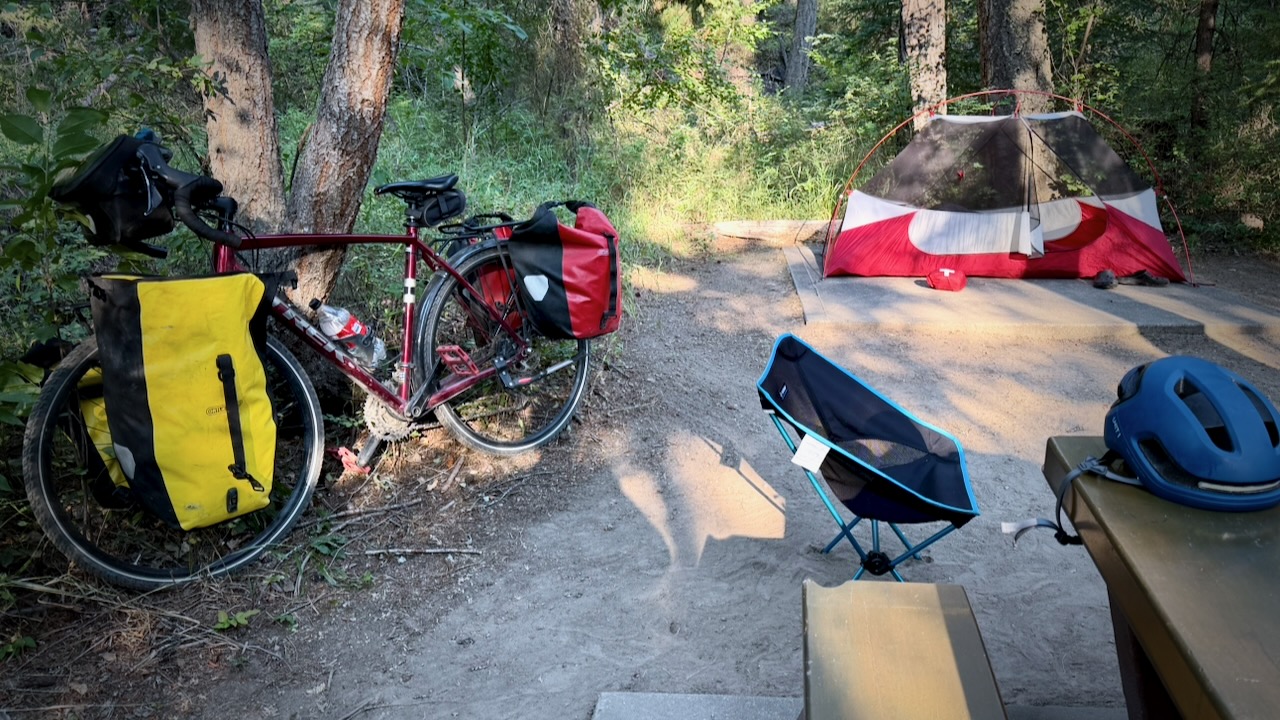
Also new for me while bikepacking, is carrying a portable camping chair.

I love it!

Though rehydrating meals is ideal …

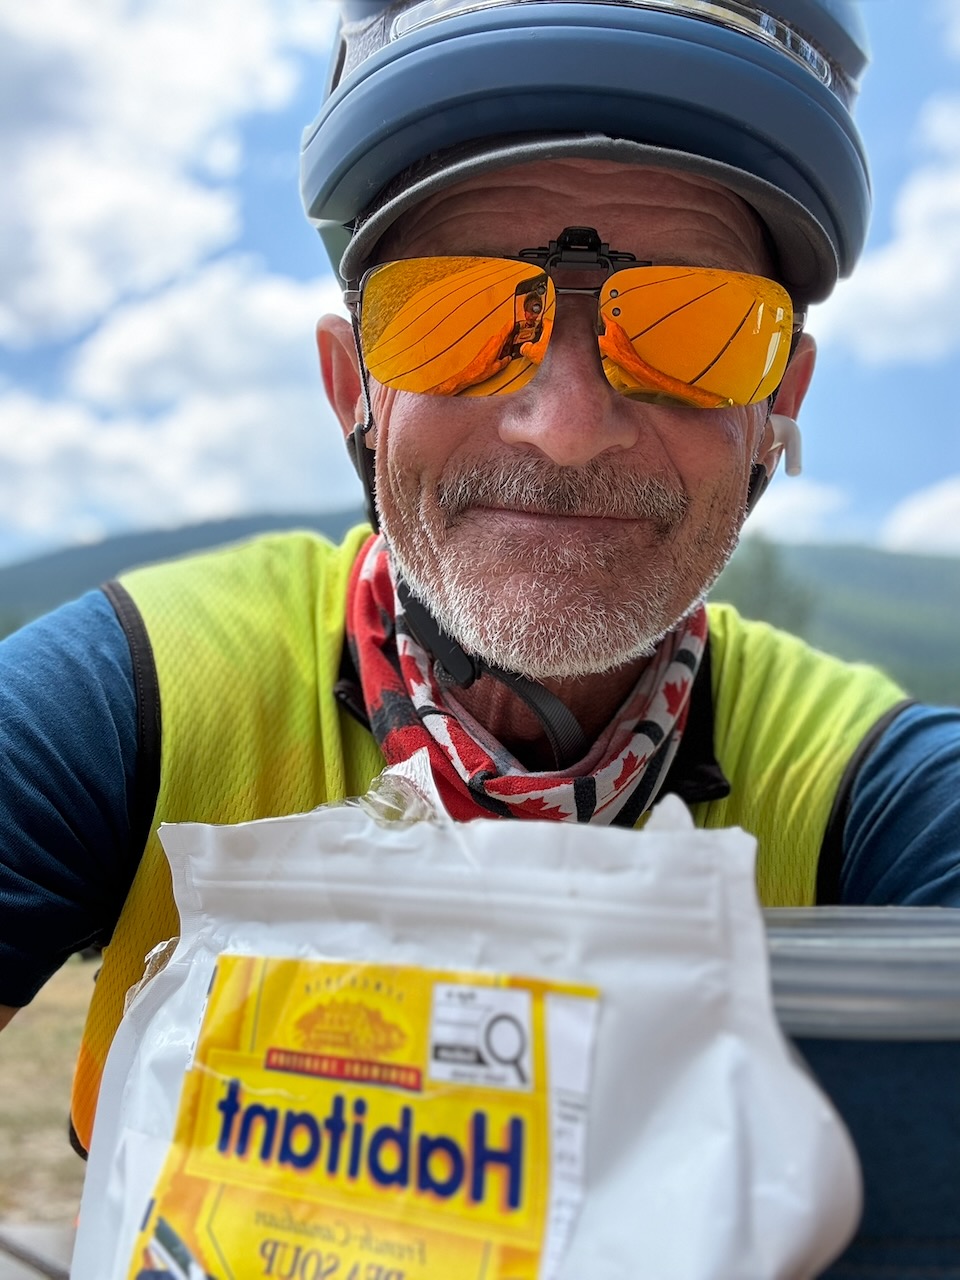
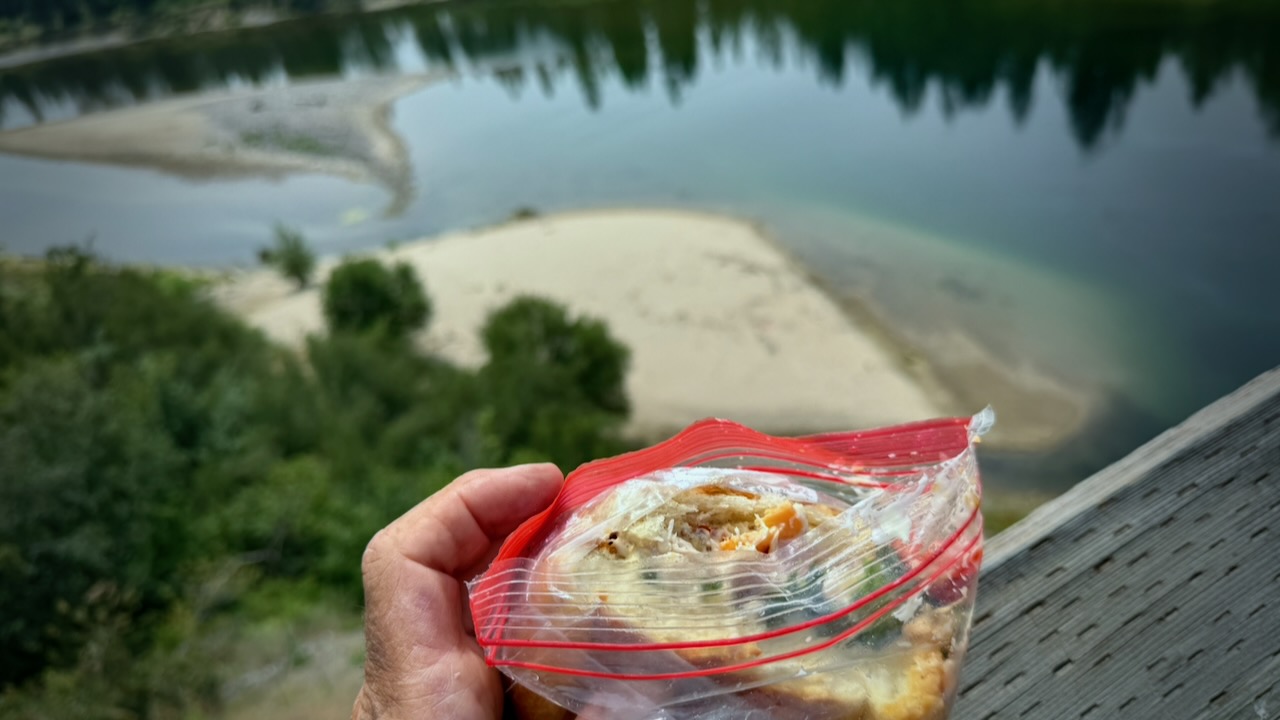
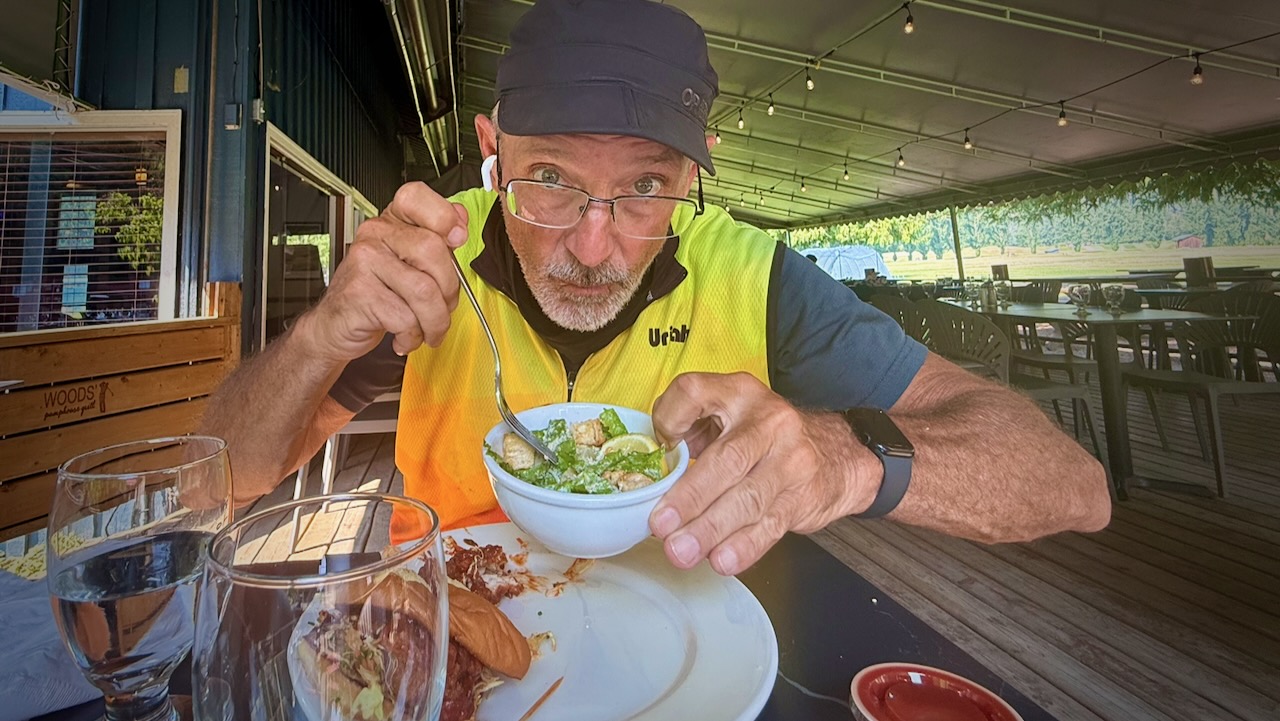
… I eventually had an urge for solid food.

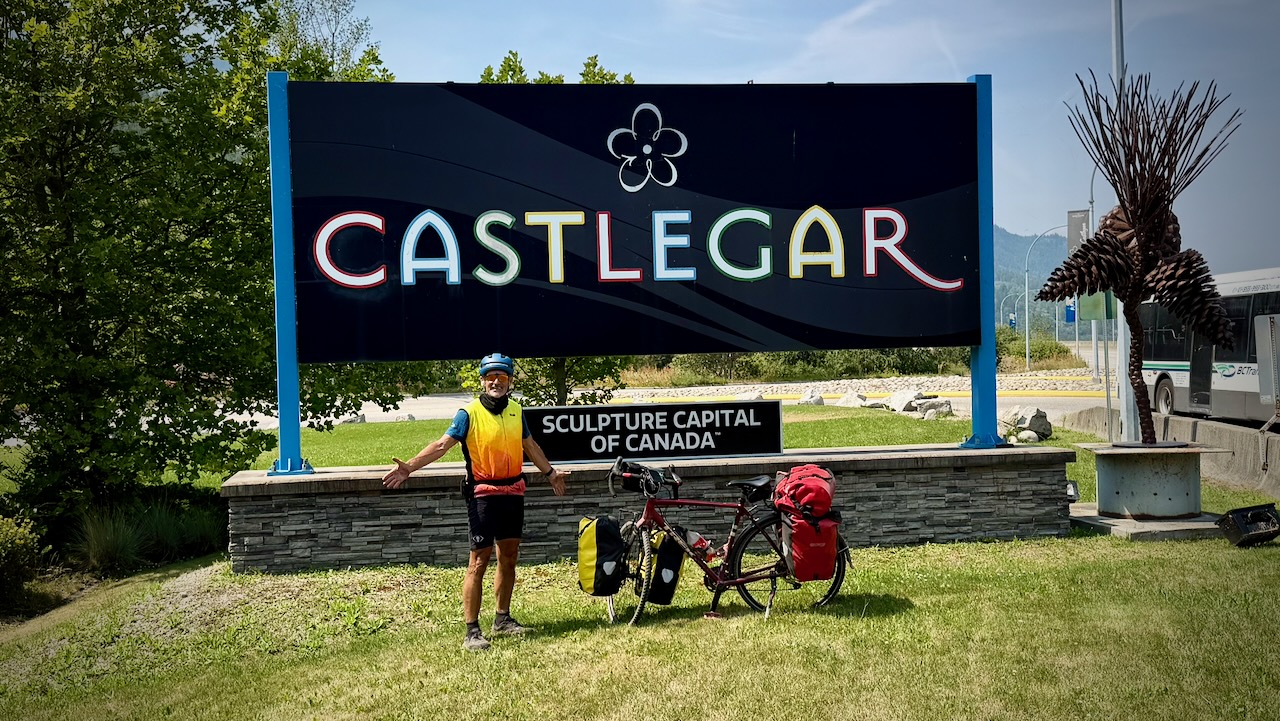
Here I am saying goodbye to the Columbia and Western Rail Trail.

To Nelson & Crawford Bay

As we had a house in Crawford Bay B.C., I was keen to continue on to Nelson and the old homestead. But I was forced on to highways and rural roadways with … HILLS.

Why didn’t someone warn me there were HILLS in British Columbia? ๐Ÿ˜€

After flat rail trails, almost every ascent seems daunting. And HOT.

I love Nelson and checked into the hostel for a night. Happily, my friend Tam happened to be in Nelson at the same time and we were able to catch up for coffee.

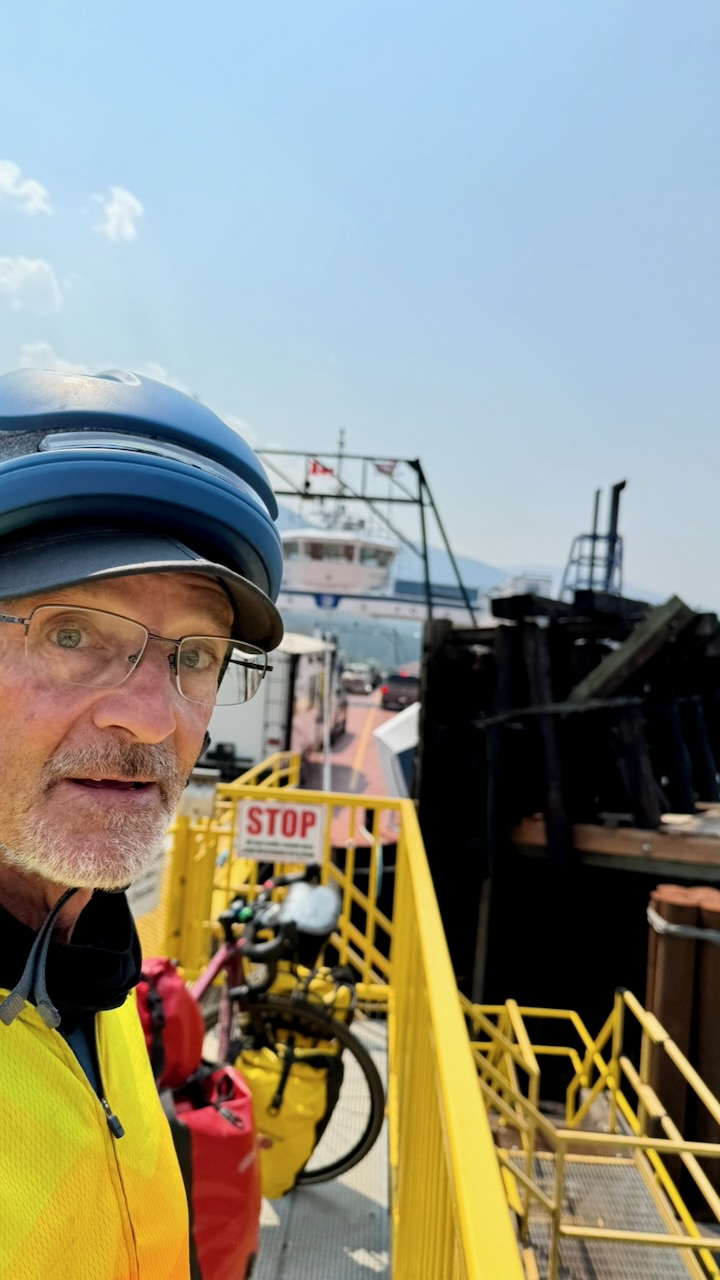
Rather than cycle the dangerous tourist highway out of Nelson, I put my bike on the local bus to the Kootenay Lake ferry.

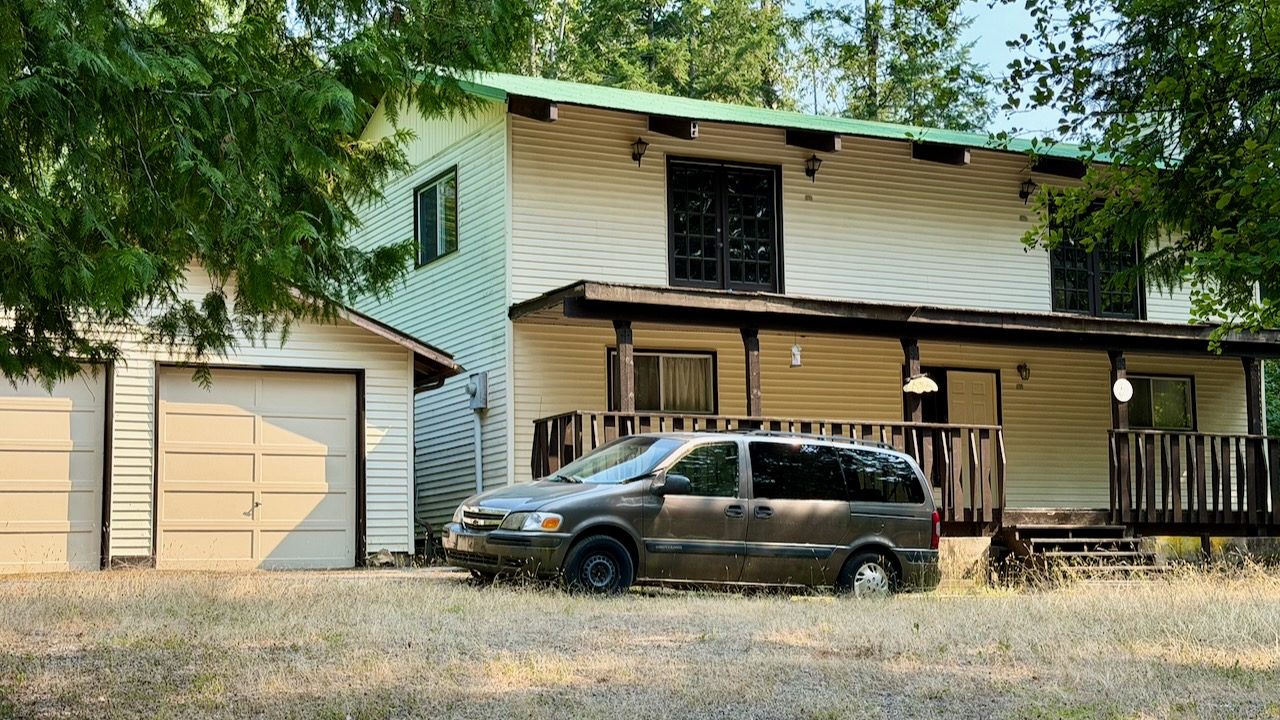
In 2020 the house my Dad built was in rough shape. Six years later it looks even worse.

I’m wondering when anyone actually last lived here.

Like 2020, I stopped for lunch at the fantastic Kokanee Springs Golf Course.

Busy, Dangerous 2-lane Highways

The highway from Crawford Bay to Creston is a favourite of mine. To drive.

On the bicycle it’s dangerous with very narrow shoulders in places.

I stopped at the Gray Creek General Store to inquire whether or not cyclists were taking the Trans Canada Trail up and over the Gray Creek Pass โ€” probably the most challenging section across the nation.

Not many, I was told.

  • Average of nearly 9% grade for 17 km from Kootenay Lake up to Gray Creek Pass
  • Average of nearly 6% grade for 12 km from Gray Creek Pass down to Parkerโ€™s Creek
  • No service
  • Rough surface
  • Not recommended

As I did in 2020, I chickened out and cycled the highway to Creston.

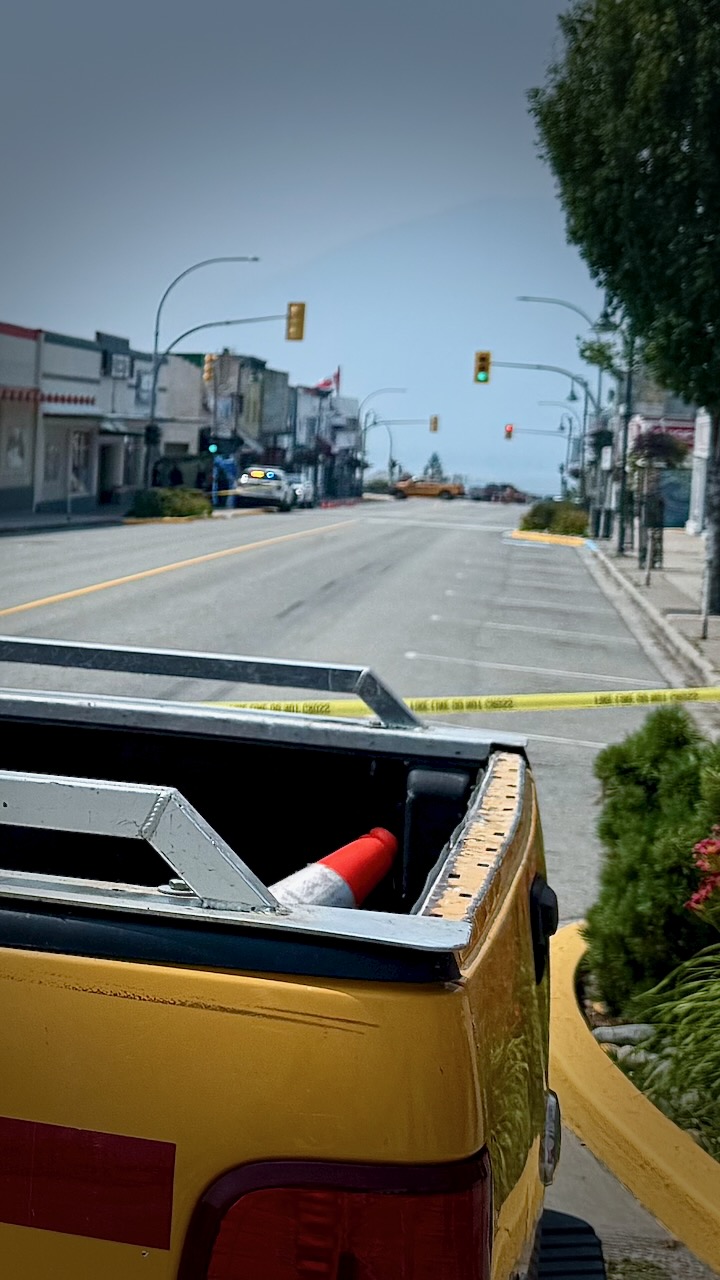
My first flat tire EVER on this bike. After trying to add air with my (crappy) hand pump, I saw there was a bike shop only 4km distant. Rolling my bike there, the street was shut down by police.

This was a crime scene. Stabbing, I was told. Possibly murder.

The bike shop owner happened to drive past, informing me it was still possible to enter the shop from the back. With no customers coming in the front door, they fixed the flat immediately and at low cost. Whew.

Creston to Cranbrook

Mostly highway. No photos.

Crawford Bay to Cranbook was the least interesting section.

Adventure Ends in Fernie

I got coffee in Cranbrook. And then tried to find the trail out of town.

It’s confusing. And I never found even one good navigation app for the Trans Canada Trail.

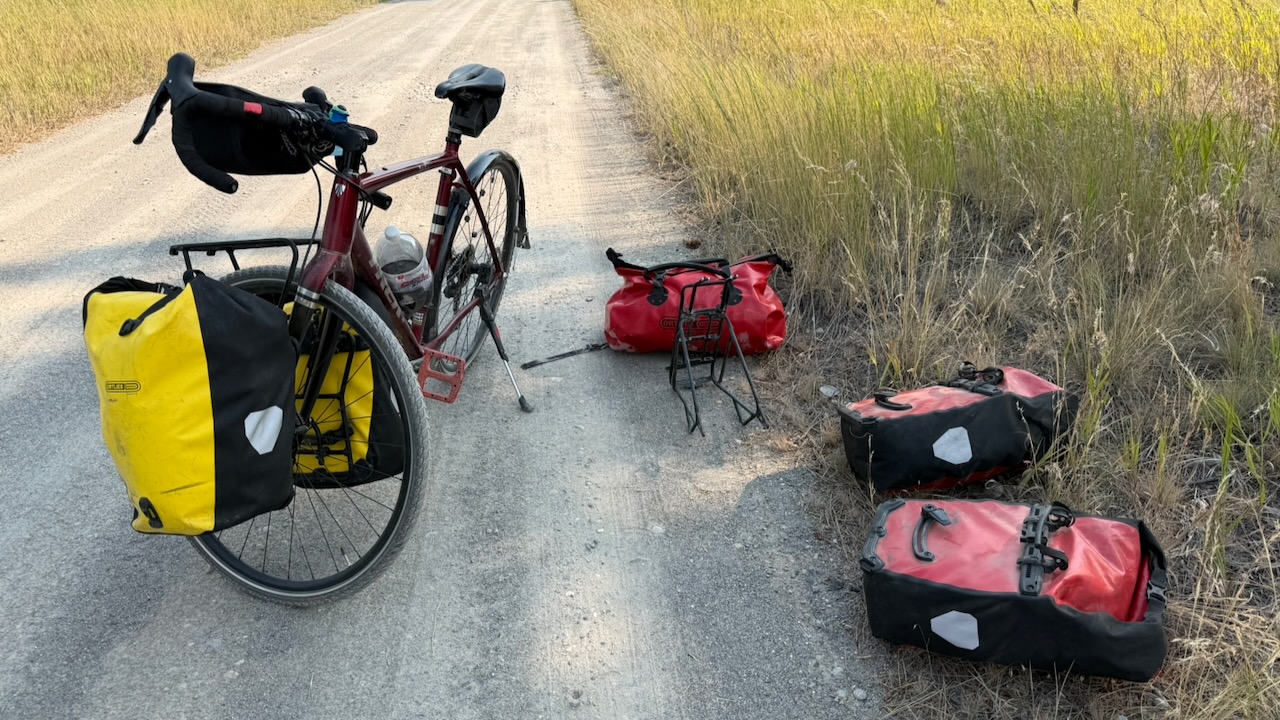
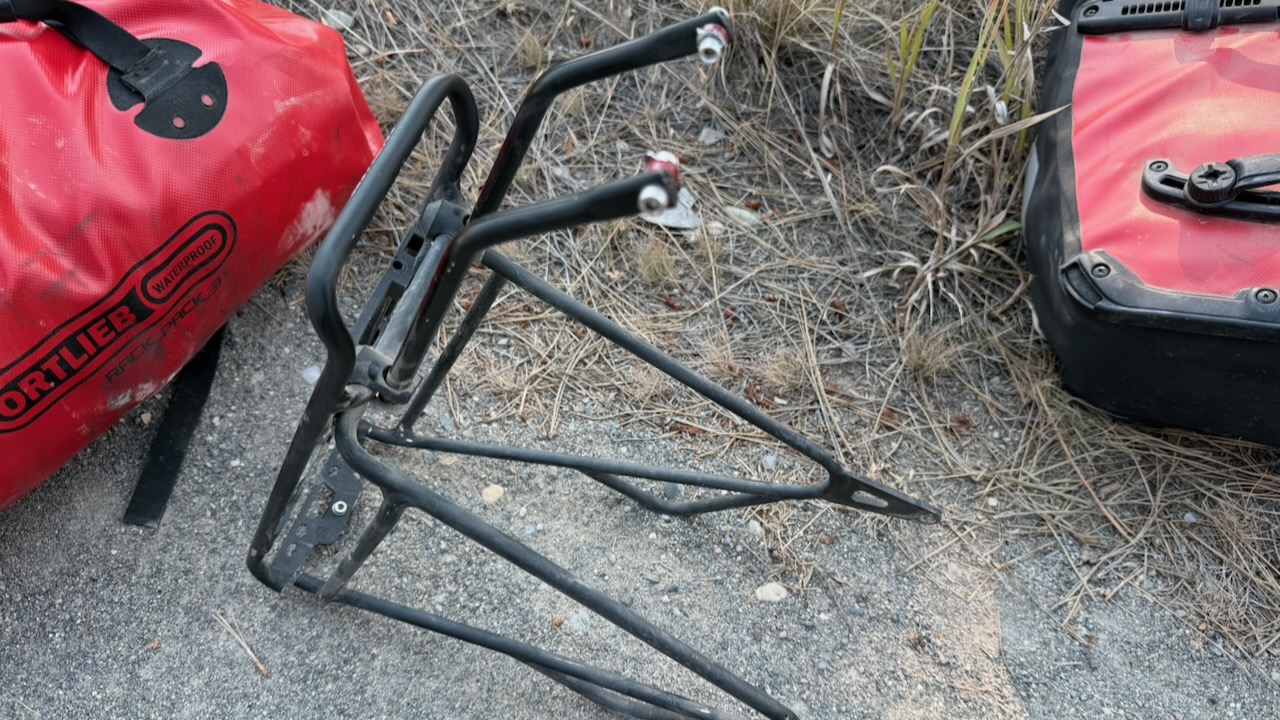
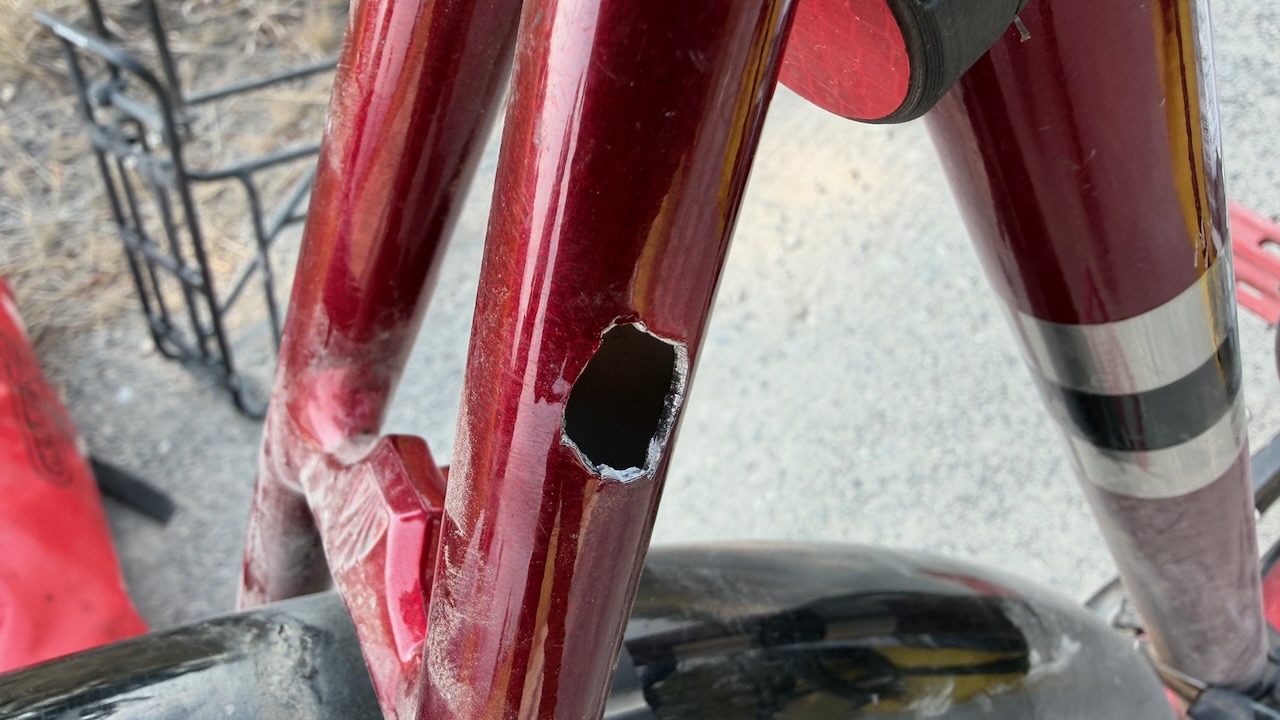
The end of my trip on day 11. ย  My rear rack broke off completely going over one of those bumpy cattle guards a few hours after leaving Cranbrook.

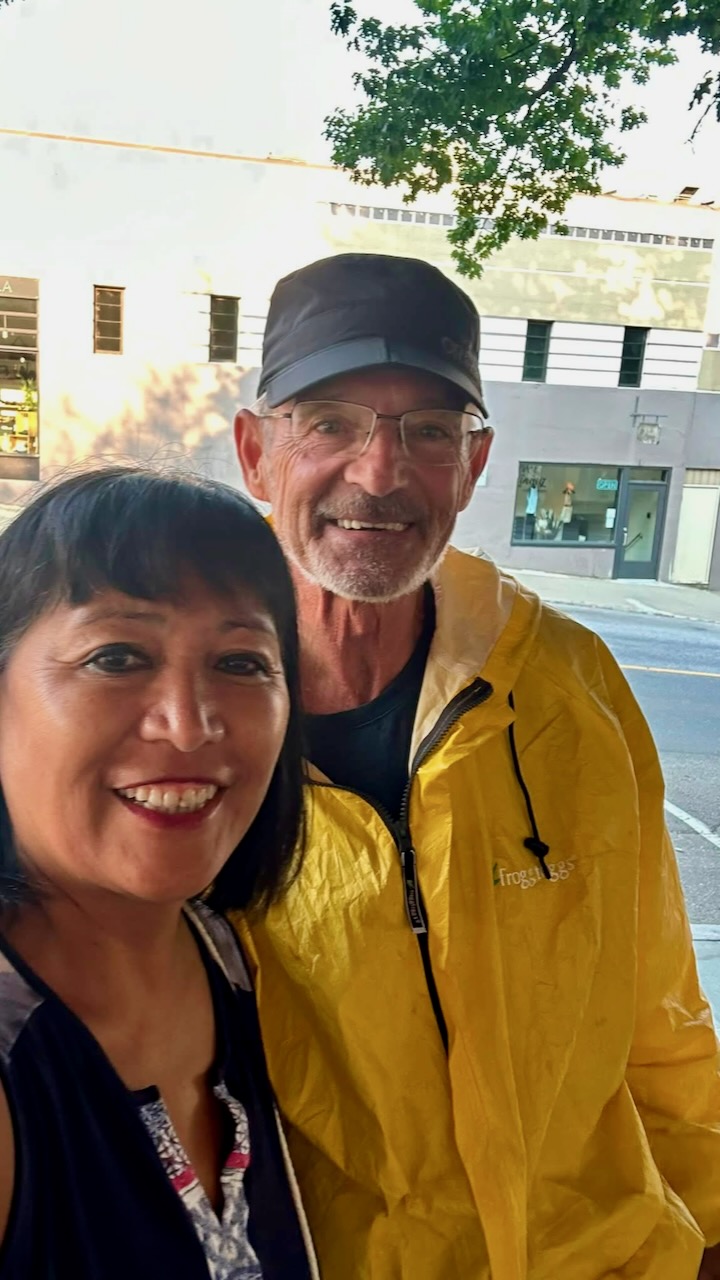
GMoney, a ski shop owner in Fernie โ€” whoโ€™s a punk musician in his spare time โ€”ย picked me up while I was hitchhiking.ย 

A big time hiker and cyclist, GMoney hosted me at his house and gave me advice on where I might get the bike fixed.ย 

Turns out none of the 4 bike shops in Fernie had the kind of tools to repair the rear rack.

I stayed at the excellent Angry Elk Hostel, as well, for a couple of nights โ€” enjoying Fernie for the 1st time โ€” until my brother & his wife came to my rescue.

(Same day GMoney collected me, he and a girlfriend were 2 yards away from an angry Black Bear with cubs.ย  Had to bear spray to stop her.ย  Thatโ€™s the closest bear encounter of anyone Iโ€™ve ever known.ย )

In the end, my cycling distance over the 11 days was around 750 km.

I Missed Fernie to Calgary

I broke down at the end of the worst highway sections, and the beginning of one of the best trail & gravel road parts of the entire Trans Canada Trail.

Here’s how Fernie to Calgary went for me in 2020.

I might have to go back to Fernie and finish the job.


Once finished, I experimented with different navigation apps. NONE are good.

Best of the worst …

Cycling Kettle Valley Trestles & Tunnels

Theย Myra Canyon sectionย of the historicย Kettle Valley Rail Trailย is one of Canada and the World’s most iconic rides.

Located just southeast of Kelowna, this flat, wide gravel path crossesย 18 historic wooden trestle bridgesย andย 2 cliffside rock tunnelsย over a 12-kilometer span.

I’m cycling the Trans Canada Trail to Calgary for the second time. But this was my 3rd time riding Myra Canyon. In fact, I did it both ways this time. Twice the fun.

Click PLAY or get a glimpse on YouTube.

GEAR for Bikepacking British Columbia 2026

My gear for a couple of weeks cycling the Trans Canada Great Trail out of Kelowna, British Columbia.

I’ll be day hiking and camping en route.

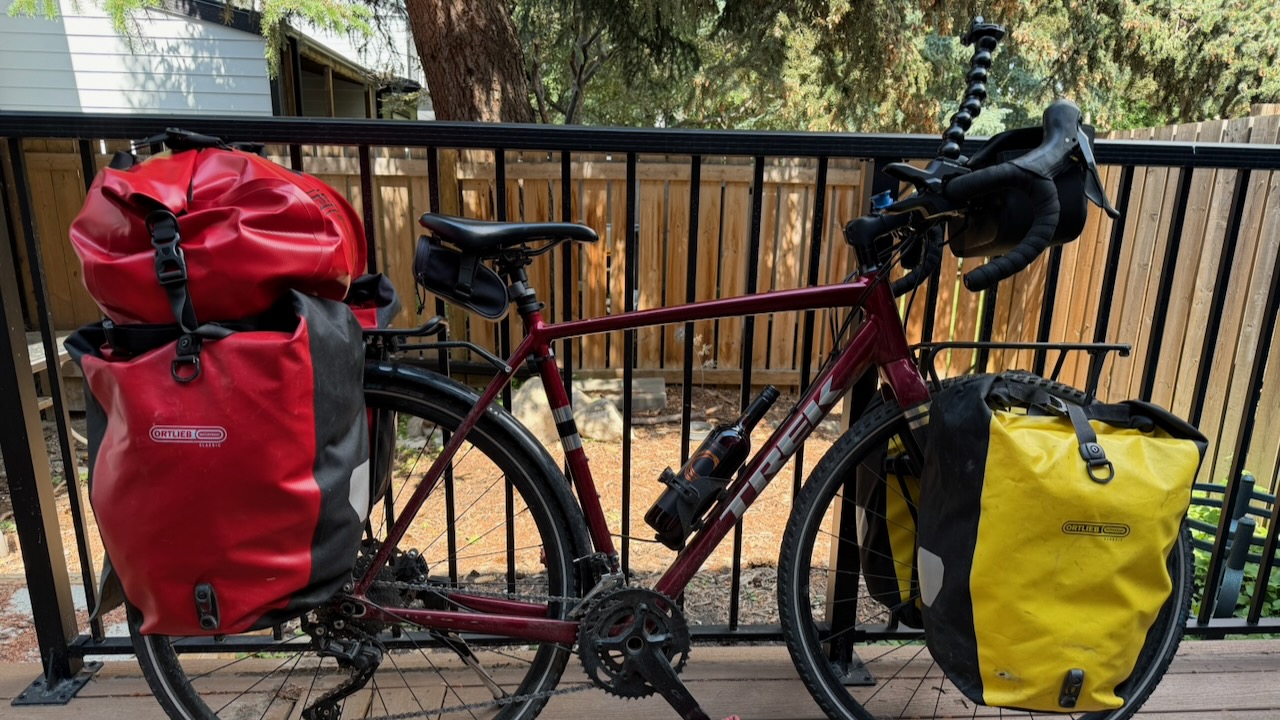
My ride is a Trek Checkpoint ARL 4. I’ve done thousands of KMs on it already.

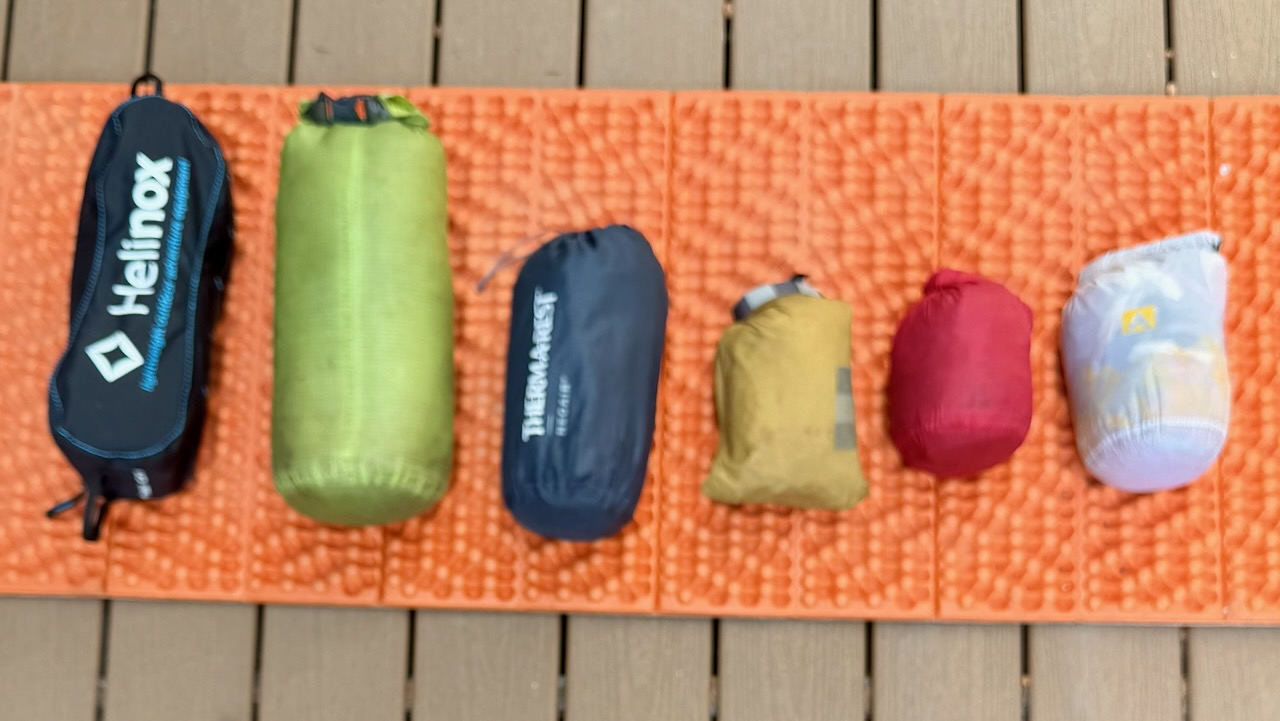
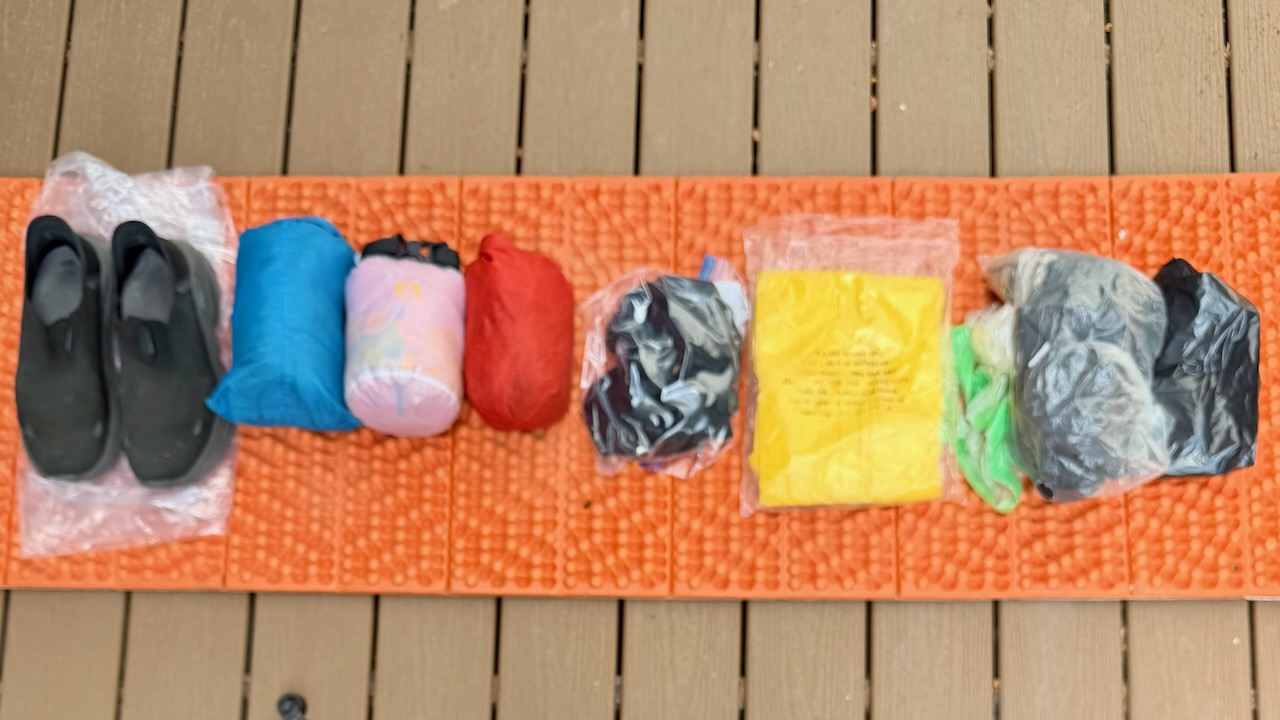
Front Pannier 1 – Camping

  • Hubba NX 1 Tent
  • NeoAir XLite NXT Max Sleeping Pad
  • NeoAir UberLite Sleeping Pad (pillow)
  • Revelation Quilt
  • FLEXTAILGEAR Portable Air Pump
  • Inflatables glue & patch kits
  • Camping Chair
  • Red Nike quick dry t-shirt / pillow case
  • Tent socks

Front Pannier 2 – Clothing

  • New Balance 1260s 4E 9.5 w additional insoles
  • Crocs Camp Shoes
  • Janji Transit Tech Pant
  • Lifaloft Insulator hooded Jacket with stuff sack
  • Mountain Hardware Jacket & stuff sack
  • Baleef Running shorts x 3
  • City Shorts Janji
  • Black summer Buff x 2
  • Radar Pocket Cap
  • Long Brim cap
  • Wool blend t-shirts x 3
  • Best Hike t-shirt
  • Danish Endurance Socks x 3
  • Cycling Shorts
  • Cycling Vest
  • Cycling Beanie Cap
  • Cycling Helmet
  • Frogg Toggs Rain Pants
  • Frogg Toggs Rain Jacket
  • Towel

Rear Pannier 1 – Electronics

I have 3 cameras. iPhone 17. Action Camera. And a Drone.

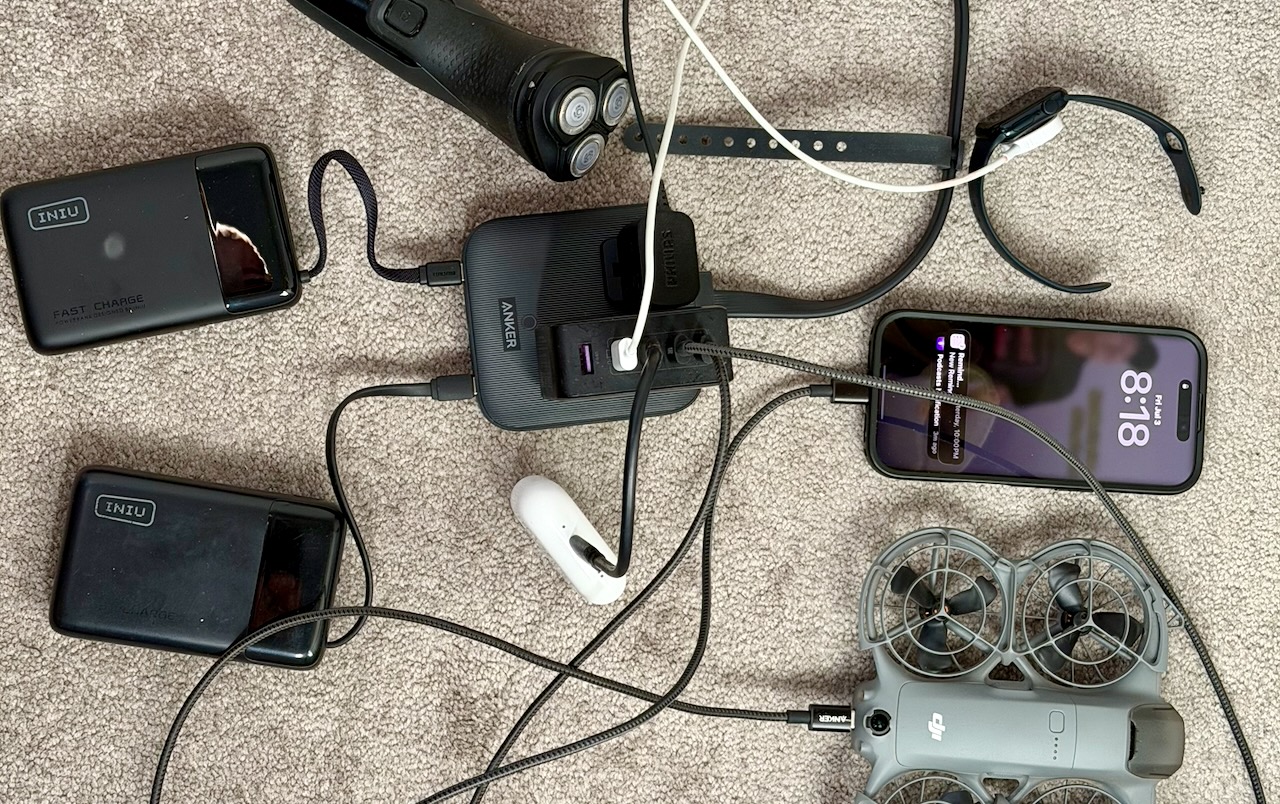
HIGH priority for me is ensuring I can keep ALL the batteries charged. Here’s how I could recharge with just one electrical plug. In a library, for example.

  • Matein day pack
  • Anker Wall Plug & Charging Station
  • Neo 2 Drone & Case
  • Action Camera
  • Jaws GoPro Clamp Handlebar Mount
  • Cloth Shopping Bag
  • iPhone 17 Pro Max and cable (camera)
  • Flexible Tripod
  • iPhone 16 Pro and cable (phone) for Navigation
  • QuadLock iPhone 16 Pro MAG, Screen Protector
  • EarPods & cable
  • Extra EarPod for sleep
  • Apple Watch & cable
  • INIU 20000mAh battery x 2
  • AirTag in Hip Pack
  • AirTag in Laptop Bag
  • Air Tag in Bike
  • Razor and cable
  • M5 Macbook Air Laptop
  • External Hard Drive for Time Machine
  • Long Anker cables USB-C x 2
  • Laptop Dongle
  • Nitecore Headlamp & Cable
  • Unit 1 Batteries for Bicycle Lights
  • Electric Shaver & Cord
  • Red Electronics Accessories Bag
  • AllTrails Pro app
  • Gaia GPS Pro app
  • Trailforks Pro app

Rear Pannier 2 – Everything Else

  • Duffle (for airline / bus /car gear transport)
  • Waterproof Ditty stuff sack (green)
  • Denture tablets
  • Fingernail clippers
  • Asperine
  • Tums
  • Vitamin Gummies
  • Creatine Gummies
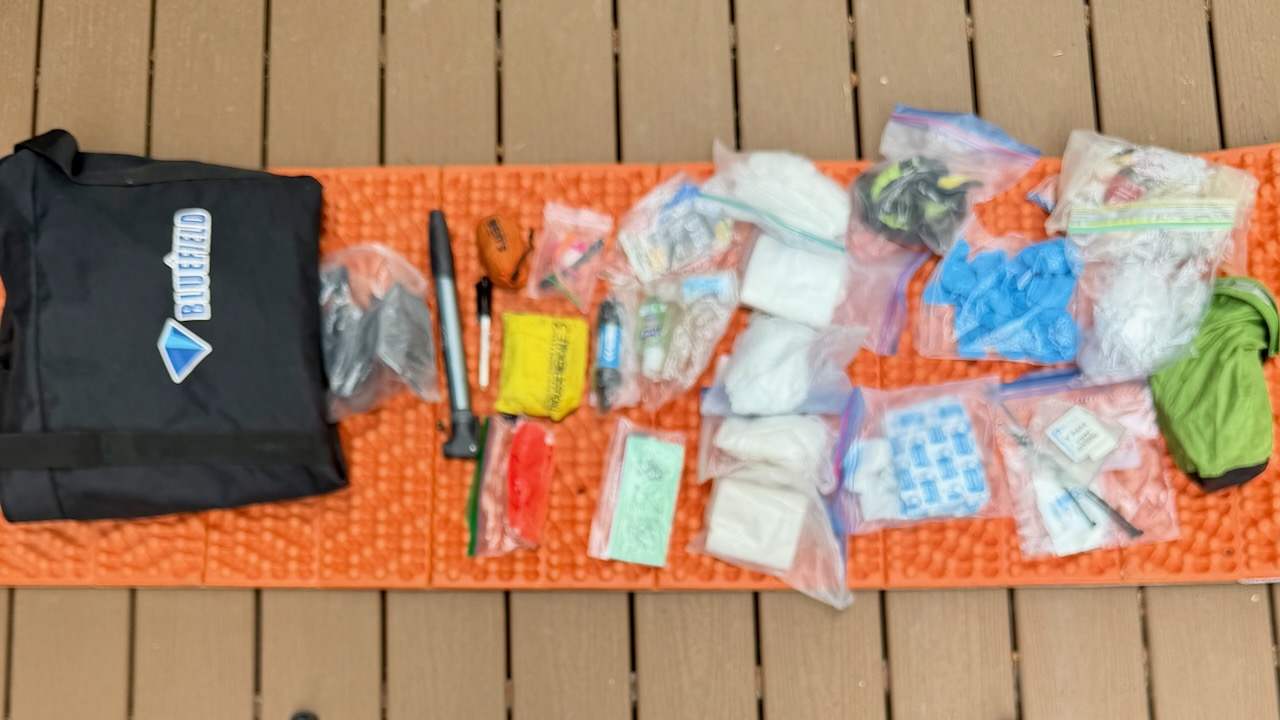
  • First aid kit
  • Sun screen
  • Hand sanitizer x 3
  • Prescriptions
  • Toilet paper
  • Toothbrush & toothpaste
  • Bandaids
  • Soap paper
  • Vaseline
  • Moisturizing Cream
  • Garbage bags
  • Fire Starter
  • Orange Cord
  • Mosquito Head Net
  • Zip ties
  • Orange Flagging Tape
  • Bike Pump
  • Duct Tape pencil
  • Medical Gloves
  • Bike Tube x 1
  • Bike gear attachment cords x 2
  • Tiny Handlebar Bike attachments

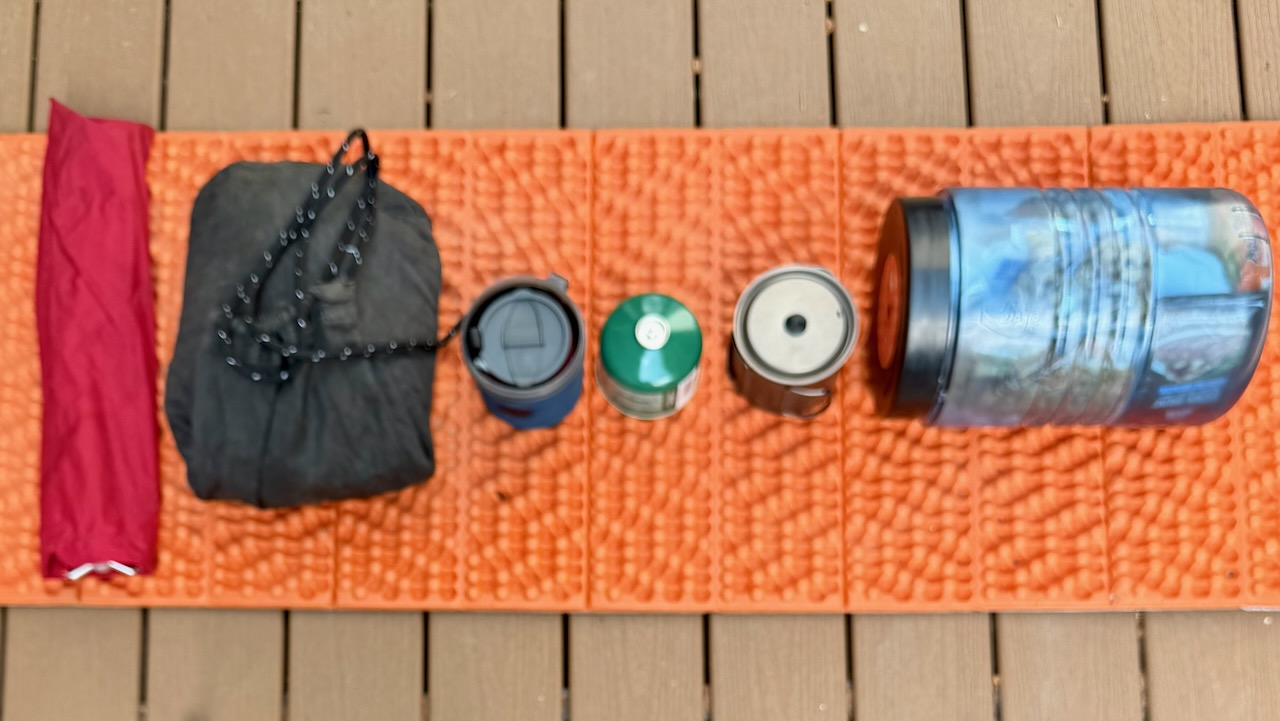
Top Bag – Food

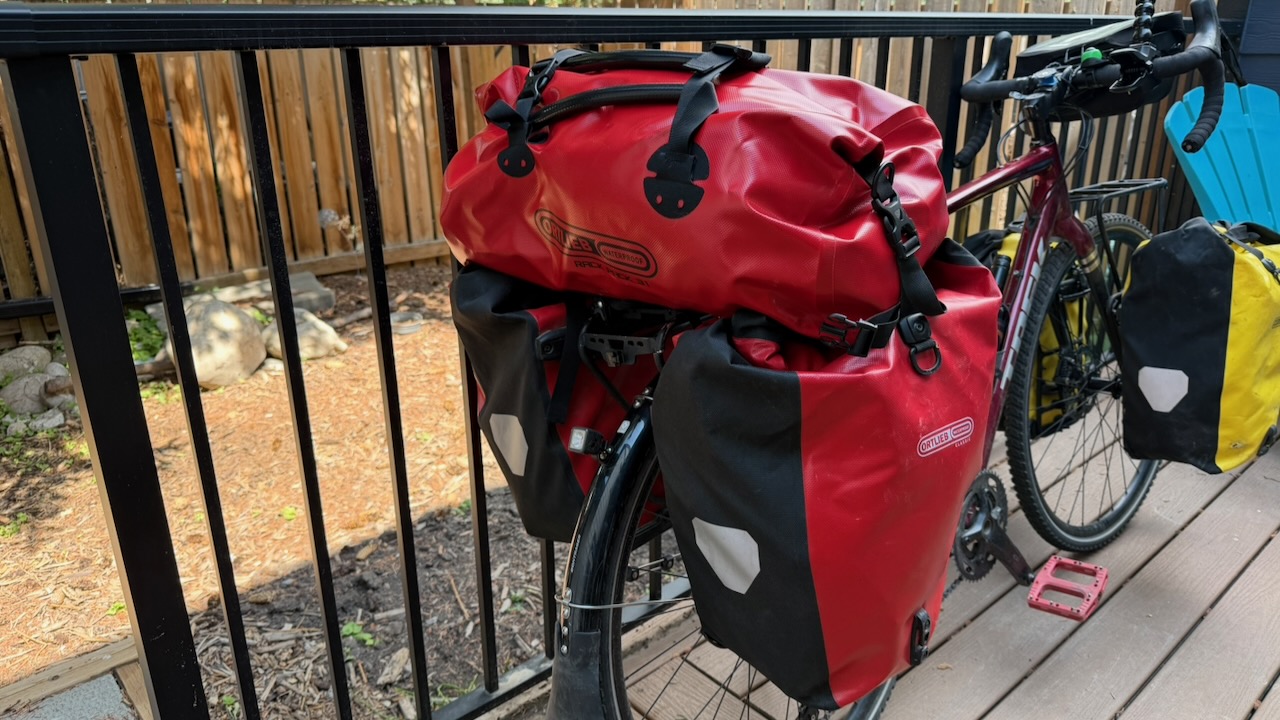
  • Ortlieb Rackpack 31 Top Bag
  • Tent Poles
  • Bear Vault
  • Ursack
  • FOOD
  • Fuel
  • Water Purification Tablets
  • Pot scrubber
  • PocketRocket Deluxe Stove
  • Titan Kettle
  • Mug
  • Bowl
  • Long Lighter x 2
  • Wash Cloth

Handlebar Bar

  • Ortlieb Ultimate Six Free 5L Handlebar Bag
  • Cameras
  • Snacks
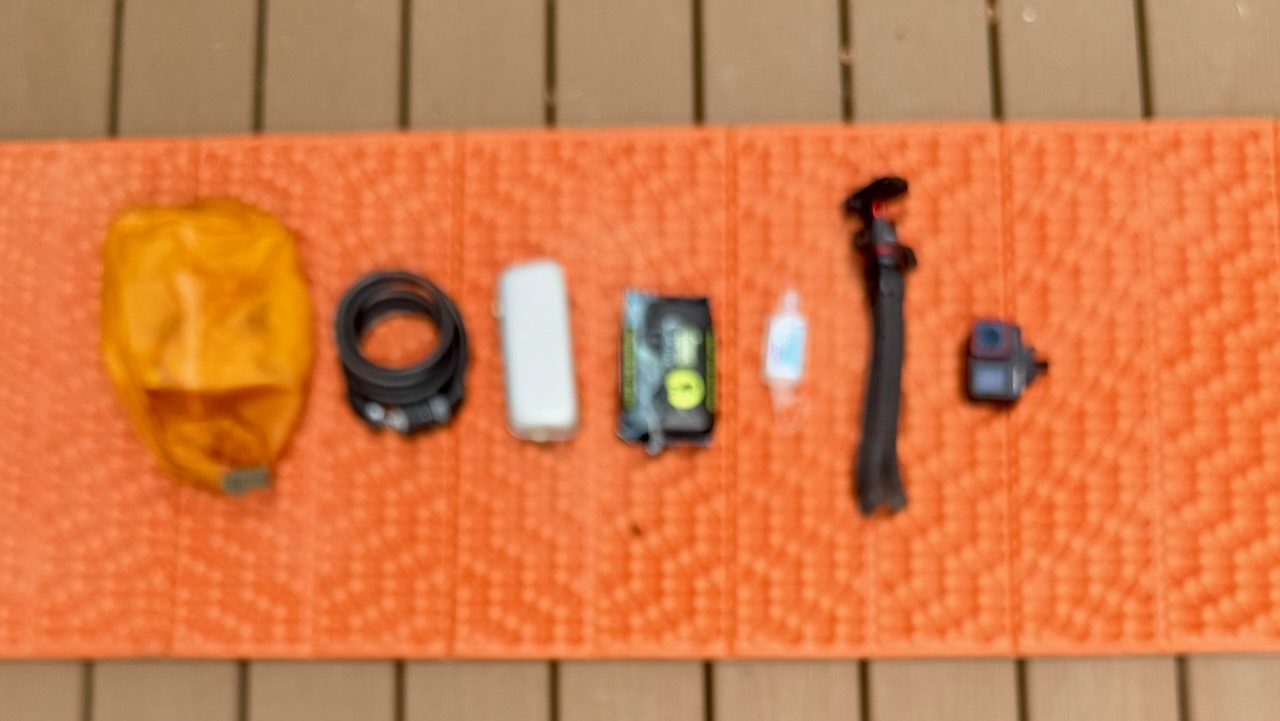
  • Bike Lock
  • Sunglasses
  • Magnetic Knife & Fork
  • Combat Wipes
  • Sametop Clamp Tripod
  • Magnetic Lights & Clip-on Attachment

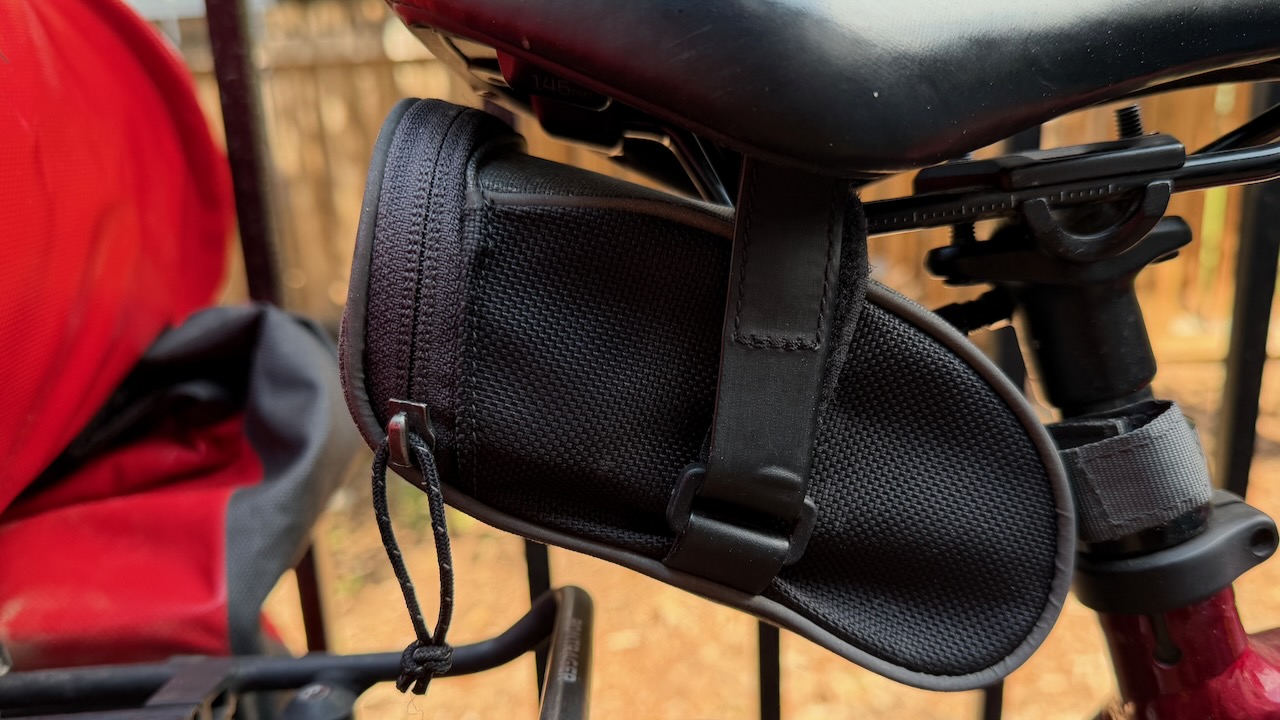
Repair Kit Under Saddle

  • Repair Tool
  • Army Knife
  • Tire Levers x 2
  • Oil
  • Plastic Glove

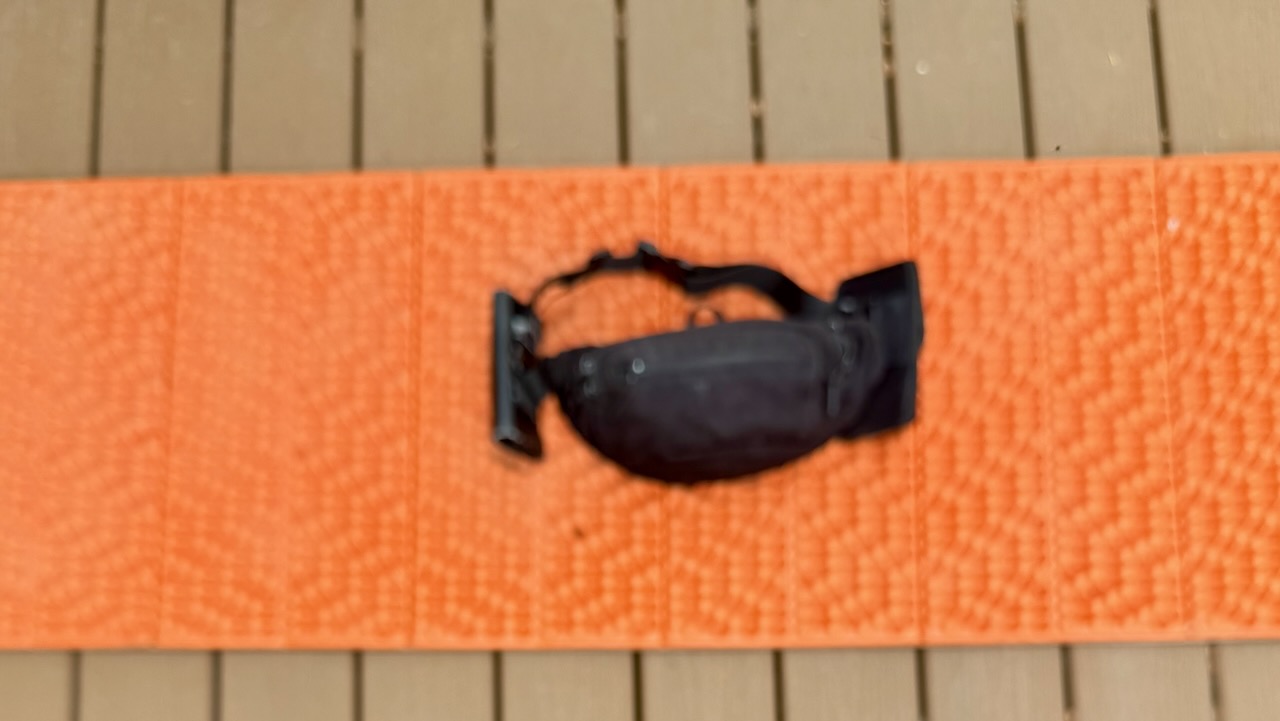
Hip Pack – Valuables

  • 2 Credit Cards & Bank Card
  • Cash
  • Driver’s licence
  • Wallet
  • Travel insurance
  • Health insurance cardย 
  • Metal Spoon

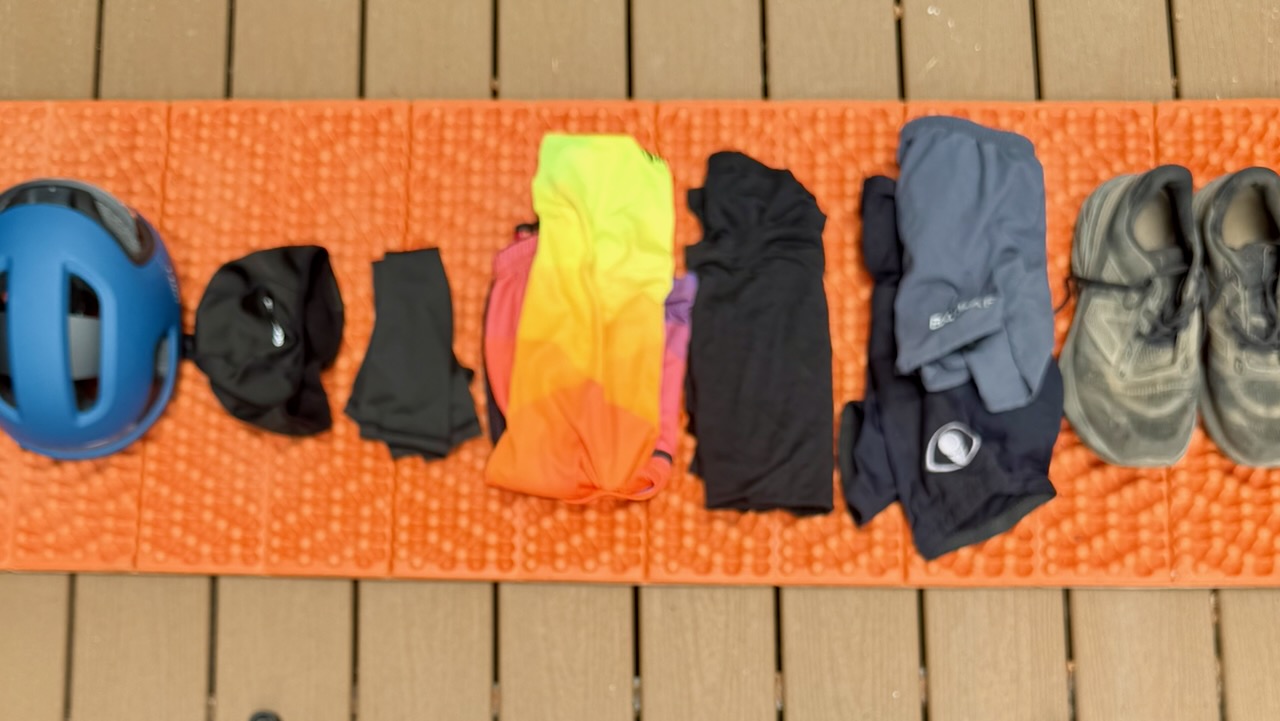
Clothing for Cycling

Varying day-by-day, most of the time I’ll be wearing this kit.

Hydration is CRITICAL. ๐Ÿ˜€

Hiking Vegas in the SUMMER ??

Trip report by BestHike editor Rick McCharles

Only mad dogs and โ€ฆ hikers go out in the midday sun?  ๐Ÿ˜€ 

Rick McCharles hiking Nevada

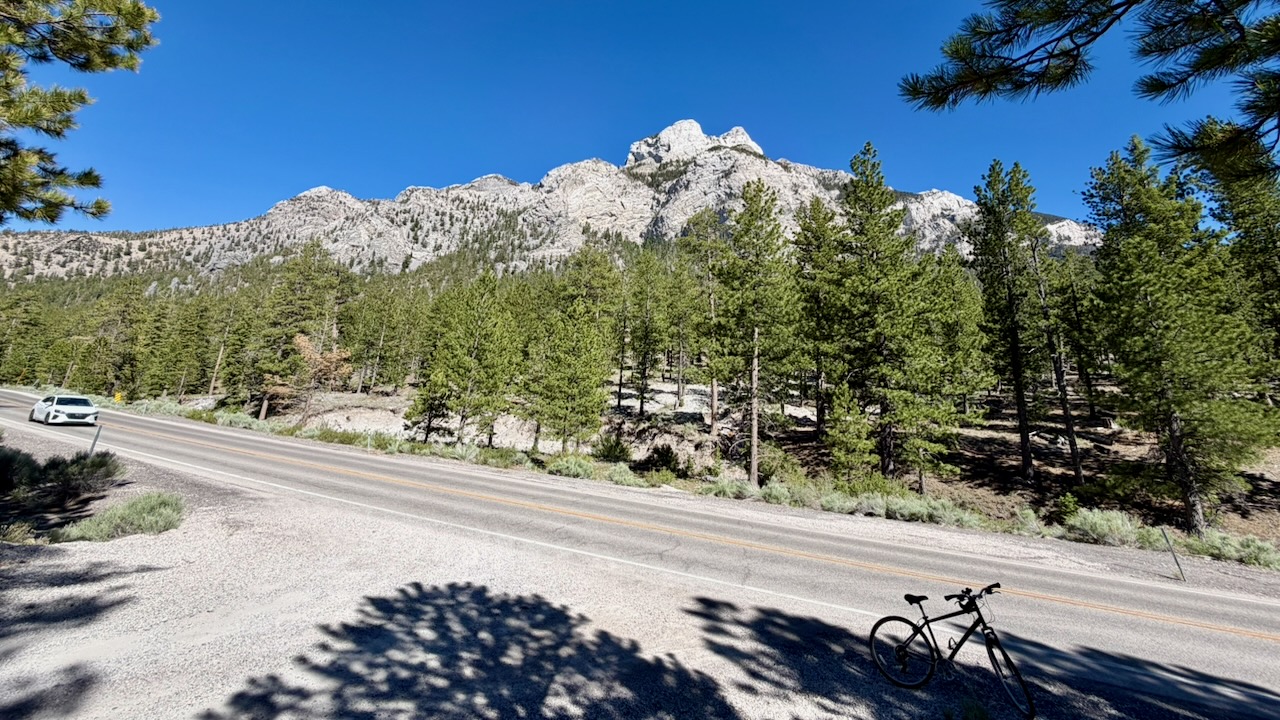
Surprisingly, when Las Vegas is sweltering over 100 Fahrenheit, an hour away you can hike Mount Charleston (11,916 feet or 3,632 m), typically 20ยฐF to 25ยฐF cooler than the city.

Click PLAY or get a glimpse on YouTube.  Late June 2026, I tented 4 nights. This video is a compilation of several day hikes.  


VERY sunny. Long days. But I was never too hot.

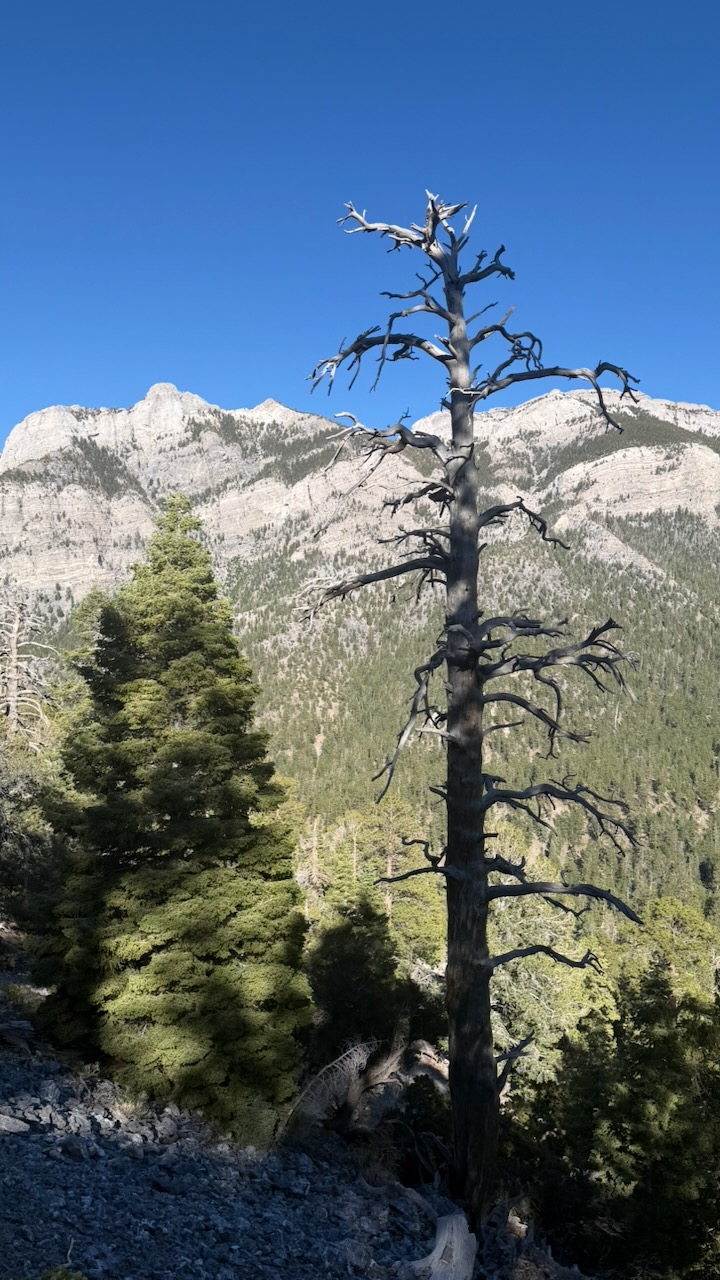
It is gorgeous.

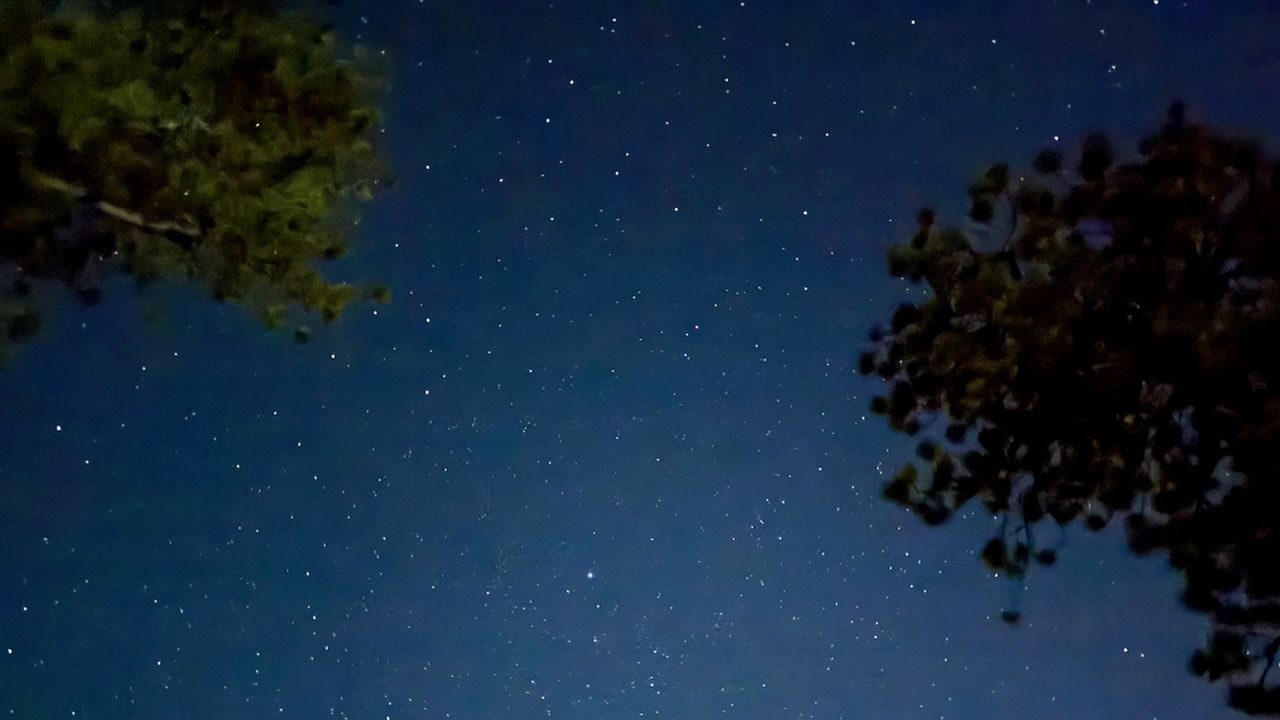
Night skies fantastic.

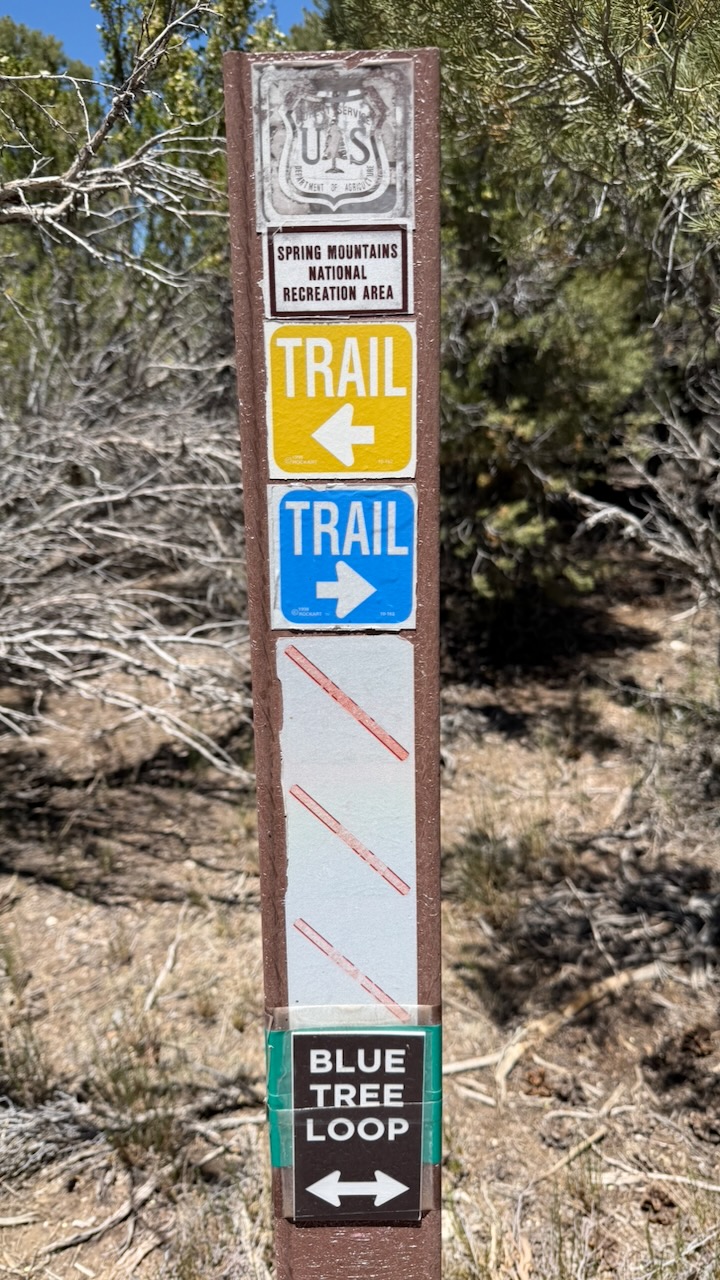
There are plenty of hiking trails to choose from within the Mount Charleston Wilderness, which is within the Spring Mountains National Recreation Area of the Humboldtโ€“Toiyabe National Forest.

AllTrails lists some of the best.  

Over 60 miles of trails, most over 6000ft in elevation. 

Some trails are signed. But I randomly connected different trails using the Maps.me app offline. Phone service is limited there in 2026.

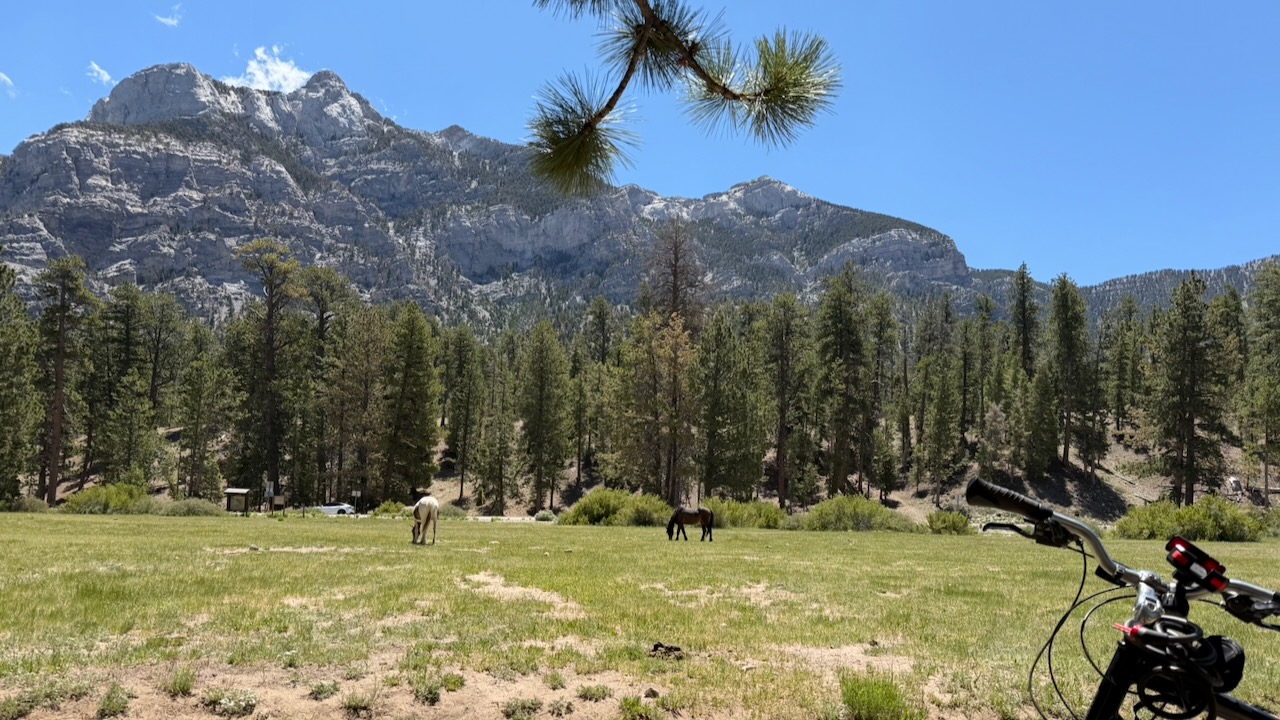
I had a bike and roamed up and down the mountain, as well.

Click PLAY or watch it on YouTube.

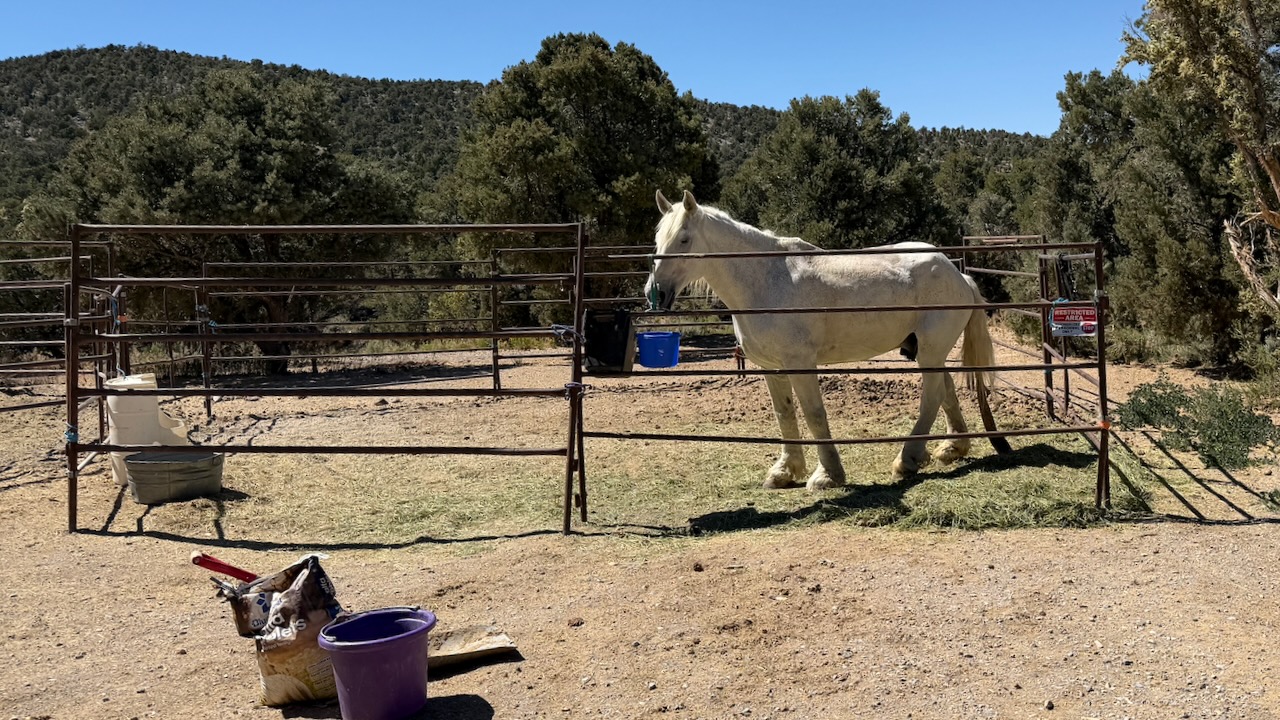
Wild horses ignore tourists. 

Trail rides are available. And many bring their own horse up to ride in cooler weather.

Mount Charleston has about 200 camp sites and over 150 picnic areas.  

Last 2 nights I joined friends at McWilliams Campground which is close to the Lee Canyon Ski / Mountain Bike Resort and restaurants. 

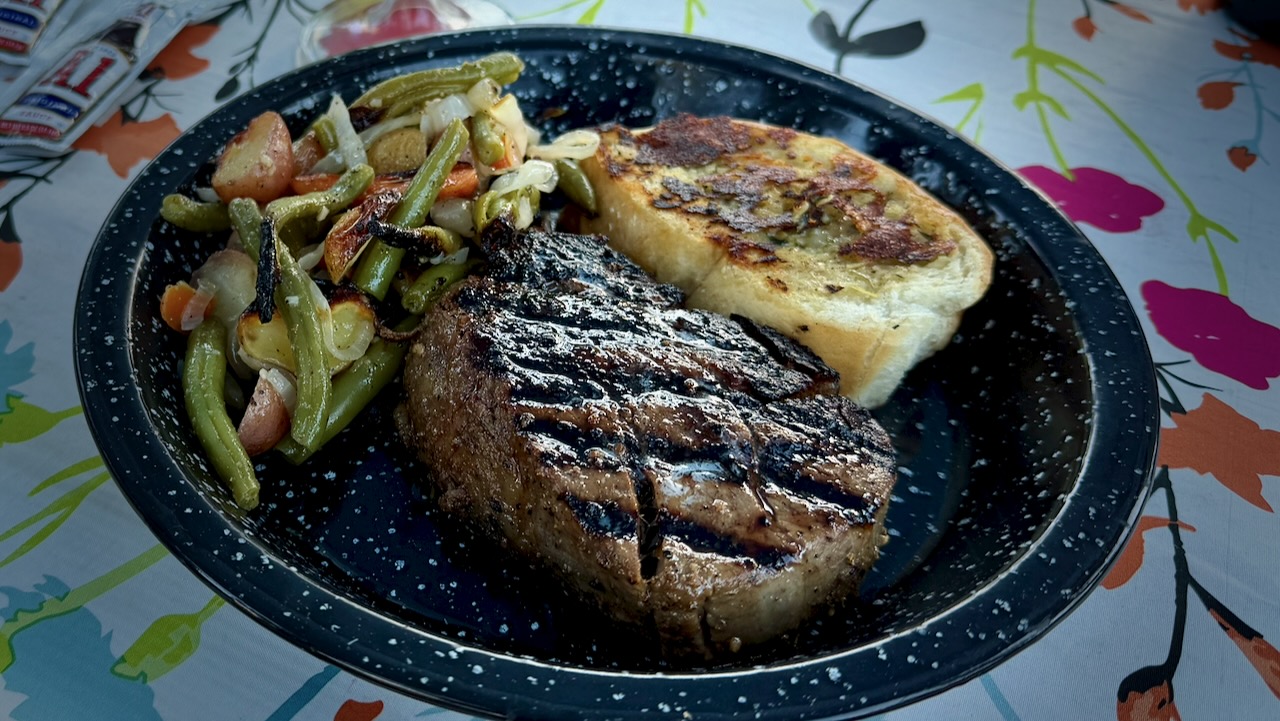
This is glamping.

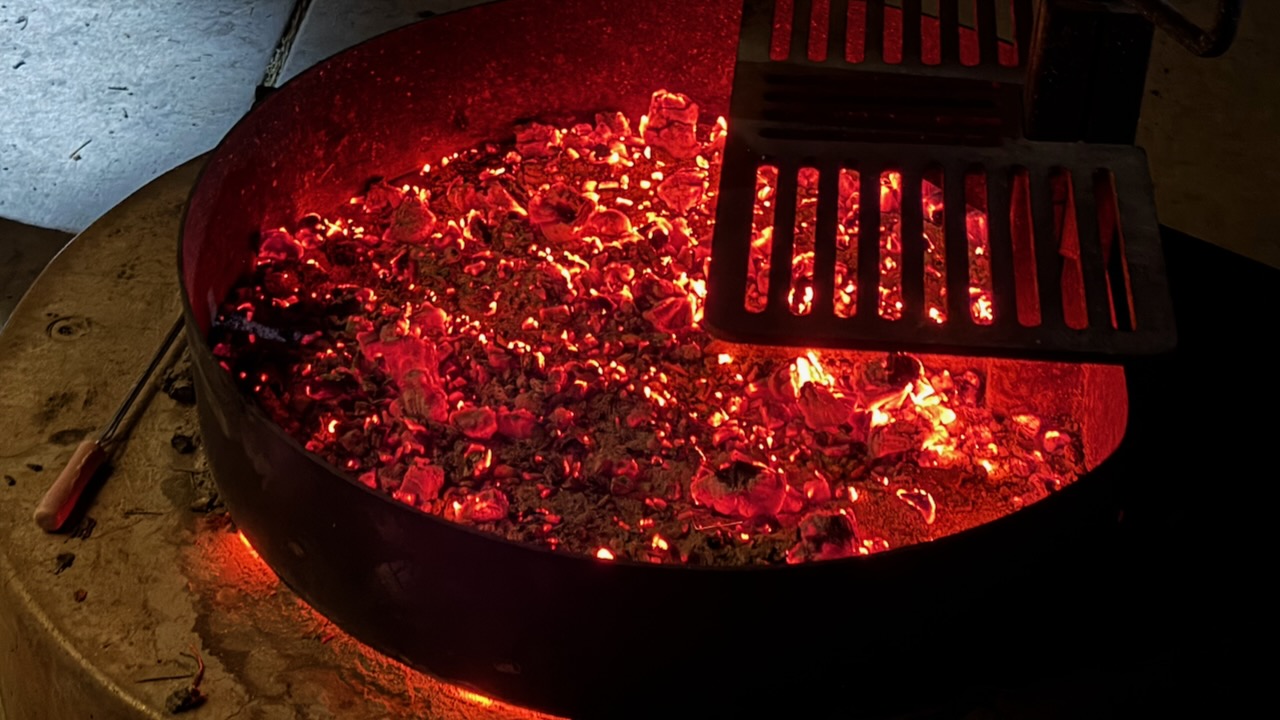
Open fires are still allowed in campgrounds, despite the high risk of wild fire.

We hiked the NEW Lee Canyon trail from the ski resort, close to 2 miles up over a vertical gain of 850 feet.  And 2 miles back.  

Needless to say, we enjoyed a cold beverage at the restaurant on our return. 

You can ride a chairlift up and hike down, if you prefer. 

To plan your trip, check the Go Mt. Charleston website for up-to-date trail maps and safety alerts.

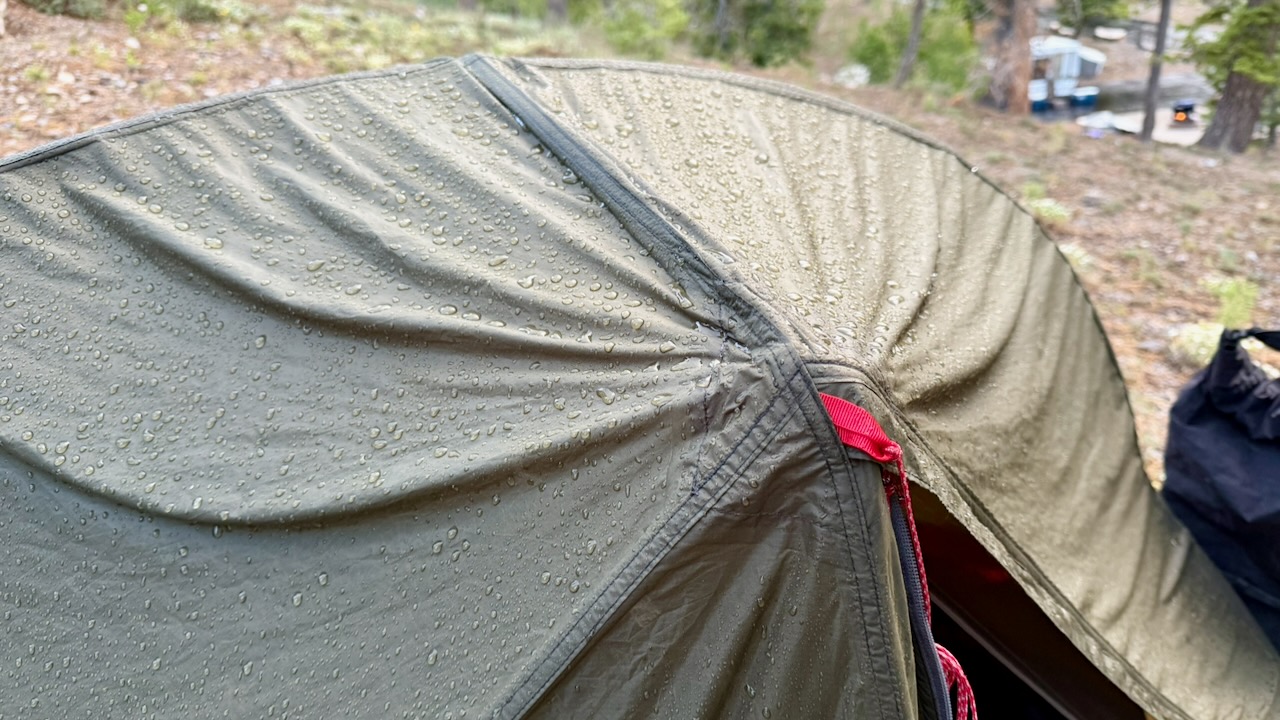
Surprisingly, it rained on our last night.

Strathcona Park BC – Buttle Lake area day hikes

By BestHike editor Rick McCharles

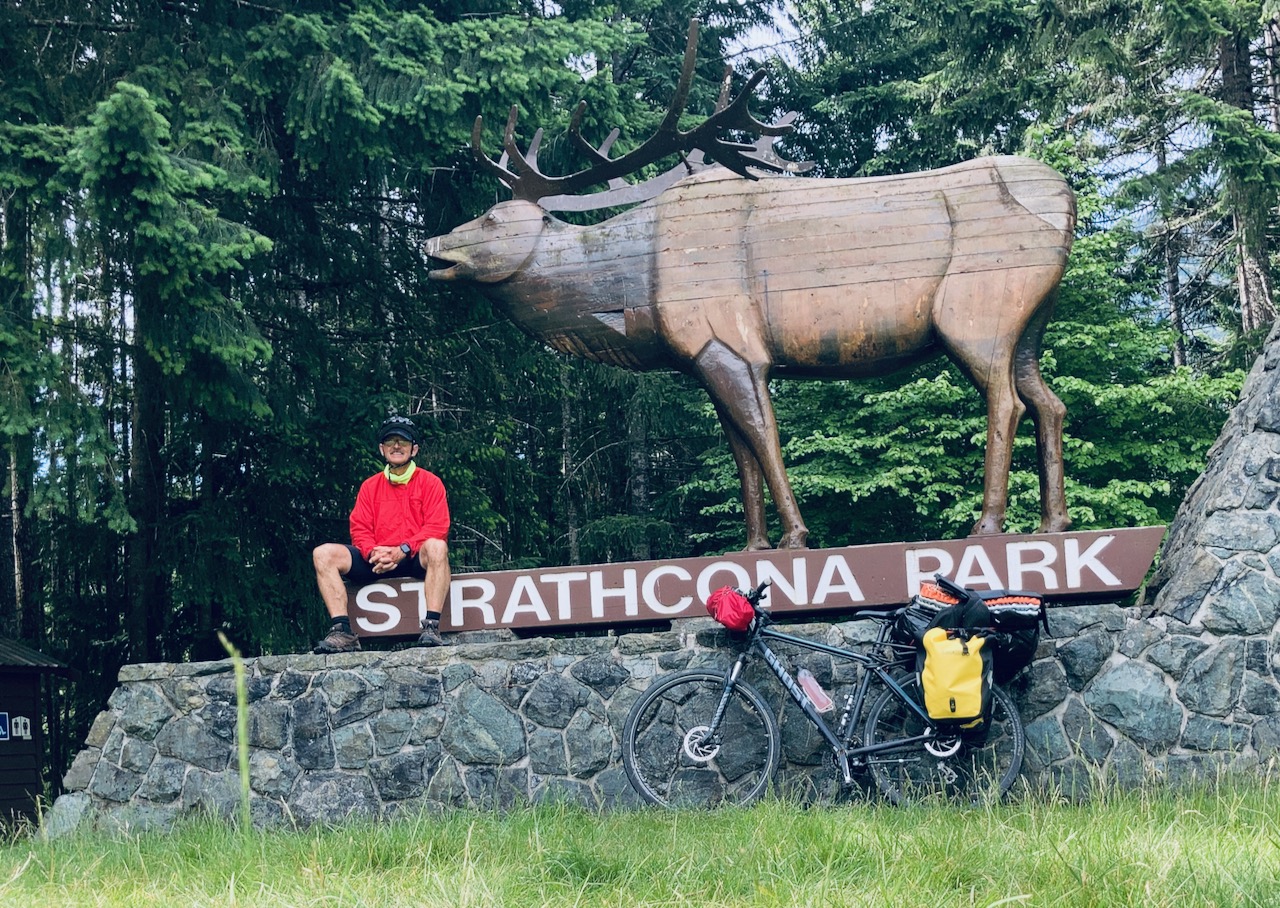
Strathcona Provincial Park,  Vancouver Island, offers many challenging multi-day adventures. And many very challenging day hikes.

In this post, however, I focus on easy highway-accessible day hikes recommended for kids, families, everyone.

Campgrounds are often booked months in advance. I once got an overflow site at Buttle Lake marine campground. Designated for those on the water, IF space is available, you can sometimes get a spot for yourself at marine campgrounds. They are less busy.

Click PLAY or watch it on YouTube.

I hiked most of these.  All good.

Almost everyone stops for the short walk to the viewing platform at Lady Falls.

  • Elk River Viewpoint
  • Lupin Falls
  • Auger Point
  • Karst Creek
  • Wild Ginger
  • Shepherd Creek

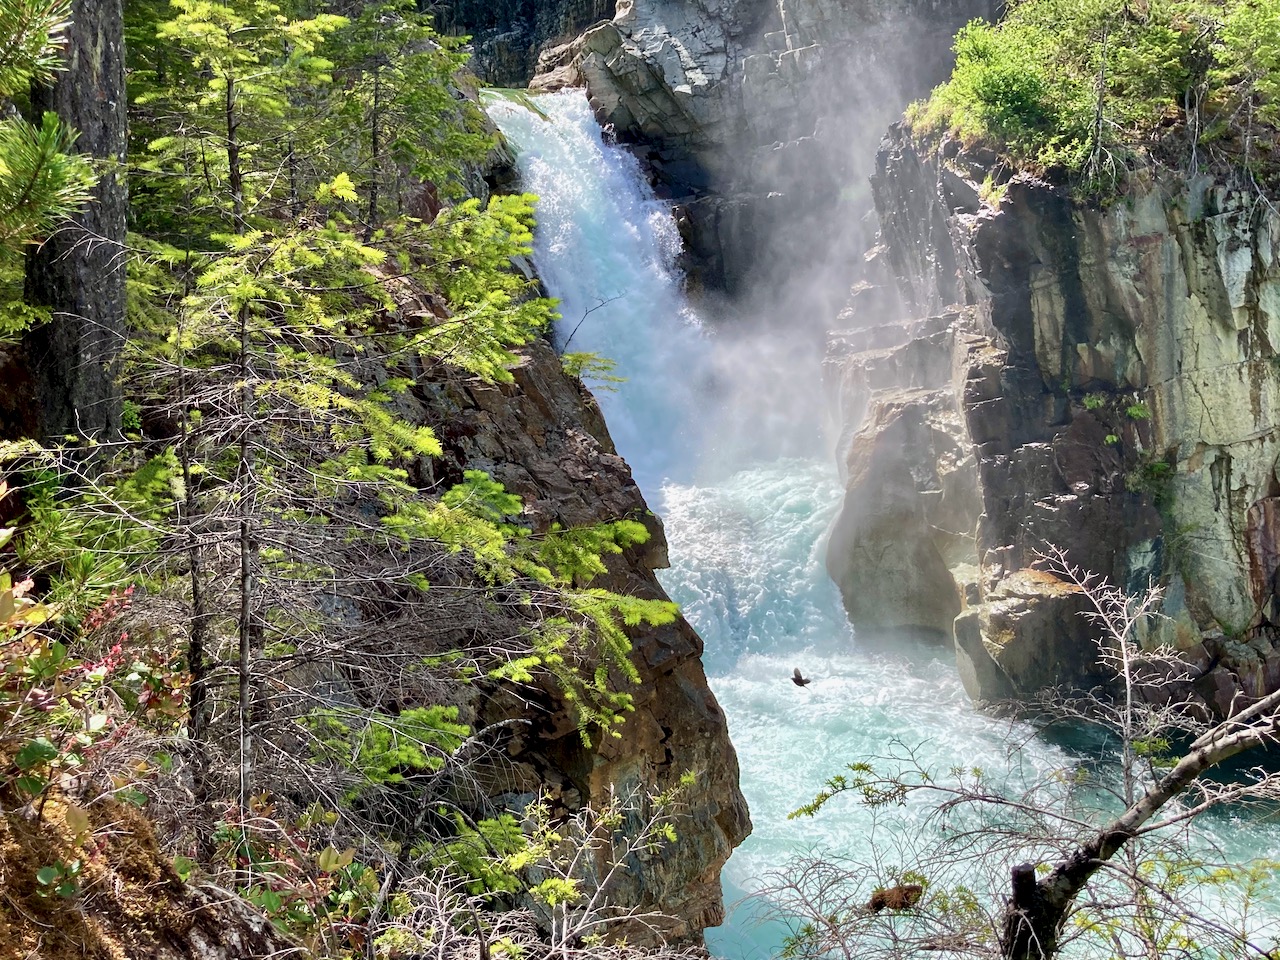
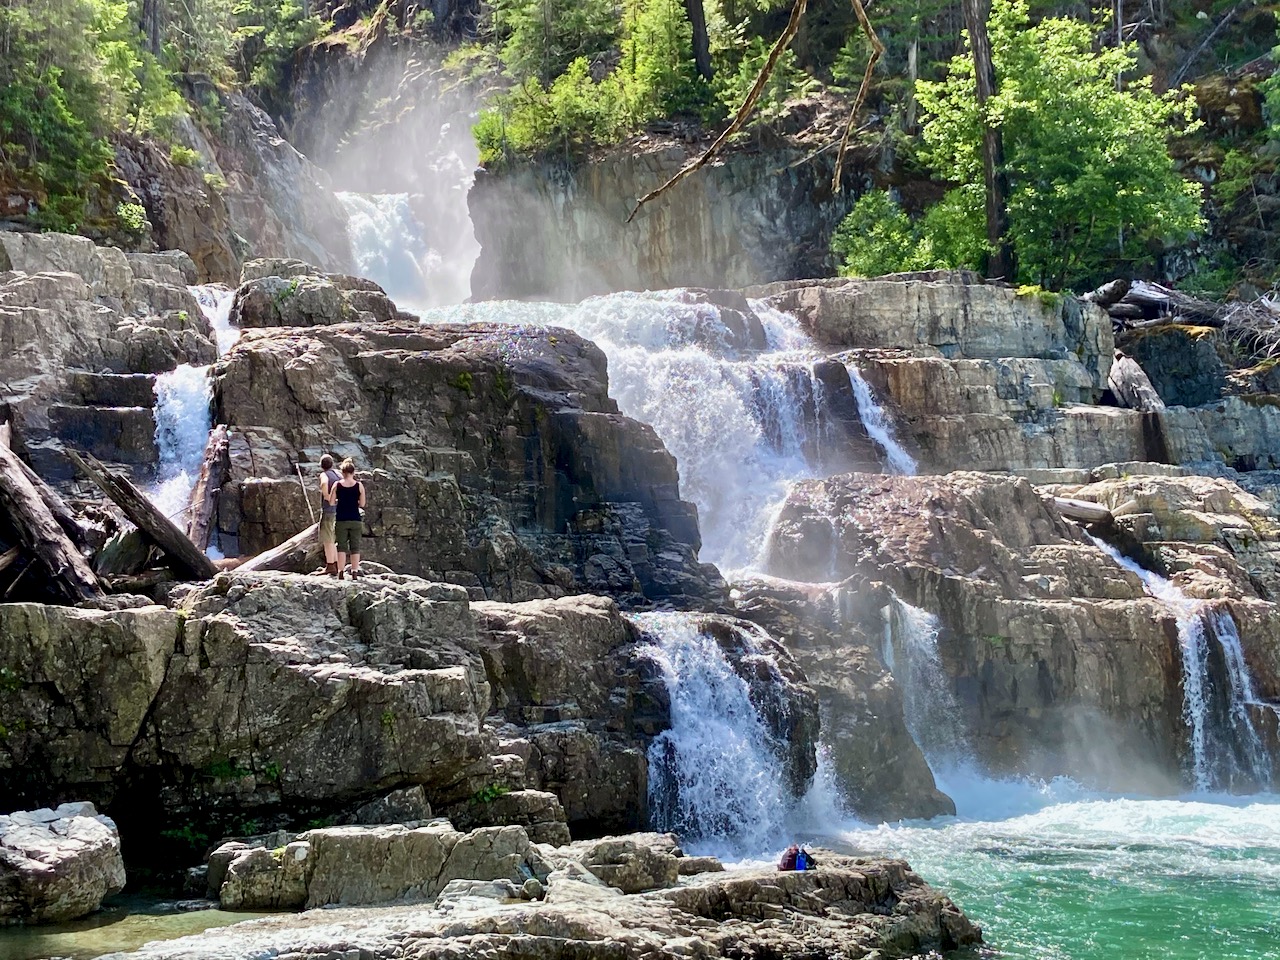
Without question Lower Myra Falls is best of the easy day hikes.  Don’t miss it.   And bring a bathing suit if weather is good.


Auger Point Fire Trail was interesting in seeing how some trees can survive major forest fires.


If you stay at Buttle Lake campground, I loved their Beach Access Trail.

I was cycling this trip, hiding my bike in the trees between each short nature walk.

BestHike editor Rick McCharles

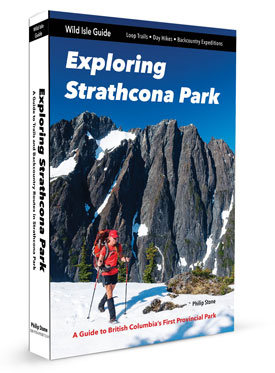
The best hiking guidebook is Exploring Strathcona Park. Dead tree version available only. 

See our list of the best hikes in North America

Is Bikepacking BETTER Than Backpacking?

Darwin on the Trail is one of the most influential hiking vloggers

BUT he’s slowly adding bike touring trips to his annual calendar.

AND Darwin argues that Bikepacking is even better โ€” overall โ€”ย than thru hiking.

Click PLAY or watch it on YouTube.

Gear guru Halfway Anywhere agrees:

10 Reasons Bikepacking Is Better Than Backpacking

Of course cycling requires more gear. Higher cost.

I bought my first touring bike about 10 years ago. As I age, I expect to do more and more cycling as it’s easier on the body.

In 2026 I plan to do plenty of both.

Section hiking the Pacific Crest Trail. Section cycling the Tour Divide.

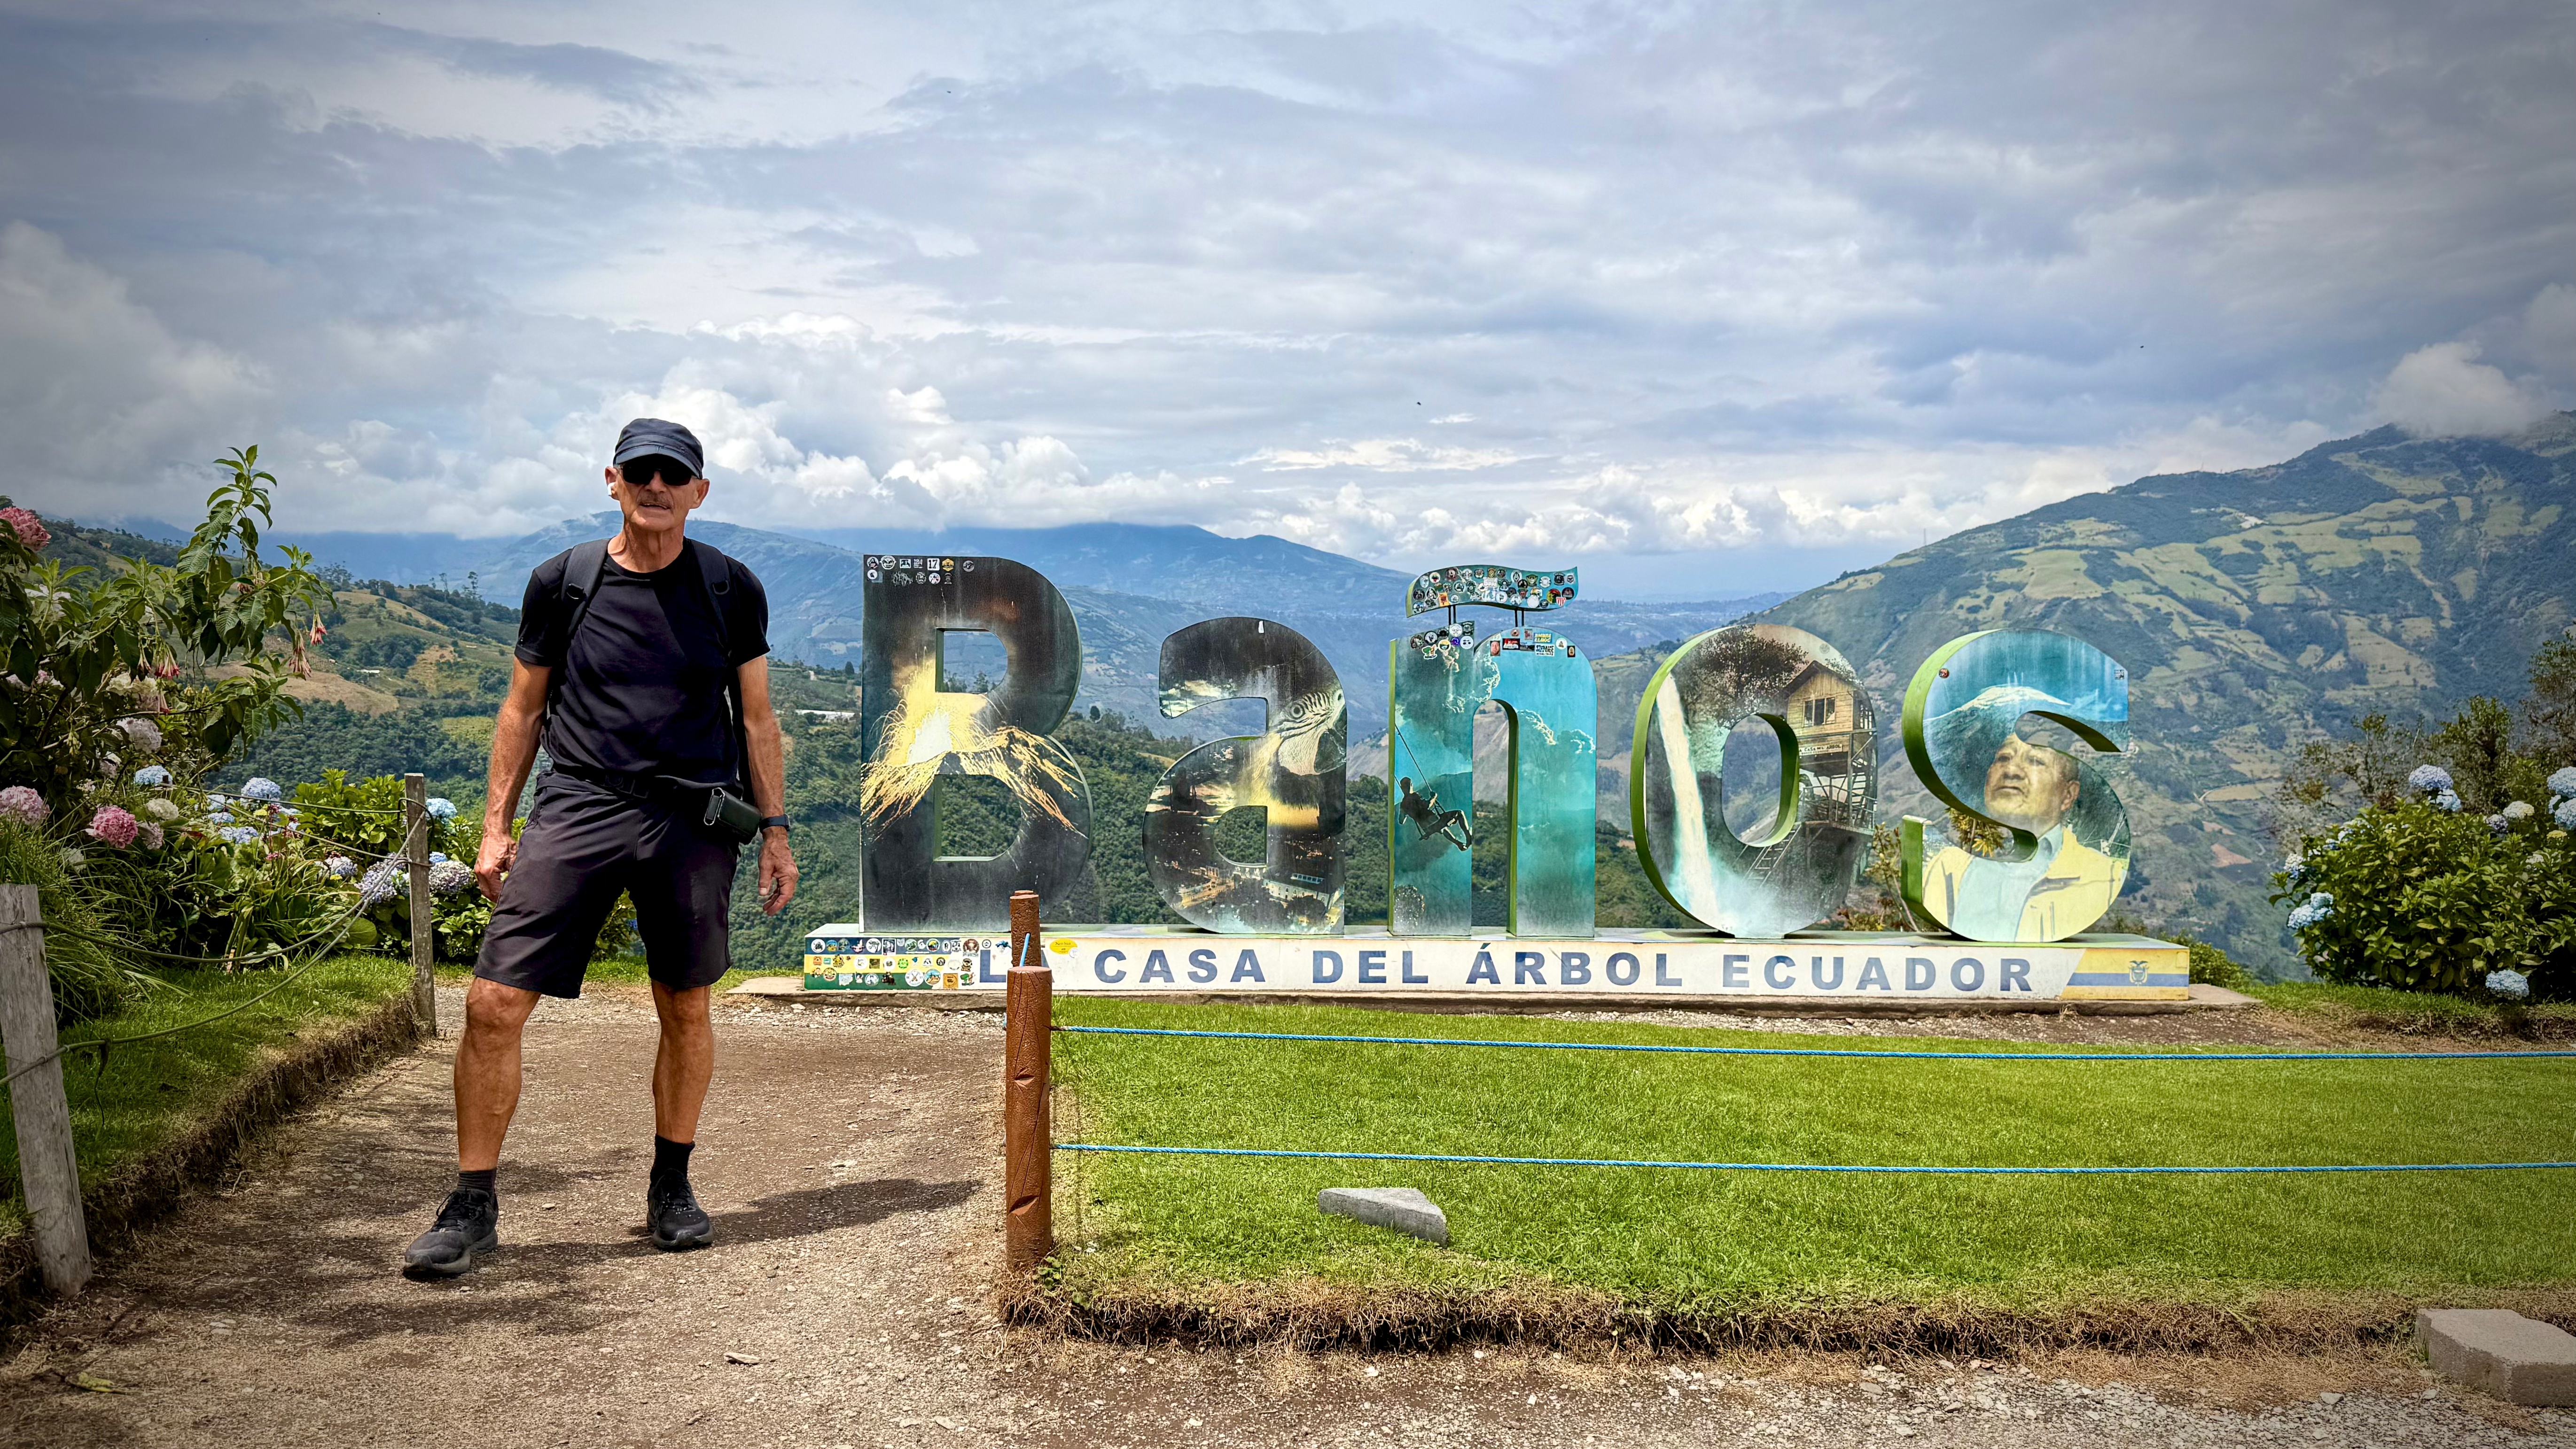
Baรฑos: Ecuadorโ€™s adventure capital

Baรฑos de Agua Santa (Baรฑos) is a small mountain town, the nation’s gateway to the Amazon. And legitimately touted the Adventure Capital of Ecuador.

Activities similar to what you are offered in New Zealand, but for 10% of the cost. There MIGHT be some compromises on safety and liability, however. ๐Ÿ˜€ 

I came for the hiking and cycling. And for altitude acclimatization. It’s at 1,820 metres (5,971 feet).  Three weeks at altitude conditioning in preparation for Kilimanjaro up next.
Click PLAY or watch it on YouTube.


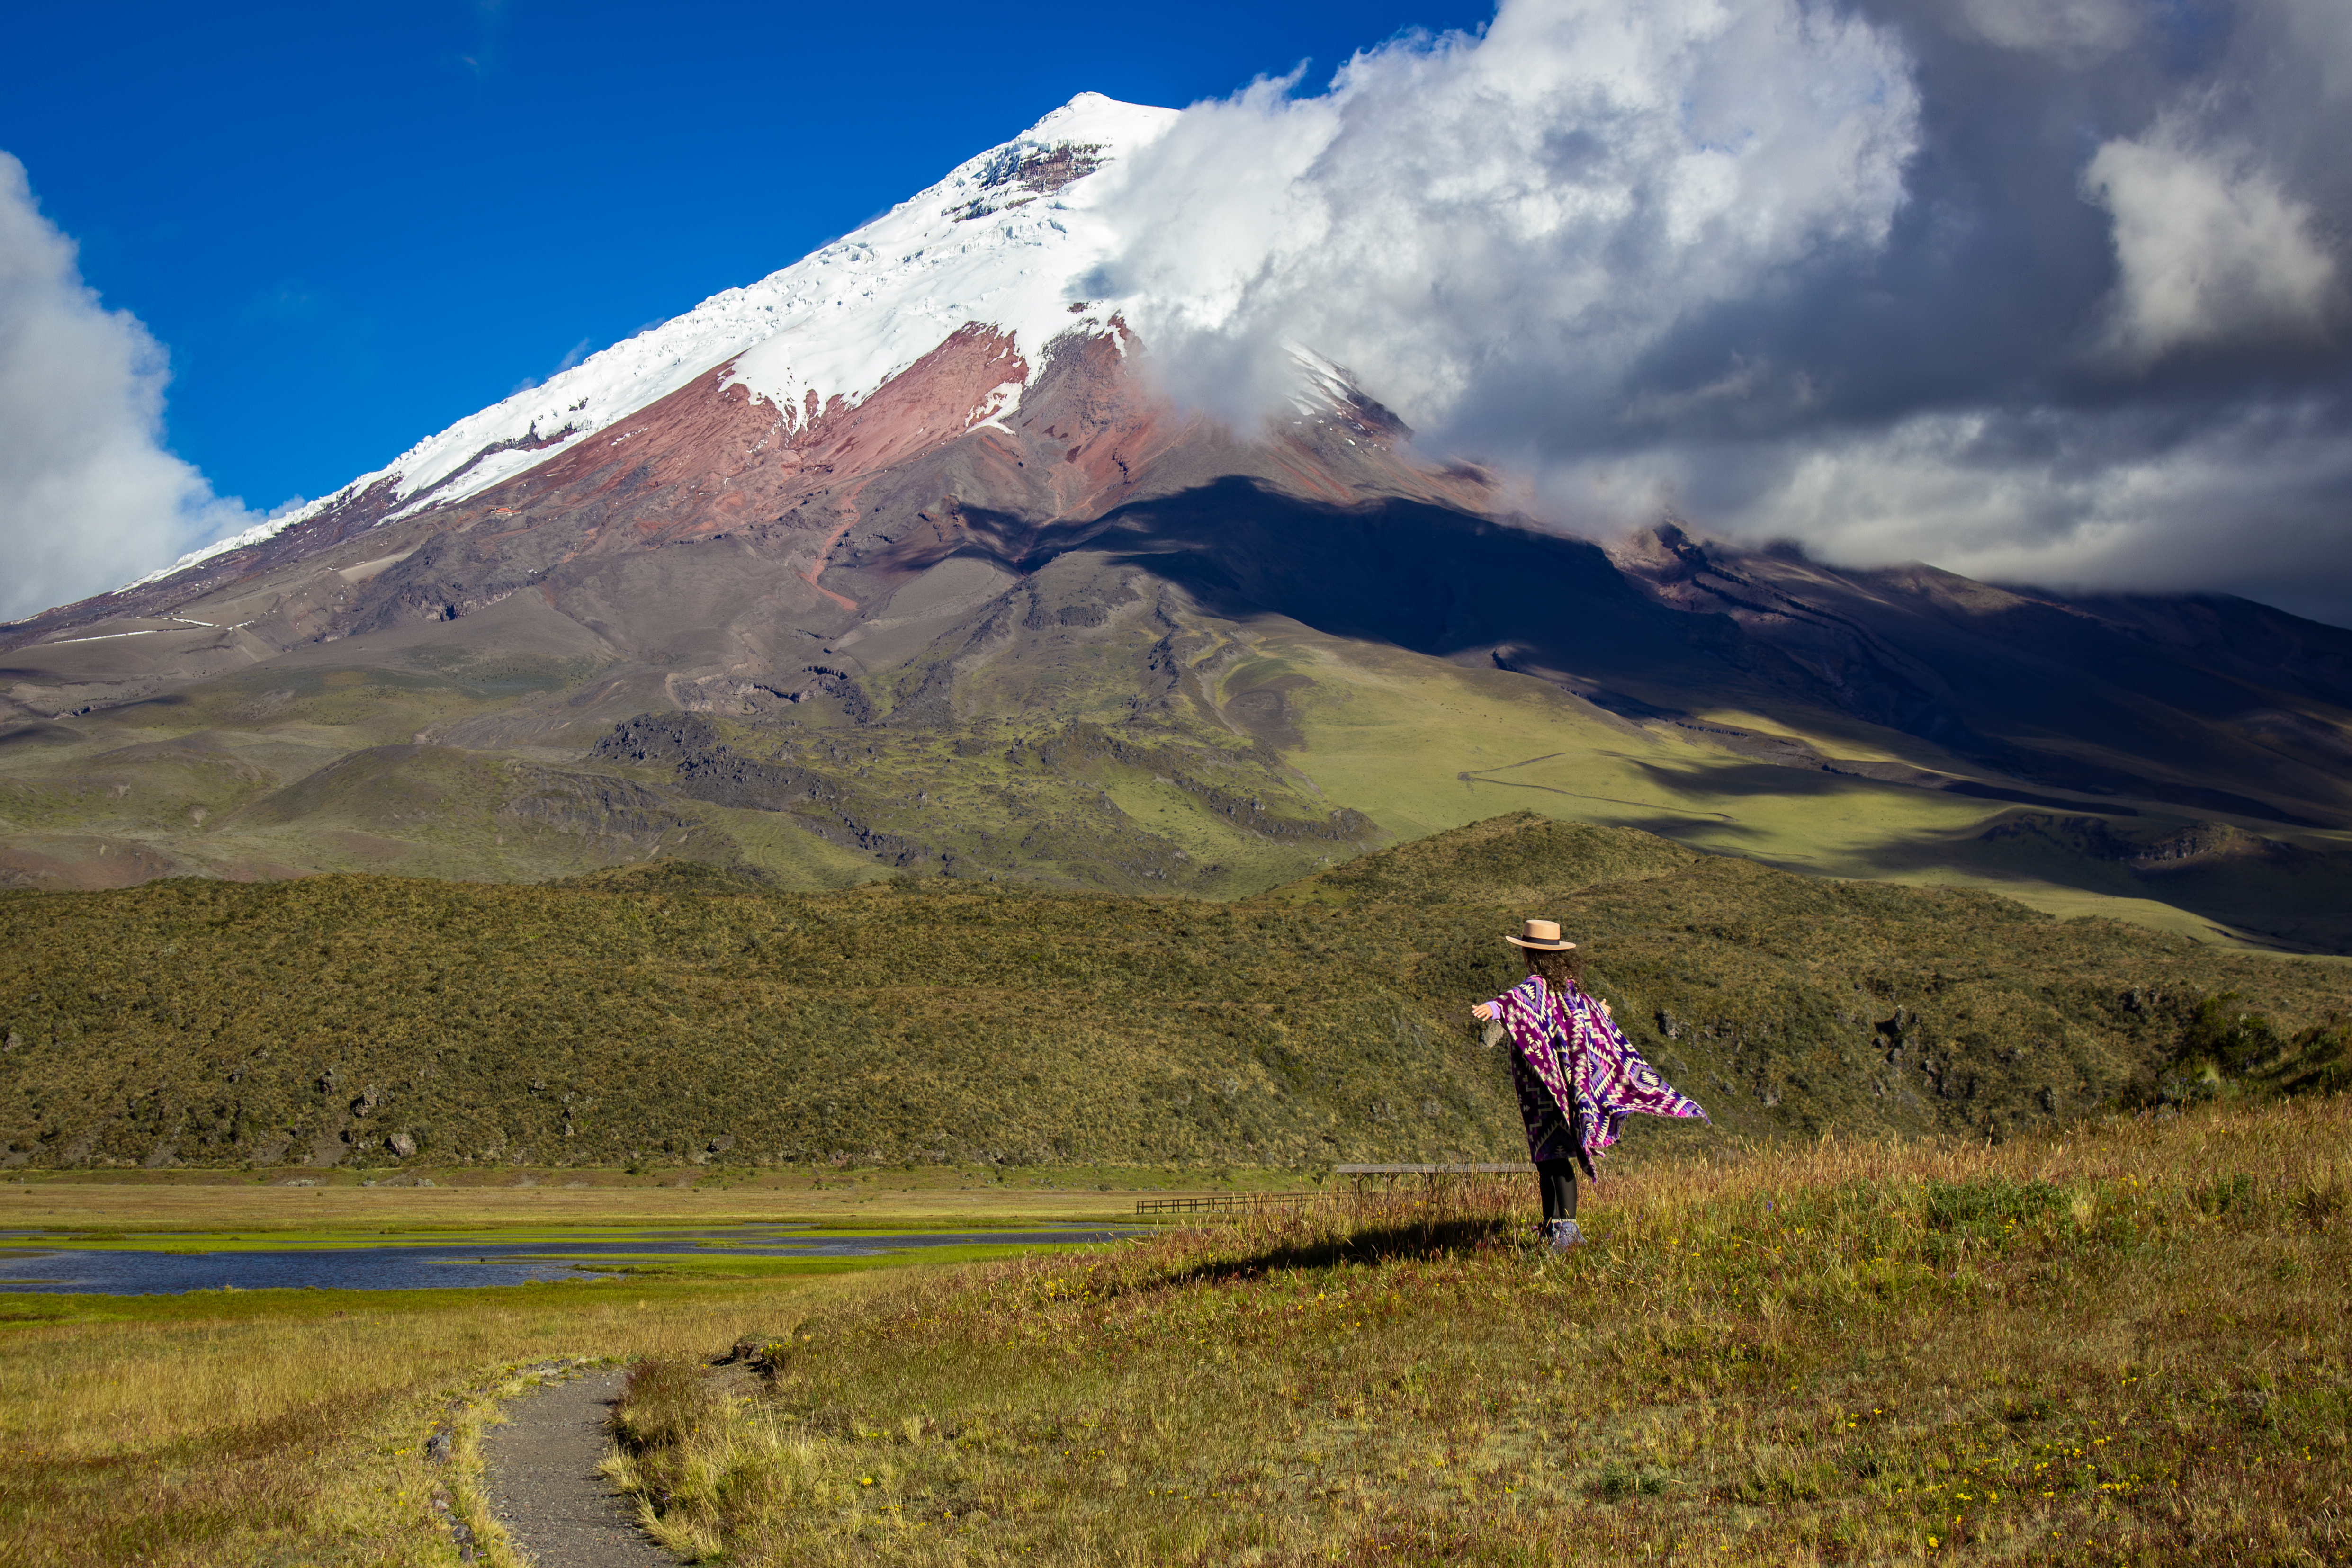
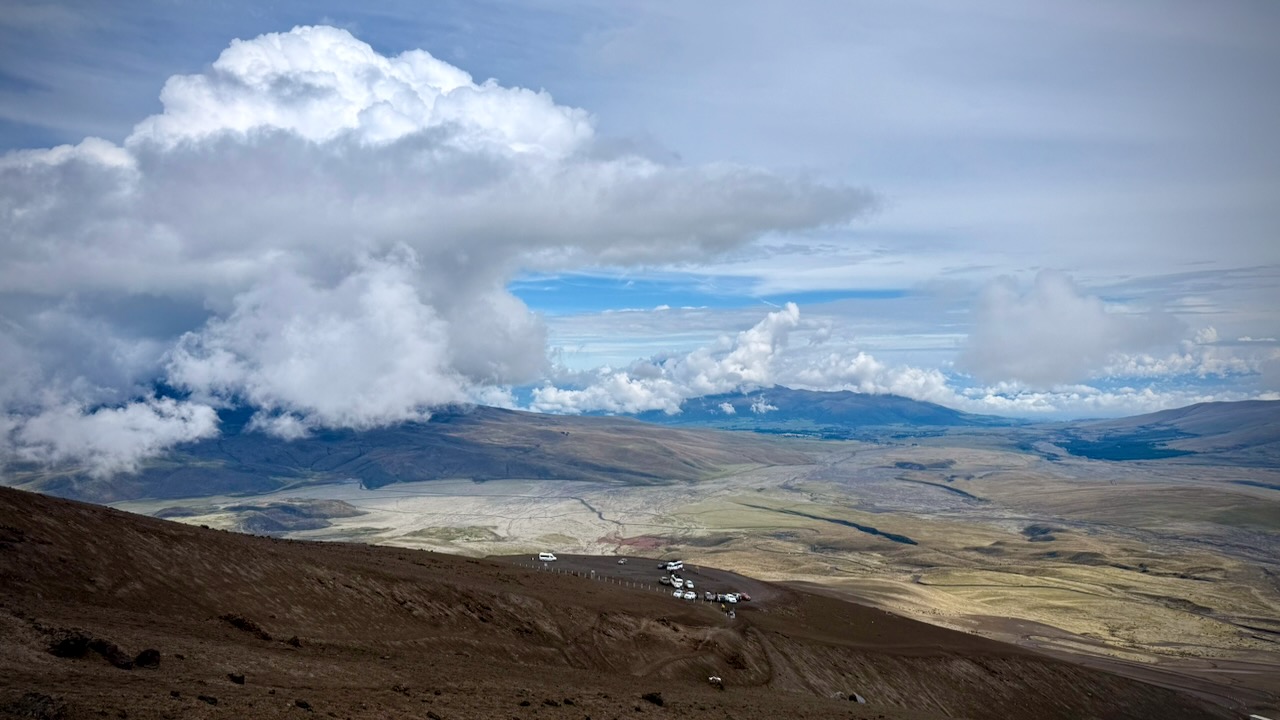
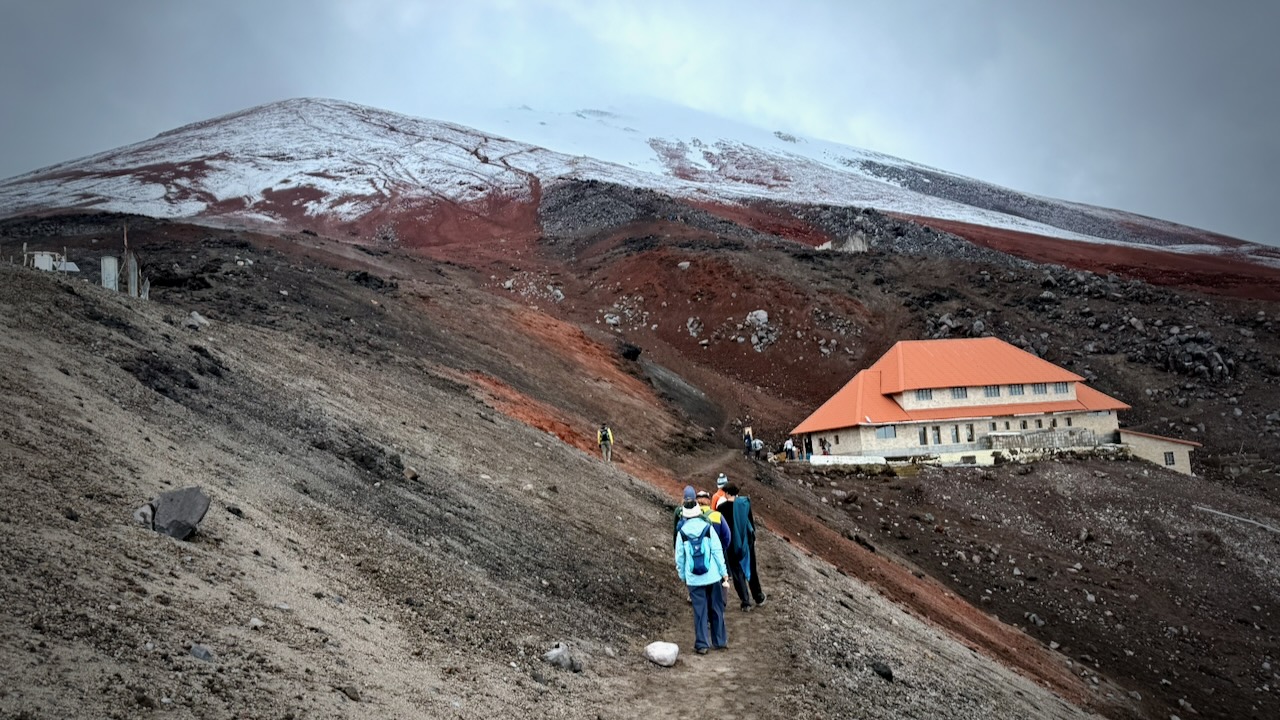
Hiking to Cotopaxi Base Camp, Ecuador

Trip report by BestHike editor Rick McCharles.

A super popular acclimatization hike is a steep, 1,000-meter climb up loose volcanic scree to the base camp of one of the world’s most iconic peaks.

Accessible as a day trip from Quito or โ€” better โ€” via surrounding lodges like Secret Garden Cotopaxi, which is what I did.

Cotopaxi stratovolcano

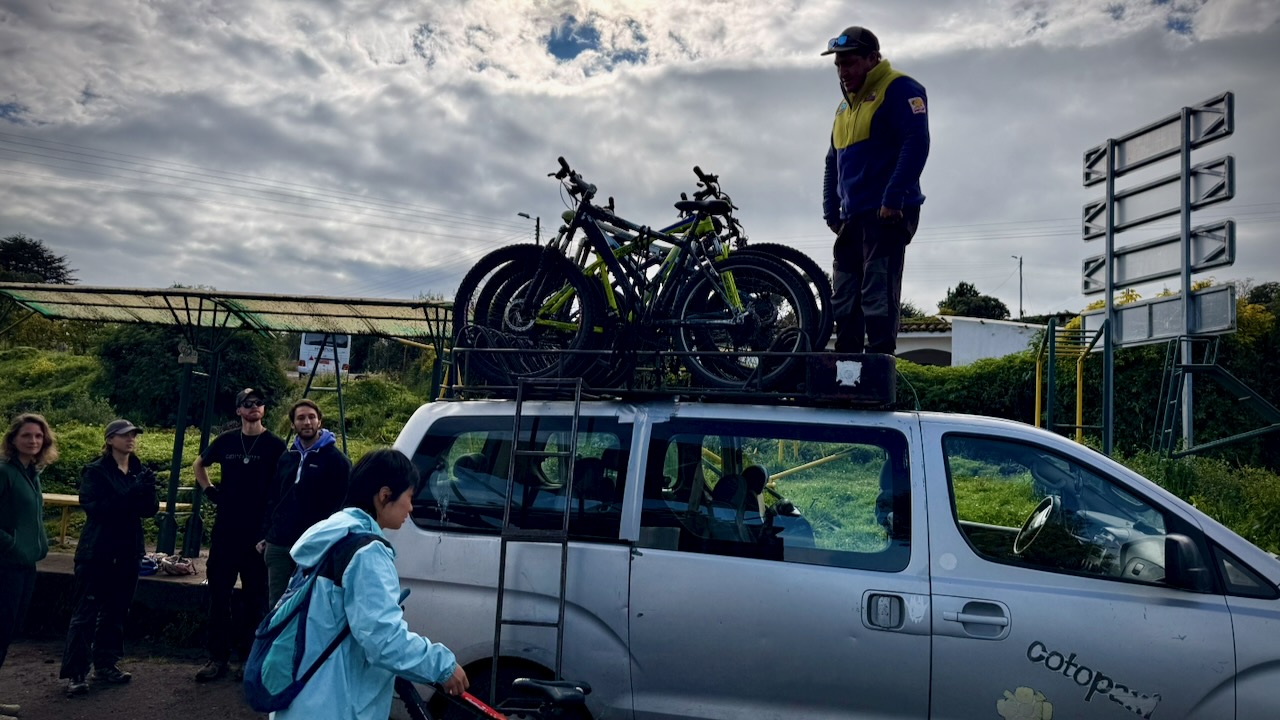
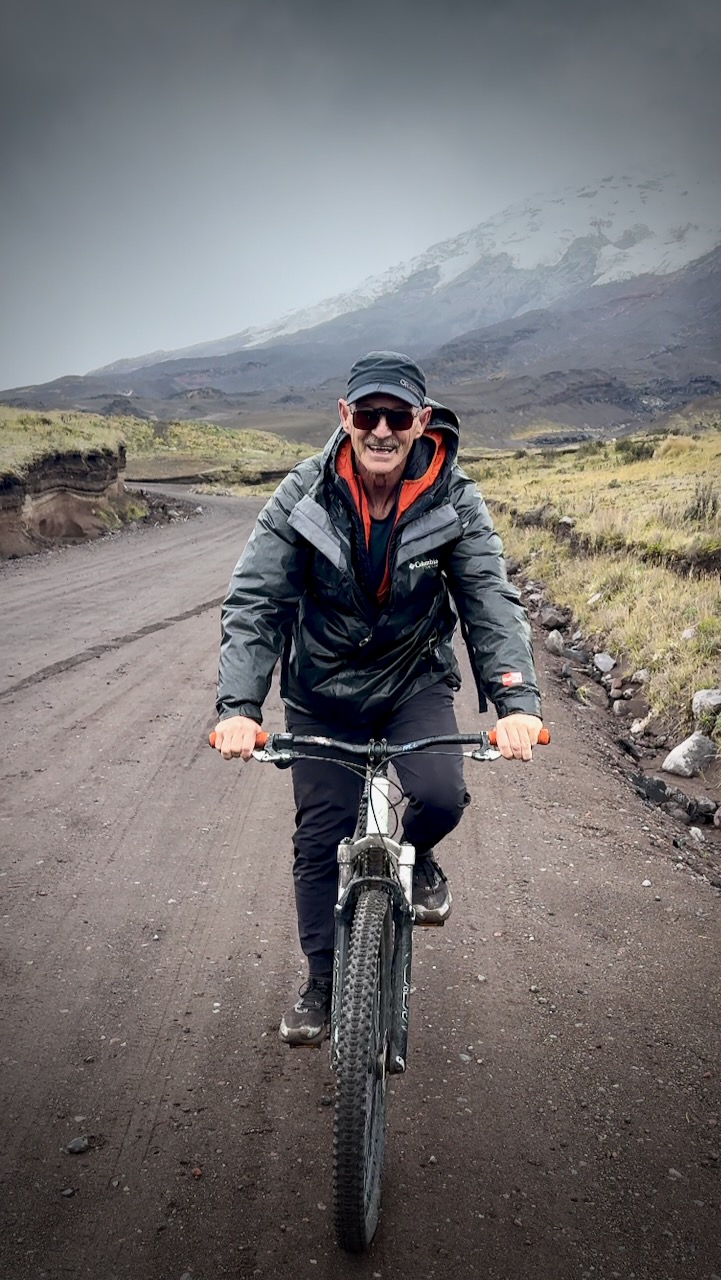
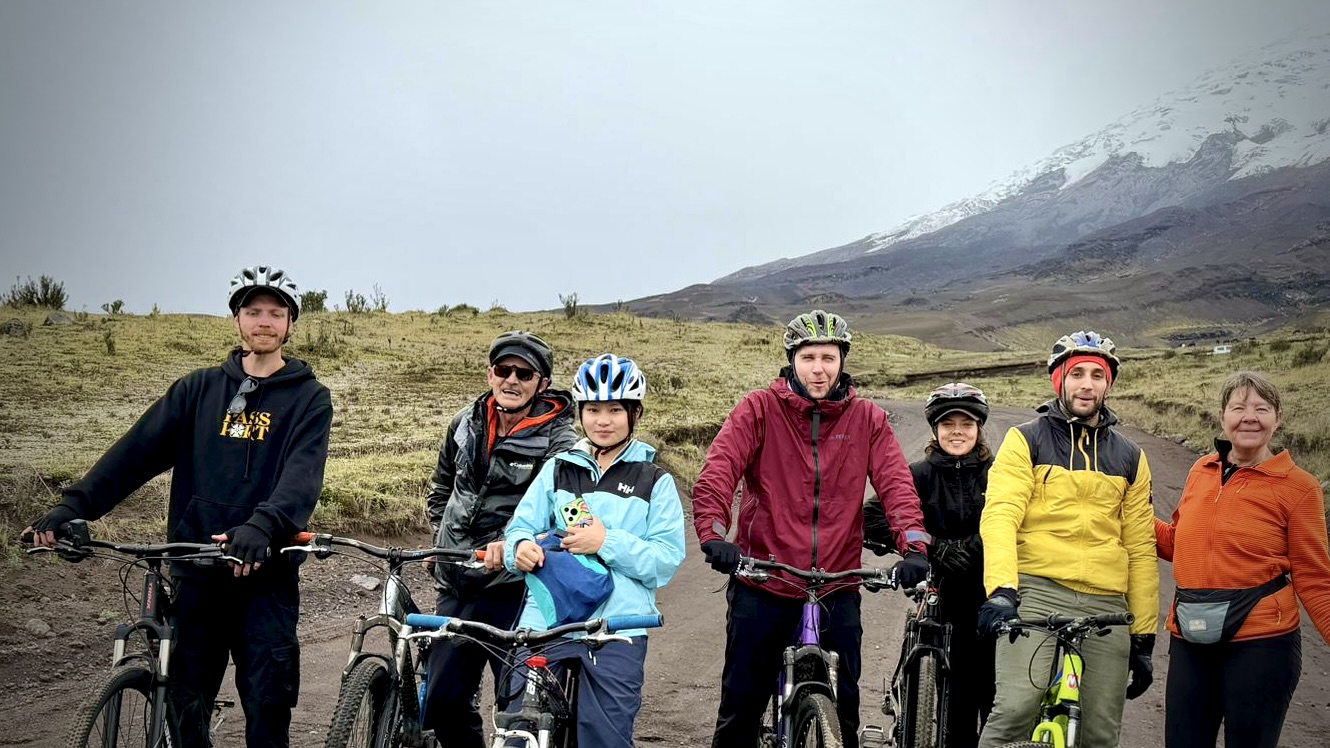
We started early morning when the weather is generally better. Picked up mountain bikes en route.

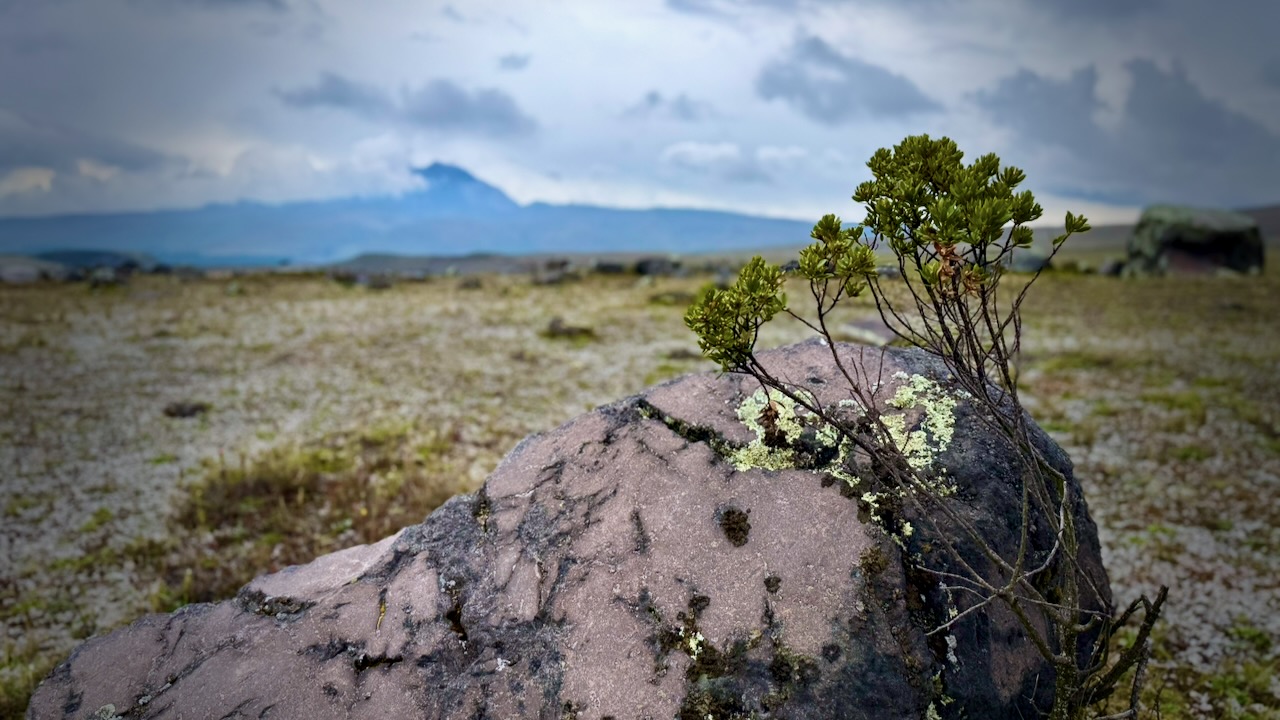
It’s a beautiful part of the world.

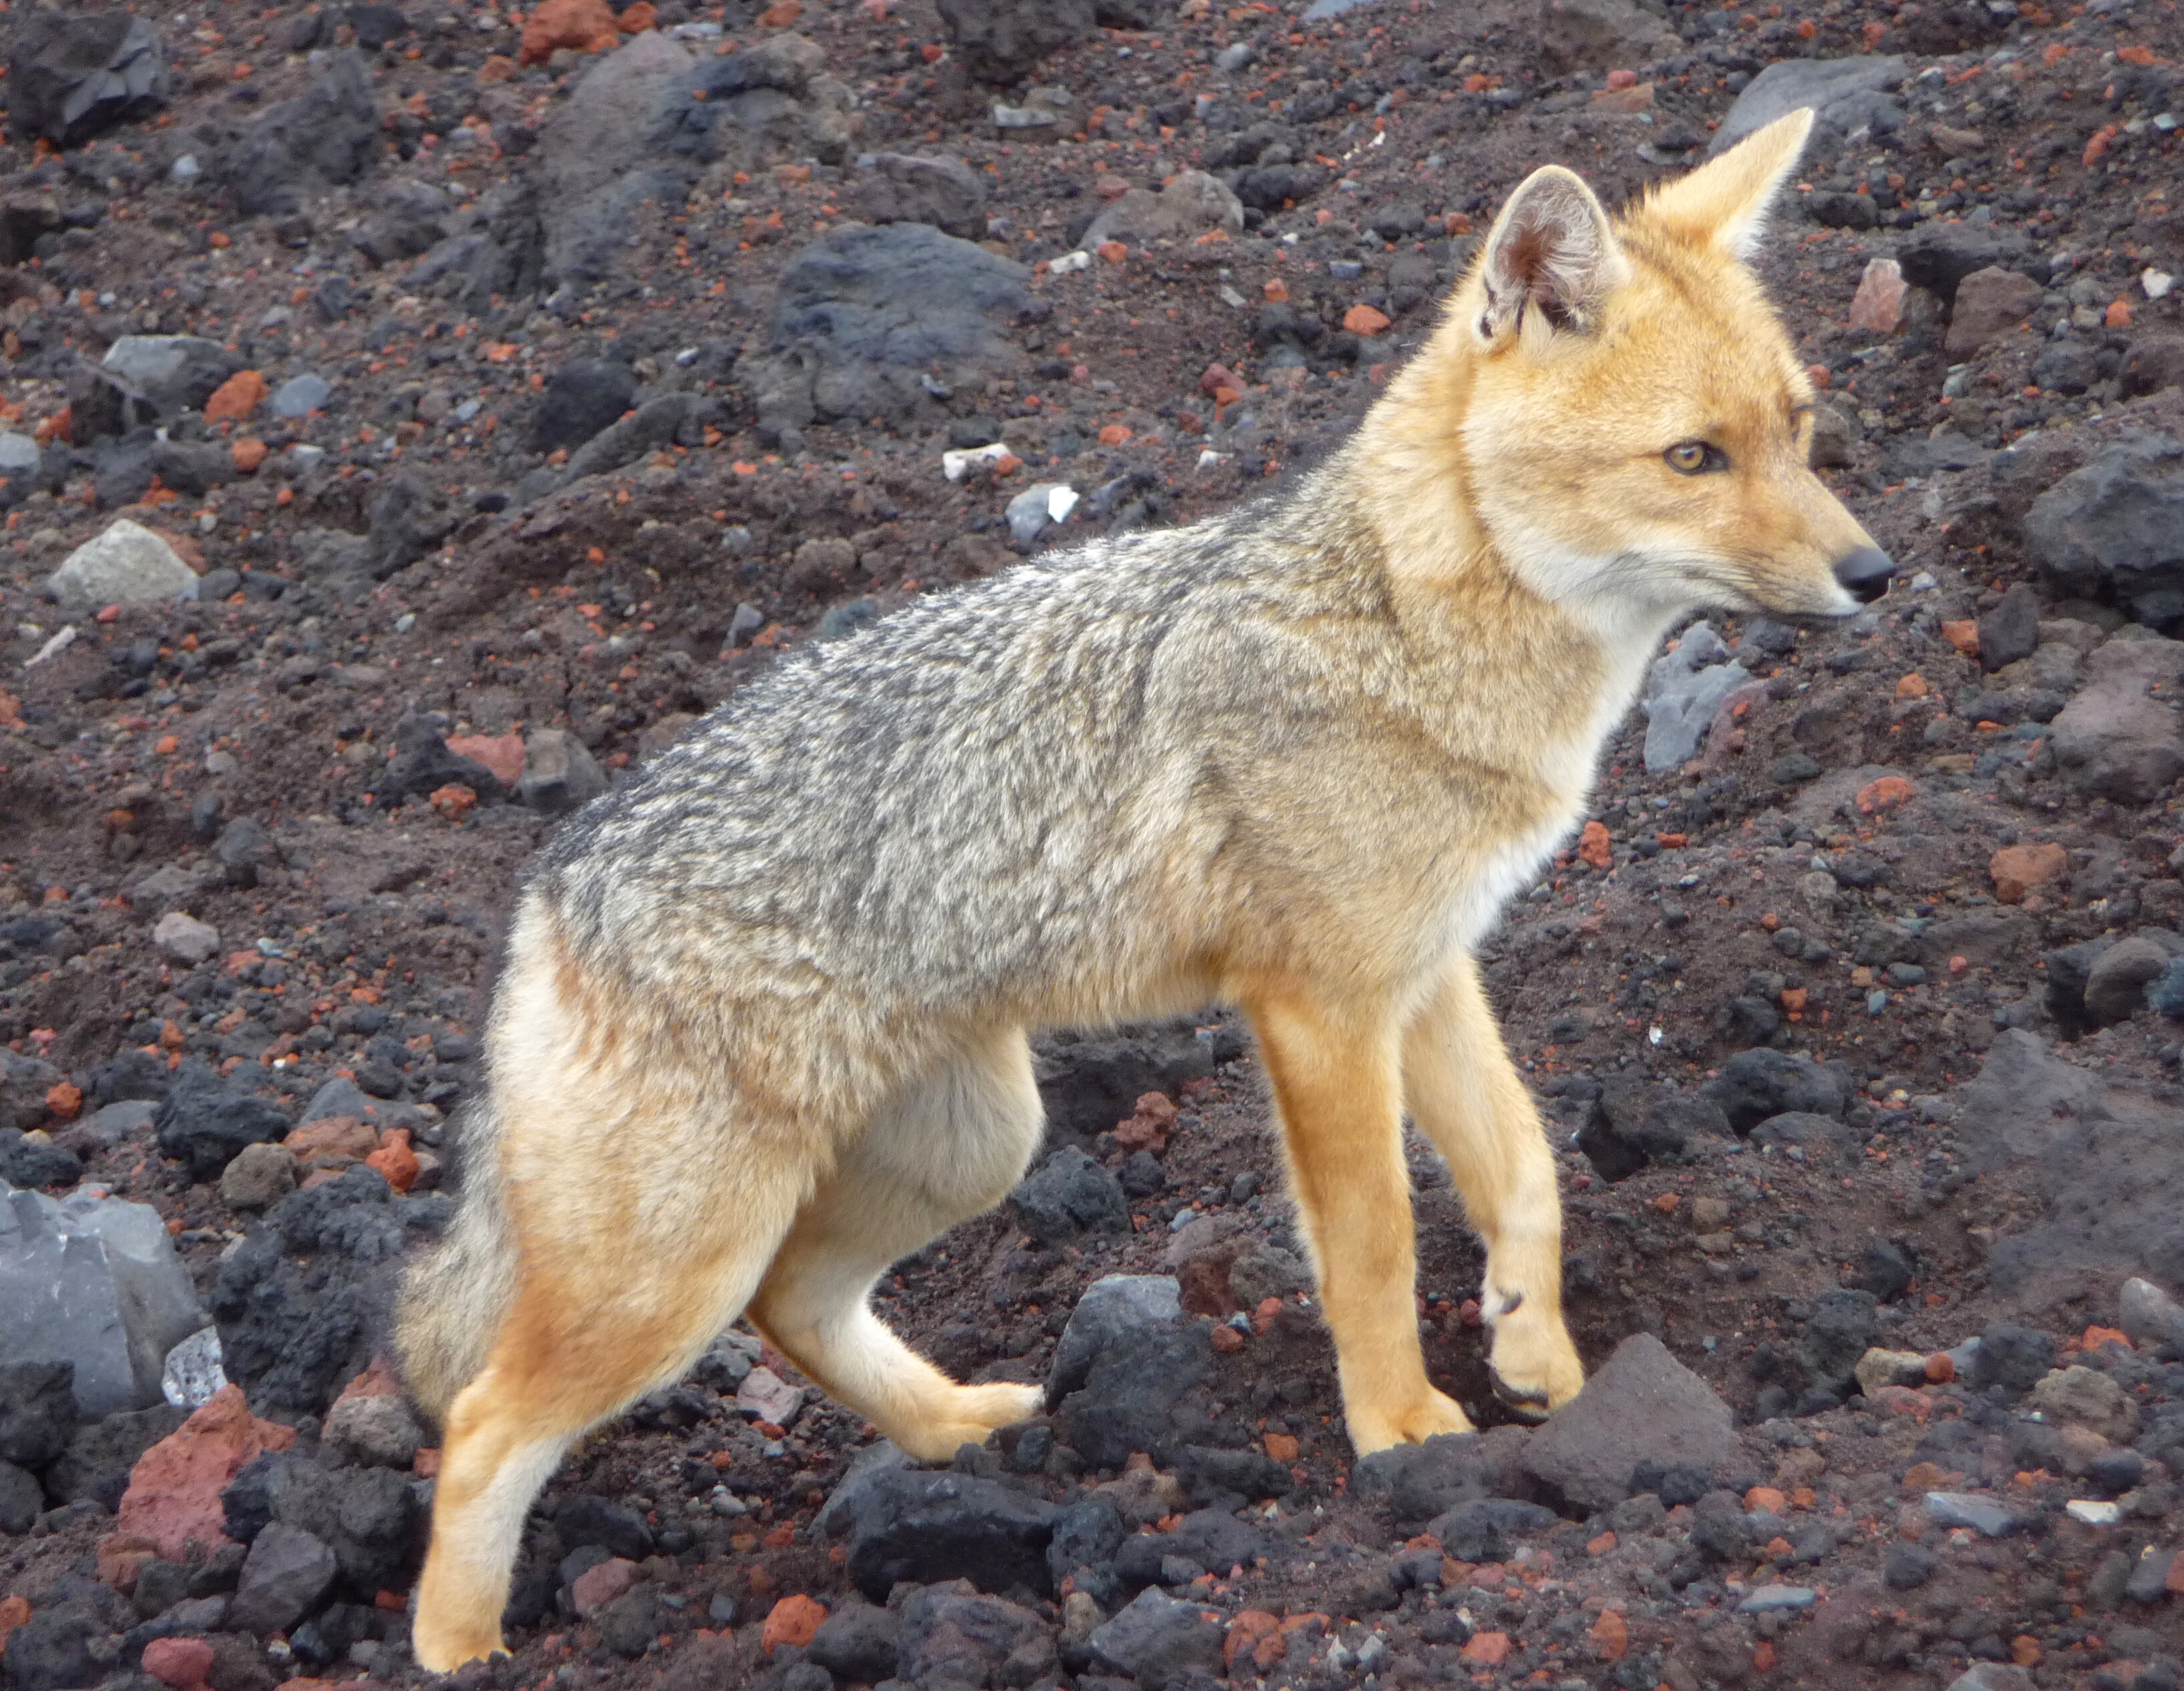
One highlight was spotting a “Andean Wolf” on the drive up. And again on the way down the mountain. It looks more like a long-legged fox.

Processed by: Helicon Filter;By I, Ondล™ej ลฝvรกฤek, CC BY 2.5, https://commons.wikimedia.org/w/index.php?curid=18463942

From the parking lot, it’s 45 minutes to 1.5 hours uphill. (Much faster back down to your vehicle.)

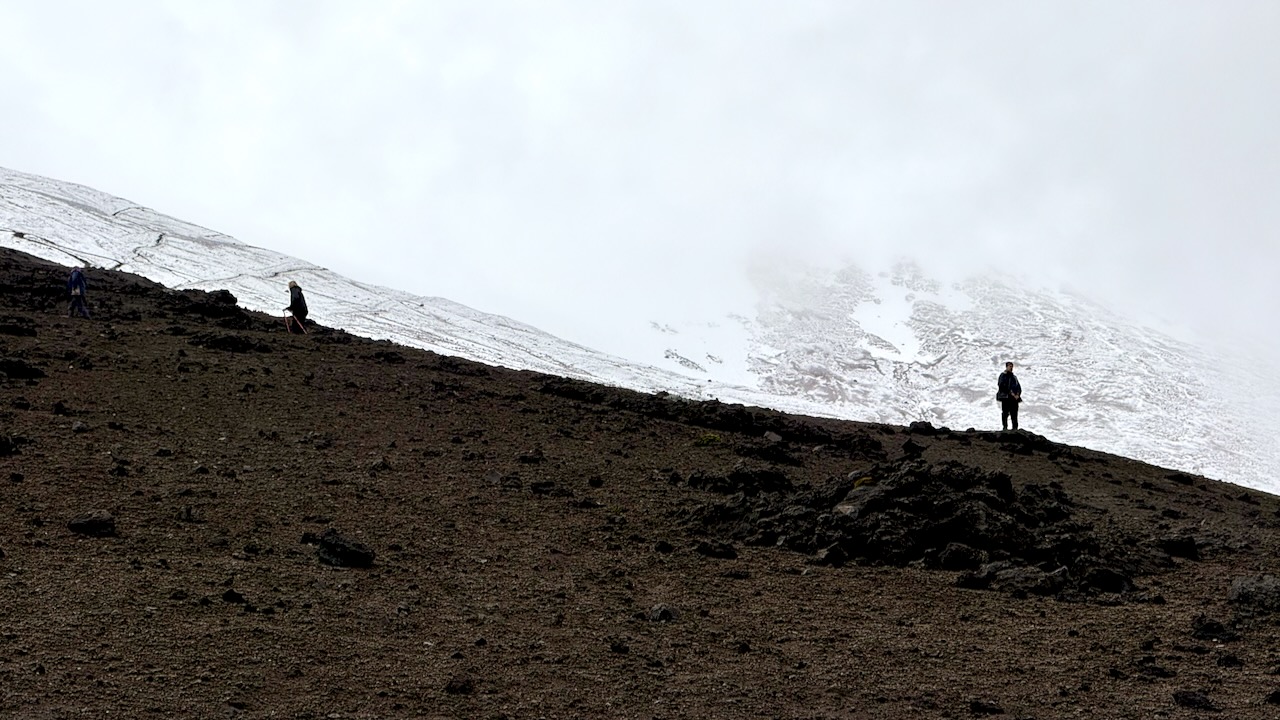
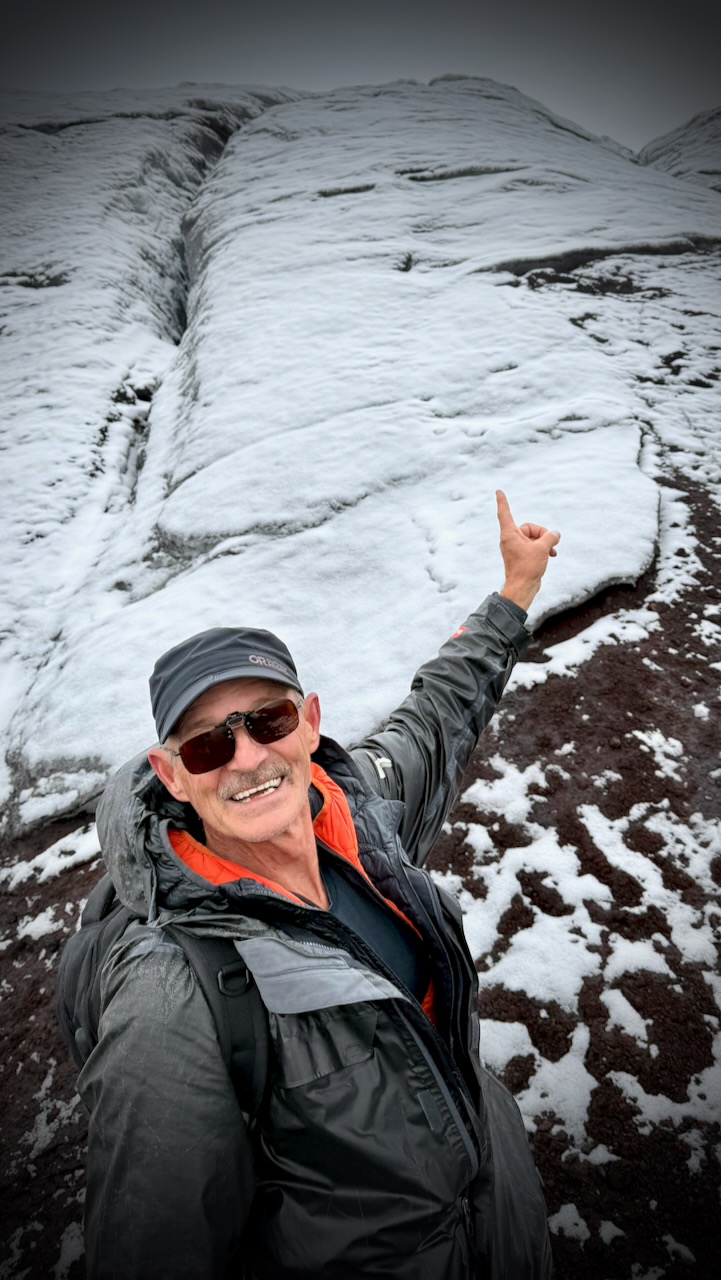
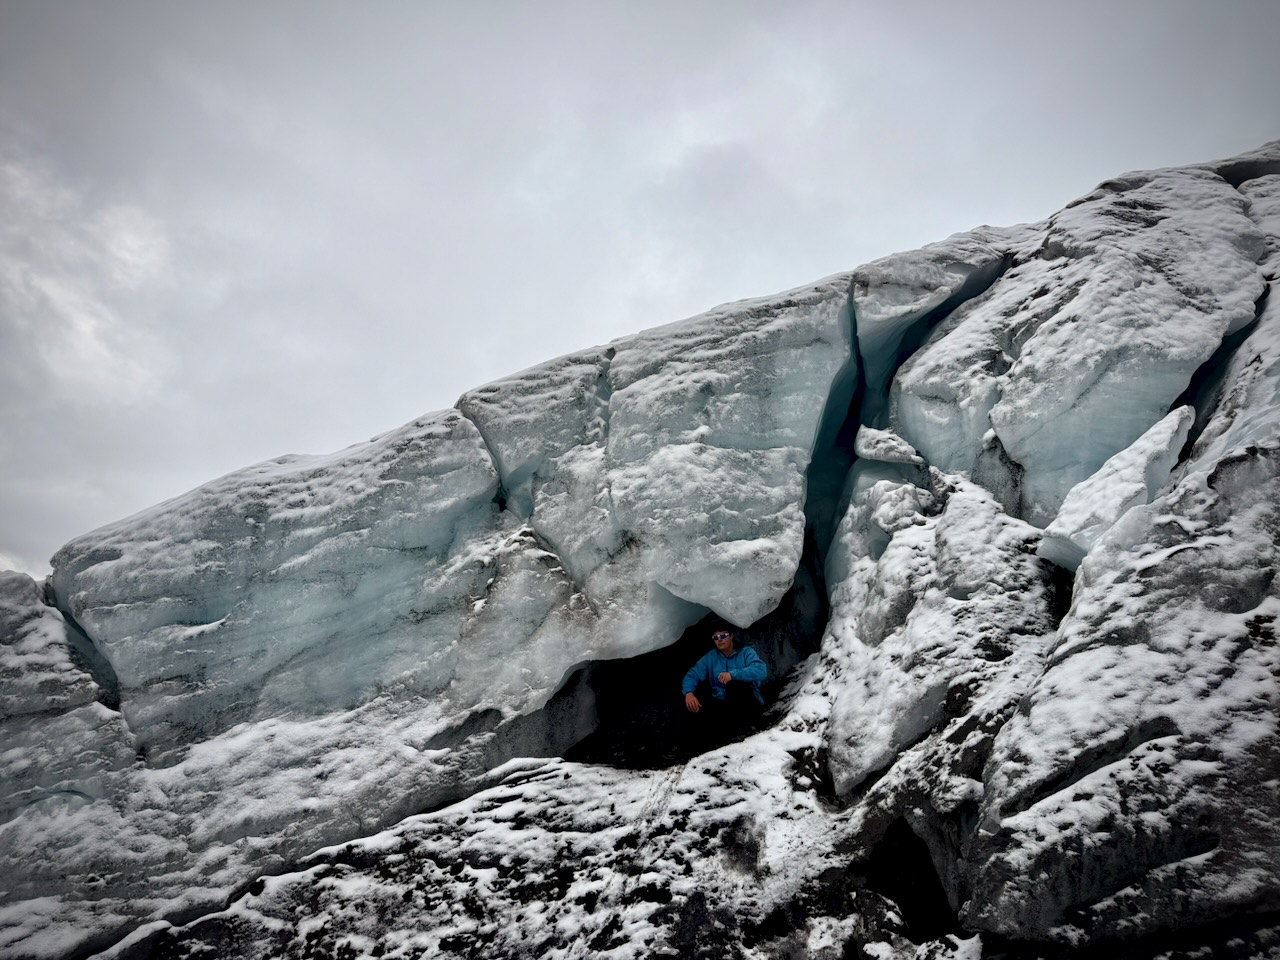
Most continue on to reach the glacier at about 5000m.

We were all checking our devices to see if we’d reached 5000m. We did.

One photographer from South Africa had never seen snow. He decided to climb right into the glacier. … Probably not the safest decision.

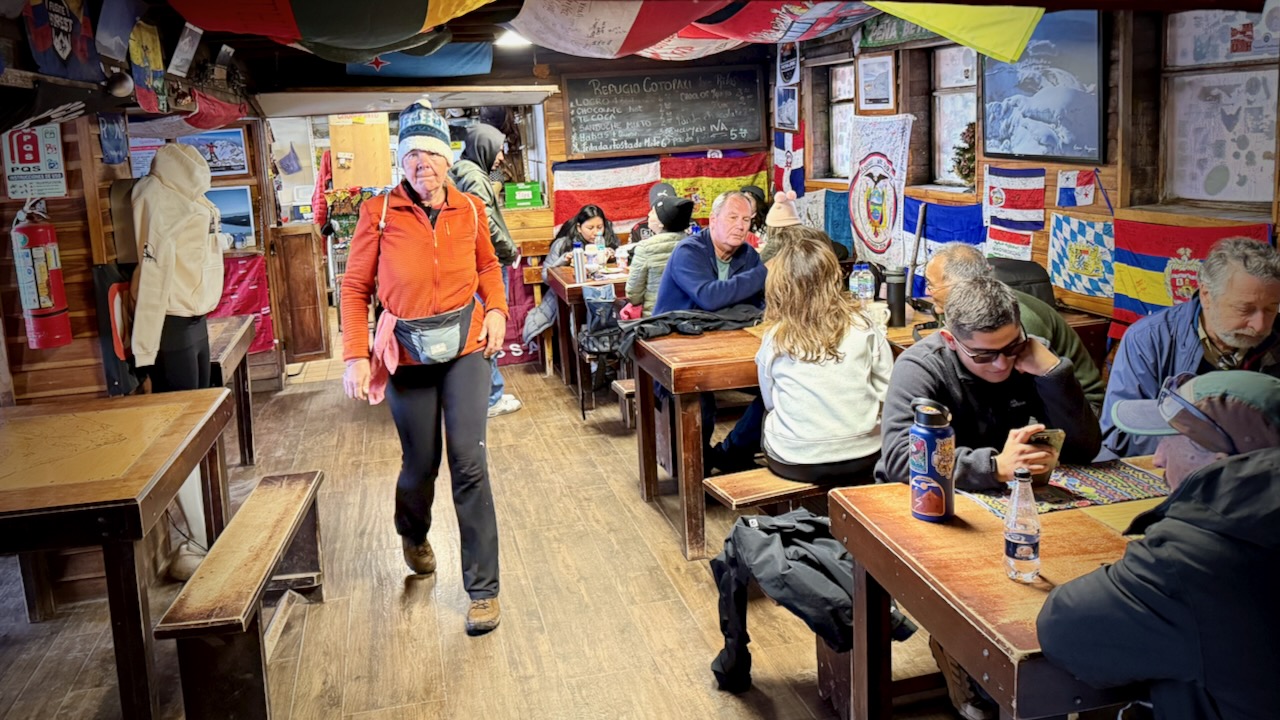
We then dropped down to the Base Camp refuge (refugio) at 4,864 meters (15,953 feet) for a hot drink and/or soup.

A festive vibe.

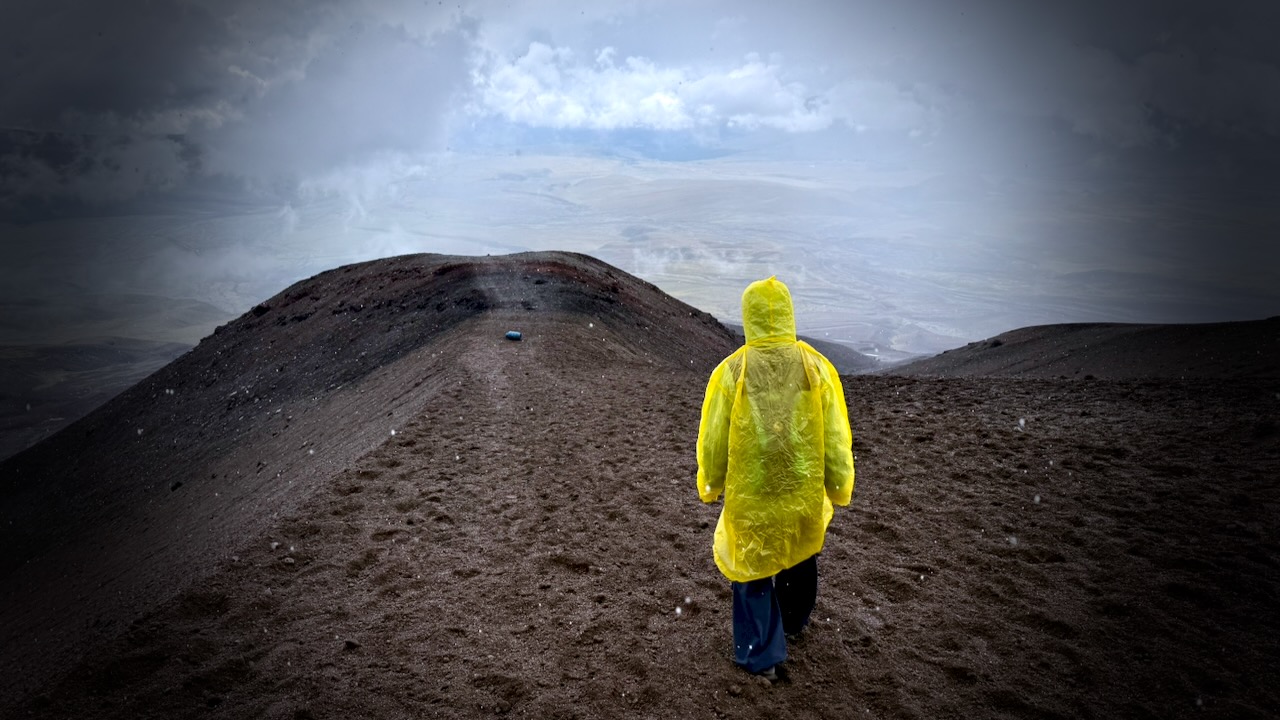
We slid back down the mountain in soft, safe ash.

A simple, but memorable day hike.

Safe but exciting to finish was rolling down the mountain road on bikes.

Highly recommended. BUT we had one in our group who felt altitude enough to only go as far as the refuge. That’s typical for most groups. Be cautious.

related – Brooke Beyond trip report


Electronics for Hiking & Cycling Travel 2026

by BestHike editor Rick McCharles

While traveling, I want to capture VIDEO and PHOTOS as quickly and easily as possible.

BEST for me in 2026 is to simply carry my iPhone 16 Pro. Typically I shoot video in the standard Camera app, 4K, 60 frames / second. HDR in automatic mode.

Only 5x optical zoom is a bit of a limitation, but it’s much better zoom than phones in the past. (I am tempted by the higher zoom in the 17 Pro.)
Depending on the video lighting conditions, I might take the time to lock focus and exposure.
I gave up last year on the Anker MagGo Power Bank, Ultra Slim 10000mAh Magnetic Battery Pack as it was too slow. And tended to overheat.

More often than not, I bring my inexpensive tripod from Fotopro. (Similar to JOBY GorillaPod โ€” but a little better.)

The tripod works like a selfie stick. Or I can quickly set it up almost anywhere.

That tripod has a simple ball head. To it, I attach the Ulanzi ST-27 Metal Phone Clip to keep my phone secure. It fits a large smart phone with cover.

I’m addicted to my Apple Watch โ€” and use the Camera Remote app as a viewfinder for taking photos and videos from a distance.  I have that app as one of my Complications on the Apple Watch face so it’s always quickly available.

For multiple day adventures, I’ll bring one or more external batteries. . HEAVY โ€” YES. But they are the safest way to recharge my electronics on the trail. These brutes have saved me many, many times in the past.

Currently my travel favourite is the inexpensive INIU Charger 22.5W 20000mAh with attached USB-C cable as a handle. In fact I’m taking two of these on my next trip as I’ll often be away from electricity.

When I have electricity en route, I use my UGREEN Nexode 100W 5 Port USB C Charger Block.

It can charge 5 devices simultaneously including a laptop, but I find the 4th and 5th (USB-A) really don’t get much juice compared with the first 3 ports in line. Almost all my devices now are USB-C.

If cycling โ€” where weight and bulk are less an issue โ€” I usually bring along a short extension cord. This makes it more convenient to plug into libraries, coffee shops, hostels, shopping malls, etc. (The UGREEN tends to fall out of a loose wall socket.)

I often hike and cycle internationally. Of course I add an international adapter.

For cycling, I often bring along my Insta360 Ace Pro action camera. One extra battery. I have many accessories, but rarely bring any of them.

Well … even trying to keep electronics as fast and easy as possible, my recharging station for bikepacking might already look like this!

Here I’ve added a second UGREEN Nexode 100W 5 Port USB C Charger Block. So could simultaneously charge at least 6 or more devices overnight from one wall socket. A mess. ๐Ÿ˜€


The BIG decision for me last year was whether or not to take the DJI Mini 4 Drone. The Controller is essential. … In fact, so far I always bring the bulky carrying case and 3 extra batteries. A major commitment.

BUT I love shooting drone video. And I am often willing to suffer with the extra bulk and weight.

Actually, all this gear is not bad when I’m bikepacking. I add even more gear including the world’s best helmet. ๐Ÿ˜€

Sadly, I lost the Mini 4 in S.E. Asia on the last trip. And have now switched to the smaller, lighter, much cheaper, more durable DJI Neo 1. I call it a toy drone.

Click PLAY or watch it on YouTube.

Mostly I’ll use this drone handheld. No phone. No controller.

For more complicated shots, I’ll take the time to use my phone as a controller.

For long trips, I bring along my old MacBook Air and 3-4 external 2TB SSD drives for back-up and video / photo editing.

I normally leave the Apple charging brick at home, using USB C charging, instead.

Critical for cycling is navigation. I use an old iPhone with a QuadLock attachment to the handlebars. And a rain poncho, when necessary. I keep my Canadian SIM card in this phone to ensure texts still reach me at the end of the world.

I’ll stop here …. though there are times I bring even MORE along in the bike saddle bags. ๐Ÿ˜€

IF I might need light at night, I’ll bring my tiny Nitecore headlamp and short charging cable.

Anker IQ wall plug for a quick charge at a coffee shop. ??

Bottom line? Show up with your phone and a back-up external battery. That’s what the smart folks do. ๐Ÿ™

Me? I’ll always have the phone and drone.

For example, for my last international trip (hiking, not cycling) this was my MAIN recharging set-up. One electrical outlet โž™ light extension cord โž™ International adapter โž™ my UGREEN Nexode 100W 5 Port USB C Charger Block โž™ 1) laptop, 2) INUI external battery (charging watch), 3) UGreen (charging phone).

Cables are long for convenience in awkward recharging locations. Cables are high speed. Priority is keeping my external batteries charged for use away from an electrical outlet.


In addition are my devices to be charged irregularly. I’ll do these once the MAIN group of devices is done.

In foreign nations, I’ll put a local SIM card into the 16 Pro.

This is the bulky, heavy drone with 4 batteries. (My next drone is lighter and smaller.)

I do have AirPods, as well. Normally I top those up from the external battery when needed. In fact, I carry a spare AirPod.

I rarely take the Flow Pro 2 Gimbal โ€” but that battery seems to stay charged almost indefinitely. ๐Ÿ˜€

Electronics are carried in my trusty old laptop case. Drone and accessories, separate.

For 2026 I’ve reduced bulk and weight of electronics. Next trip I’m going to try to combine my laptop bag and day pack into one.

NEW โž™ My day pack cable can recharge Apple Watch, old iPhone, USB-C, and USB-A.