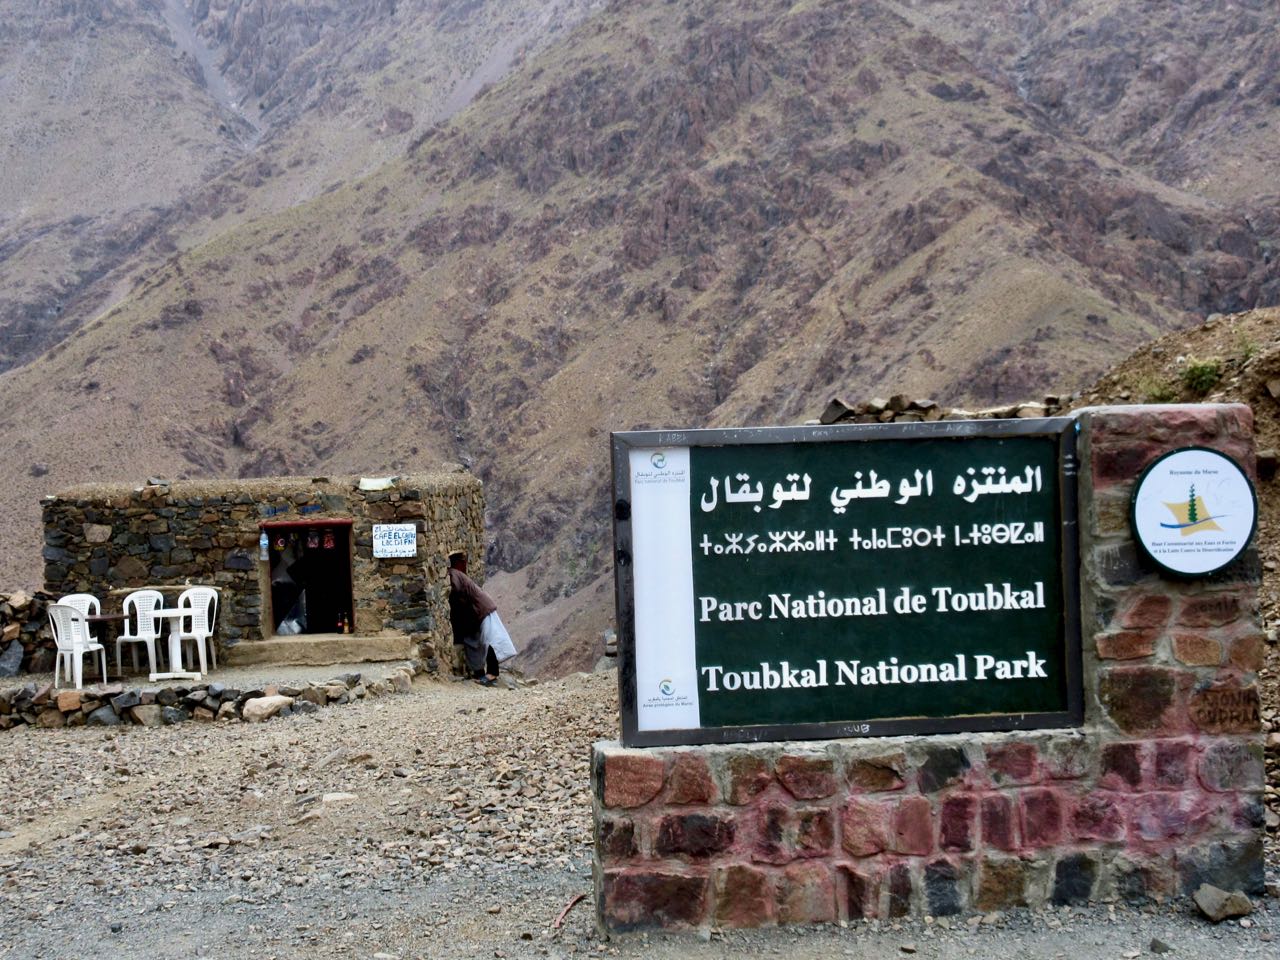
Trip report by BestHike editor Rick McCharles.
day 1 | 2 | 3 | 4 | 5 | info | video
Most guided hikers departed in the dark as — normally — the peak is clearest in the morning. I decided to wait until first light, instead.
In fact, before dawn there were lightning flashes in the direction of Toubkal. I rolled over thinking I’d not be doing the peak at all.
On waking I enjoyed 2 pots of coffee … and waited about an hour before packing up.
… but weather seemed to be clearing.
It was worth giving it a try. I could always turn back if lightning resumed.
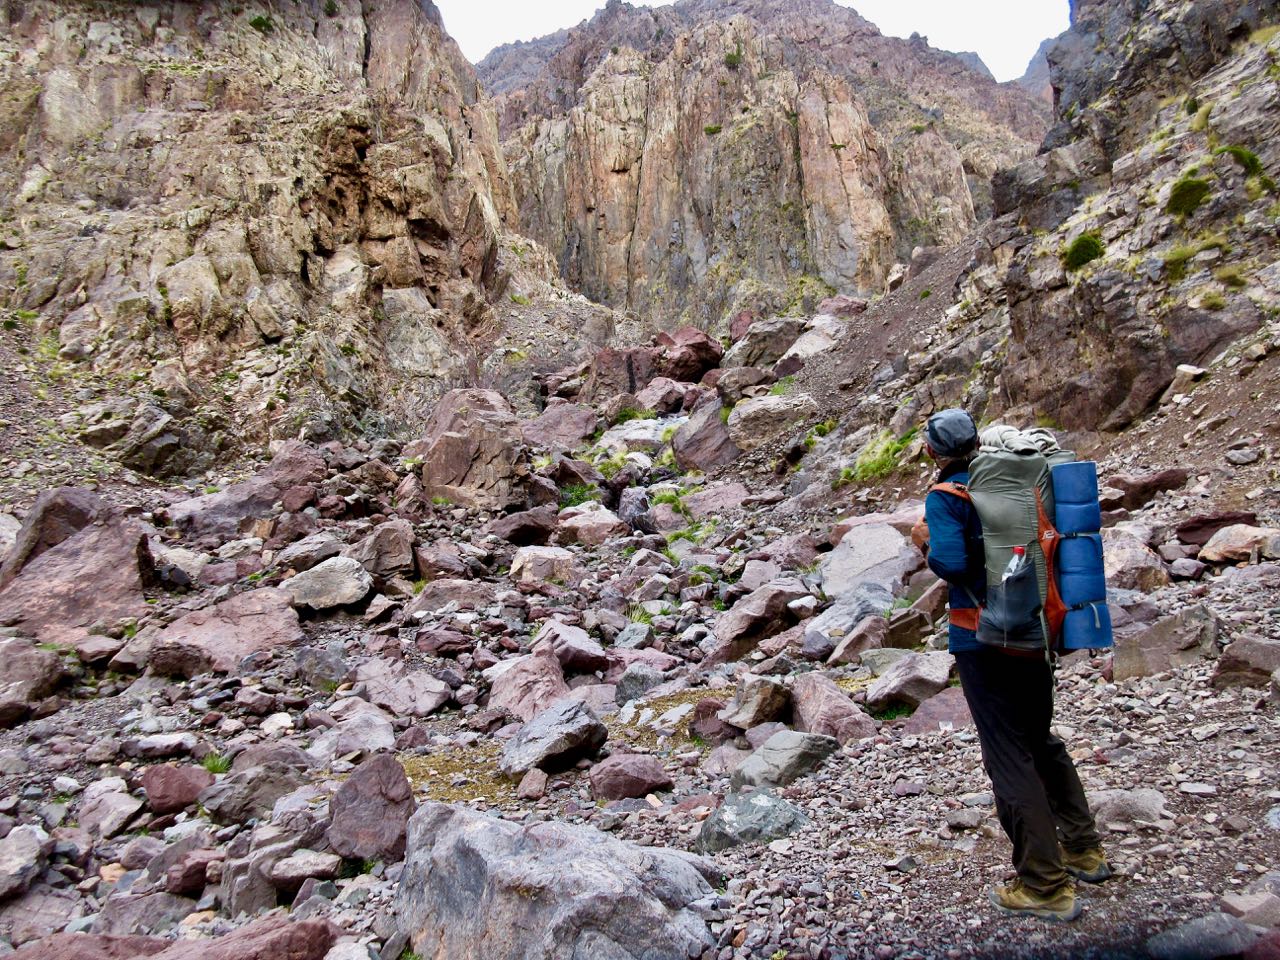
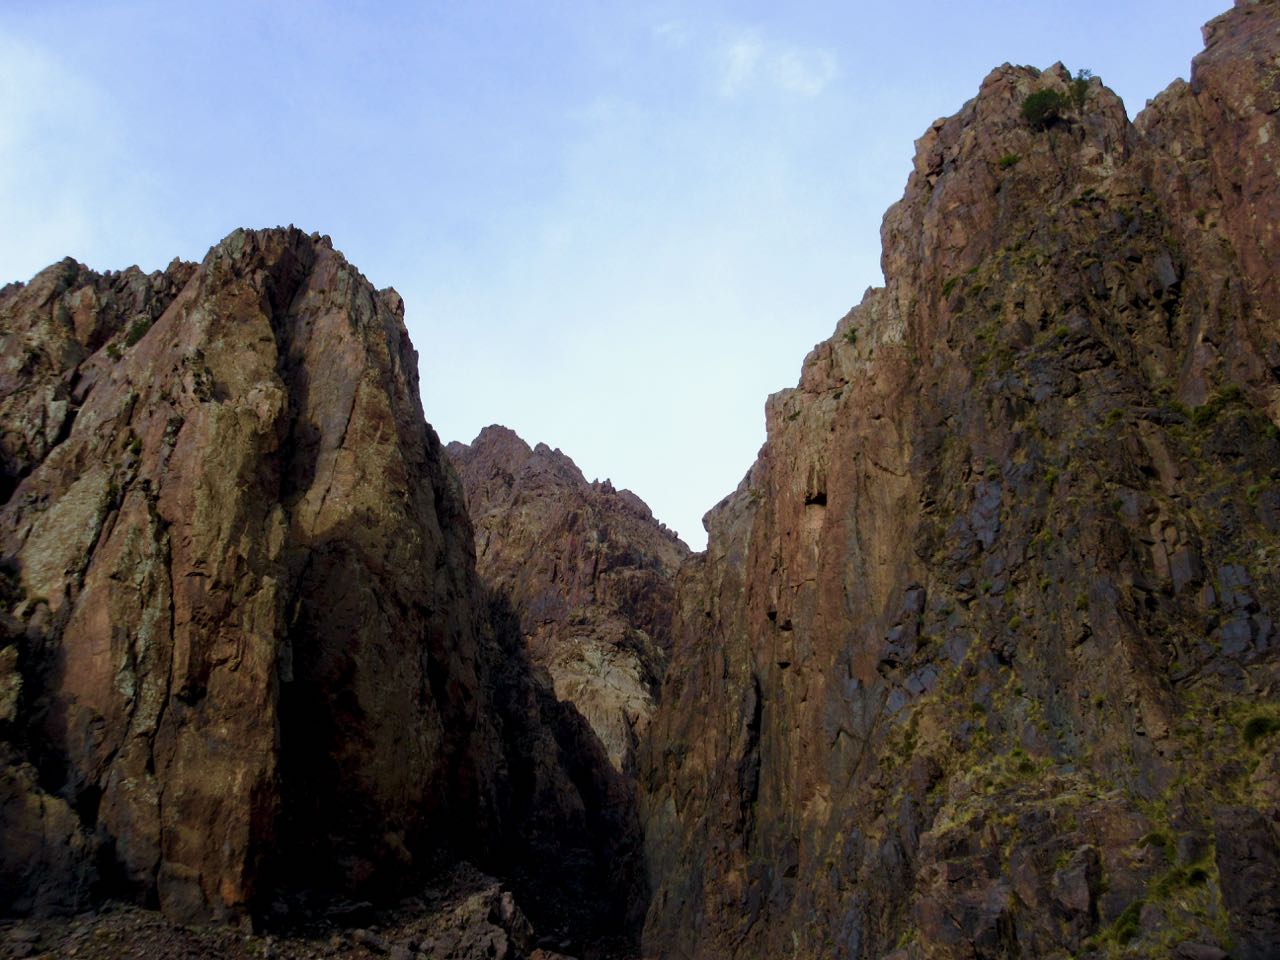
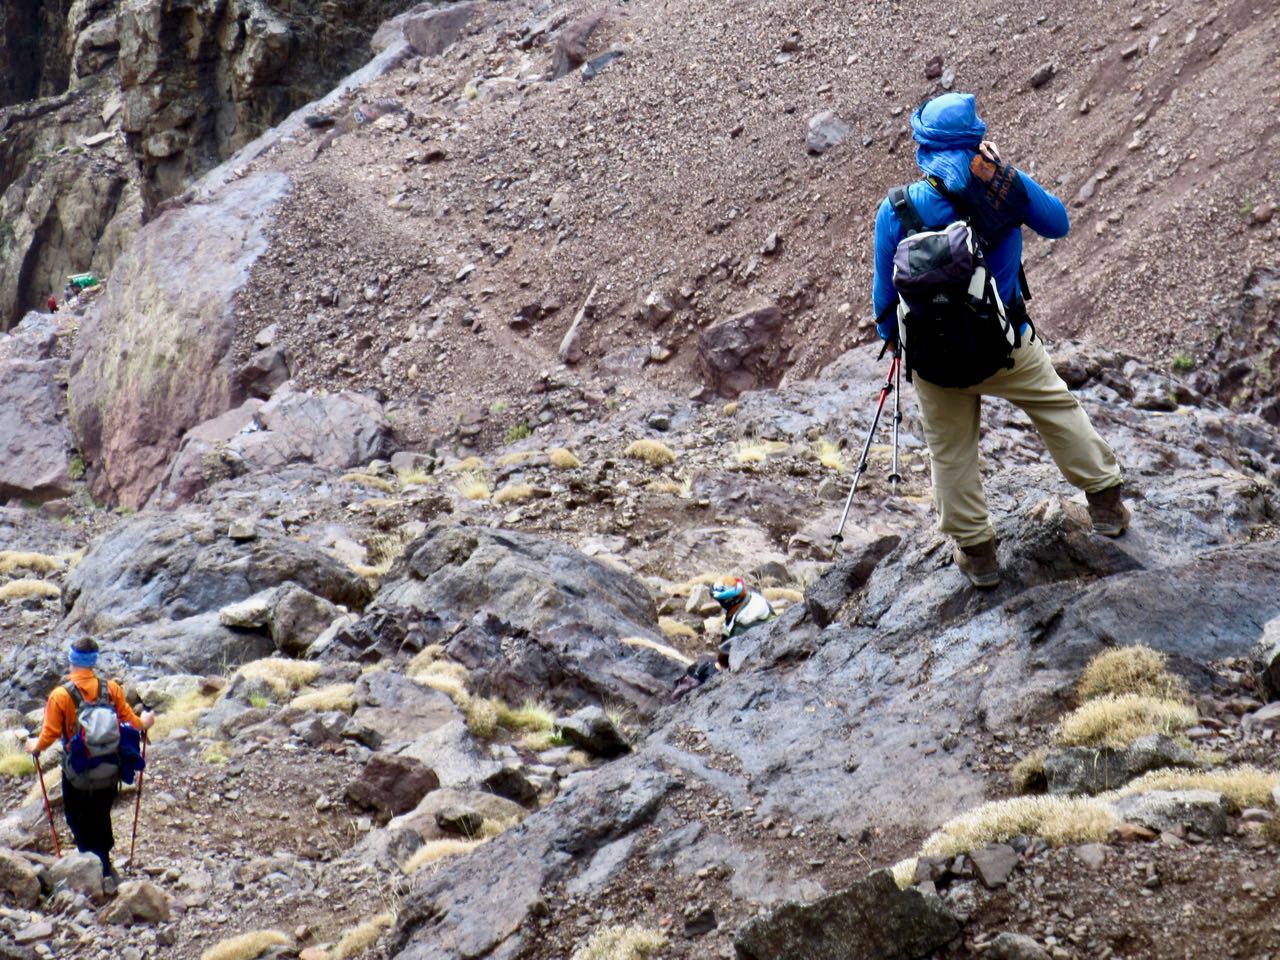
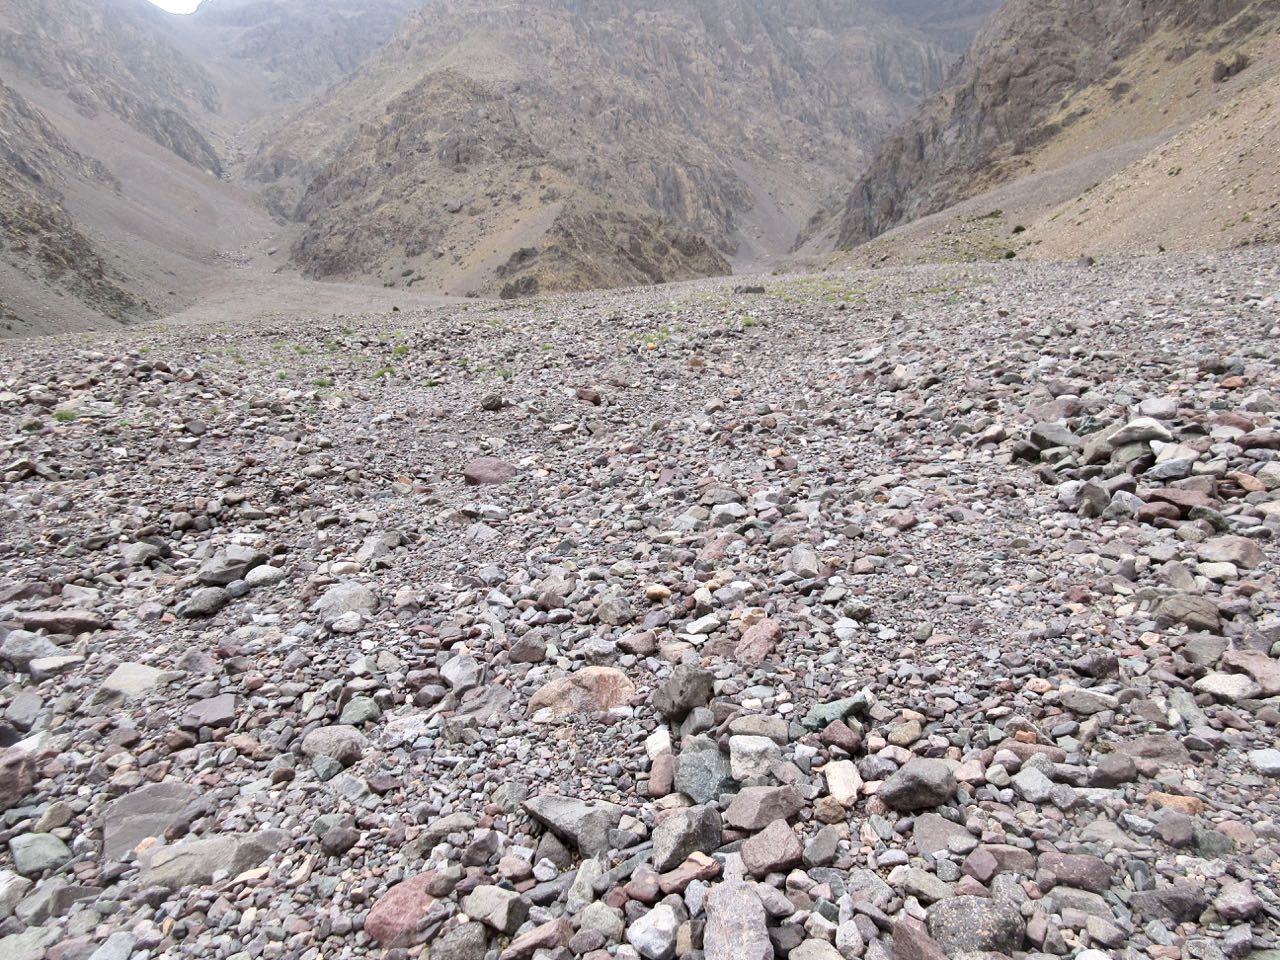
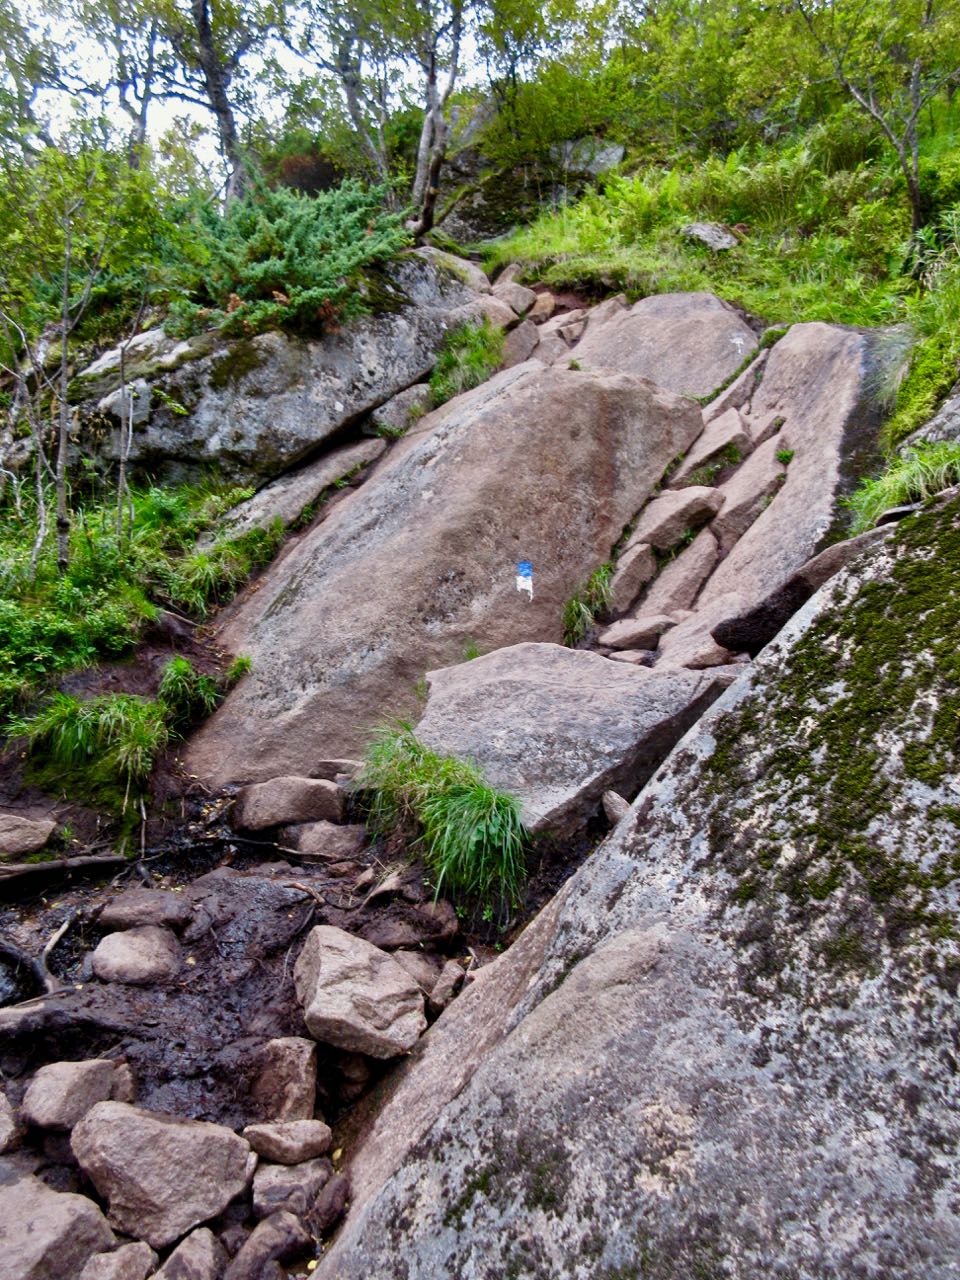
The start of the Toubkal climb is the most challenging part. It’s a scramble.
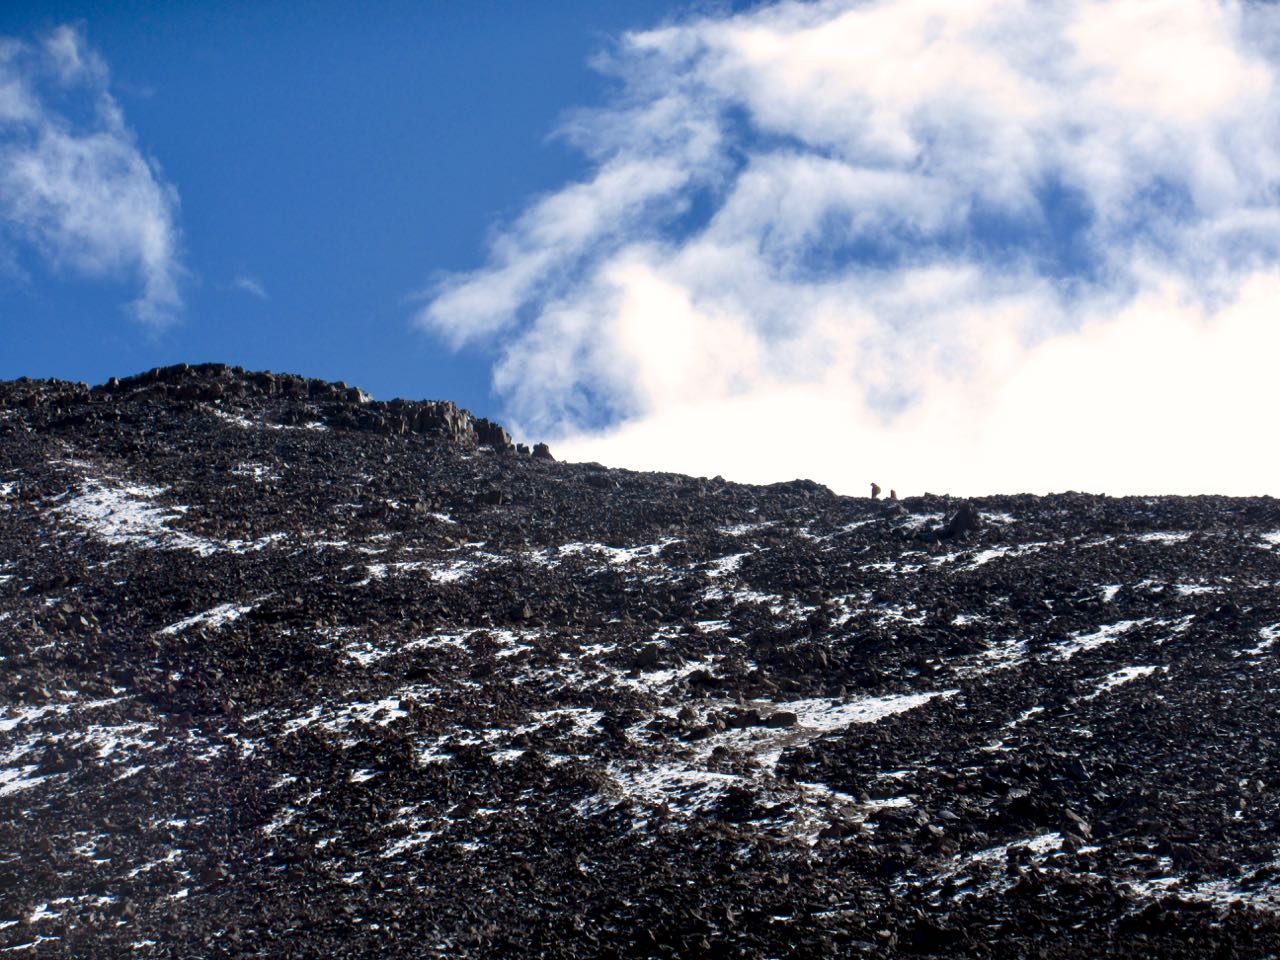
While I was beginning dozens were descending, many wearing headlamps. That was a bit disconcerting. #late #late #late
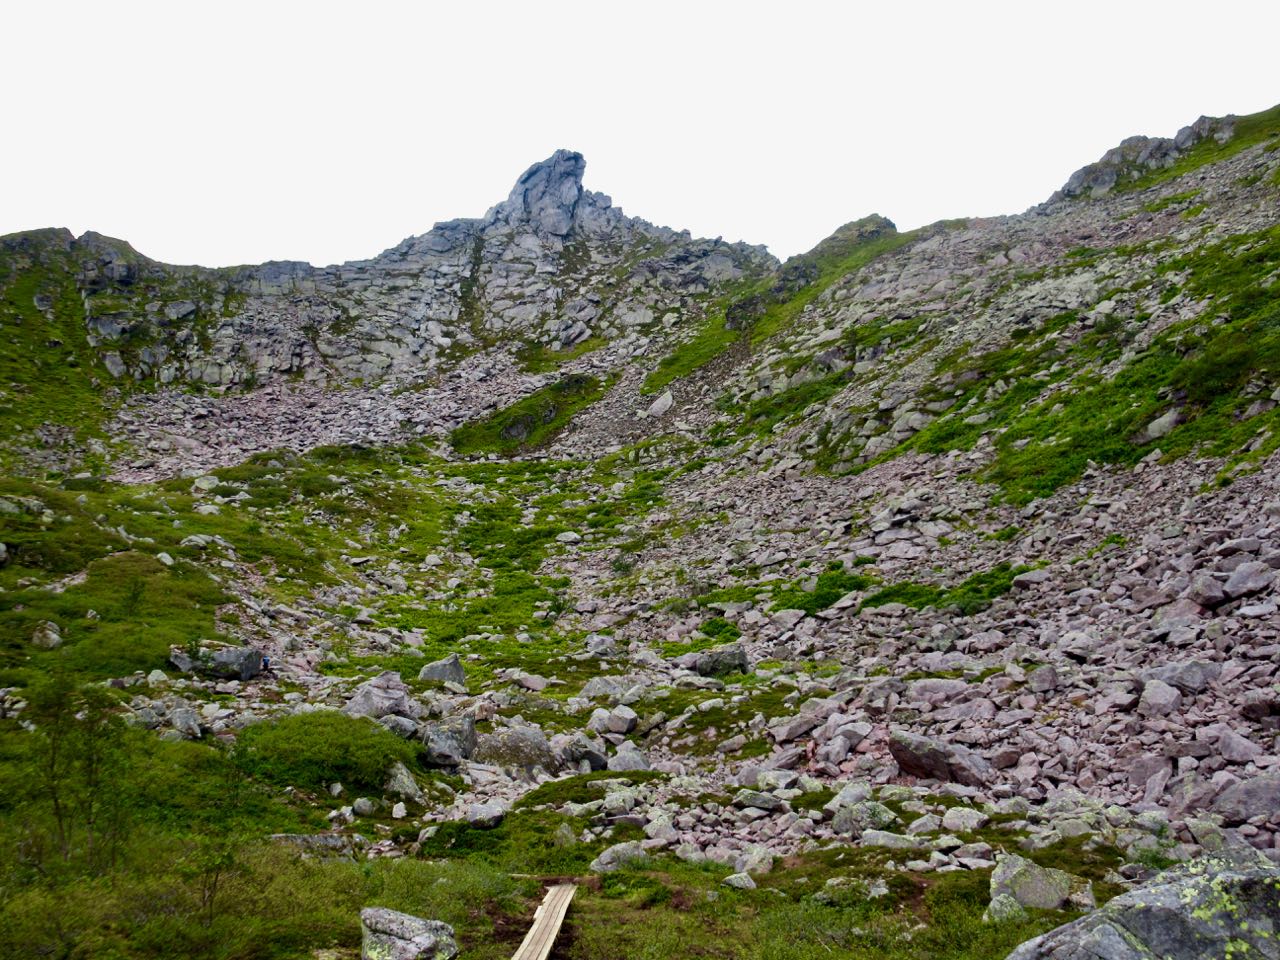
Vertical gain is about 960m, but it seemed to go quickly and easily for me. I was well acclimatized for altitude.

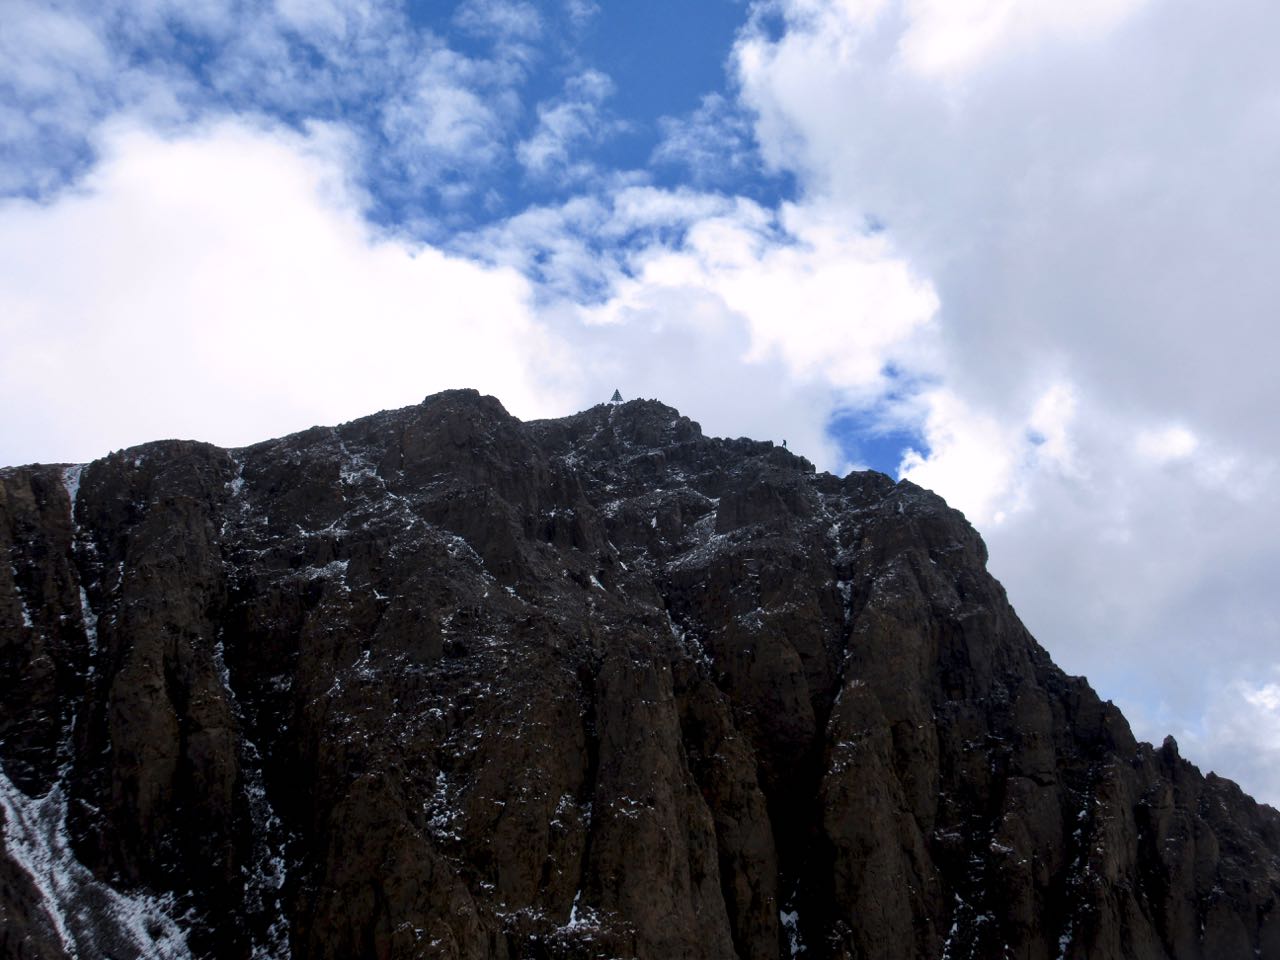
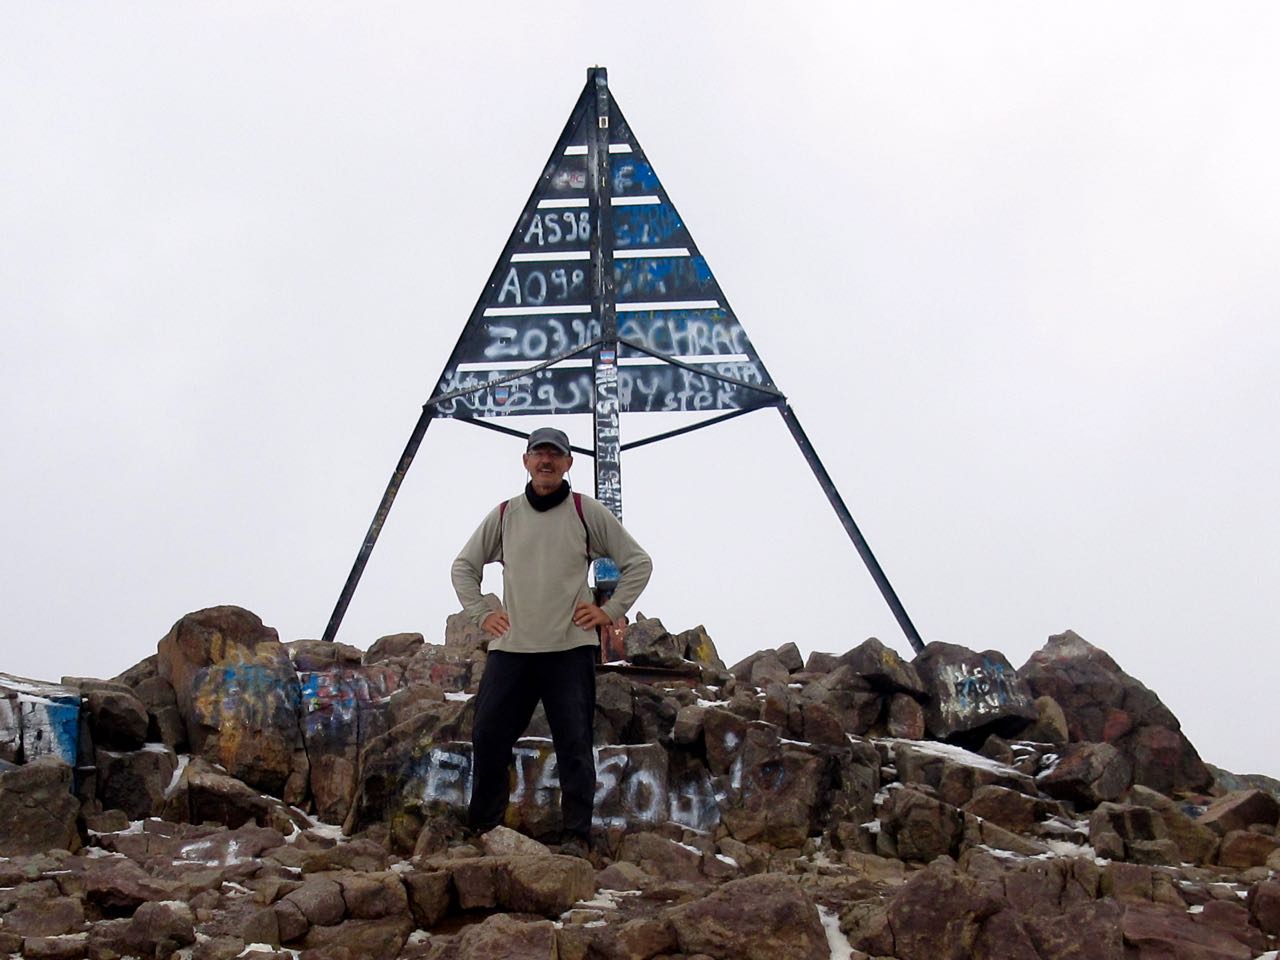
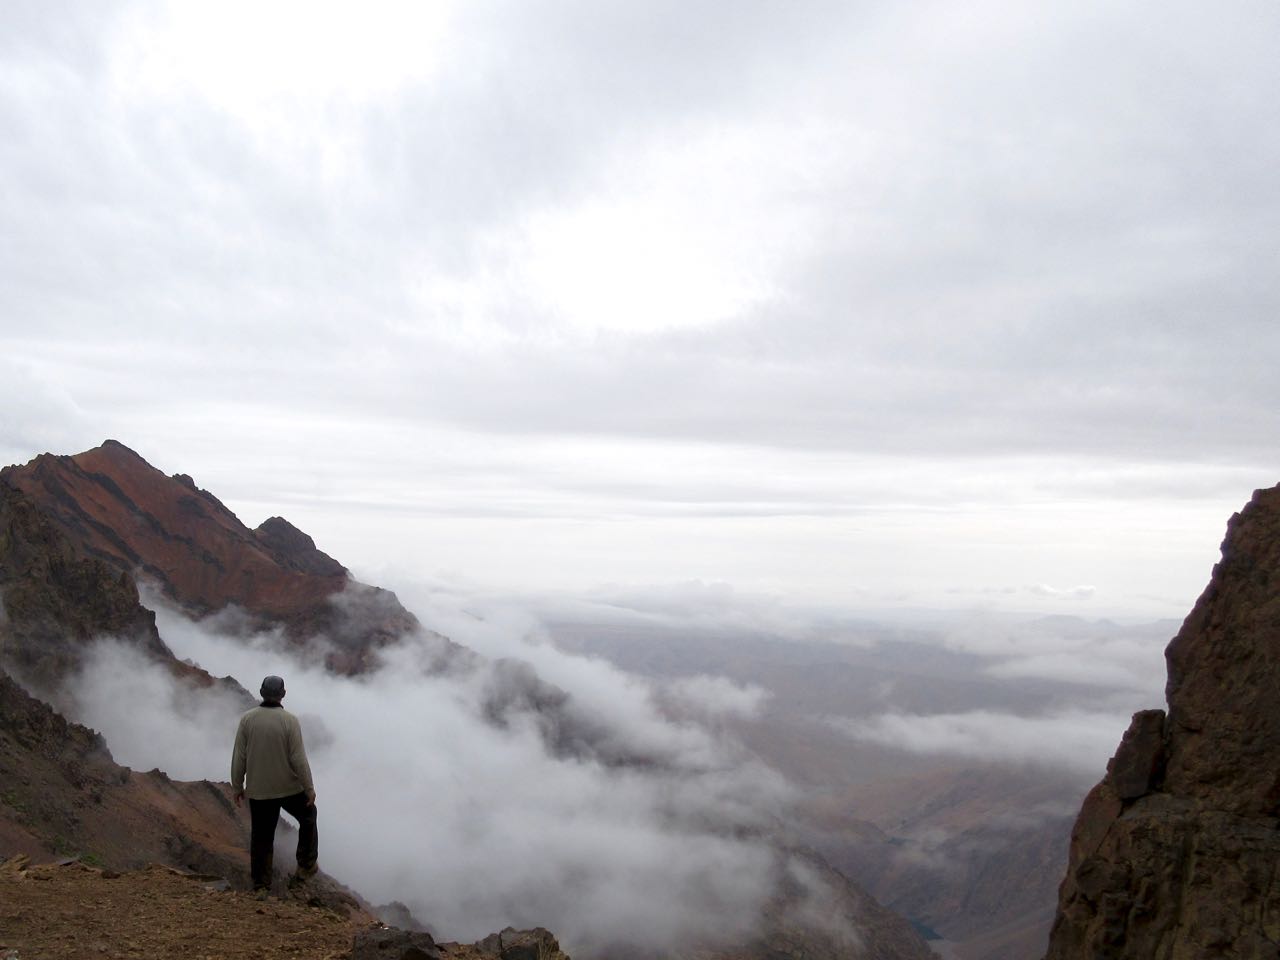
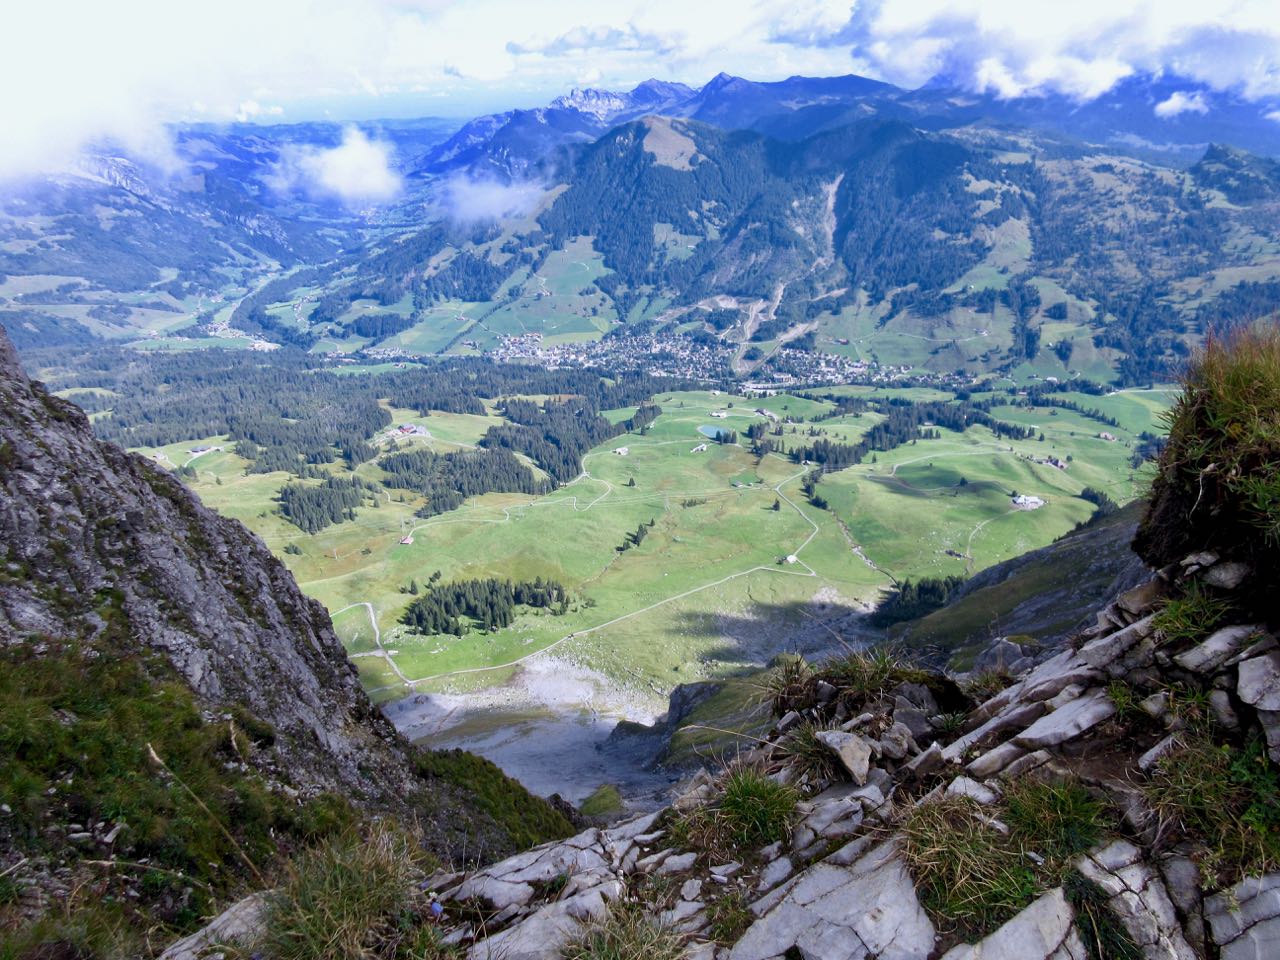
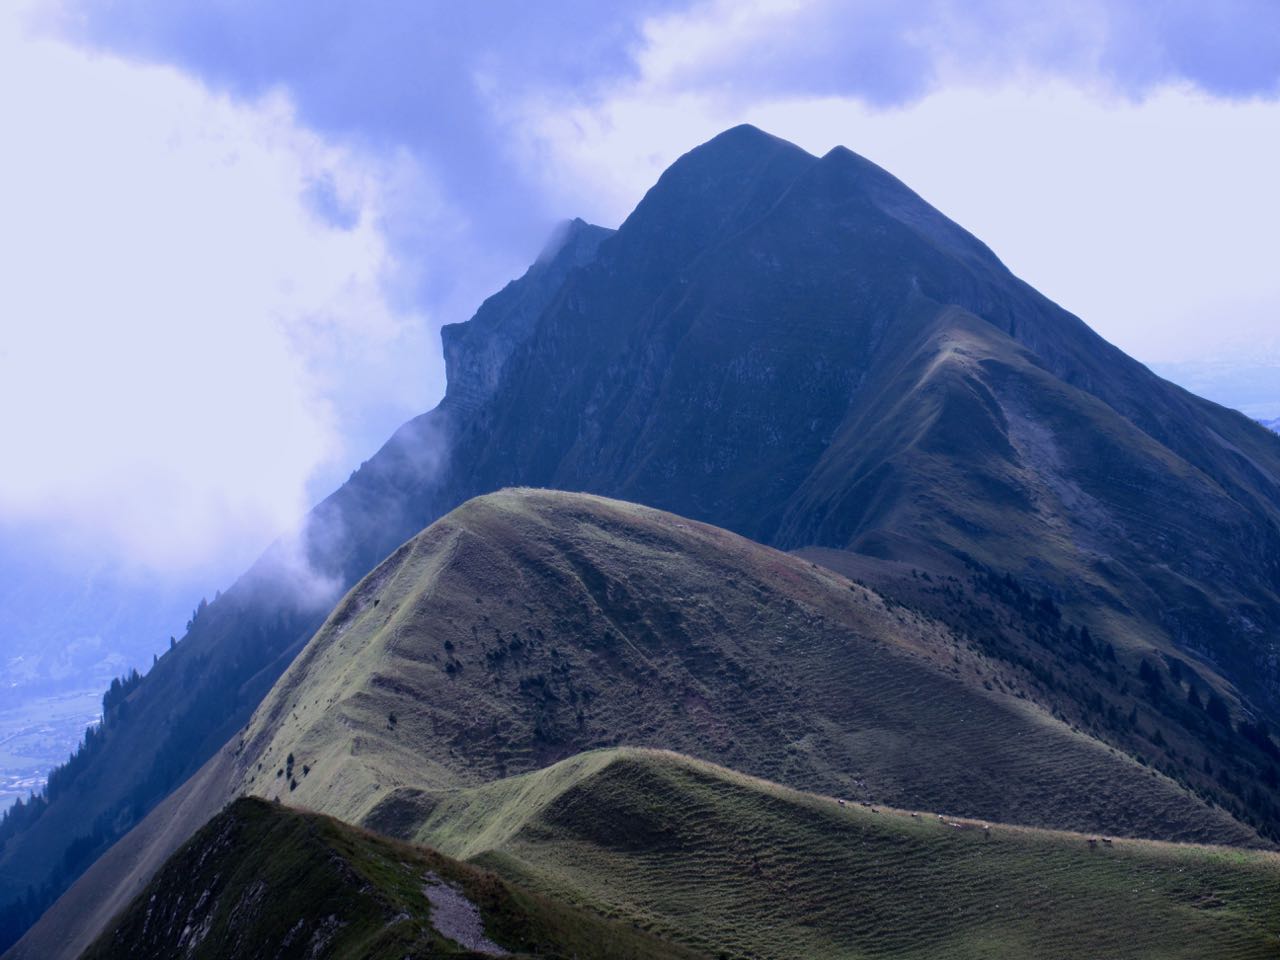
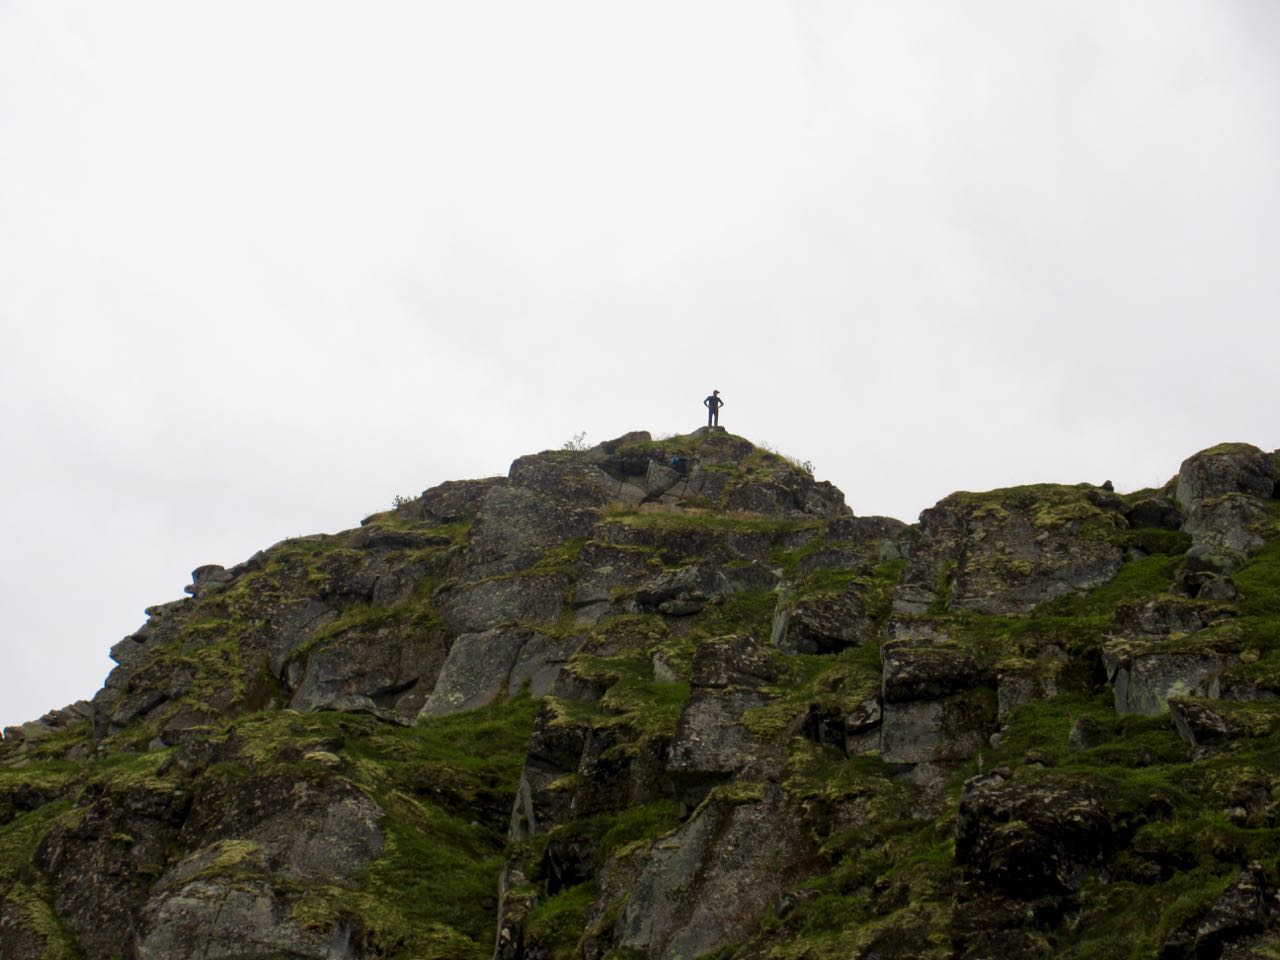
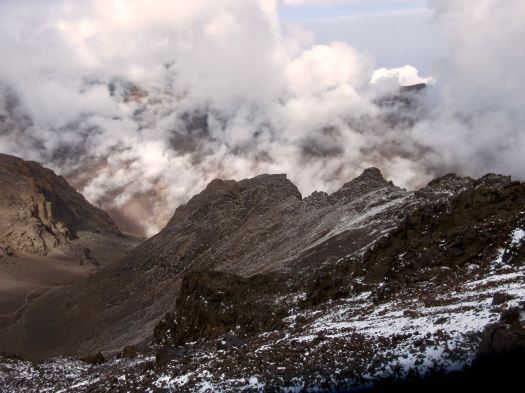
There are several false summits. Here was my first glimpse of the top.

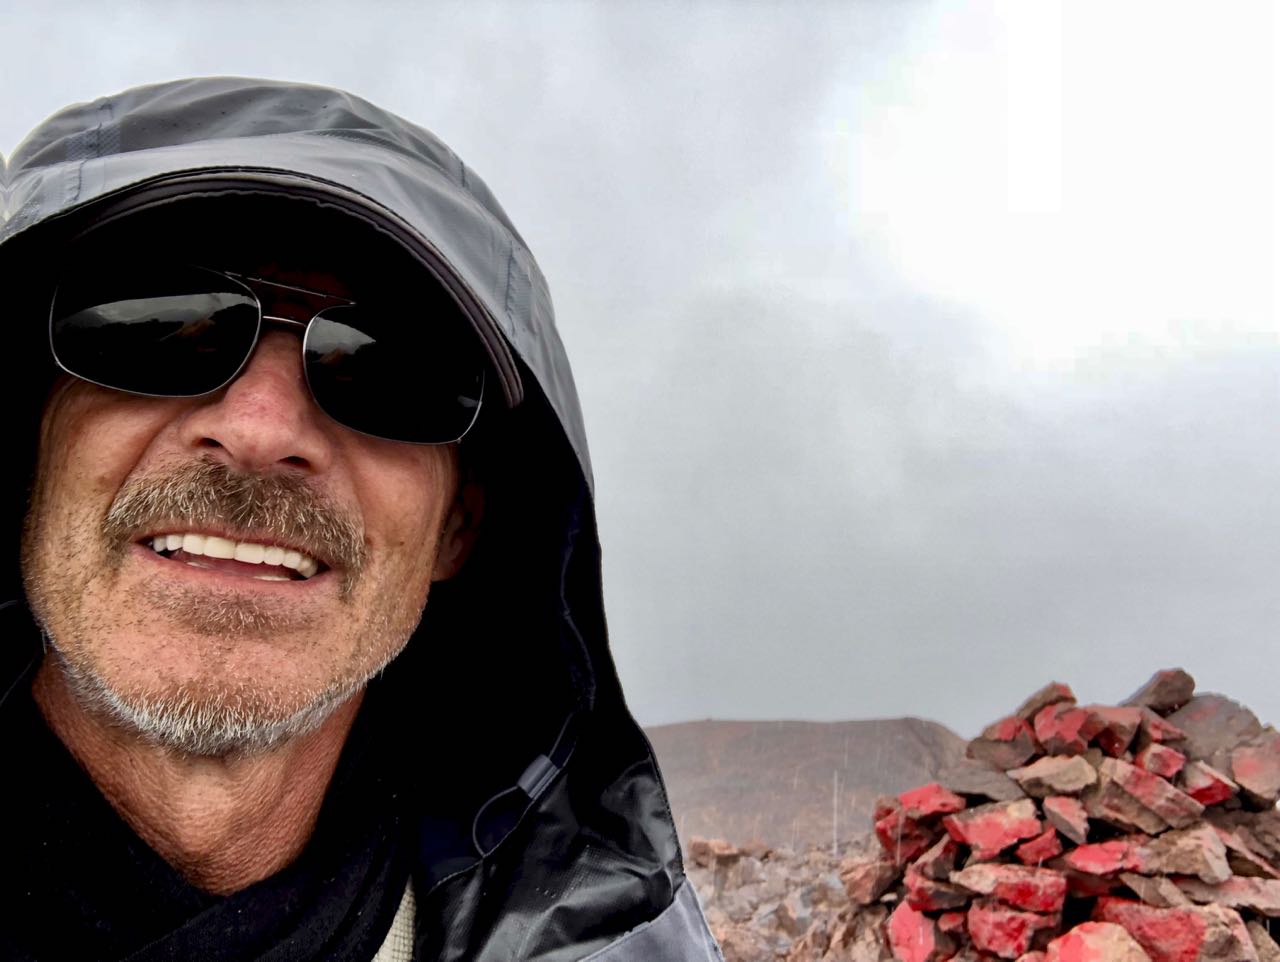
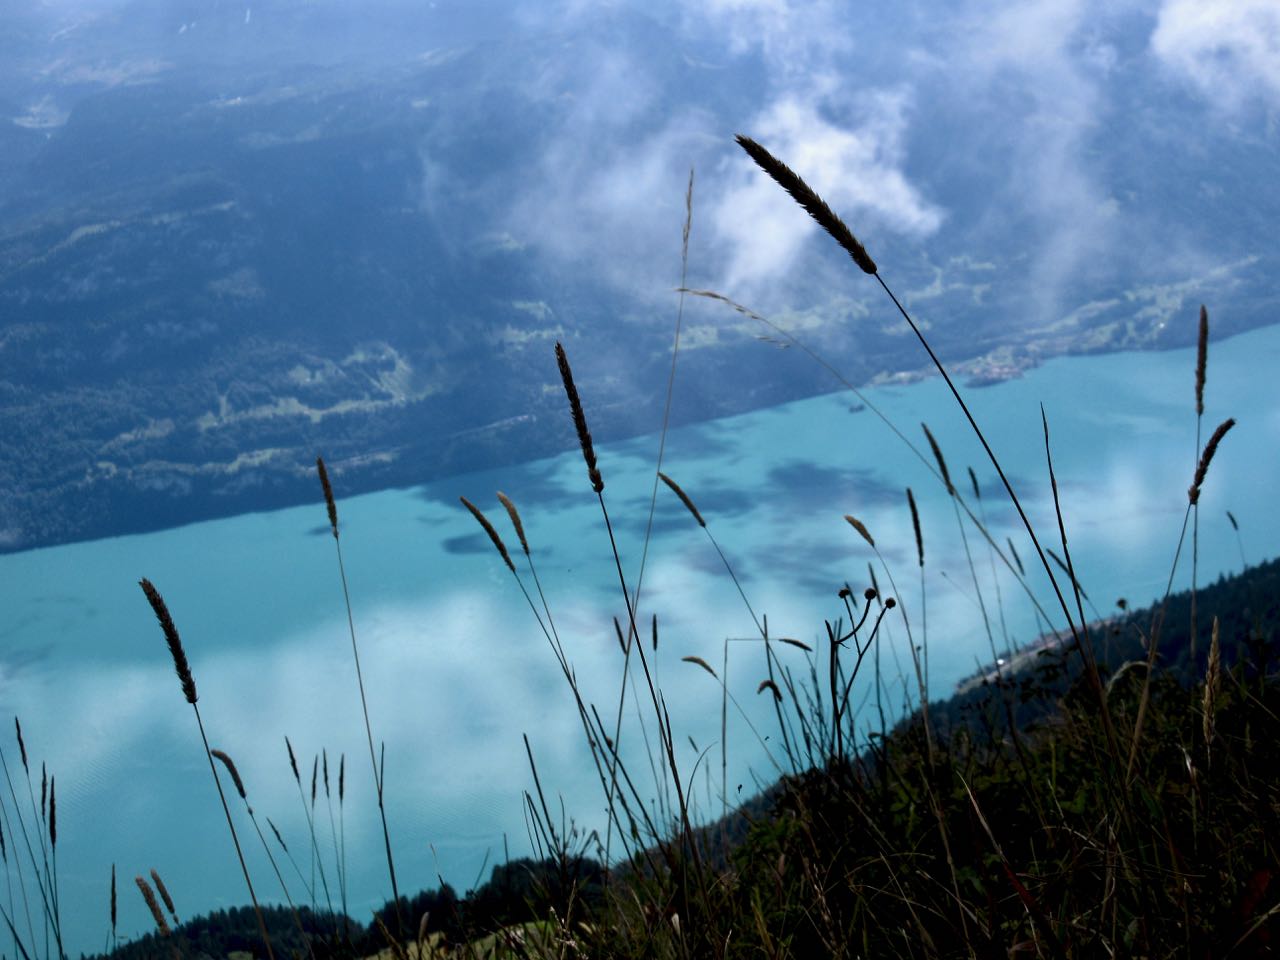
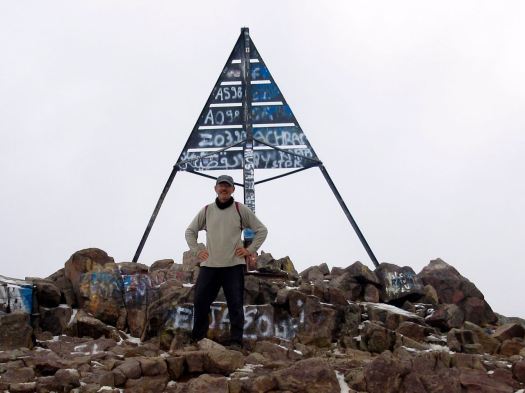
Myself and a couple from eastern Europe were the highest humans for at least 2000km. And the views were great. 🙂
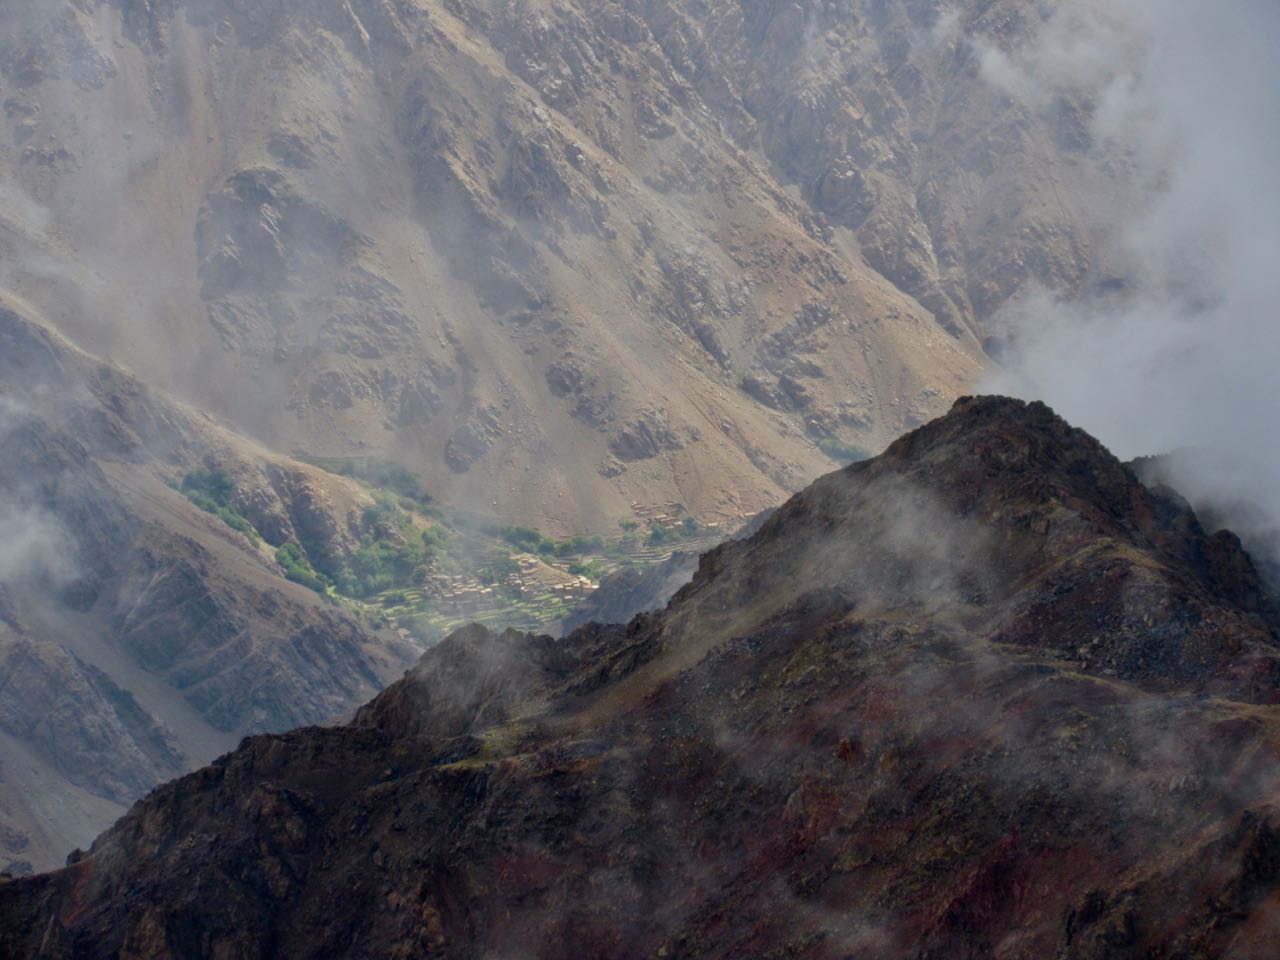
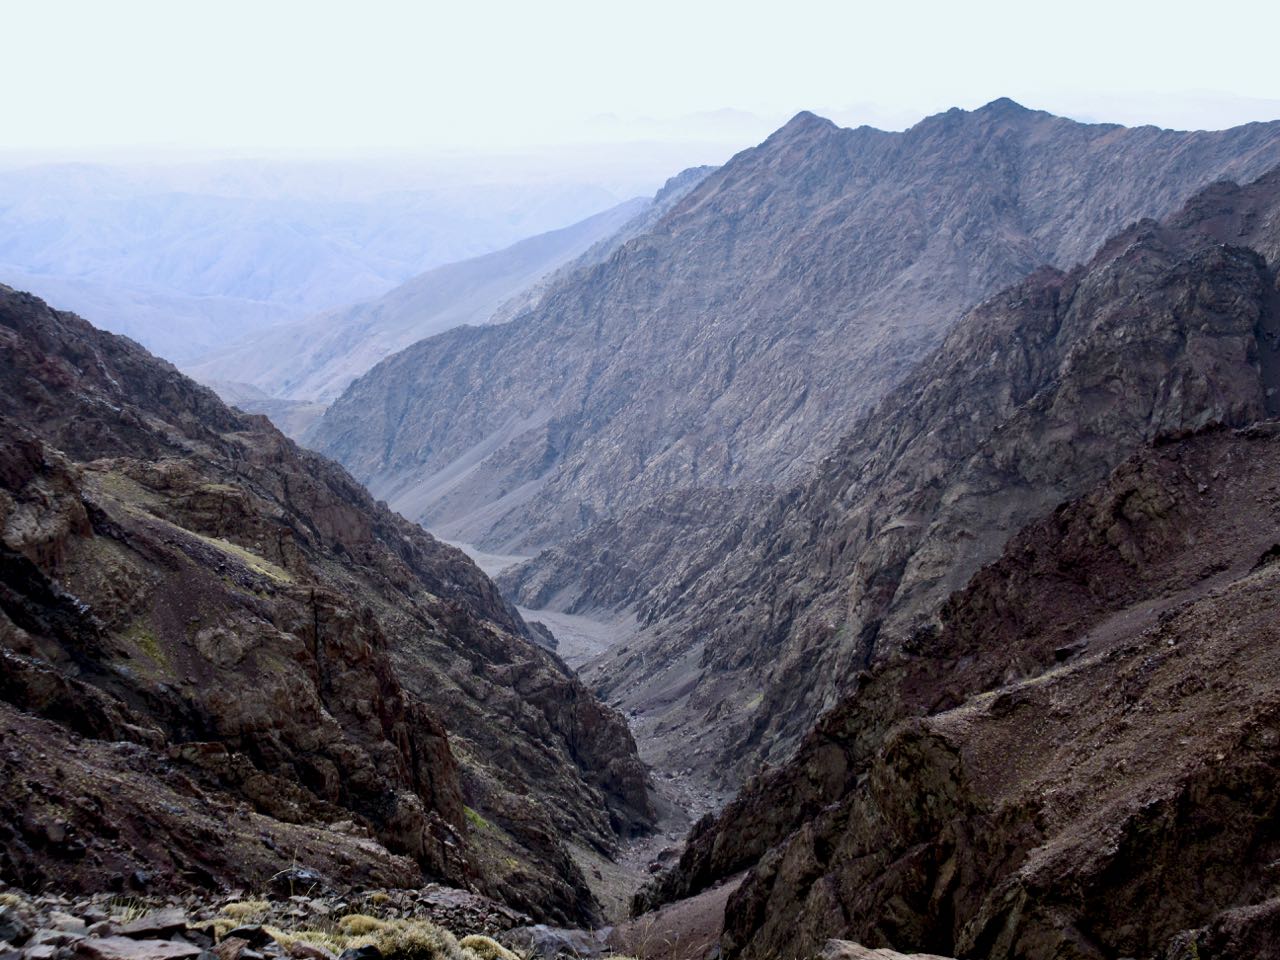
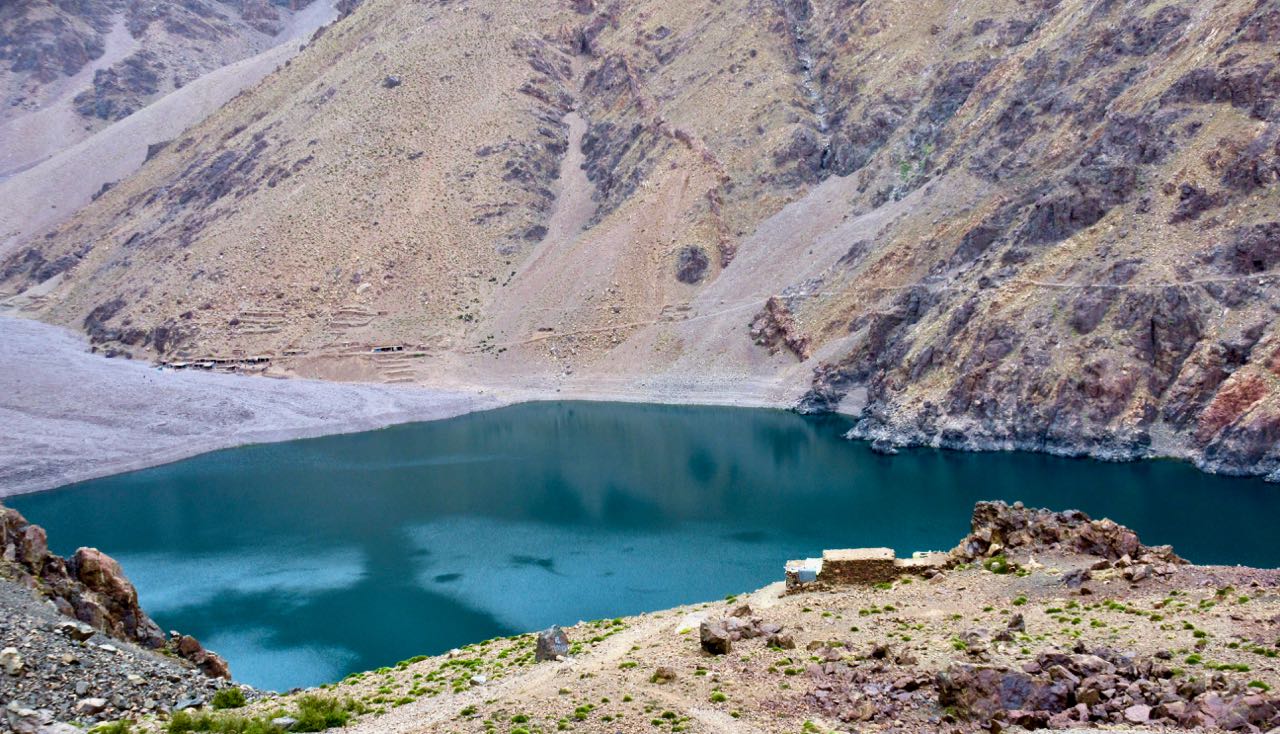
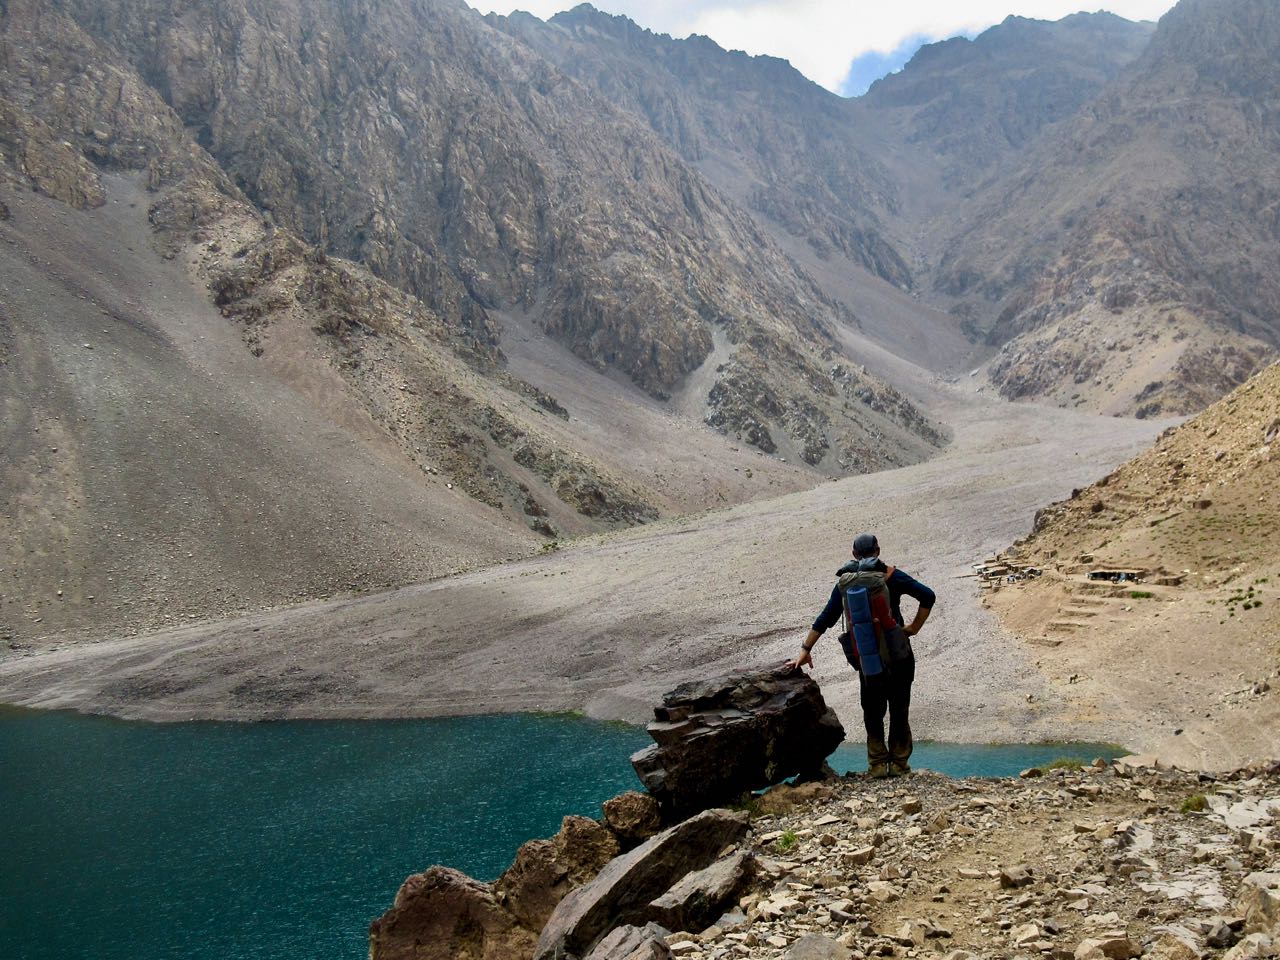
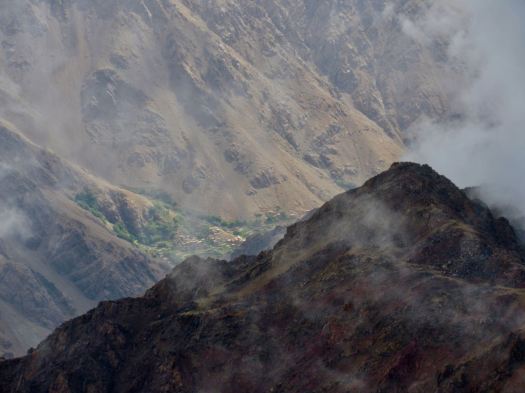
I could look back to where I’d come from a couple of days ago.
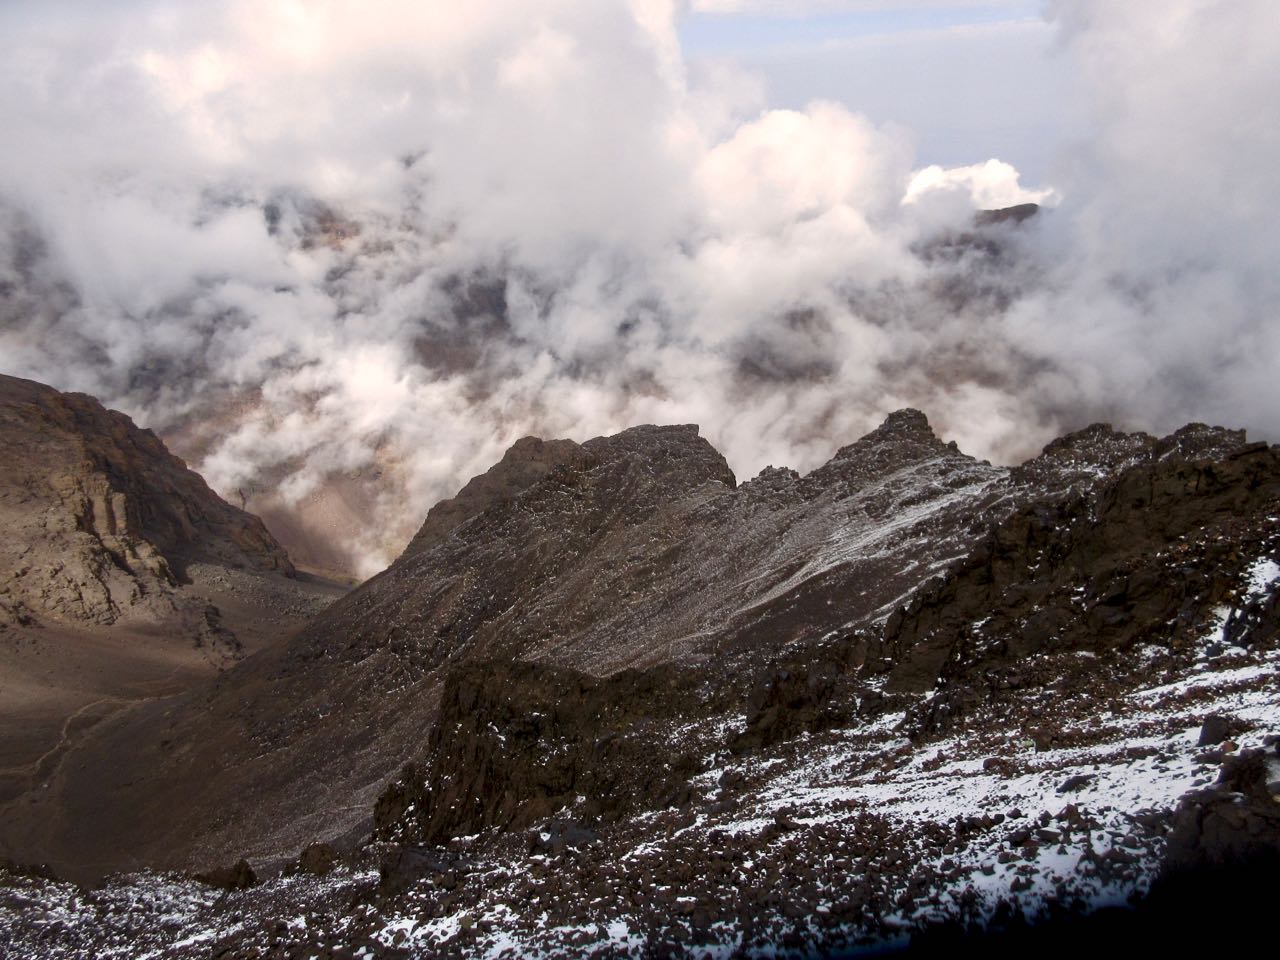
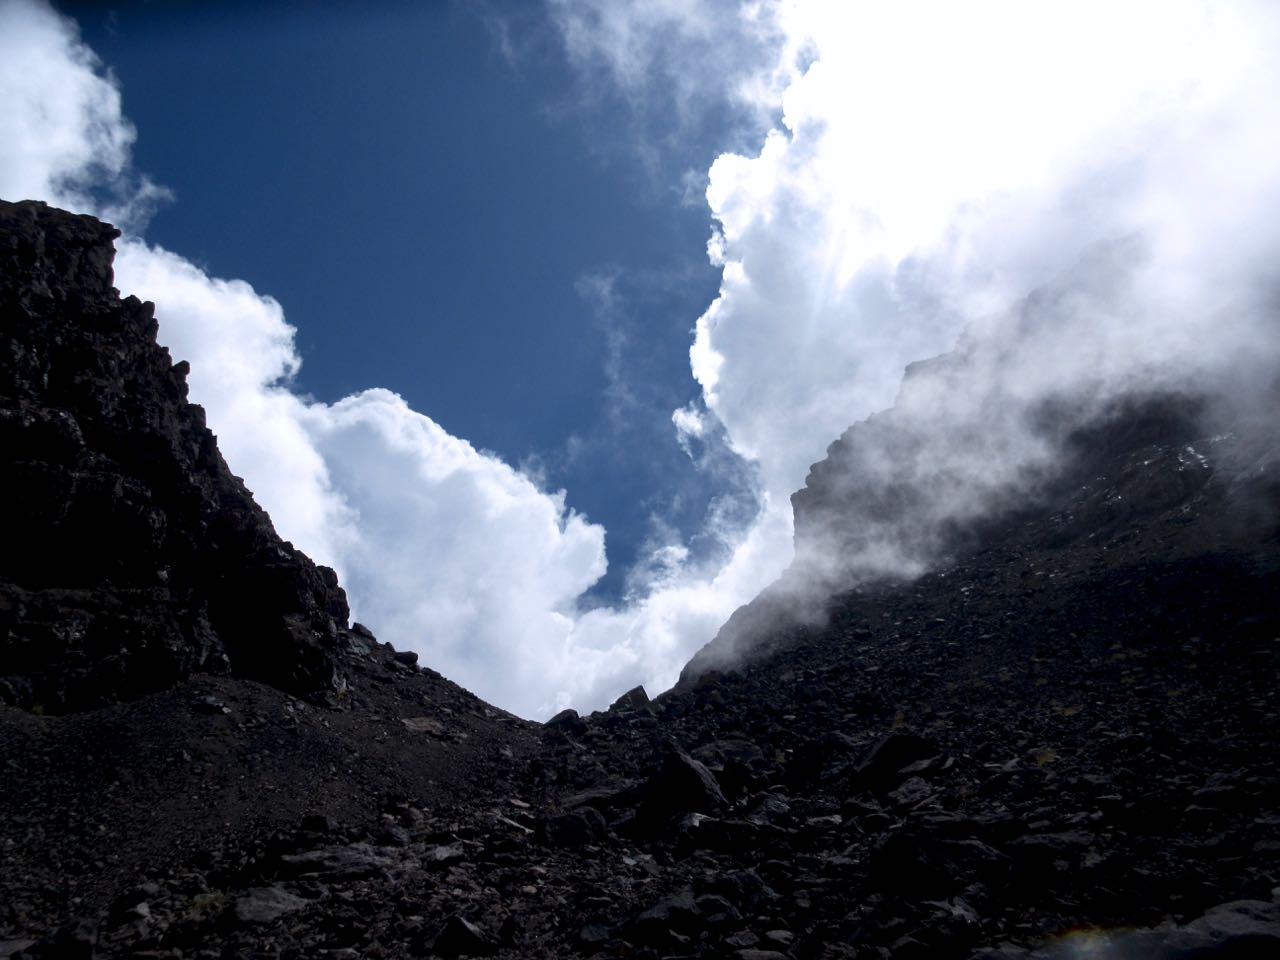
If anything, weather was still improving.

We were the last people on the mountain … except for one Canadian coming up even later. And a Moroccan couple. They were very late because they’d walked up from Imlil. That’s over 2400m of gain in one day!
The couple had found my PHONE! I’d left it on a boulder on the way up. Whew!
I enthusiastically thanked them and urged them to continue as they’d be getting much better weather than the early morning mob.
… I was way wrong. ☹️
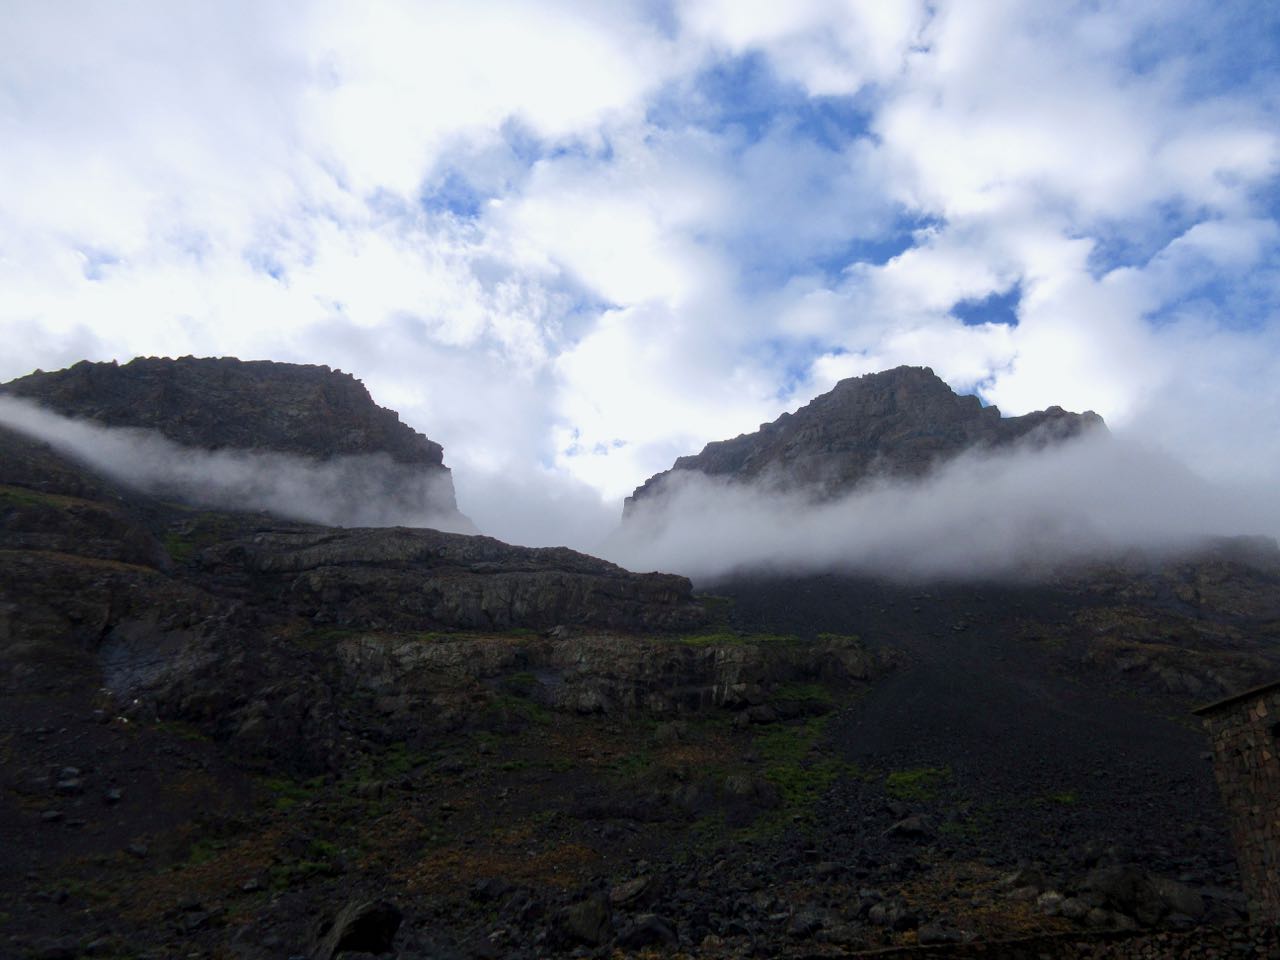
Thunder and lightning returned about an hour later. The Canadian turned back. Last he saw the Moroccan couple were still ascending into the lighting storm. Very dangerous.
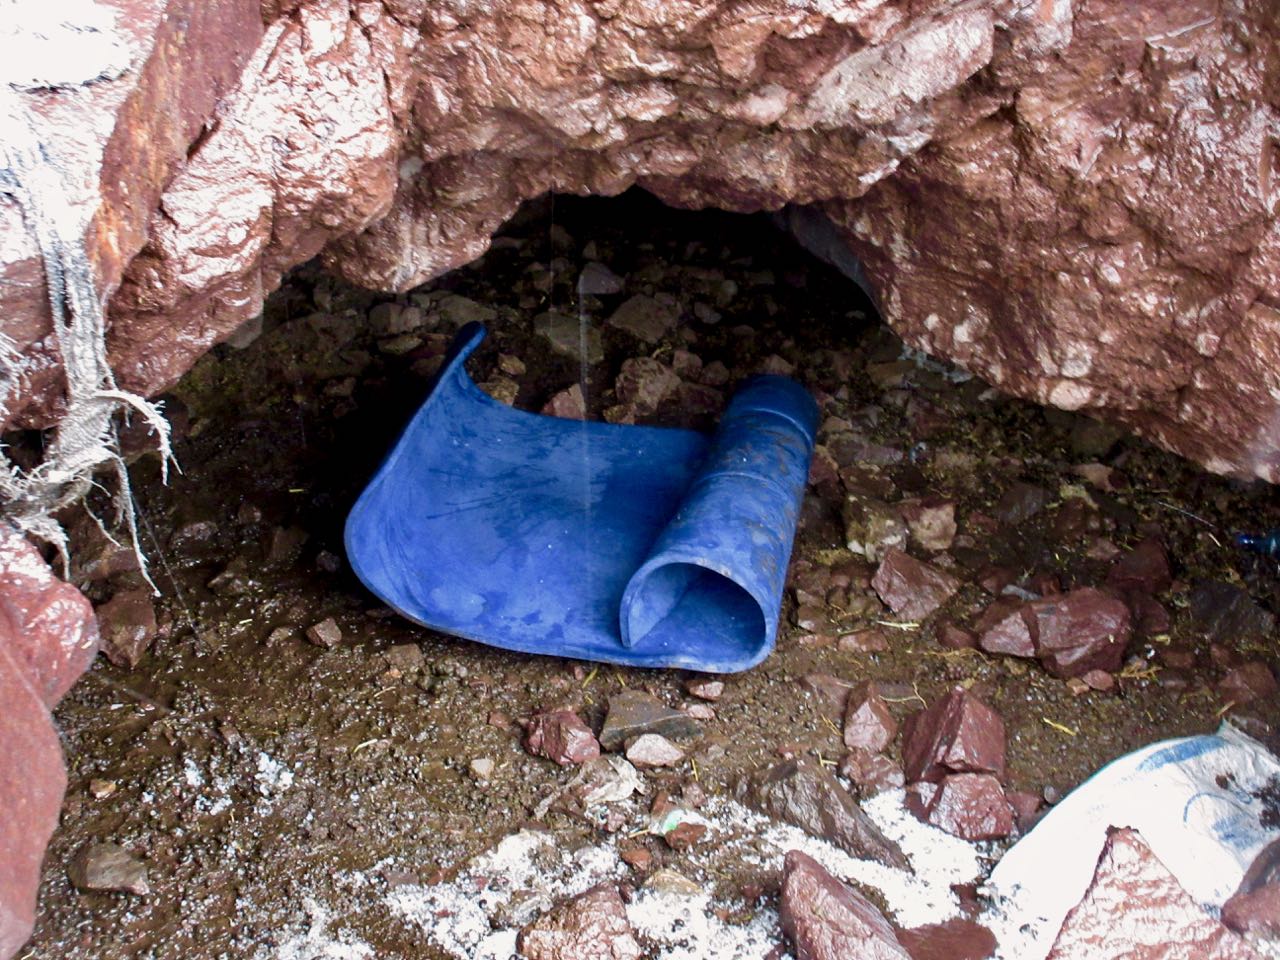
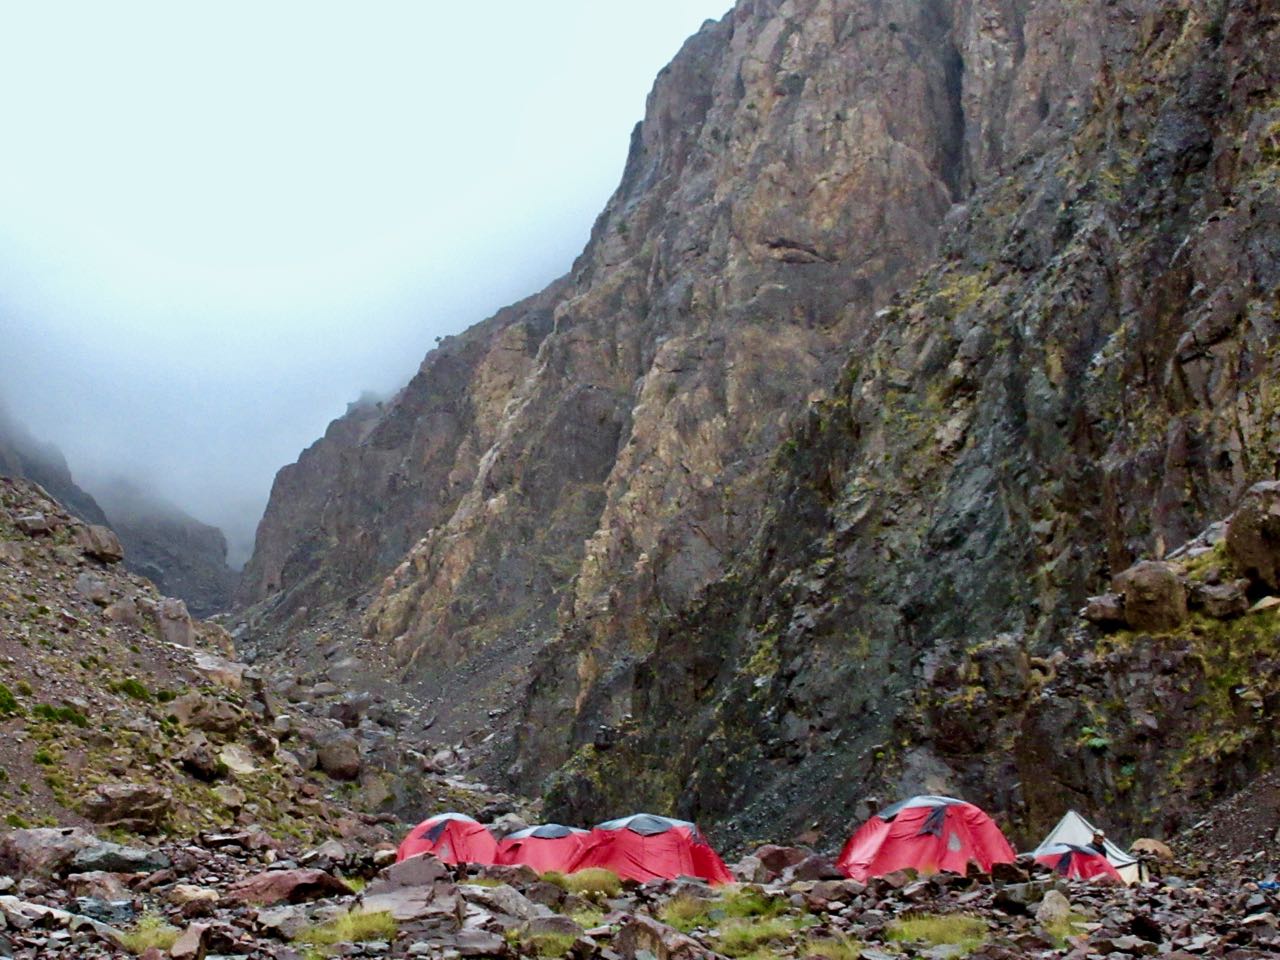
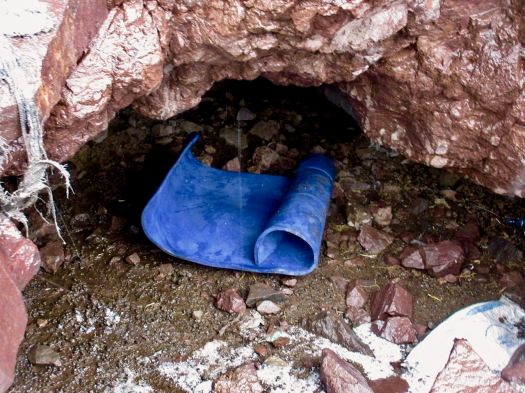
Me? I hid in a cramped cave.
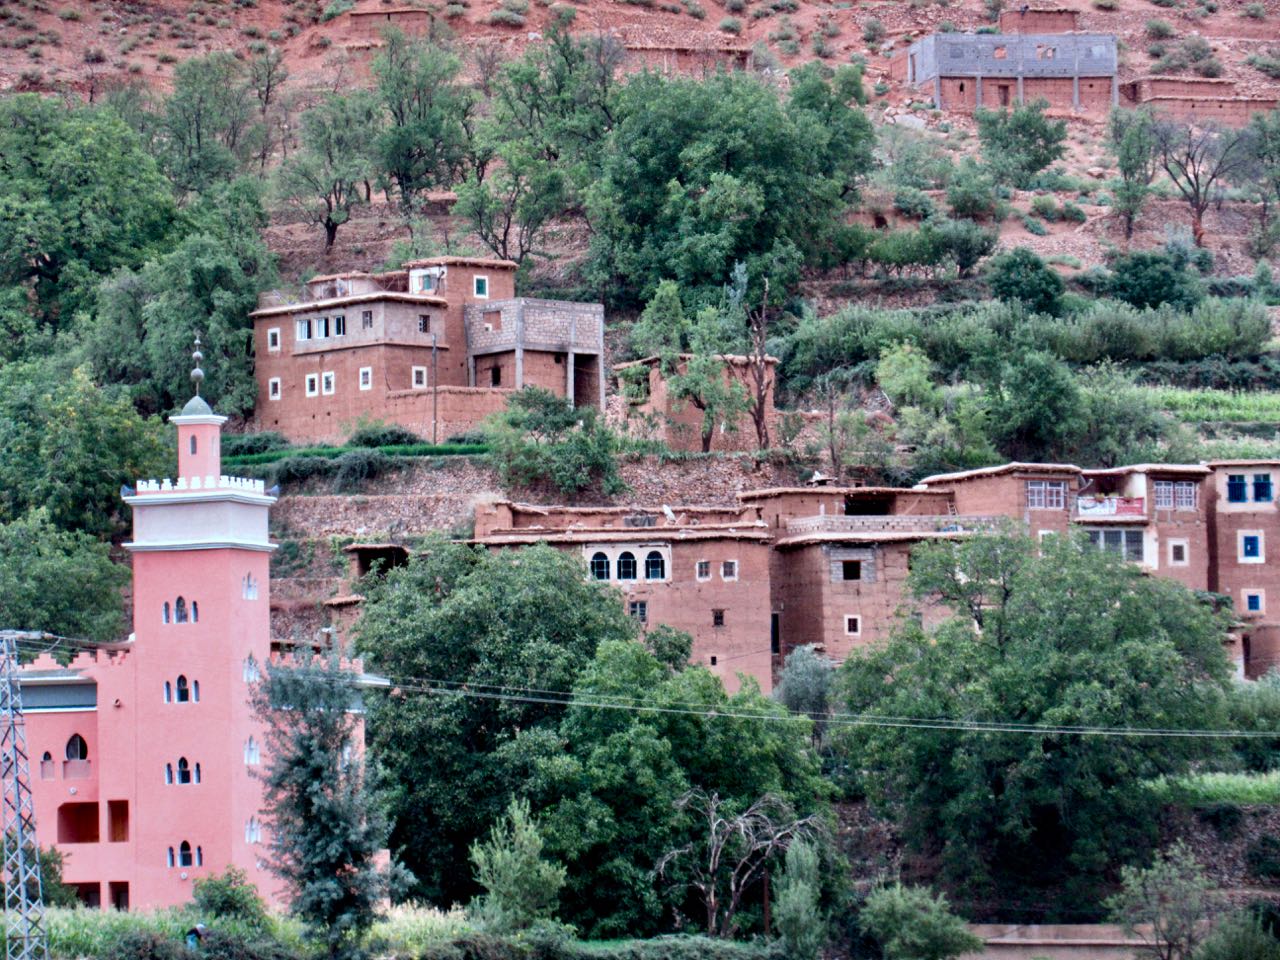
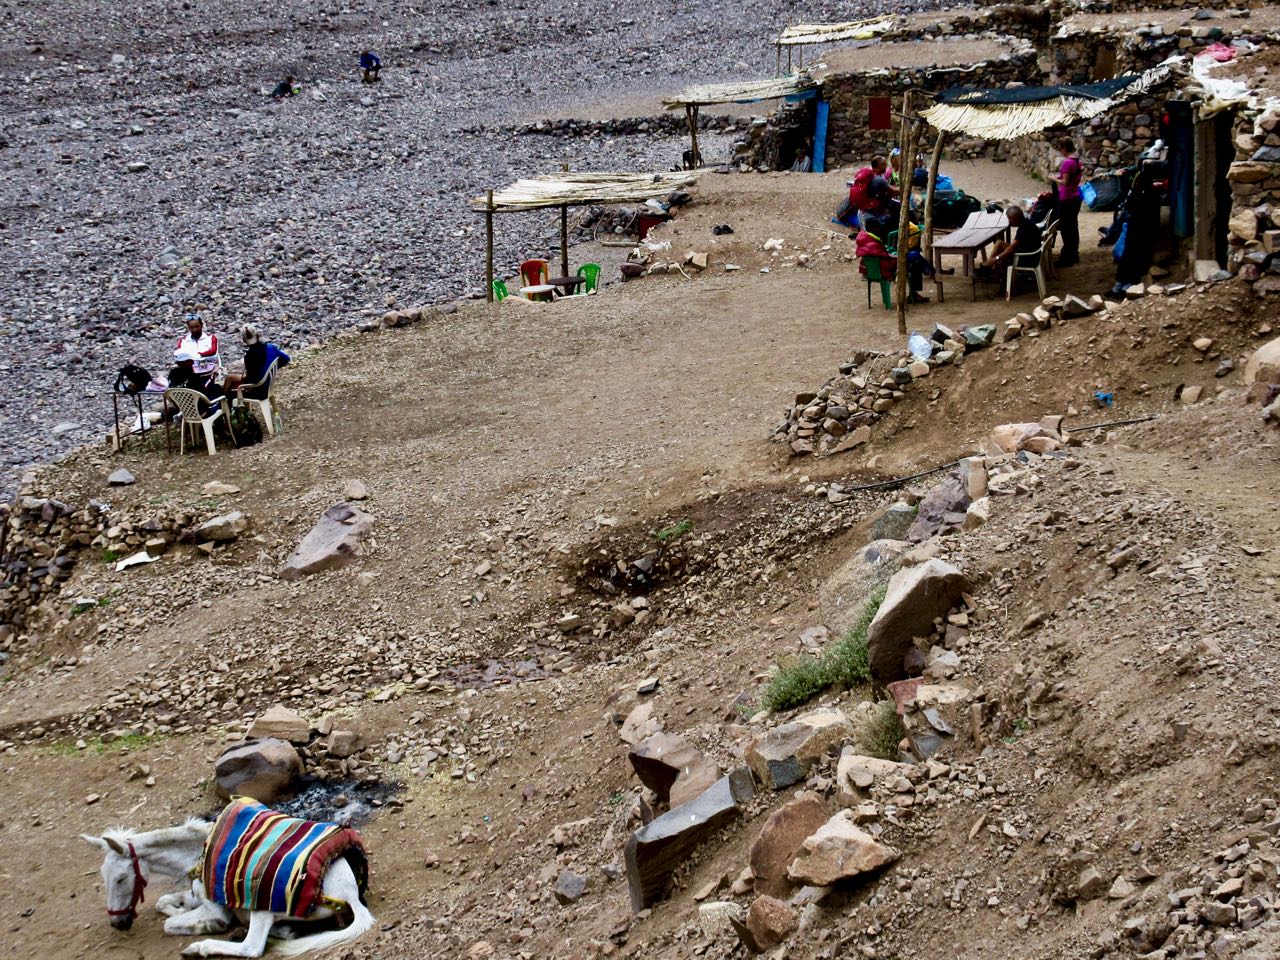
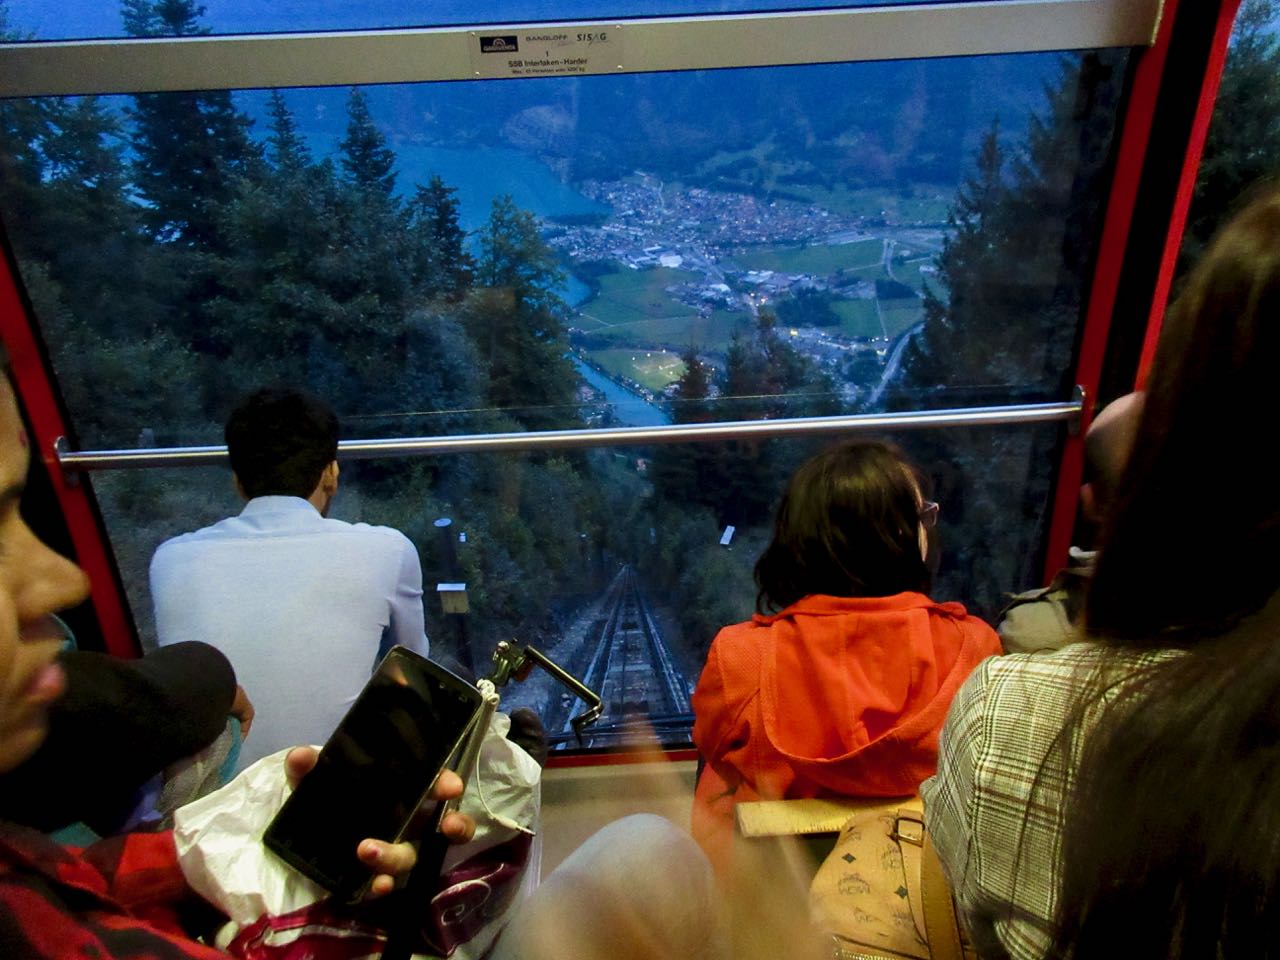
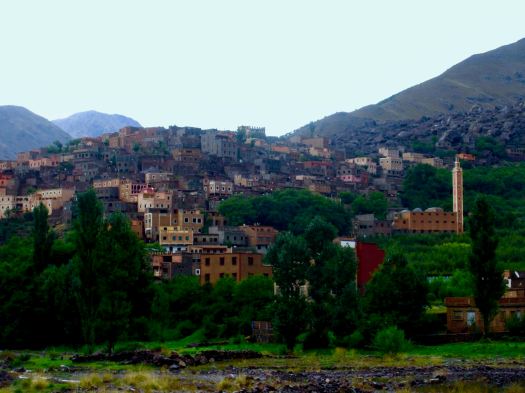
Once it finally quit I trudged tiredly down to Imlil.
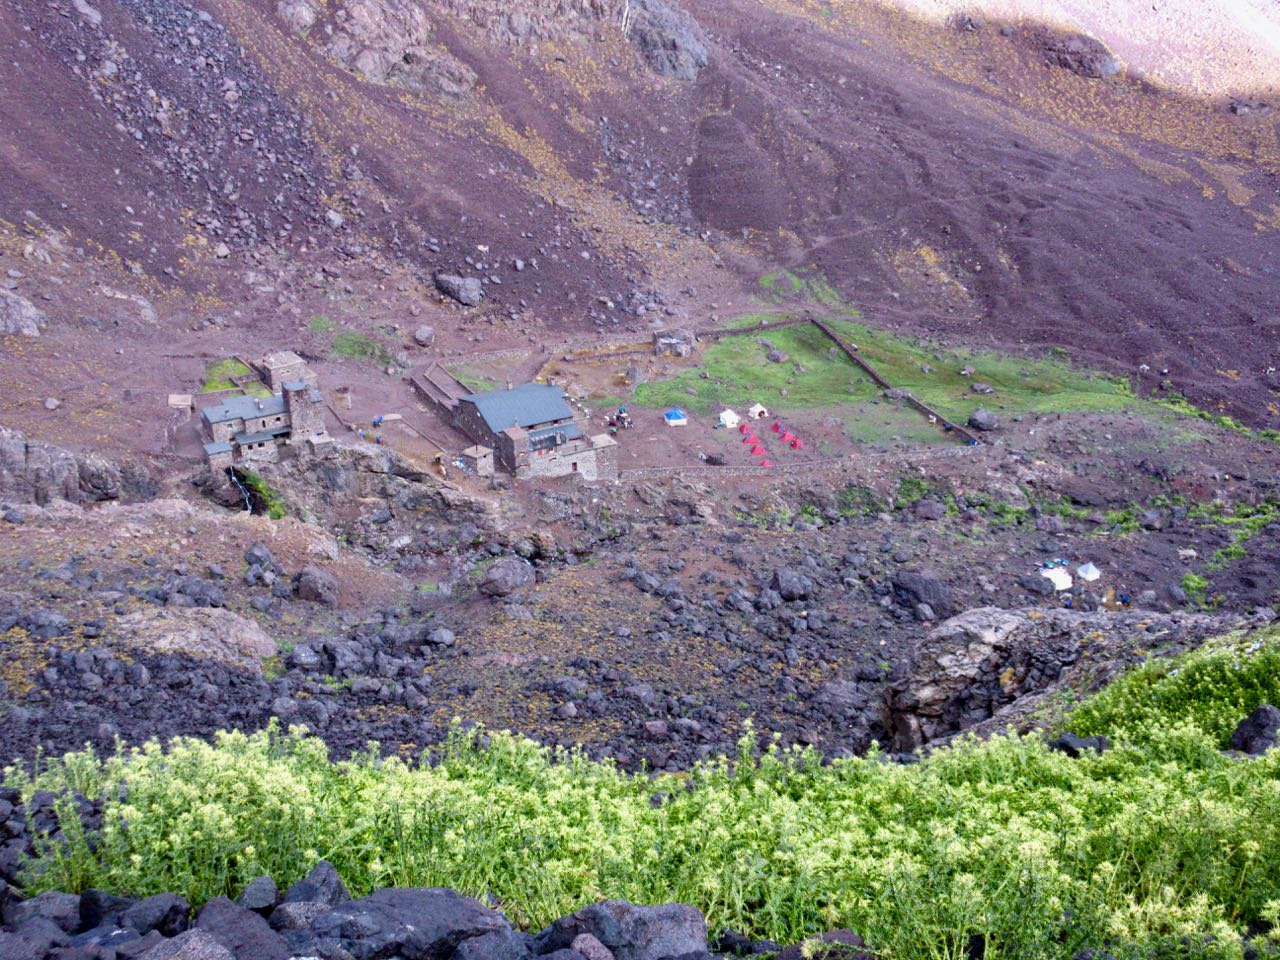
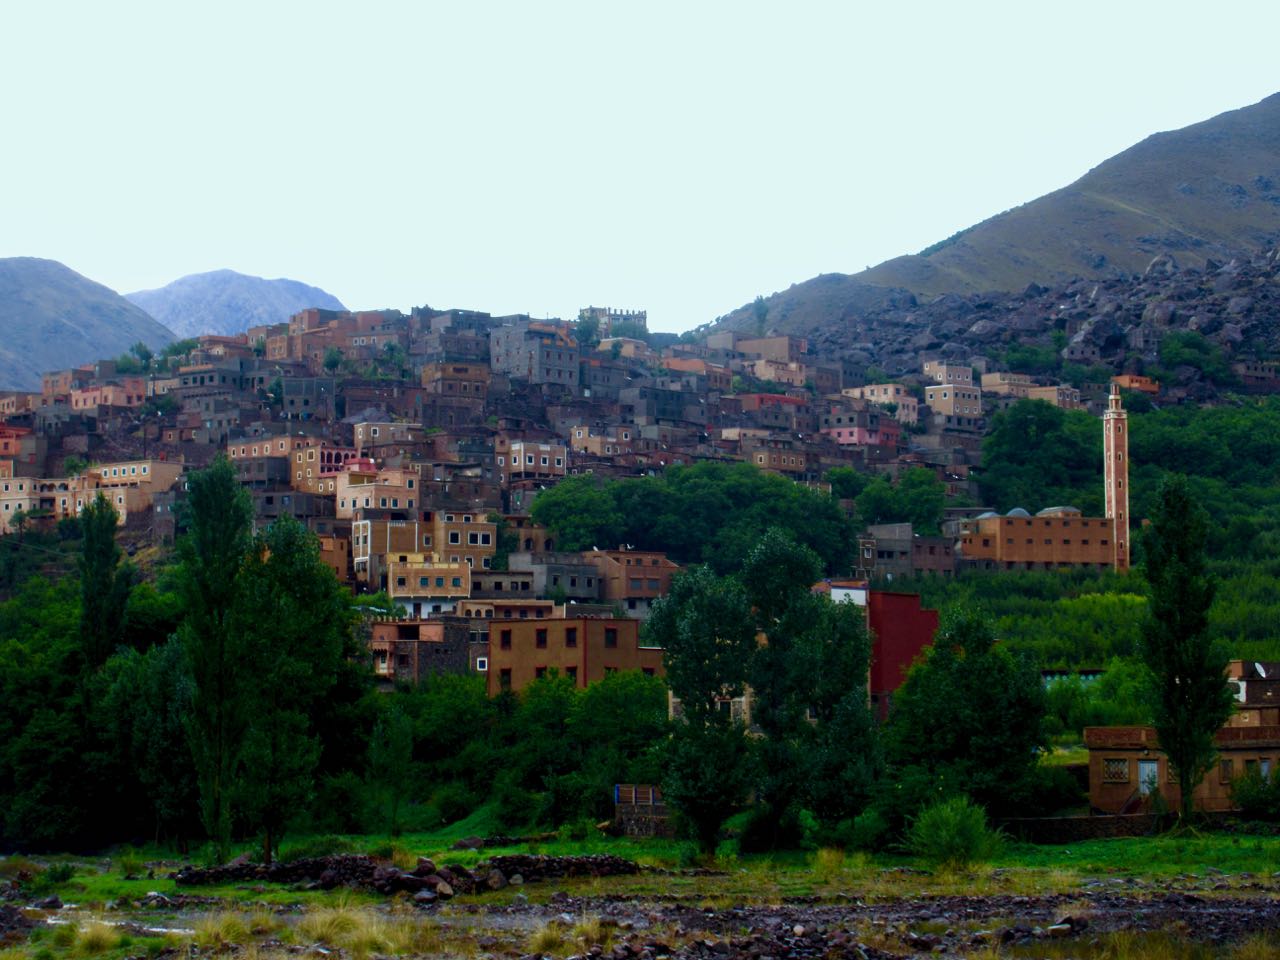
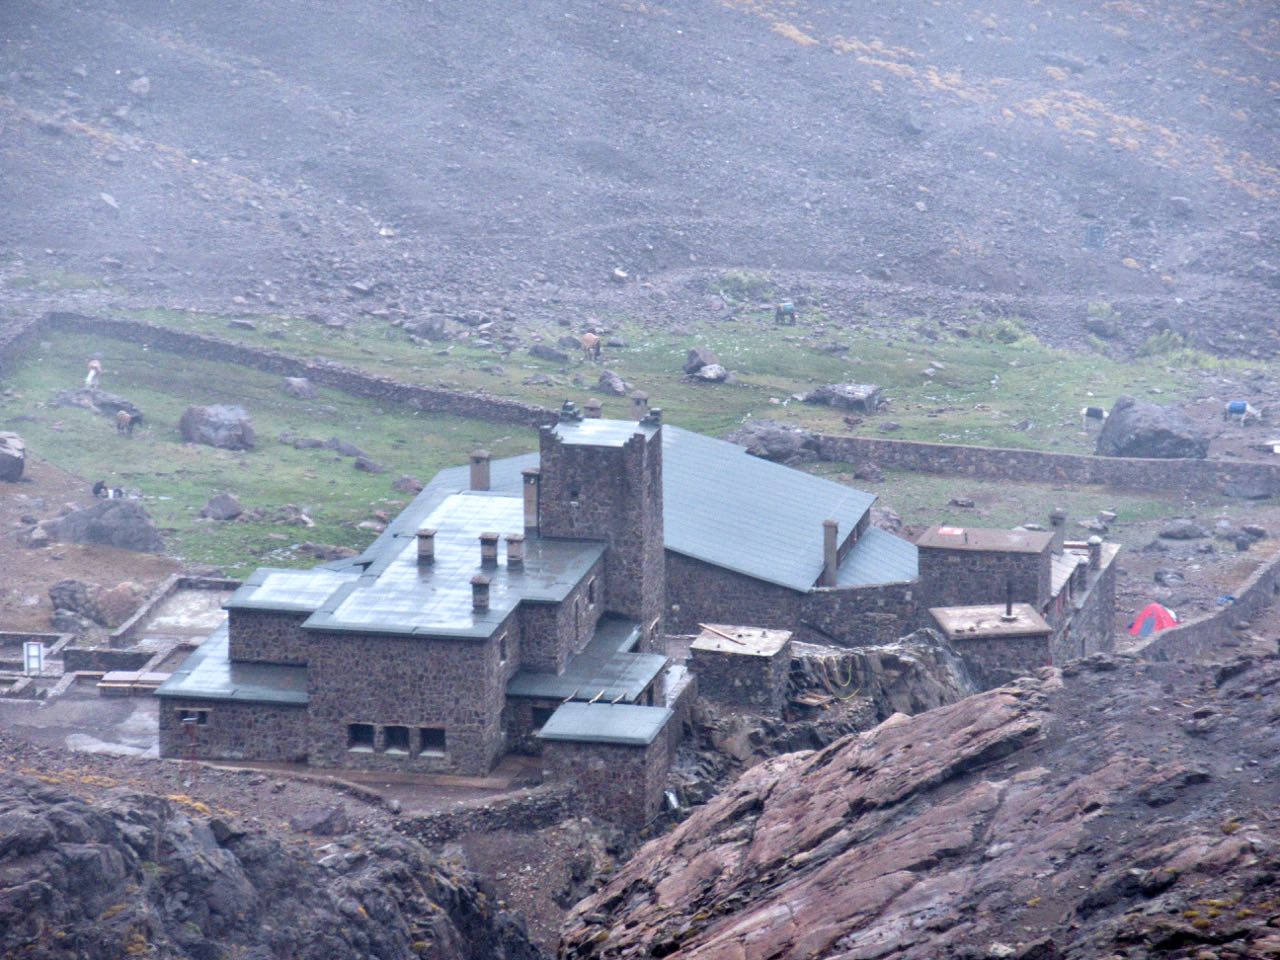
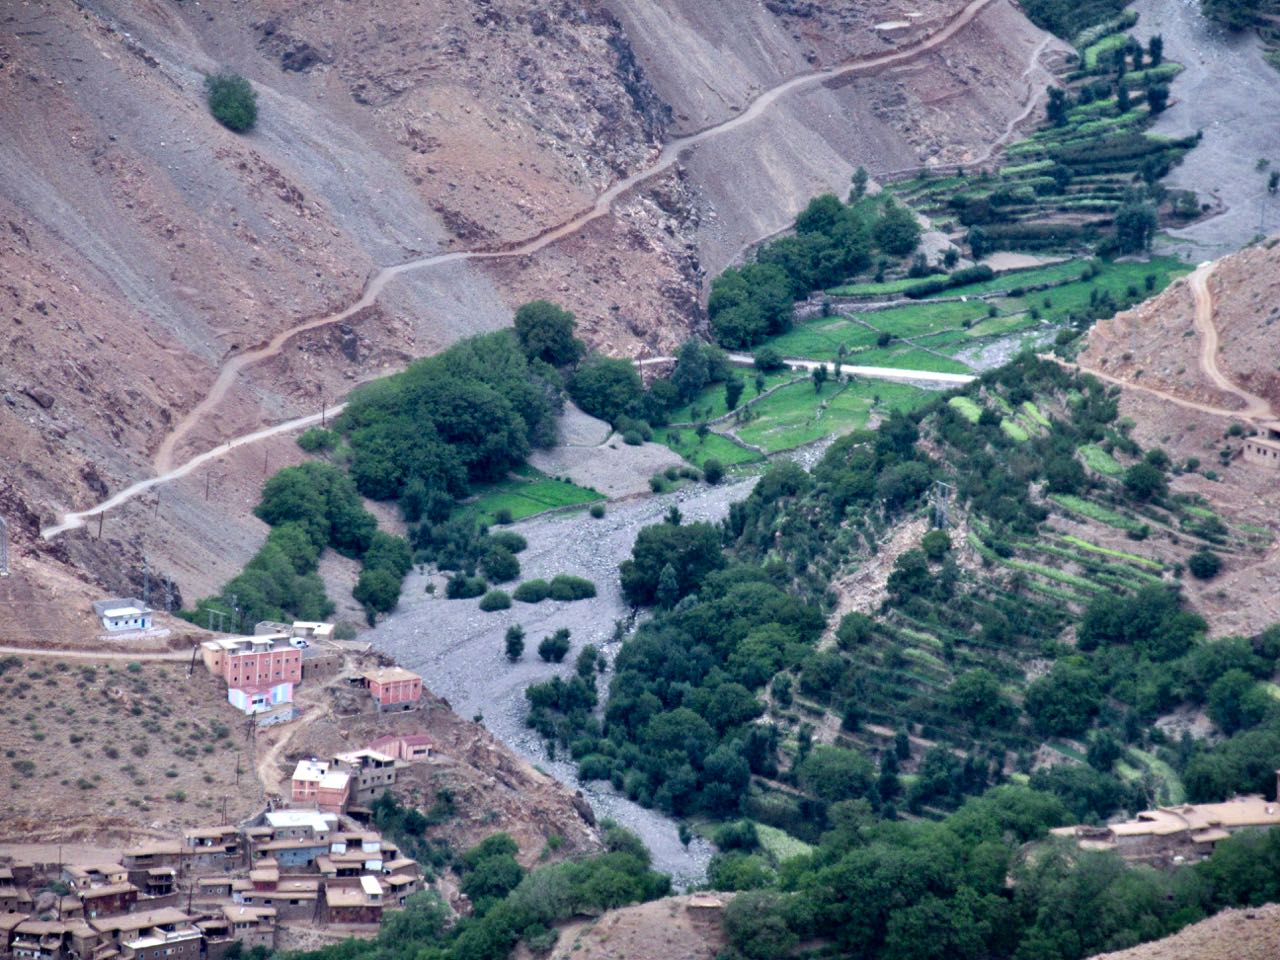
It’s a pretty town, actually.
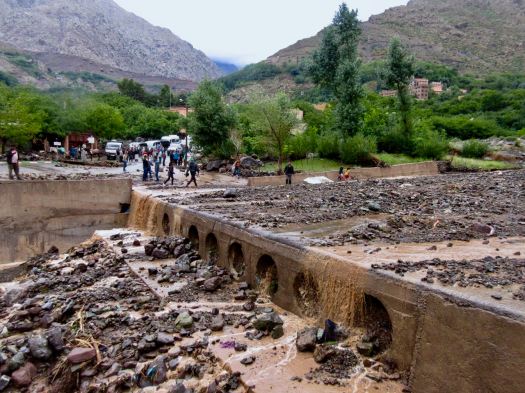
I was totally psyched to make it back to Marrakesh same day. I pushed.
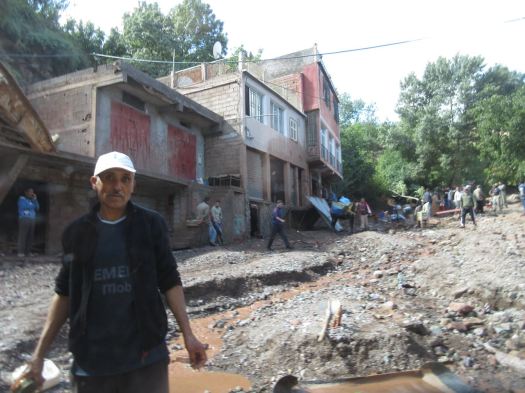
But the road near the taxi stand was impassable due to flash flood.
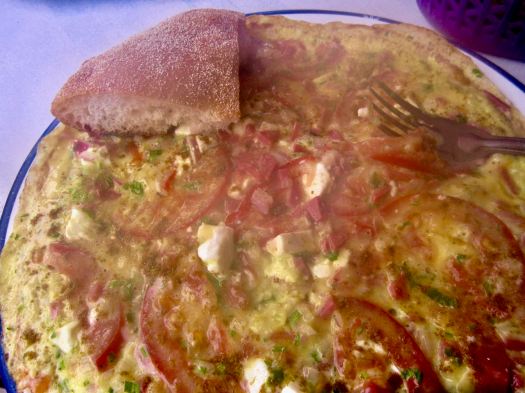
I turned back and had dinner in a crossroads restaurant. A huge, steaming omelette.
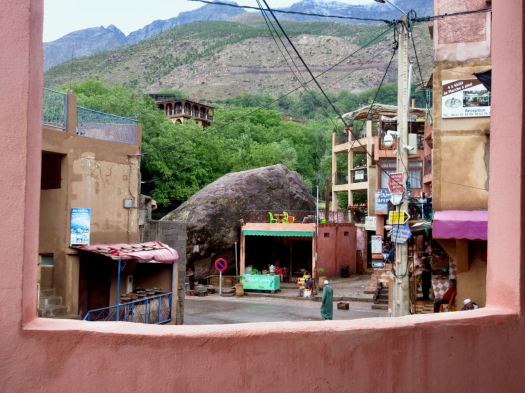
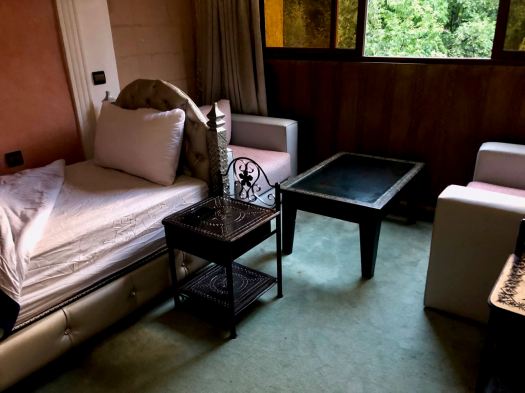
A Brit I’d spoken with earlier on the street had recommended their hotel — Les Etoiles de Toubkal.
It was excellent. The best room I’d had in nearly 2 months. It cost me $30 including breakfast.
I took several hot, hot showers and went to sleep early.
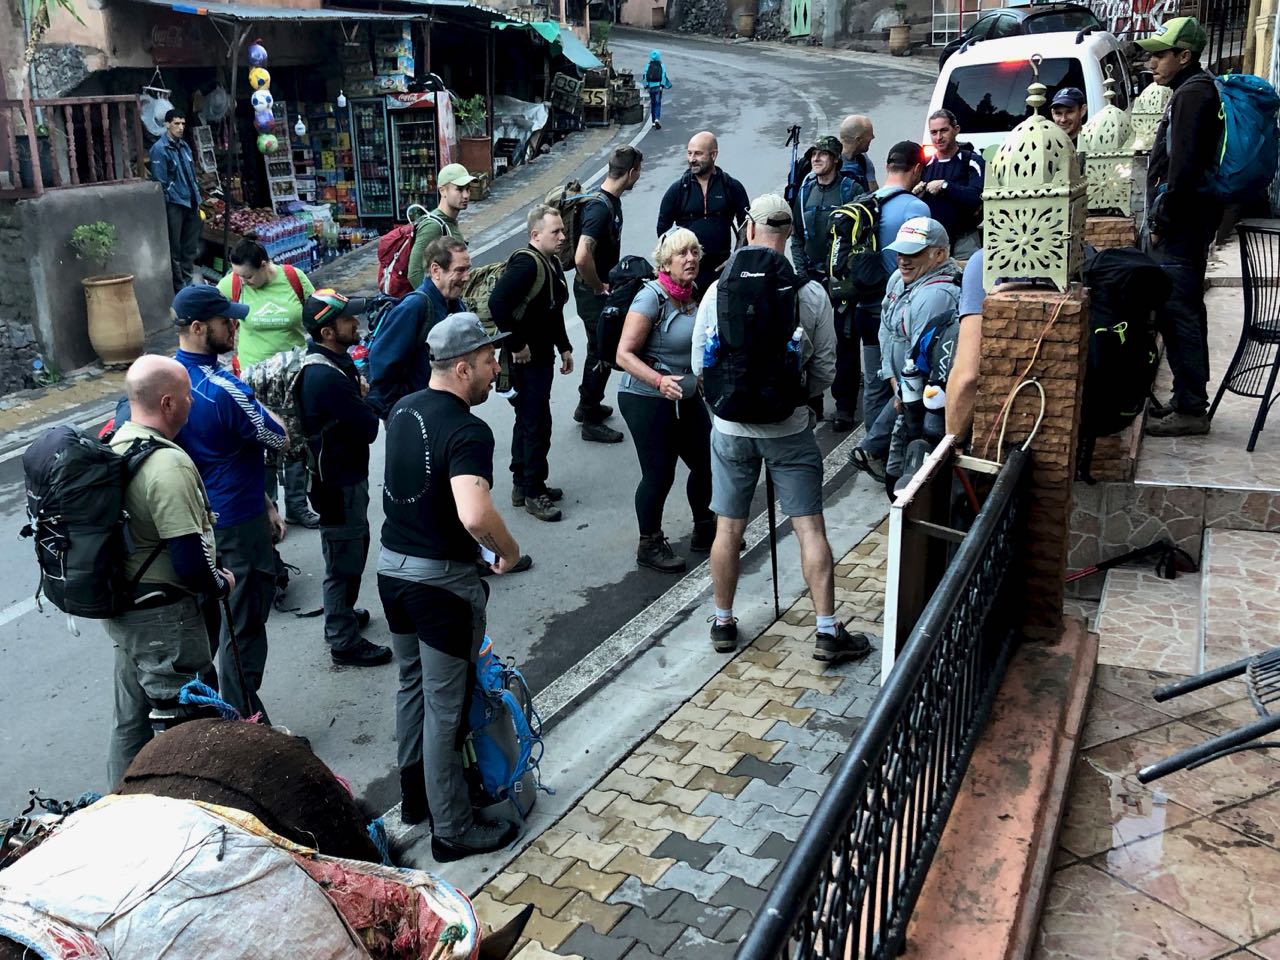
Next morning I was up before daylight as almost every other guest was packing up and getting ready to hike up to the Refuge. It was fun having breakfast with an enthusiastic group from the U.K.
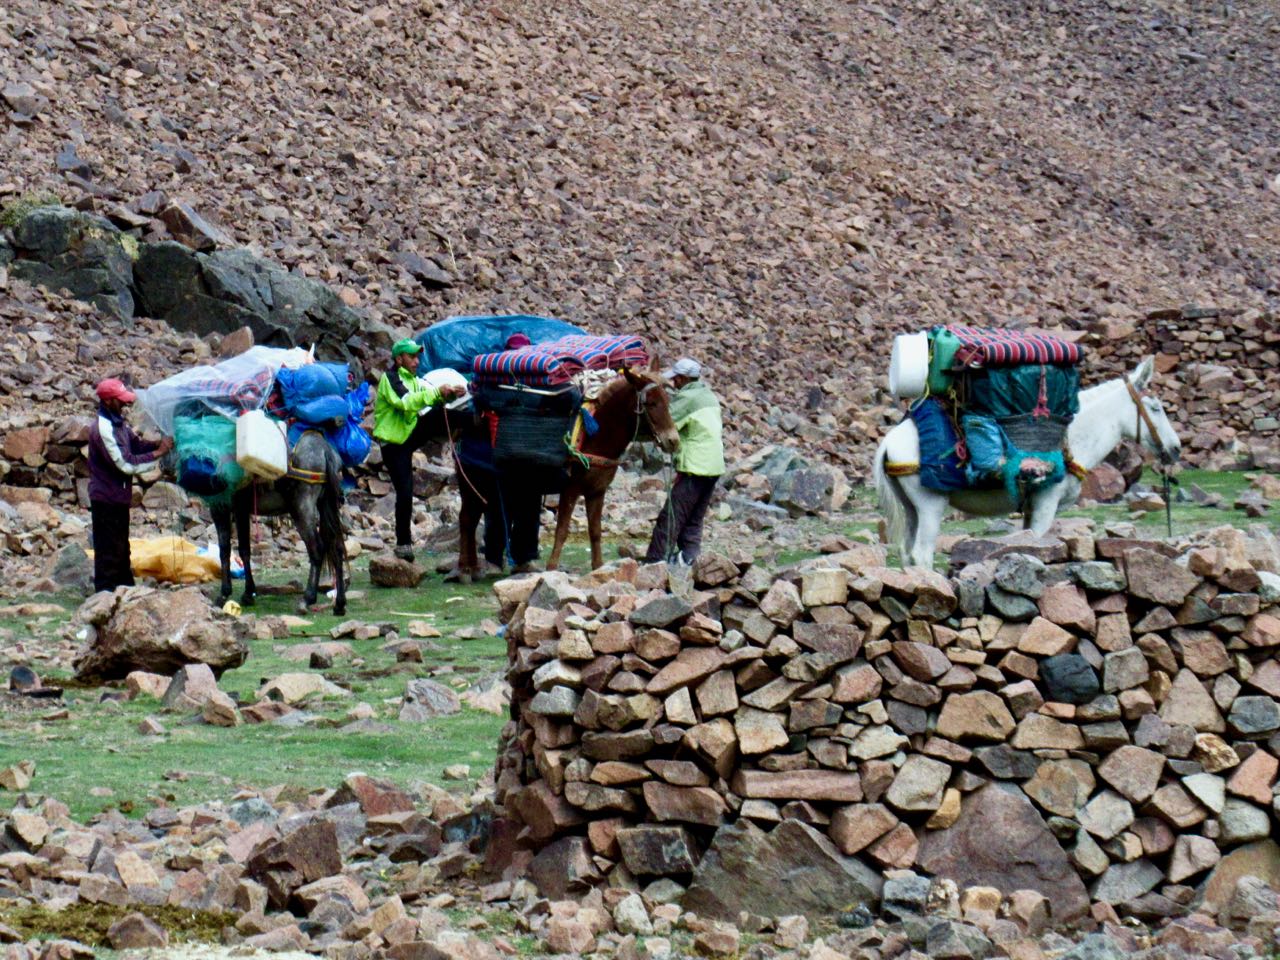
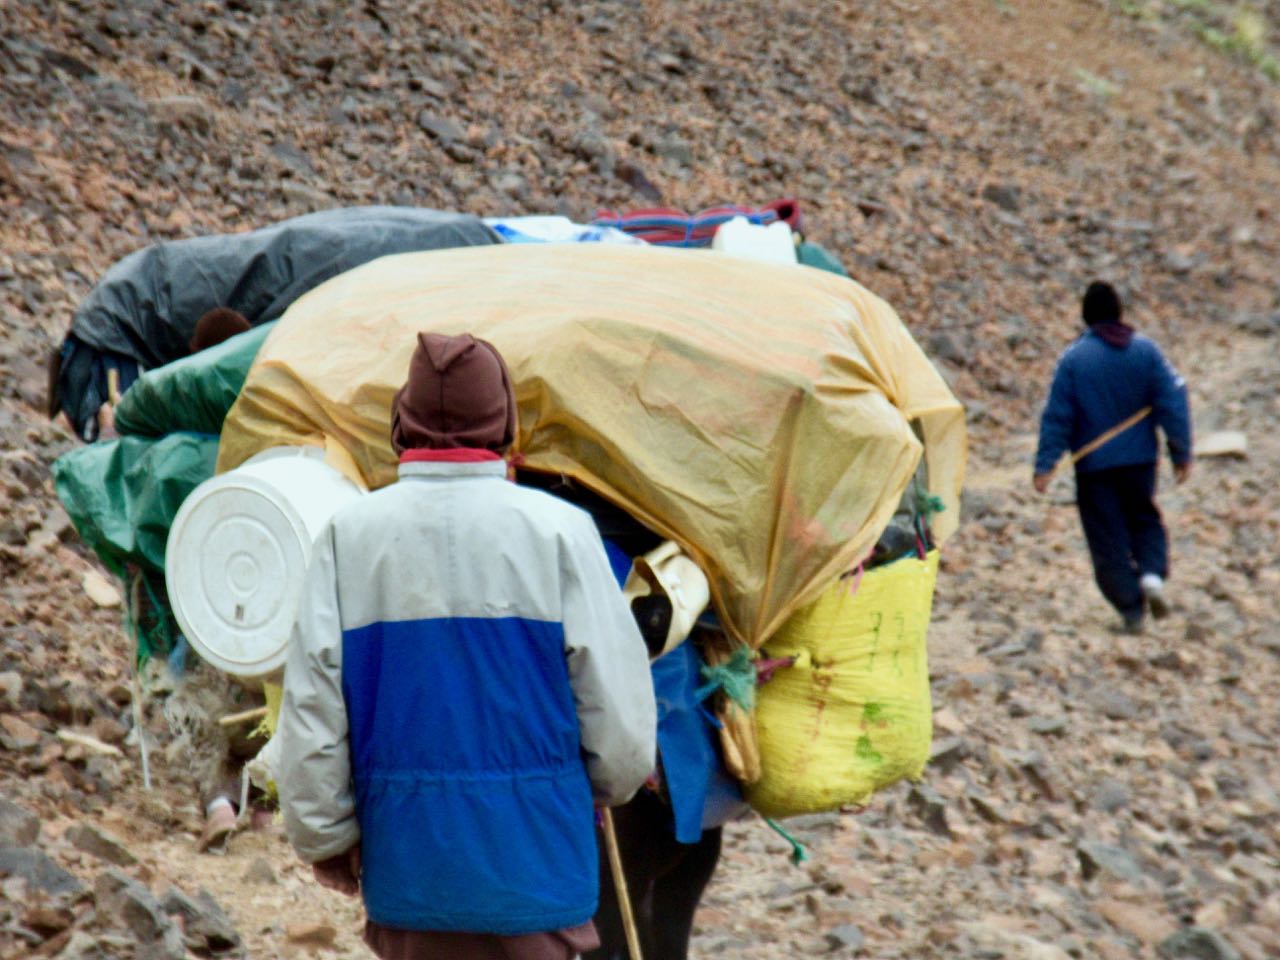
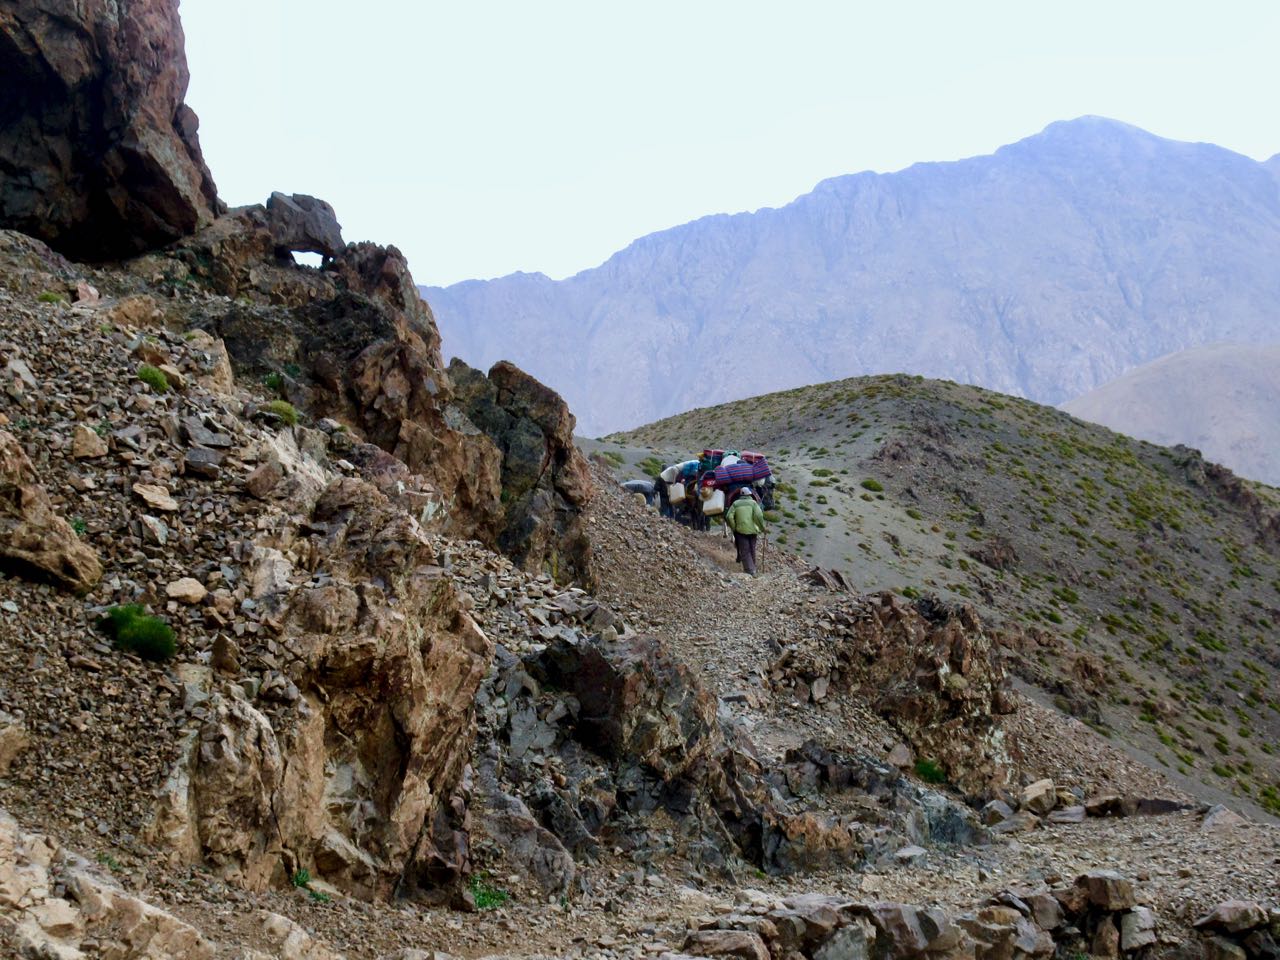
They left at 8am just as their mules were arriving. YES they did have mules, not horses.

Their U.K. guide confided to me that getting a large group like this started was like herding cats. But once on the trail, it was easy.
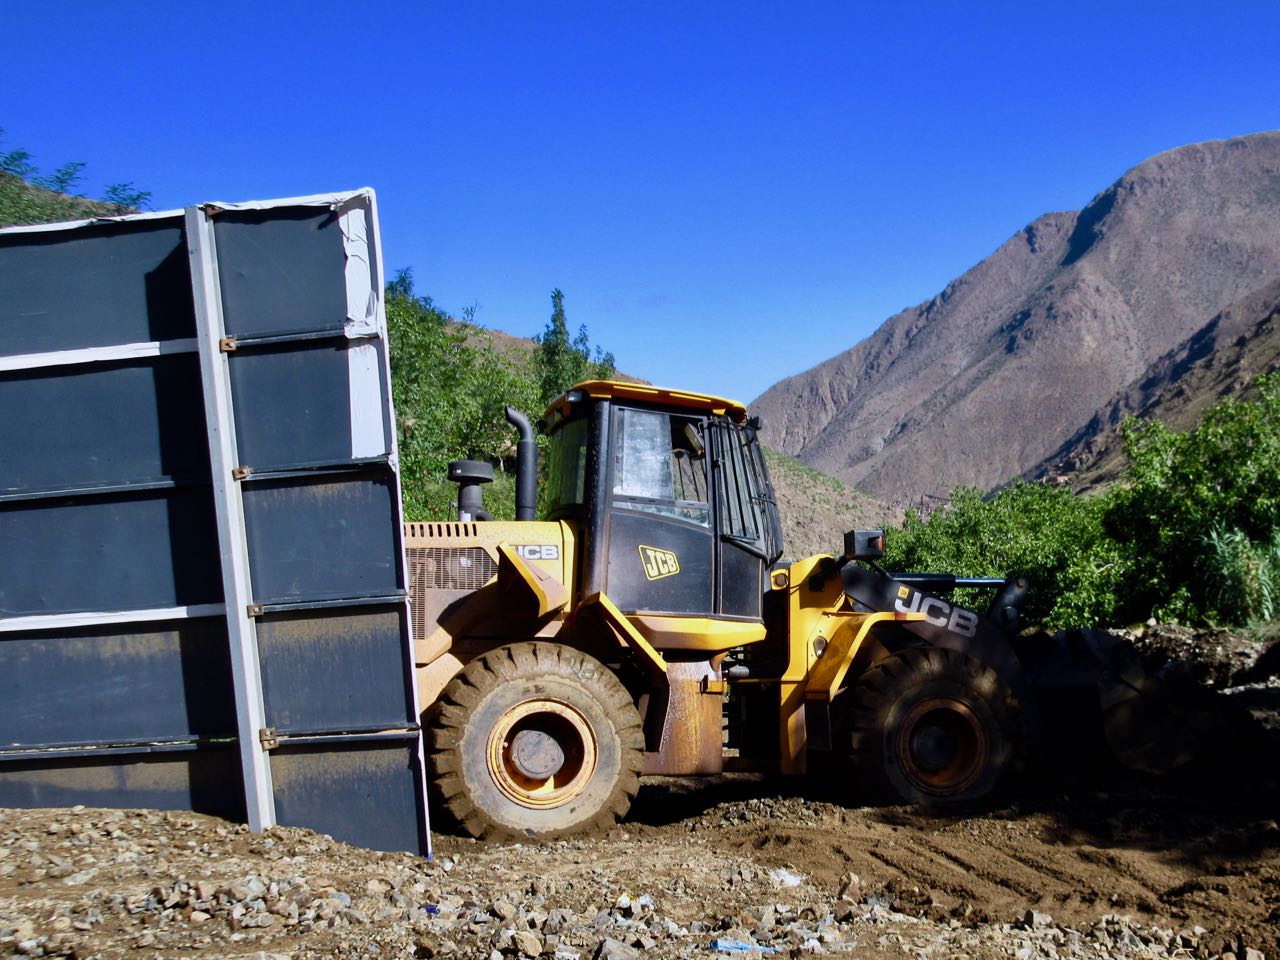
My hotel told me the road might open about noon. That prices for transportation would be higher than normal because of the backlog.
I walked down to check. Road still closed. Big machines still arriving.

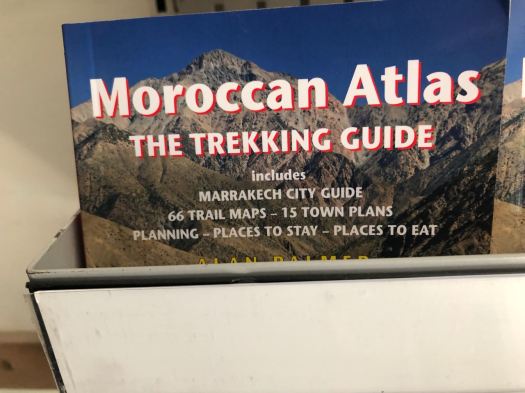
But the Atlas Extreme shop was finally open. It is well stocked. Copies of all the english language trekking guidebooks including the one I had wanted – Moroccan Atlas by Alan Palmer. Every kind of camping fuel. Top line gear.
Eventually I noticed that the shop was not actually open. The workers there were doing some renovations.
I met the Canadian who got caught in the storm again. He had an afternoon bus reservation. We decided to try to walk out past all the road blockages to get the first possible transport.
It was less than a km to reach waiting taxis. He and I outbid others wanting to climb into the first waiting vehicle. I paid 6 times what I’d paid on the way up.
It was worth it.
AND he made it to the bus station in Marrakesh on time. With 10 minutes to spare.
My adventure was a surprising success considering how little information I had on arrival in Imlil five days earlier.
day 1 | 2 | 3 | 4 | 5 | info | video