trip report by site editor Rick McCharles
Click PLAY or get a glimpse of my 3 day circuit on YouTube.
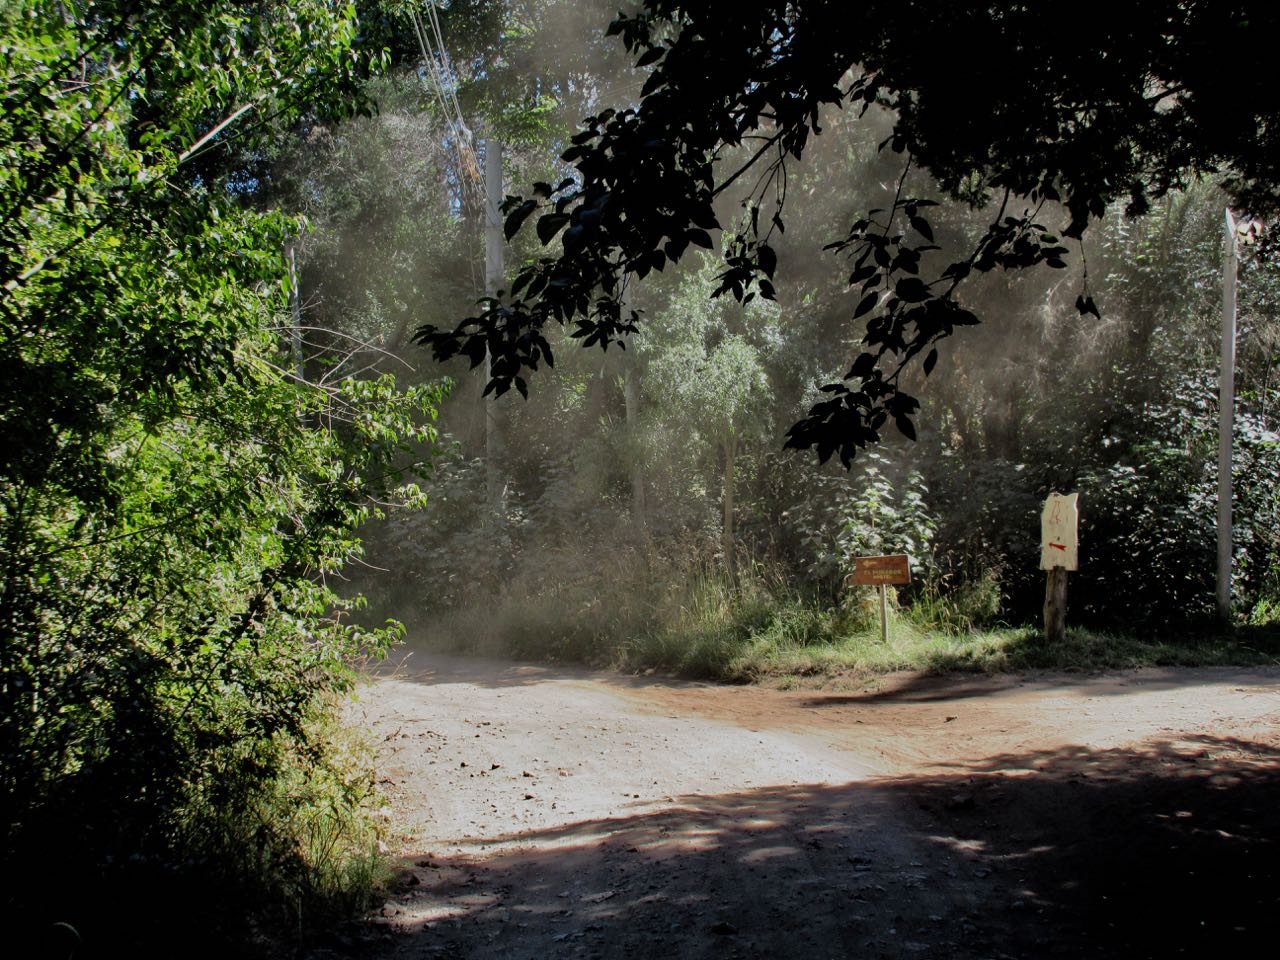
Getting to the trailhead at Camping Hue Nan is the most challenging navigation challenge.
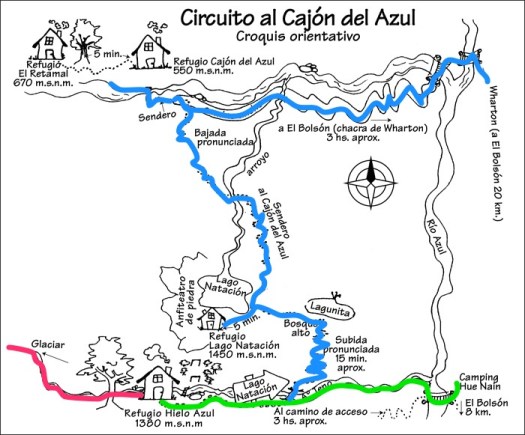
You can road walk from El Bolsón as I did — 3 boring, dusty hours — or ask for bus directions to Camping Hue Nan. That trailhead may be changing. Check before you go. It was open to me February 2018.
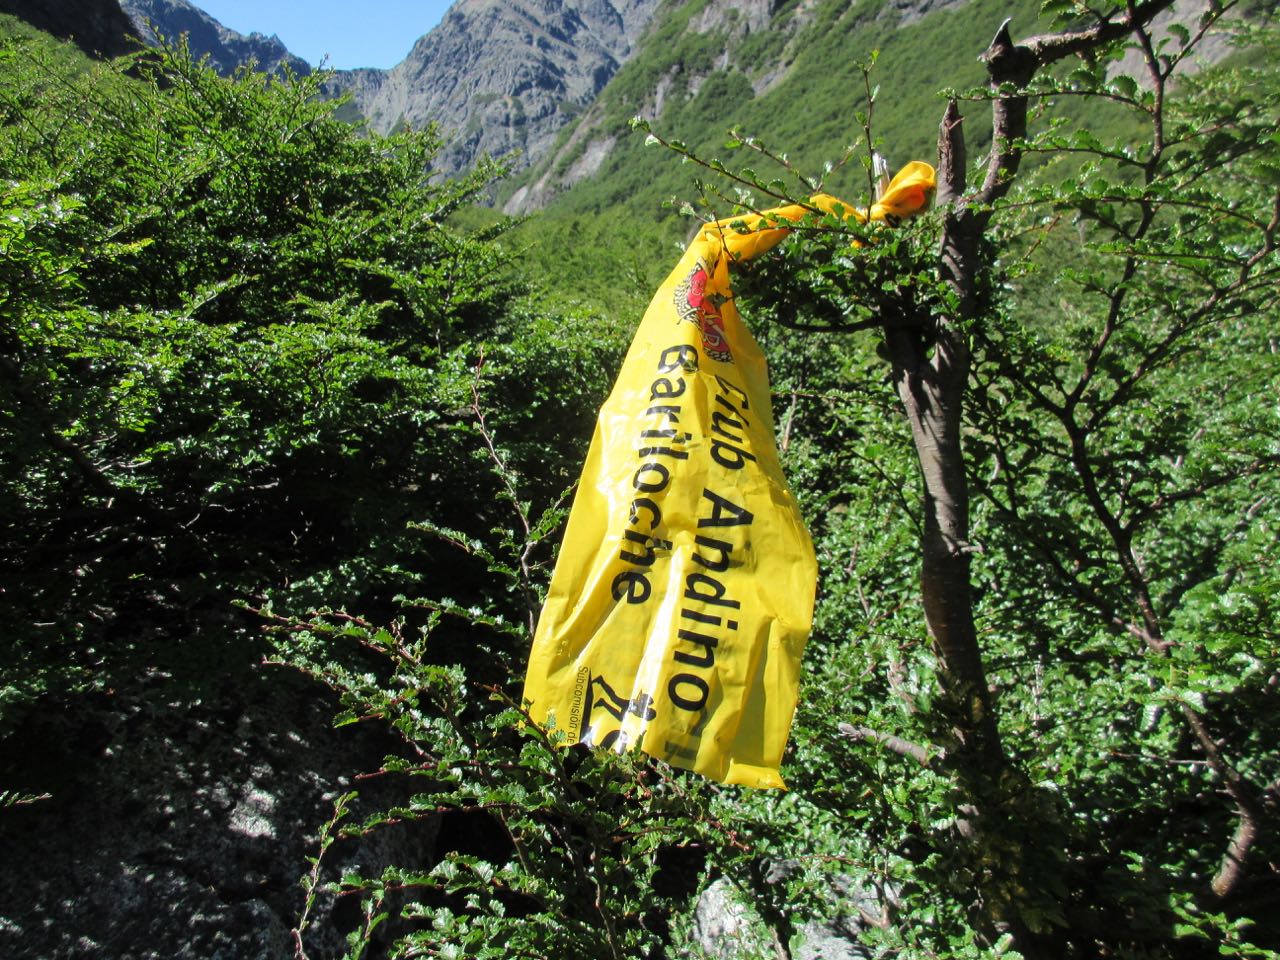
Look for the Acceso Refugio Hielo Azul sign.
I used the free Maps.me app and it worked perfectly for the entire circuit. On the other hand, I wished I’d hired a taxi or found the bus rather than done 3 hours of road walking.
Alternatively, there’s a way to start and finish a circuit by bus at Warton. The most popular trailhead.
You could reverse my route too, of course.
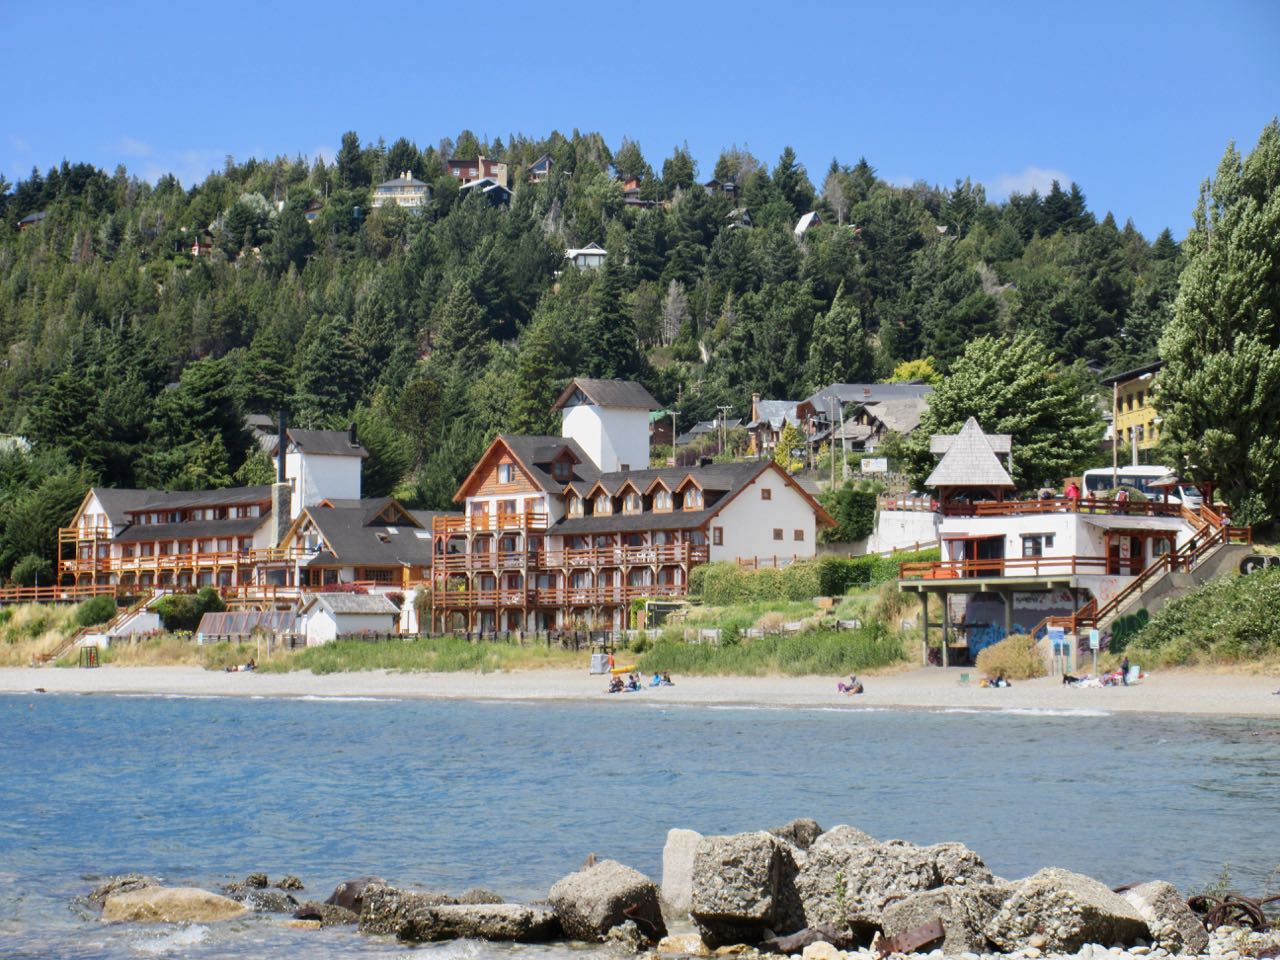
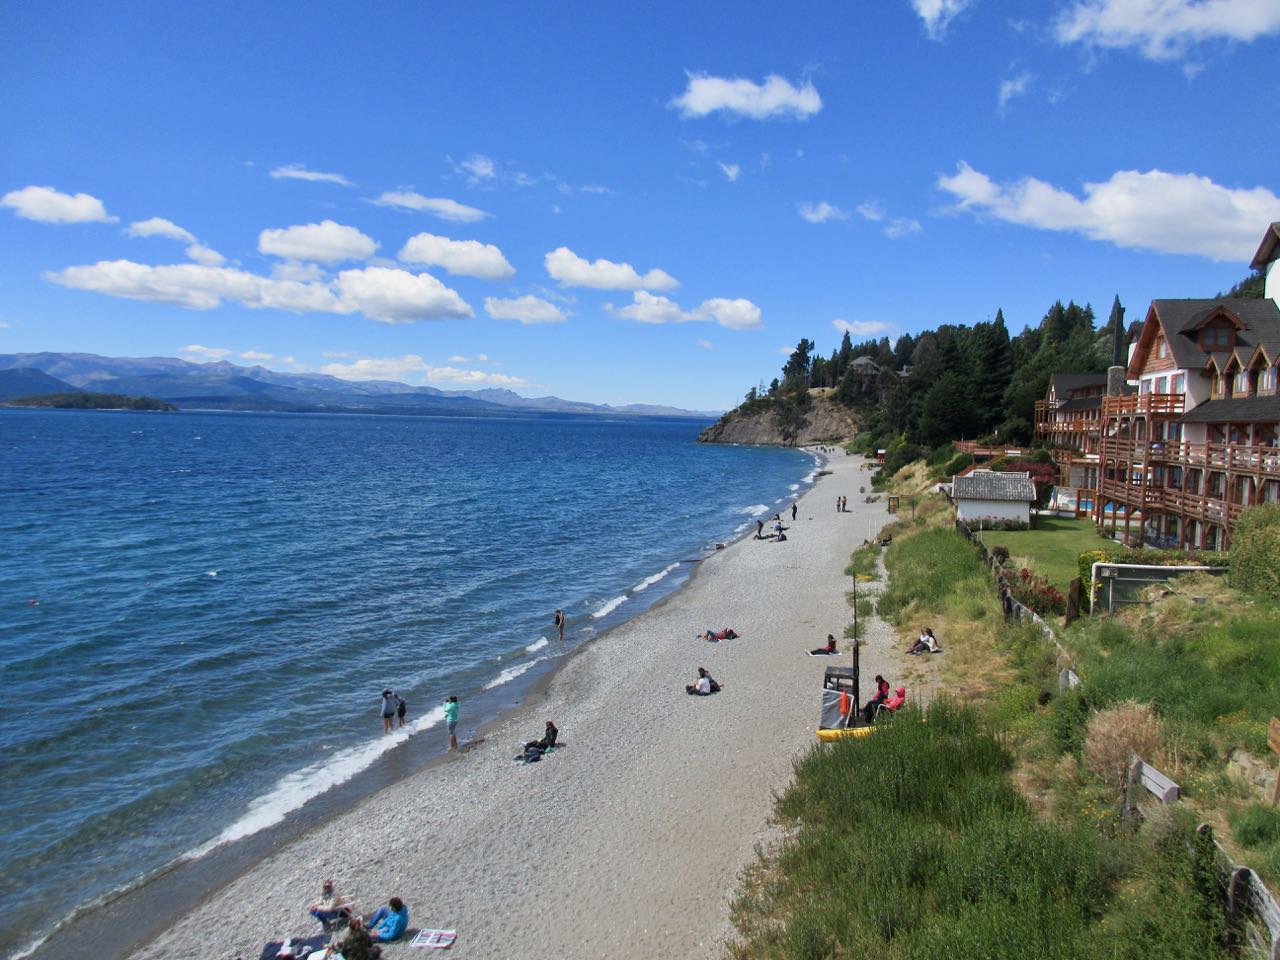
El Bolsón, population 19,000 plus tourists is an excellent hiking town. It’s only 2 hours by bus from Bariloche, the bigger hiking destination in Argentina. Many hike both towns on the same trip.
Free registration is required. You don’t need to stick to your planned itinerary.
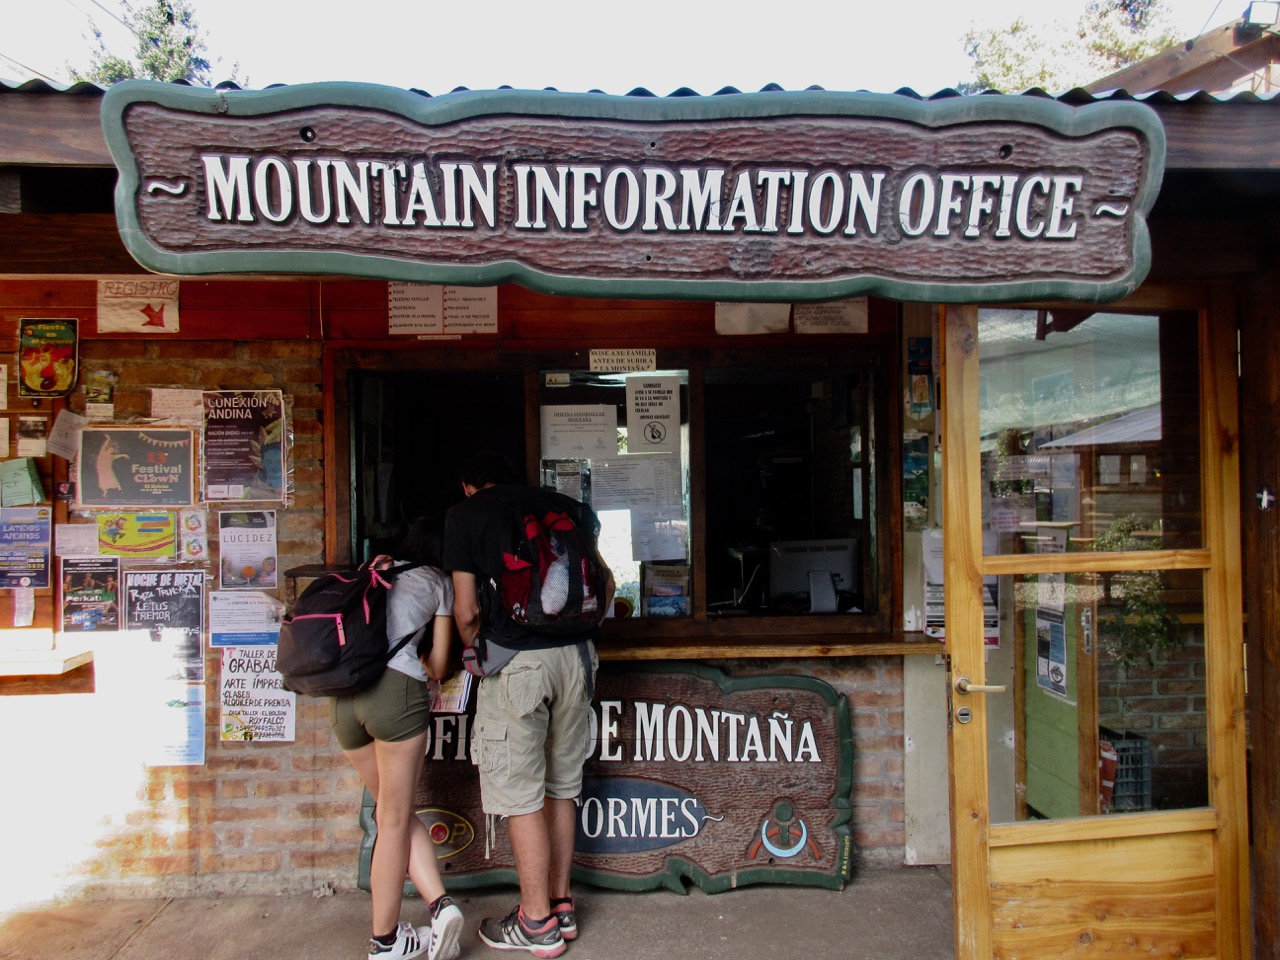
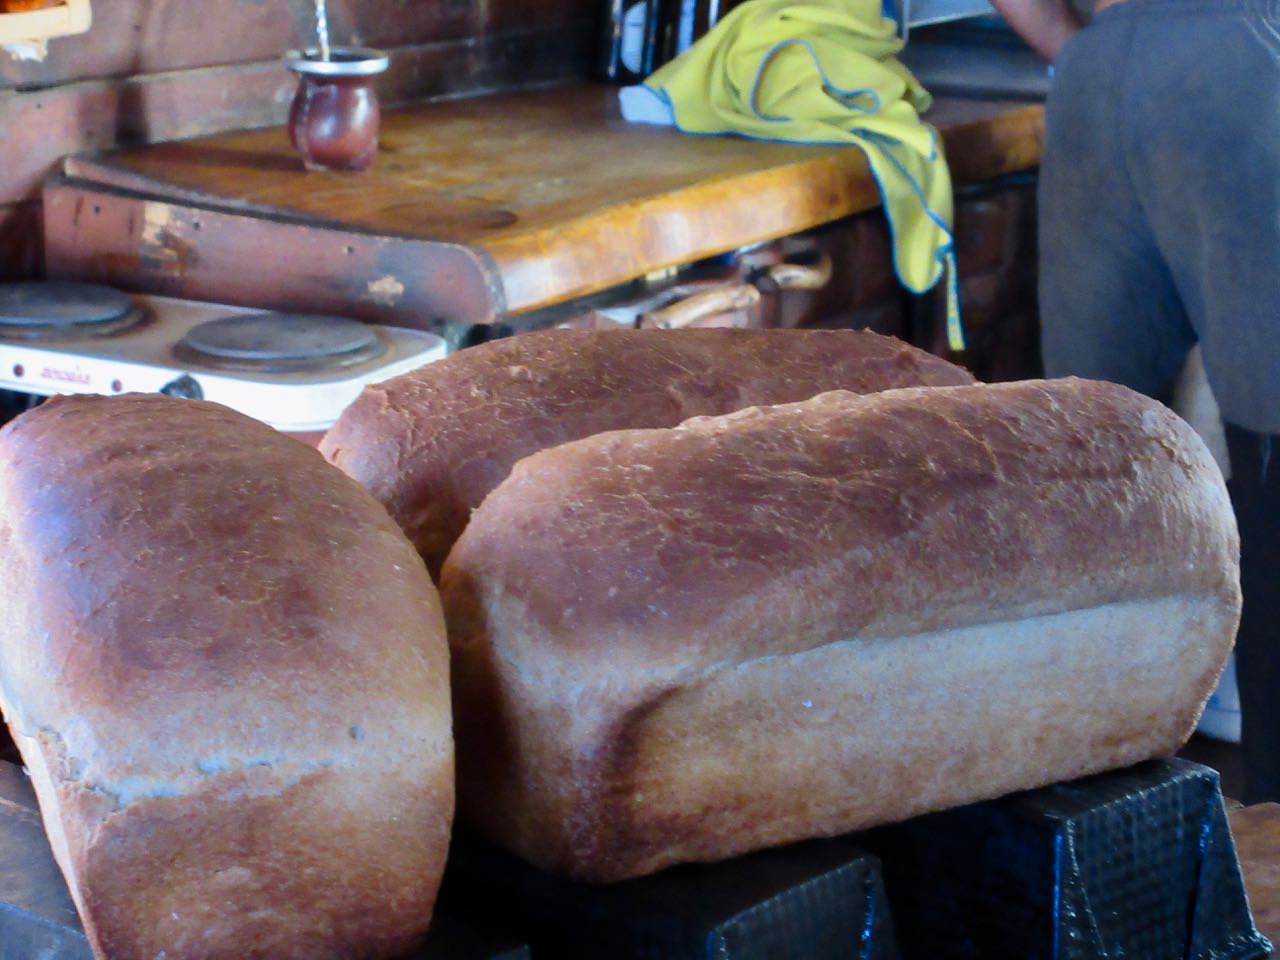
There are gear shops with camping fuel and fairly large grocery stores in town.
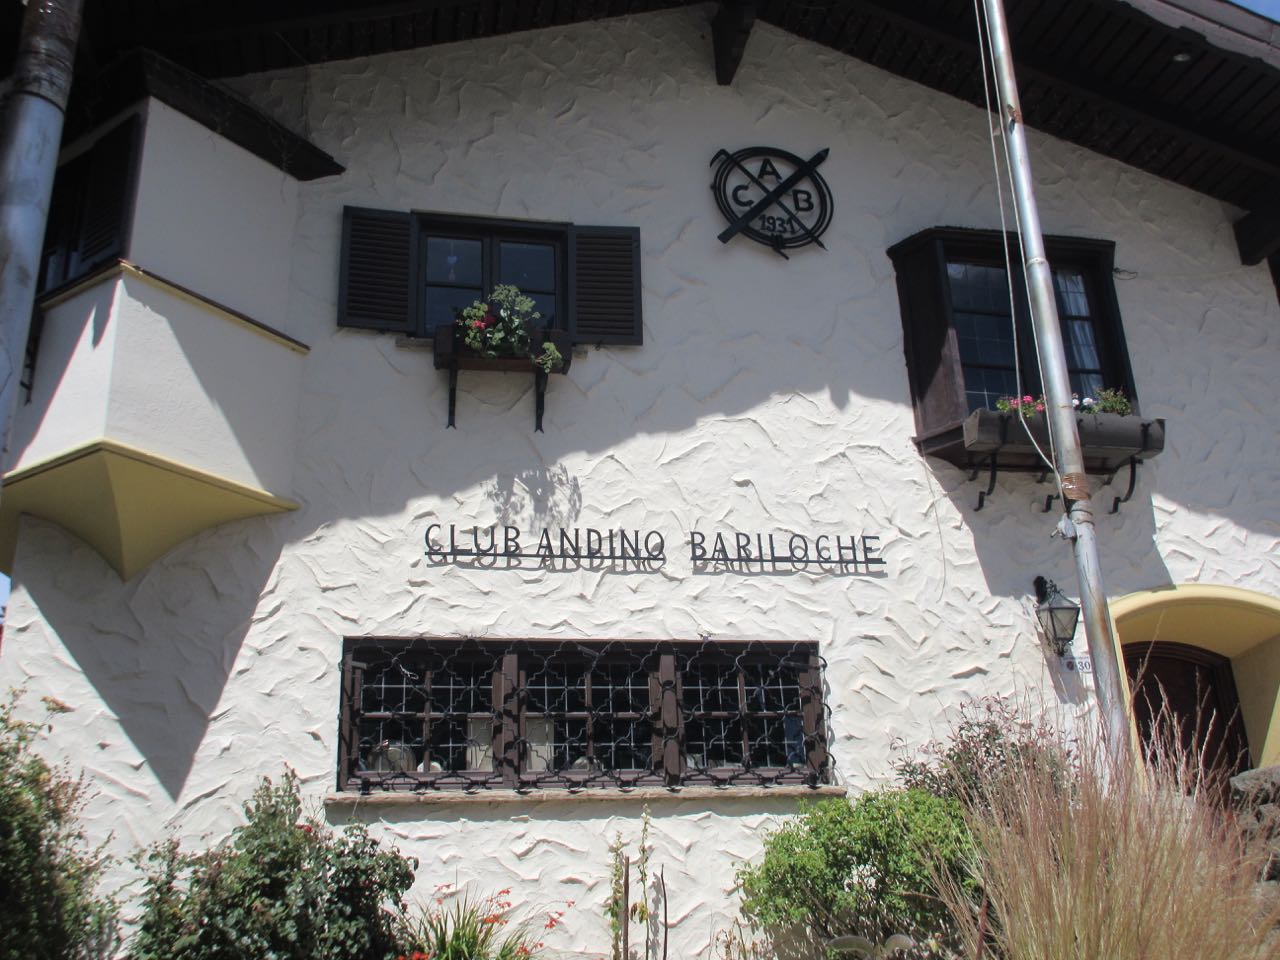
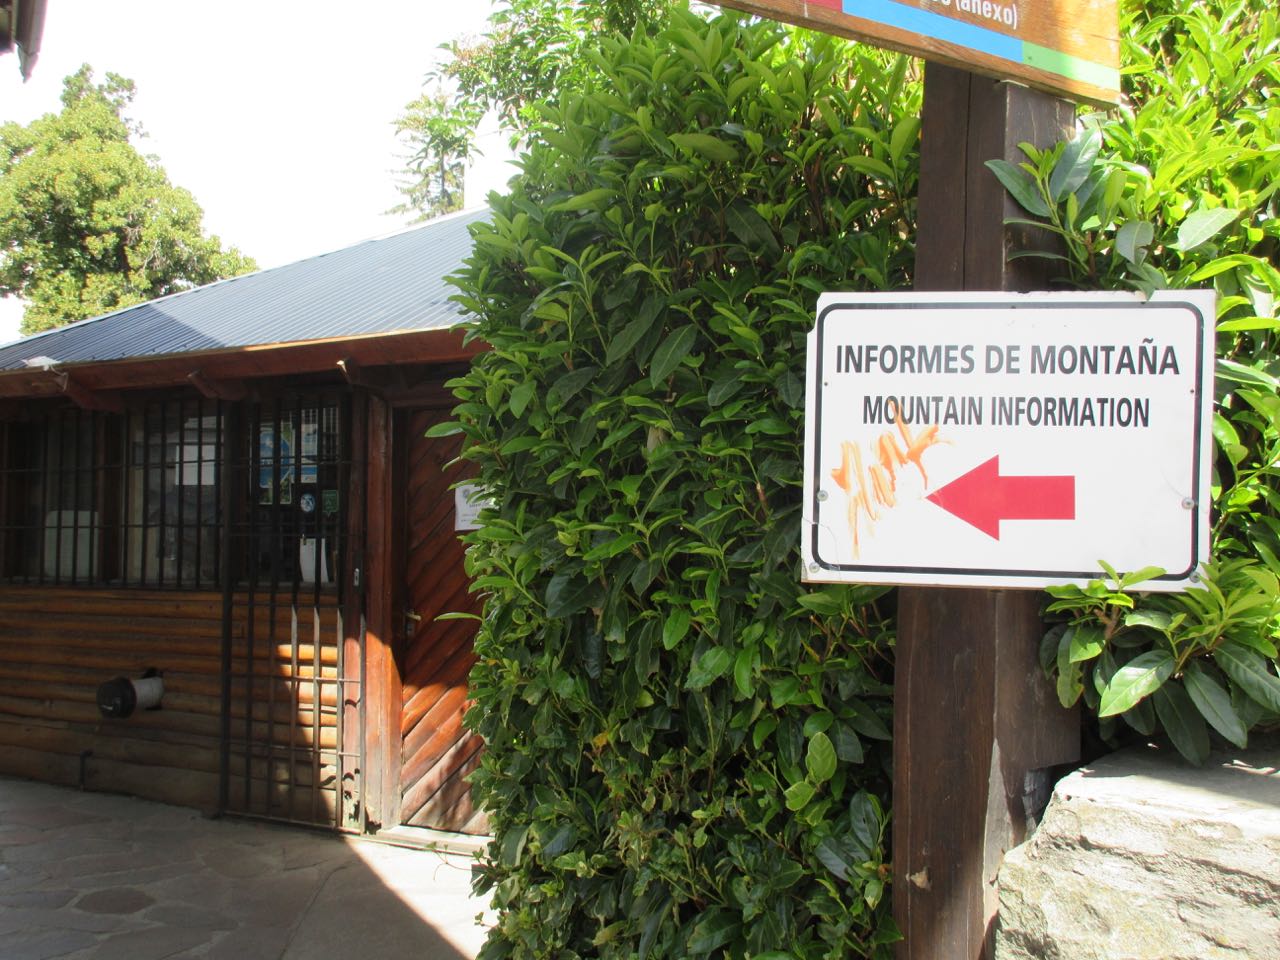
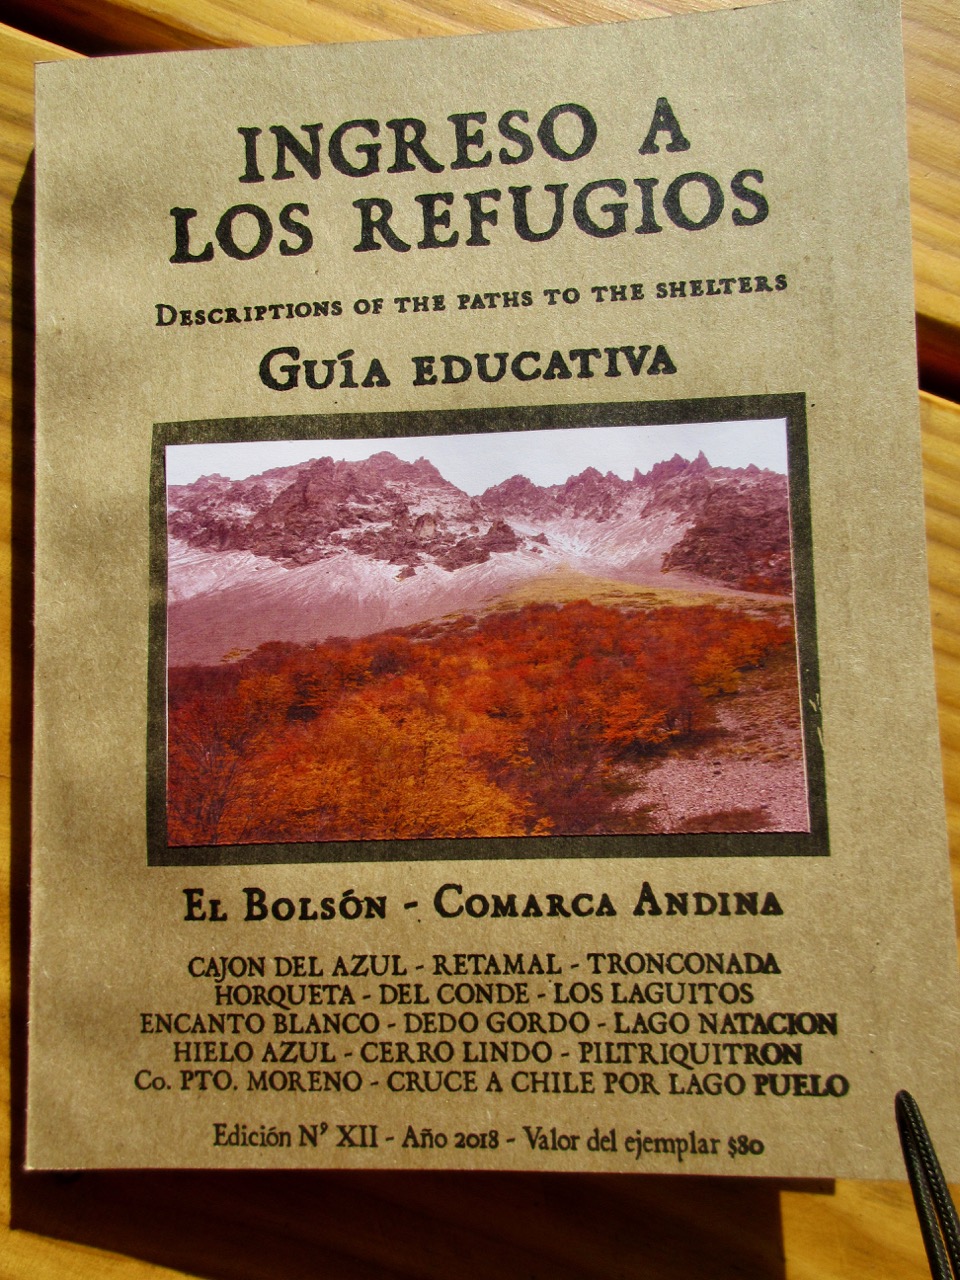
At the Mountain Information Office I bought a $4 amateur hiking guide partially translated to English. It’s not enough to navigate, but did provide some background information.
I was shocked to see some of the bridges here.
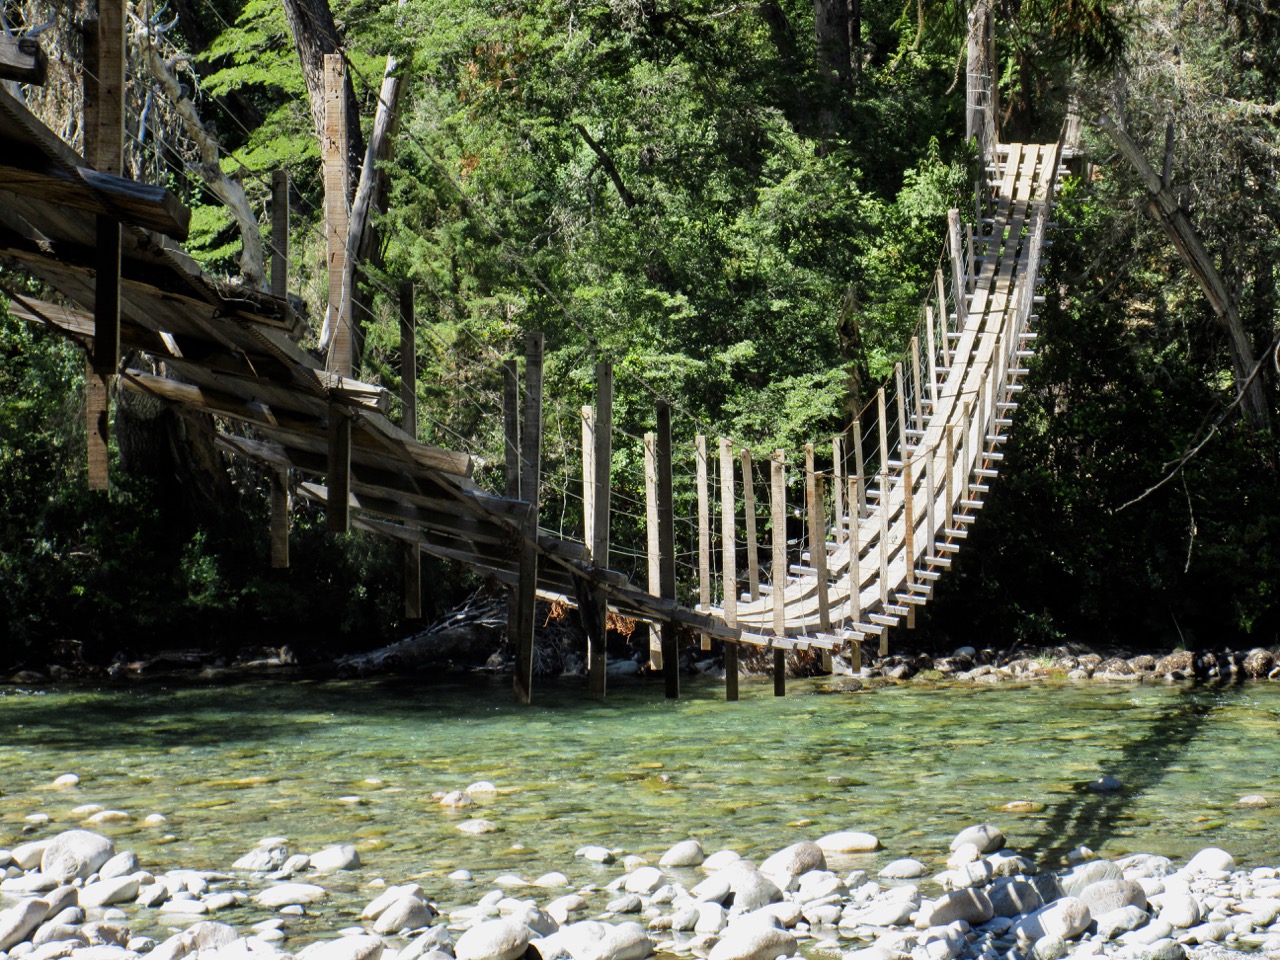
They are slowly being replaced by modern metal alternatives.
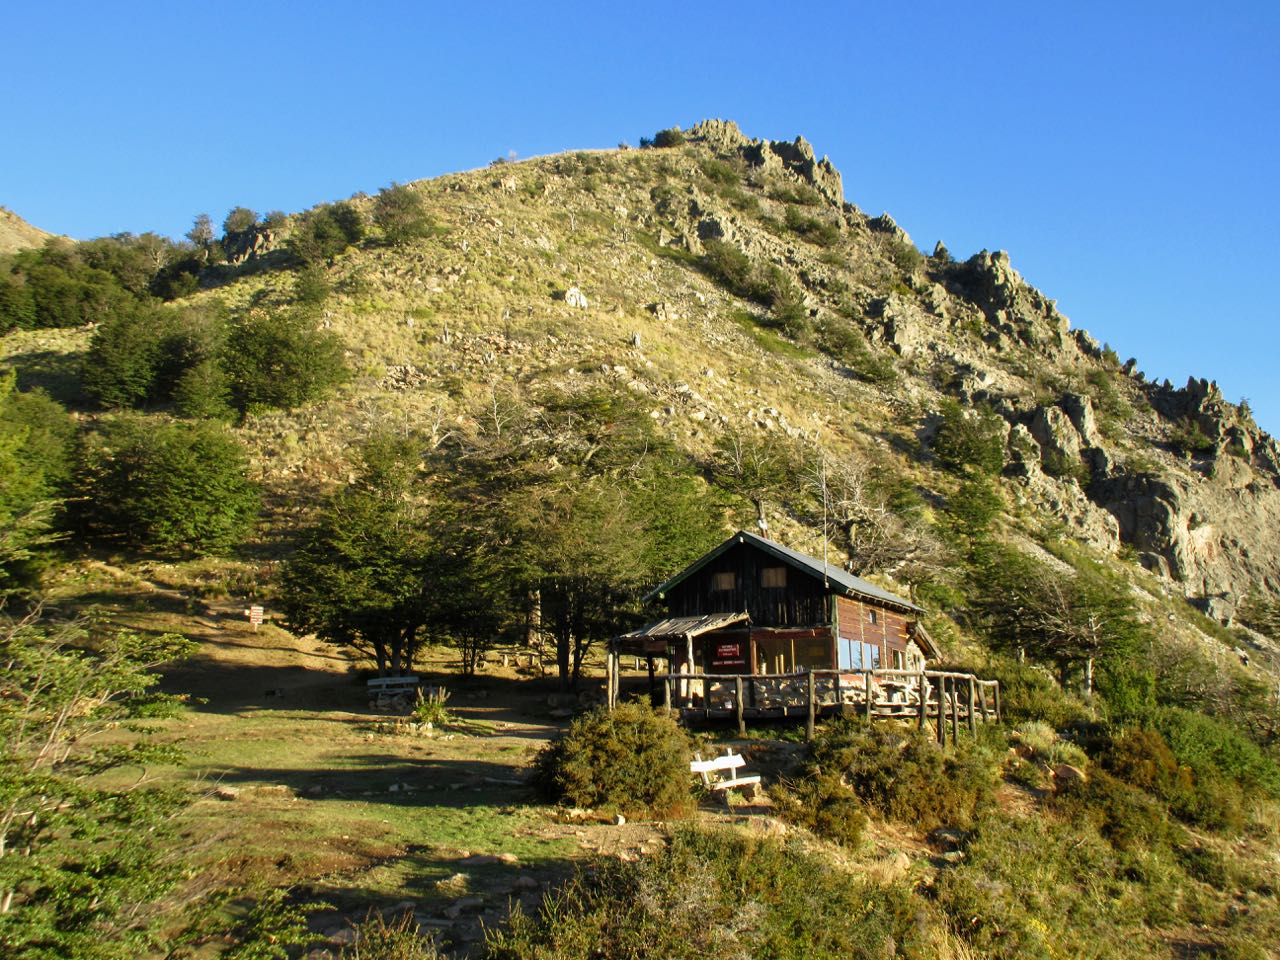
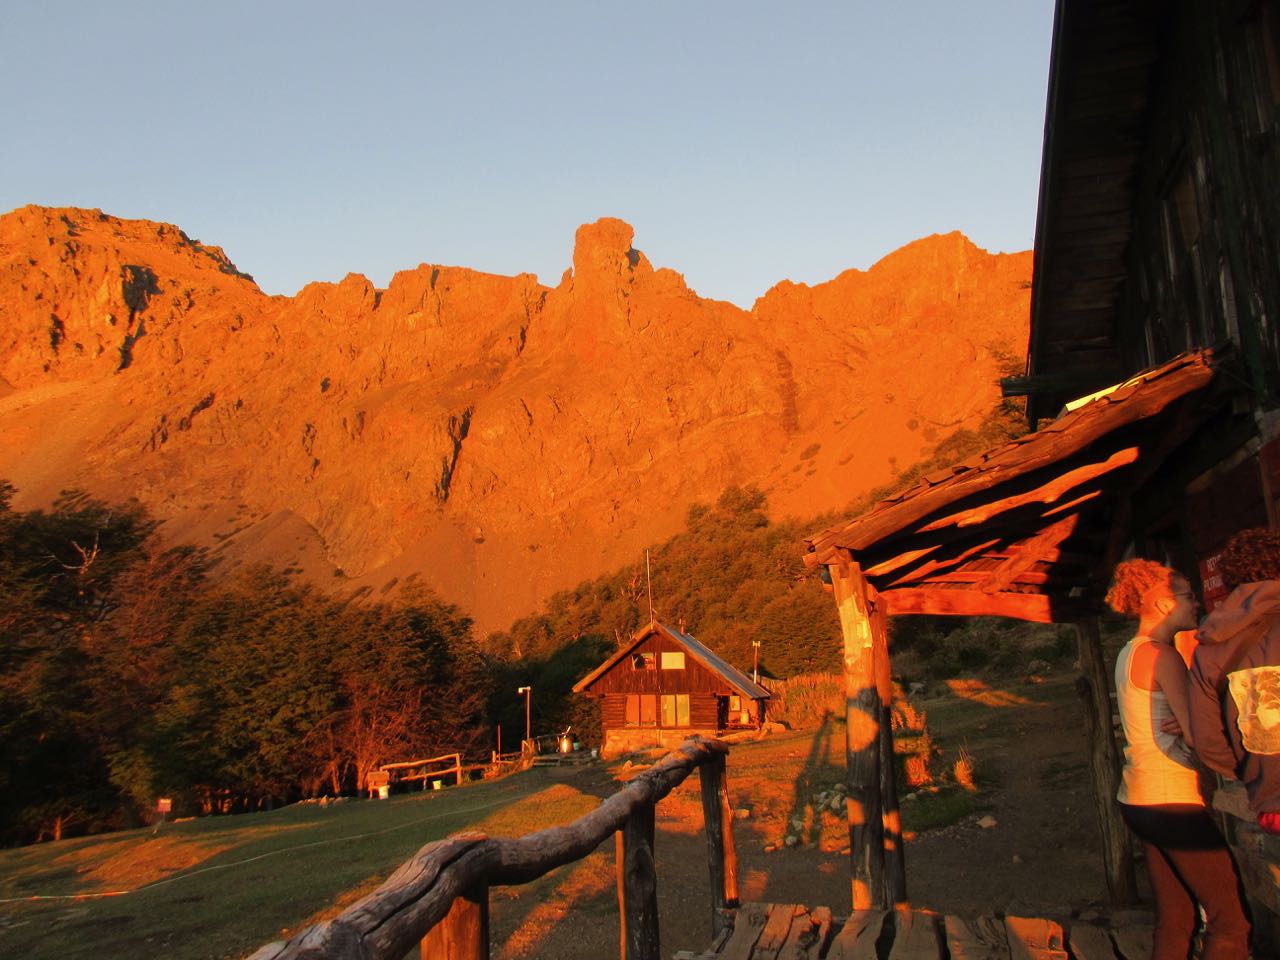
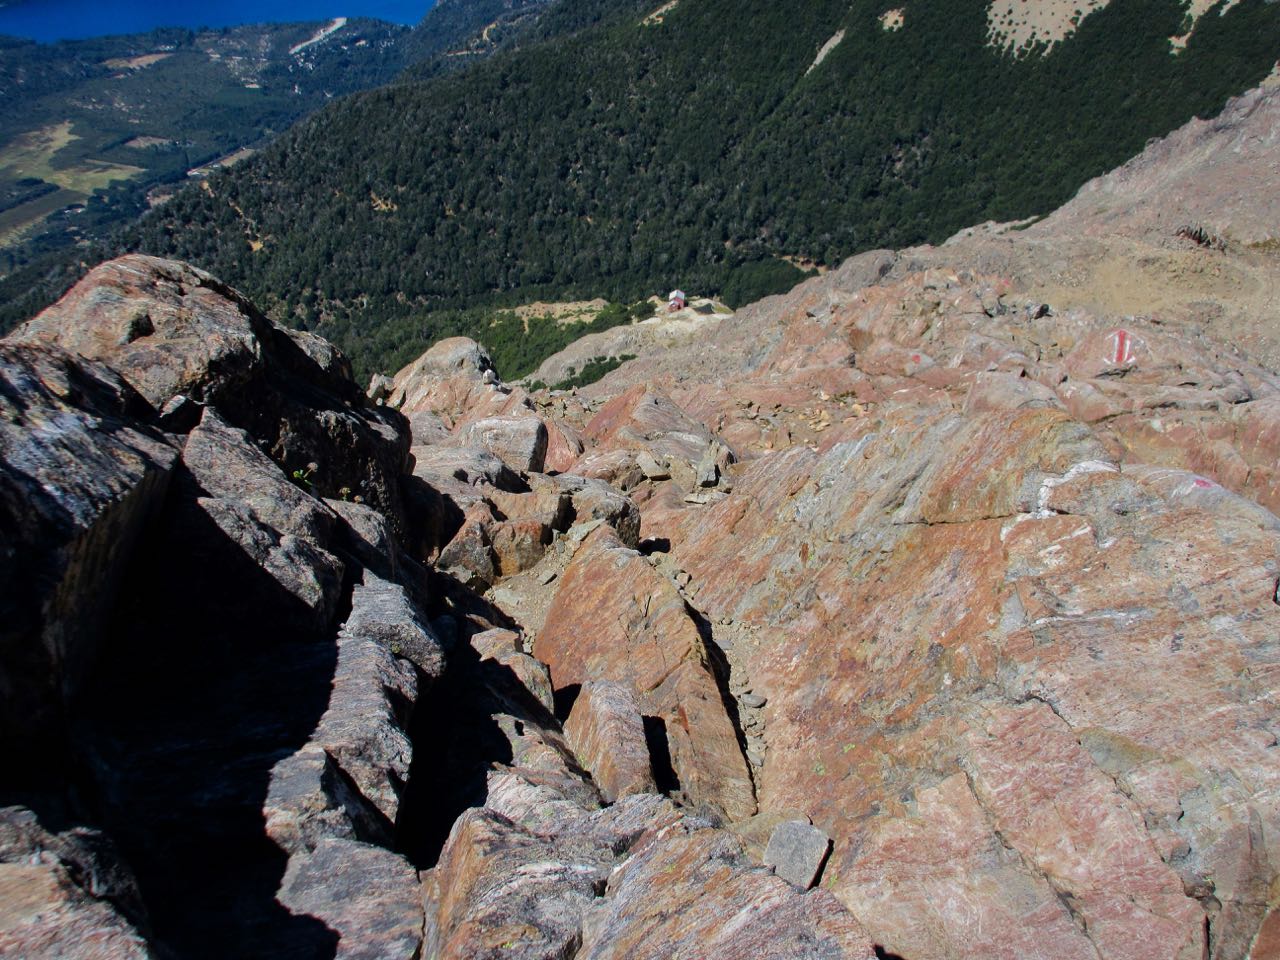
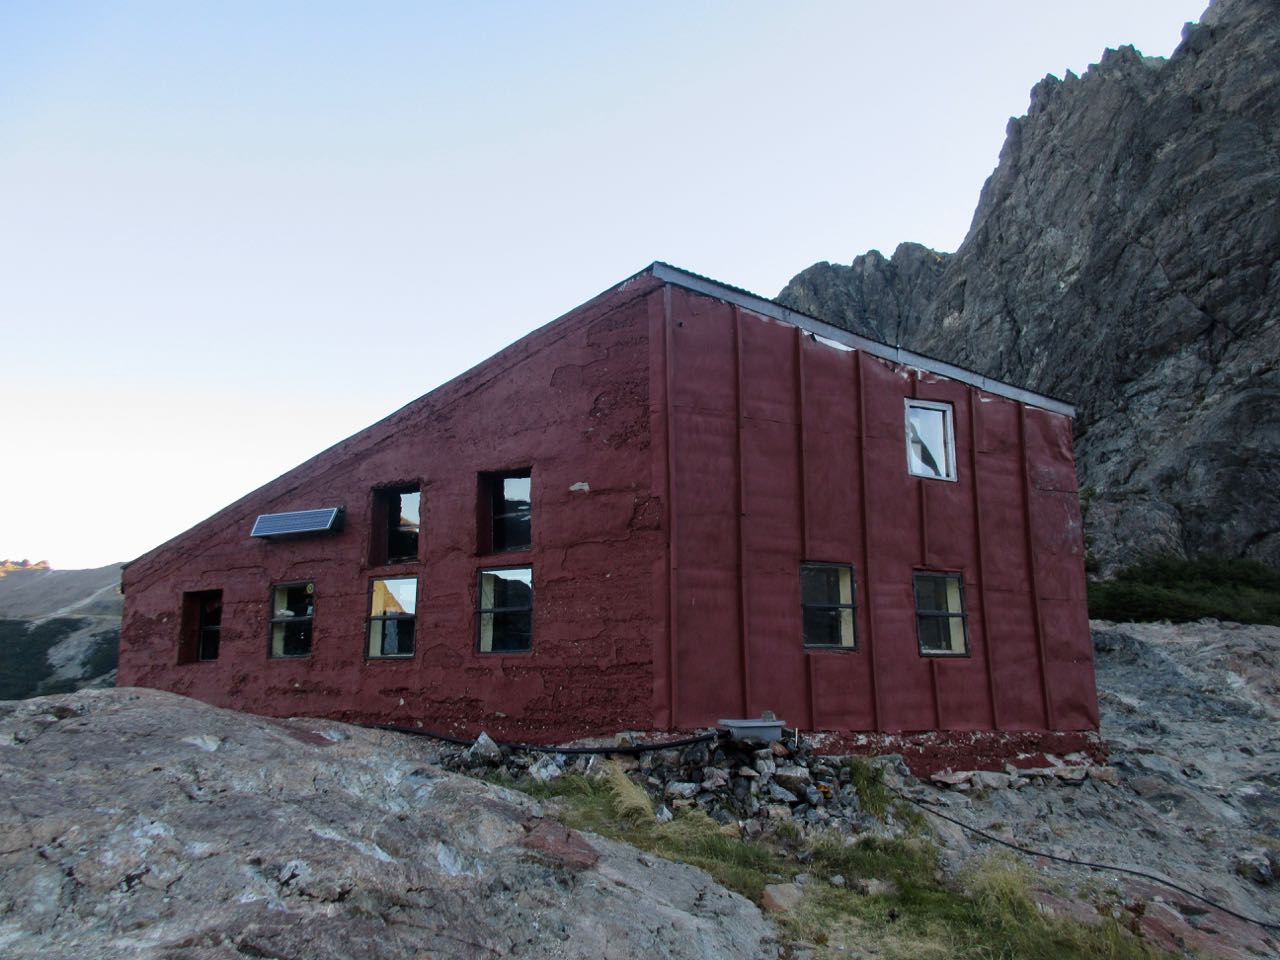
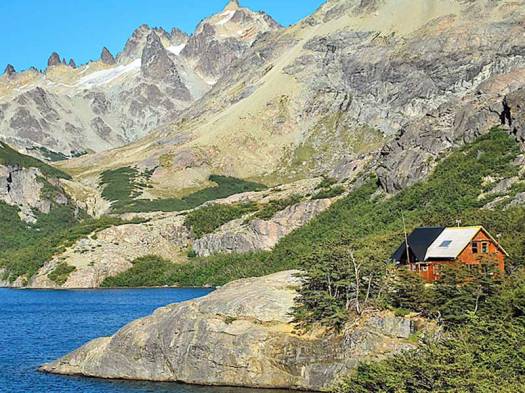
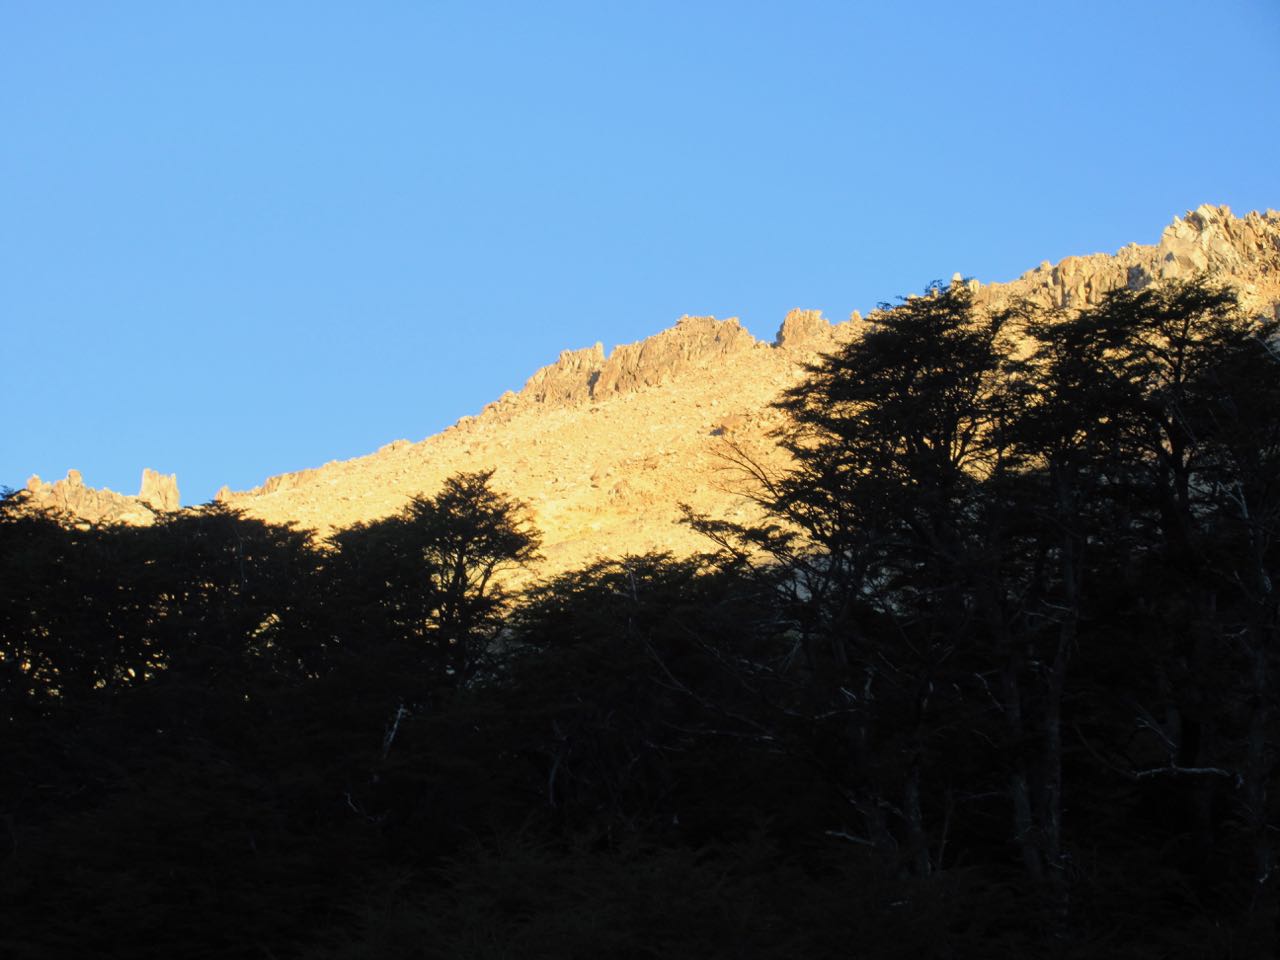
It was at least 1000m ascent and 4 hours up to Hielo Azul Refugio. My favourite alpine hut by far.
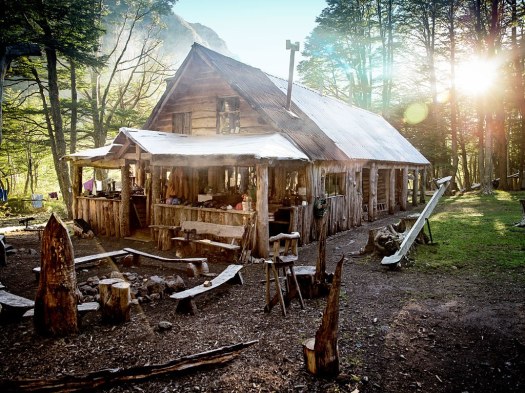
I was so happy to get there — and felt so warmly welcomed by the woman who greeted me — that I signed up for an 8pm $20 stew meal. My most expensive dinner in Argentina. (I brought my own wine.)
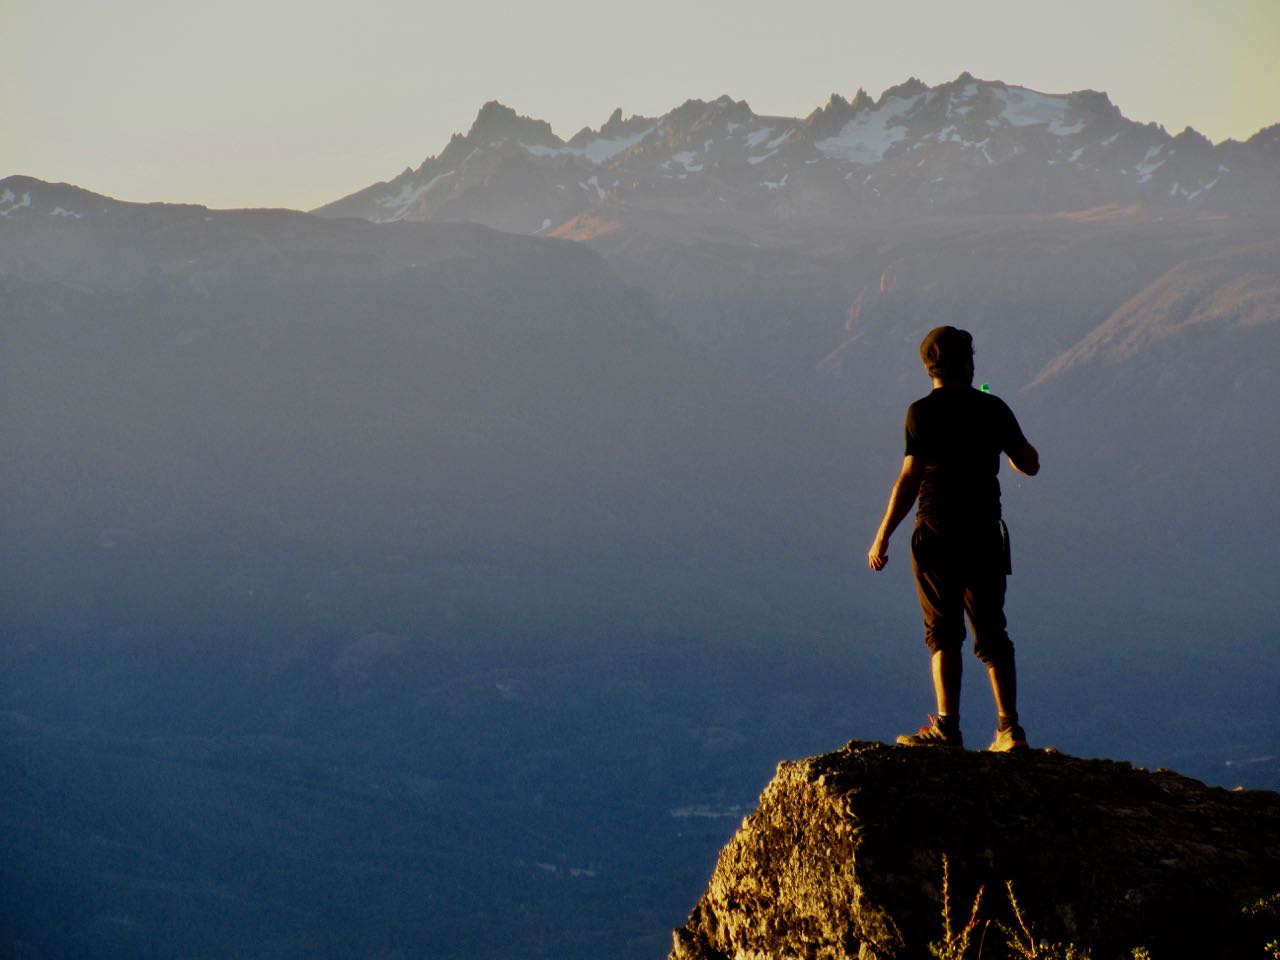
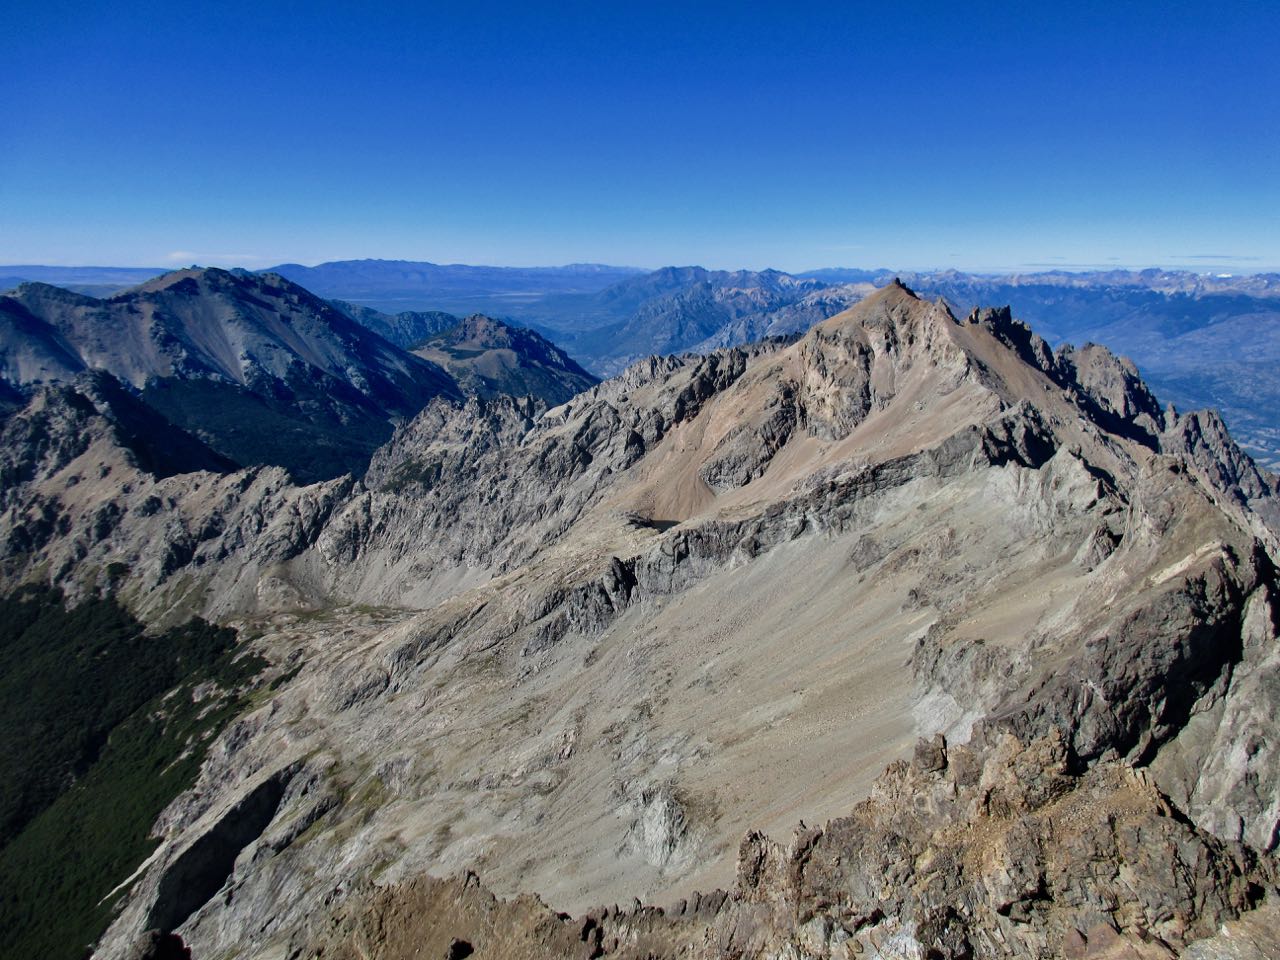
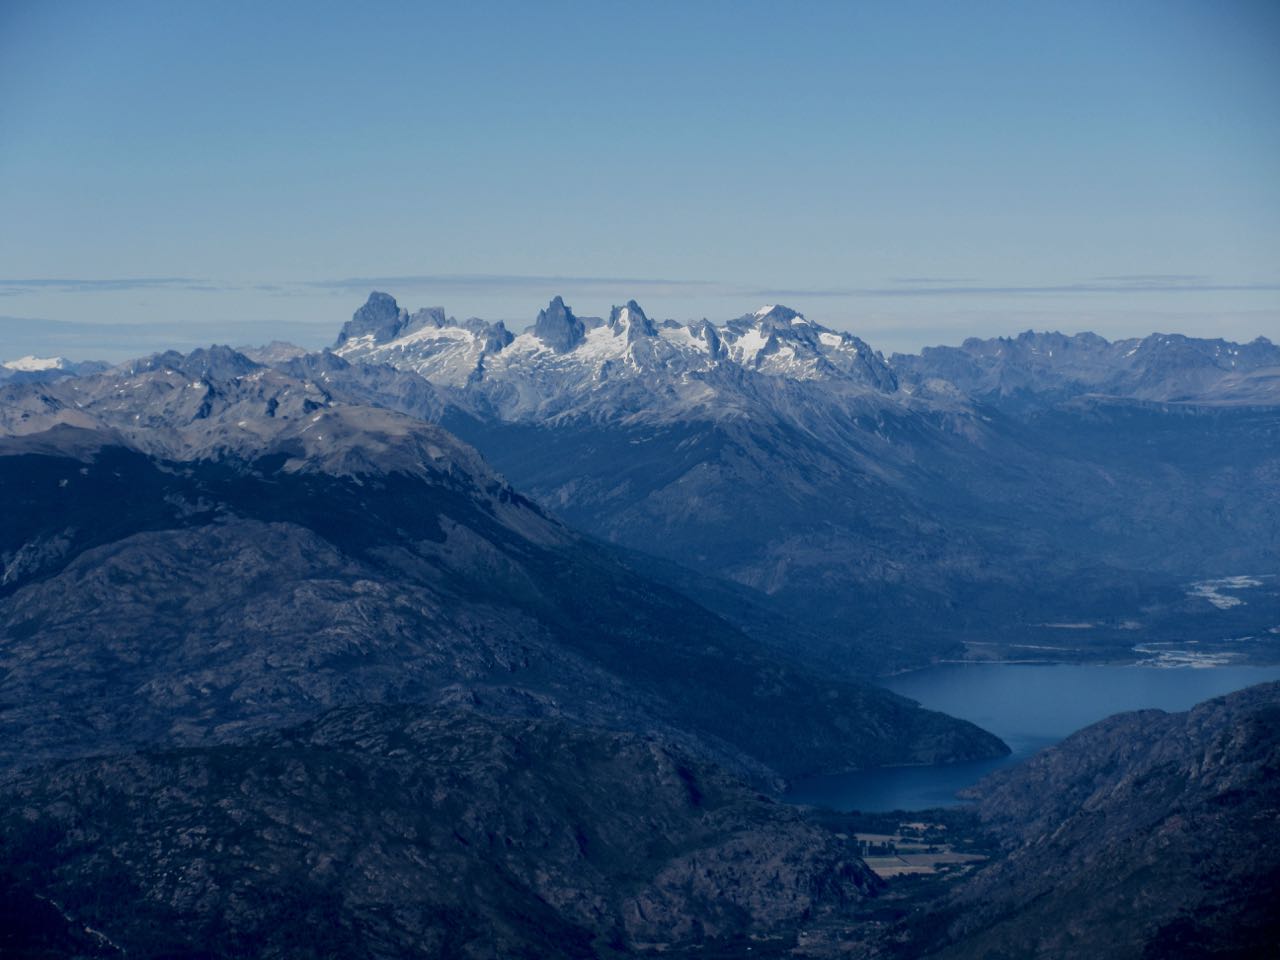
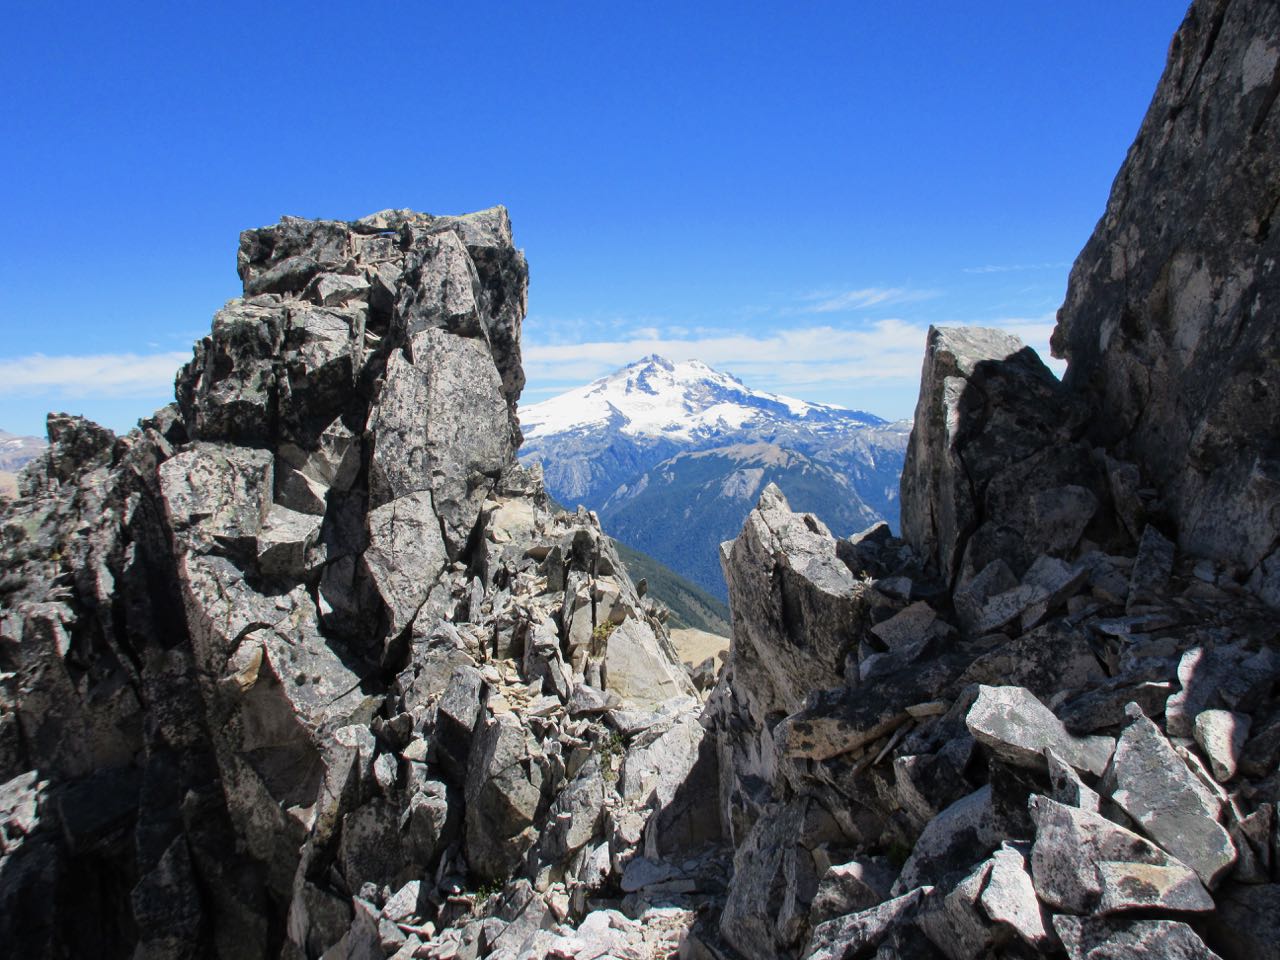
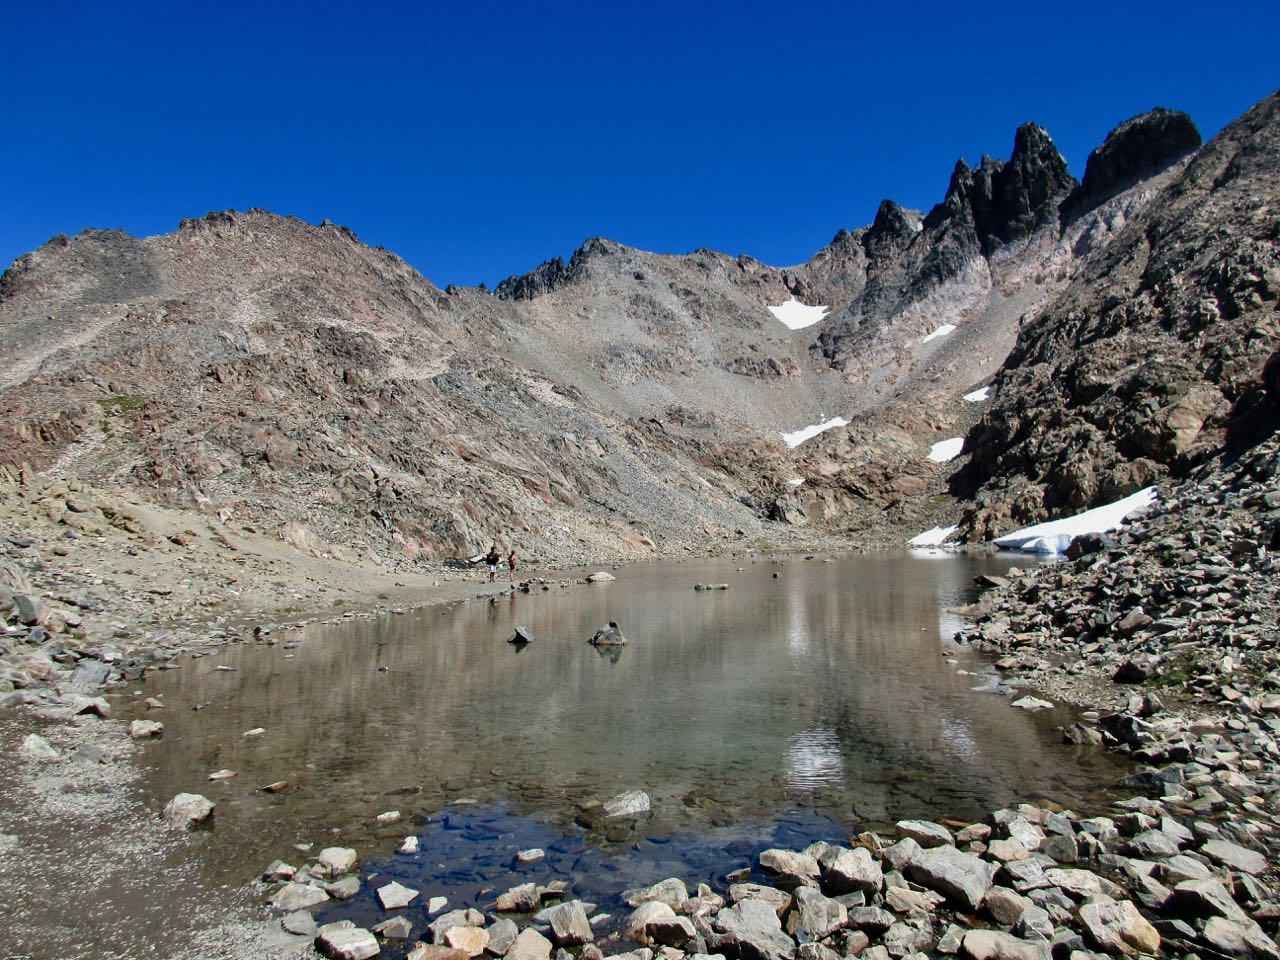
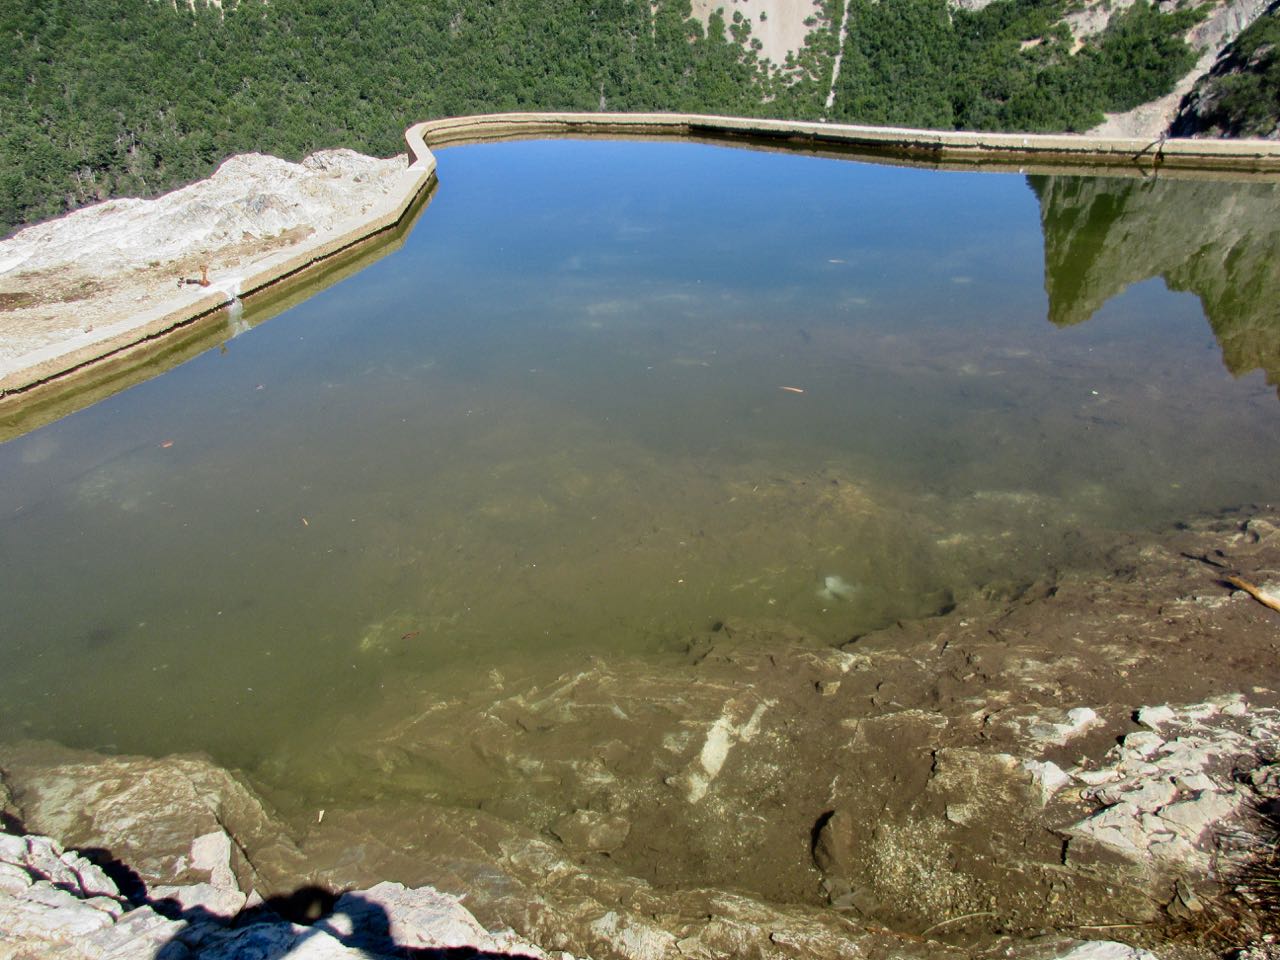
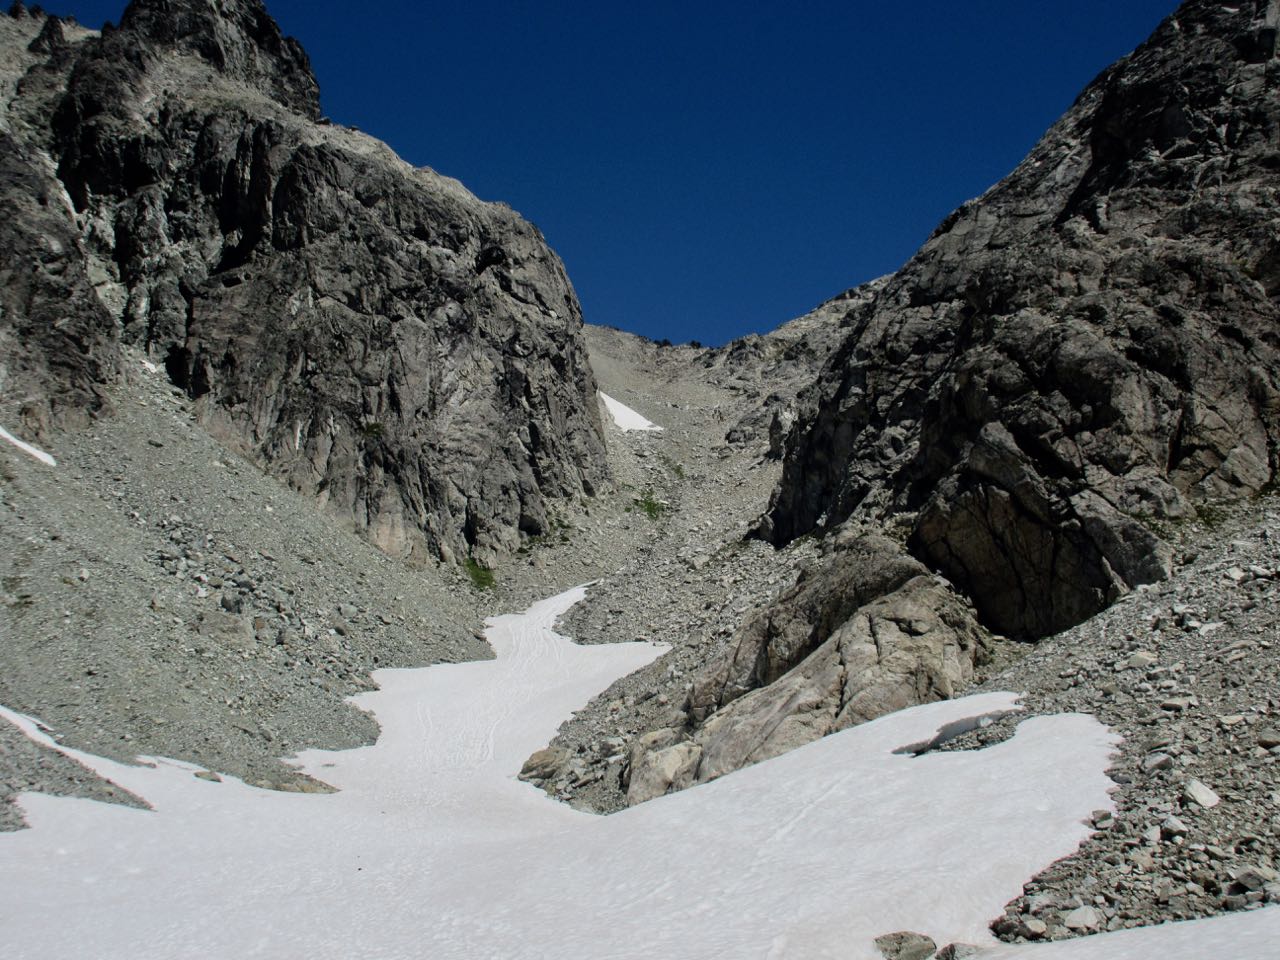
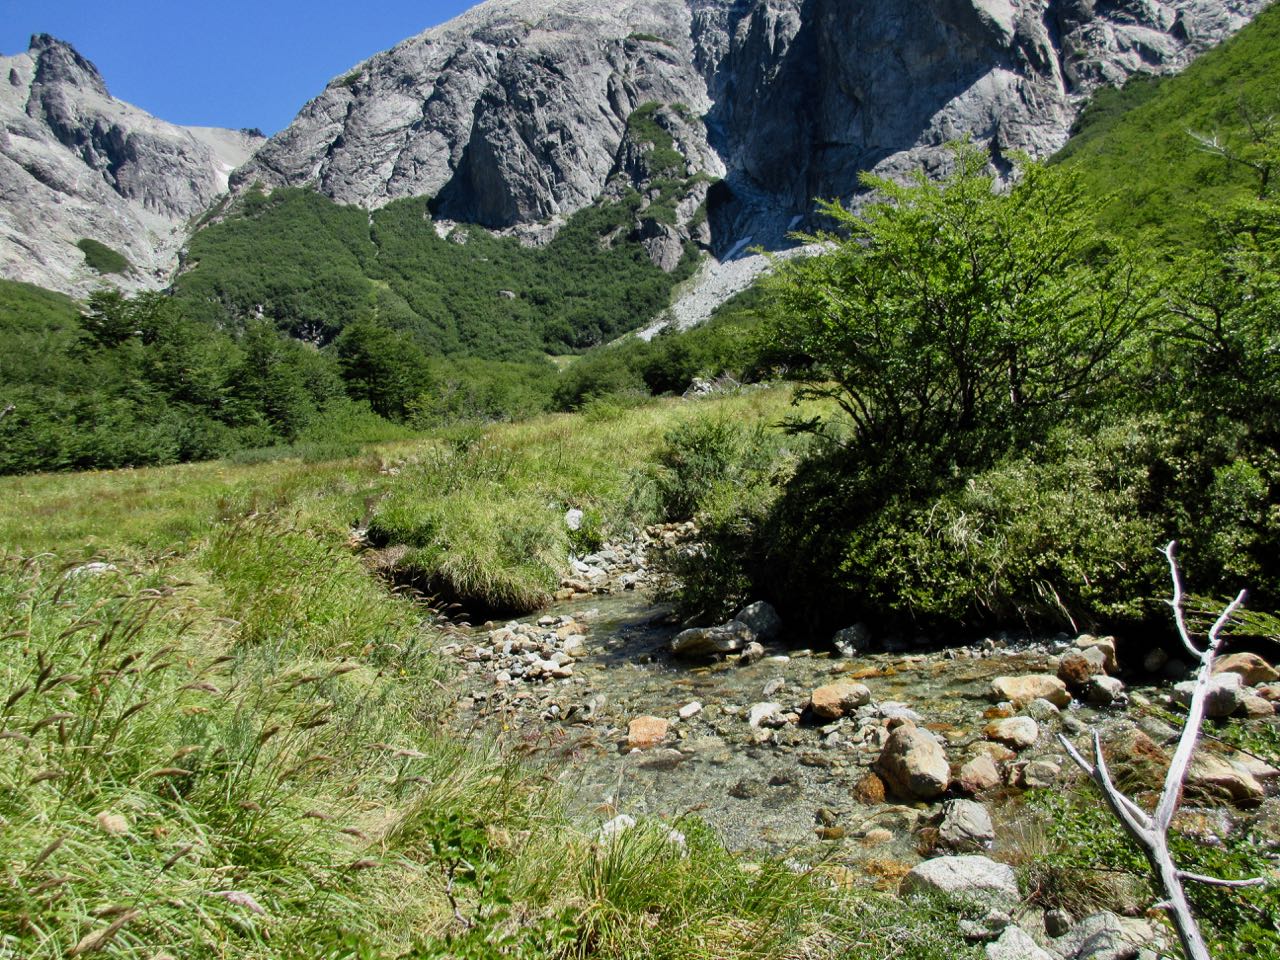
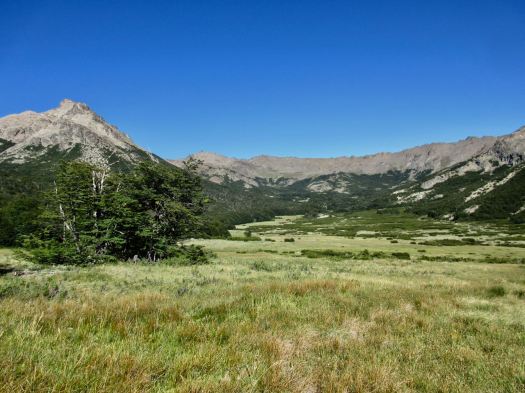
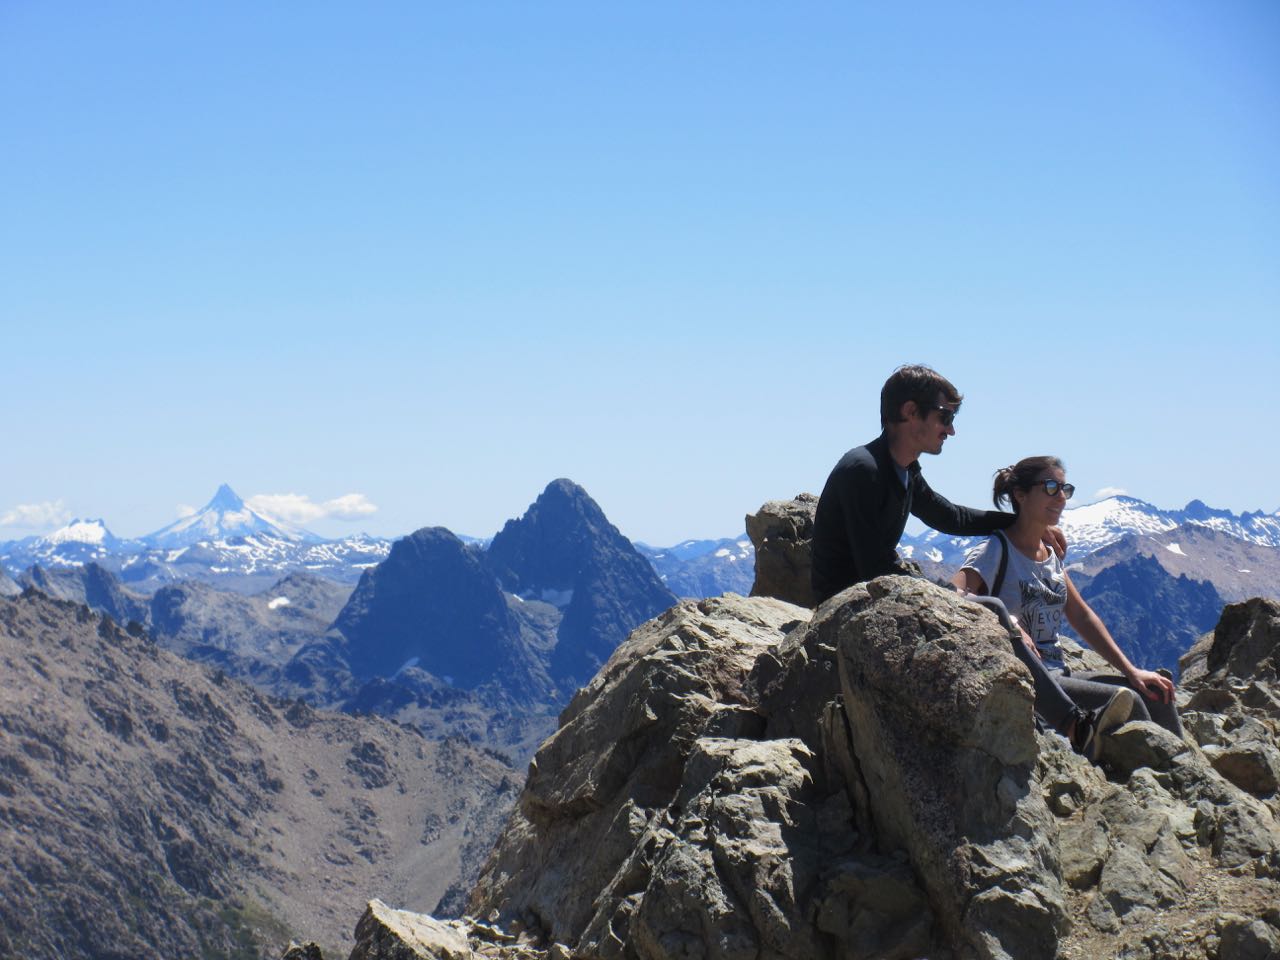
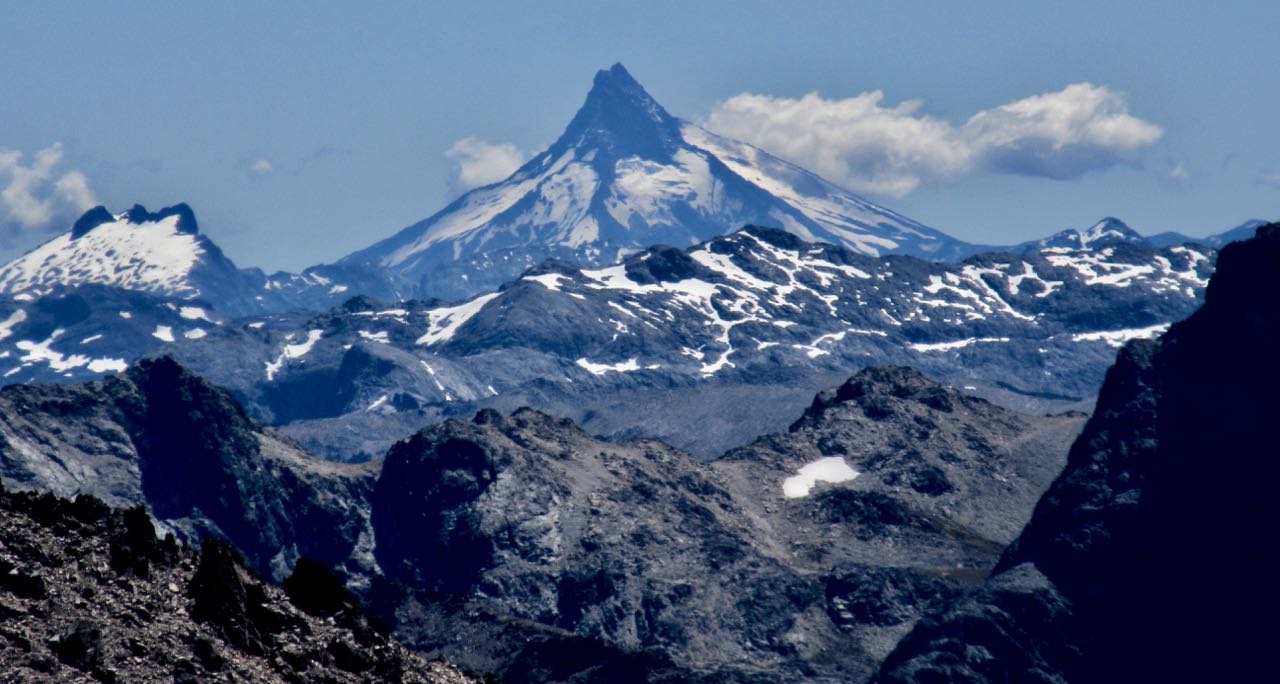
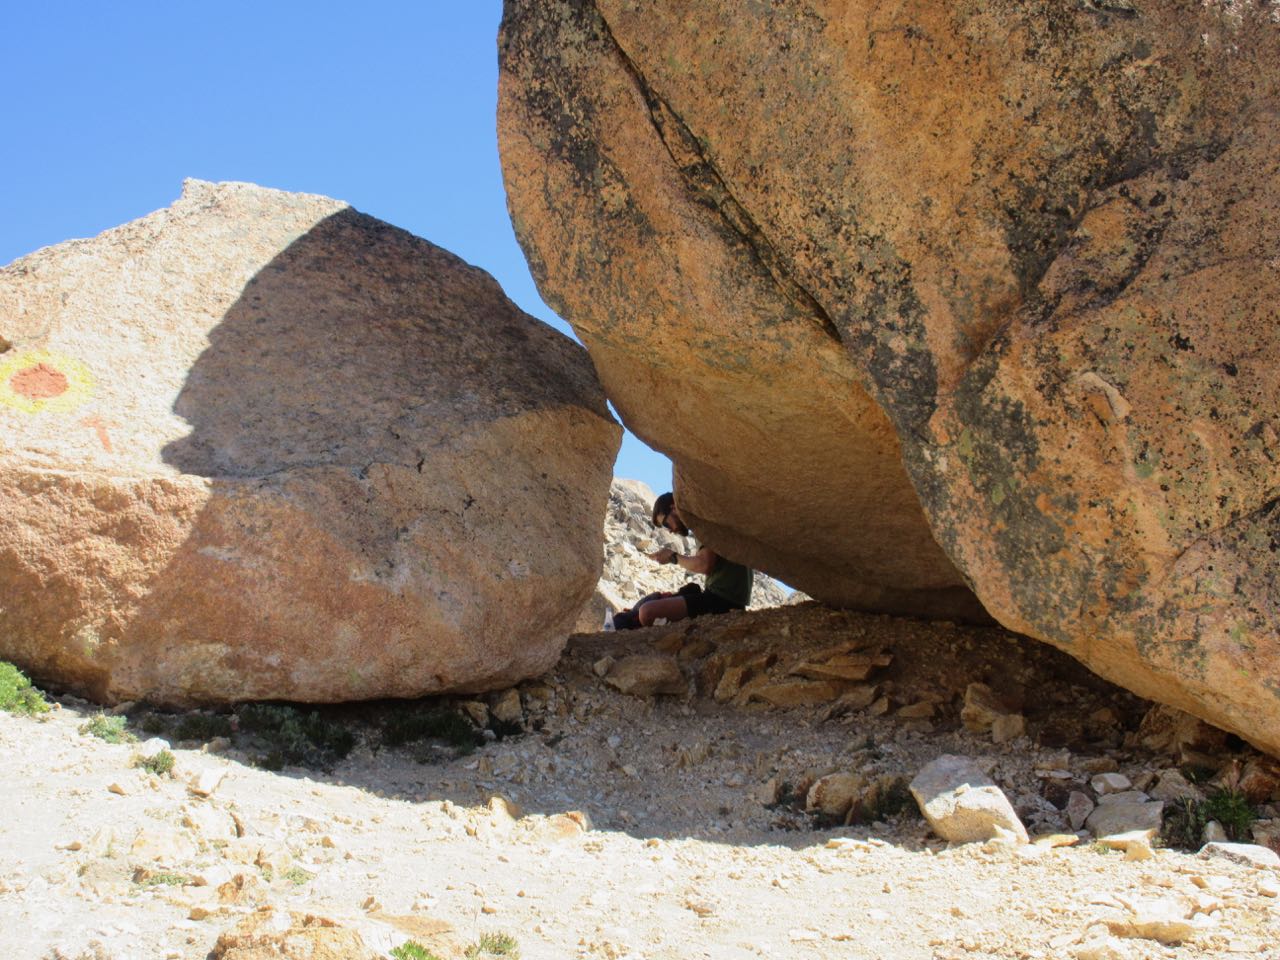
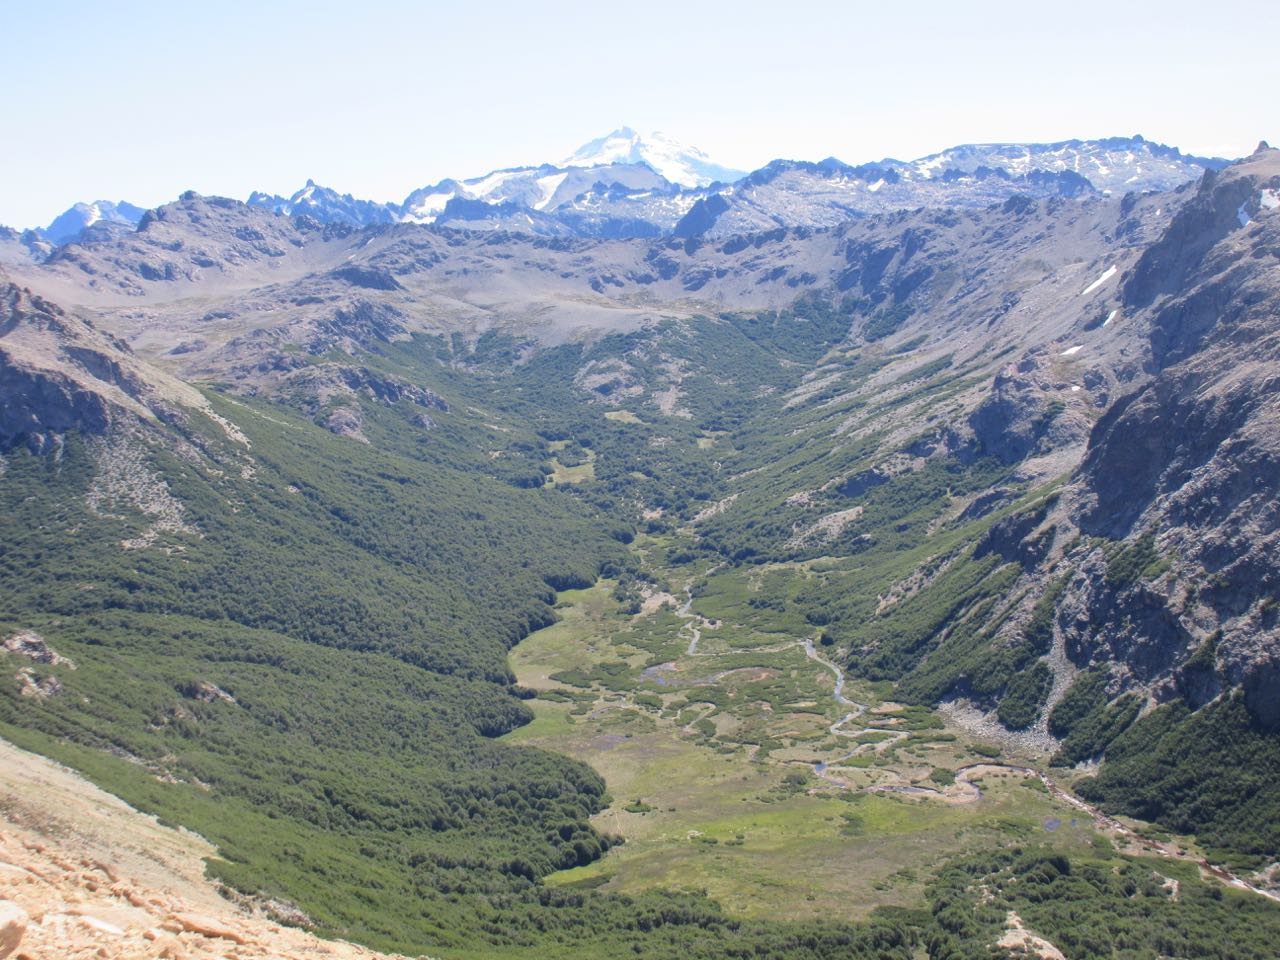
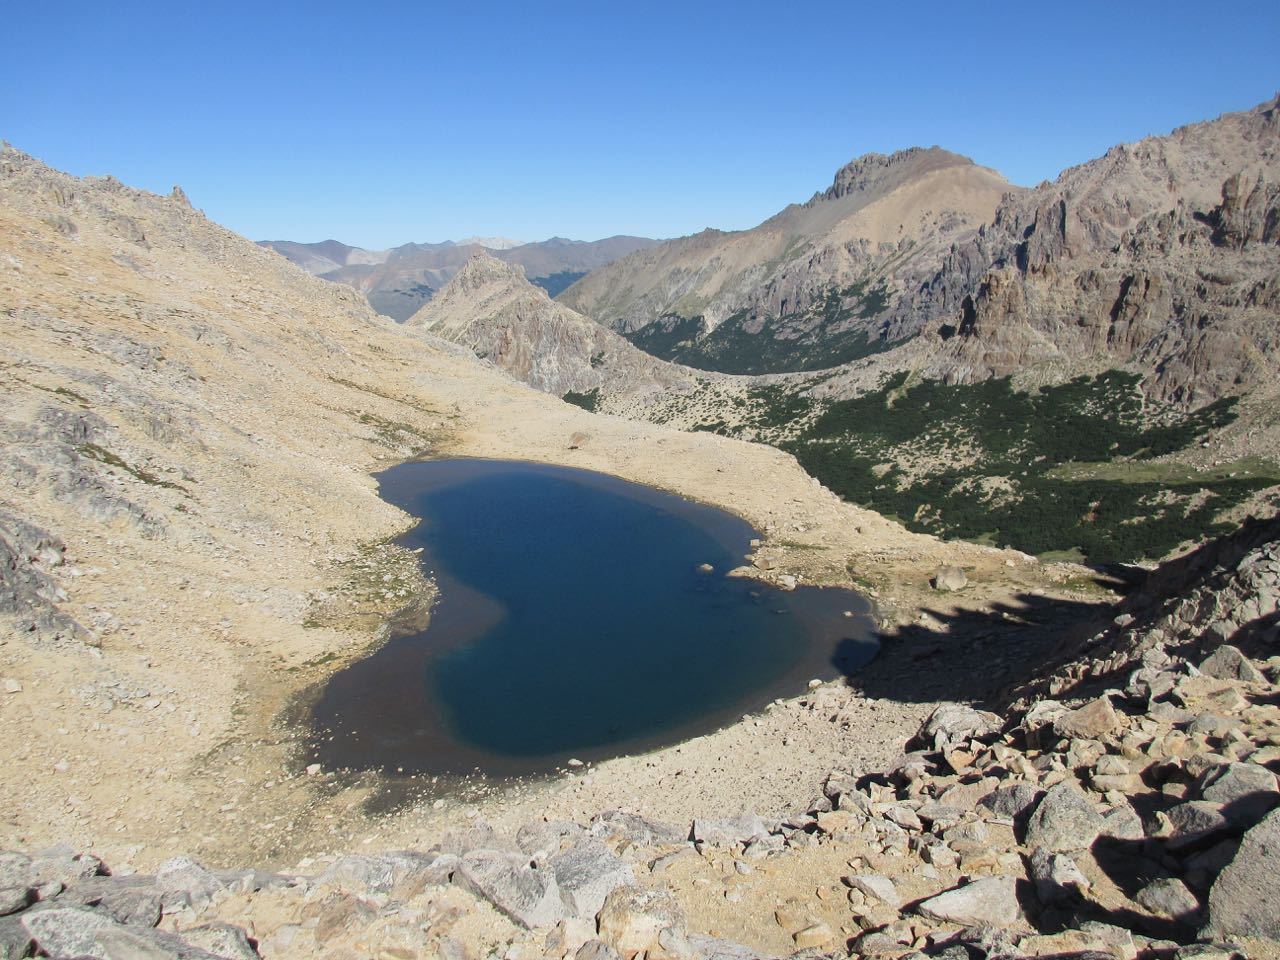
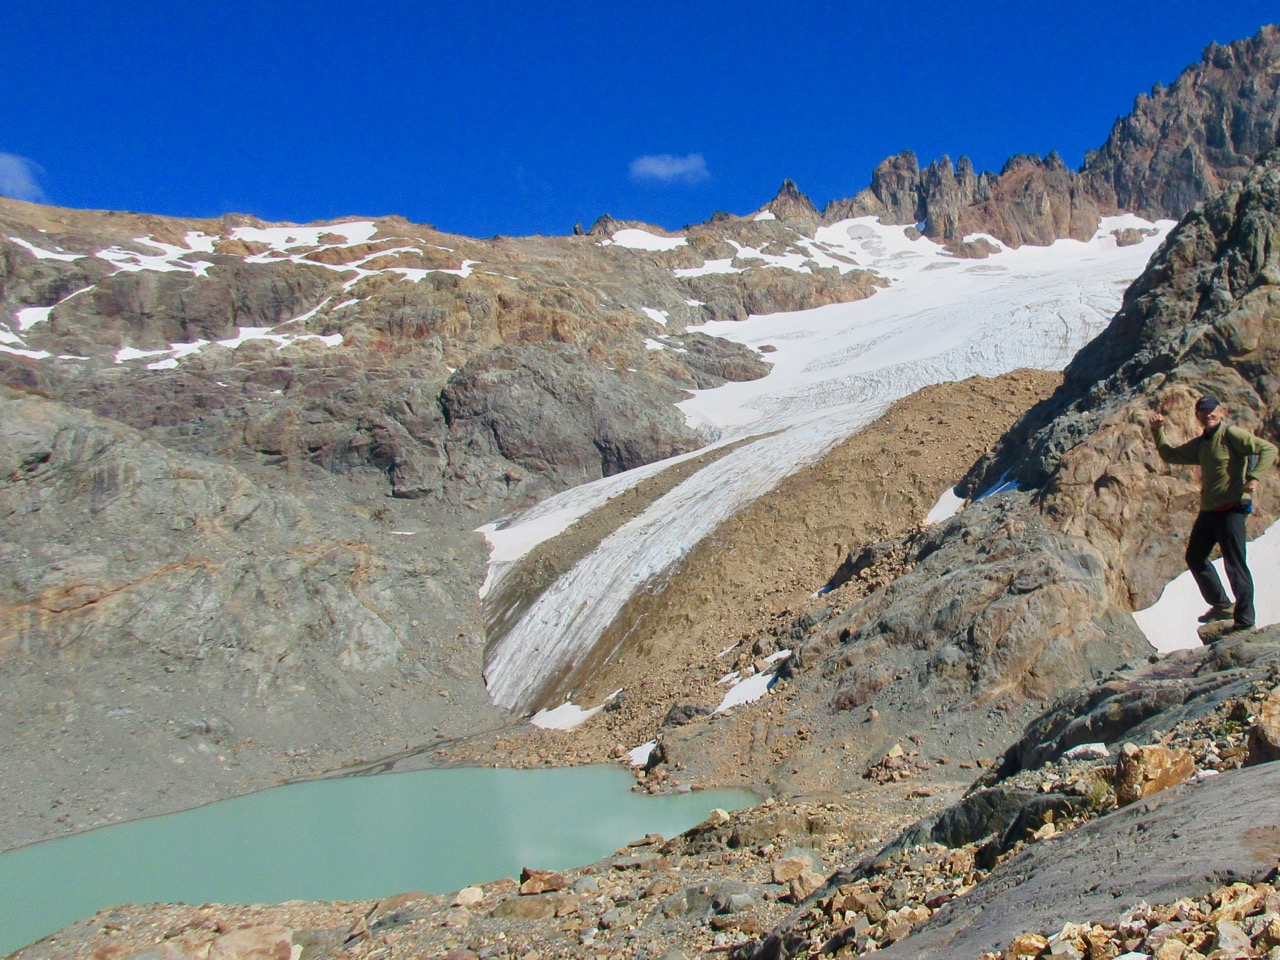
It really is paradise up here just below the glacier.
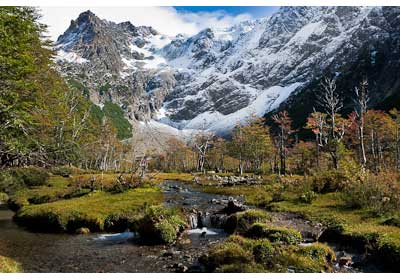
I paid $5 to tent.
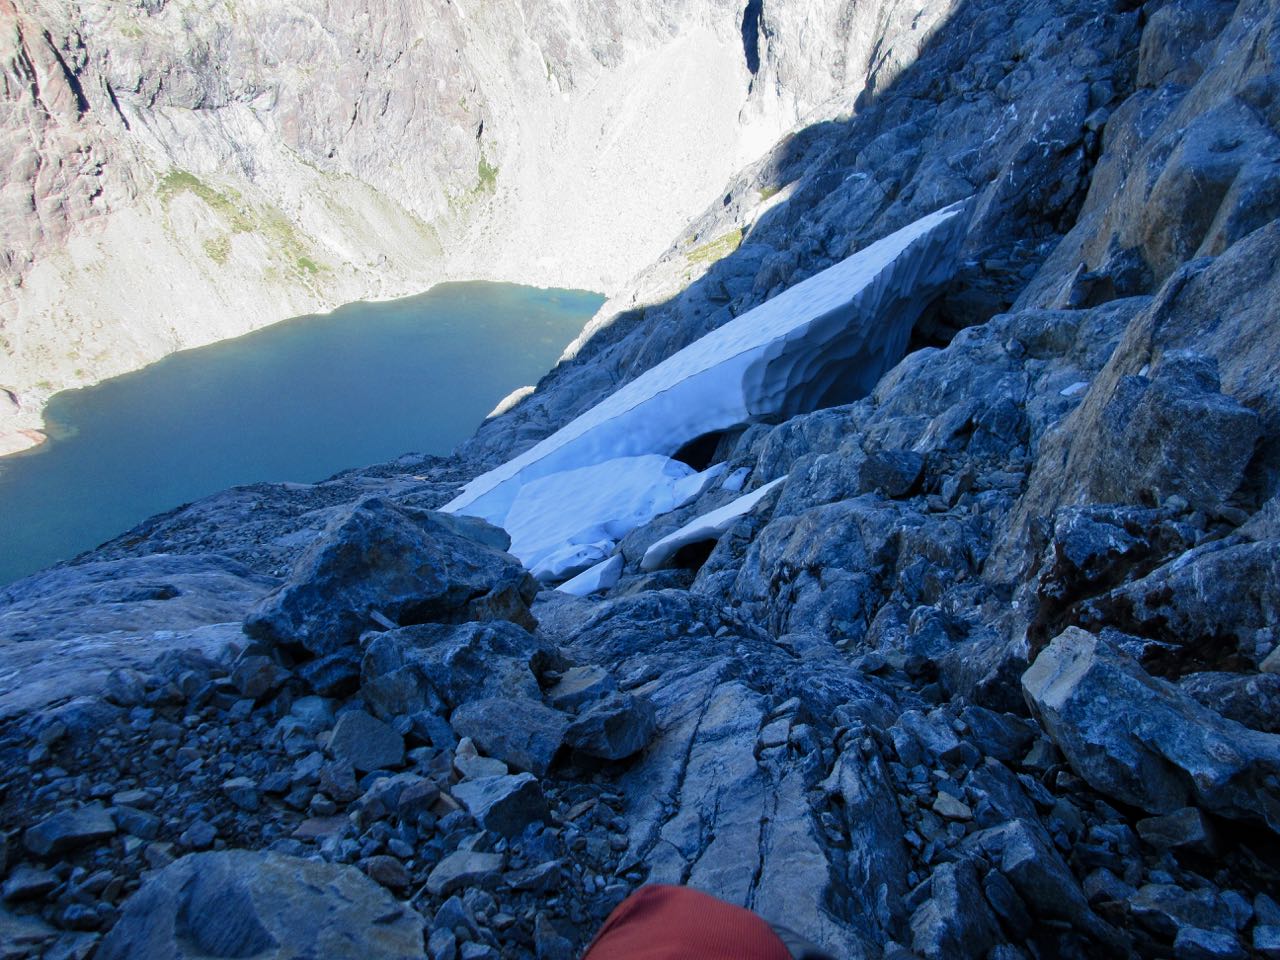
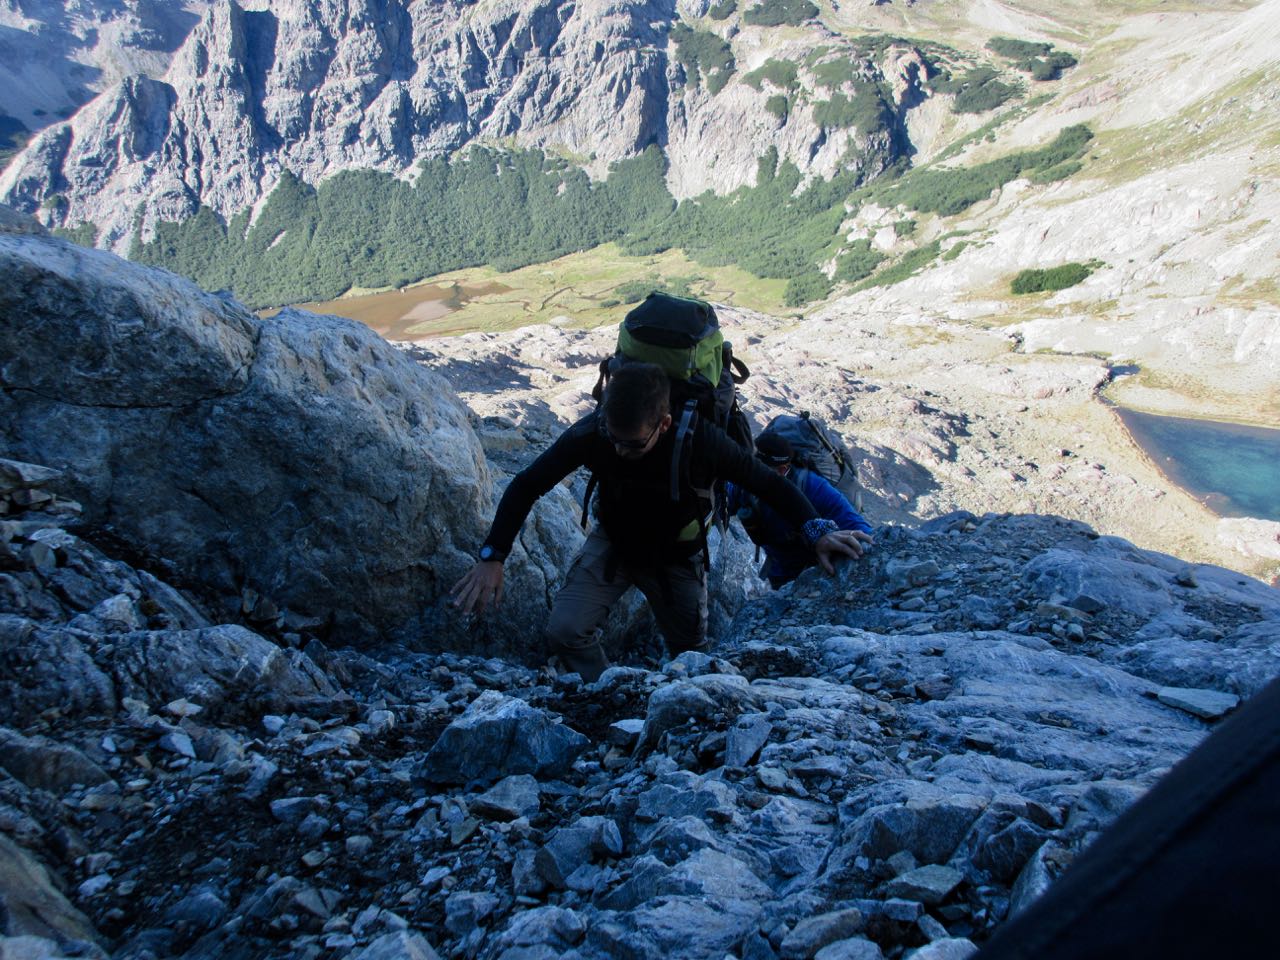
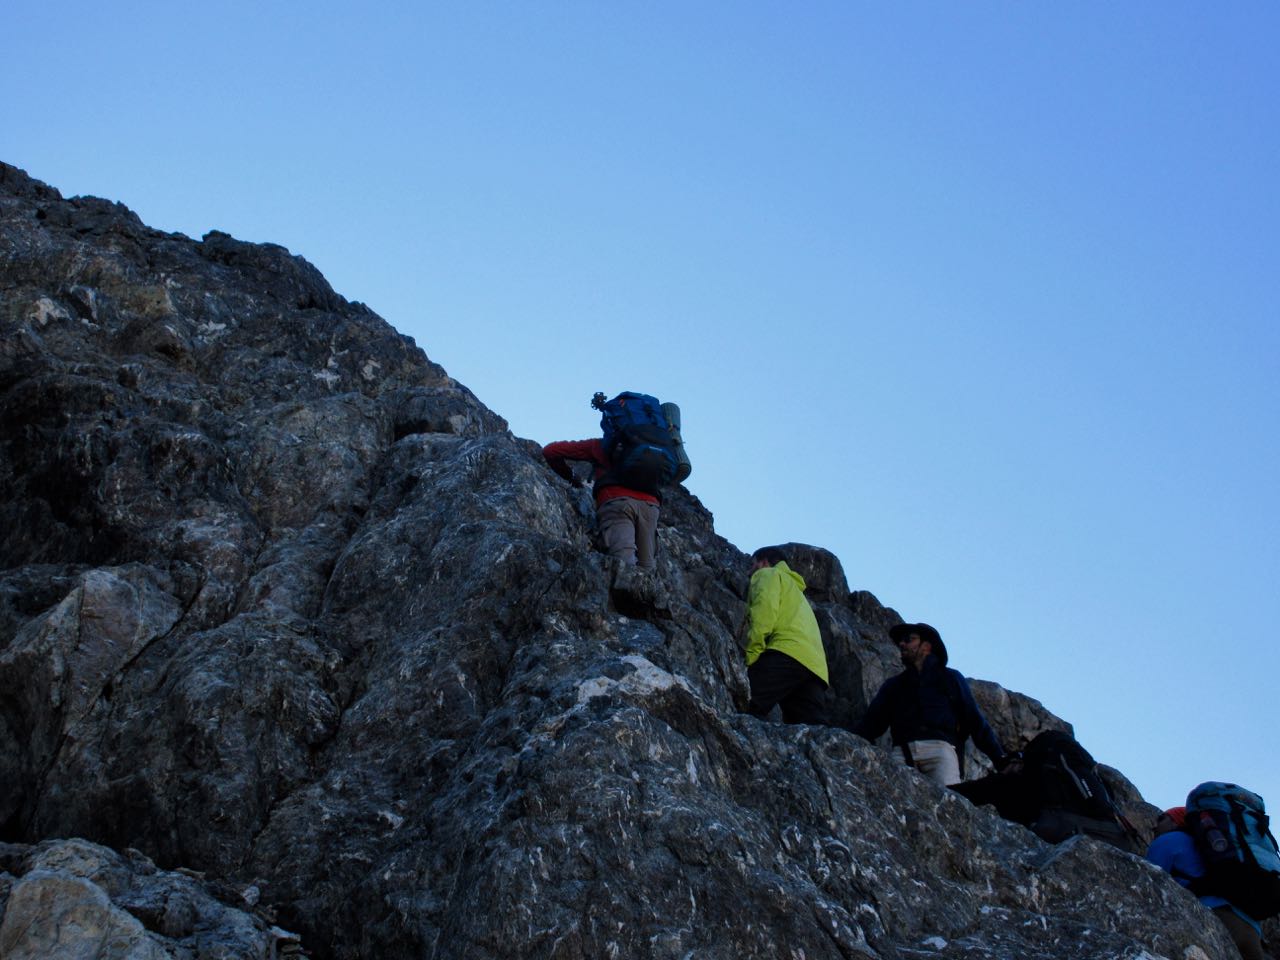
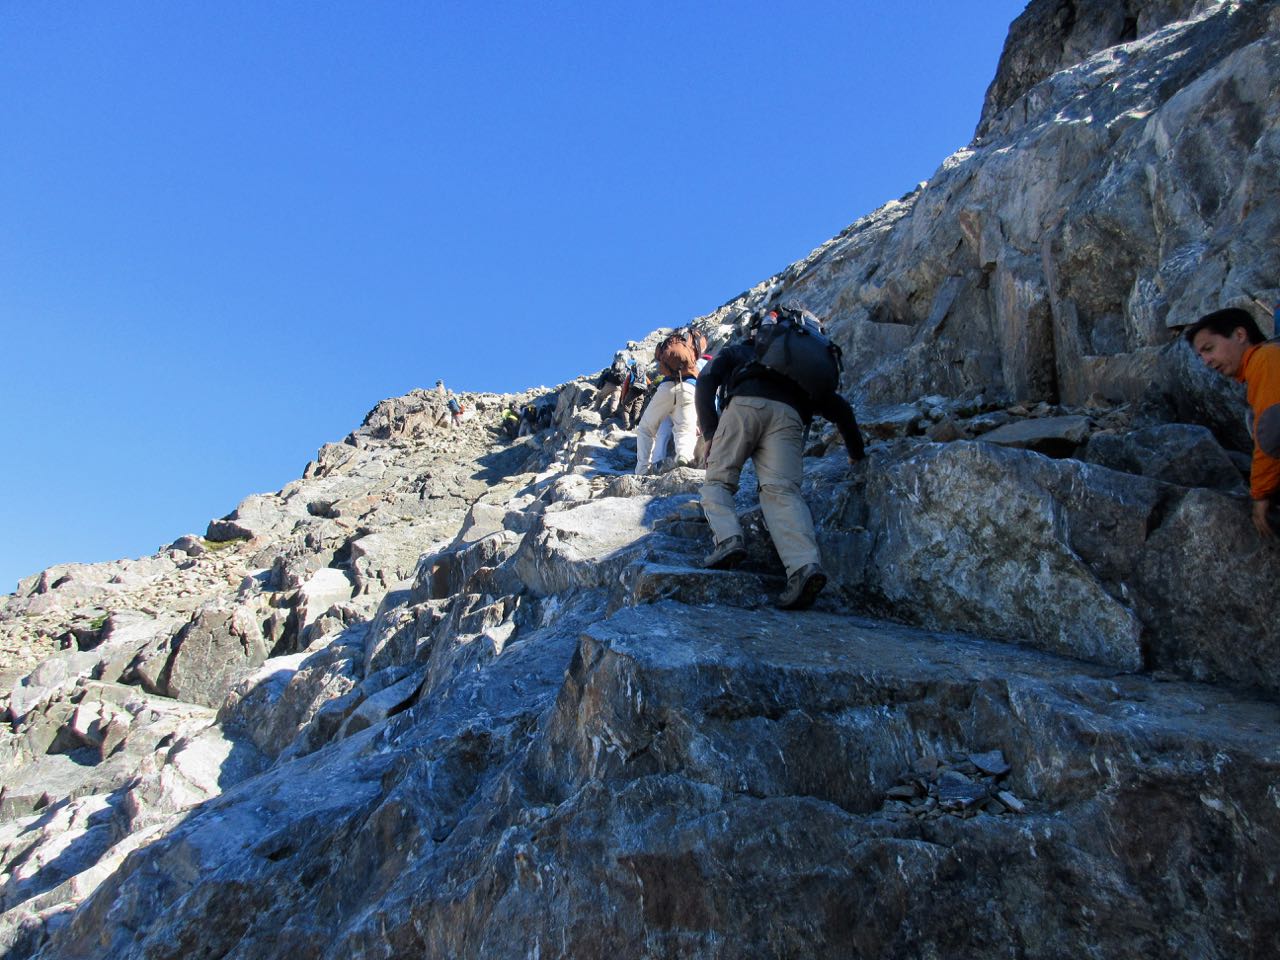
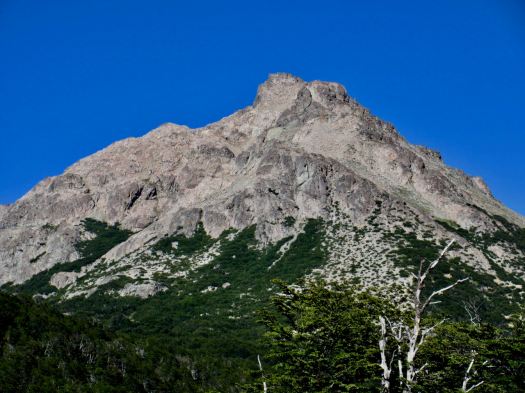
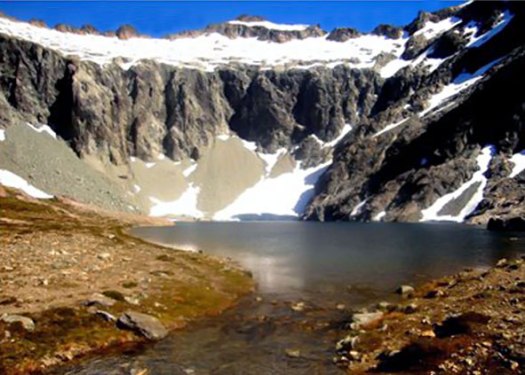
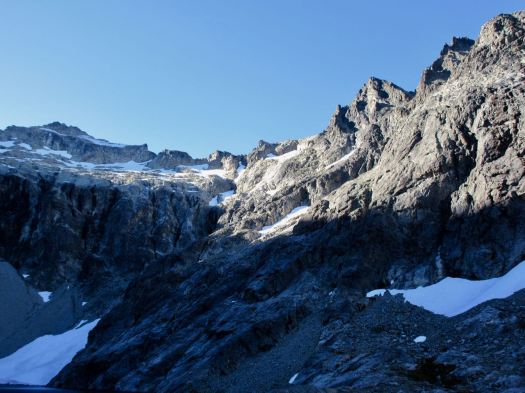
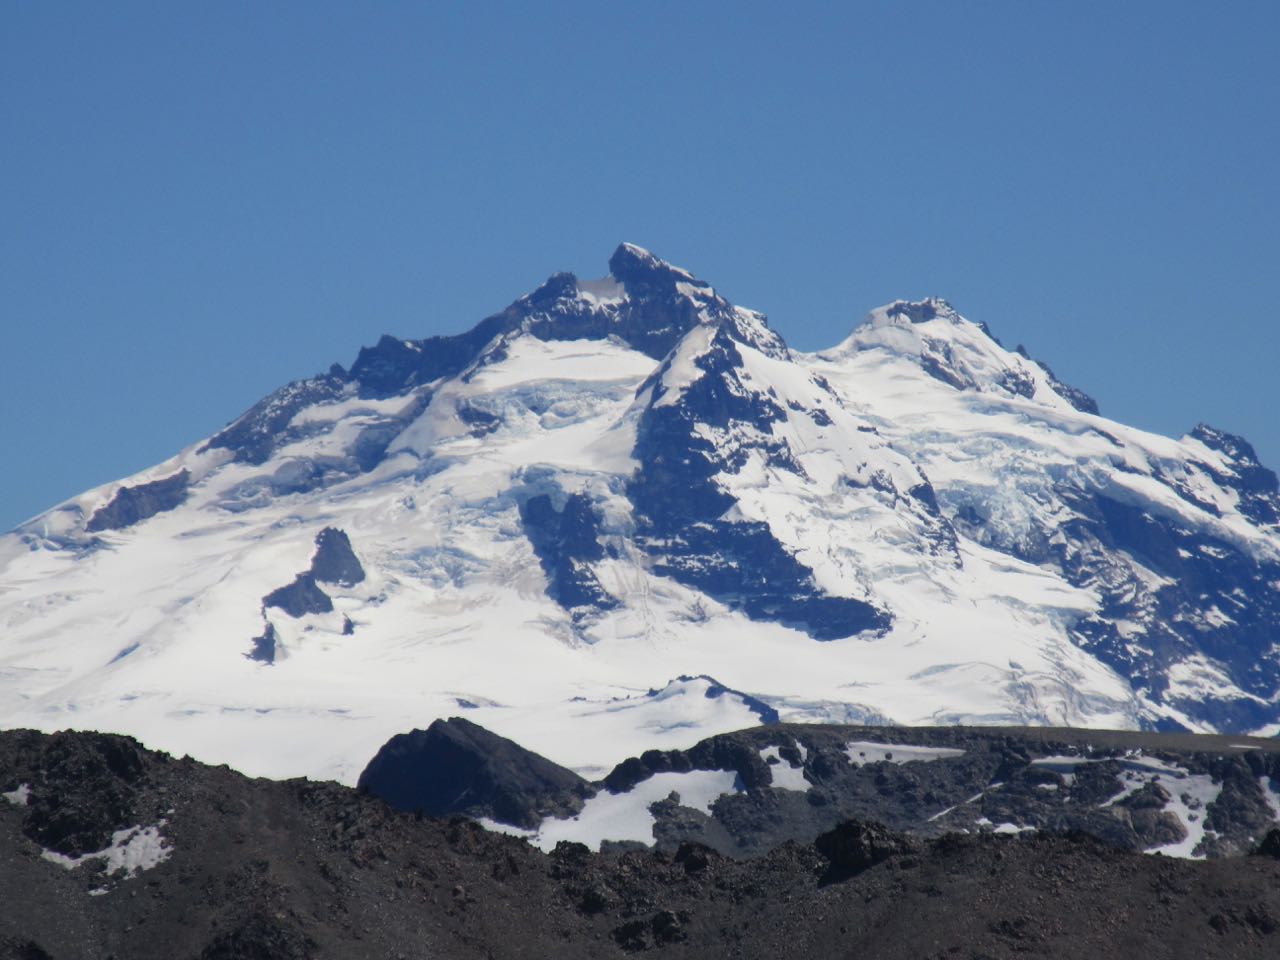
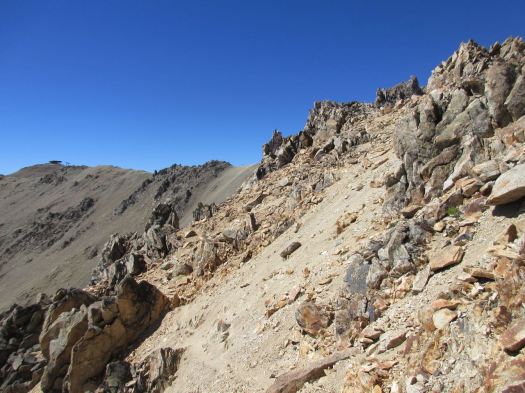
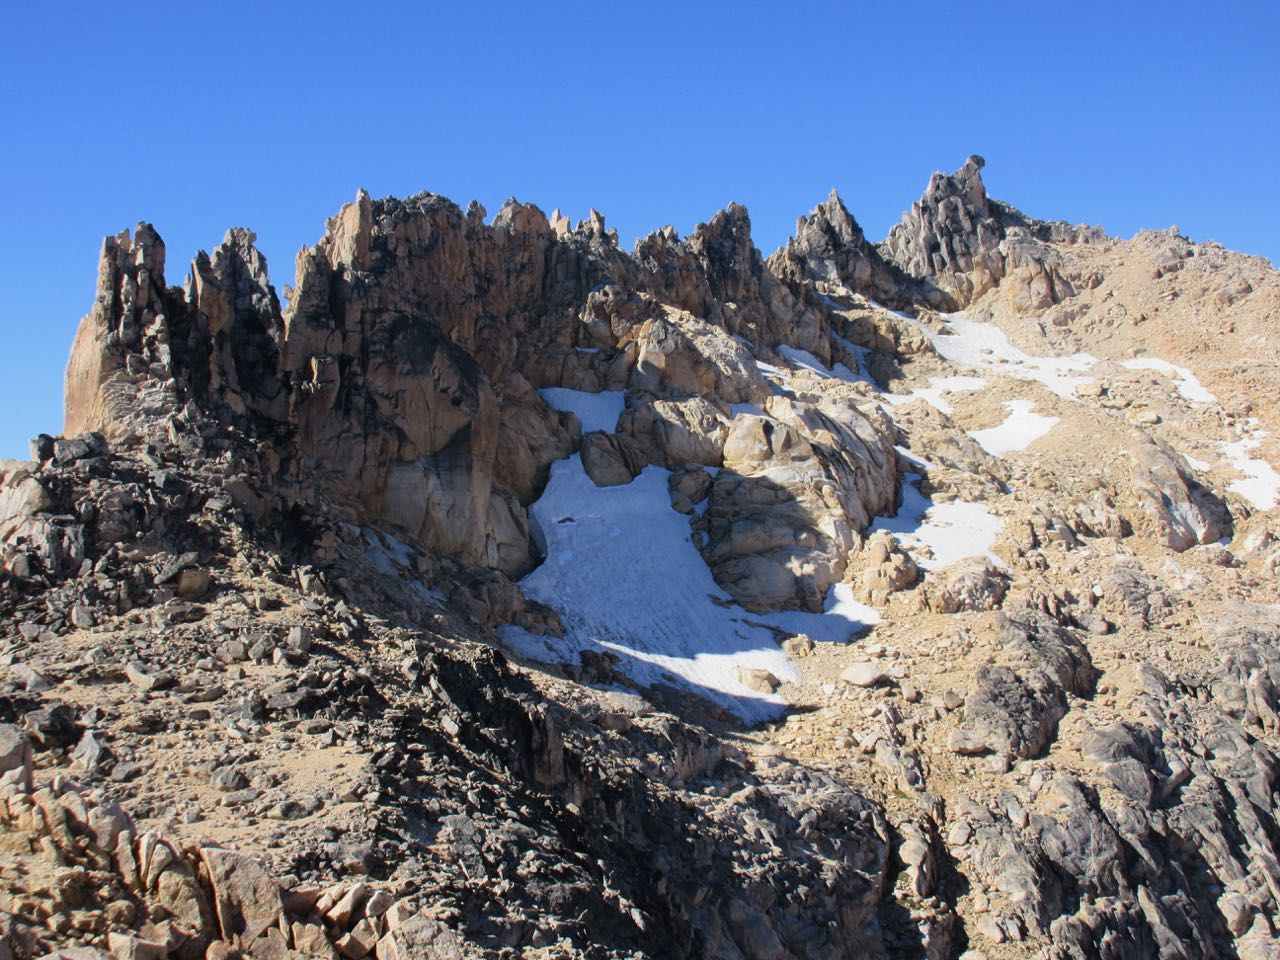
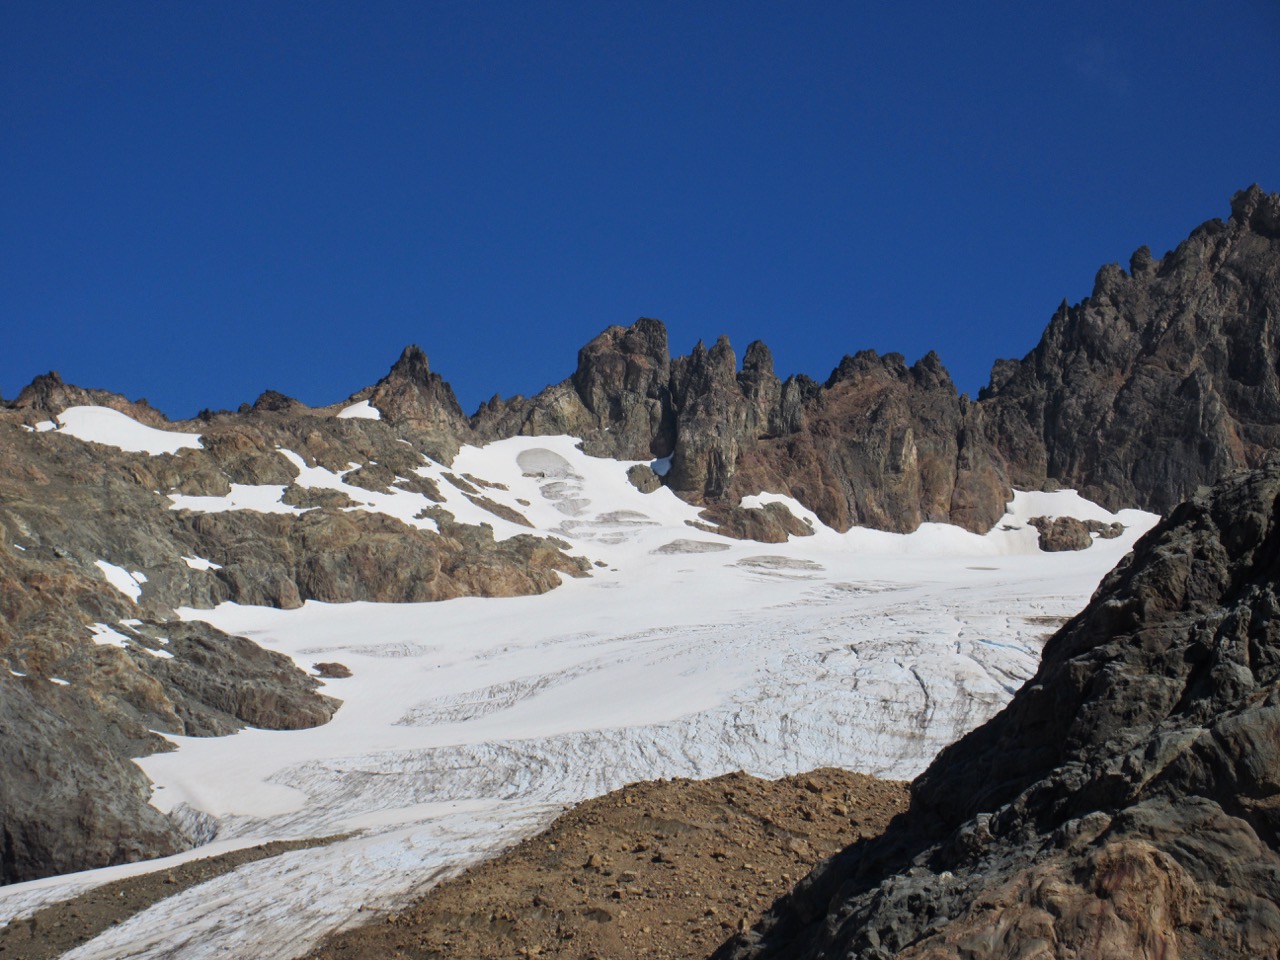
Next morning I first registered at the mountain hut then scrambled the steep, 90 minute route up to the glacier. Beautiful.
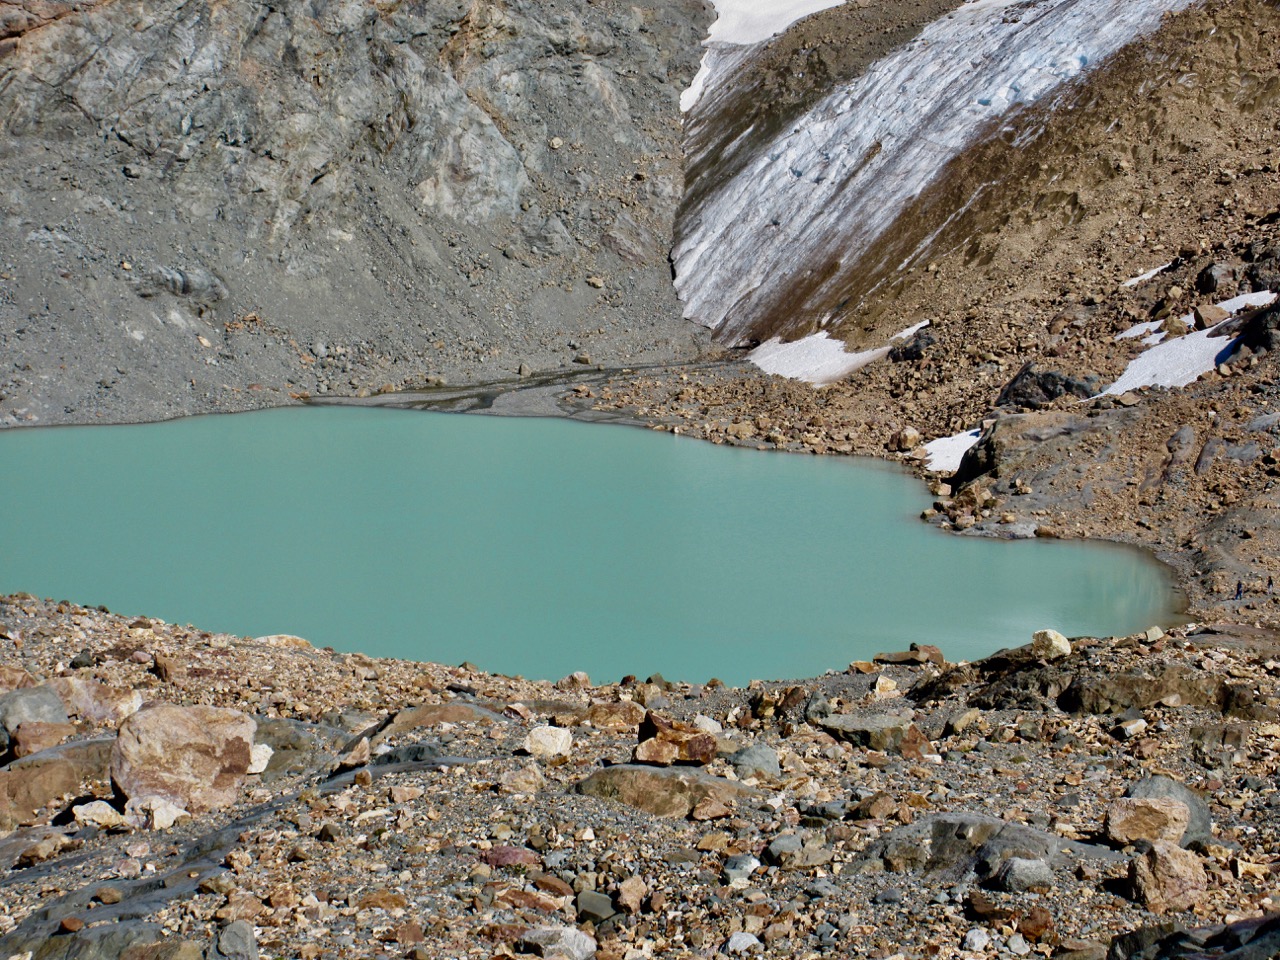
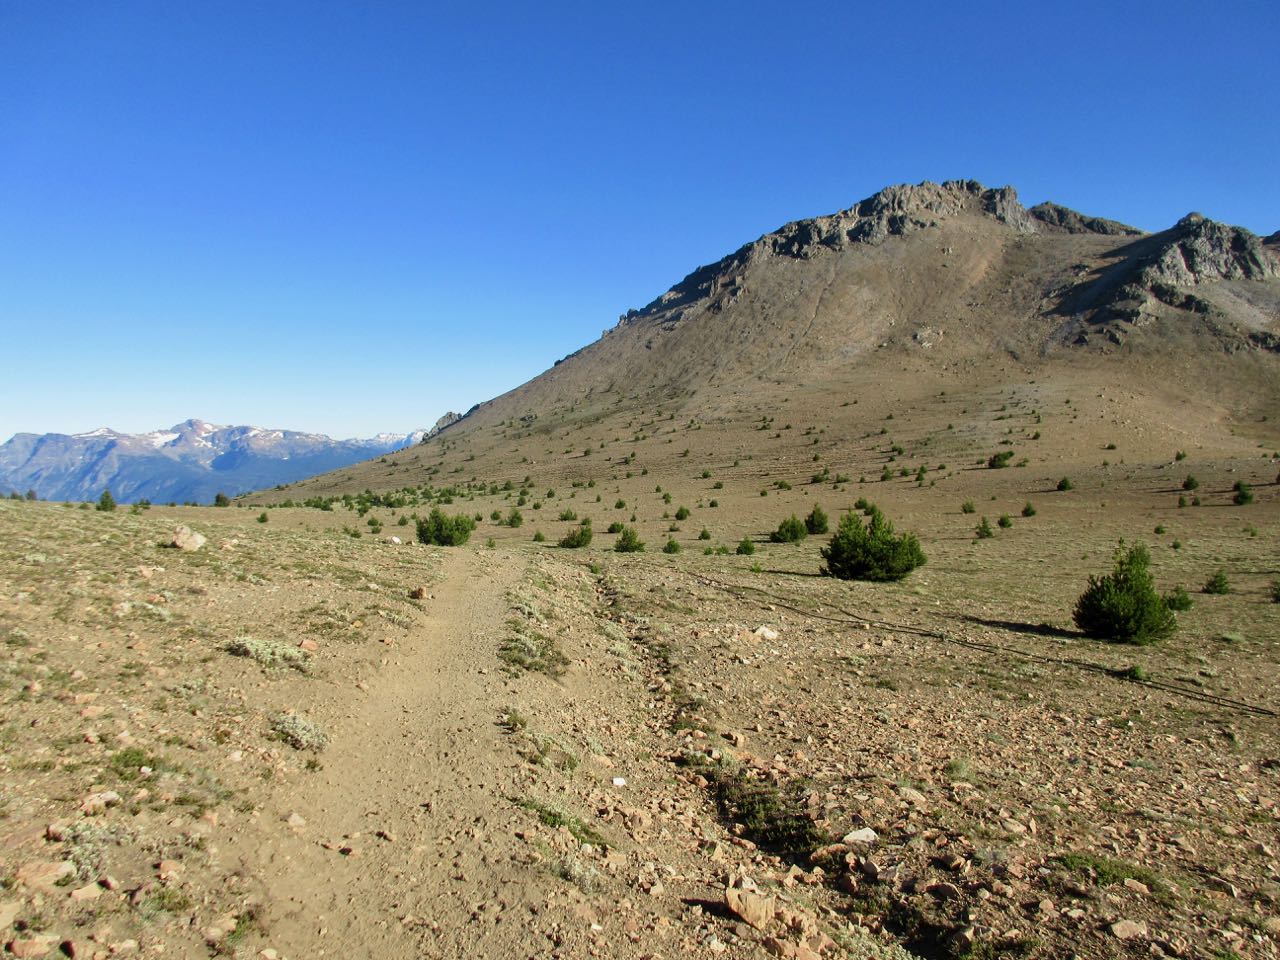
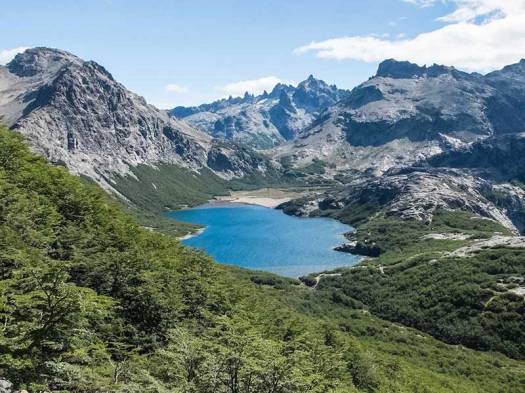
I had some lunch on my return. Then set off on the clearly marked trail to Refugio Lago Natacion. An easy add-on.
From Natacion down to the Azul Canyon, however, was surprisingly steep and overgrown. Not many people do the circuit, I suspect, because this one section is quite challenging.
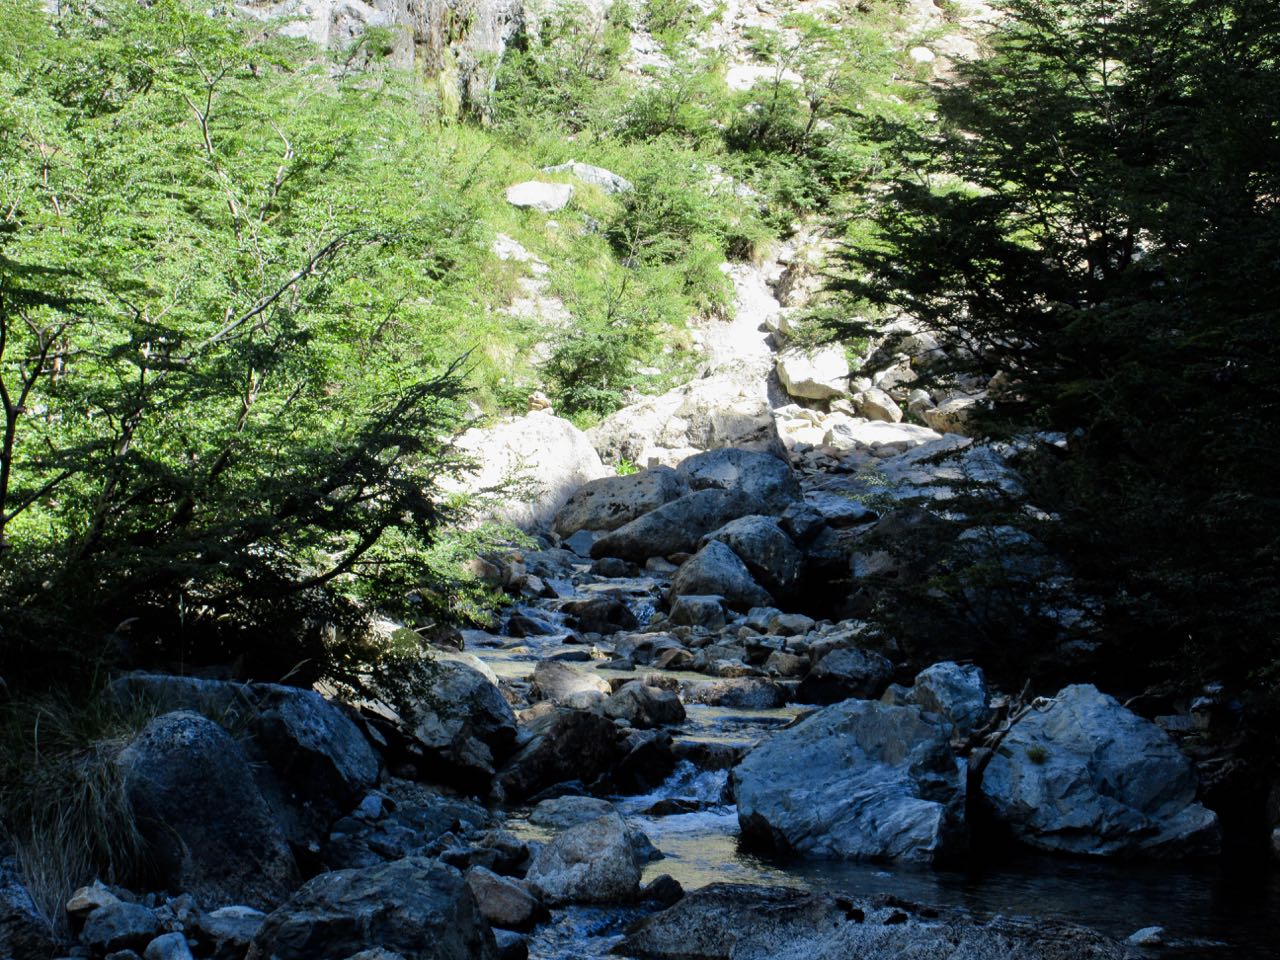
The canyon is impressive once you finally get there.
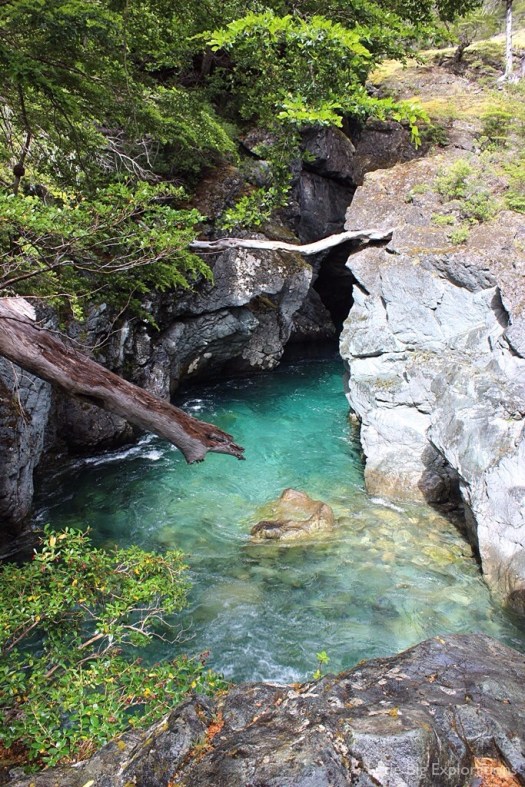
At one point you can straddle the gap, a long way above the crystal clear water!
I was reminded of Tiger Leaping Gorge. A tiger could easily leap this gorge, but not the one in China.
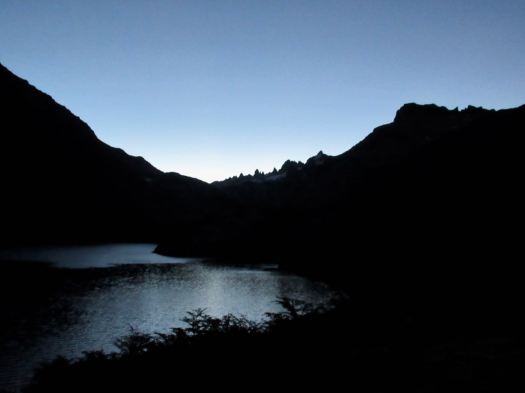
Tired, I decided to illegally wild camp by the river rather than walk the extra hour down to my designated refugio campground.
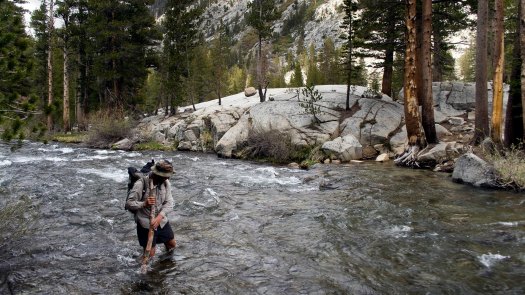
The trail out to Warton is a road accessible to motor vehicles. Swimming this river is the attraction, not the trail itself.
If my directions sound too sketchy, consider buying a map for about $10.
Aoneker 1:50,000 El Bolson
(covers the following refuges: Co.Lindo, Hielo Azul, Natacion, Atillio & El Reramal)
Aoneker 1:120,000 Comarca Andina del Paralelo 42°
(covers all the refuges in the El Bolson region)