I have 3 cameras. iPhone 17. Action Camera. And a Drone.
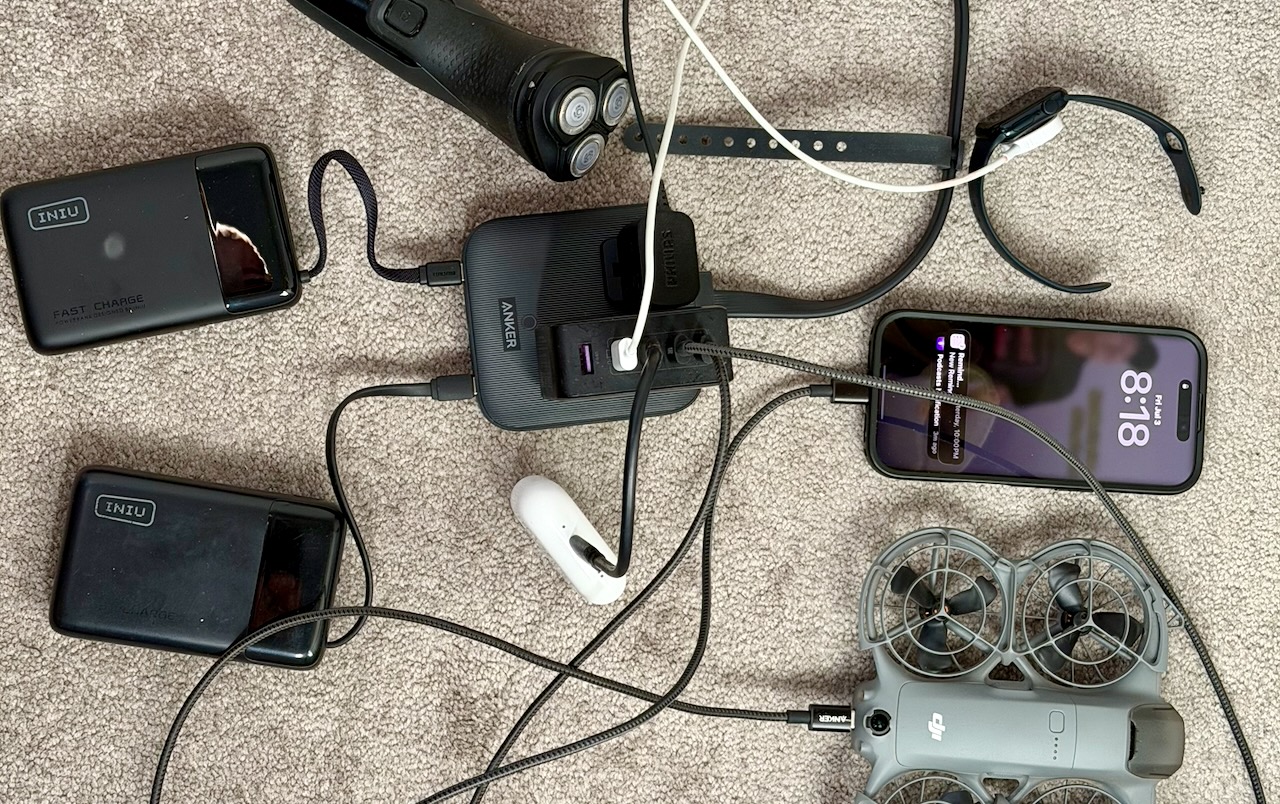
HIGH priority for me is ensuring I can keep ALL the batteries charged. Here’s how I could recharge with just one electrical plug. In a library, for example.
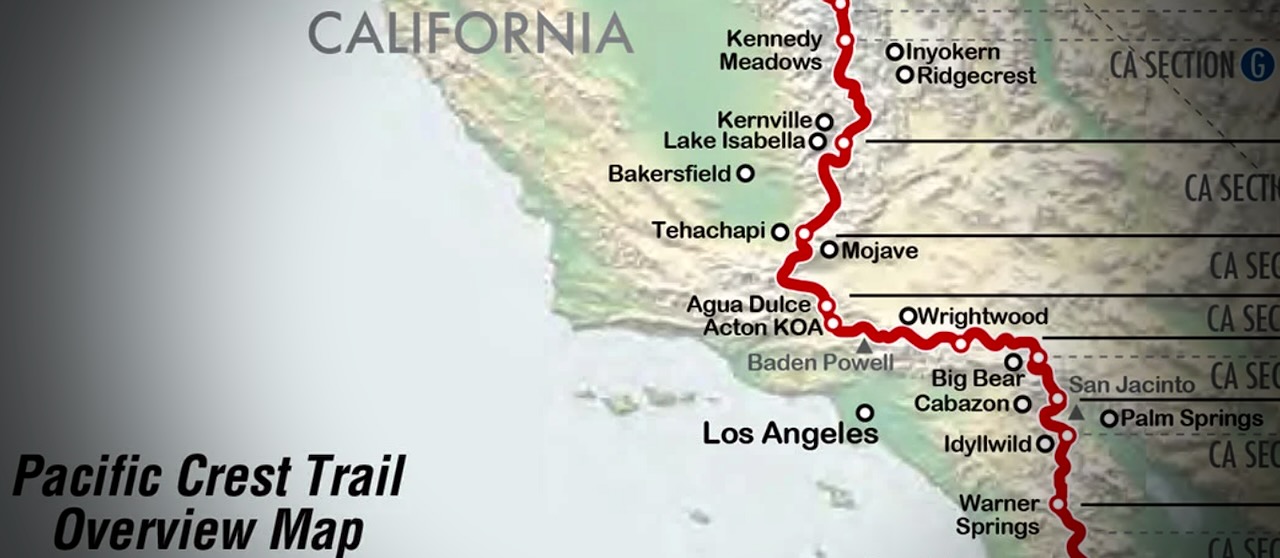
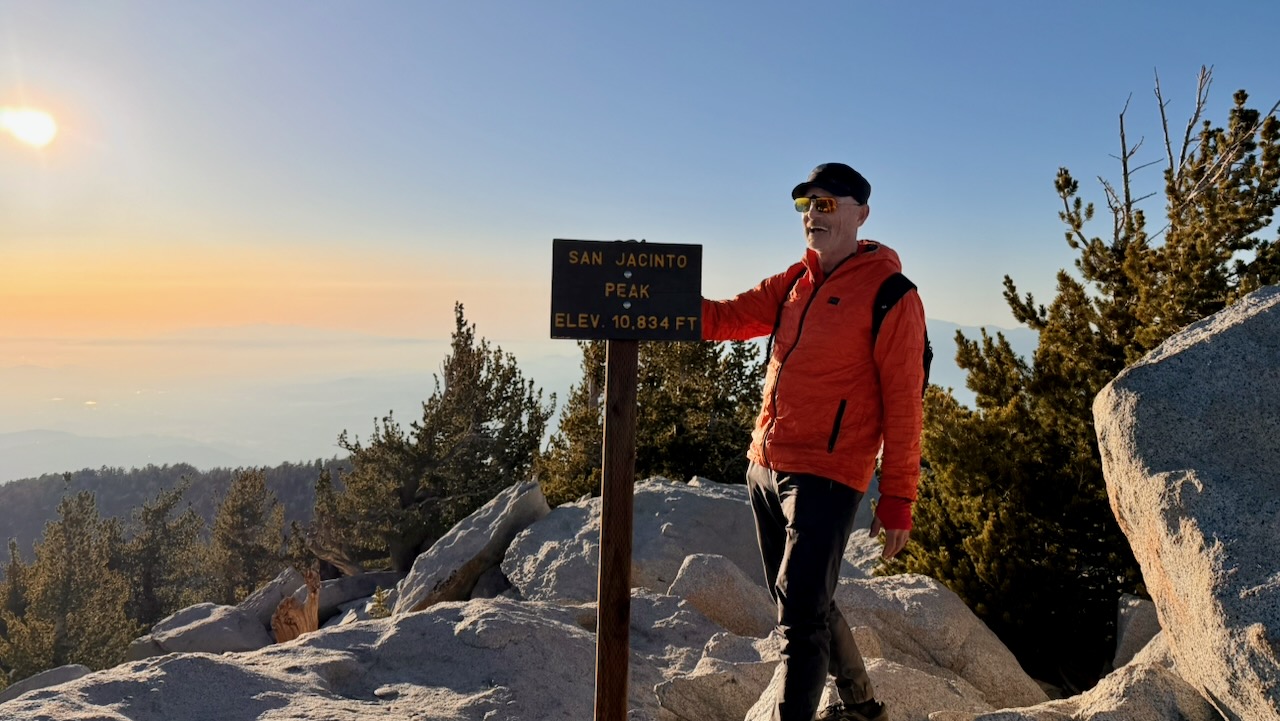
Hot, dry — but not flat. I ended up on the summits of Mt. San Jacinto (10,834 ft) and Mt. Baden-Powell (9,399 ft). Then had to descend.
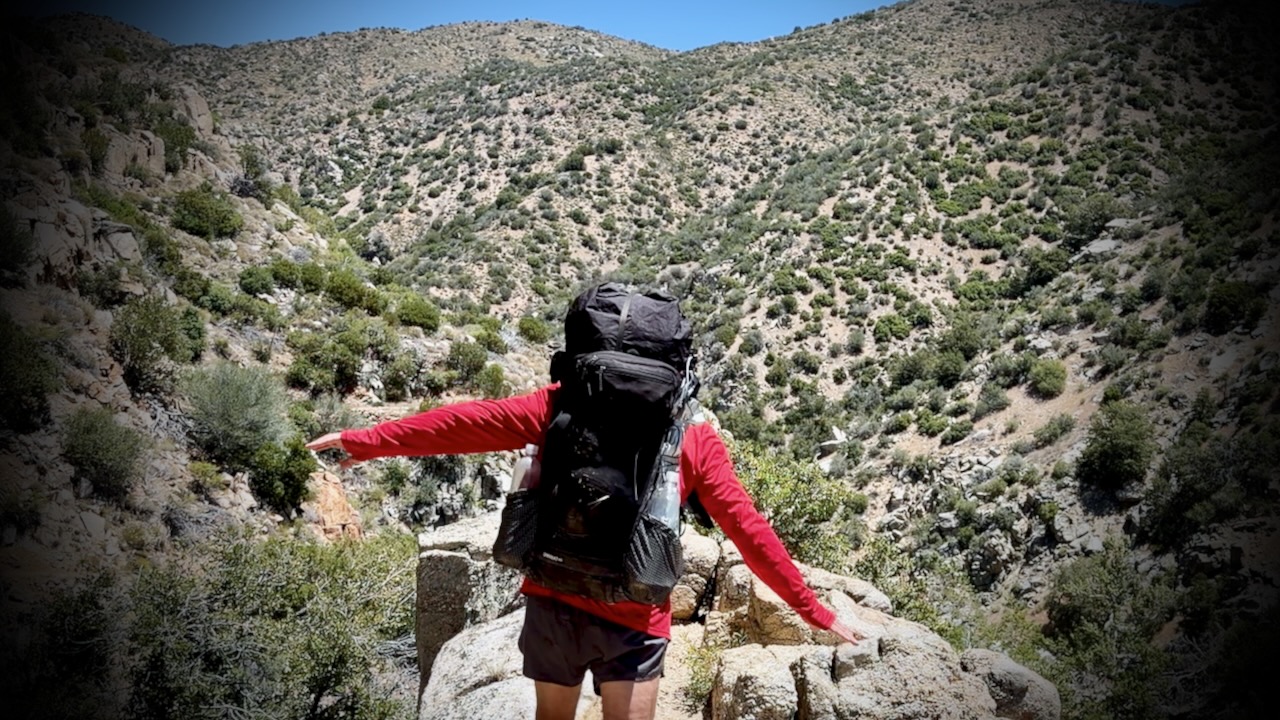
Palm Springs to Agua Dulce is about 245 PCT miles. My section was mostly rocky, sun-baked canyonsand scrub.
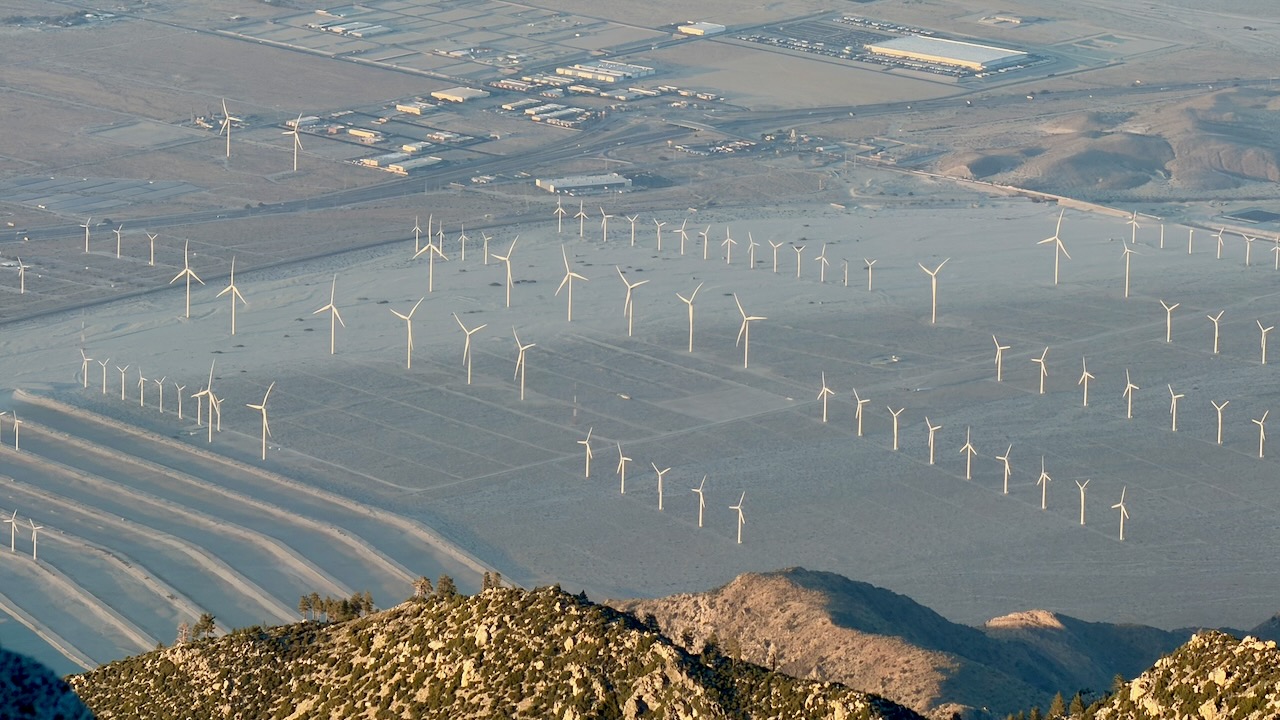
Many complain about the relentless wind. Personally, I like wind as it cools you off.
I skipped some of those miles taking 3 rides along the way. Of course I added miles hiking in from the Palm Springs Tramway. And ALL hikers add miles when they hike into and out of resupply stops.
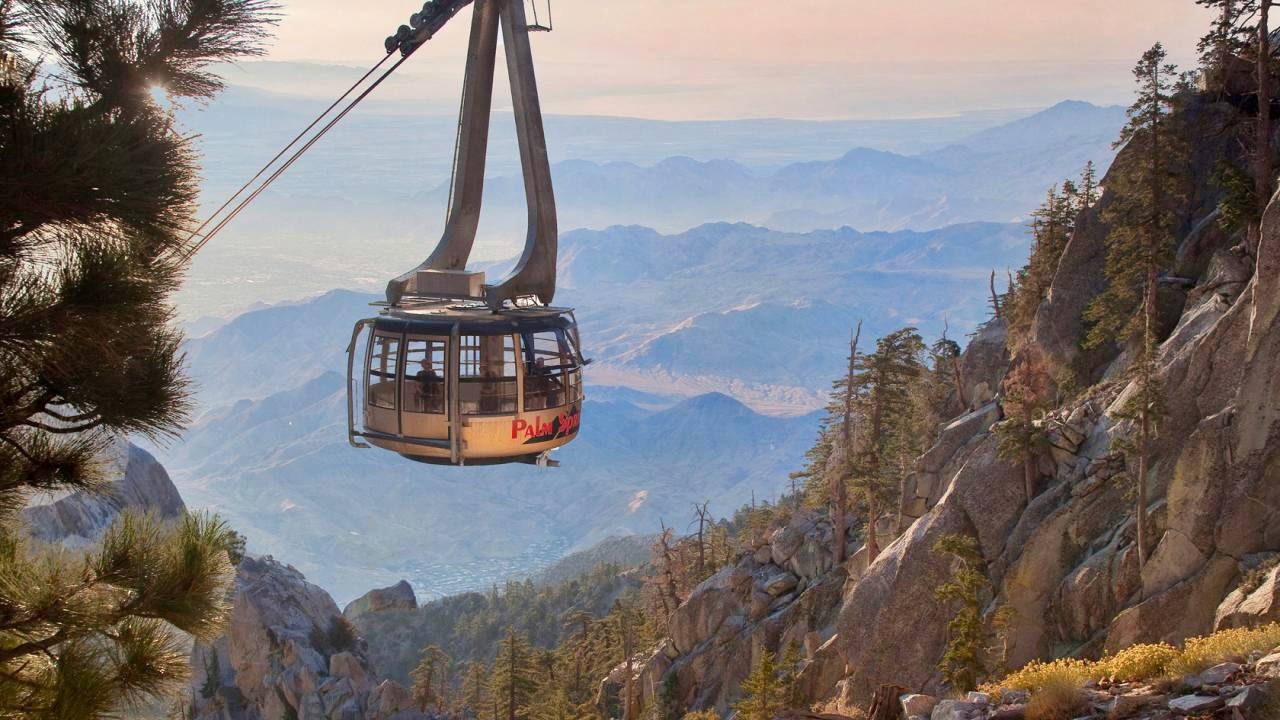
I flew into Palm Springs. Bought camping gas and stopped at a grocery. Then took the bus to the bottom of famed Palm Springs Aerial Tramway.
Turns out there’s no public transit for the last 3 miles. Oops. Happily, a guy on a motorcycle noticed my dilemma, offering a lift to the base. My first Trail Angel.
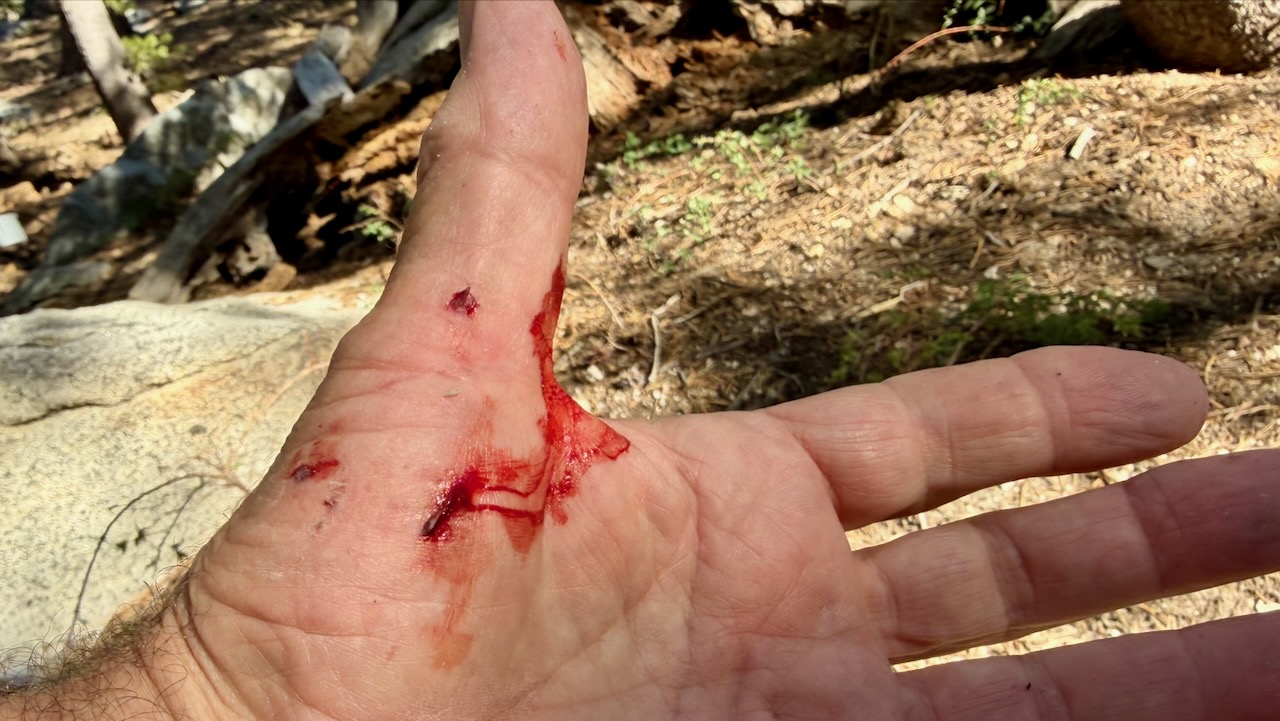
Within an hour, I had my only real injury. Standing up, I forgot I was wearing a heavy pack, and fell backwards over a rock. Getting scratched up. … Dumb mistake.
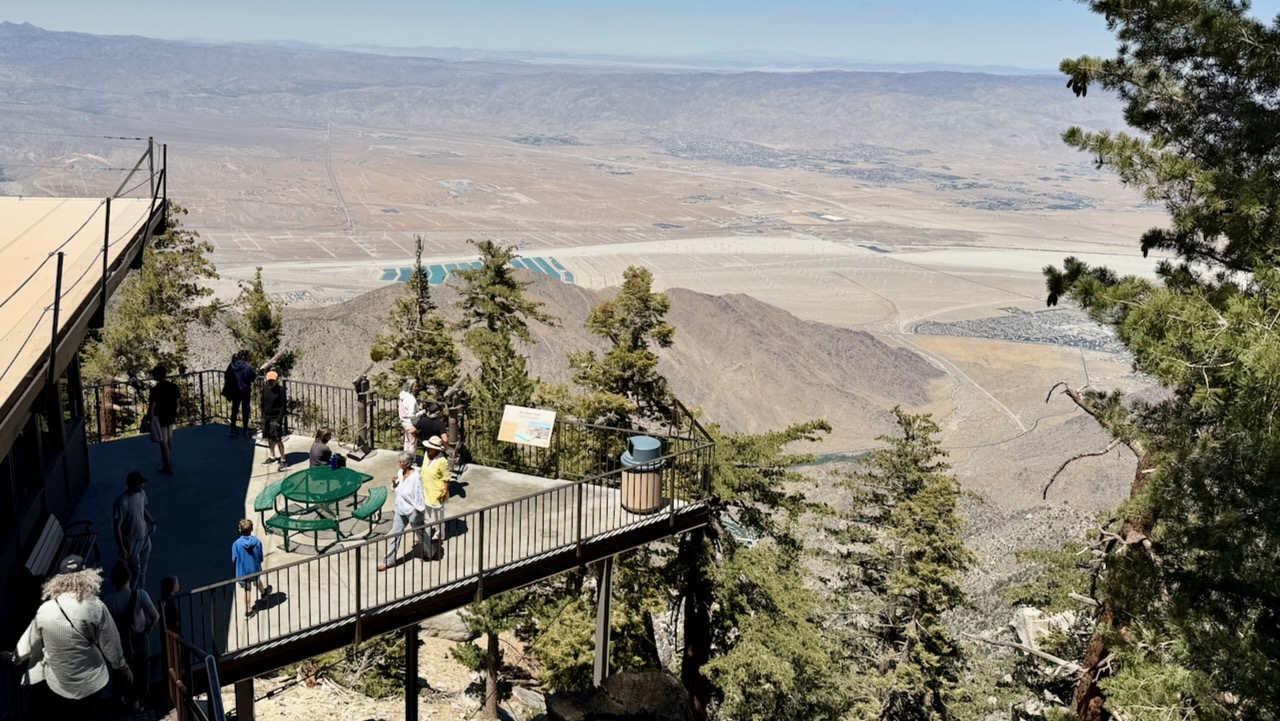
I enjoyed the short side trip to San Jacinto Peak. It’s over 10,000 feet higher than Palm Springs.
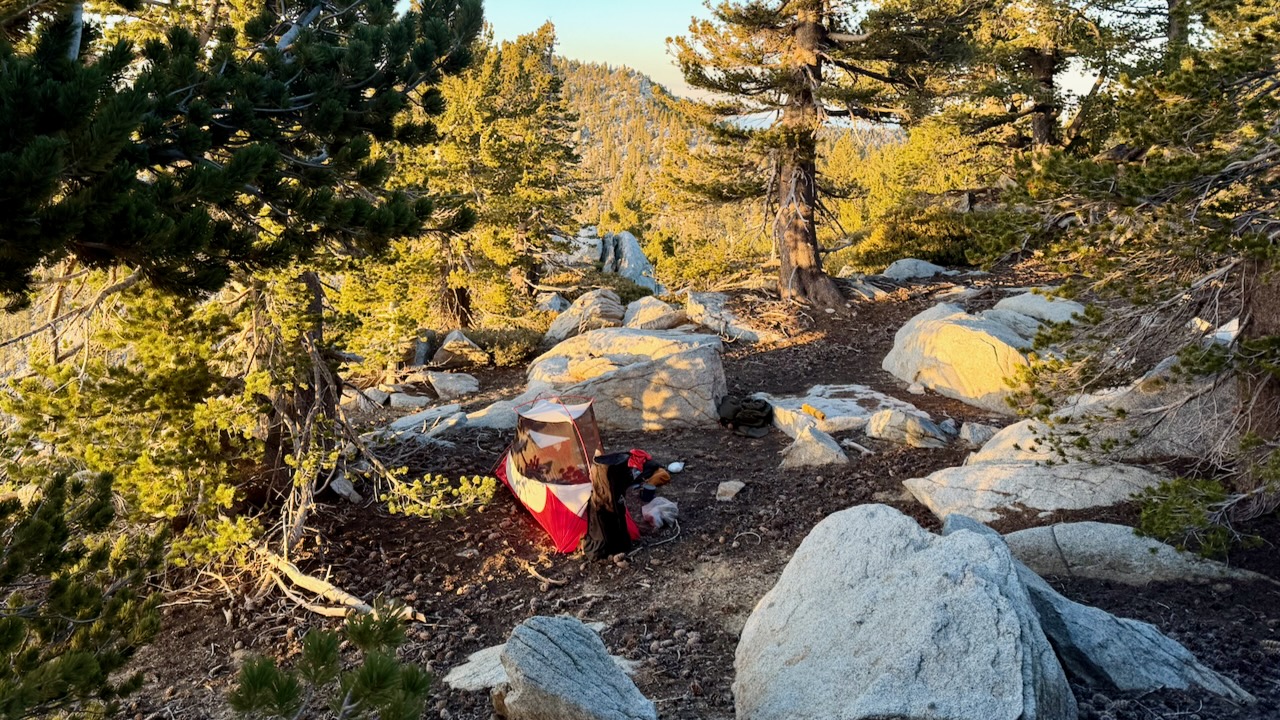
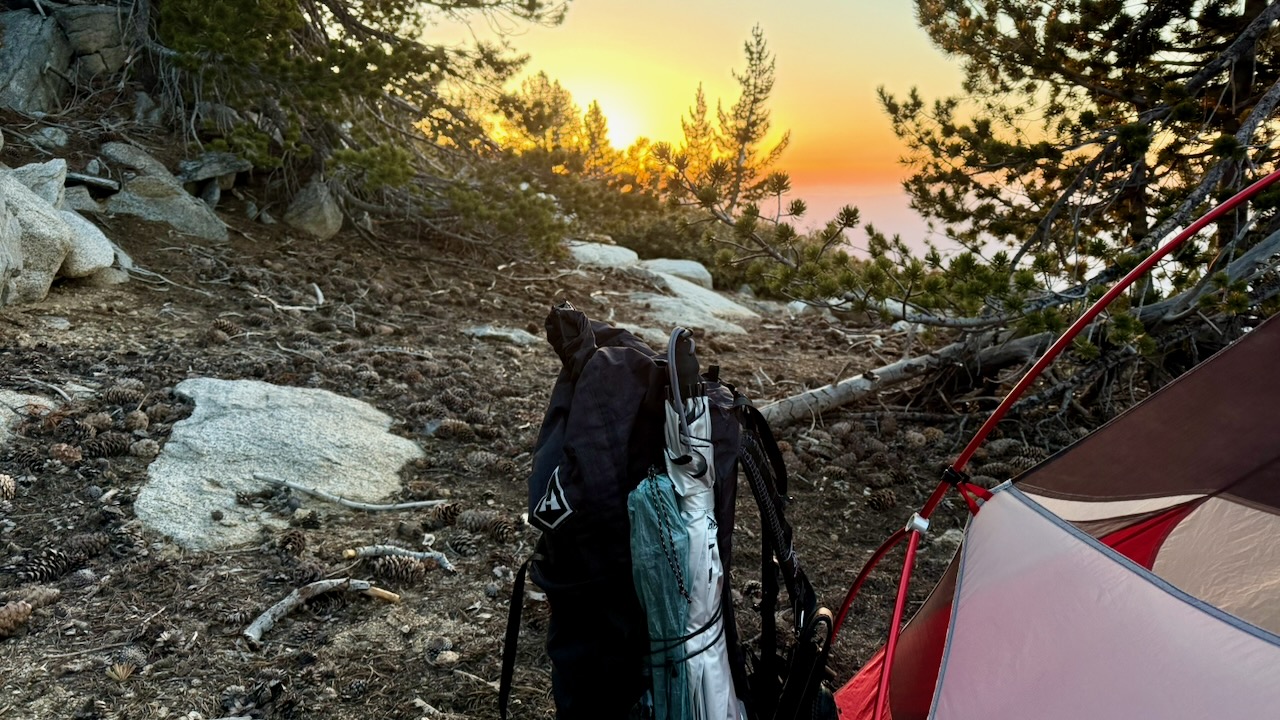
I camped nearby. And was surprisingly chilly in the sleeping bag.
Rather than post a day-by-day account, here are major themes of my 2 weeks on trail.
Priorities
Staying Hydrated
Foot Care
Avoiding Heat Emergencies
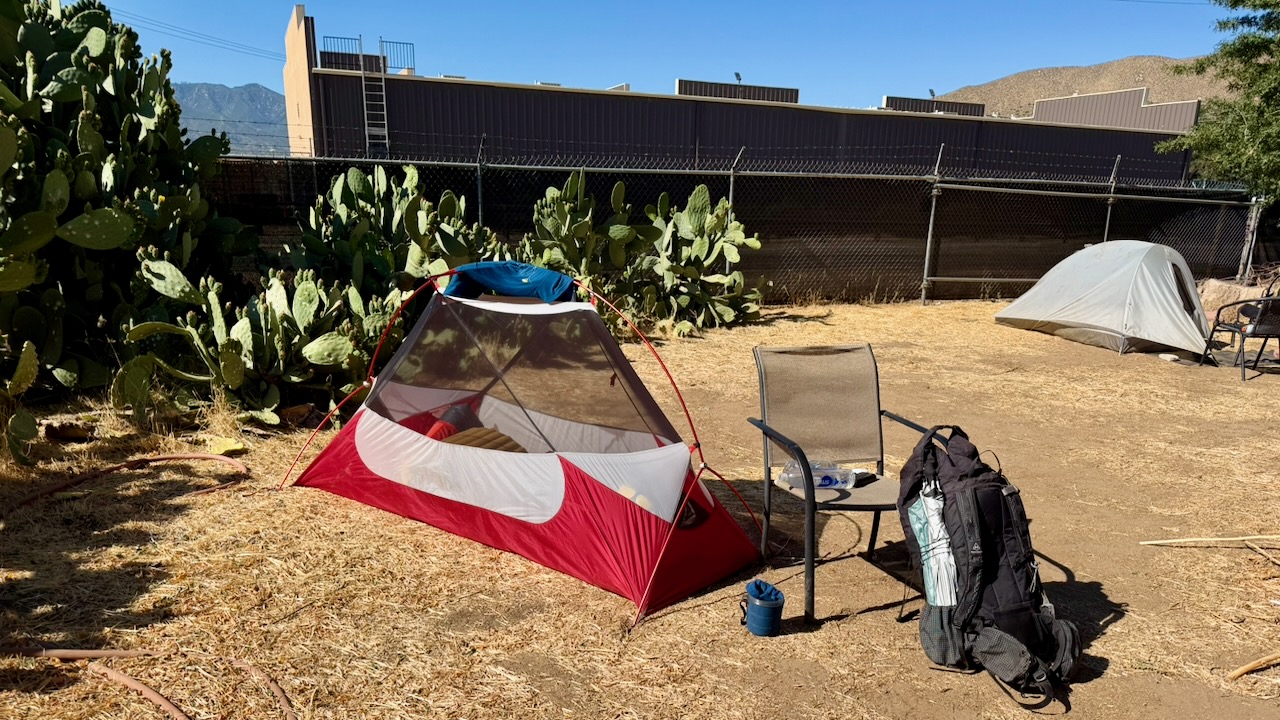
Wild Camping
About 5:30pm I’d start looking for a campsite. Ideally near a water source.
IF there is a Bear Locker, use it. At the excellent Little Jimmy Campground we advised everyone to lock up food and backpacks.
About 2am a bear arrived to check if lockers were closed. Checked every tent. Started dragging a backpack out of a vestibule as it had some food in it. The hiker (now known as Bear Bait) shouted and had a tug-of-war with the beast, eventually winning the battle for his pack.
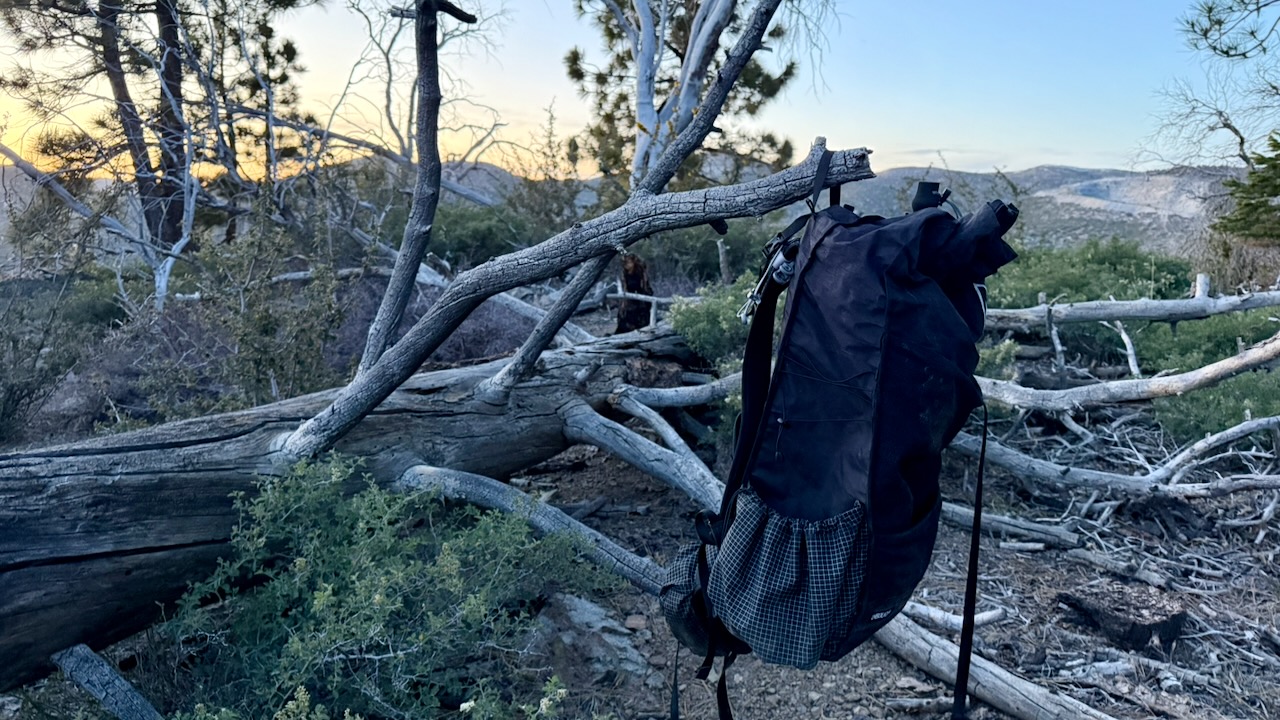
If there is no Bear Locker, hang your backpack away from insects & rodents.
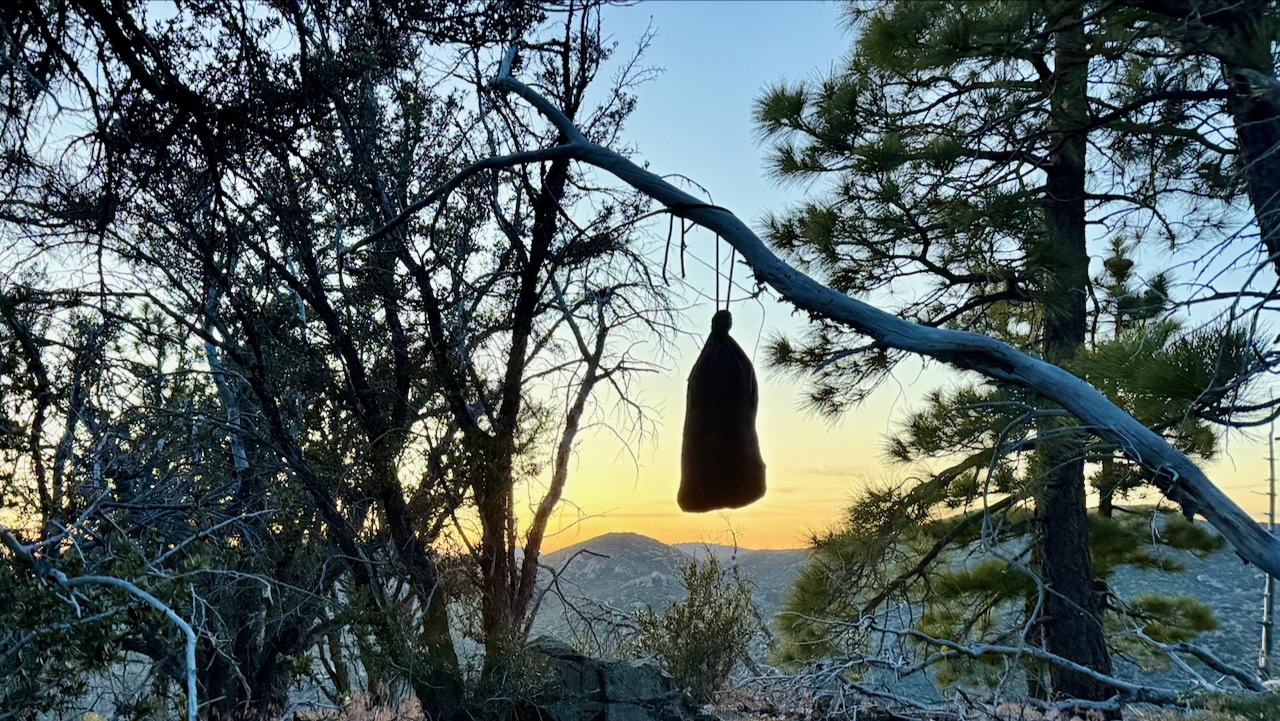
I had my food in an Ursack, and tied it away on a tree.
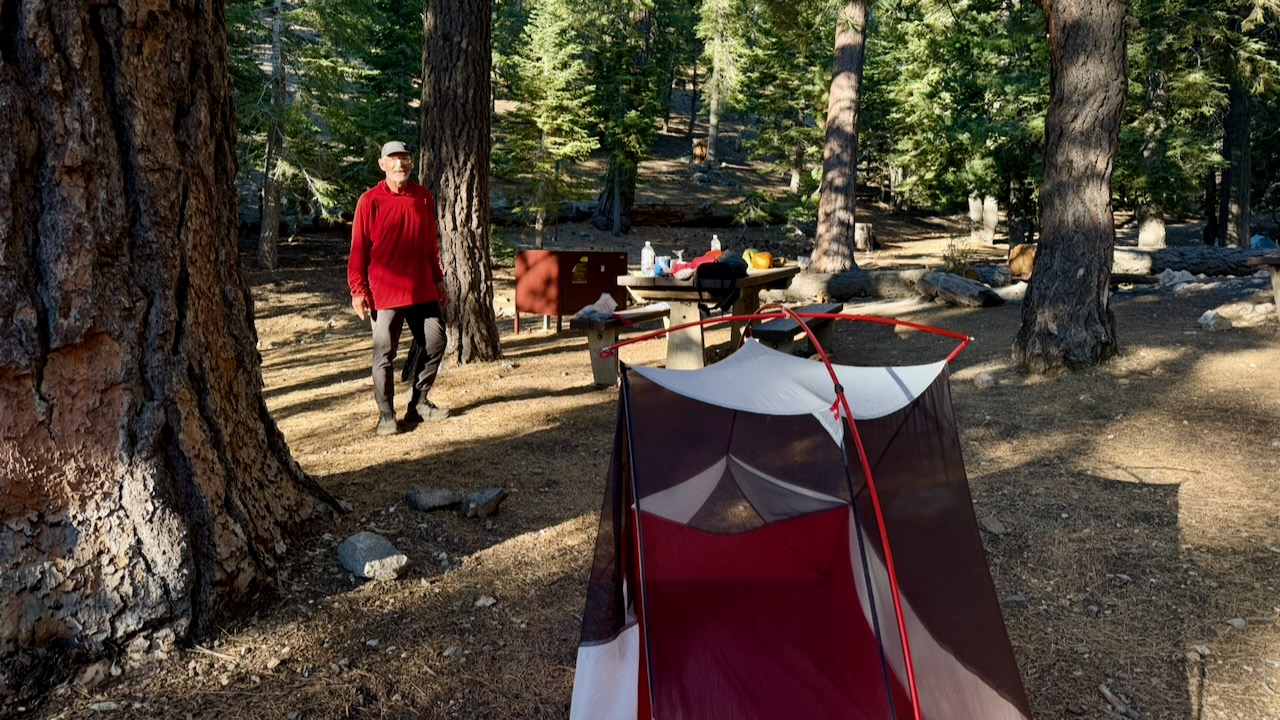
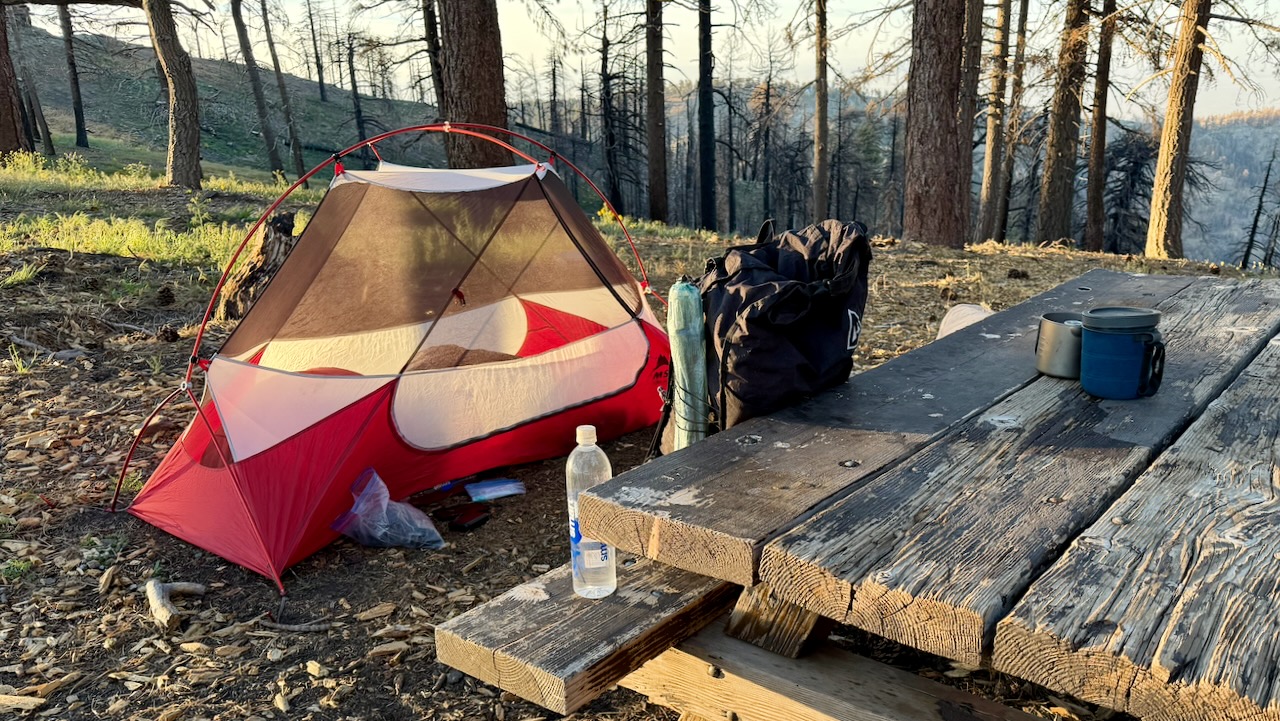
I do love having a picnic table.
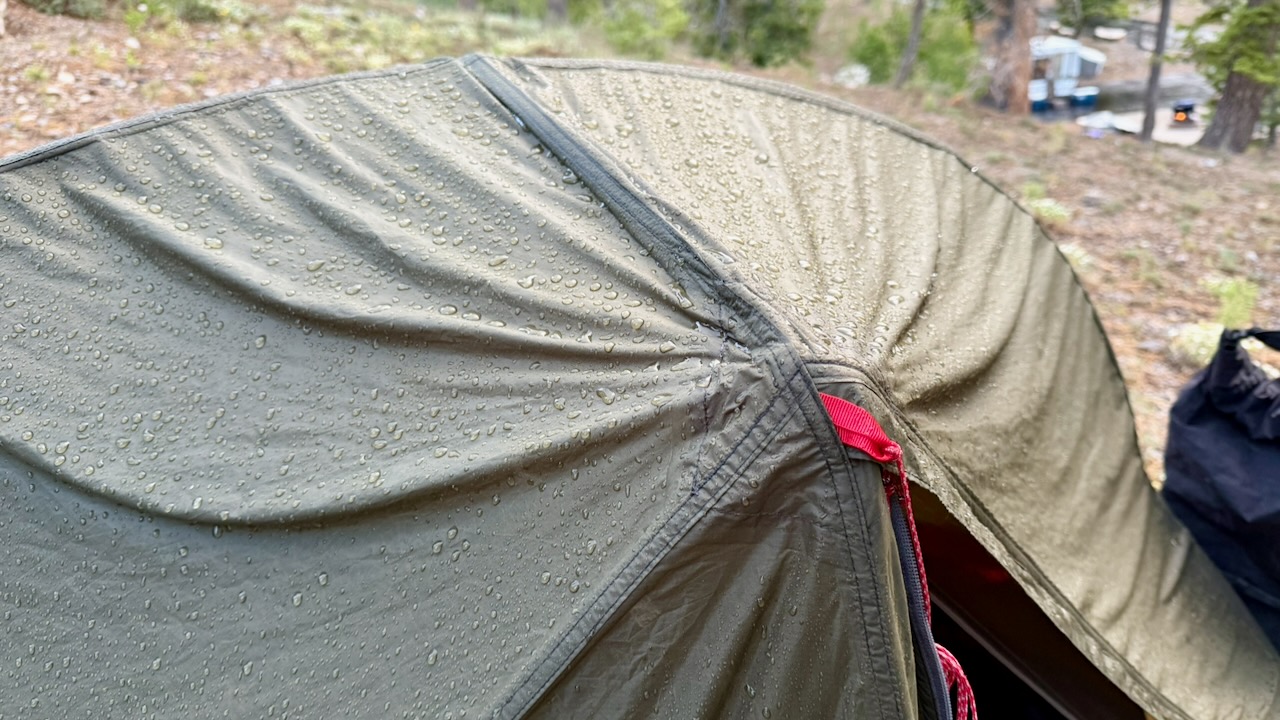
As it turned out, I only put my fly on the tent 2 nights of 17. Why didn’t somebody tell me it never rains in southern California? 😀
Foot Care
As I’d suffered blisters on the PCT once in the past, this time I brought 2 pairs of hiking shoes, both about 1.5 sizes larger than what I wear in the city. And both were WIDE sized.
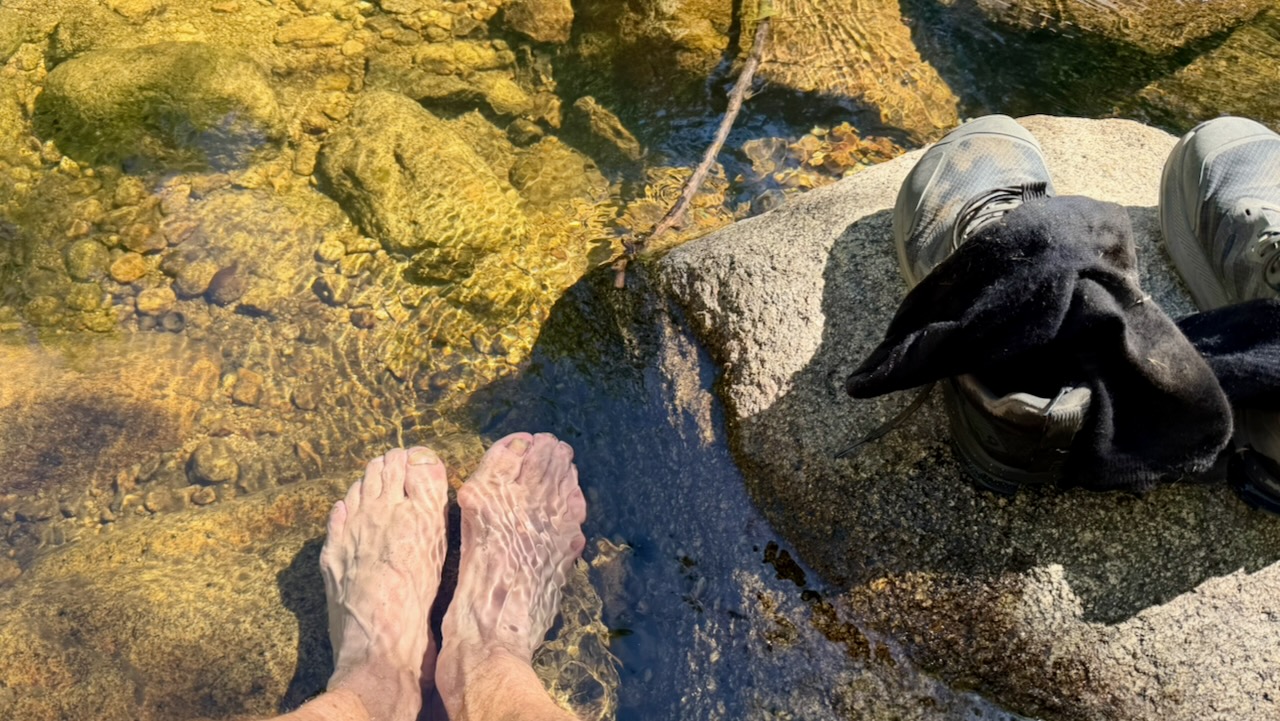
I changed shoes regularly. Changed socks often. Washed and cooled my feet every chance I got. And it worked.
Near the end of my desert hiking, I bought a pair of Injinji toesocks. I think they might have helped, too.
Pack Weight
Only hiking a couple of weeks, my pack was heavier than most. Starting with 10 meals, carrying 3-4 litres of water, it might have been close to 40 pounds.
After a week or so, it was near 32 pounds.
The lighter, the better. I did find my pack too heavy.
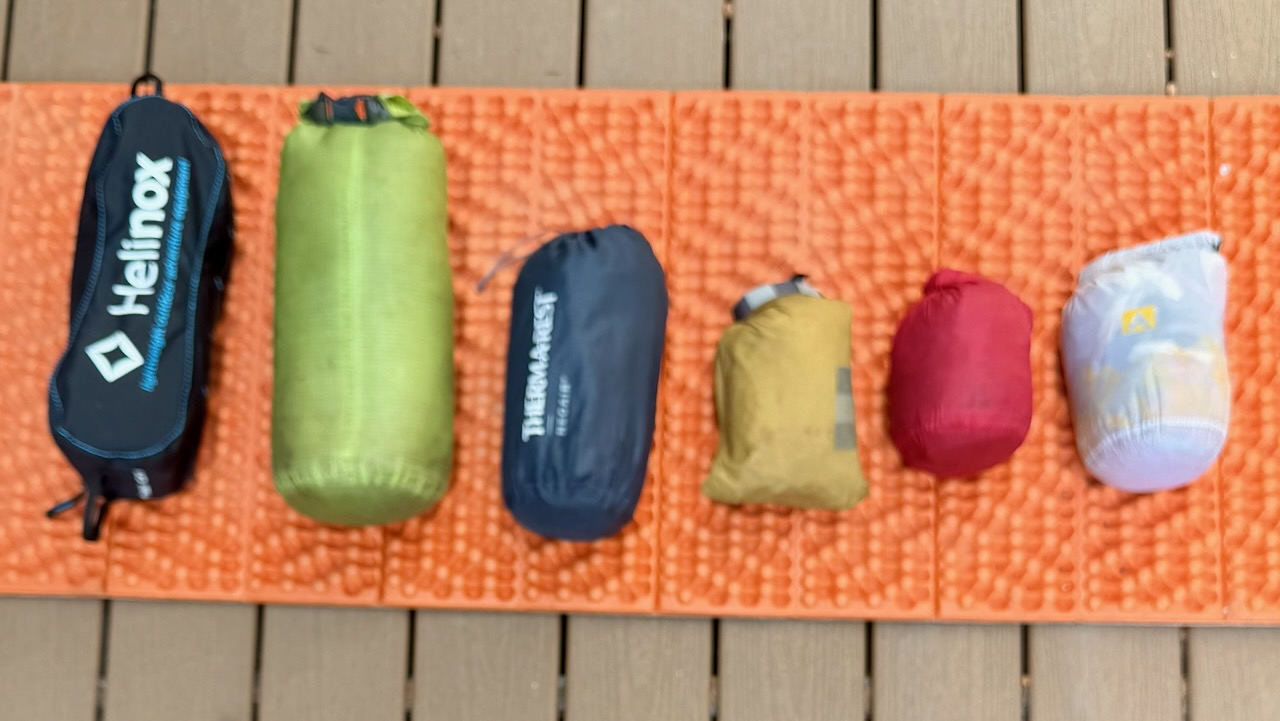
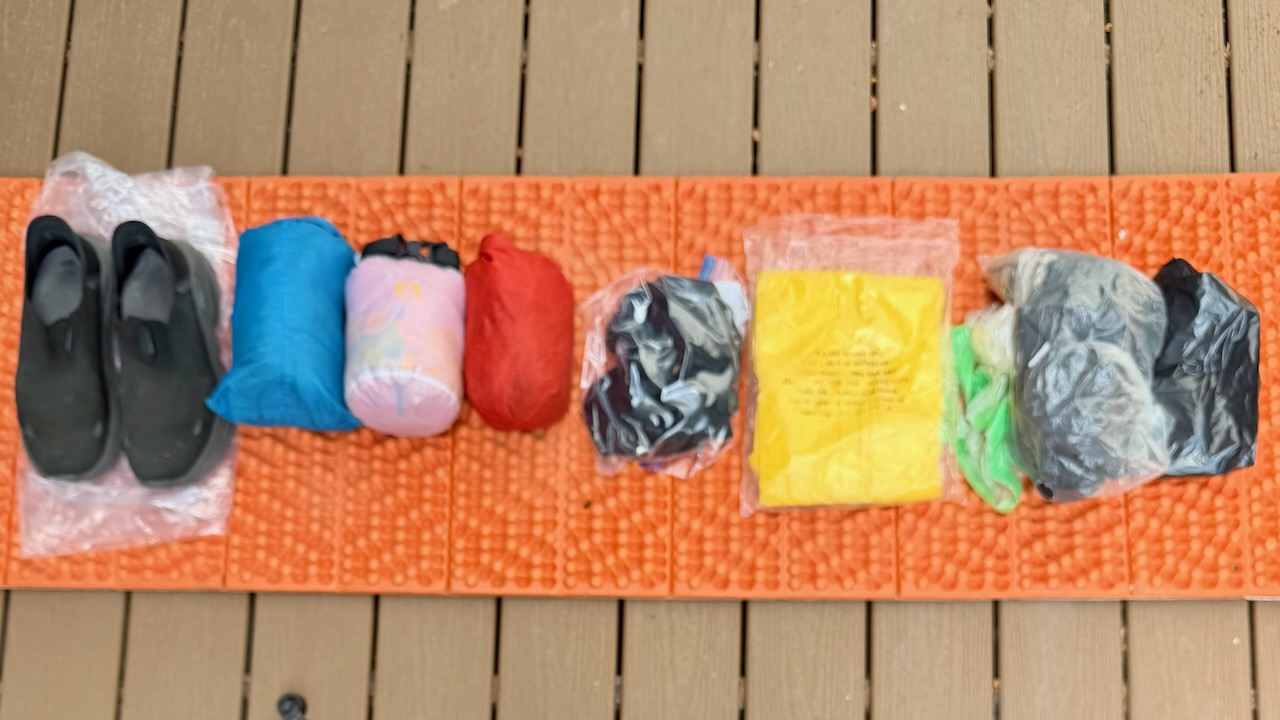
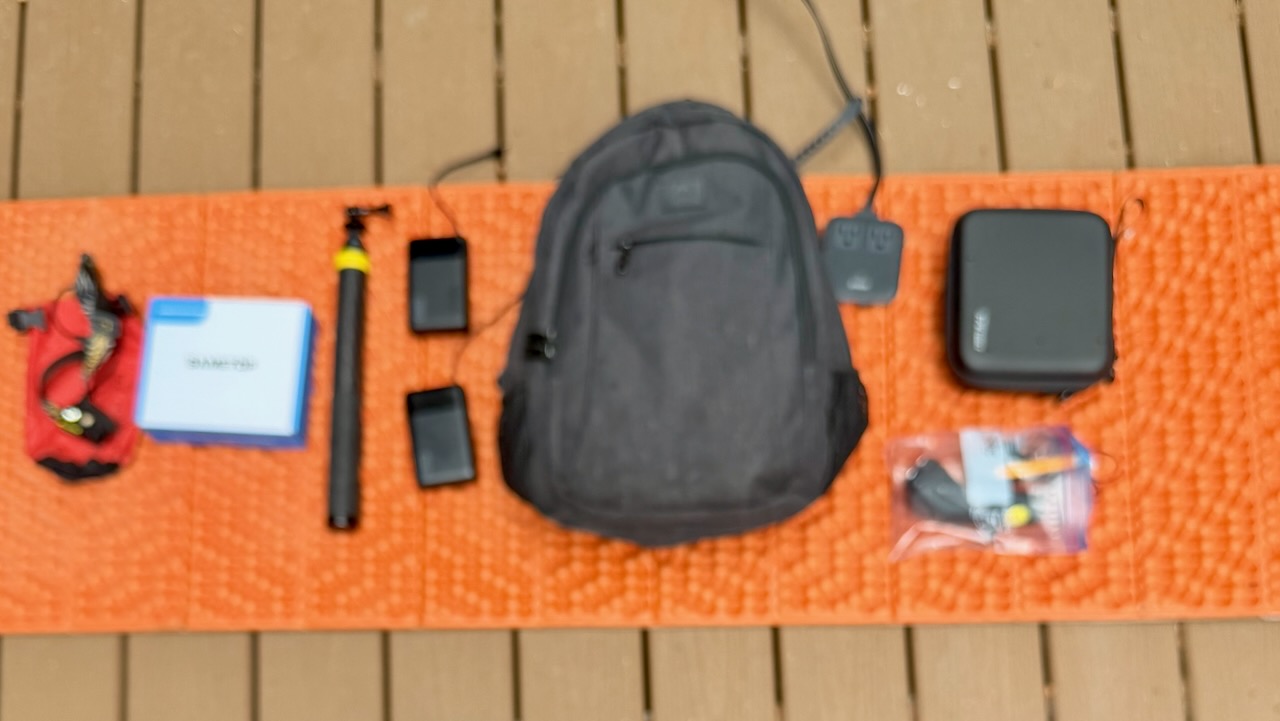
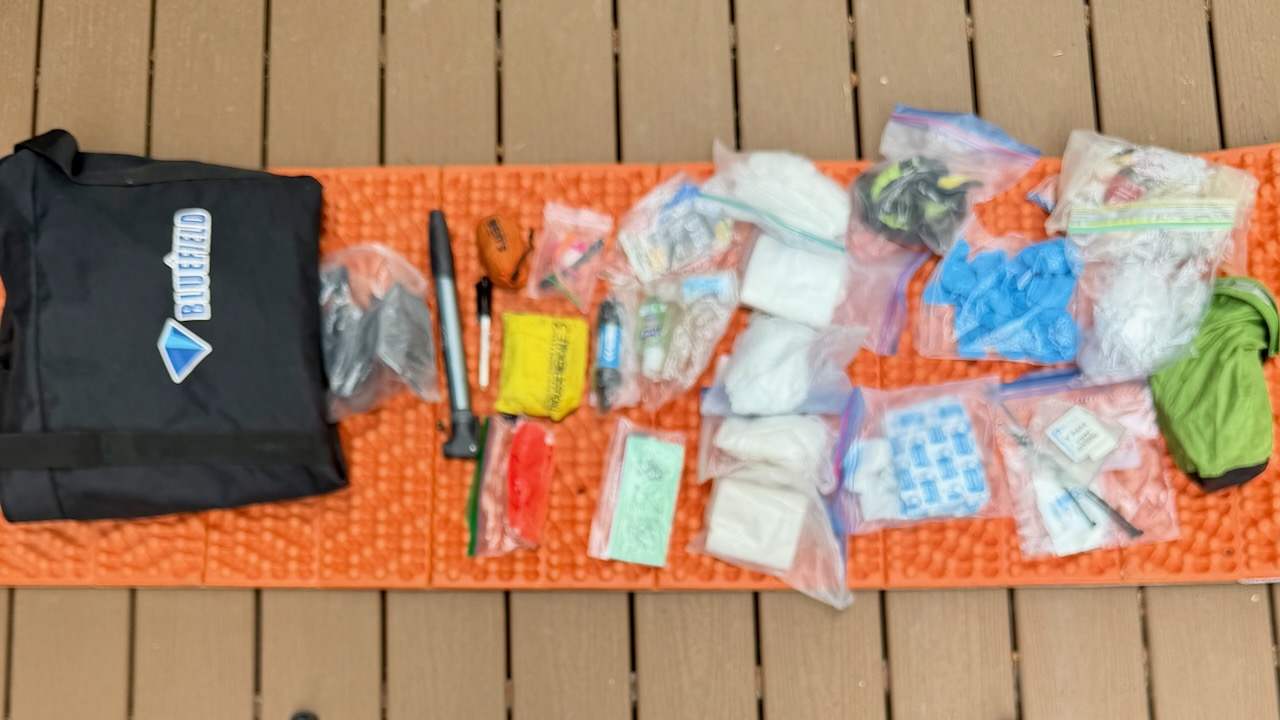
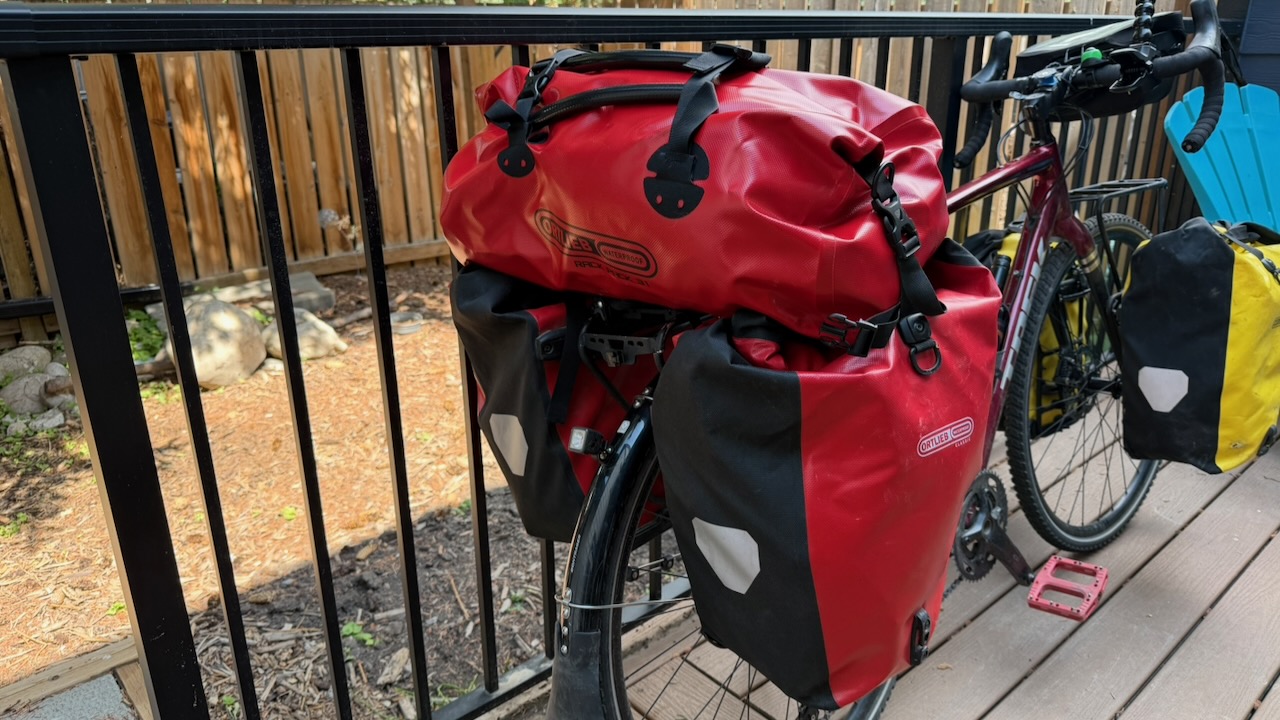
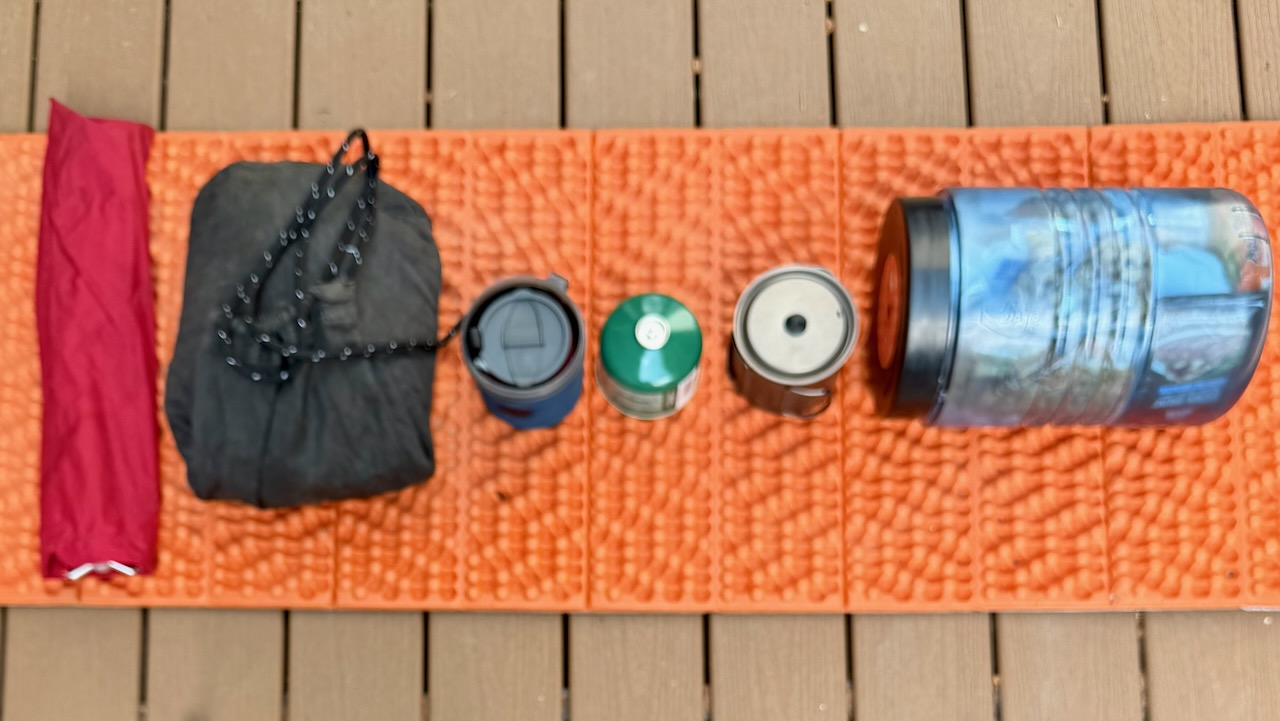
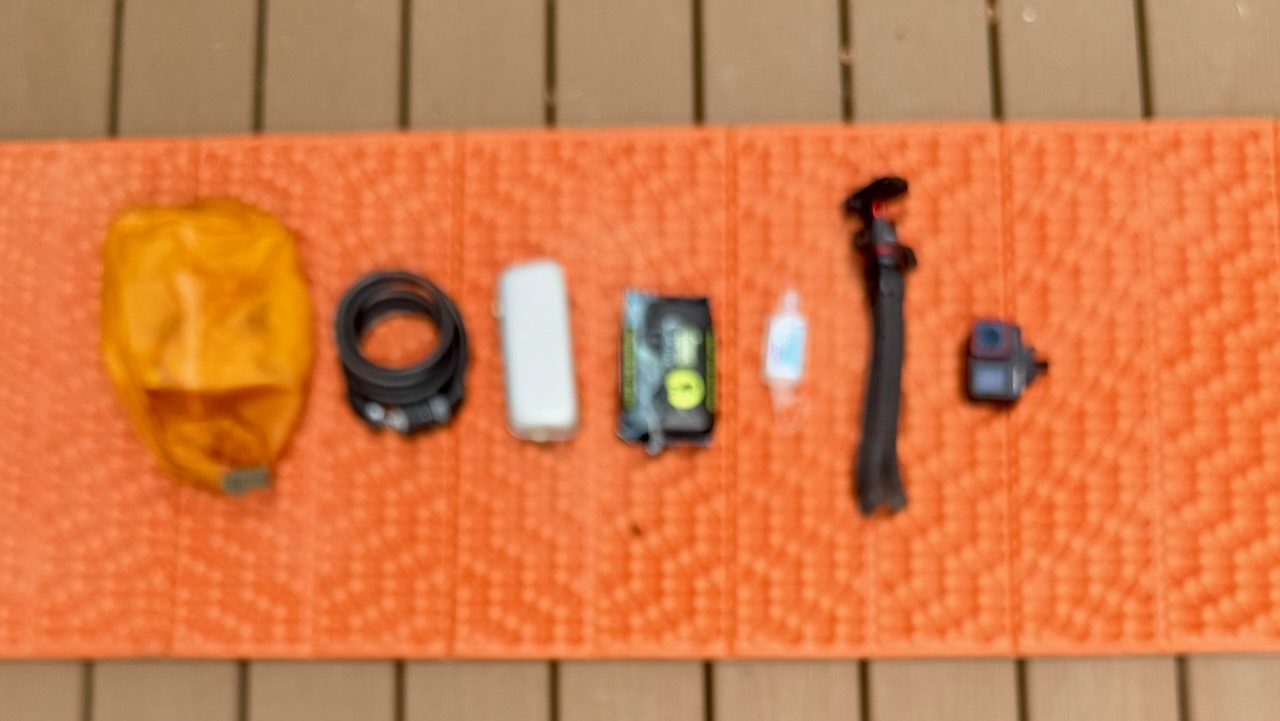
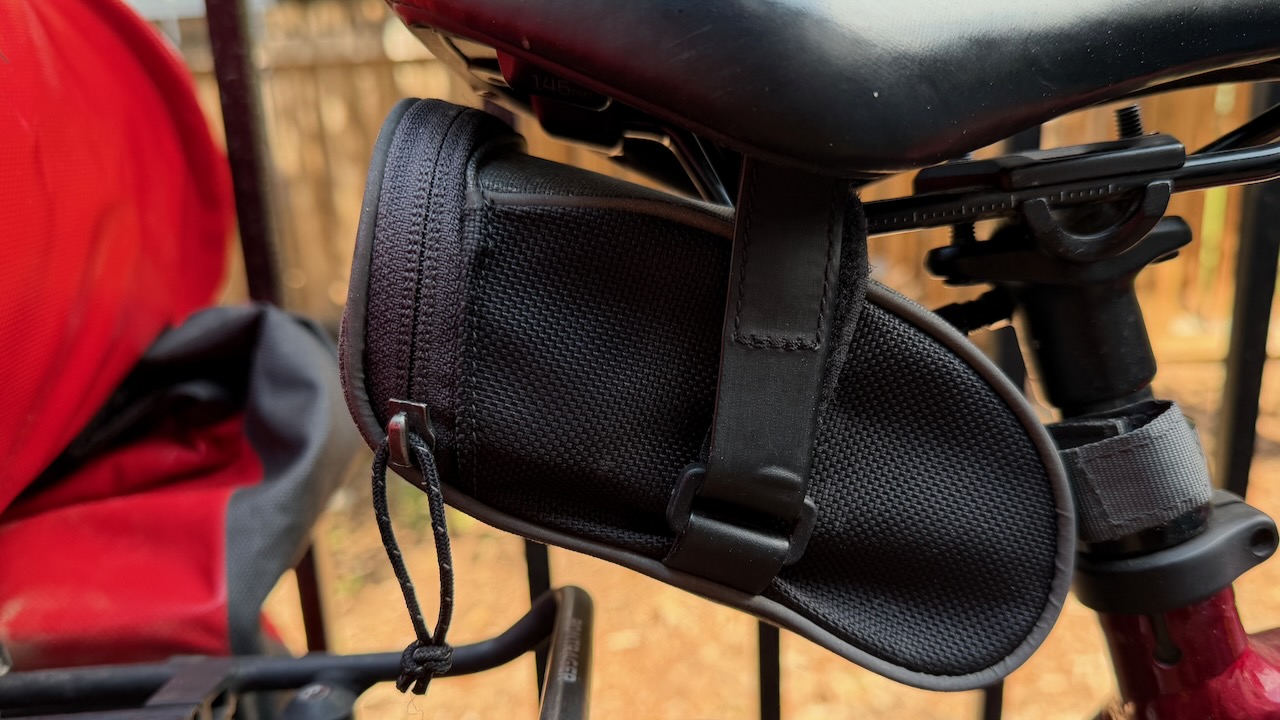
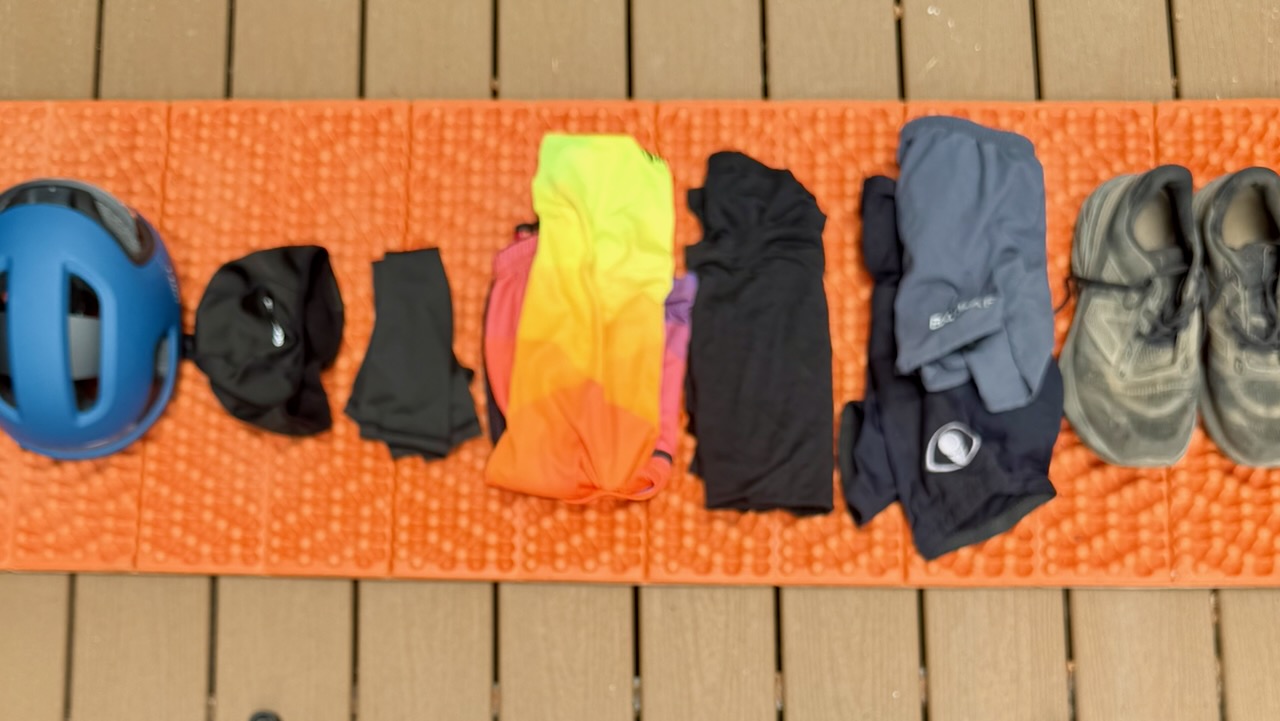
Here’s my full gear list. You can decide what I should have left behind. 😀
Risk of Heat Emergency
Personally, I love the southern California weather. Sunny and dry. Day after day of blue skies.
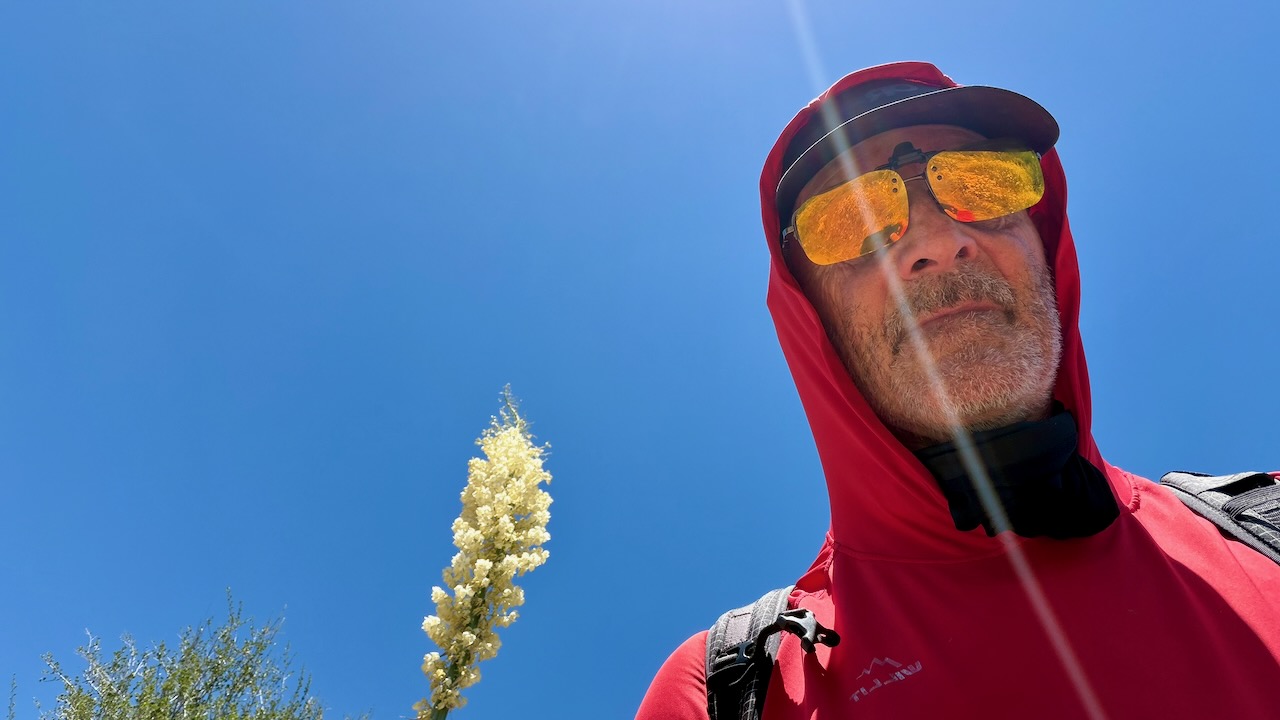
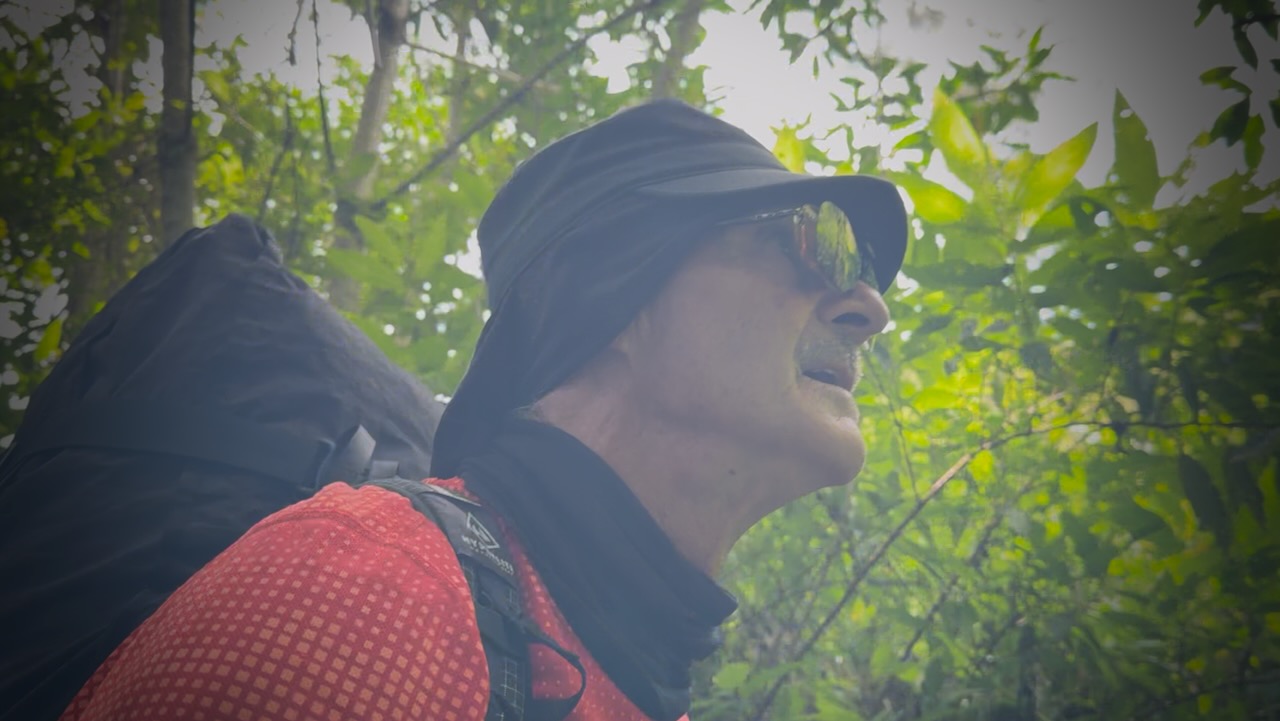
Of course I kept covered up as much as possible. A sun hoodie is essential.
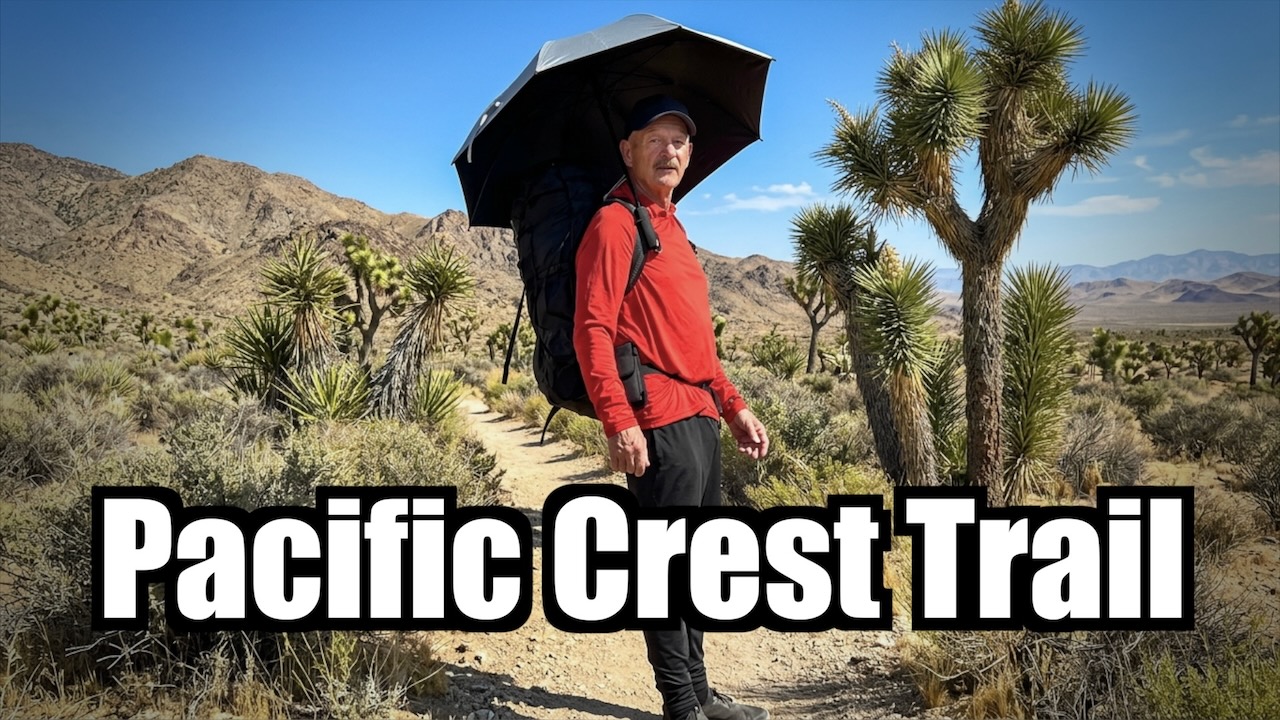
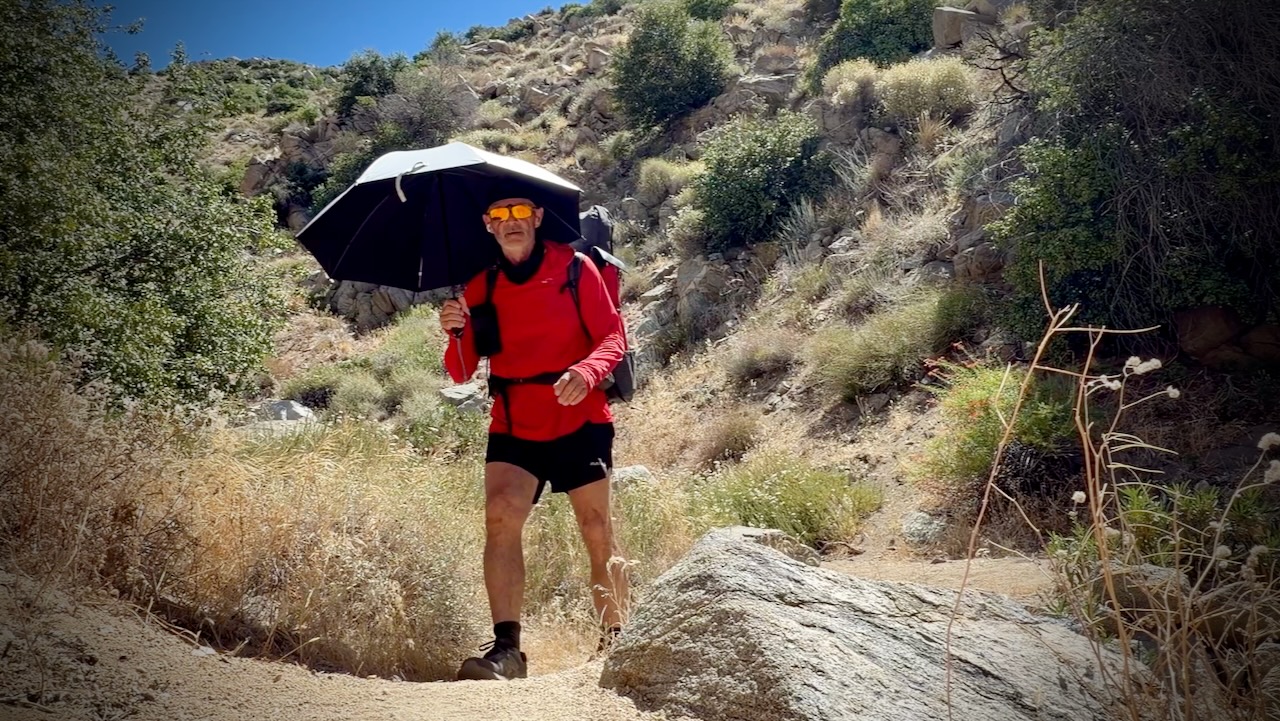
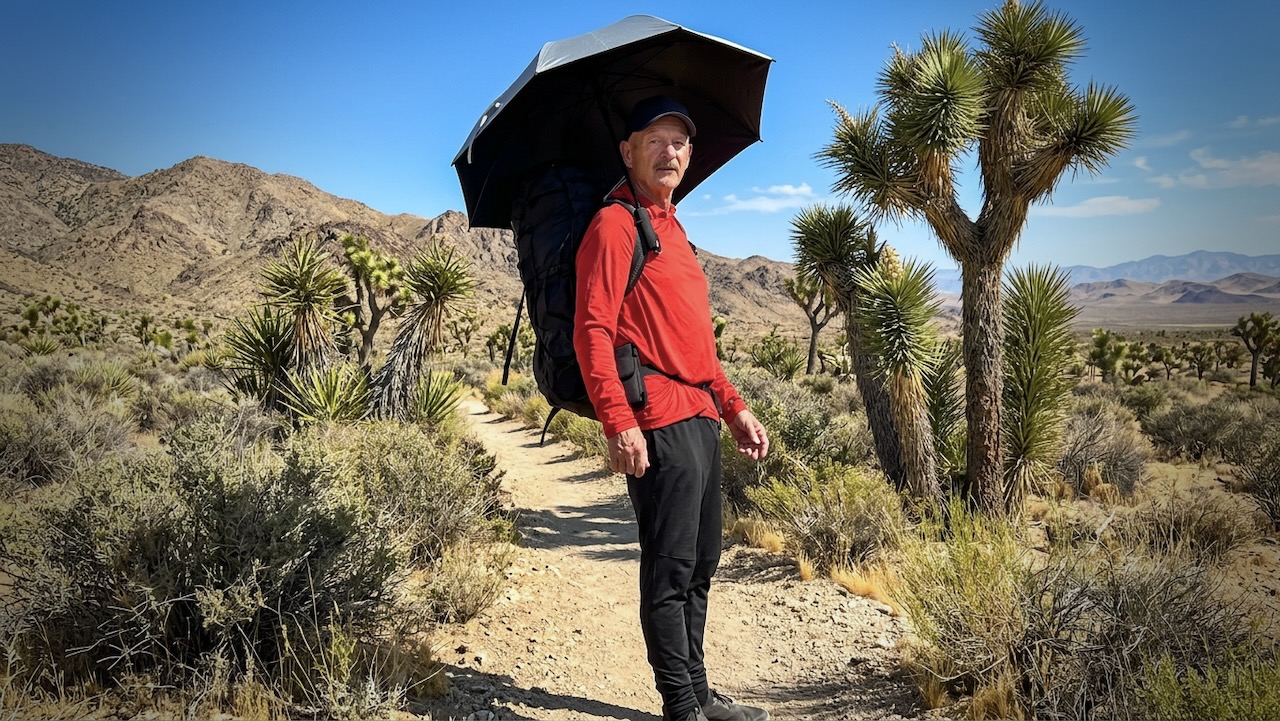
I did use a hiking umbrella for the first time. IF it was very hot. I found it easier to carry and adjust for wind often, rather than tie it on to my pack. They are popular in the desert section with PCT hikers.
Screenshot
One very experienced desert hiker known as Iceaxe suffered from a long day in the sun. Two day hikers helped get him to town where he took a zero to recover. We camped for free behind a pub.
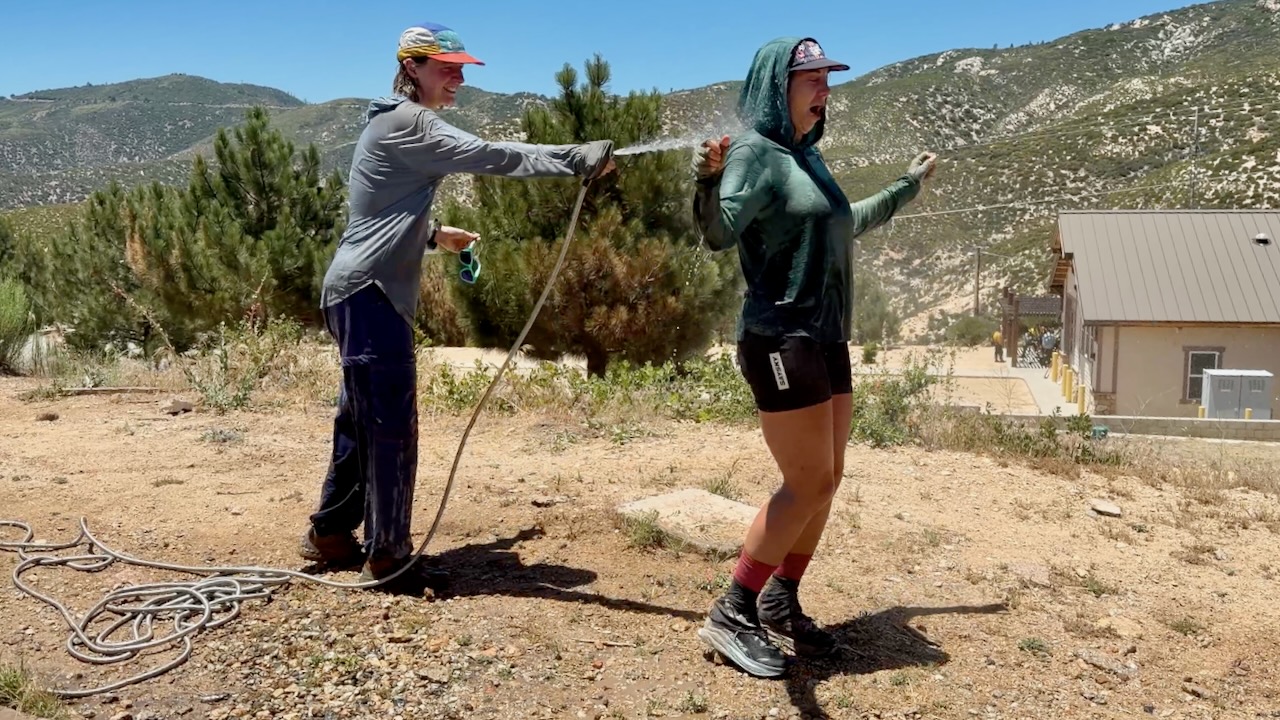
At one of the rare hoses, PCT girls gone wild soaked themselves. Smart.
Water
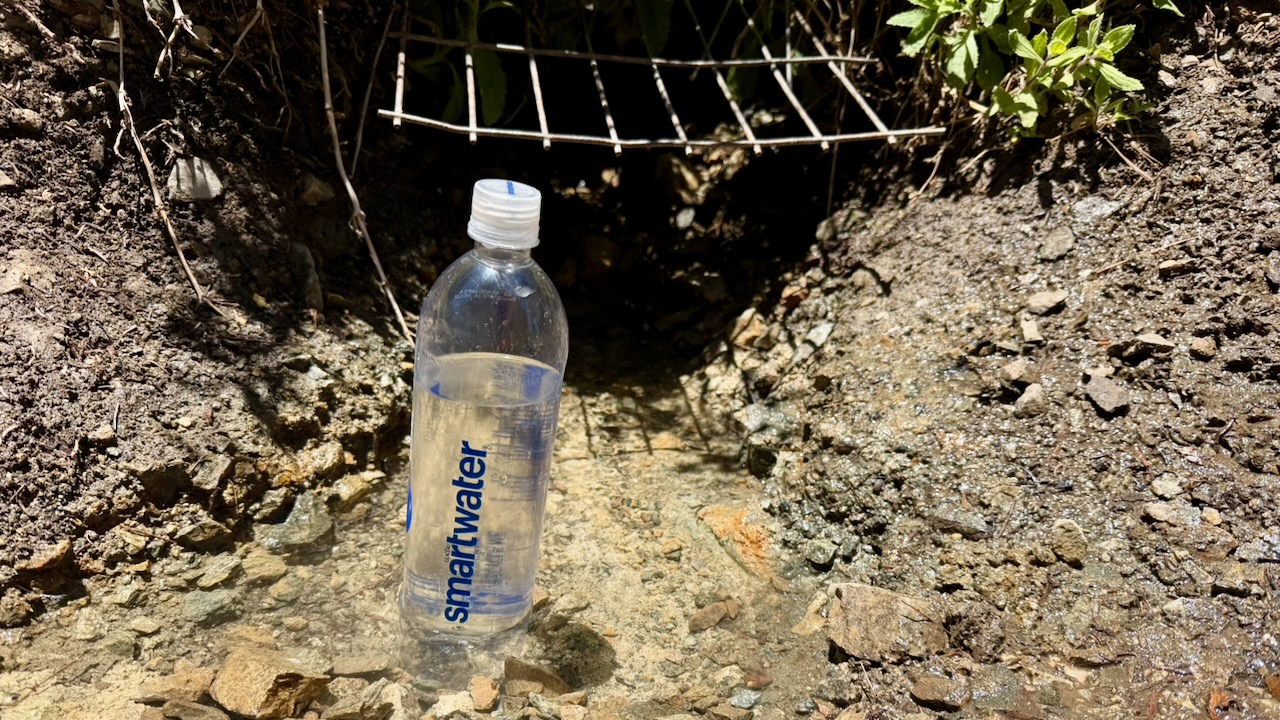
Much discussion regards water sources in the desert. And how many litres to carry. Often I started with 3-4 litres. The heaviest thing in my pack.
Most hikers filtered almost everything. For me boiling is best. If the water looked great — directly from a high mountain spring — I did not treat. If worried, I threw in a purification tablet & flavouring. Usually Mio.
I probably should have had an electrolyte replacement like Tailwind.
Trail Magic
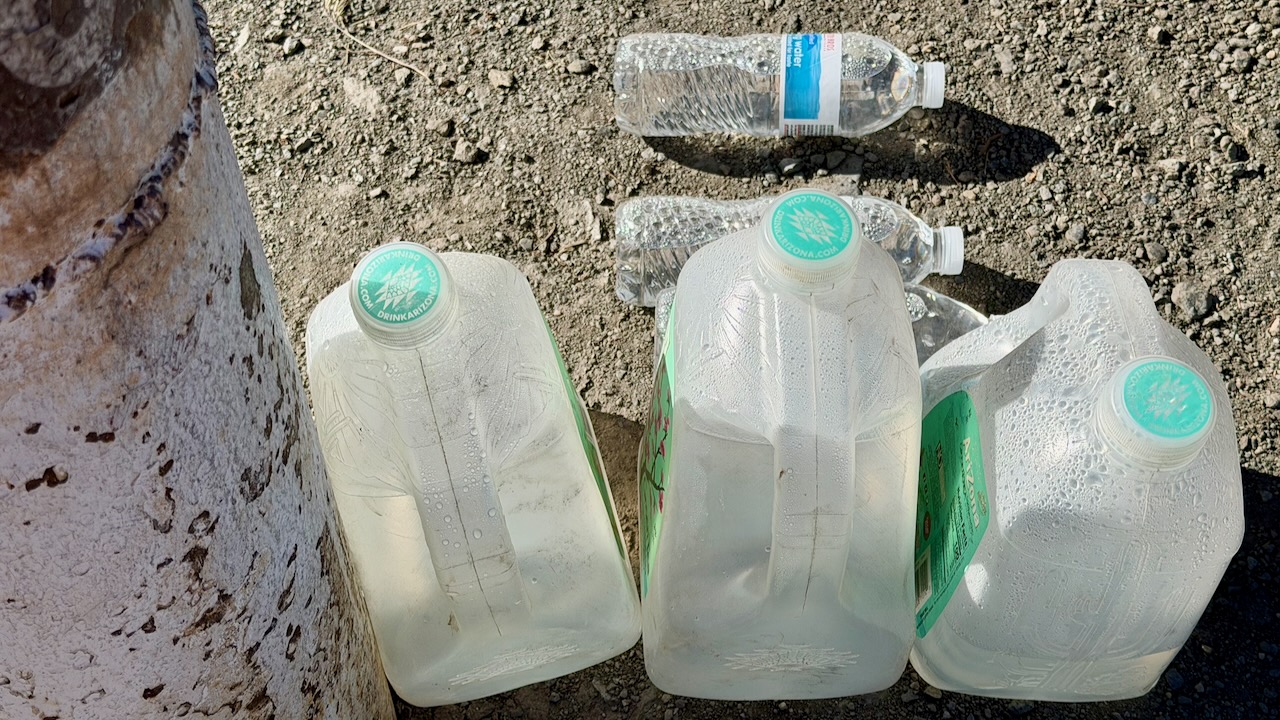
Wonderful on the PCT is when you arrive near a roadway and find that some volunteer has left water and/or treats for hikers.
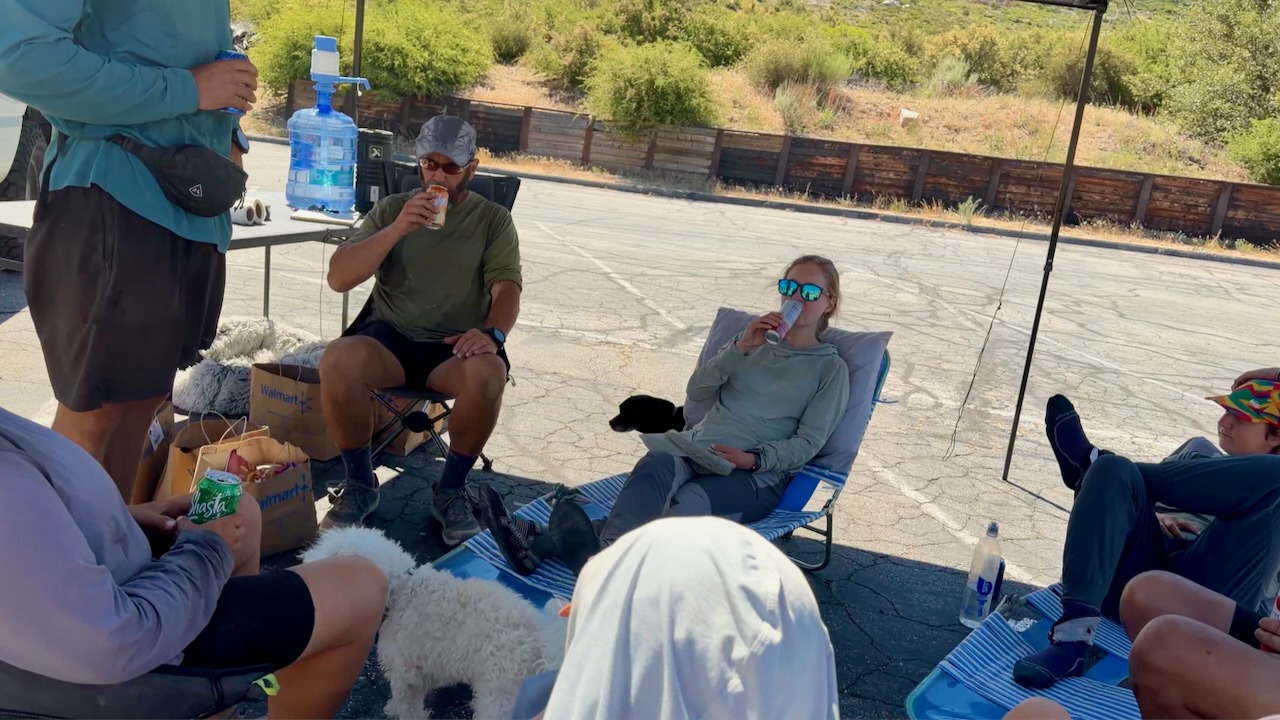
My best Trail Magic was hiking in to find Marco all set up in a parking lot.
Many hikers stayed for hours enjoying his cold drinks, fresh fruit, hot dogs, and burritos. He’d driven 3 hours from home to provide help in a tough spot on the trail. In fact, I’m now planning to join Marco on an adventure next summer.
Thru Hikers
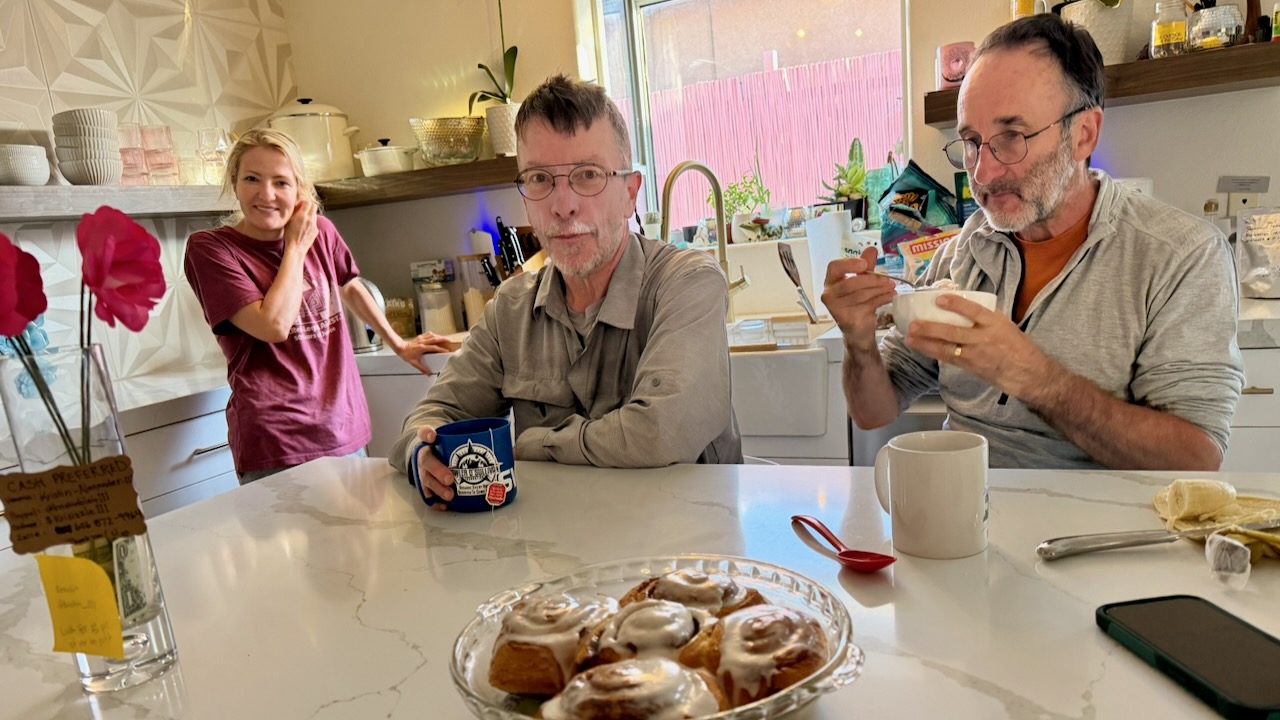
The highlight for me was meeting and chatting with people crazy enough to want to hike continually for months. Here are 2 legends known as Canadian Bacon. They’d finish the entire PCT in 2026, their last section over a number of years.
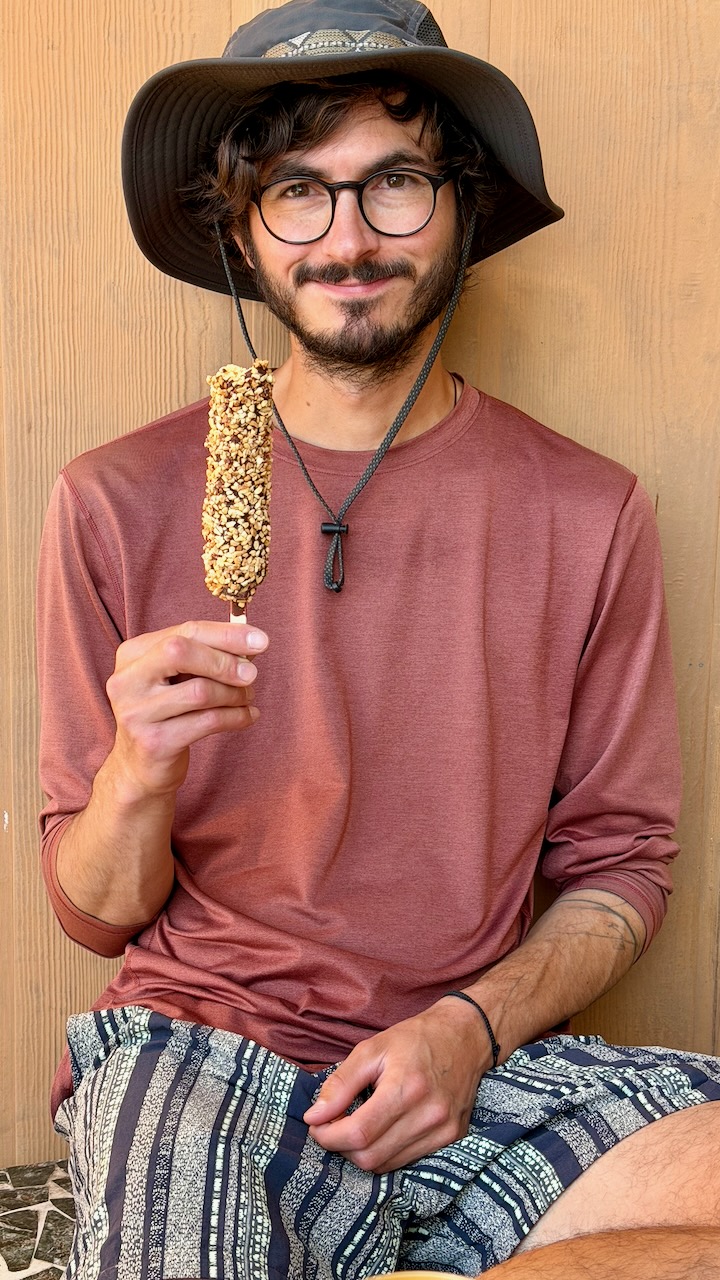
The guy I met most likely to finish the entire PCT in one year was Roman from Switzerland. He hadn’t acquired a trail name, as yet. Here he is after one month, looking like he just got off the plane. With a budget of $10,000 and no injuries, so far, Roman’s cruising to Canada.
Cheating
From Palm Springs to Agua Dulce, 3 times I skipped miles, taking motor vehicles. Only the purists — like Roman — do every single mile. It’s often logistically smart to bypass difficult sections.
For example, I shared a Lyft from Whitewater to Big Bear to avoid a huge, hot climb.
OUT of Big Bear, however, it’s a huge hot climb of thousands of feet to the top of Mount Baden-Powell.
Food & Resupply
Like most others, I indulged in high calorie food every chance I got.
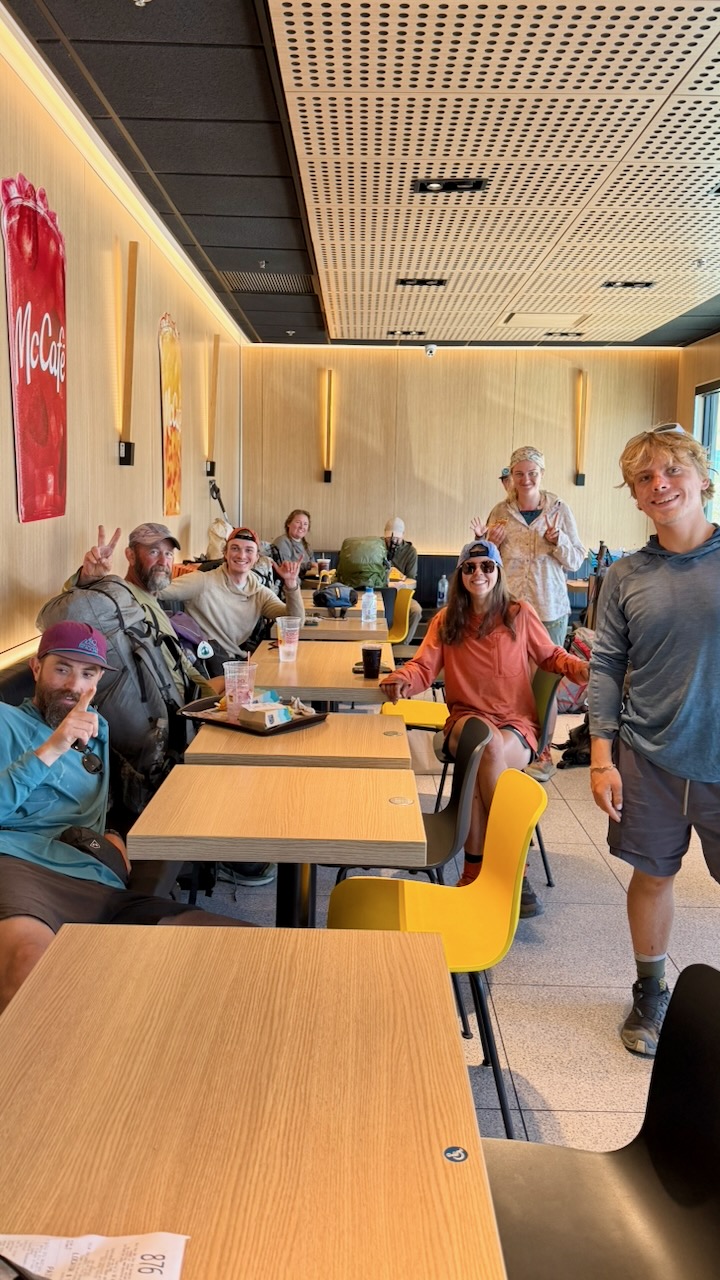
All these hikers gorging at McDonalds swear they never enter the place in their real lives.
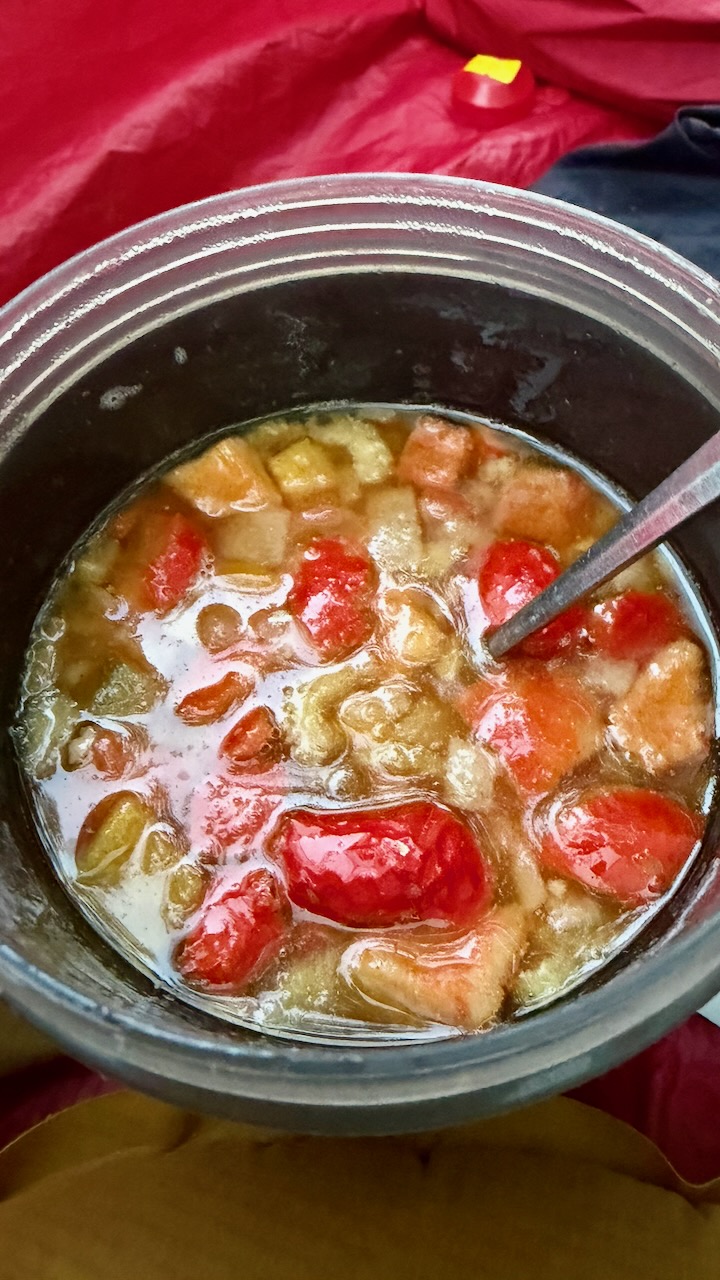
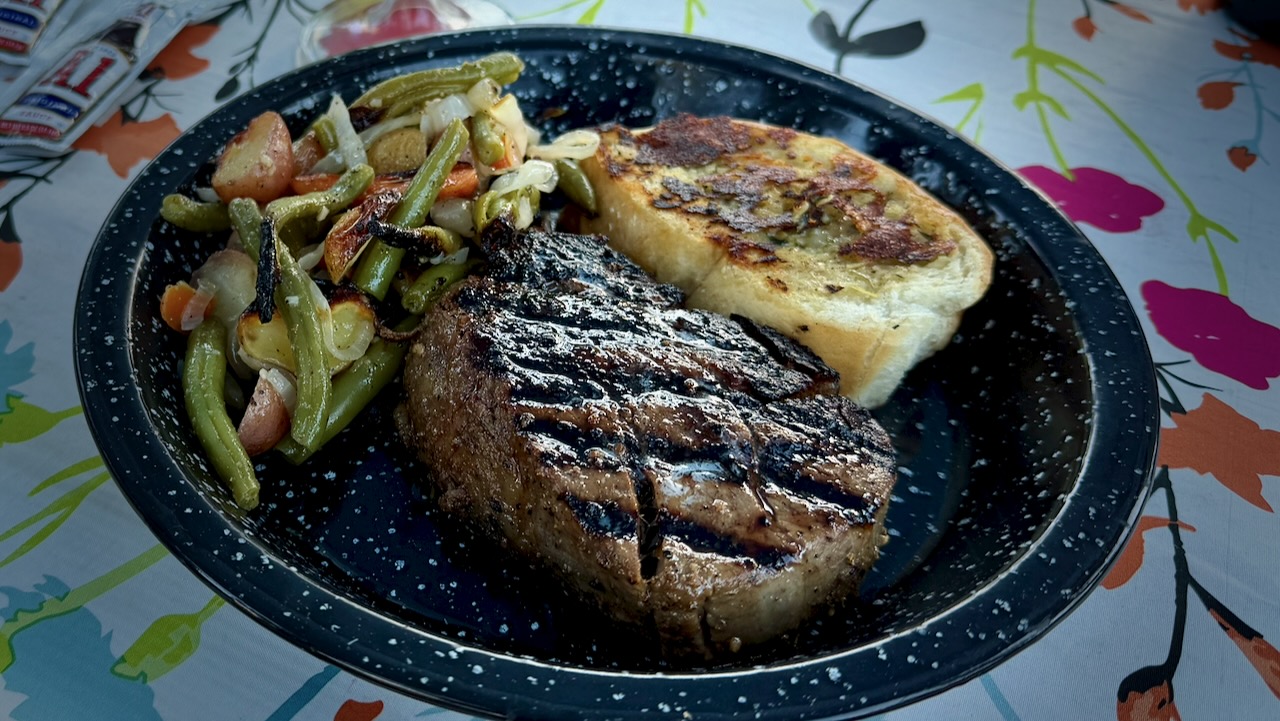
On the trail, I carried a stove and made up meals that had been flash frozen by my niece Stacey. Delicious.
Forest Fire
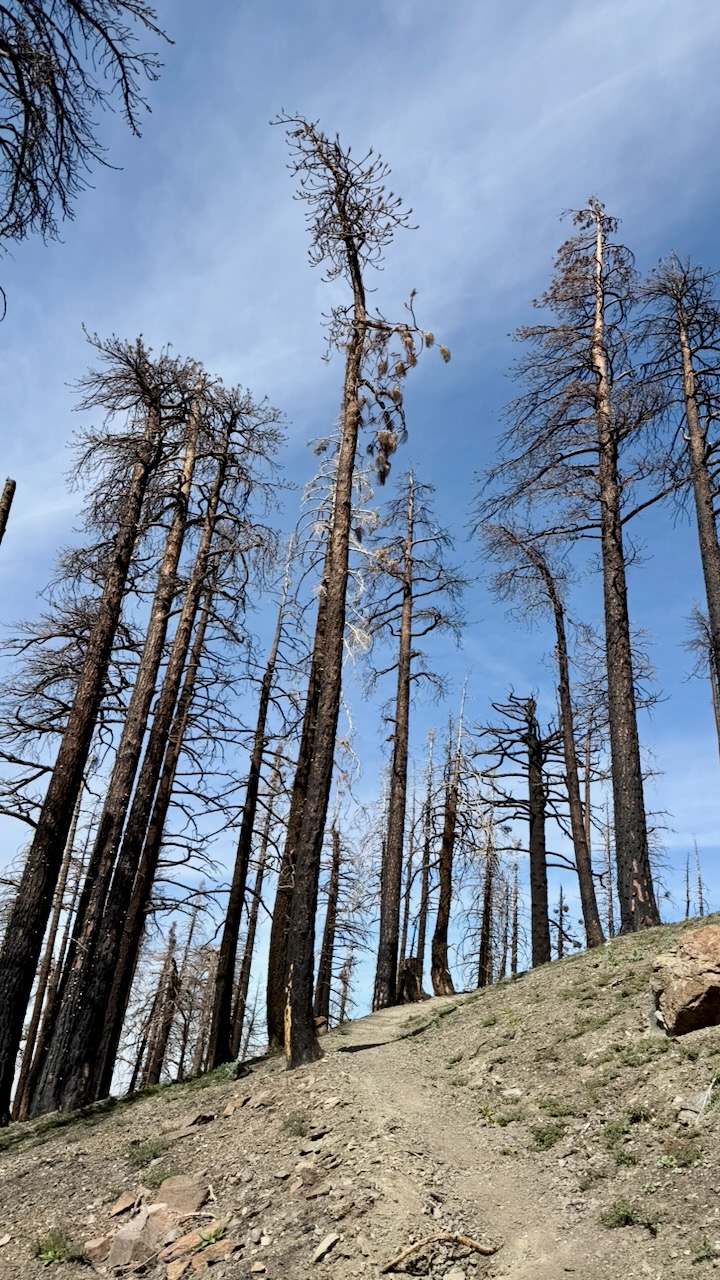
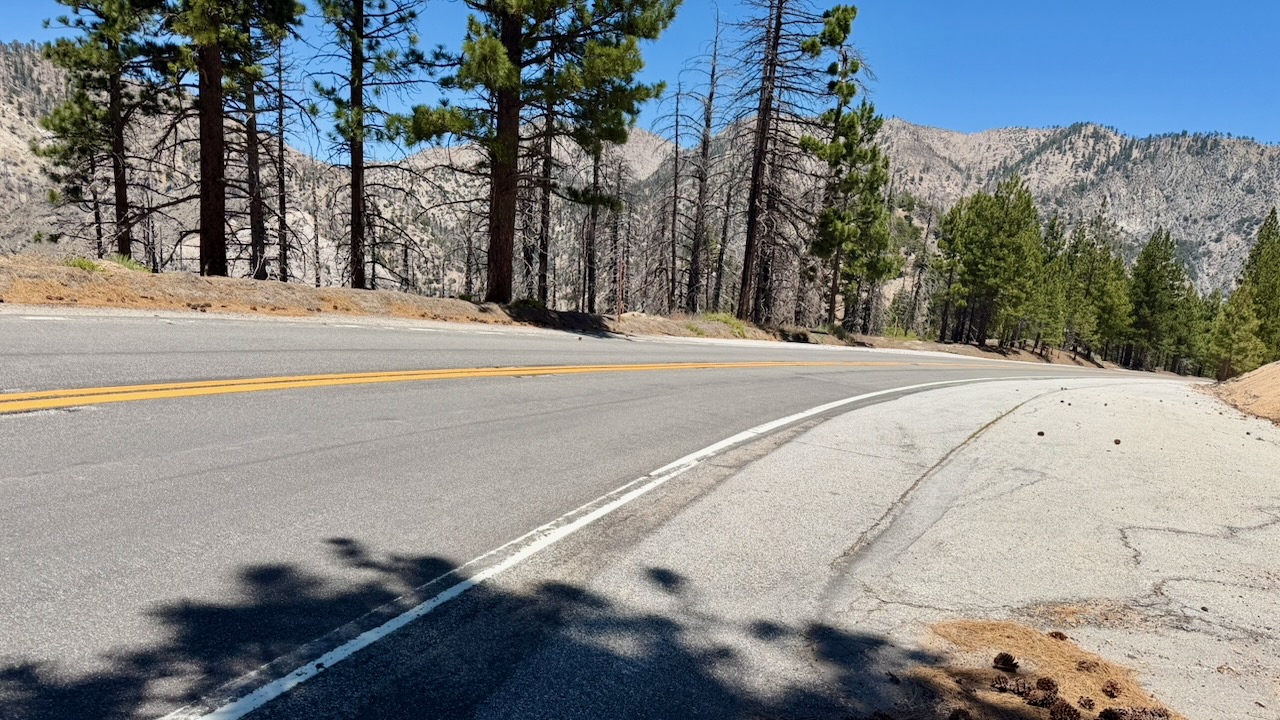
Happily, my 2 weeks were unaffected by fires in 2026. We saw smoke behind us one day. And hiked sections that had been burnt in recent decades.
Road Walking
One mandatory detour had us road walking. Surprisingly, I found it a refreshing change.
Navigation
Almost everyone uses the expensive FarOut PCT app. It works offline and has some up-to-date comments on waypoints that are super valuable.
On the other hand, the interface is ugly and not detailed enough. I often switched to the free Maps.me app offline. Every hiker gets lost, sooner or later.
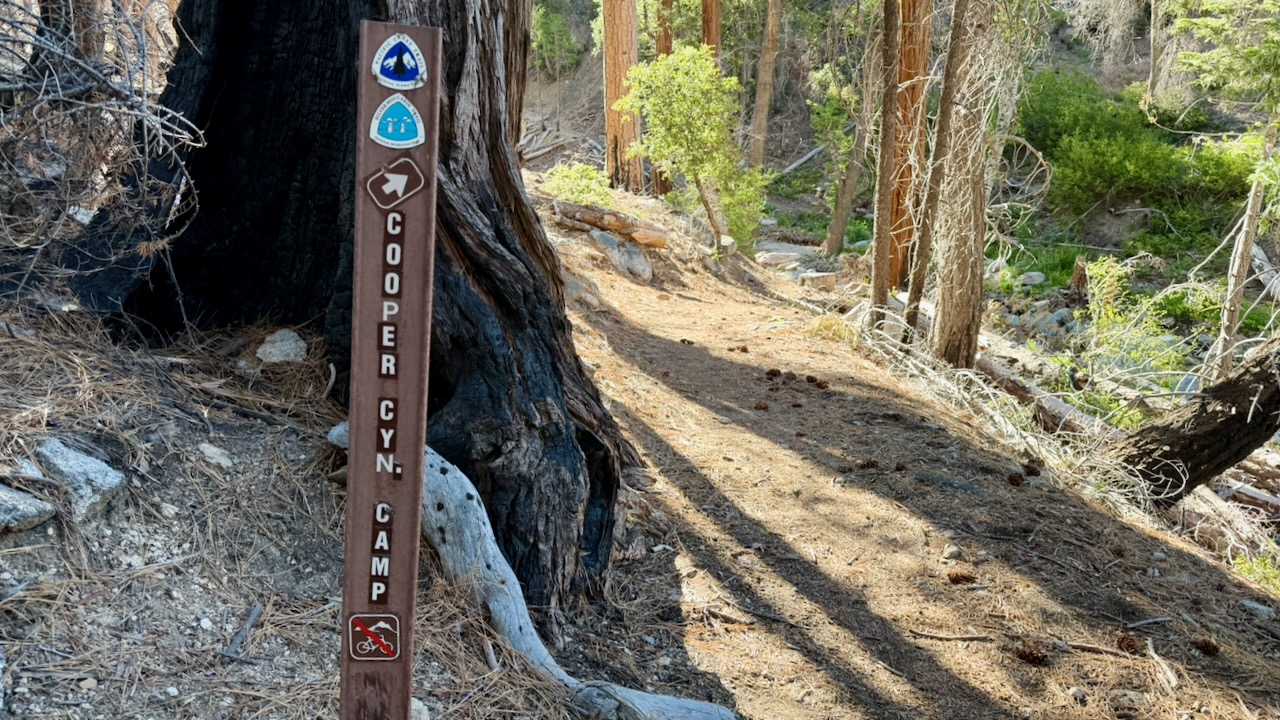
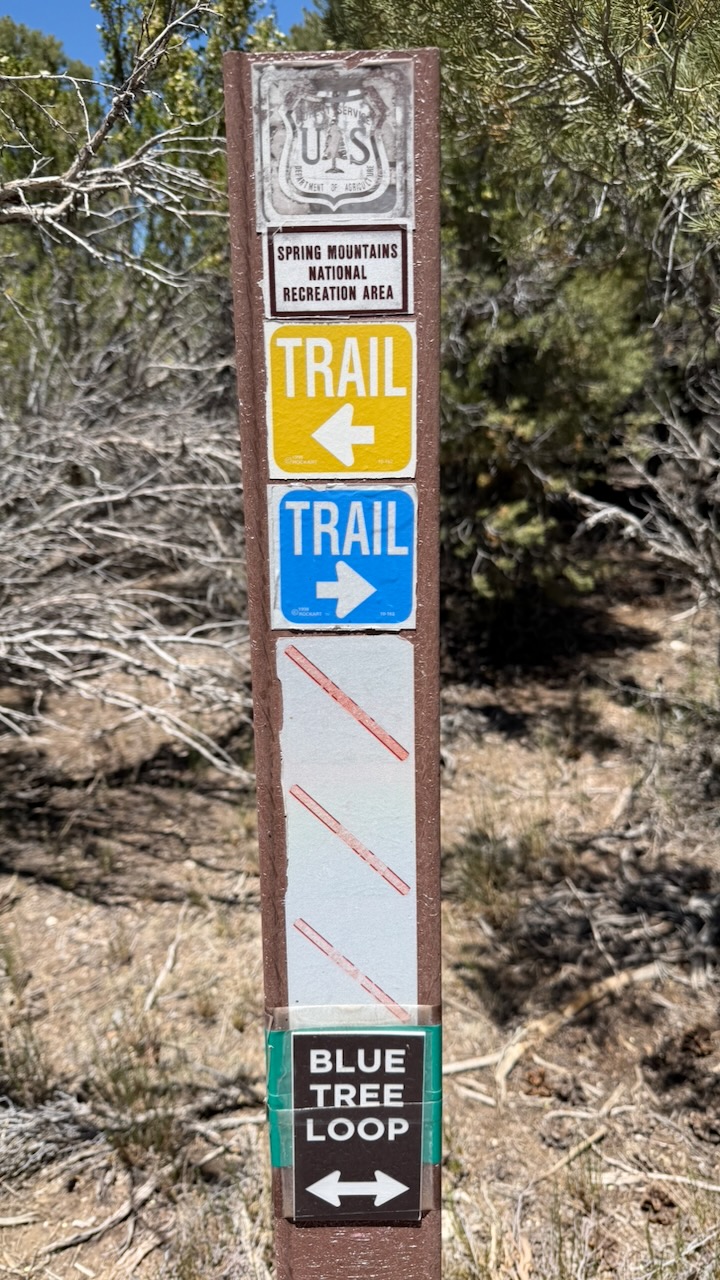
There is signage. But it’s not always clear which way to go when you reach an intersection.
Ticks and Snakes
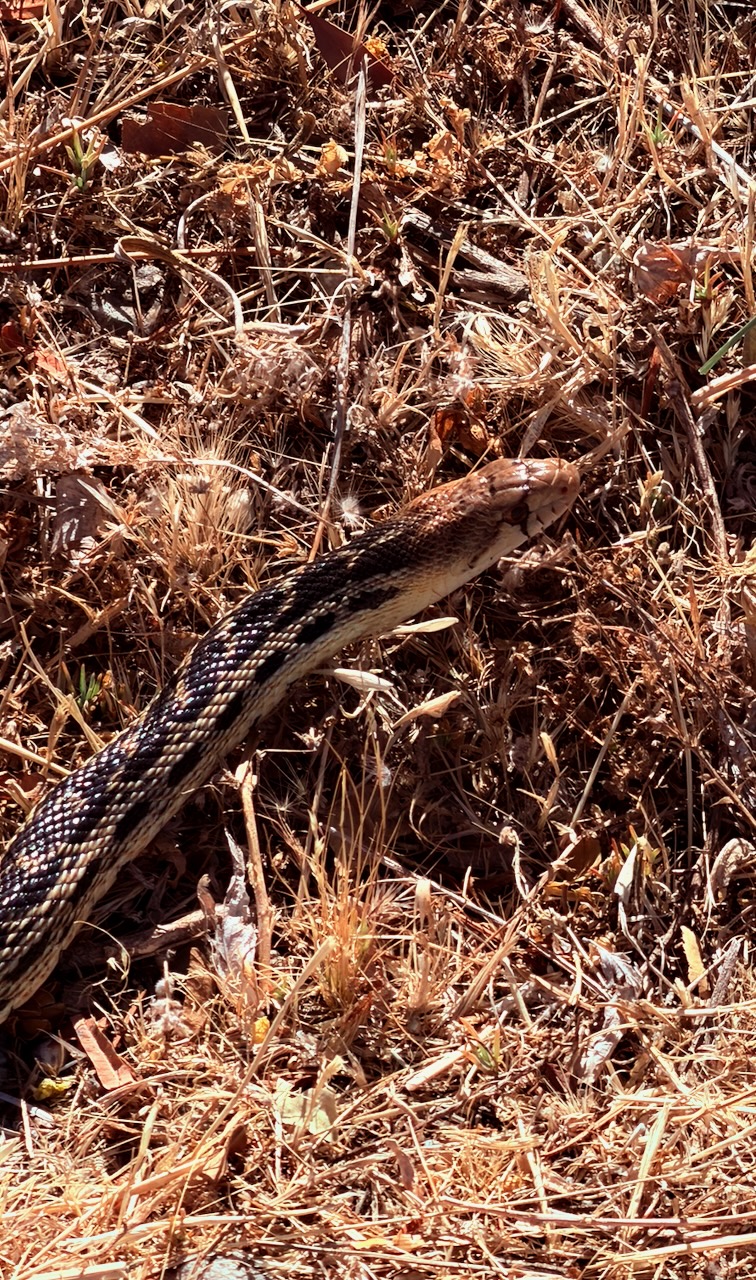
I found one tick on my leg. Removed it before a bite. And saw one tick on a leaf.
It’s an issue, for sure, in southern California. I carried tweezers specifically for tick removal, if necessary.
Only mad dogs and … hikers go out in the midday sun? 😀
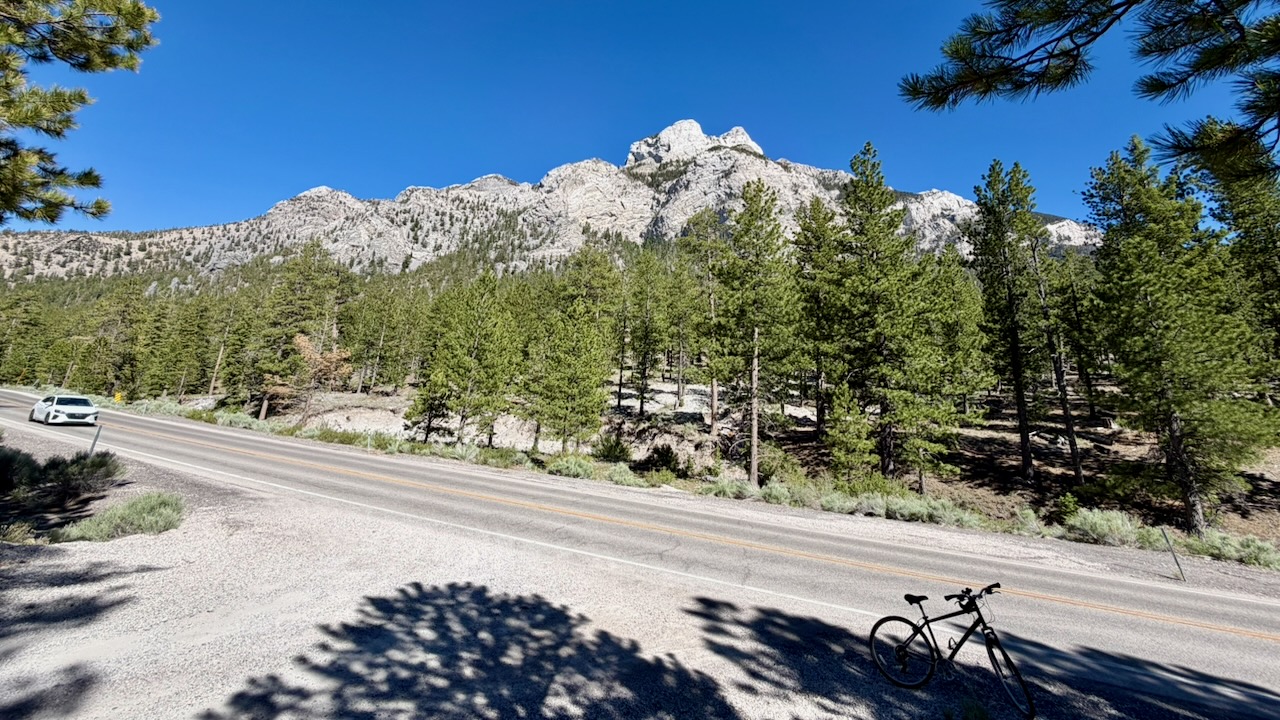
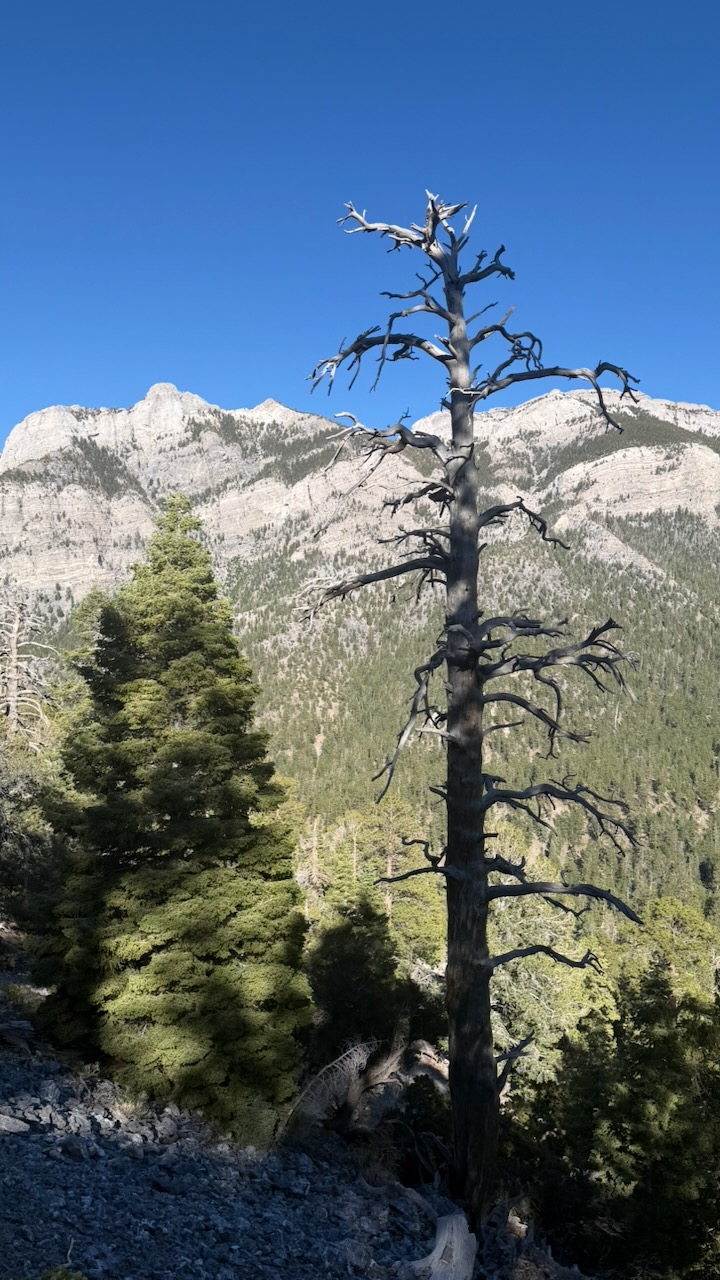
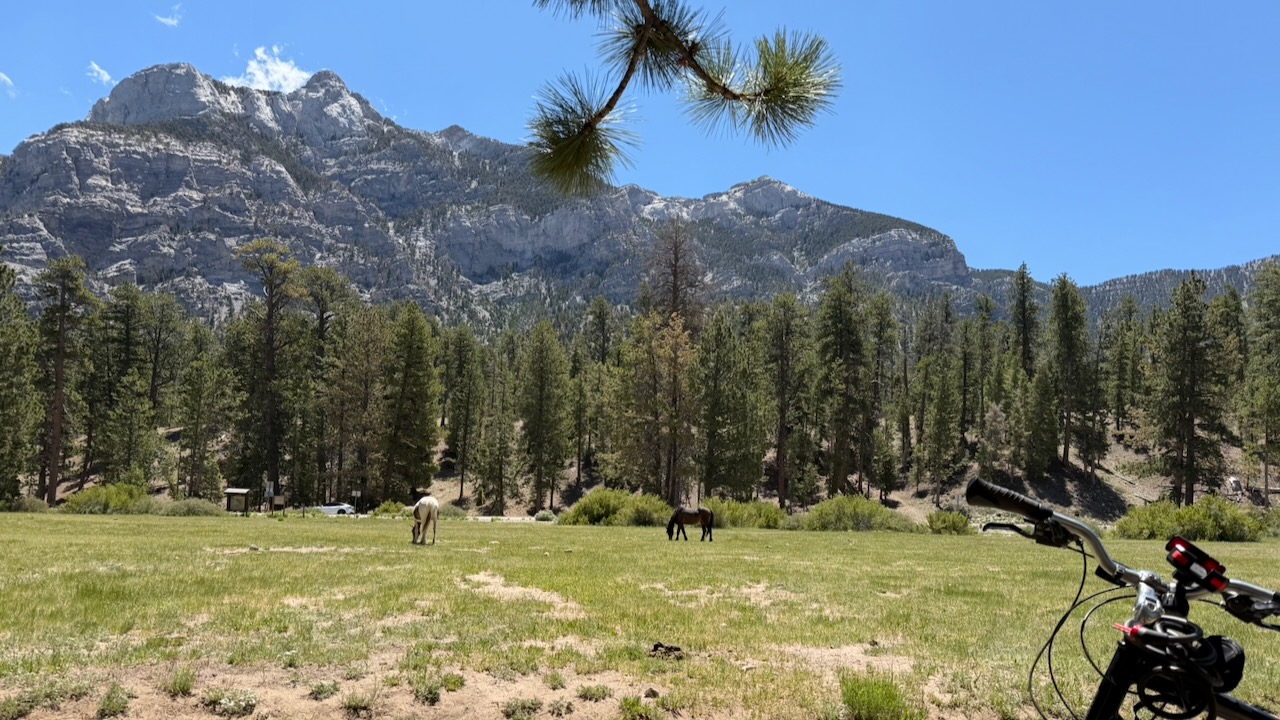
Surprisingly, when Las Vegas is sweltering over 100 Fahrenheit, an hour away you can hike Mount Charleston (11,916 feet or 3,632 m), typically 20°F to 25°F cooler than the city.
Click PLAY or get a glimpse on YouTube. Late June 2026, I tented 4 nights. This video is a compilation of several day hikes.
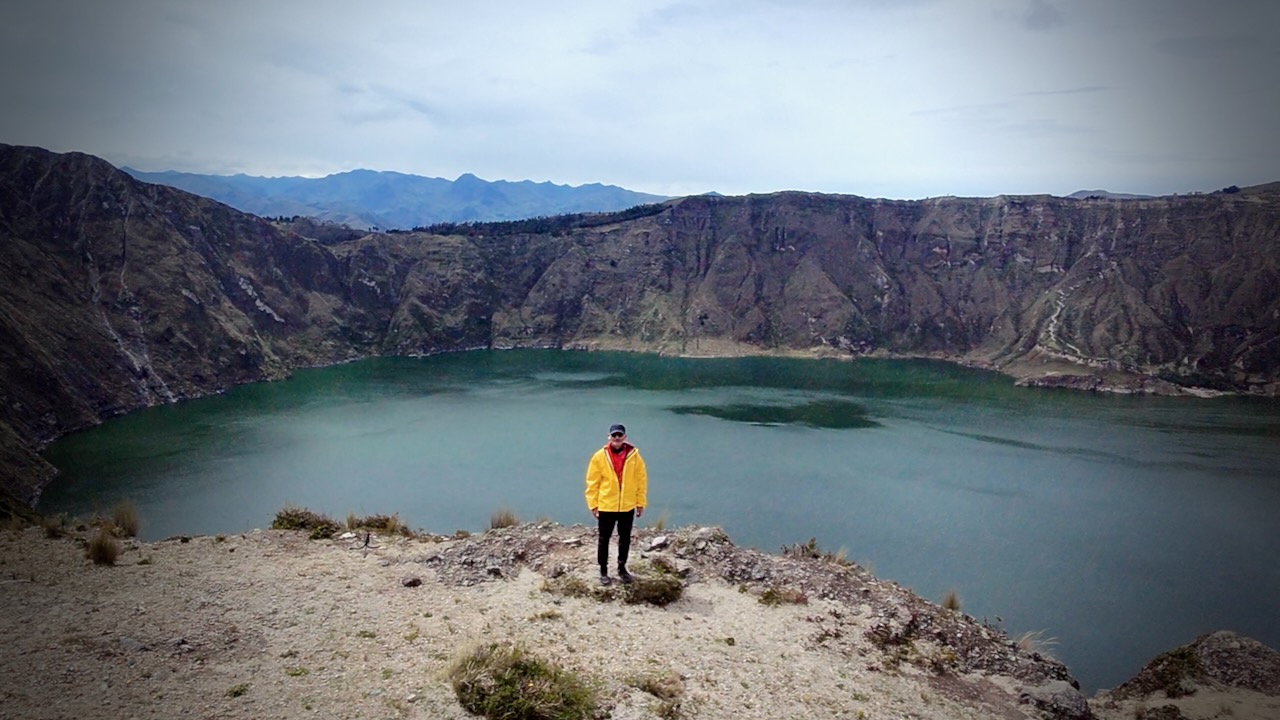
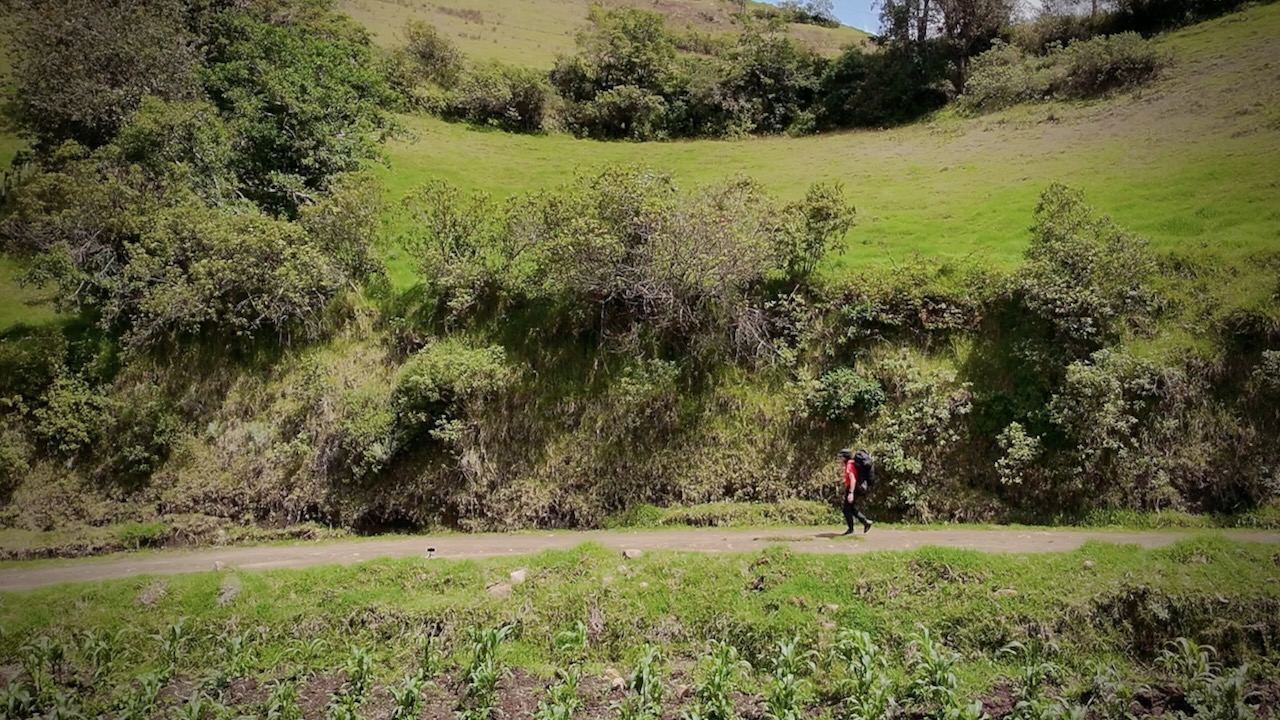
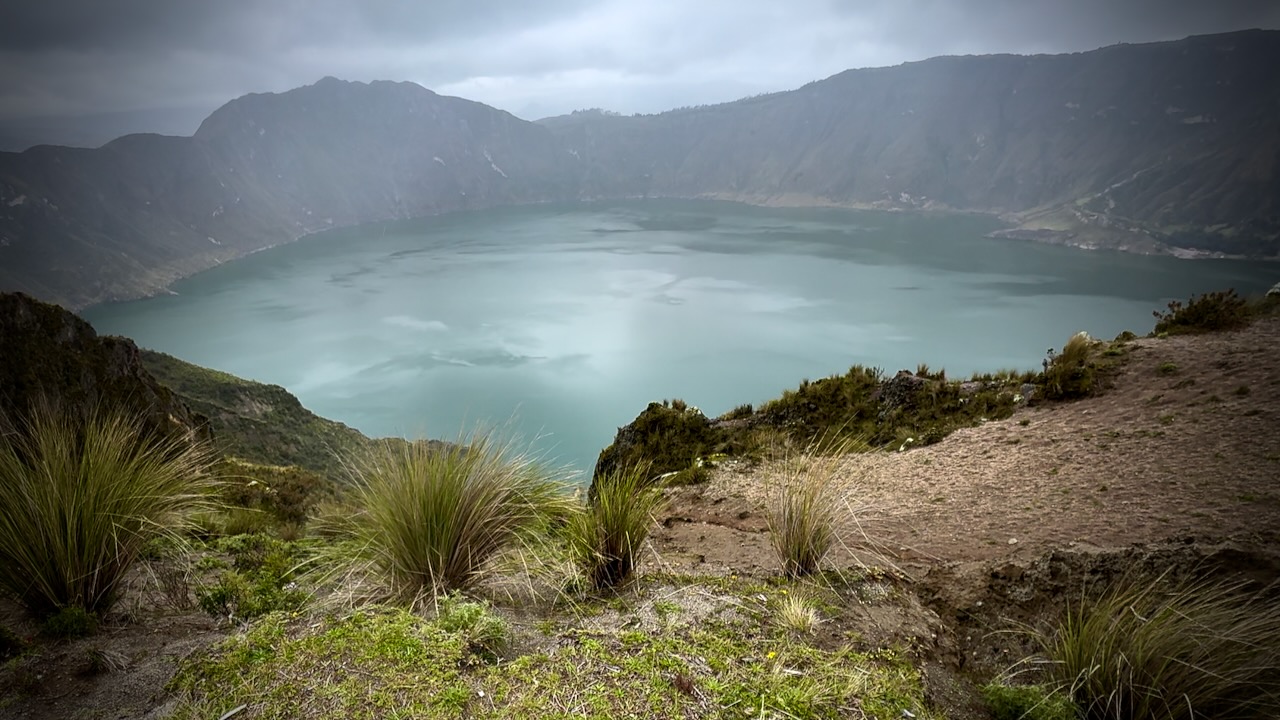
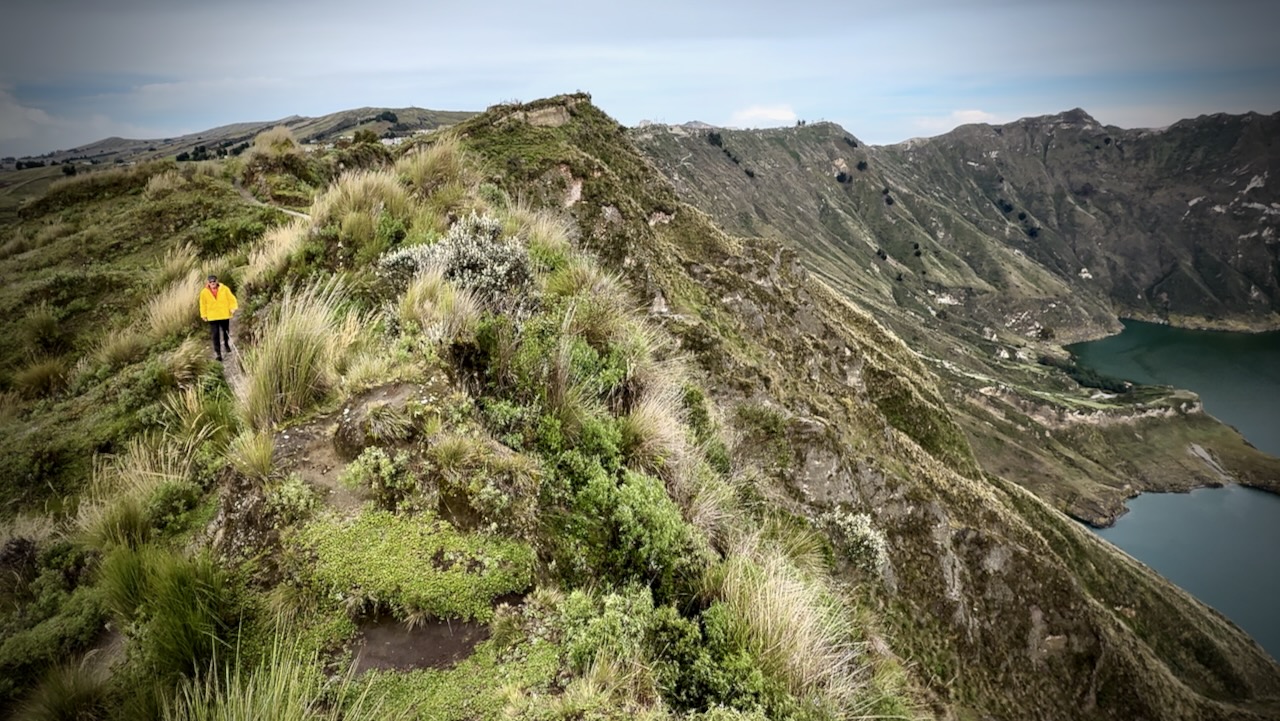
The Quilotoa Loop, climbing to a 3-kilometre (2 mi)-wide volcanic caldera, is the most famous multi-day hike in Ecuador.
34.8km
2,480m elevation gain
4 days, 3 nights
It’s essential that you be acclimatized for altitude before climbing with a full pack. I’d been in Ecuador over 2 weeks before starting, most of that time above 3000m.
Quilotoa Crater Rim
In 2026 almost every hiker I met was using the AllTrails app offline to find their way. Our back-up was the Maps.me app offline which includes more trails, more options.
Despite those apps, we all managed to miss multiple side trail turn-offs every day. 😀
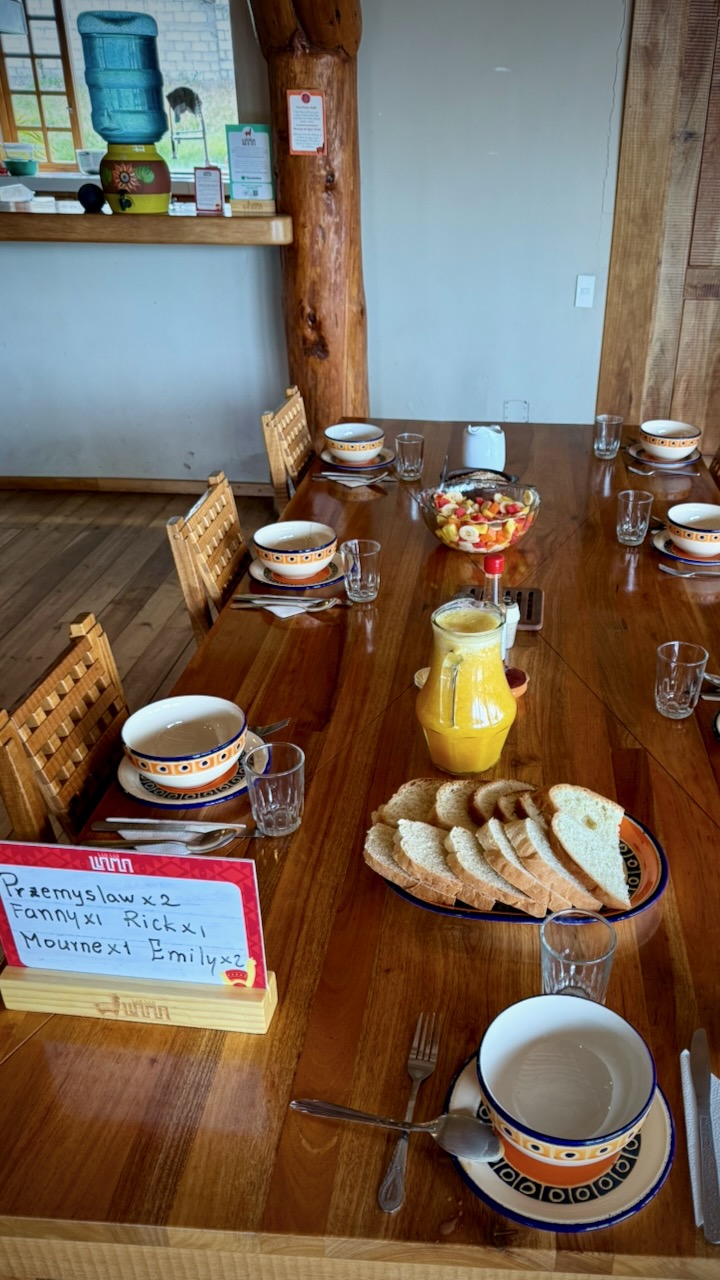
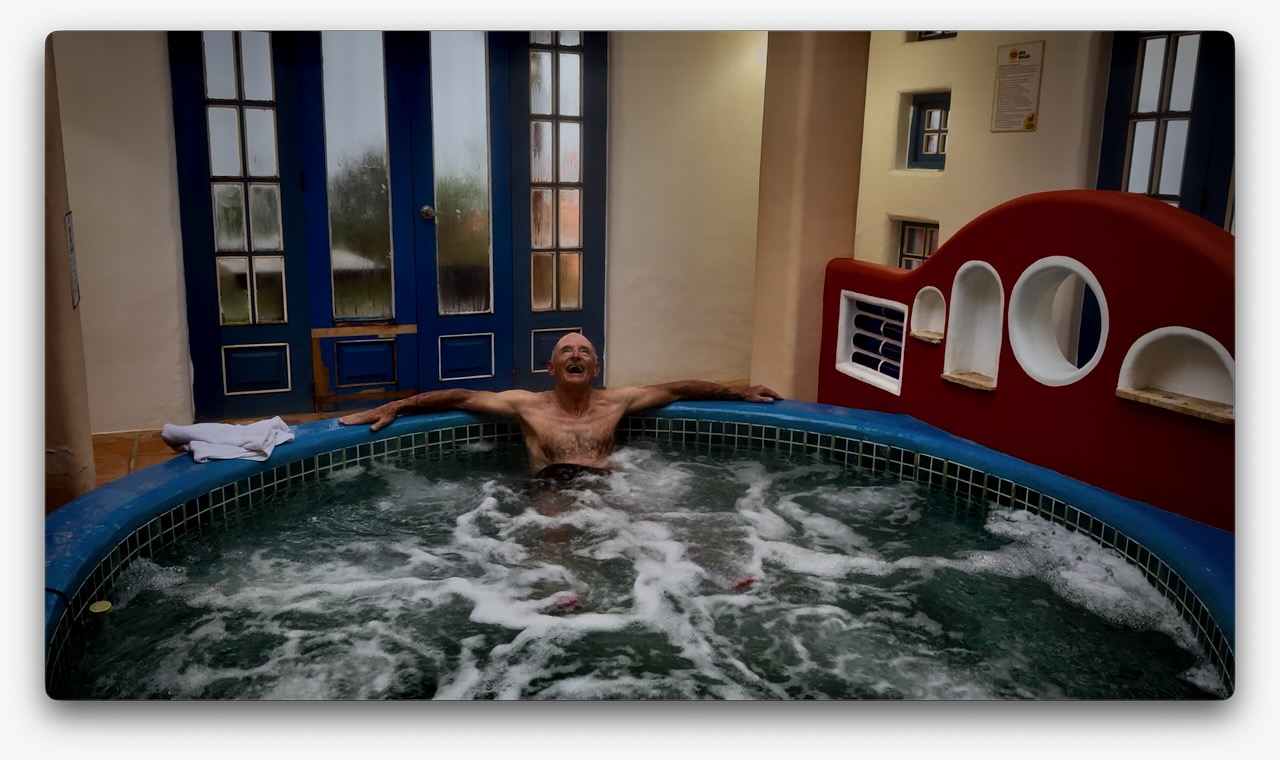
Most hostels cost about $20 for a private room including a complete breakfast and dinner. Hot or warm showers. Good wifi. Jacuzzi and sauna extra charge. A fantastic bargain.
Though I carried a tent as emergency back-up, there’s no way I was going to use it with so many great, inexpensive hostels available.
Weather is a huge factor. I hiked in early February, one of the best months. But had rain almost every afternoon. The rule here is to do as much hiking as possible early in the day.
Farm dogs tend to bark at strangers. At times you must pretend to throw something at them to dissuade.
Typical 3-Day Itinerary (Sigchos to Quilotoa)
Most hikers prefer this direction to save thecrater lakefor the end and to acclimatize more gradually.
Sigchos (2850m) to Isinliví (2950m).
Distance: ~9.9 km (6.1 miles)
Time: 4–7 hours
Details: This is the easiest day, involving a descent into the Toachi Canyon and then an ascent to Isinlivi. The trail goes through lush farmland and past small communities.
Isinlivi to Chugchilán (3200m)
Distance: ~11.8 km (7.3 miles)
Time: 4–8 hours
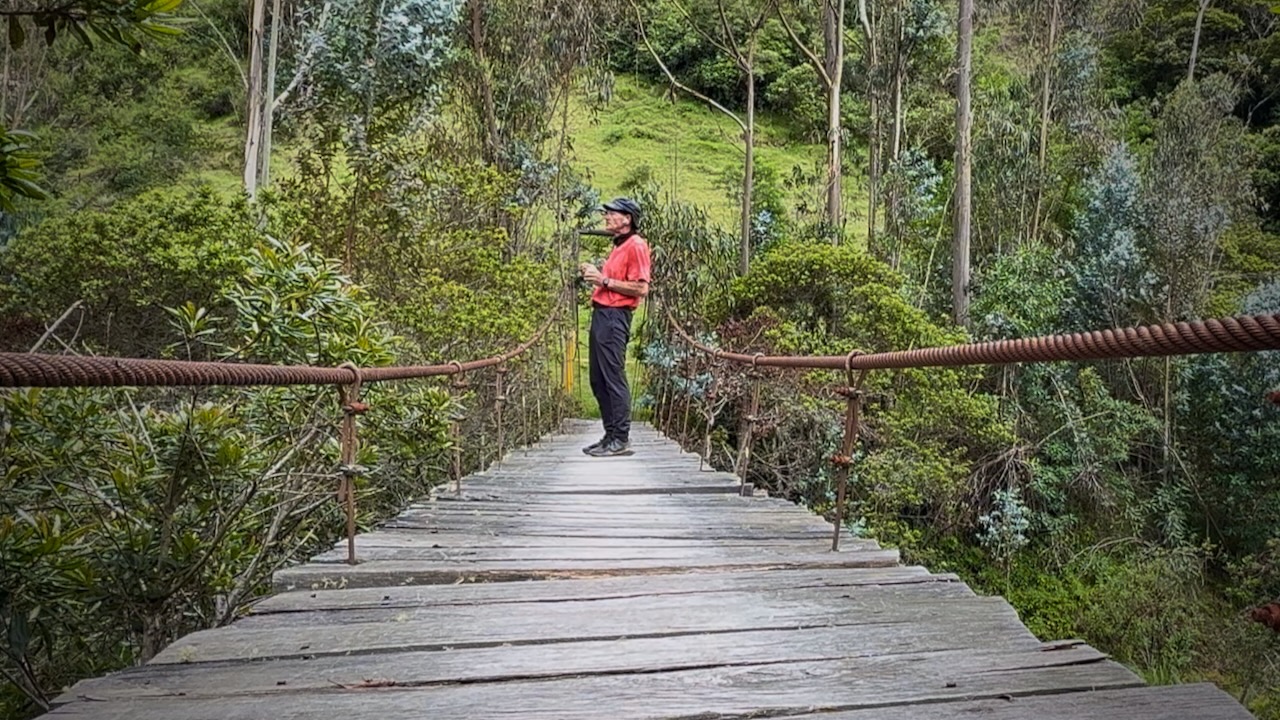
Details: A harder day with two major climbs and a suspension bridge crossing at the bottom of the valley. The hike takes you through more dramatic canyon landscapes.
Chugchilán to Quilotoa (3800m)
Distance: ~13.2 km (8.2 miles)
Time: 5–9 hours
Details: The most challenging day due to the significant elevation gain at high altitude. The trail gradually climbs up to the rim of the Quilotoa crater, offering stunning views of the lake at the finish.
Once at Quilotoa village, most hikers catch a bus back to Latacunga. I stayed overnight in the village to be able to complete the additional 10.8km Quilotoa Crater Circuit next morning. Not easy. That’s an extra 795m elevation gain.
Day 1
I stayed one night in Latacunga, gateway city to the Quilotoa Loop. Hostal Café Tiana was excellent. I opted to carry ALL my gear rather than leave anything behind at the hostel.
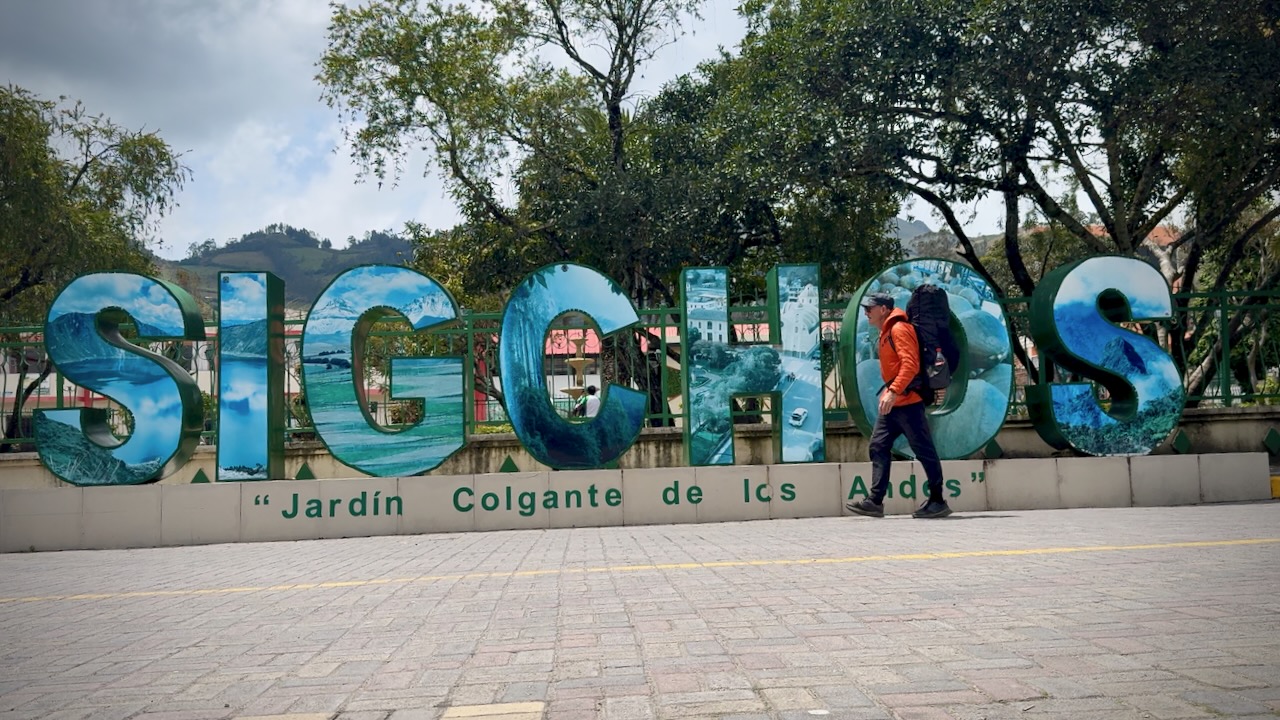
Next morning caught the bus toSigchos. And began the walk to Isinliví.
I was enjoying Llullu Llama Mountain Lodge — so didn’t start walking until 11am. Not smart. You should get going as early as possible each day.
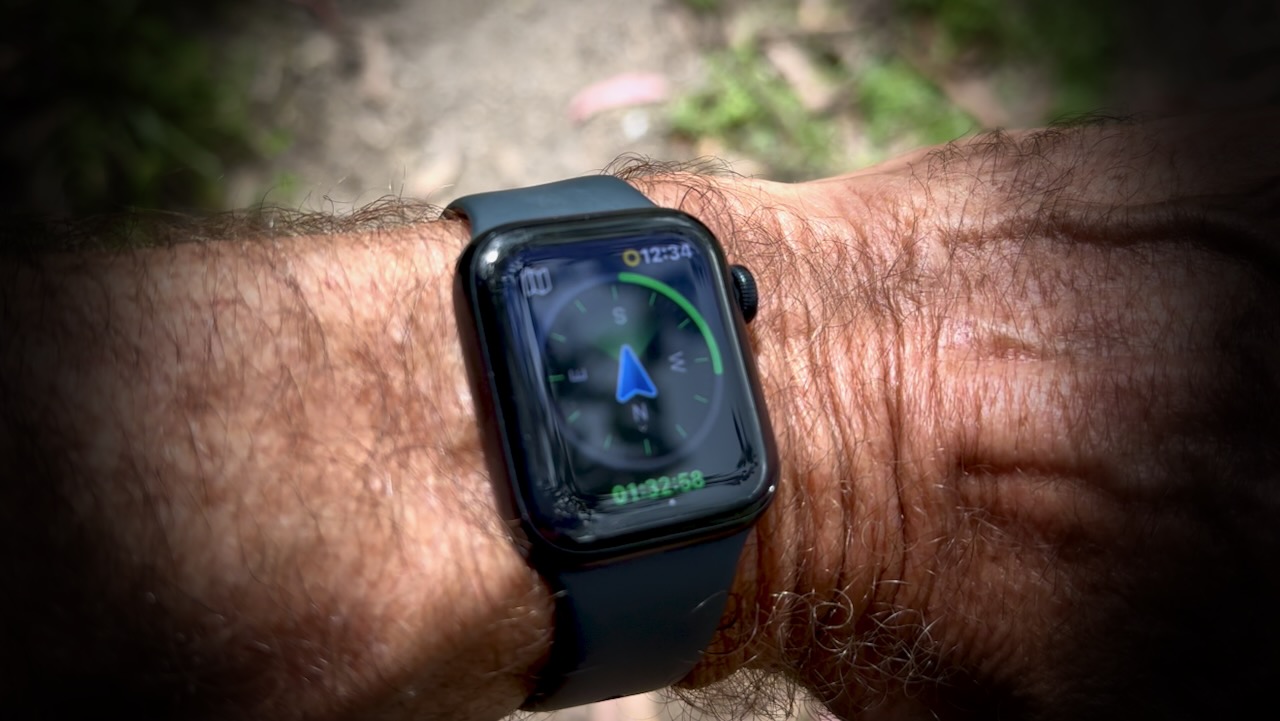
As we’d all missed many small trail turn-offs the day before, this time I opened the AllTrails app on my Apple Watch. In general, the green means you’ll be turning in that direction. It did help. I missed fewer turns. BUT this does kill the watch battery quickly.
Screenshot
Day 2 was tougher and wetter.
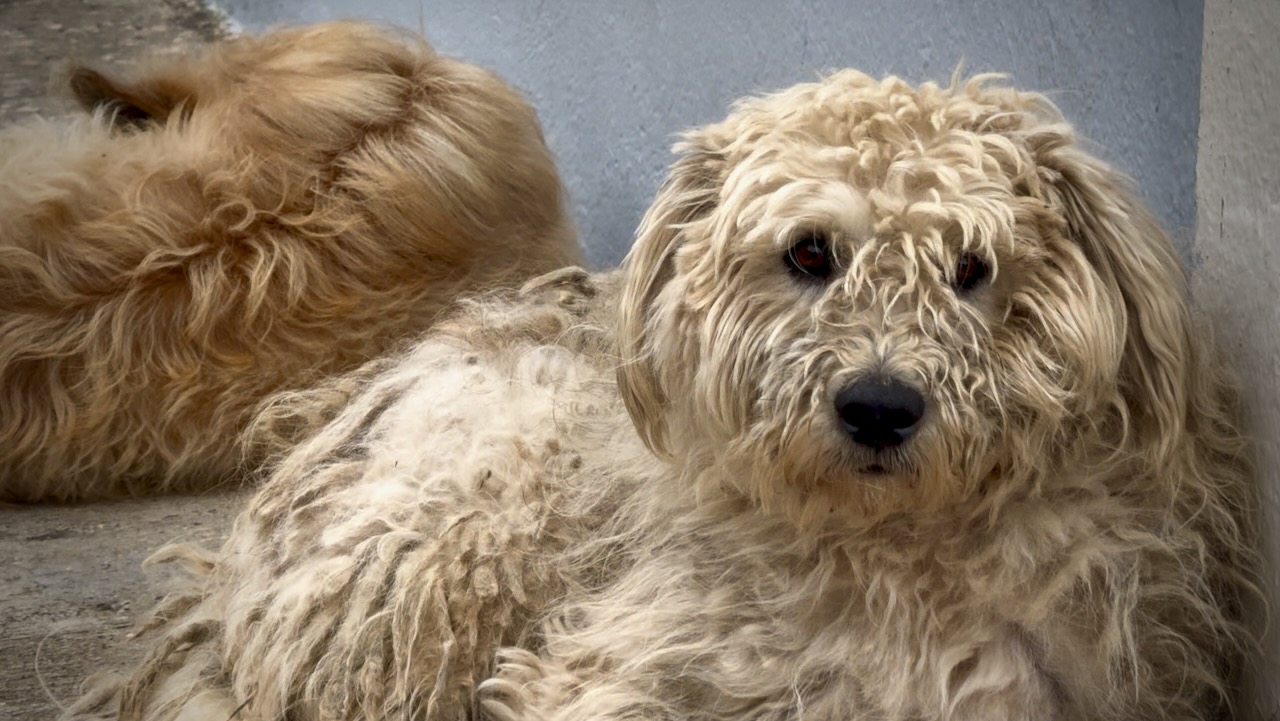
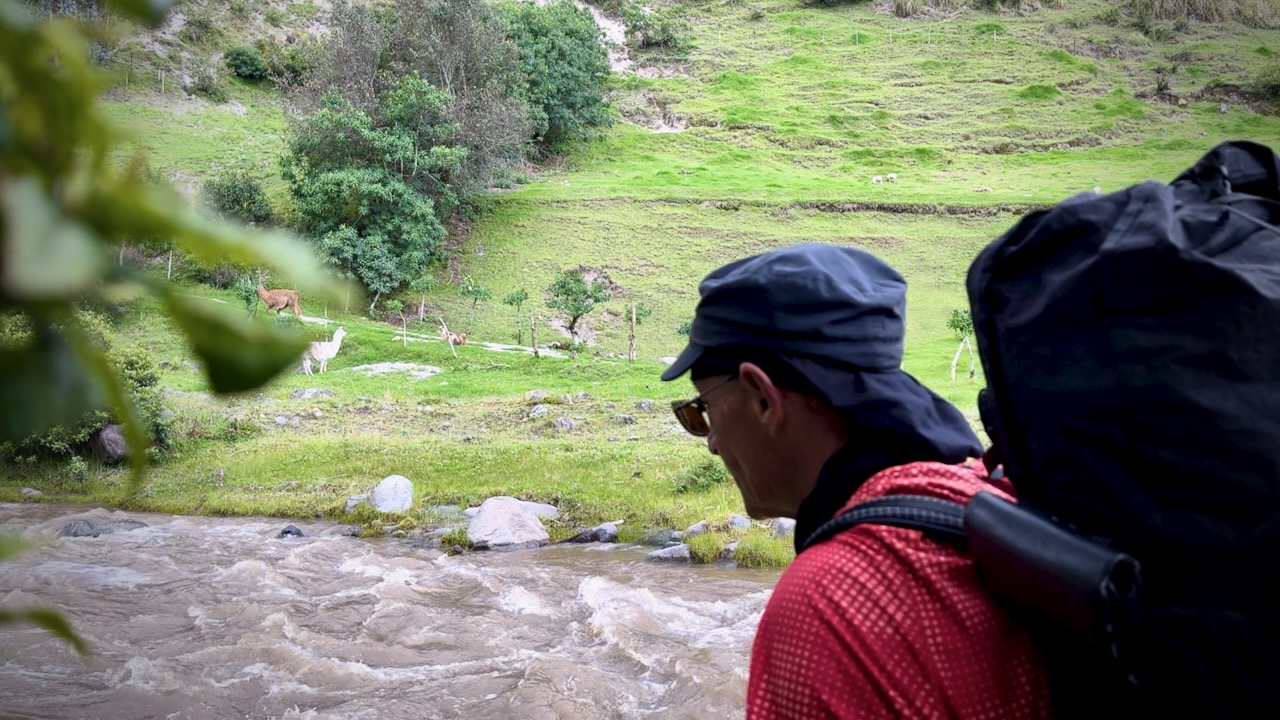
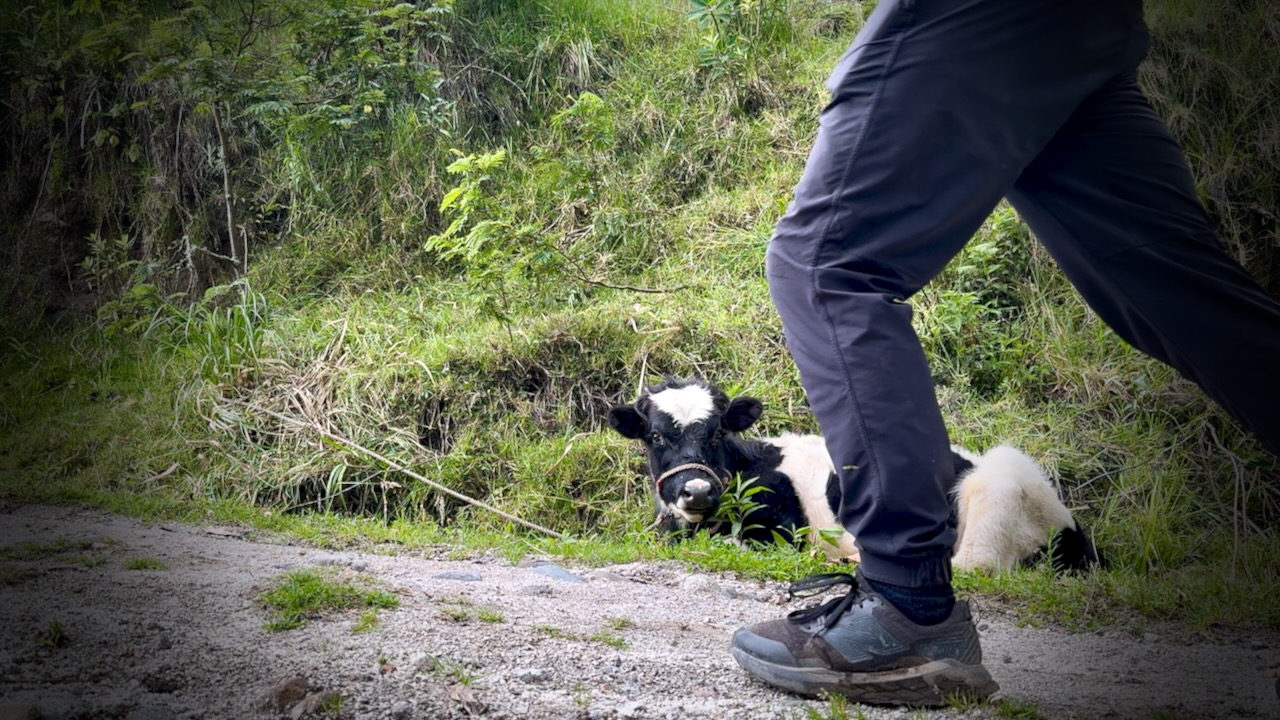
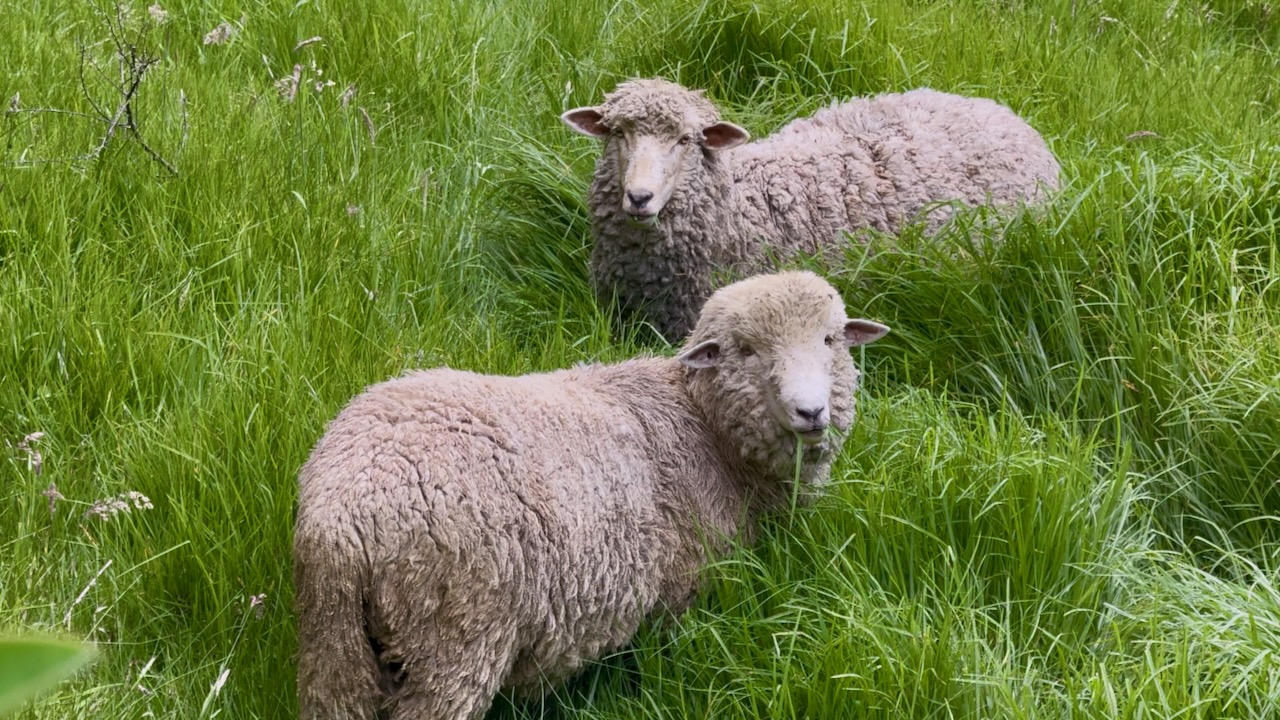
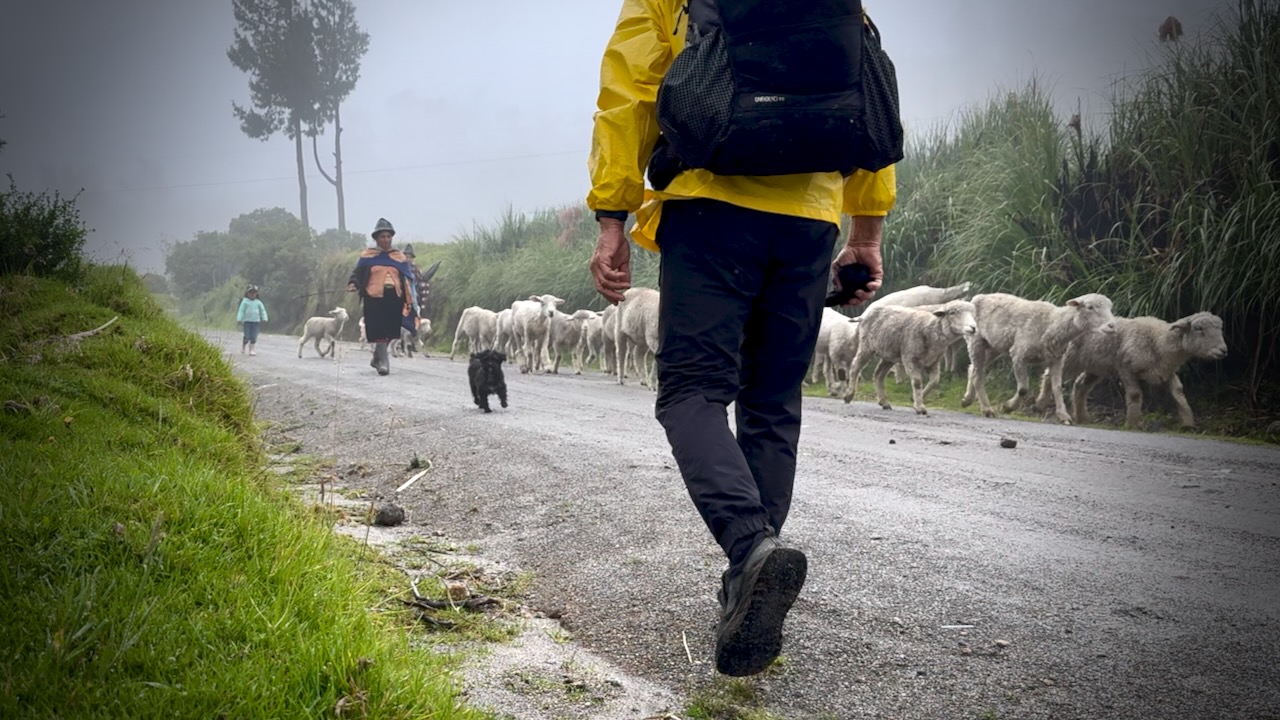
I saw few hikers each day as we were all walking the same direction. BUT was never lonely. Domestic animals are everywhere on this trail.
The sun was out for several hours. Dangerous near the equator. It’s easy to sunburn. I should have covered-up up better.
Sunburn victim.
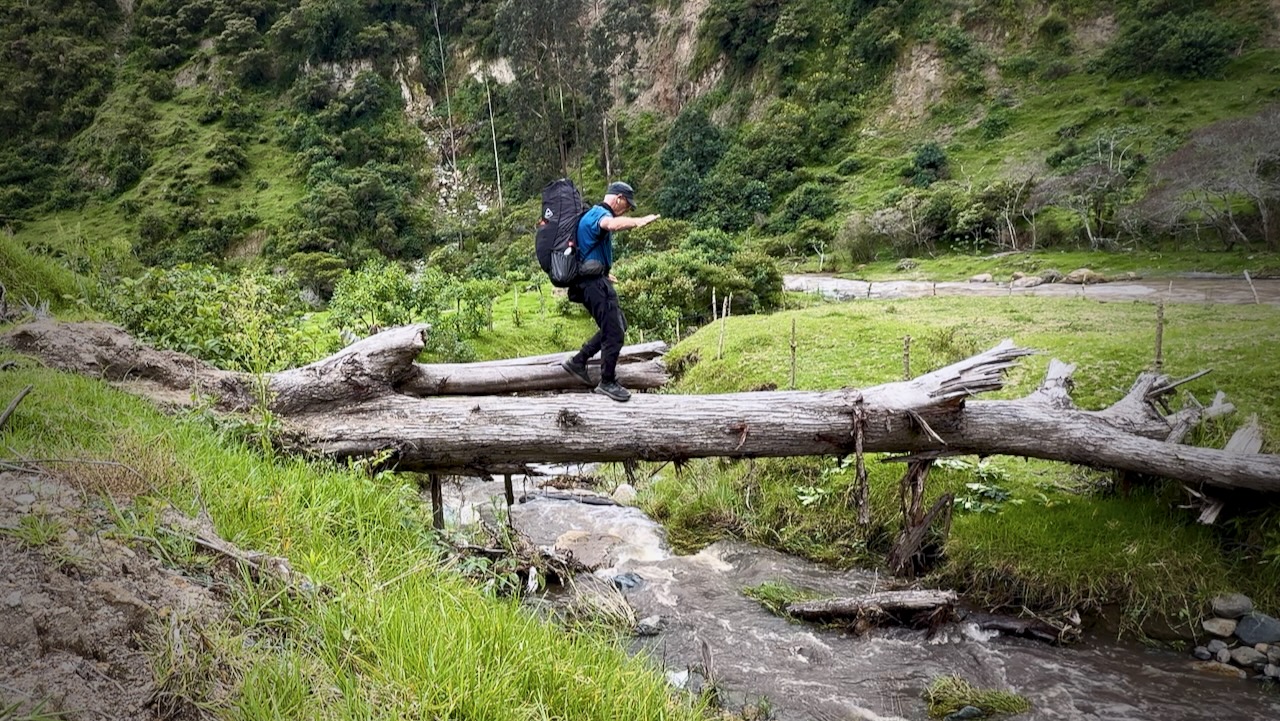
Peanut butter for lunch on the bridge.
As is typical of the weather here, rain began in the early afternoon. My phone ran out of juice and would not be recharged by portable battery because the cable was wet. My Apple Watch died.
Without electronic navigation, I could really have gotten lost.
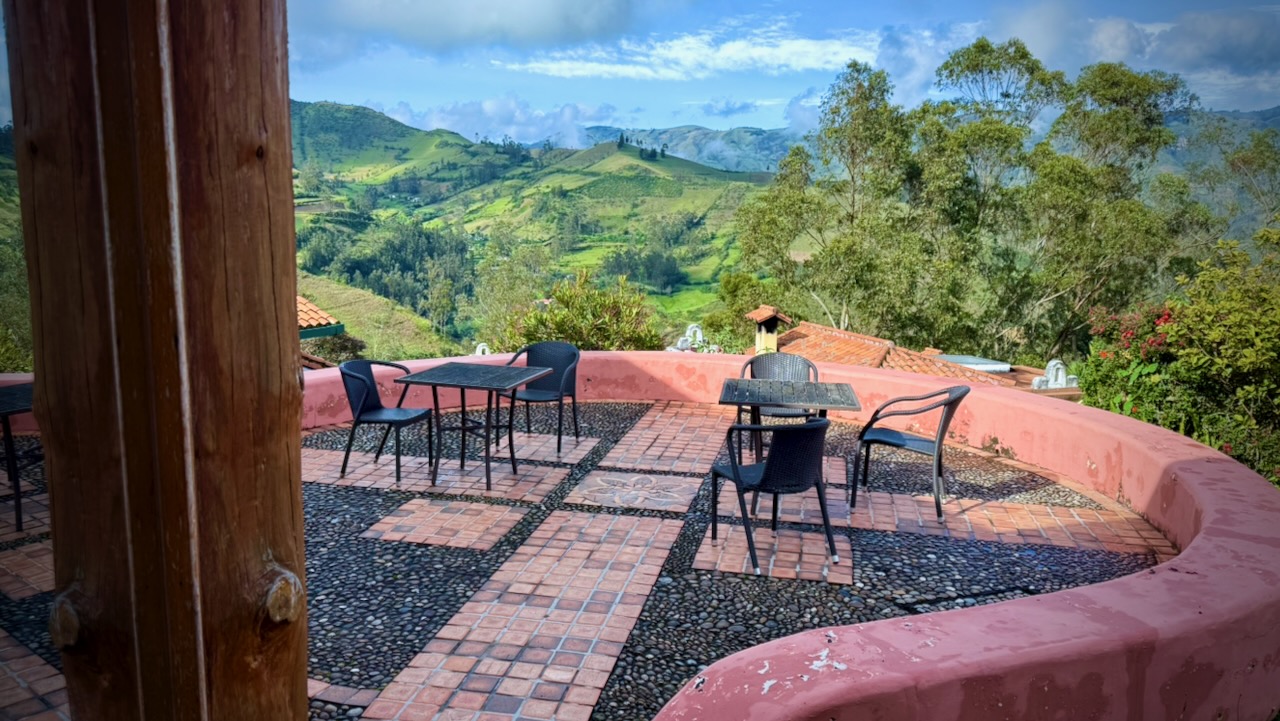
Even worst, the last part of day 2 has multiple possible routes. I ended up on one which was stunning, but more difficult. Somehow I still made it to Chugchilán, a larger town. We stayed at the Cloud Forest which featured a Sauna.
Day 3
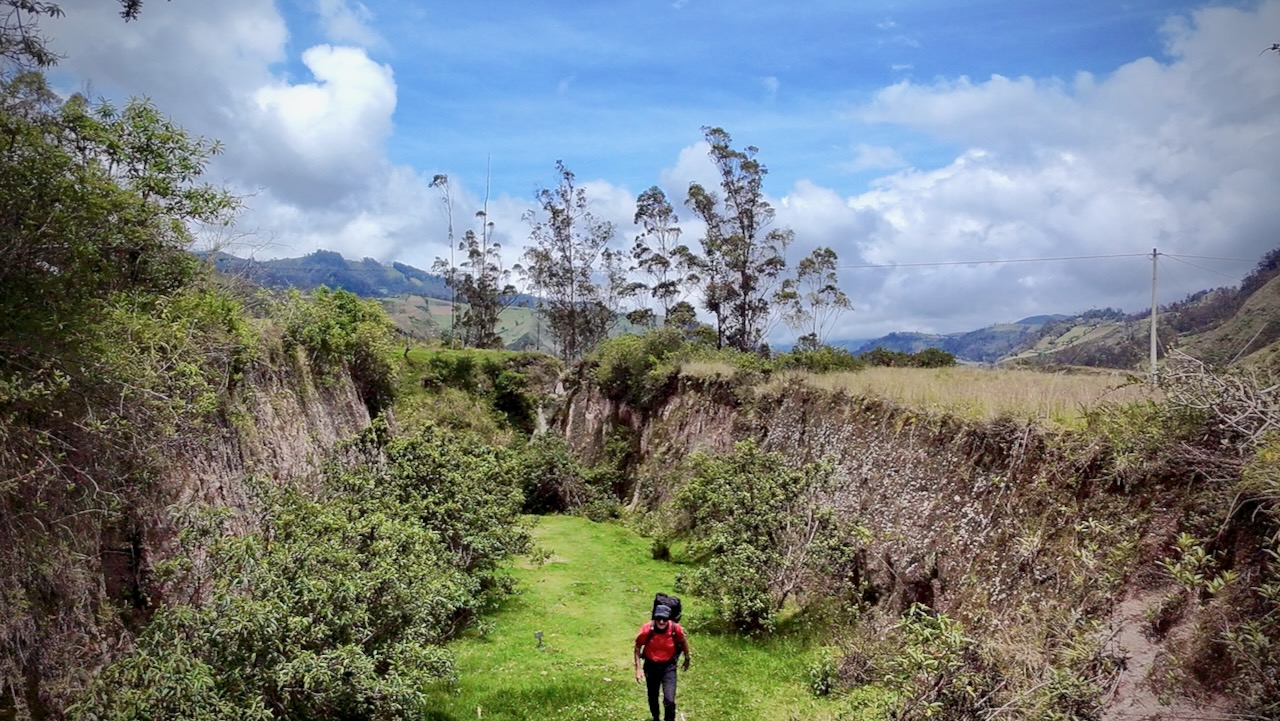
Having learned my lesson, I started early.
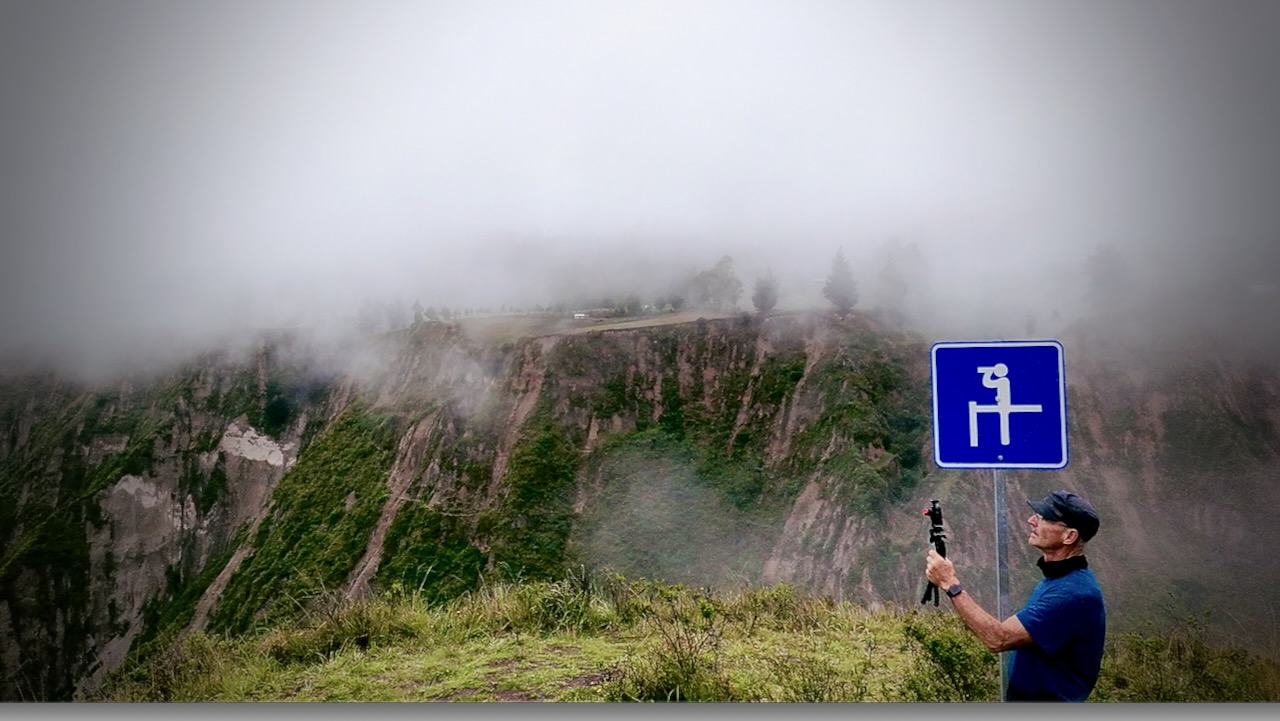
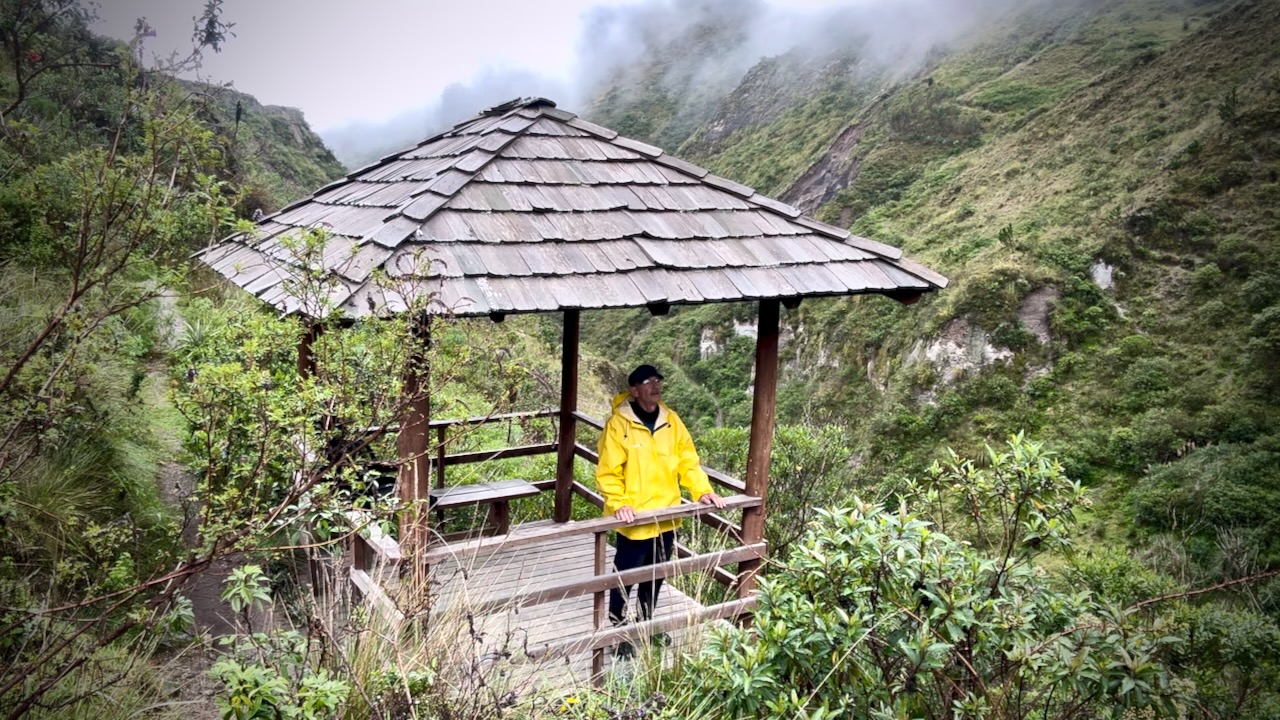
As elevation increases, I had more cloud.
Hikers debate which is tougher ➙ day 2 or day 3. Both are challenging.
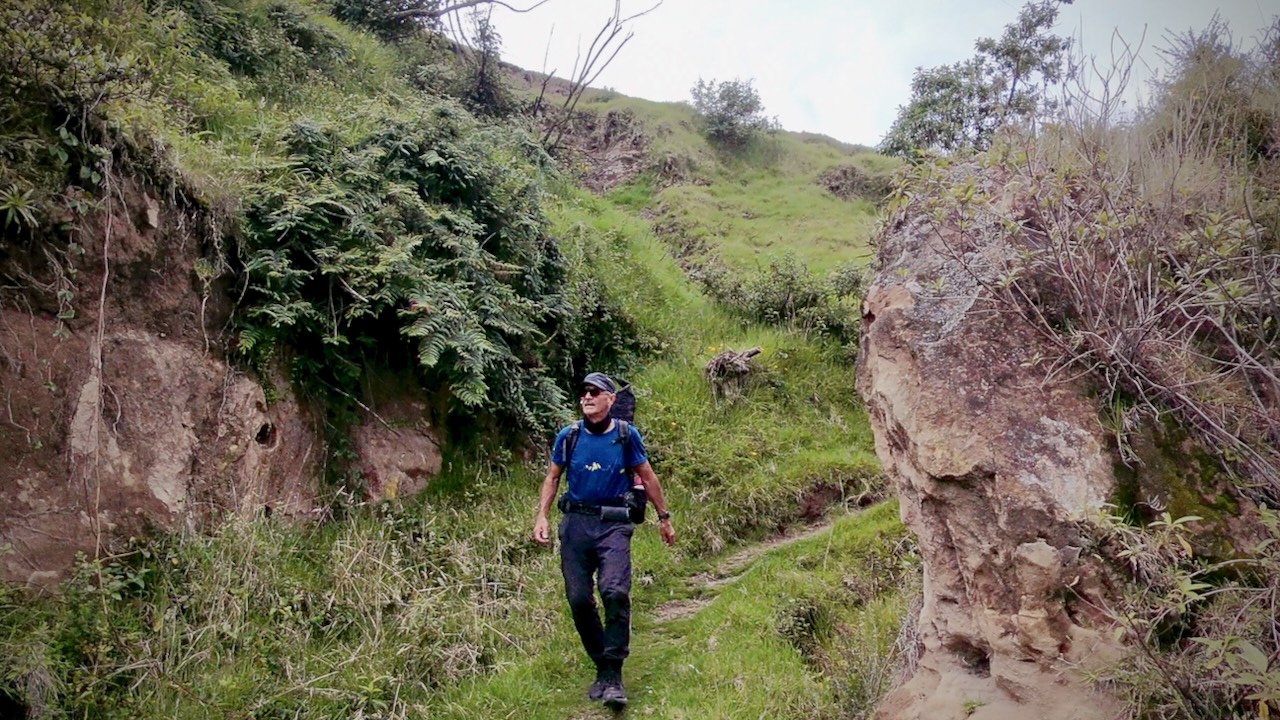
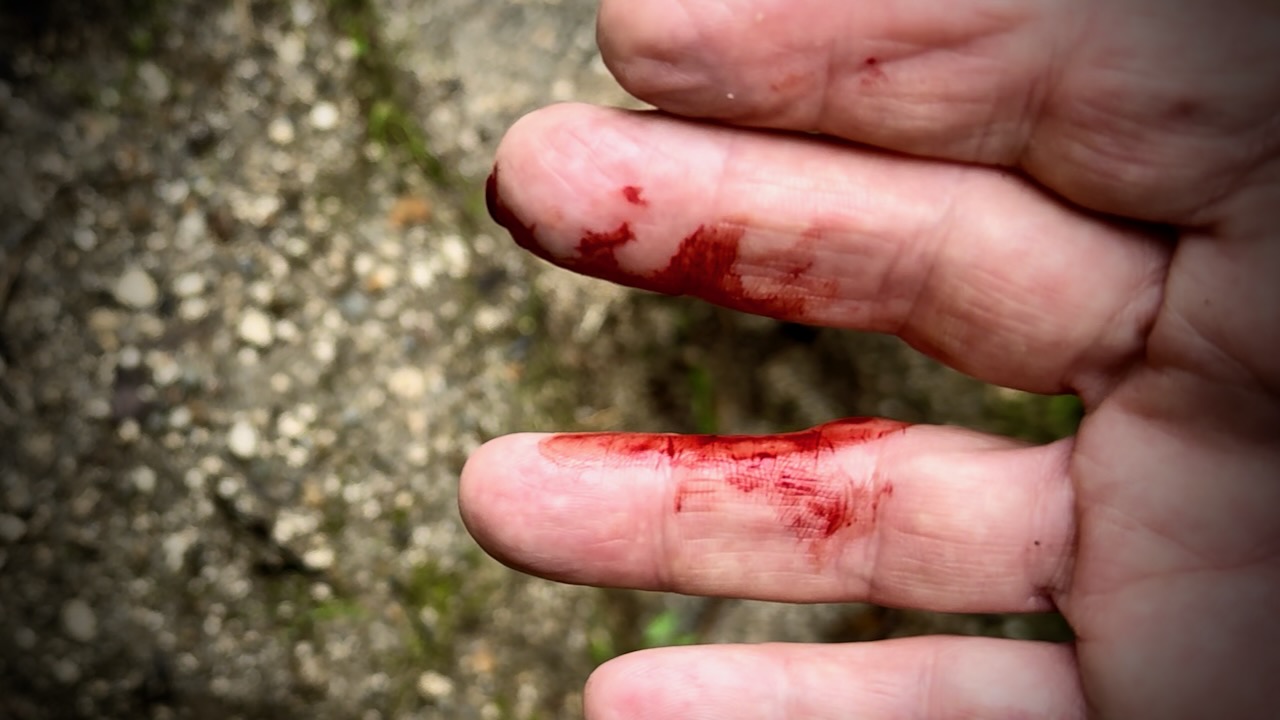
My fingers were bleeding at least 3 times. Some of the vegetation is thorny.
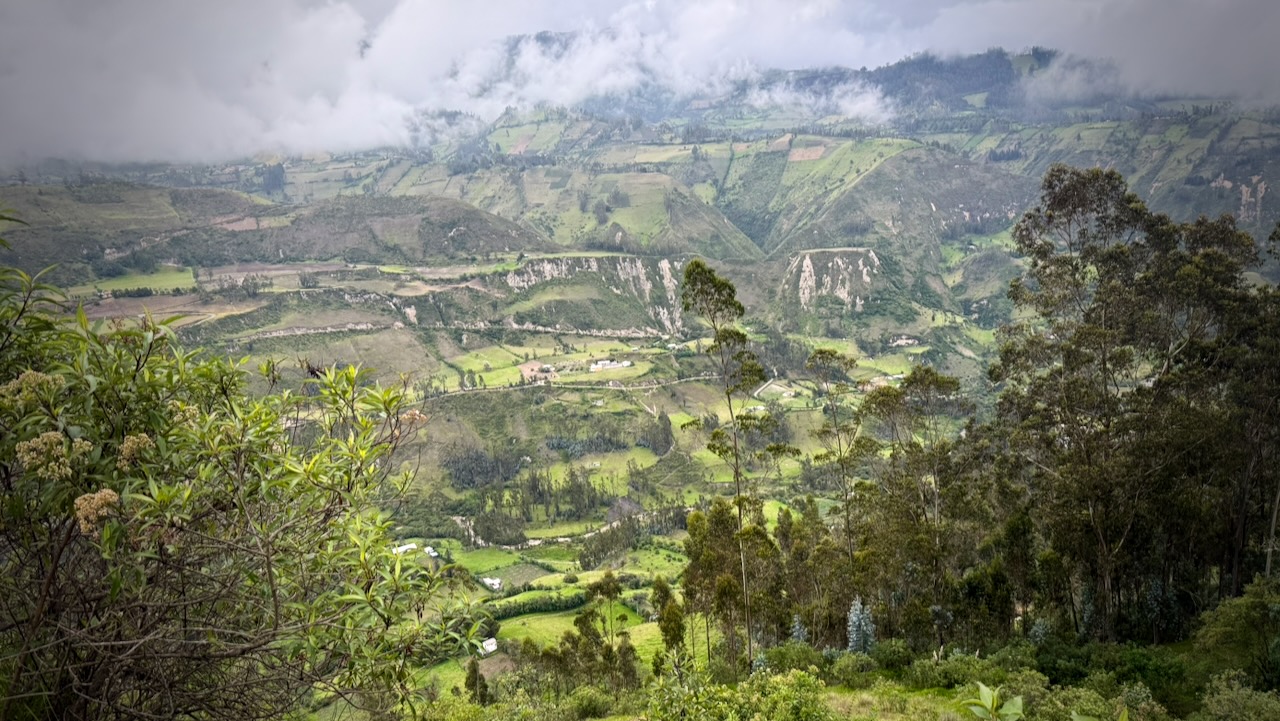
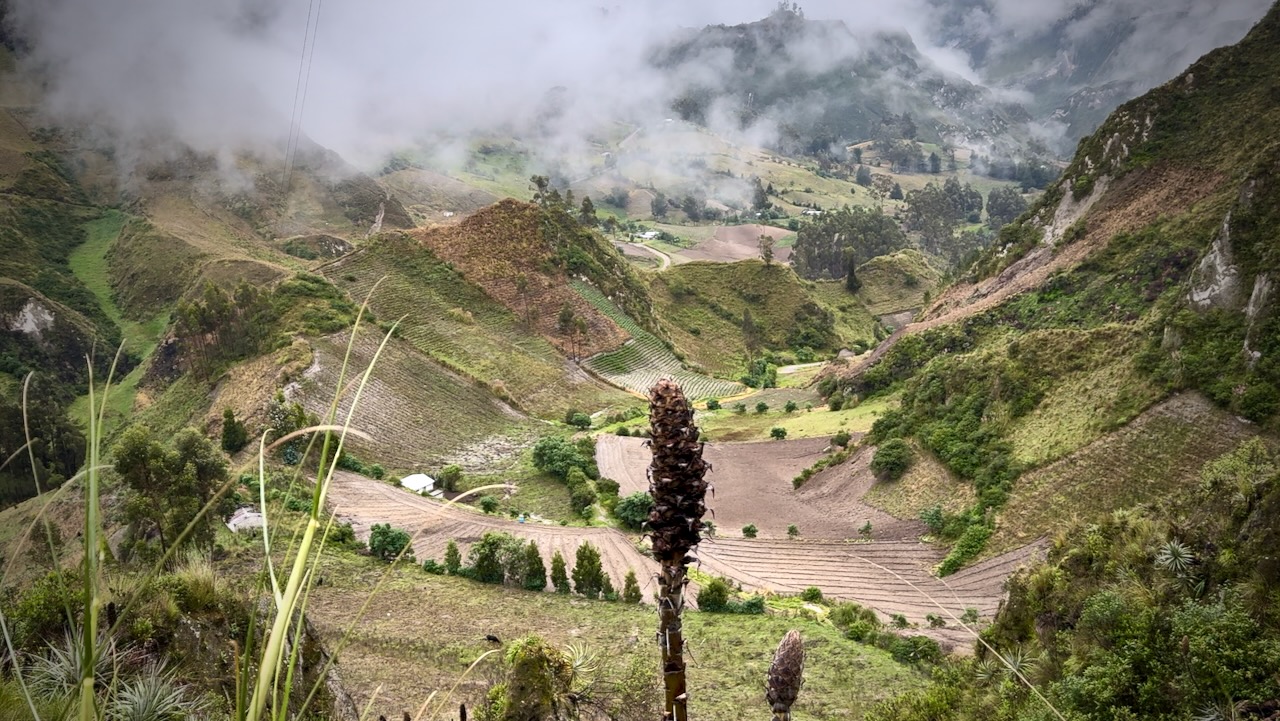
There are some astonishing valley vistas this day.
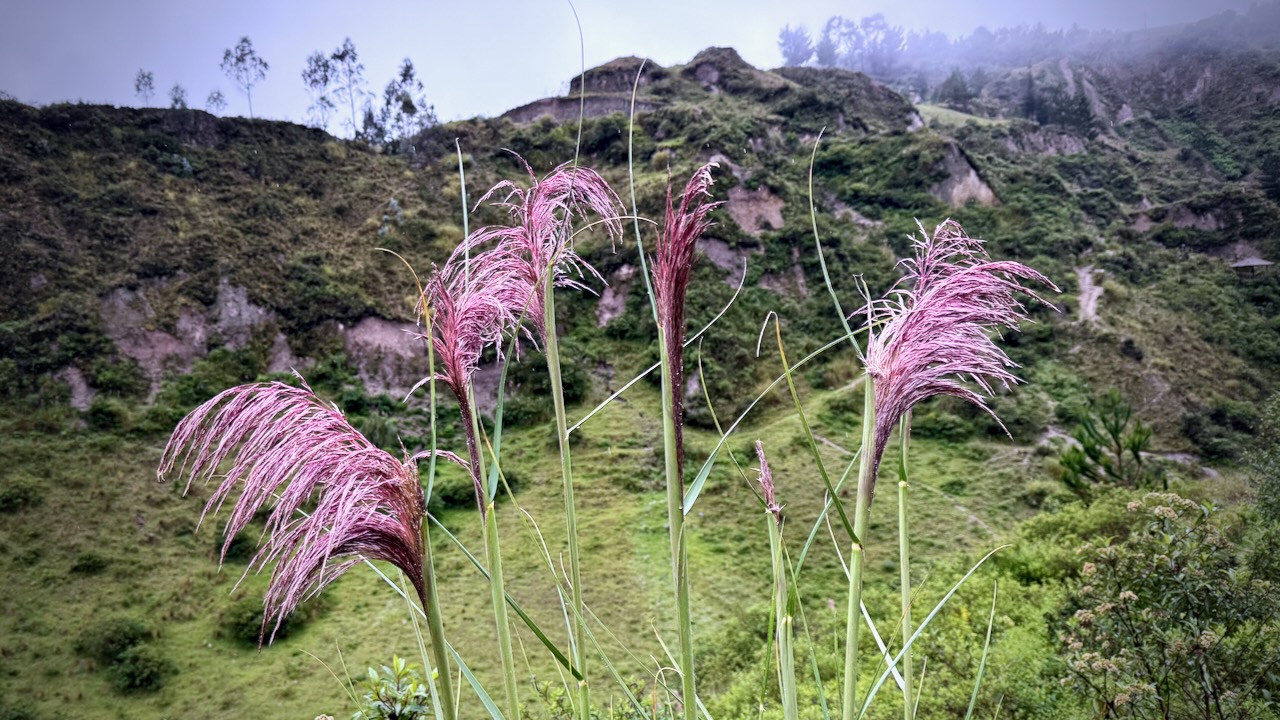
Vegetation does change with elevation.
Rush hour.
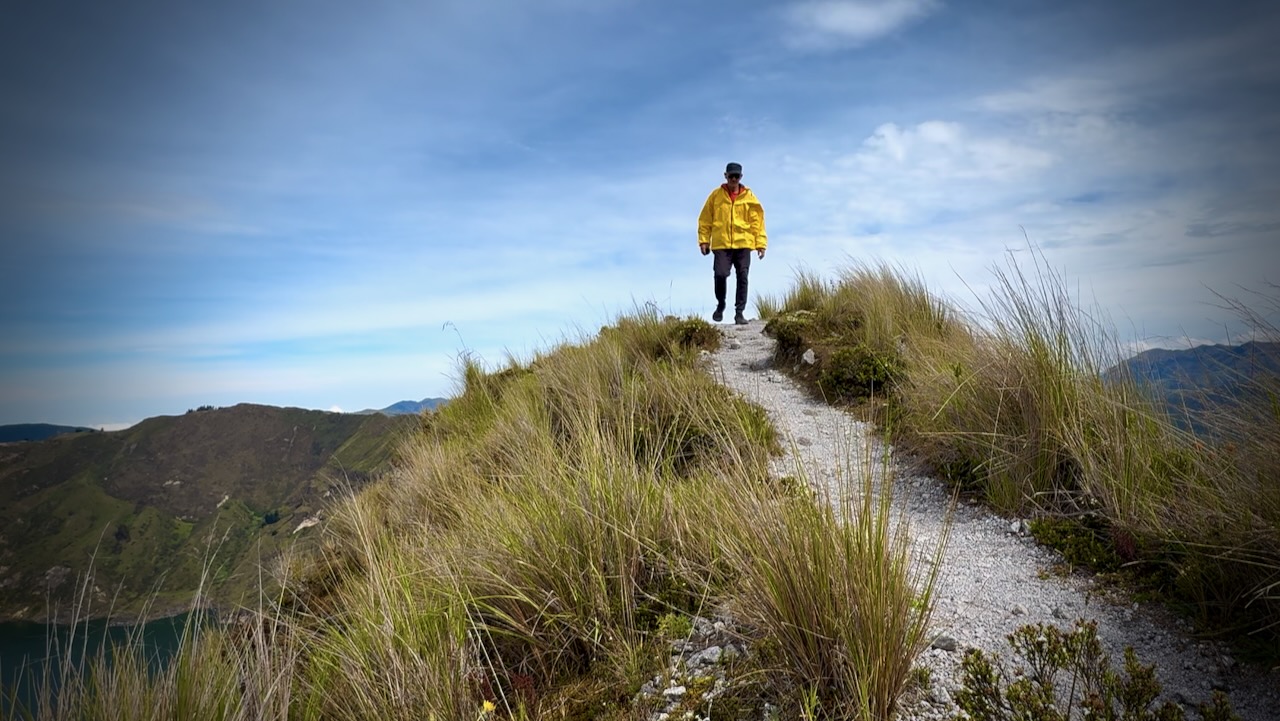
Celebration time when finally reaching the crater ridge.
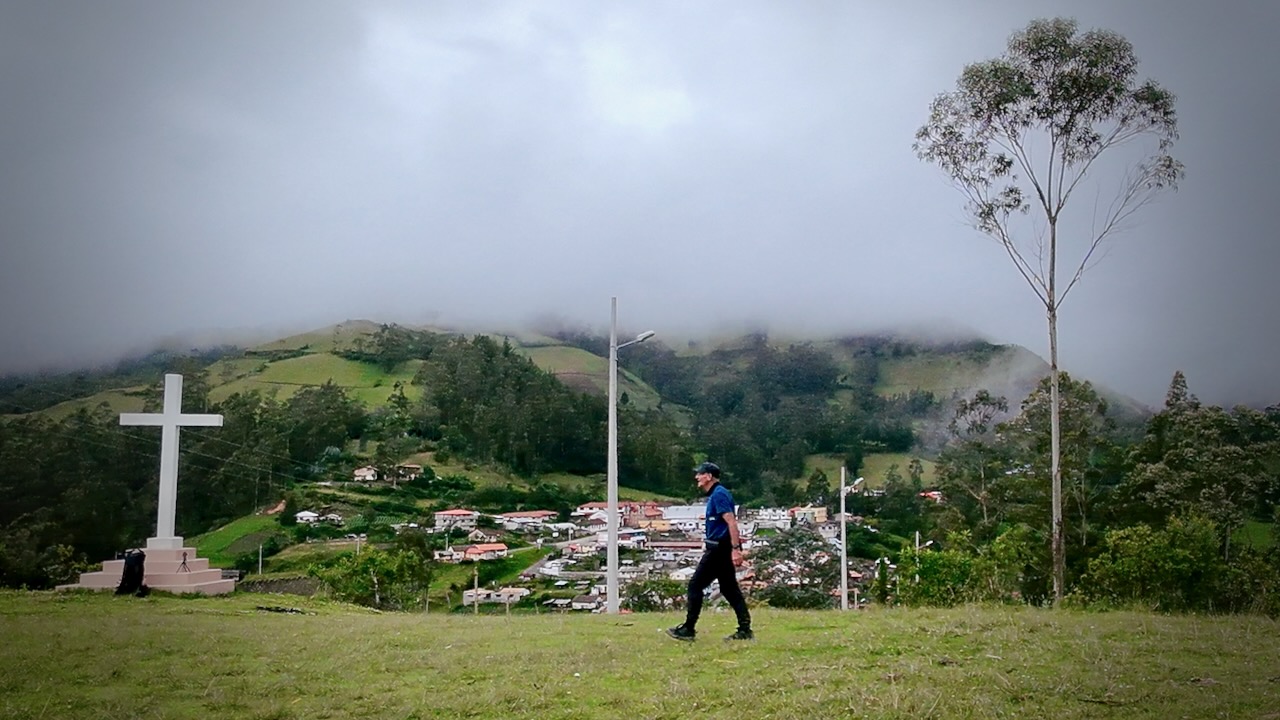
From this point, it’s still about an hour’s walk to Quiloto village, a 100% tourist trap.
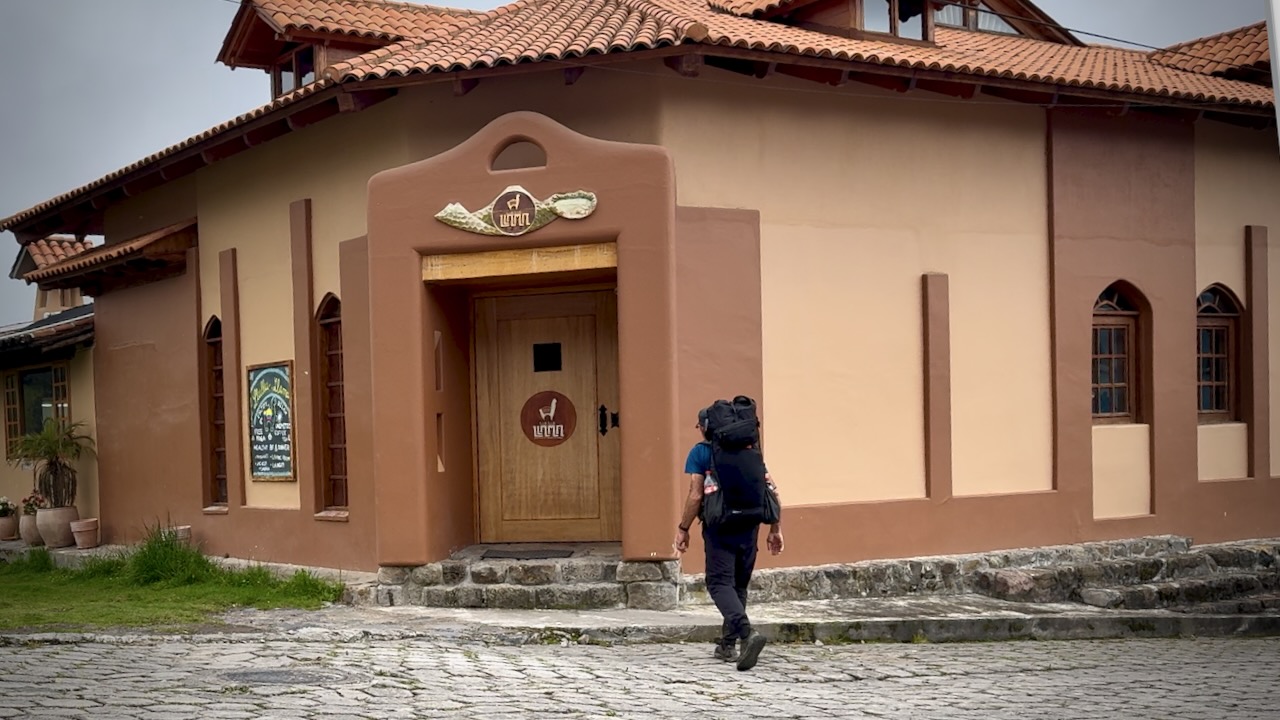
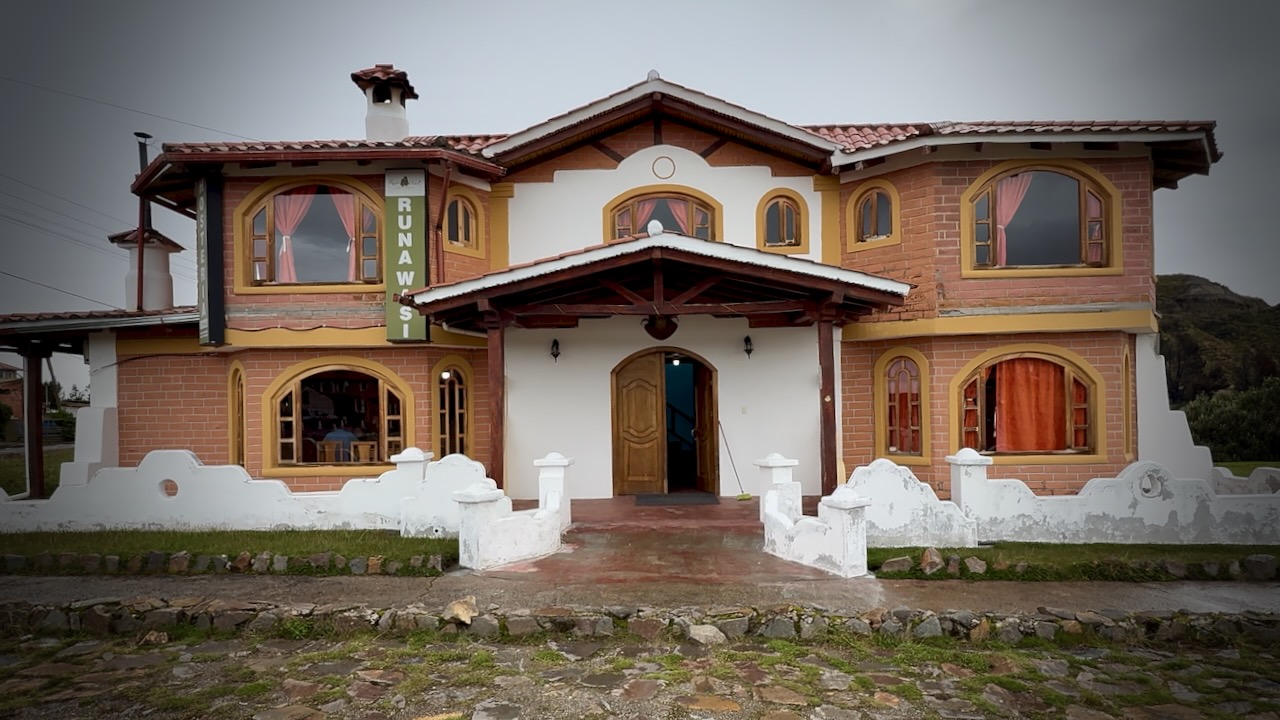
I was happy we decided to stay at Runa Wasi hostel. Classy, friendly accommodation.
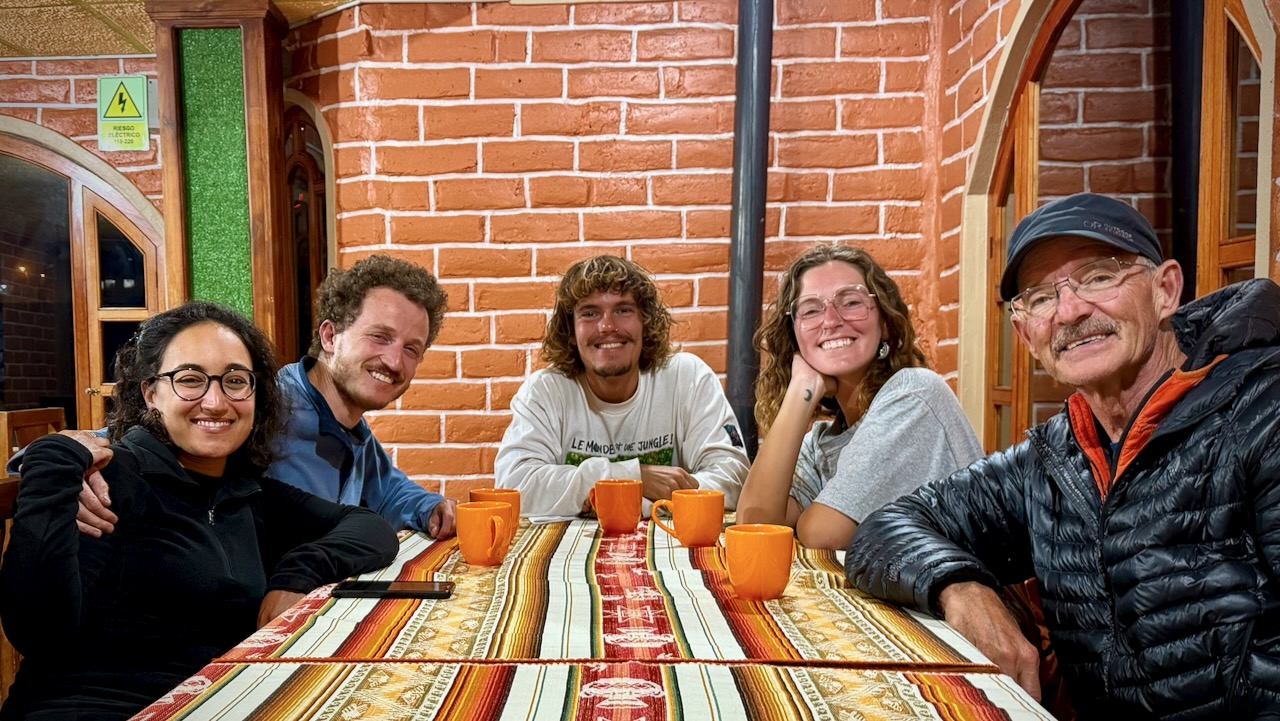
By the end of day 3 you’ve gotten to know hikers on the same schedule. Celebration time.
Great food, as well.
Day 4
Breakfast as quick as possible ➙ then off while the weather was good.
The 10.8km Quilotoa Crater Circuit next morning took me 4-5 hours. An extra 795m elevation gain with MANY photo & video stops.
Quilotoa village.
After 3 days with a heavy load, I decided to chug a litre of water. Then speed hike the Circuit with no day pack.
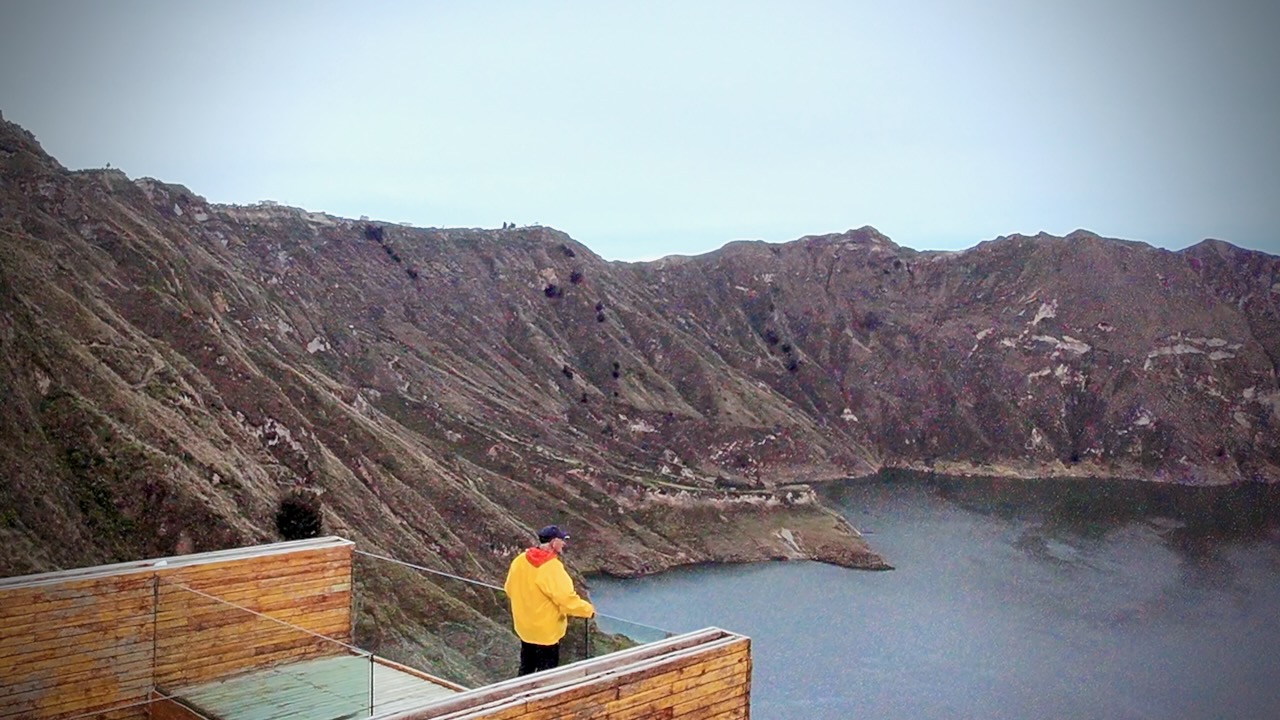
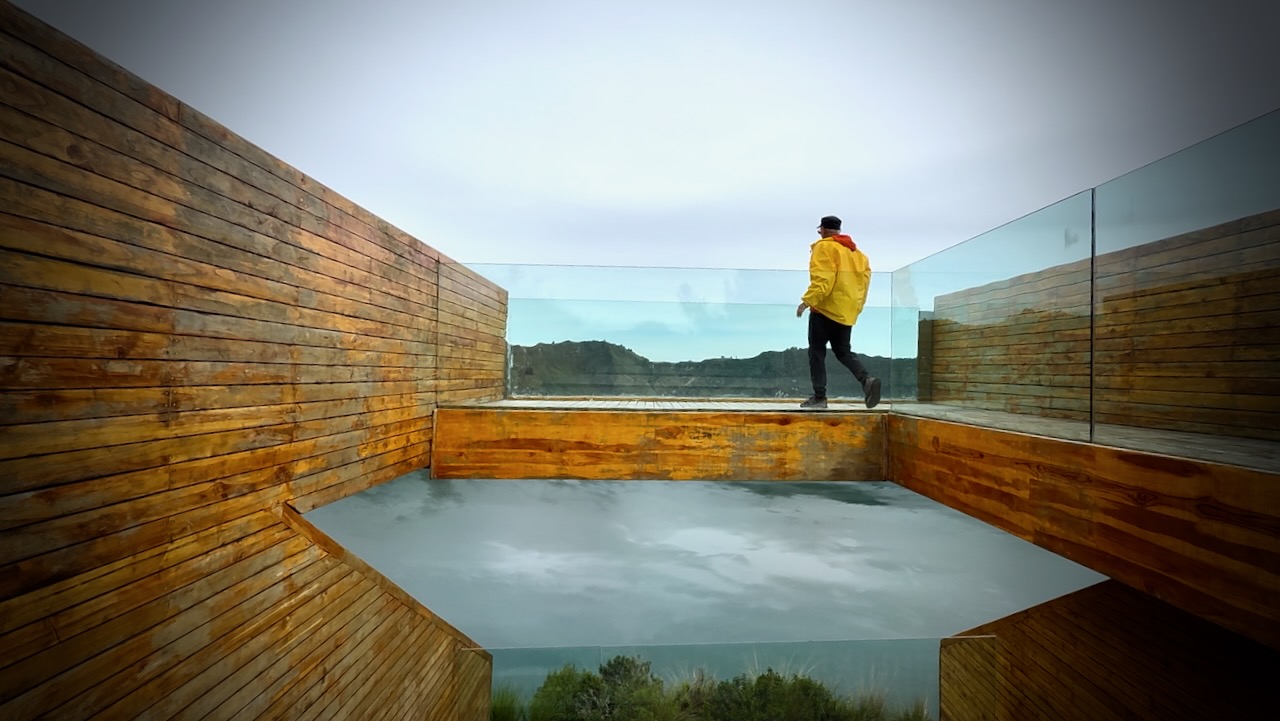
There are a number of viewpoints. This one with the glass floor the most impressive.
I’d decided to turn right from the village as this was considered the more difficult part. And I wanted to do it first in case of rain later. There is some scrambling.
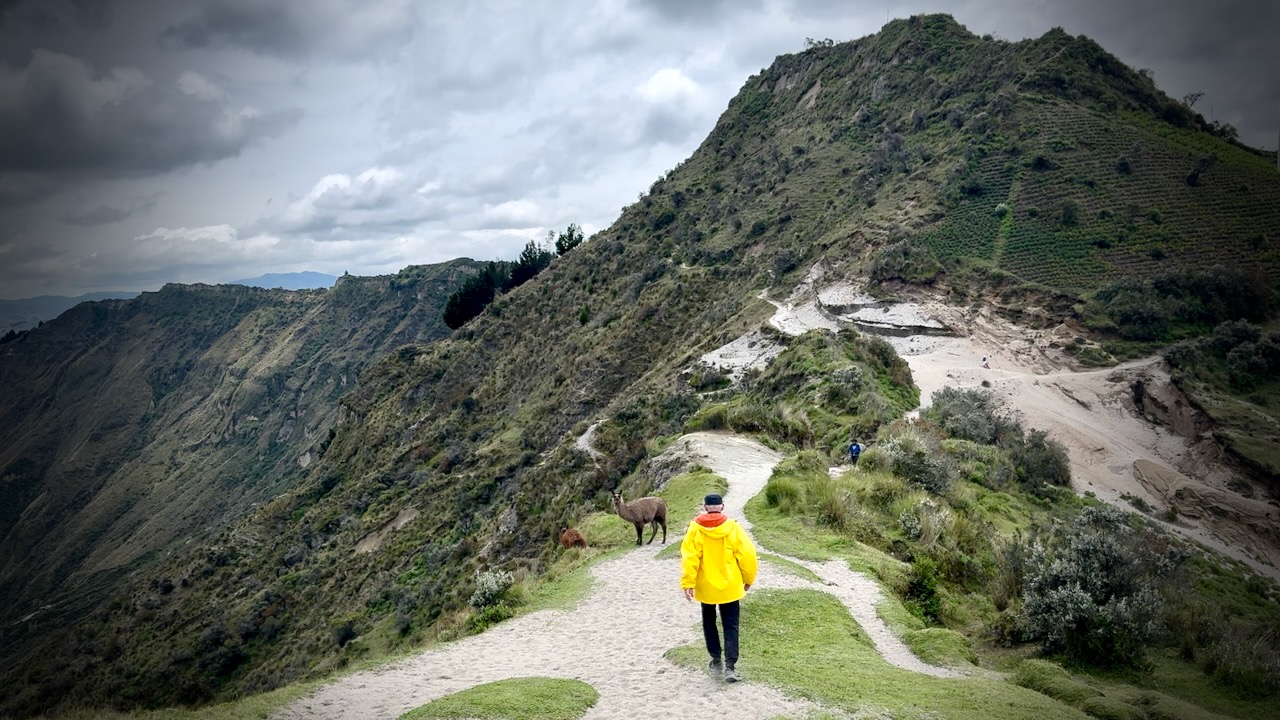
There are some random llamas on the rim. Village children ask $1 if you want to take a photo.
With no day pack, I made good time.
Weather excellent this morning. Though quite windy.
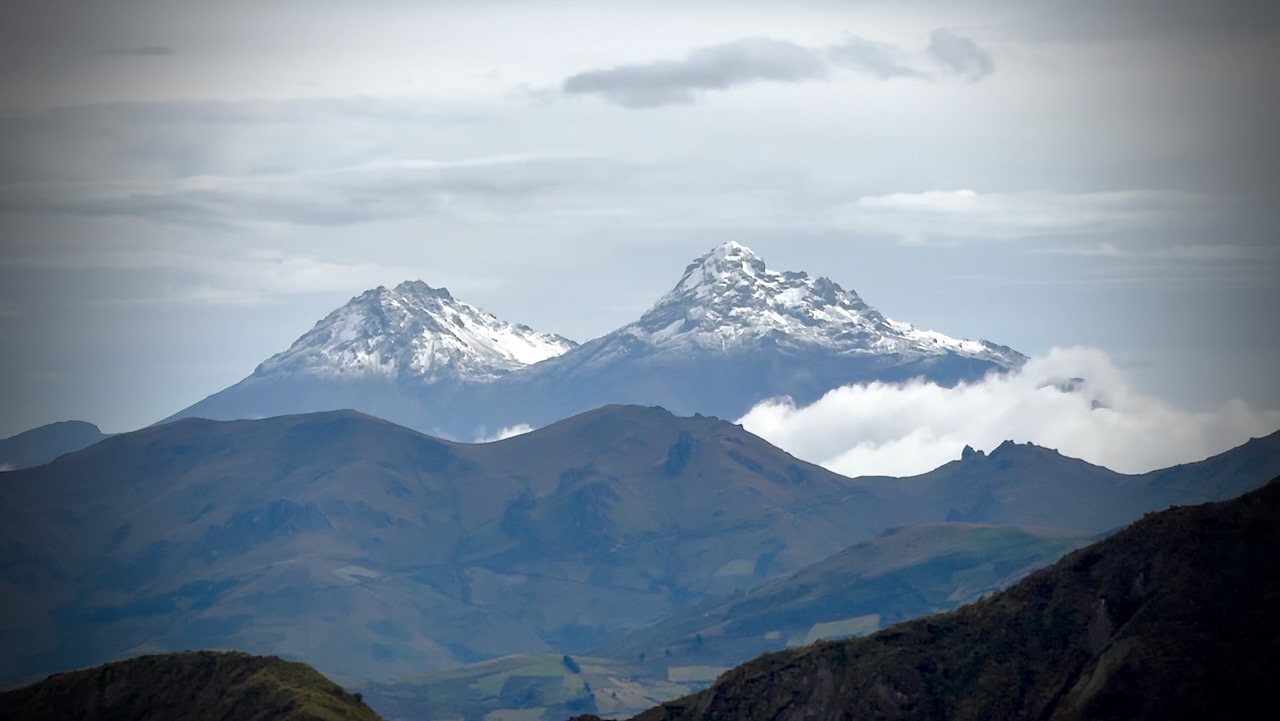
Good views of snow-capped volcanoes Cotopaxi and Chimborazo.
For me, this was the best hiking day.
You could drive or bus up to Quilotoa village and just do this Circuit.
I caught the bus back to Latacunga. And connected to Quito.
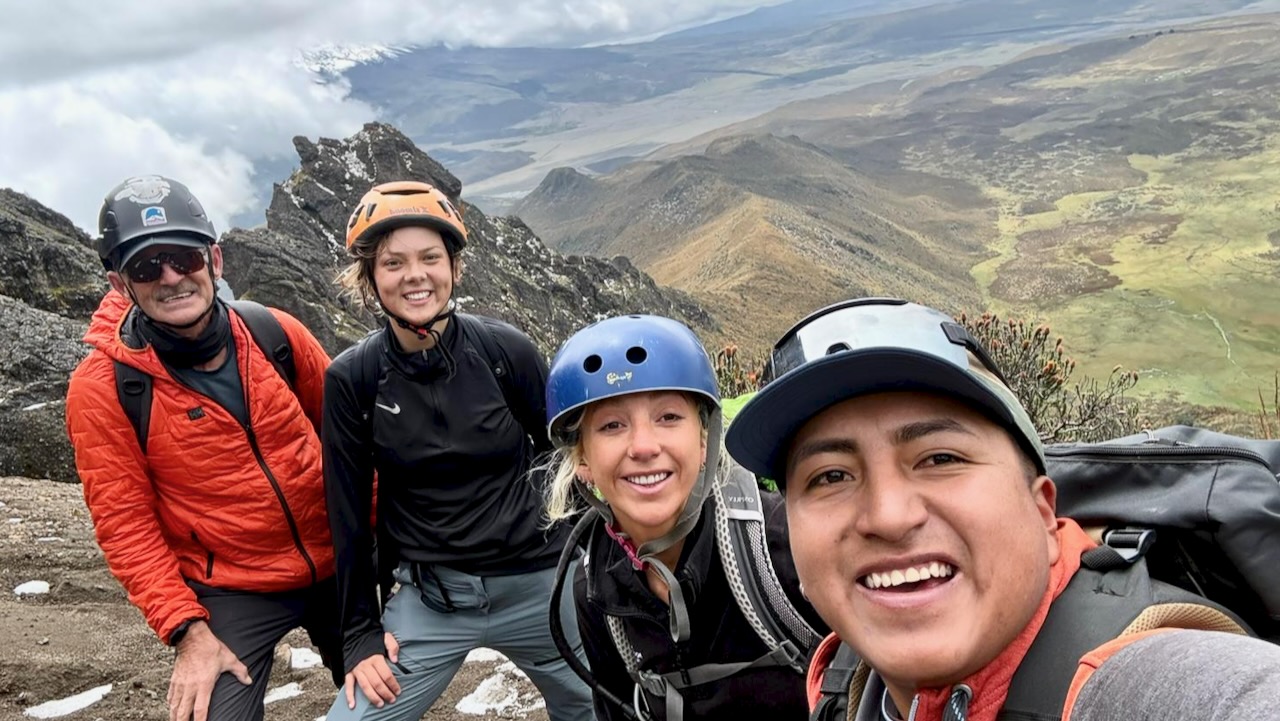
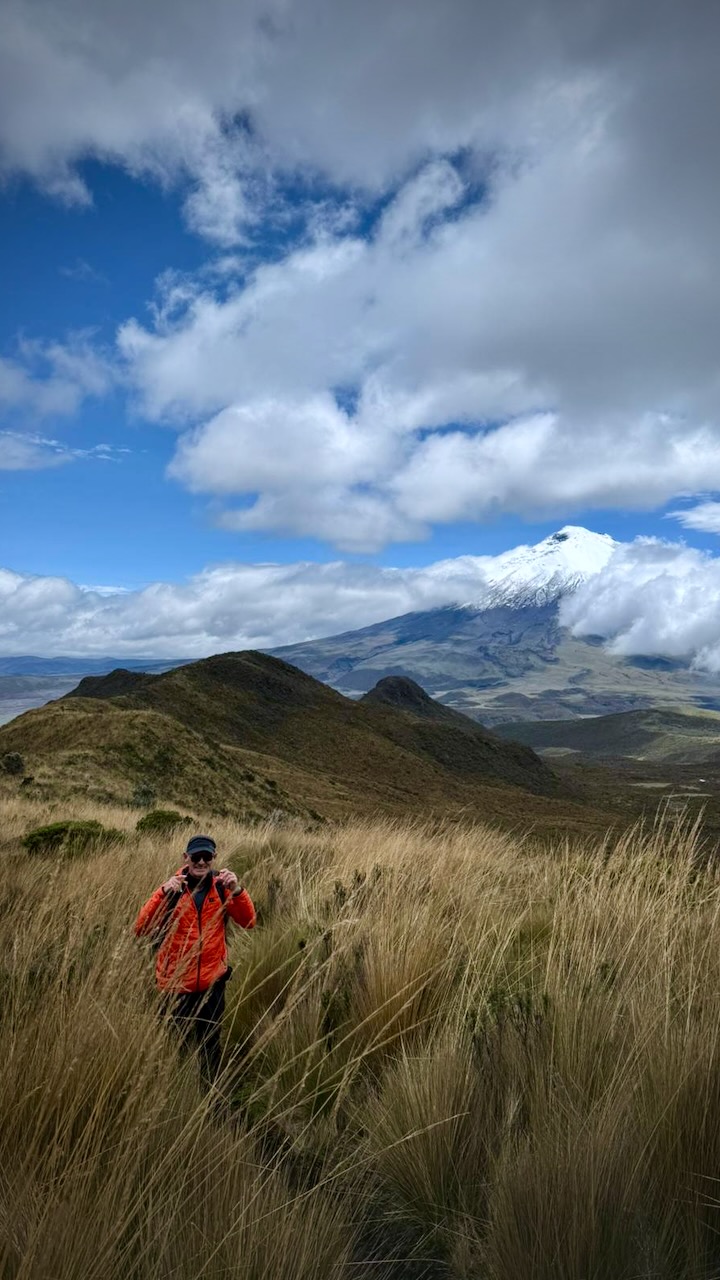
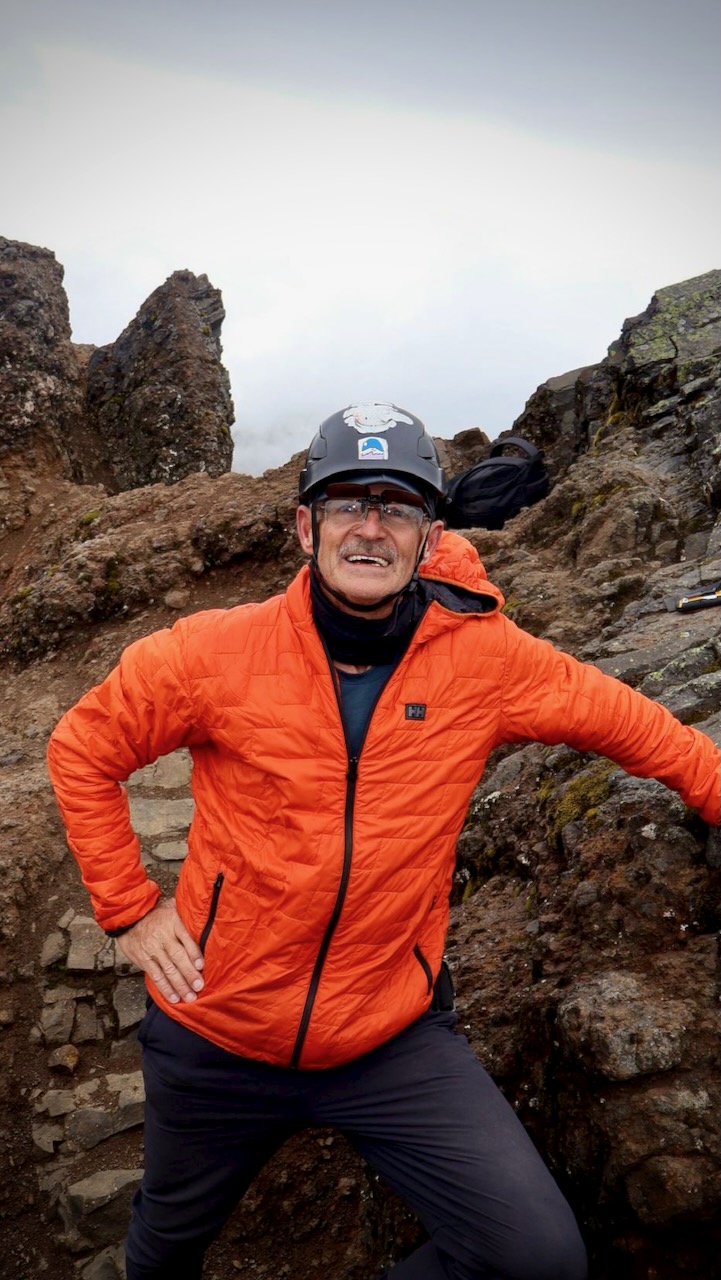
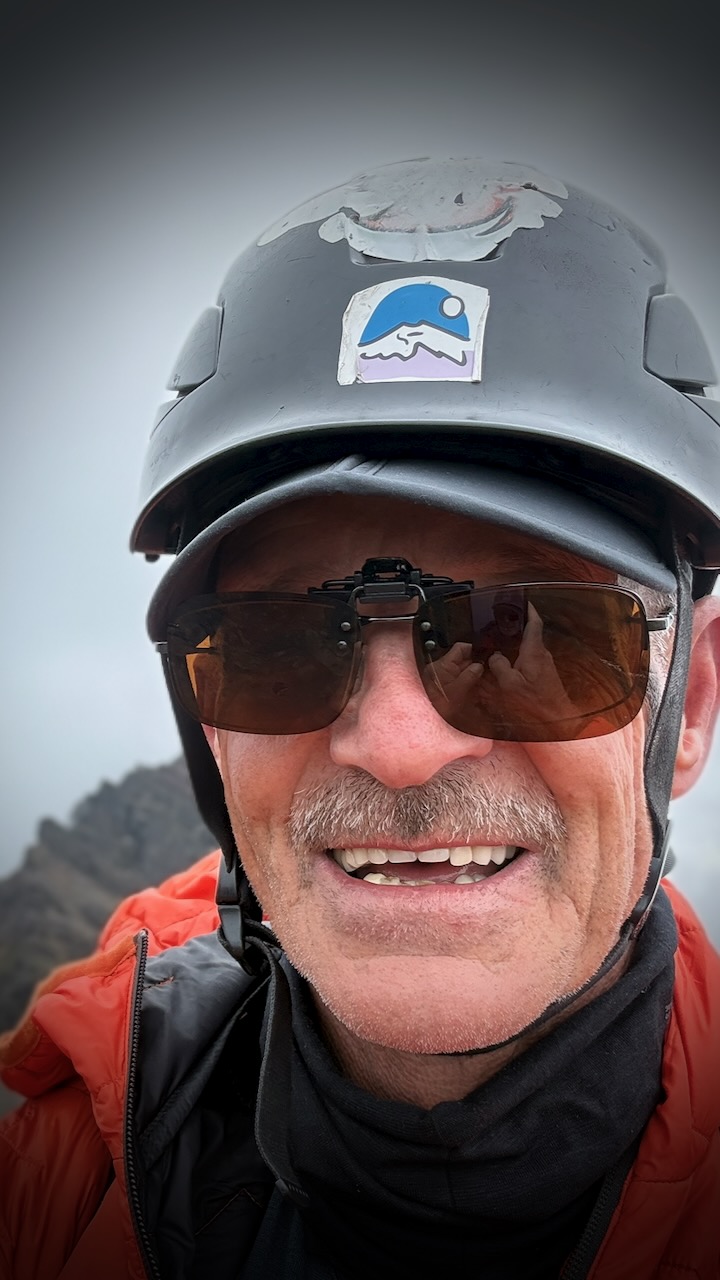
Spoiler. Lexi, Tahel, and myself all made it to 4,643m. Super happy here. Our guide was terrific.
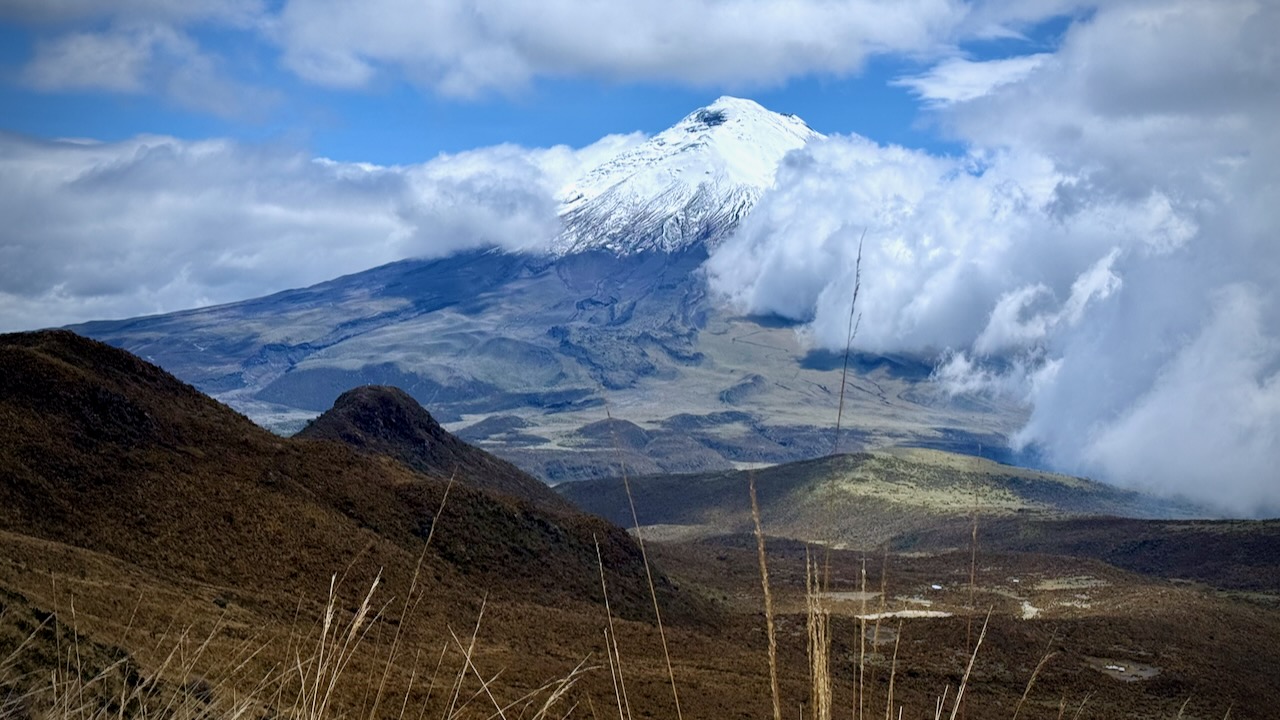
Rumiñahui is considered a lead-up to Cotopaxi (5,897m) and then Chimborazo (6,263–6,310m).
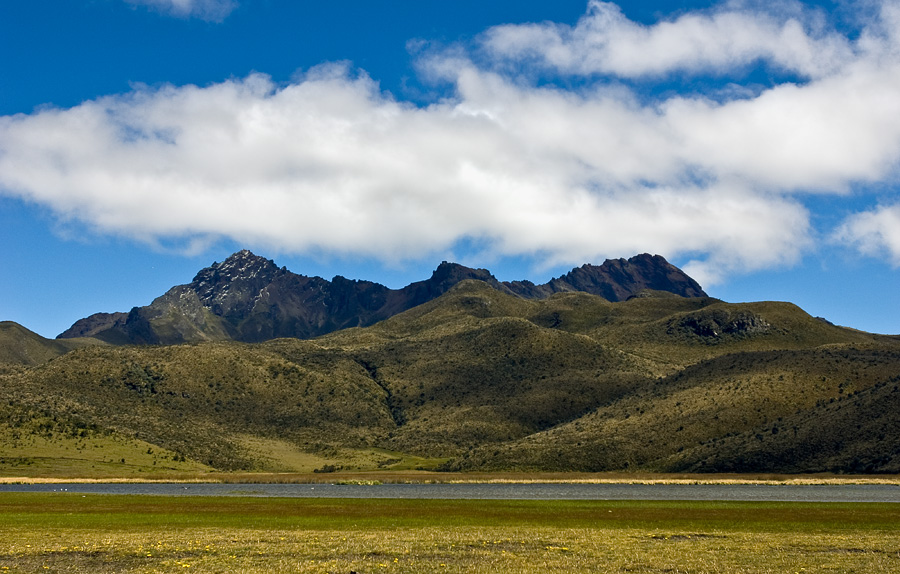
Rumiñahui is a dormant, heavily eroded stratovolcano 4,721 metres (15,489 ft) above sea level.
Situated in the Andes mountains 40 km south of Quito, Ecuador, it is overshadowed by its famous neighbour Cotopaxi.
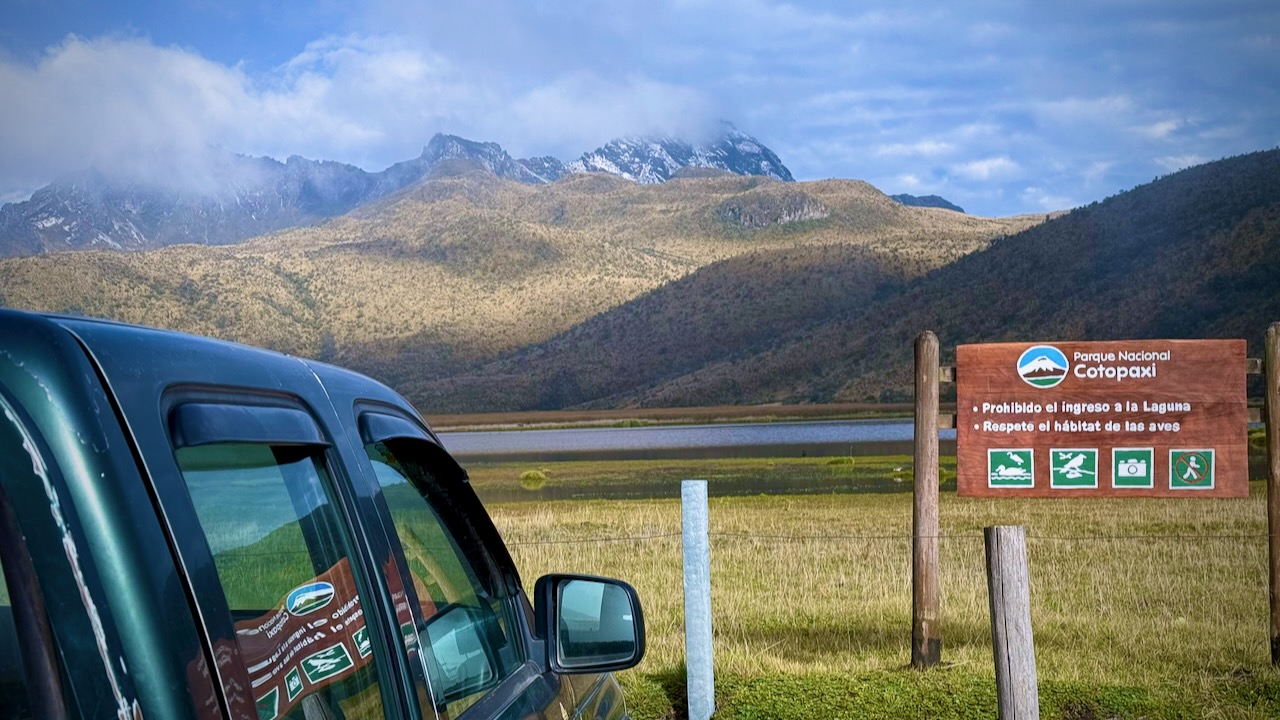
This mountain is in Cotopaxi National Park, so we drove directly towards the big peak. Excellent weather early morning.
We parked at Lake Limpiopungo at approximately 3,850m. Many different species of birds alight here.
Headed to that central peak.
We saw rabbits at the beginning while climbing up through paramo.
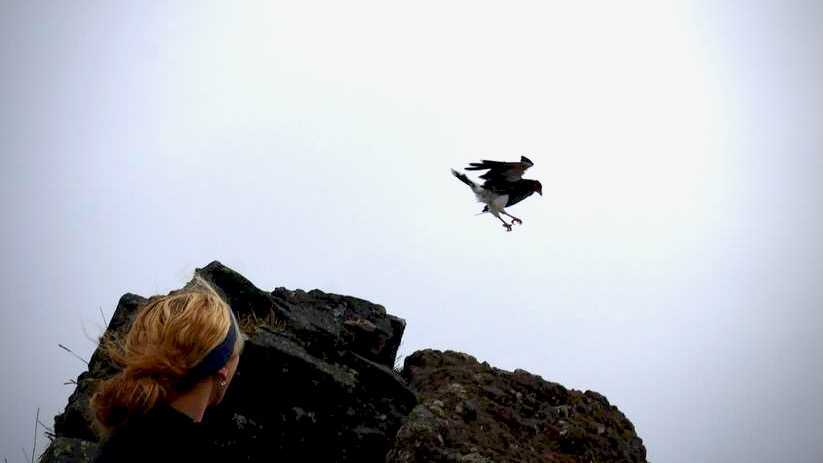
And condors floating in the updraft.
On the way down, our guide spotted wild horses below.
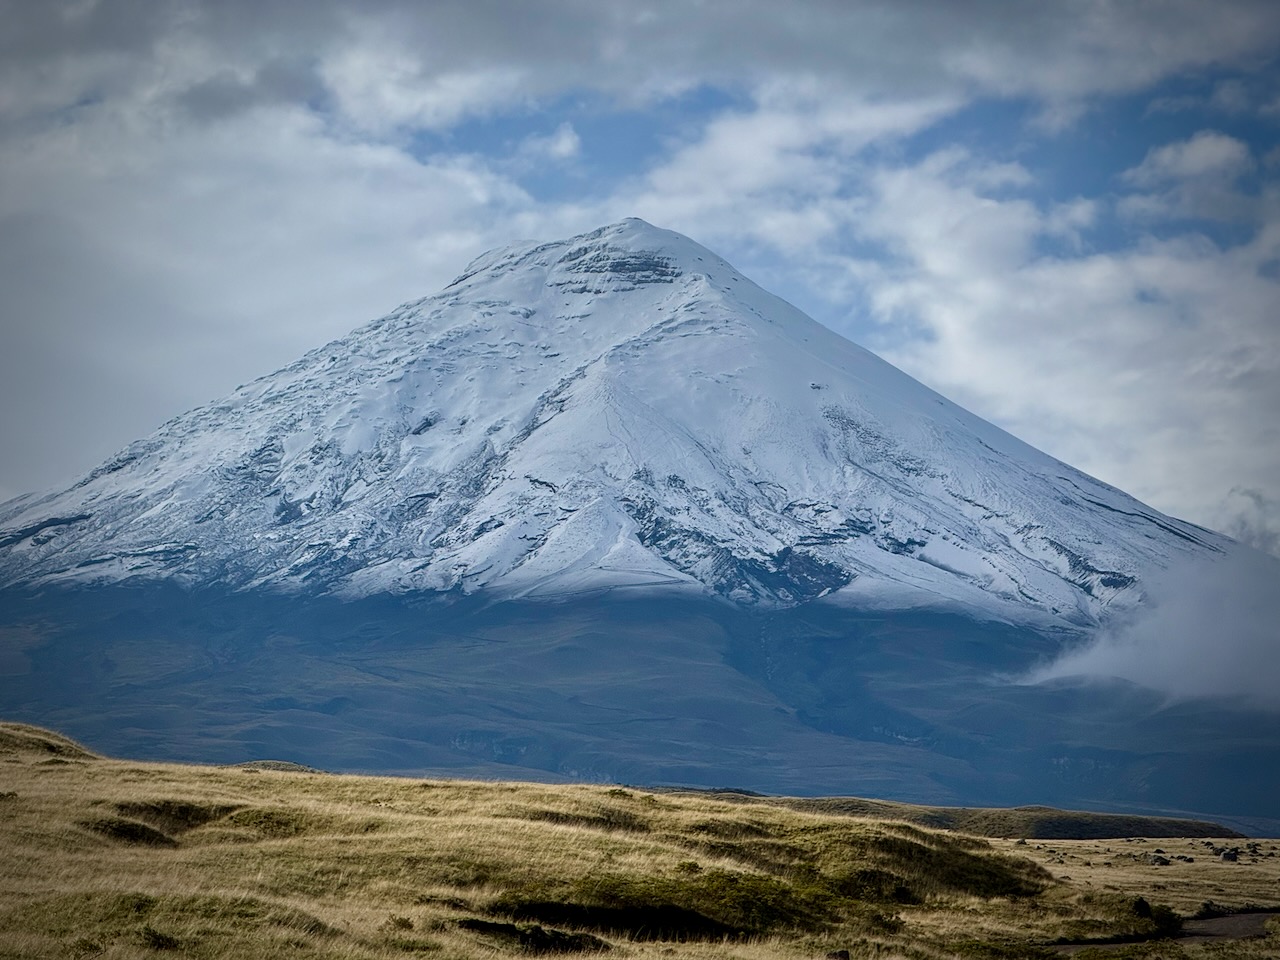
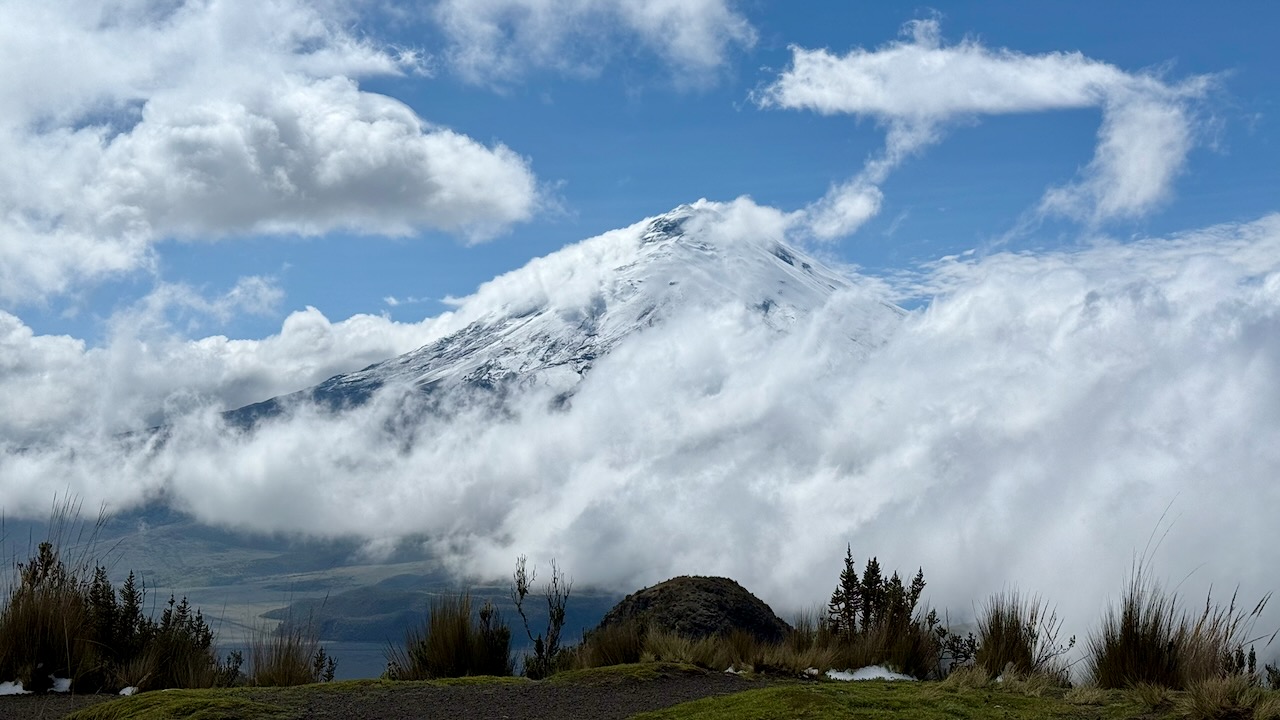
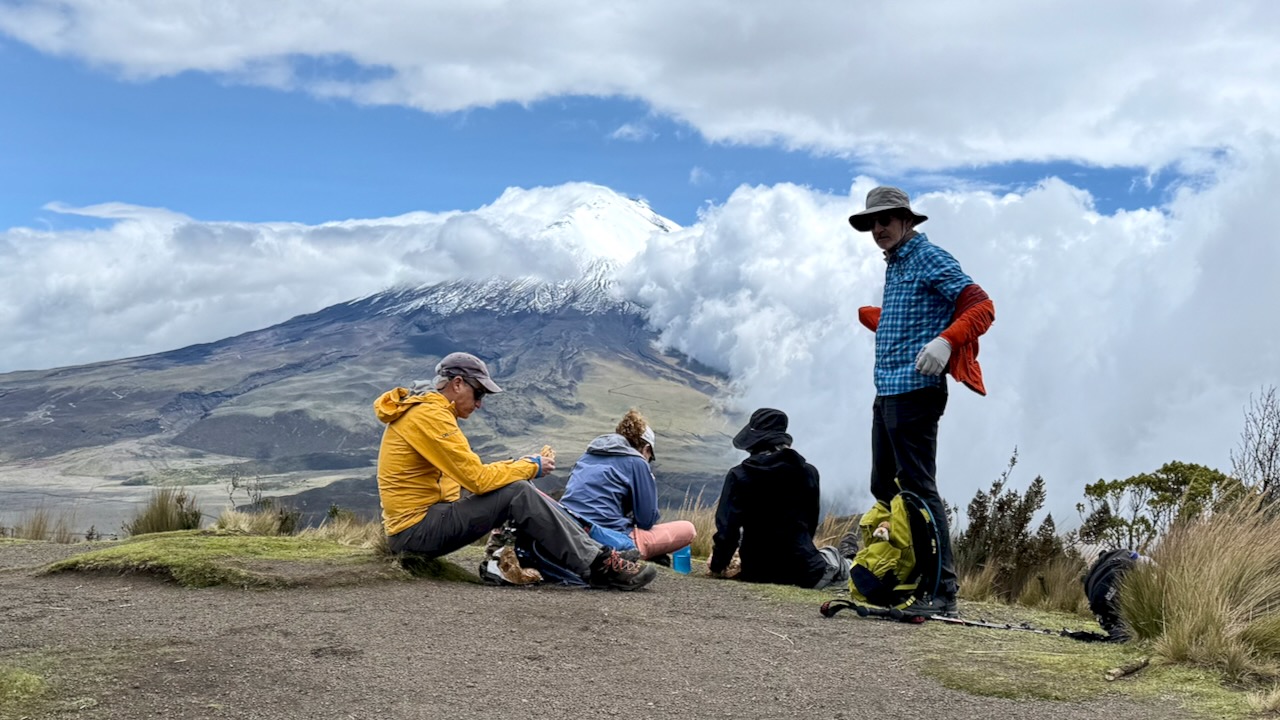
We had amazing views of Cotopaxi.
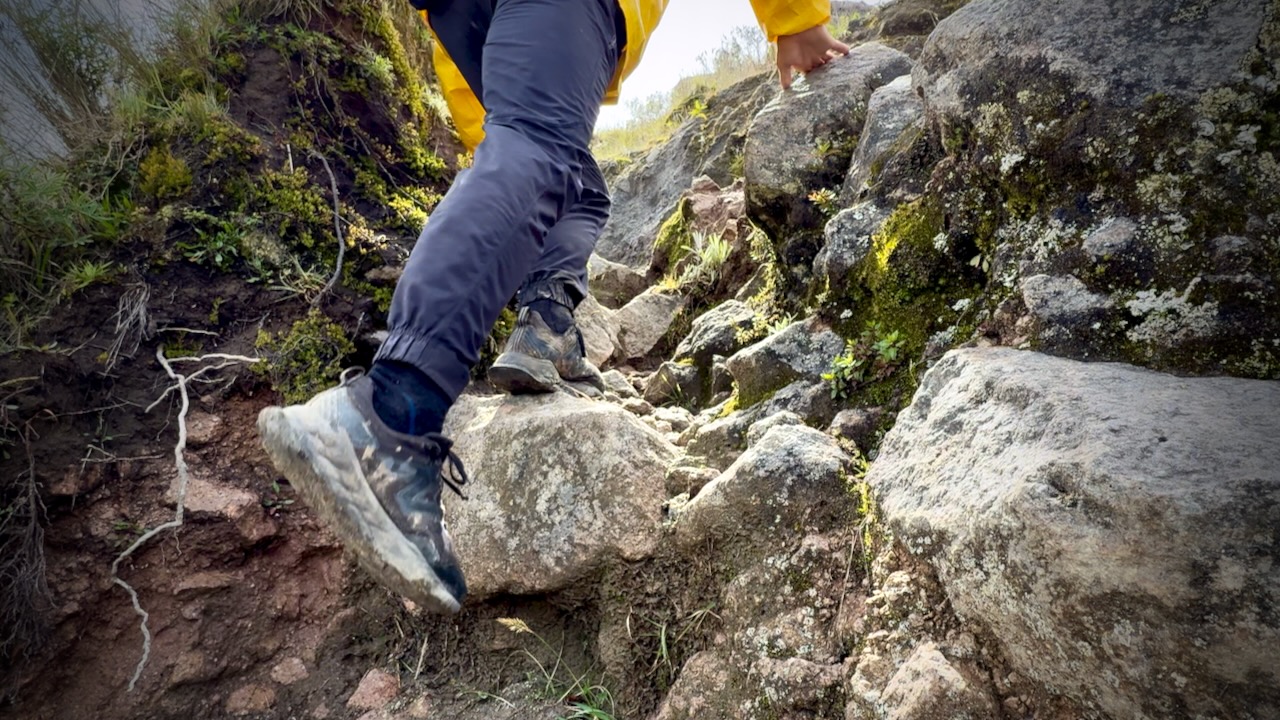
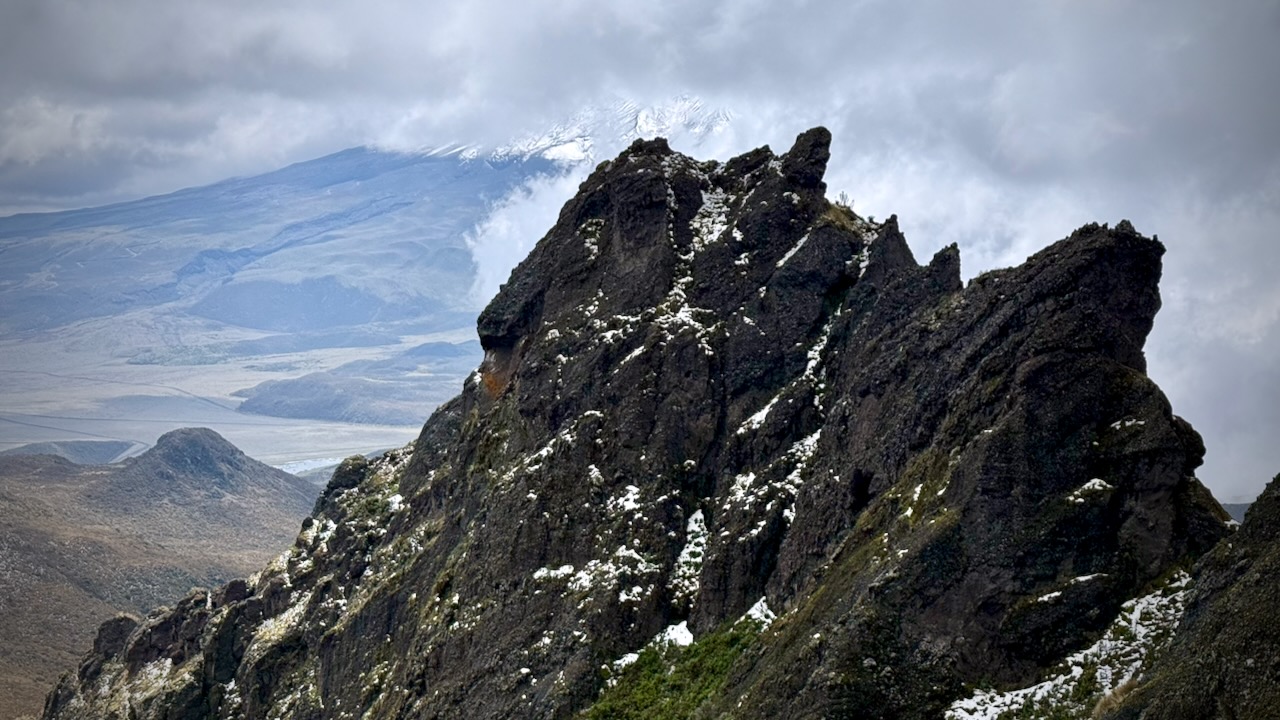
I call it a scramble because this mountain is quite jagged. We used our hands quite a bit at the top. Tahel put spare socks on her hands. I used a buff for protection. None of us had opted to carry gloves.
Joining a group on the trip makes it much less expensive than booking privately. And more fun.
I’d sent in passport and a doctor’s letter confirming my health — but LFC still couldn’t put me on Pinatubo.
Who knows why? In my mind, just another example of how so many things don’t work in the Philippines.
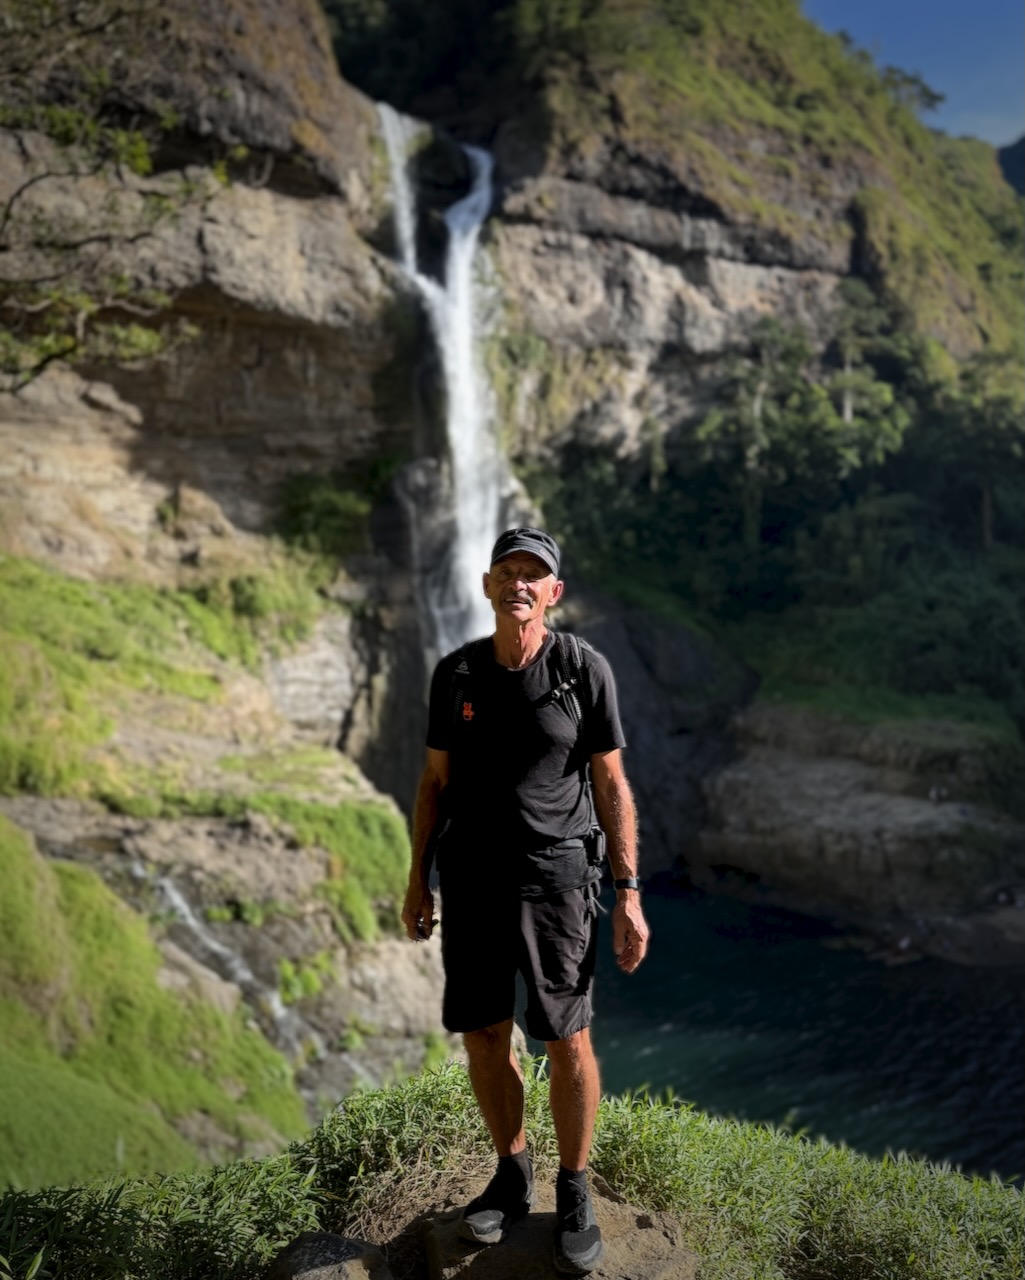
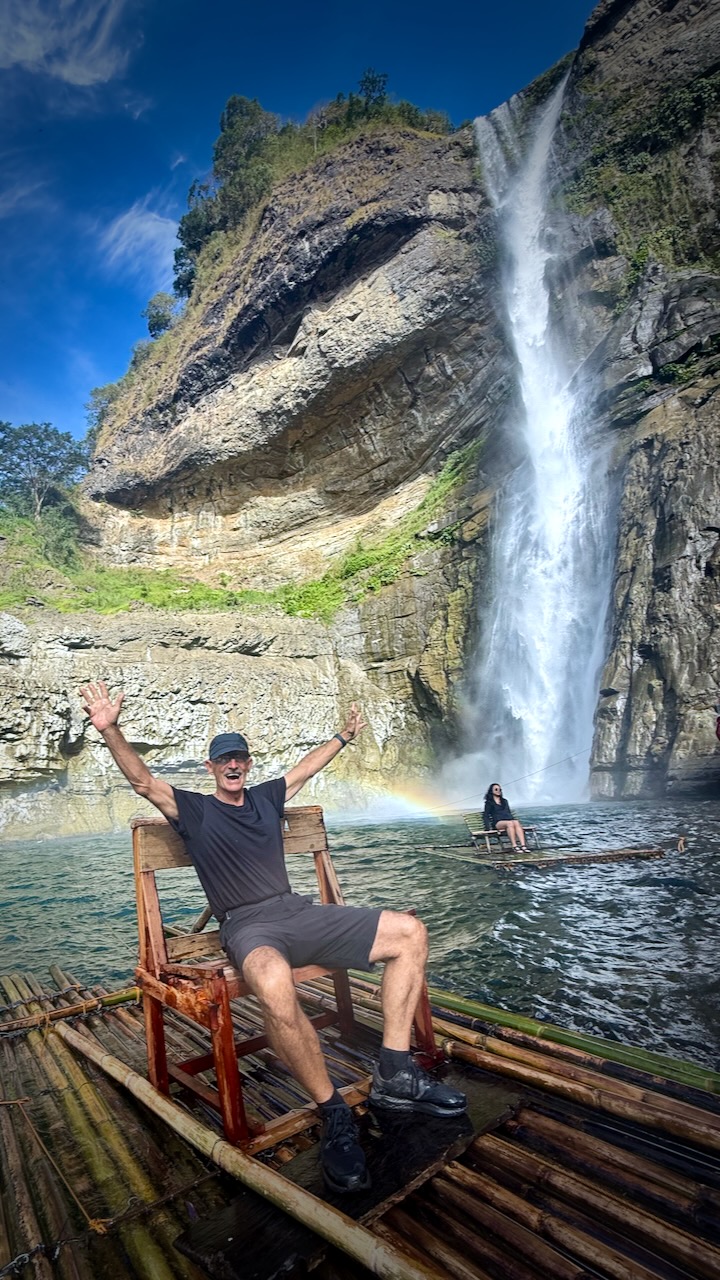
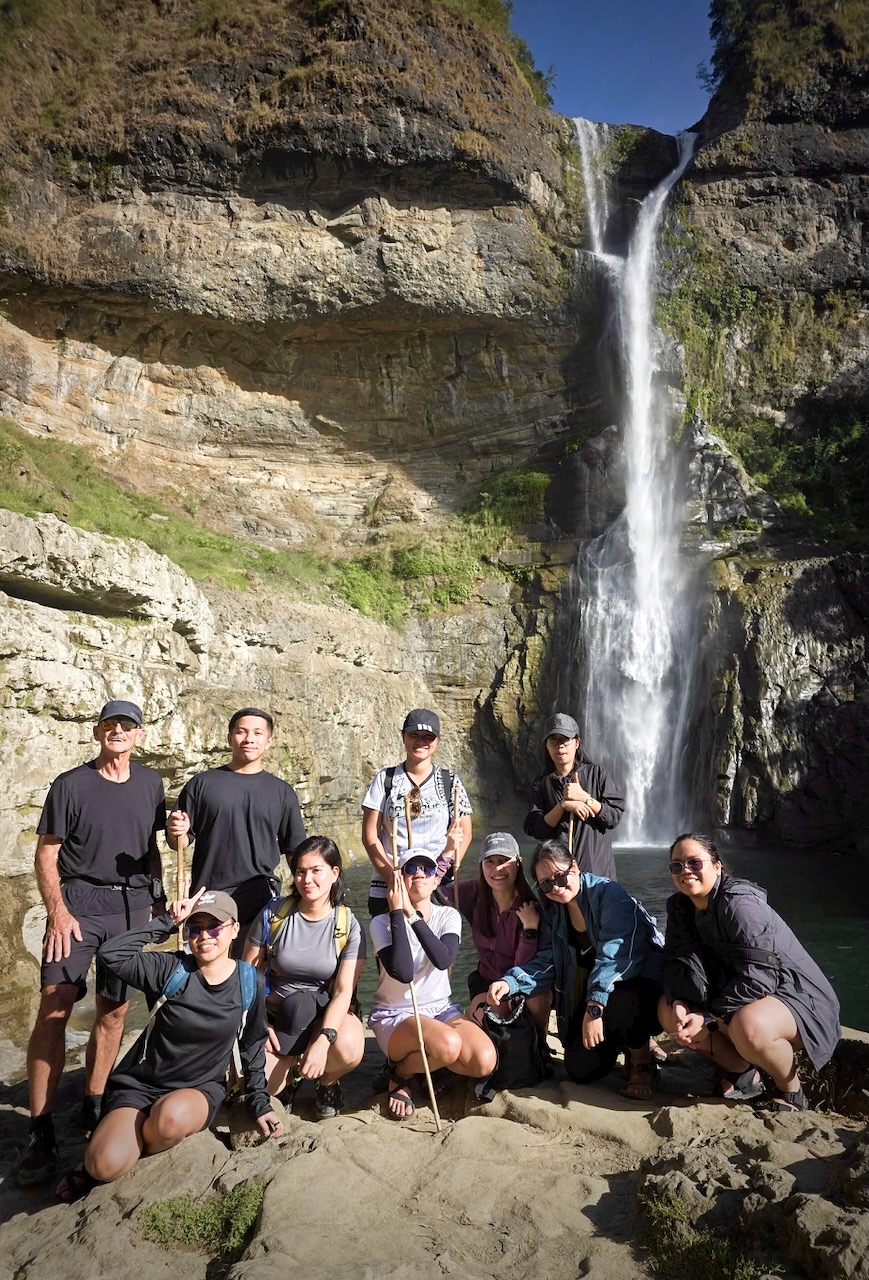
LFC offered me an alternative for the next day ➙ Aw-Asen Falls at 142 feet (43 meters).
I signed on, still irked that it wasn’t Pinatubo.
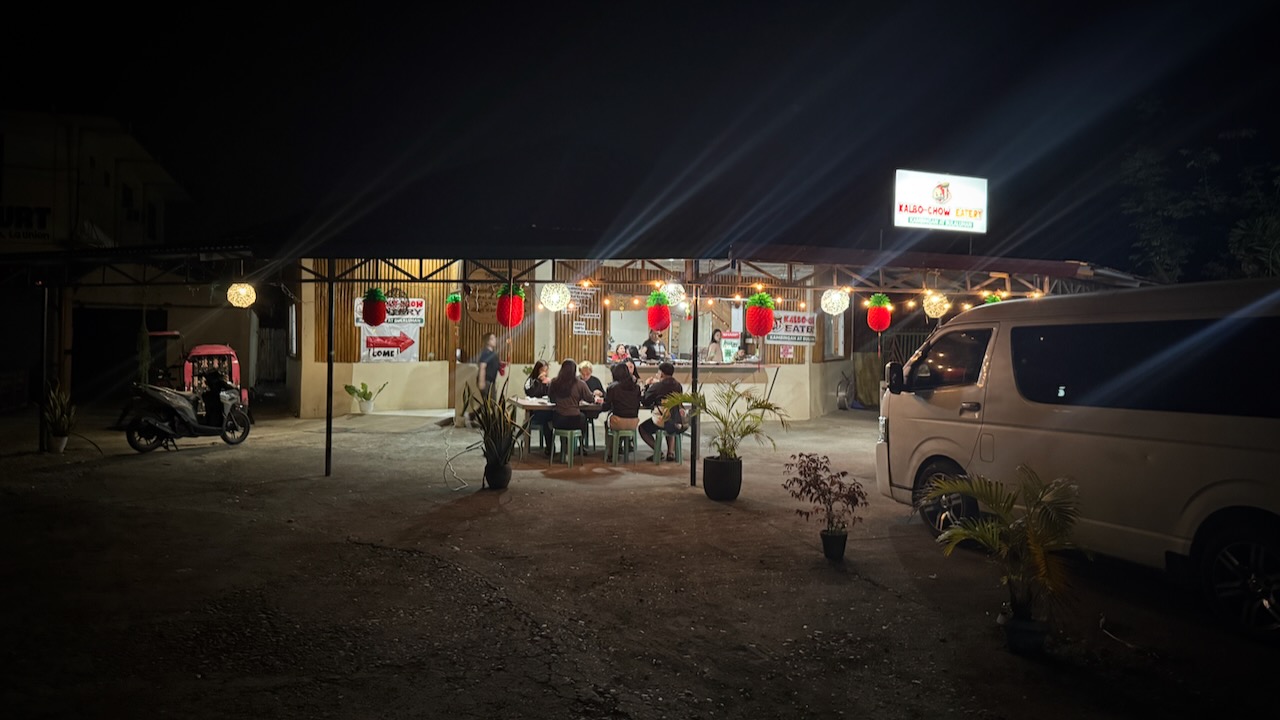
Hikers are picked up in the middle of the night in a Hiace van.
Delivered to the parking lot first thing in the morning. About 5 hours of not sleeping / dozing for me coming from Clark. It’s about 8 hours from Manila!
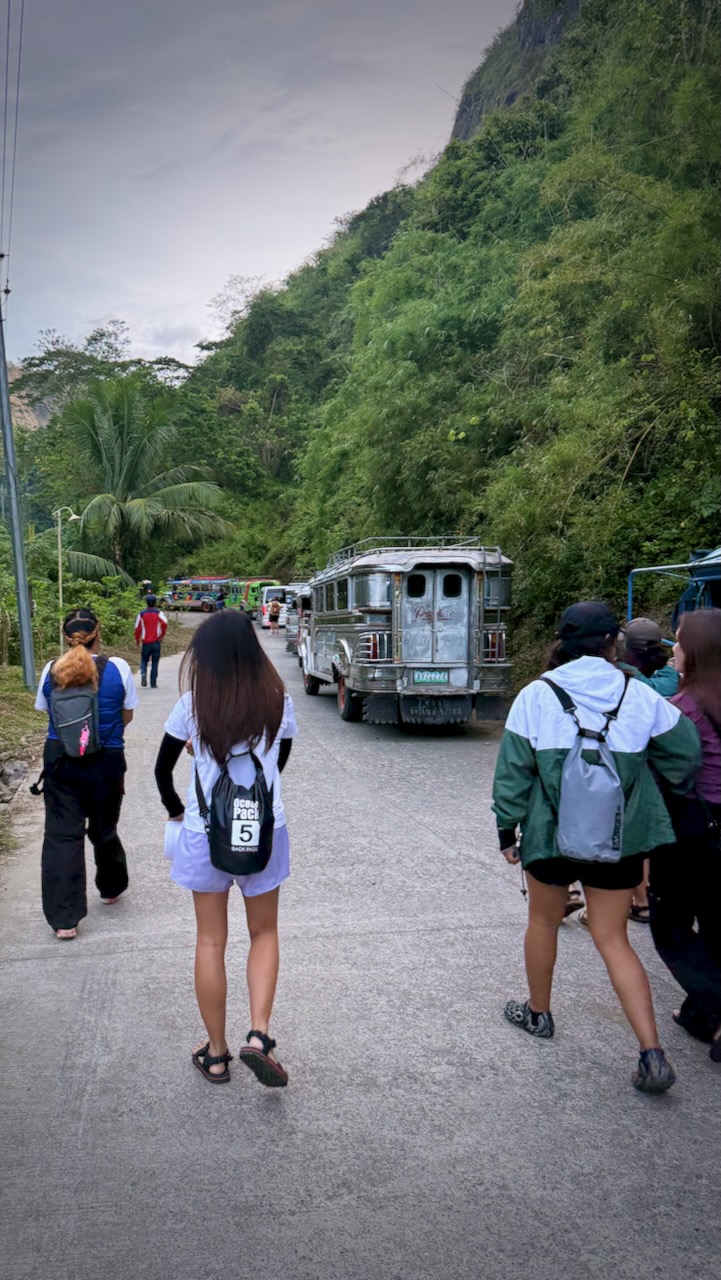
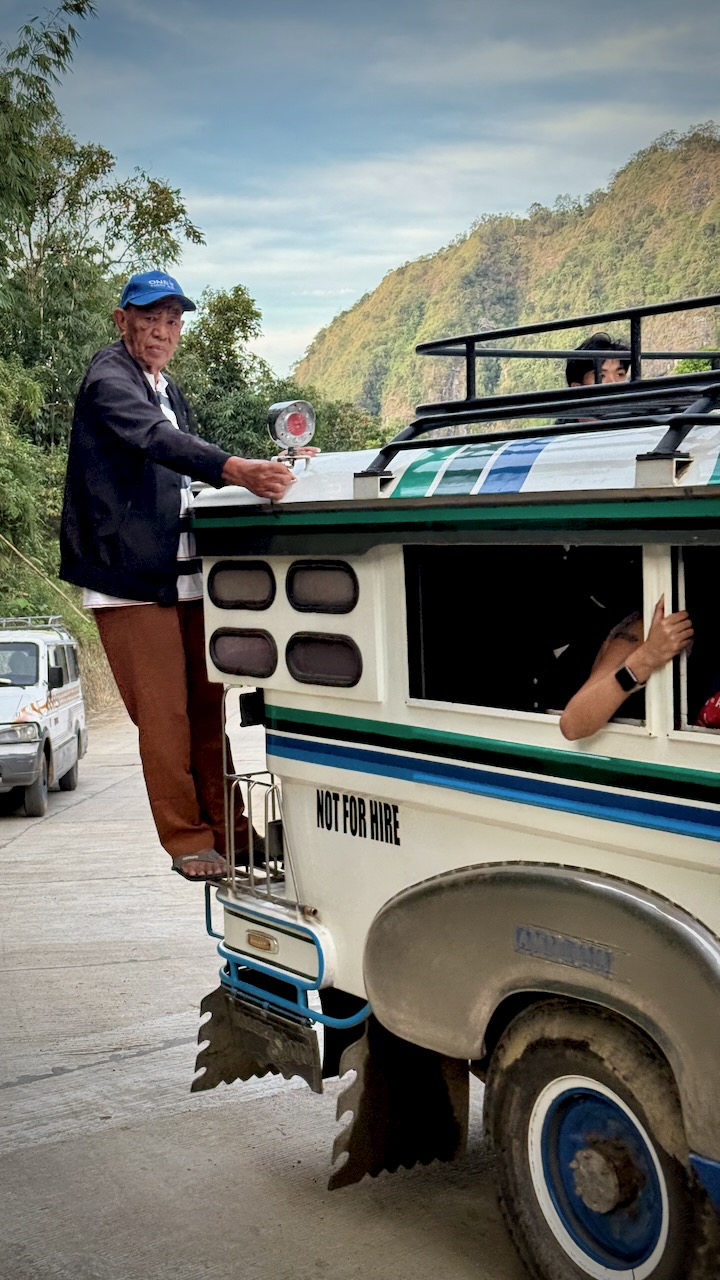
Switched to the worst possible vehicle for the final 17km to the trailhead ➙ an underpowered Jeepney with not much suspension.
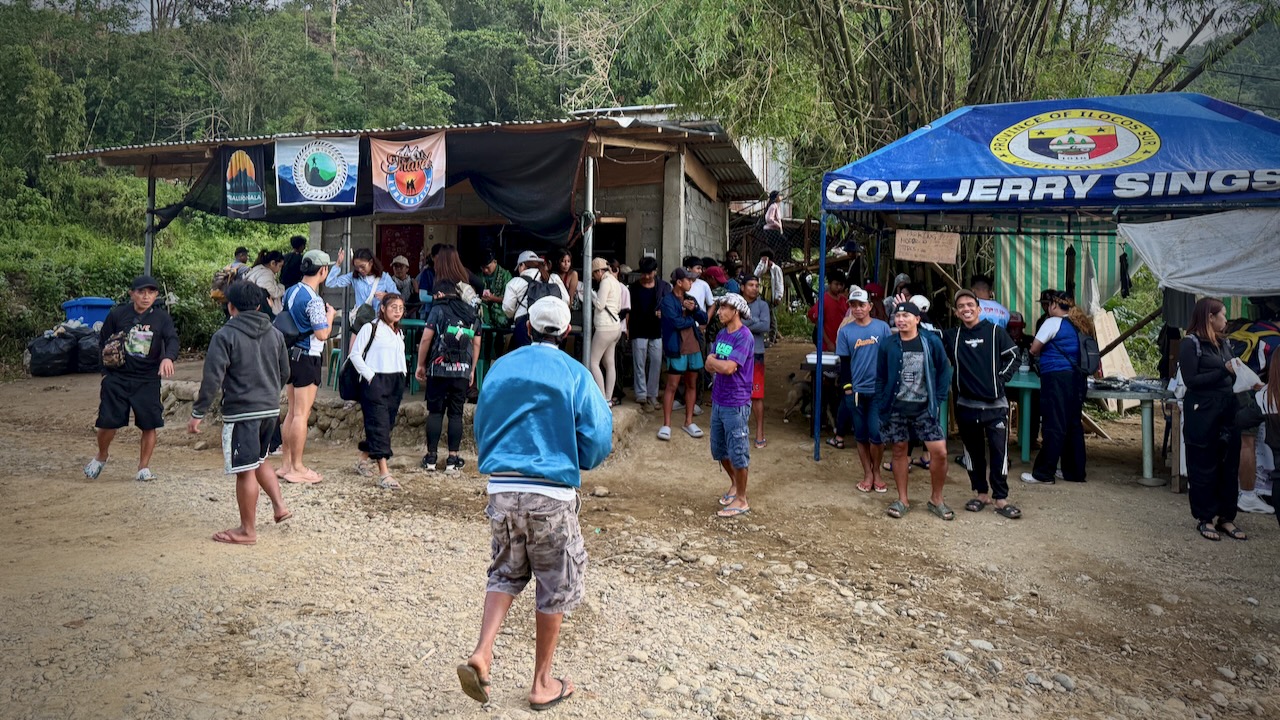
I was shocked to see a couple of hundred hikers out here on a Sunday morning.
I’d say 80% were women. Mostly young women.
It’s not a long hike. BUT there are 919 stone steps up and 919 down. 😀
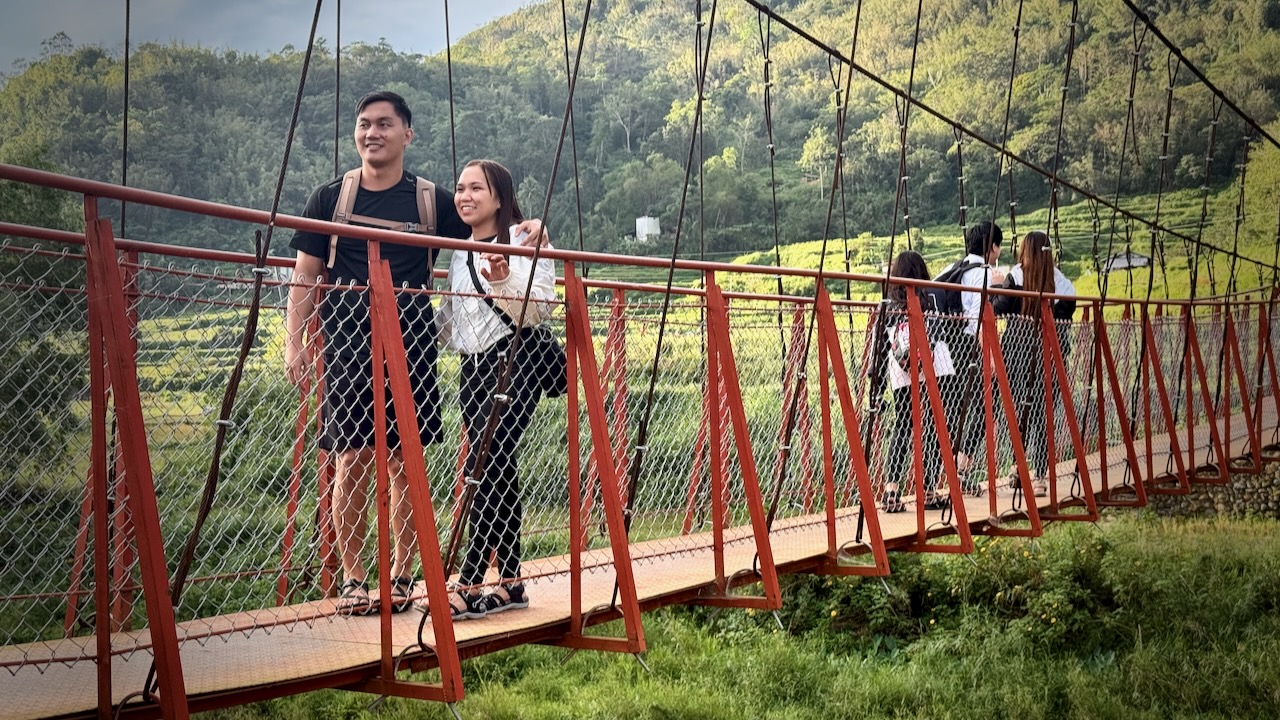
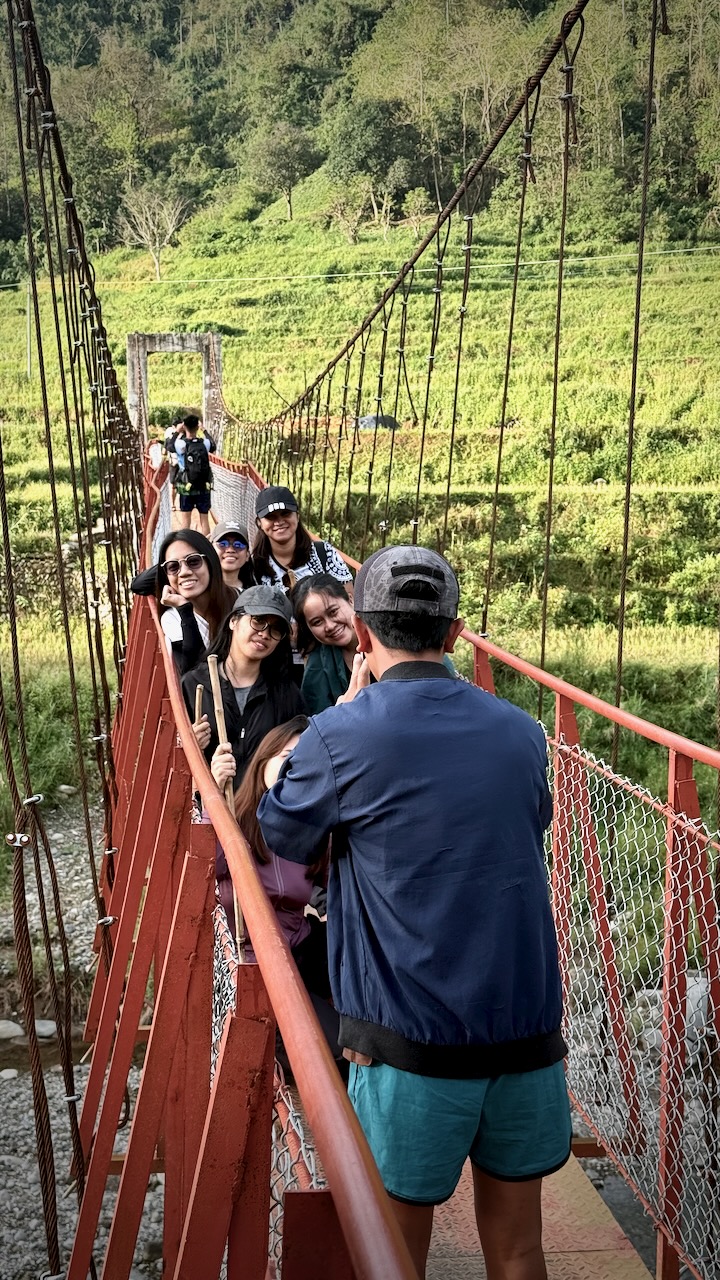
First you cross 2 suspension bridges.
YES, Filipinos love a photo op.
We marched through some paddies.
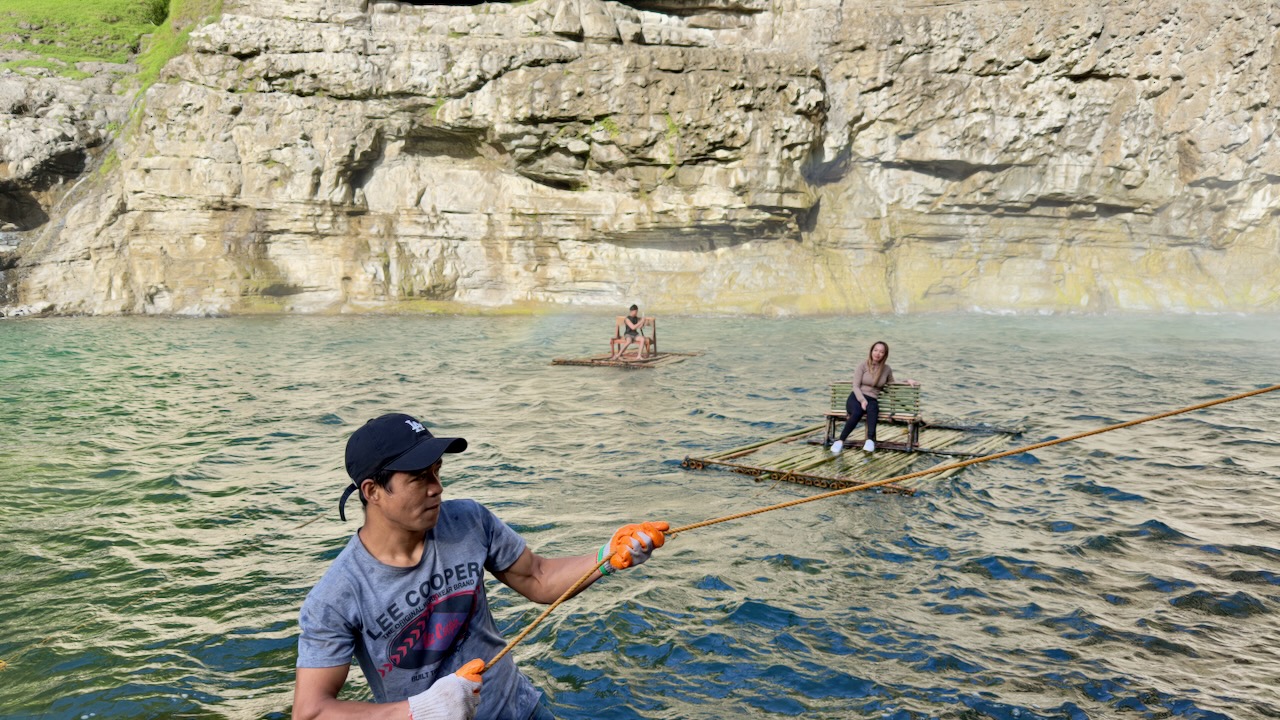
Reaching the Falls, people relaxed for a couple of hours. We’d all arrived early in the day.
Drones are allowed. So there is plenty of footage on YouTube. And even more on TikTok.
Here’s our group. I only saw one other foreigner at the Falls. This hike seems to be quite unknown outside the nation. It’s not even on AllTrails.
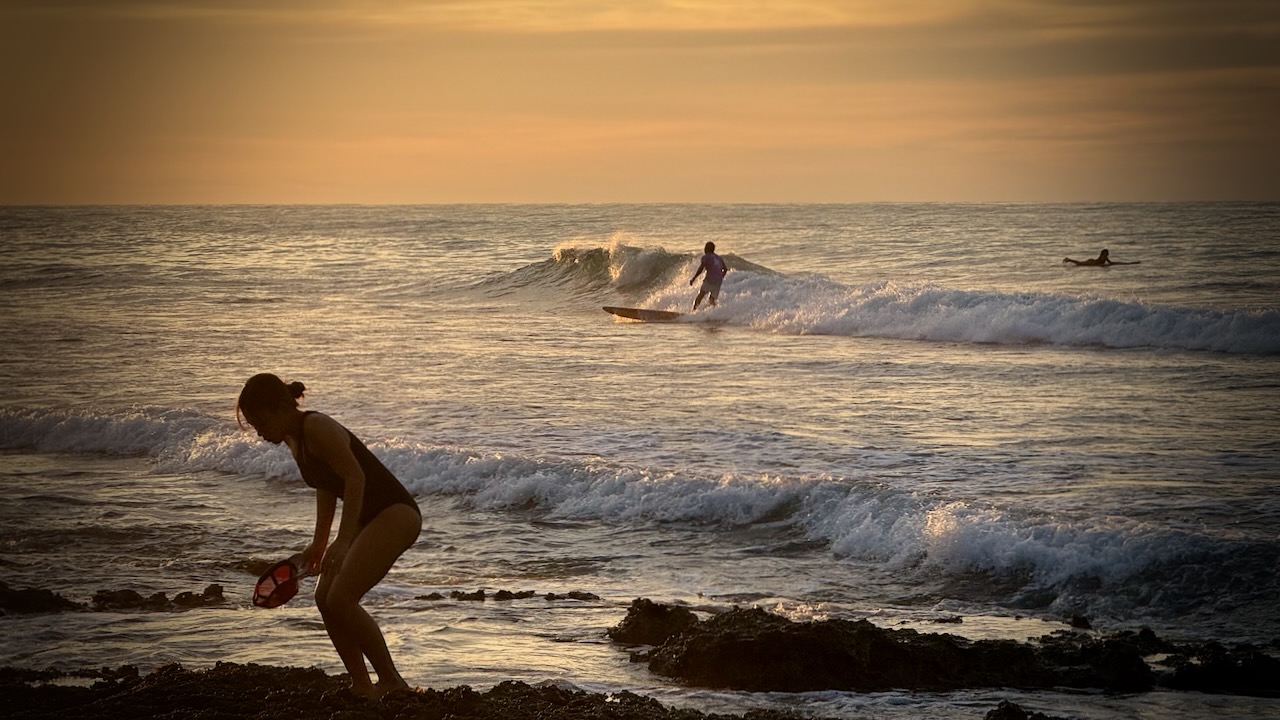
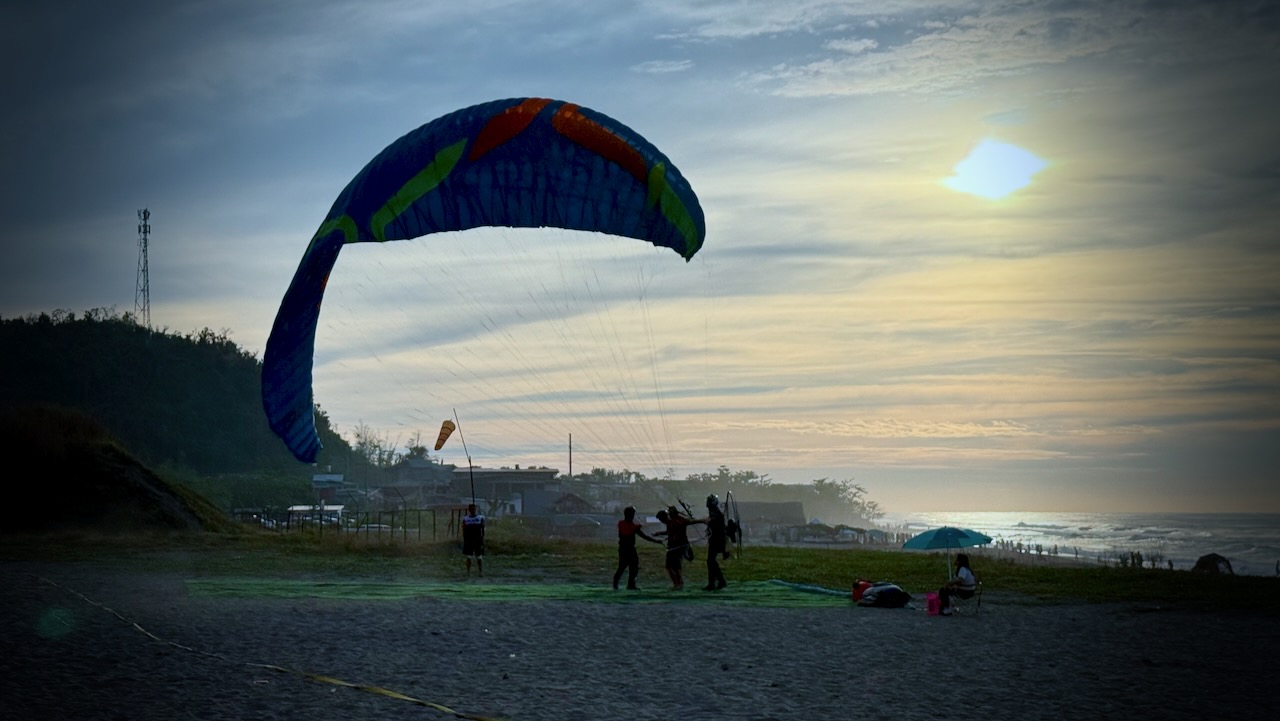
On the return drive, we stopped for sunset at San Juan, La Union, a famed surfer beach. Consistent intermediate quality waves make it ideal for beginners.
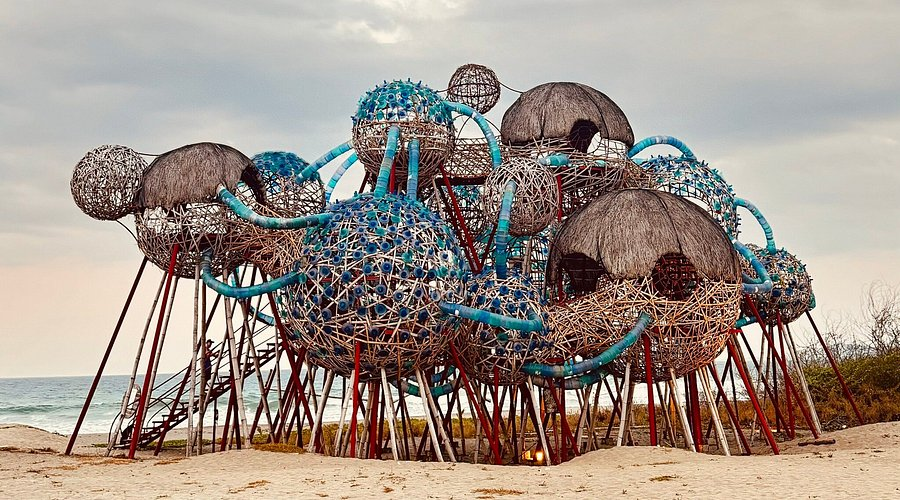
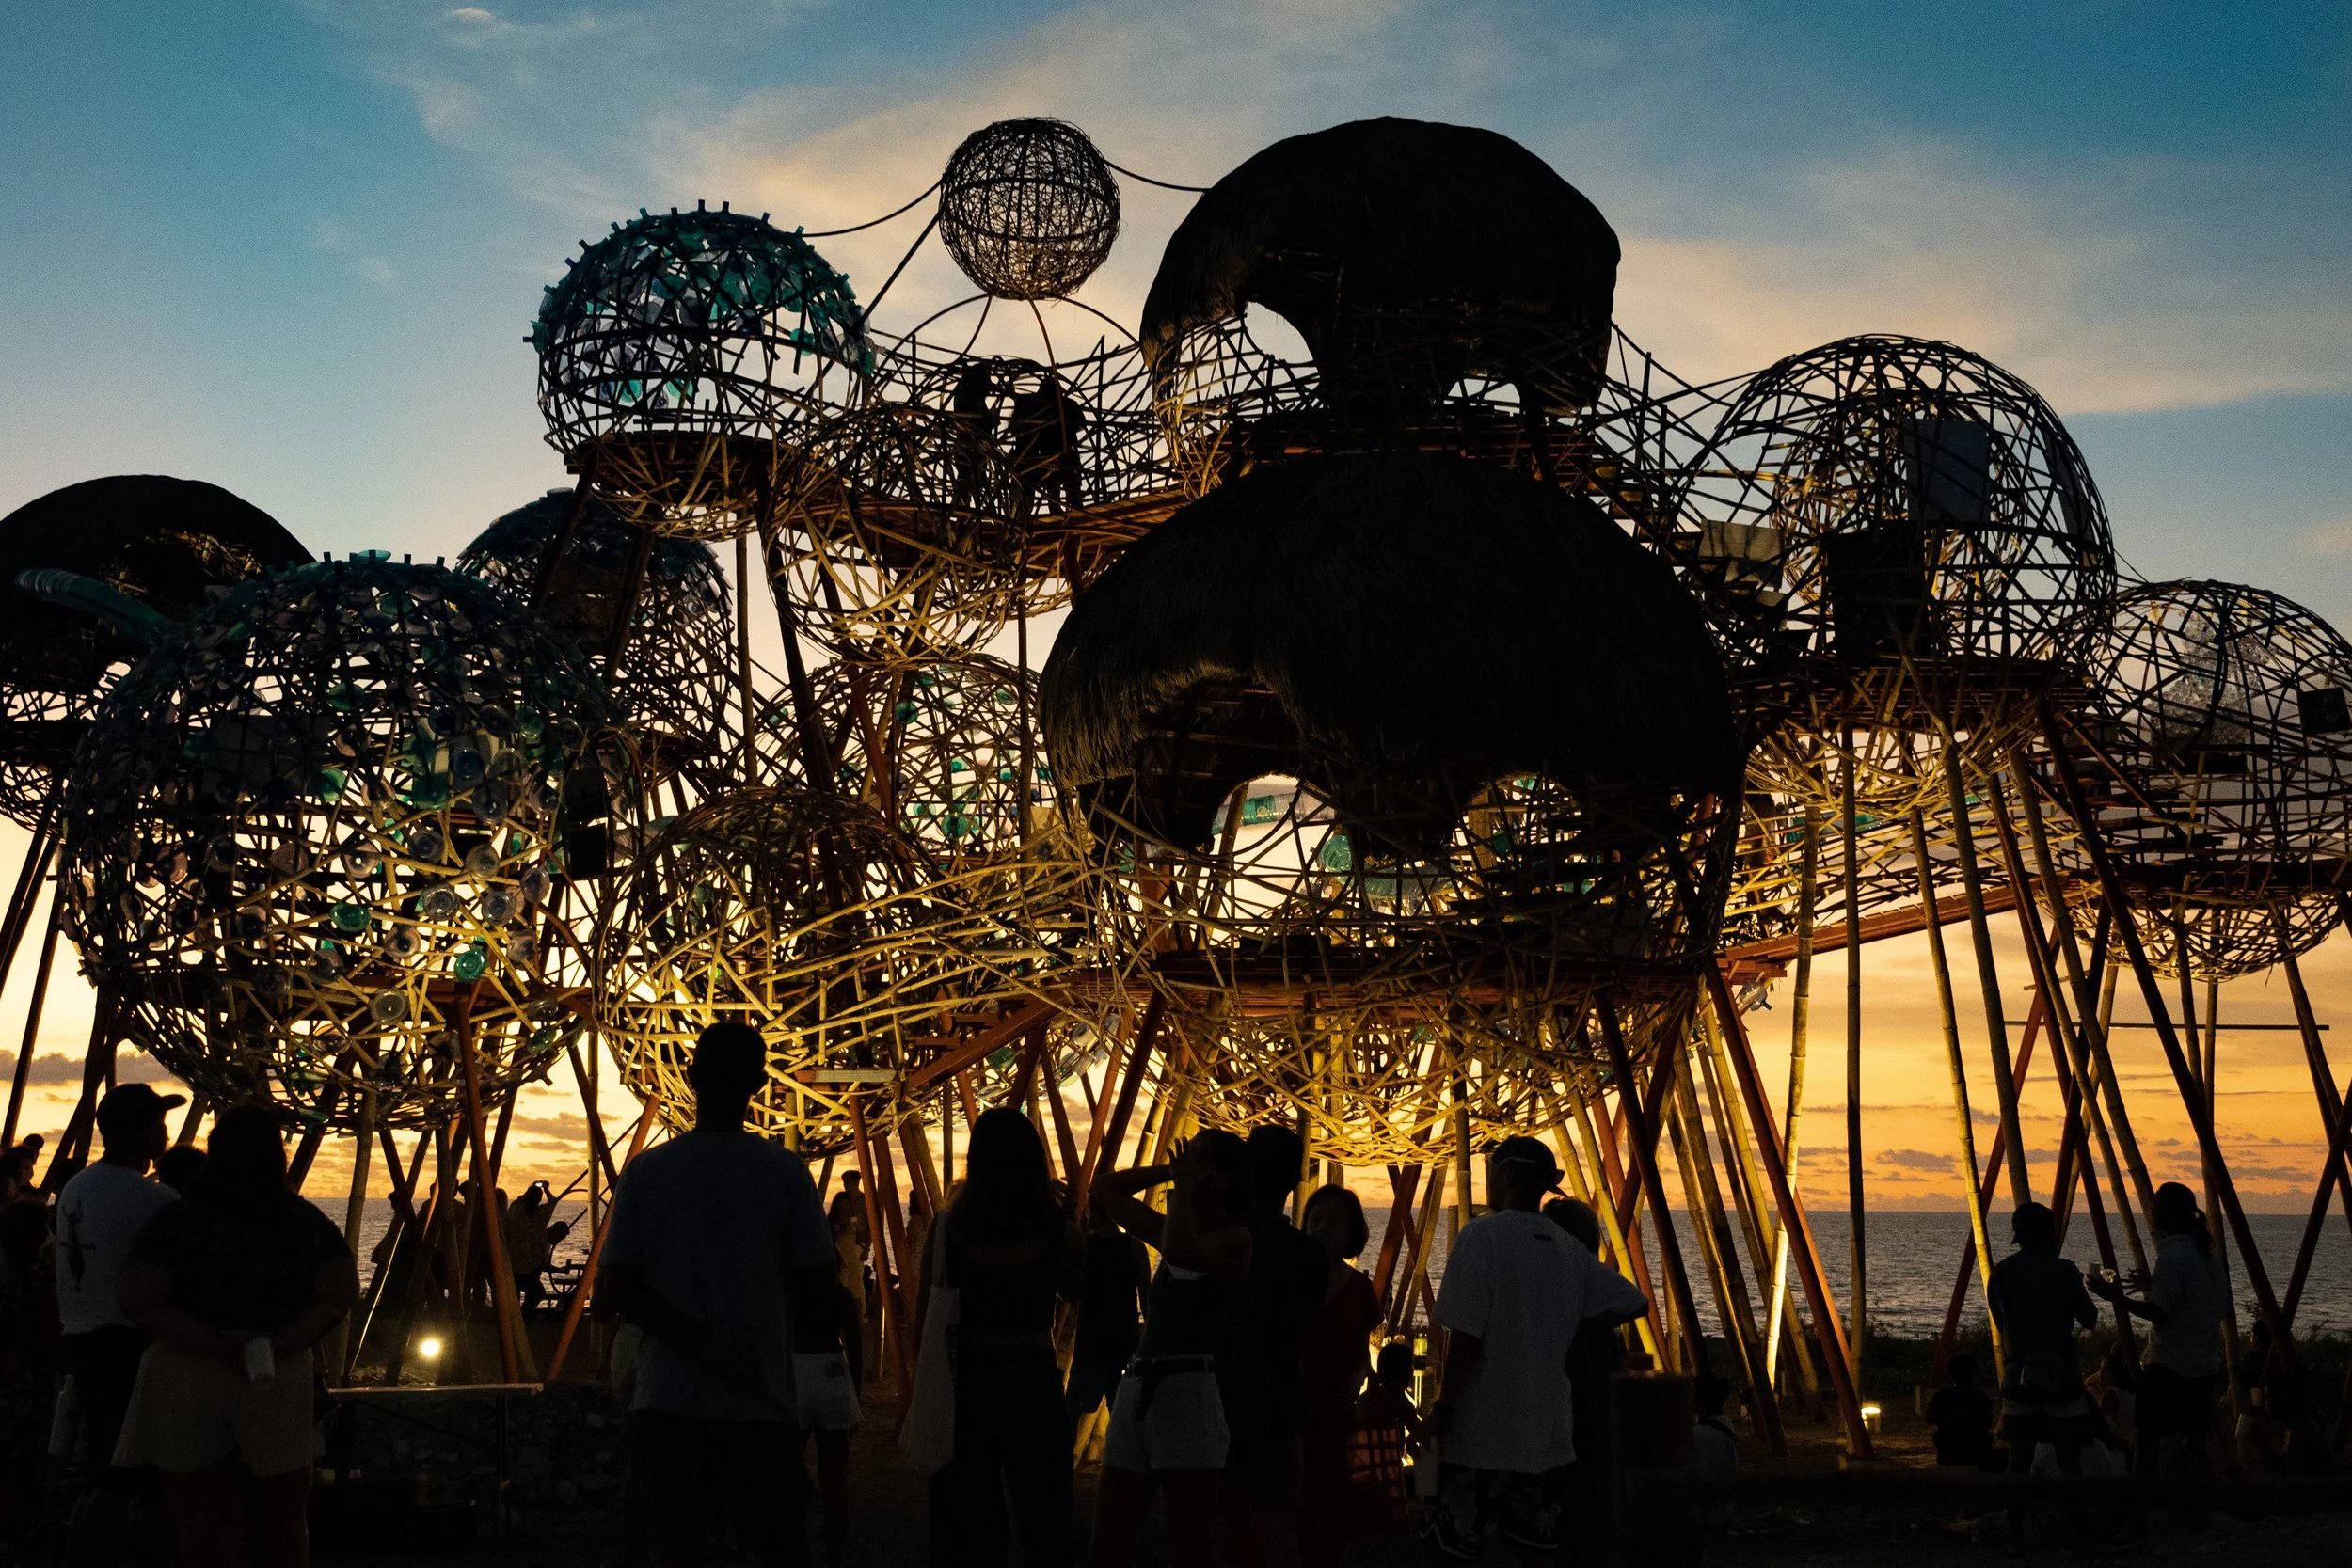
Mebuyan’s Vessel, an homage to the Bagobo goddess of the underworld, is an installation of 21 interconnected, inhabitable pods.
Signage said it could be climbed — but it was inexplicably closed. I must be in the Philippines.
A good trip, all in all.
Plenty of night driving, however. Those coming from Manila got very little sleep 2 nights in a row.
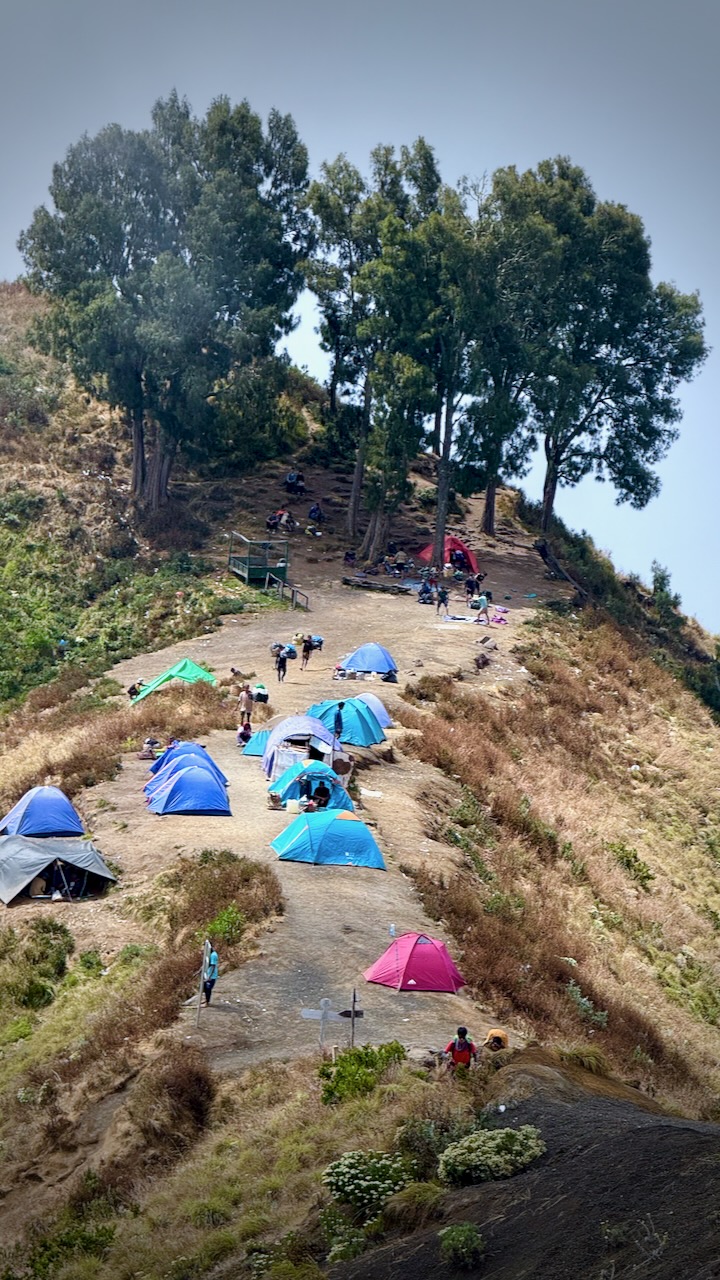
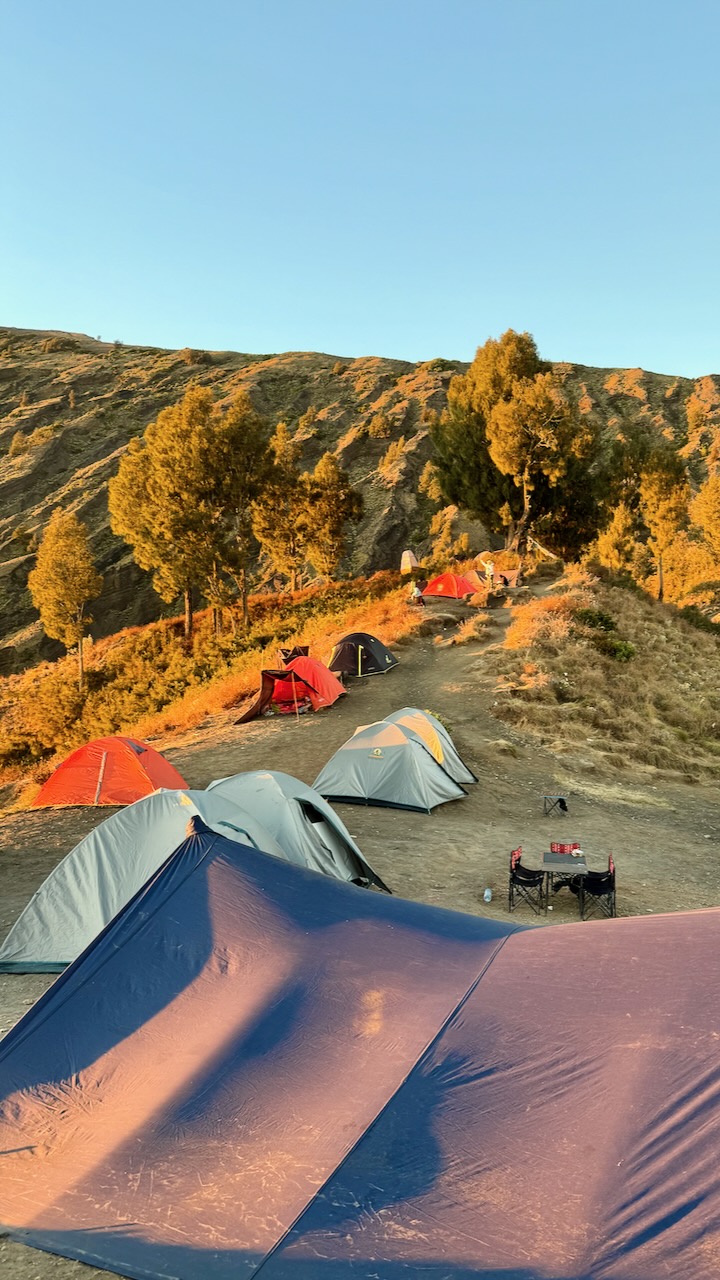
MOST groups on our itinerary camp on the 1st volcano ridge day 1. Our guide offered us the chance to descend 3 hours to camp at the lake, instead. Super tough 1st day — but we were all glad we did it.
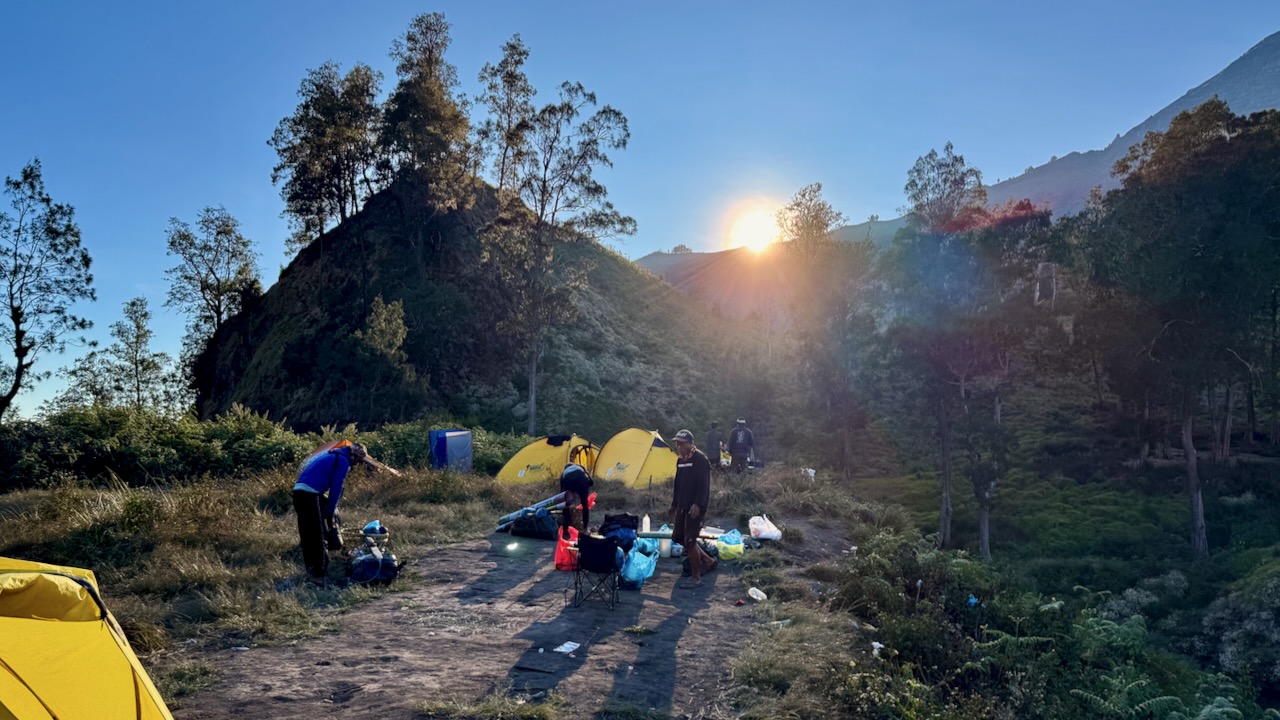
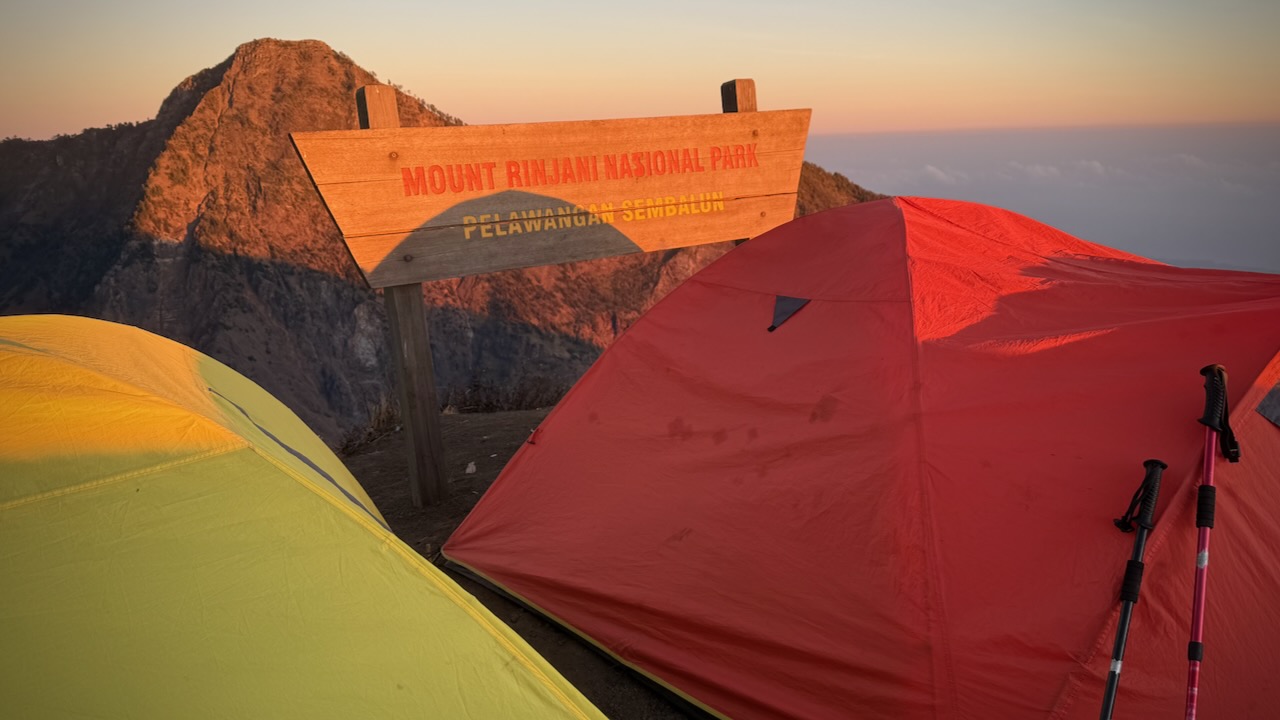
Mount Rinjani Crater Rim 1st night on the 3 day trek.
We were up for the dawn. I added milk powder to my brutal black instant coffee.
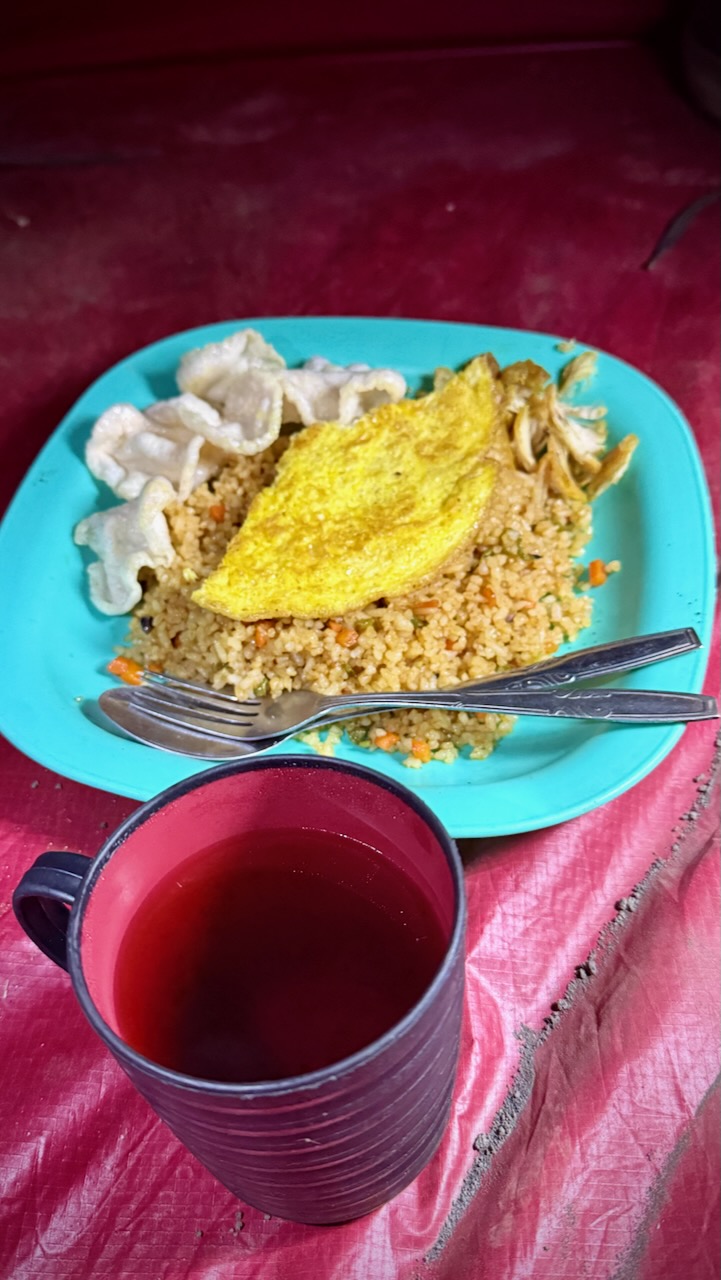
Banana pancakes excellent, as always.
Driving up to the start at 600m we stopped for a blessing. An important tradition with the local Sasak people as well as Hindus.
We each had to register with photo ID. The Gunung Rinjani National Park, established 1997, is trying to make this adventure safer — but they have a long way to go. It’s dangerous.
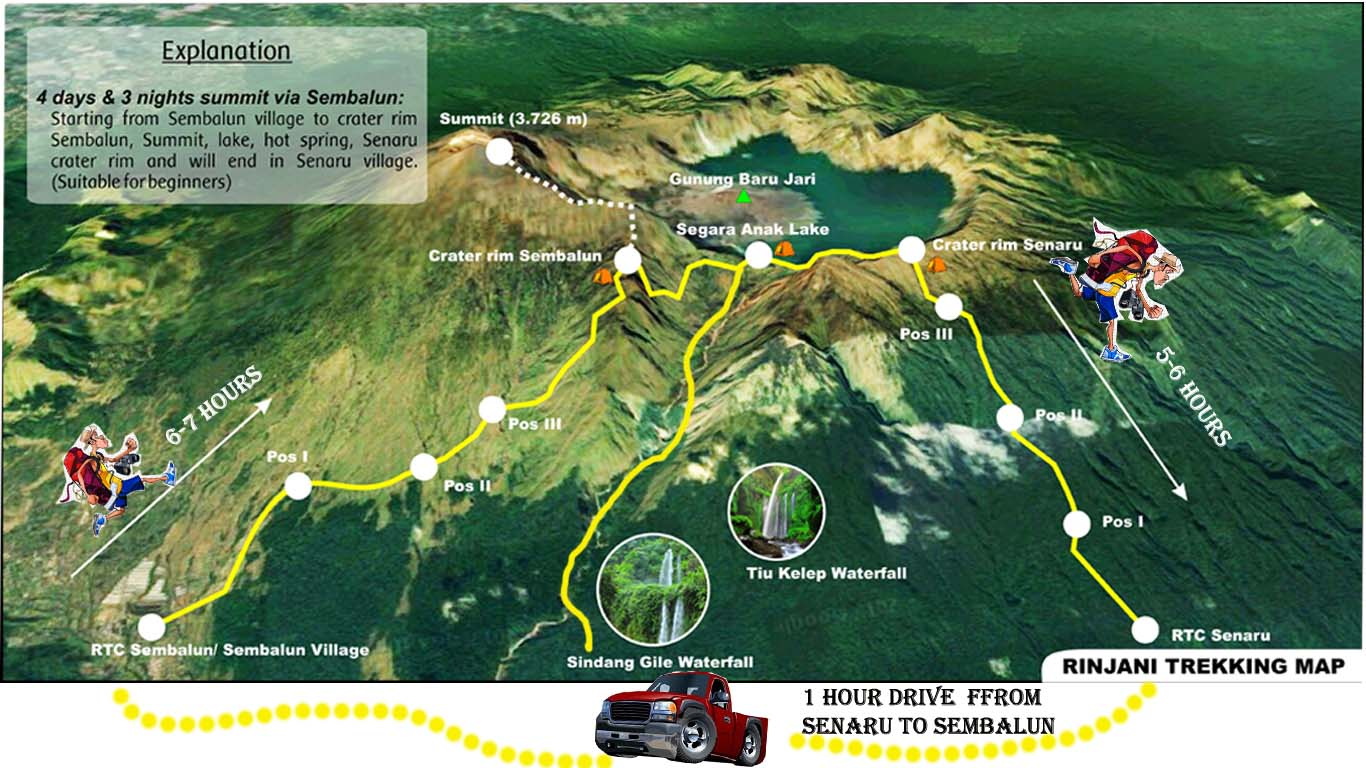
Our goal was the 1st crater rim — only 6.9km. Sounds easy until you calculate you need gain 2km in elevation over that short distance!
We started on the far right of this map.
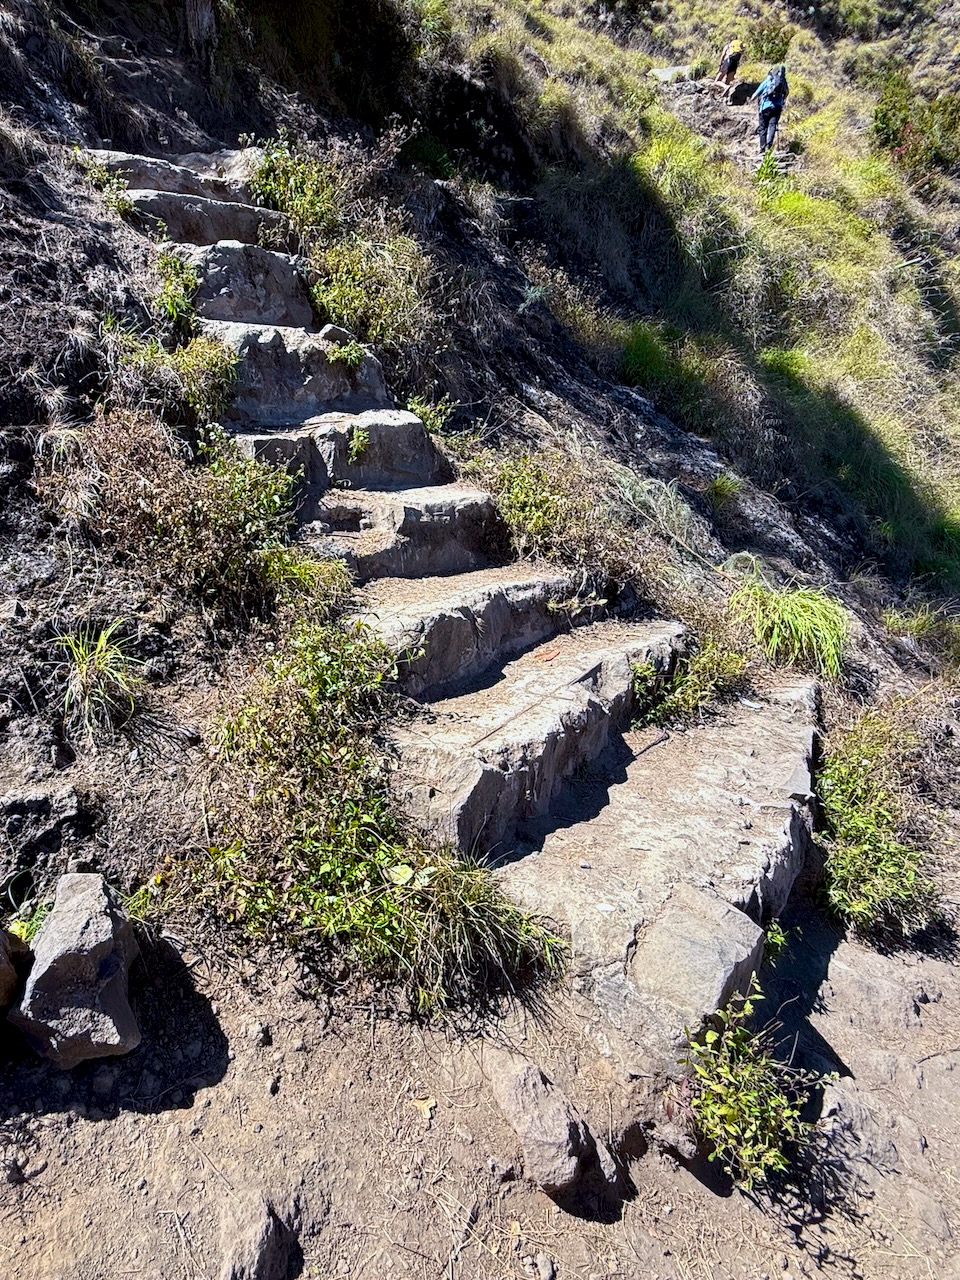
The start through jungle was relatively easy. THEN it got steep and challenging.
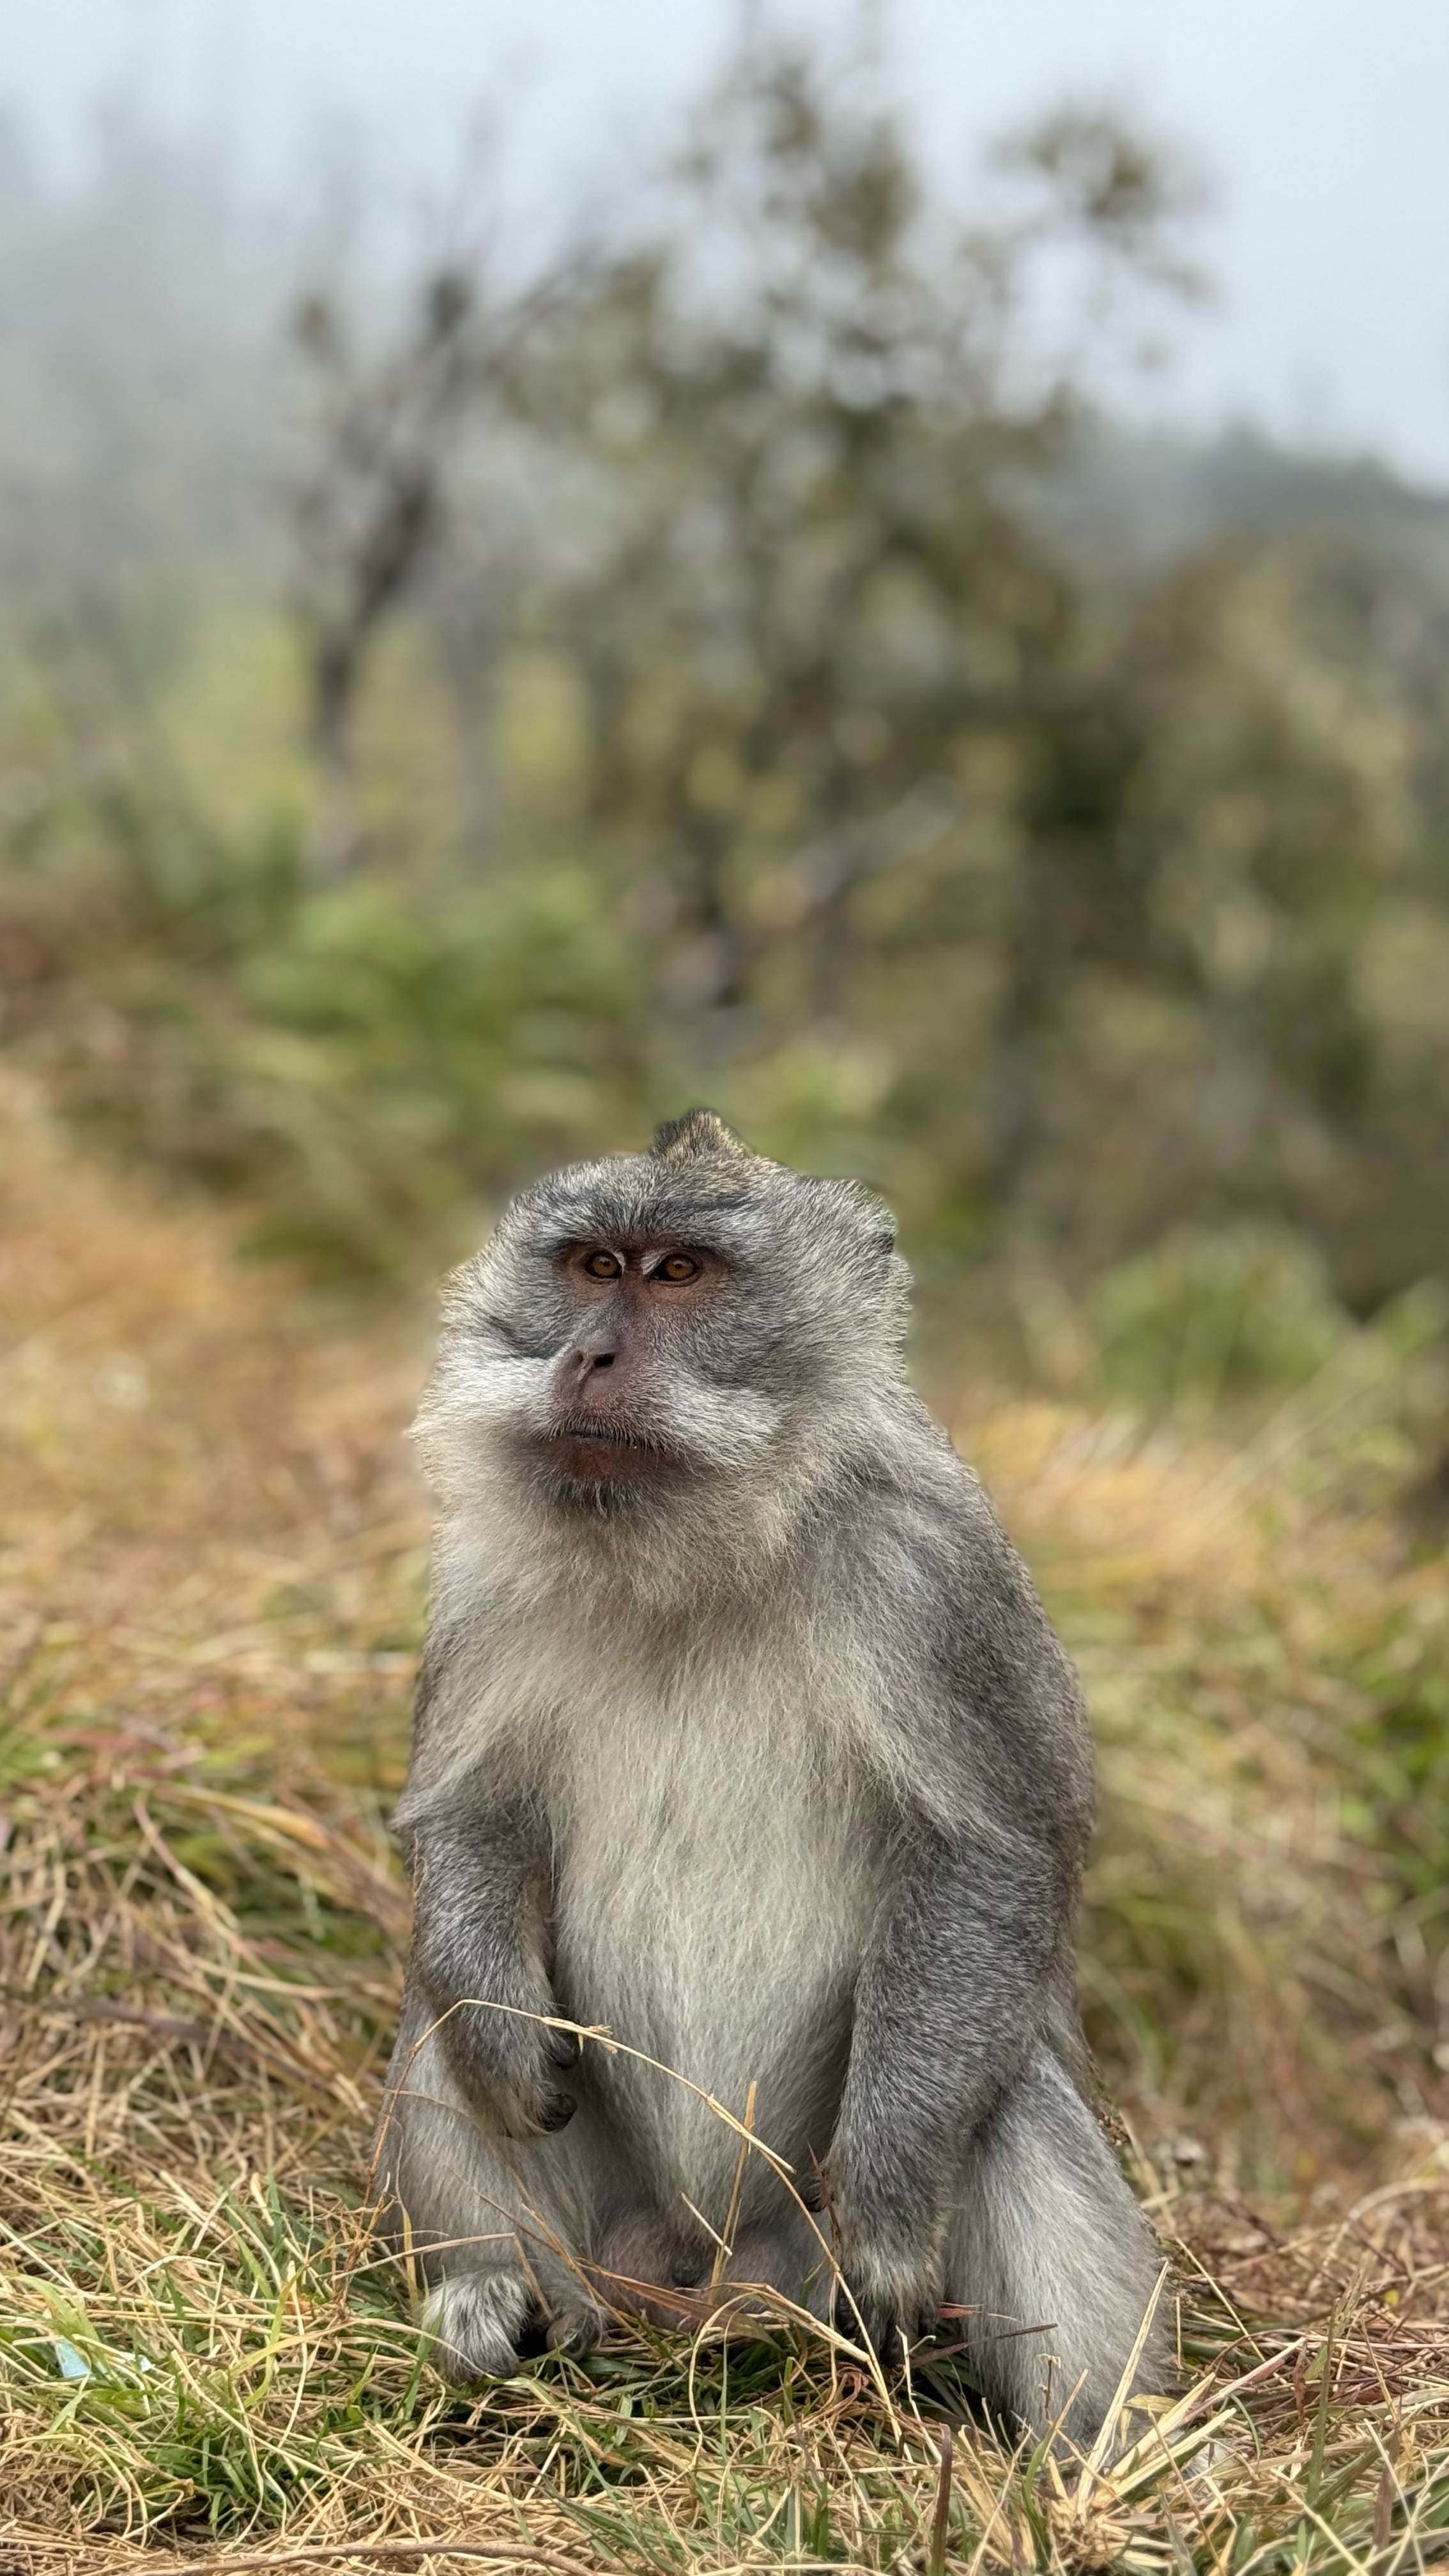
These wild cousins are more worrisome than the ‘tame’, well-fed ones in the Monkey Forest, Ubud.
Breakfast !
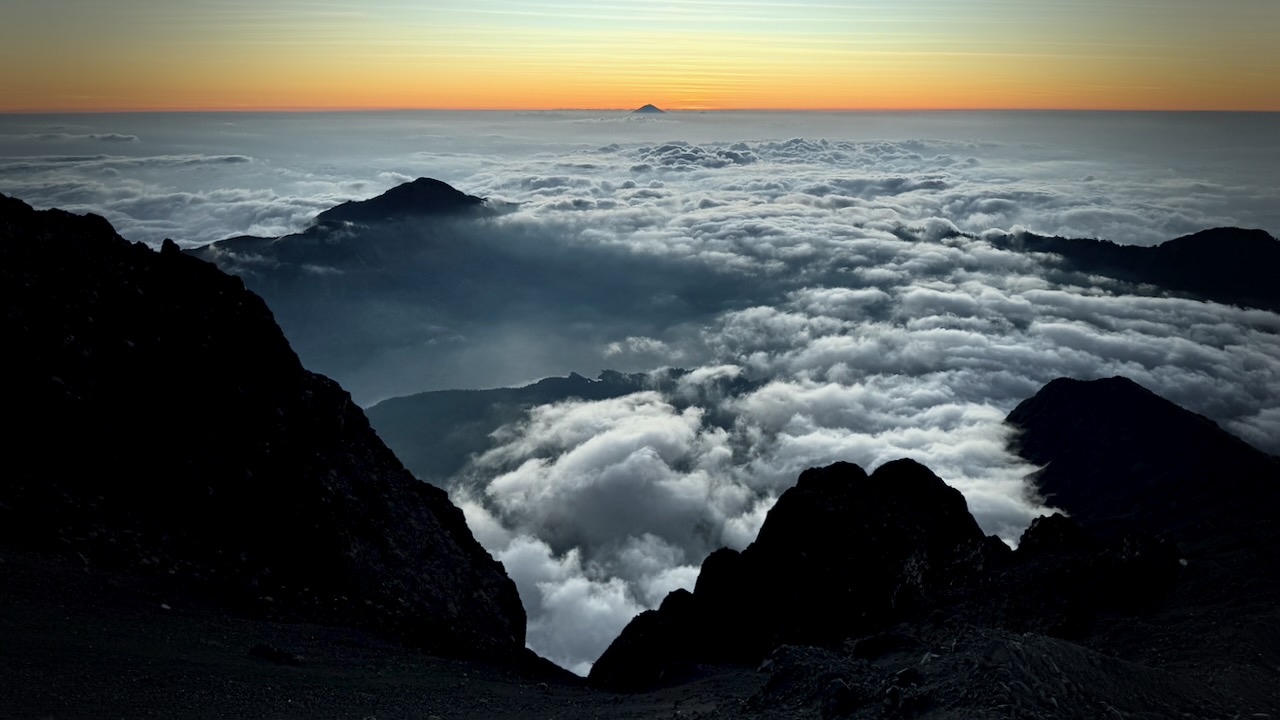
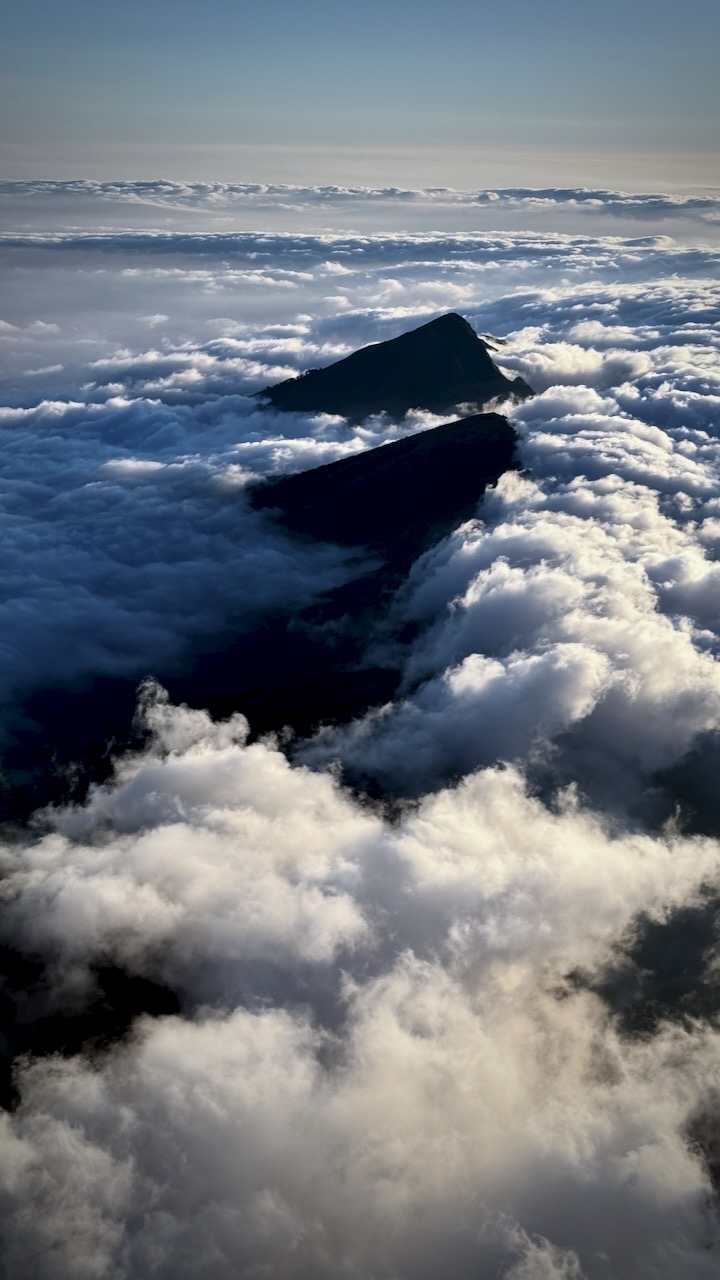
We hiked into and out of clouds.
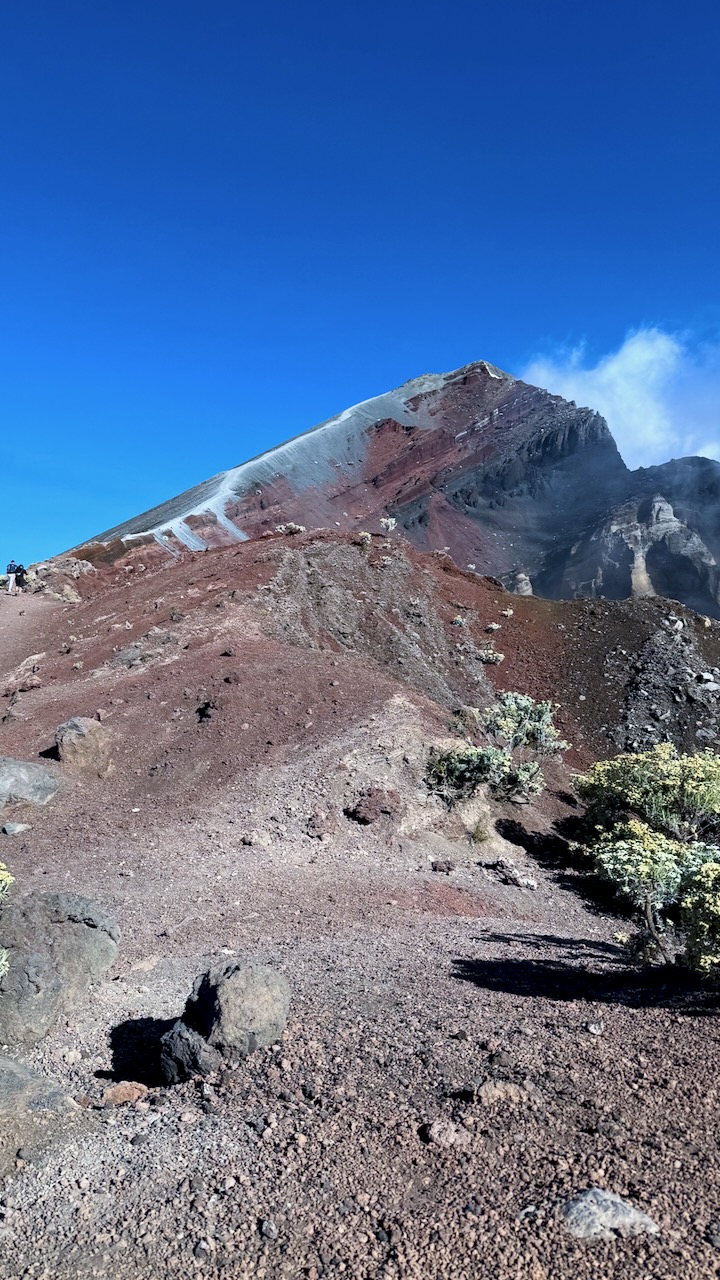
Crater rim beckons.
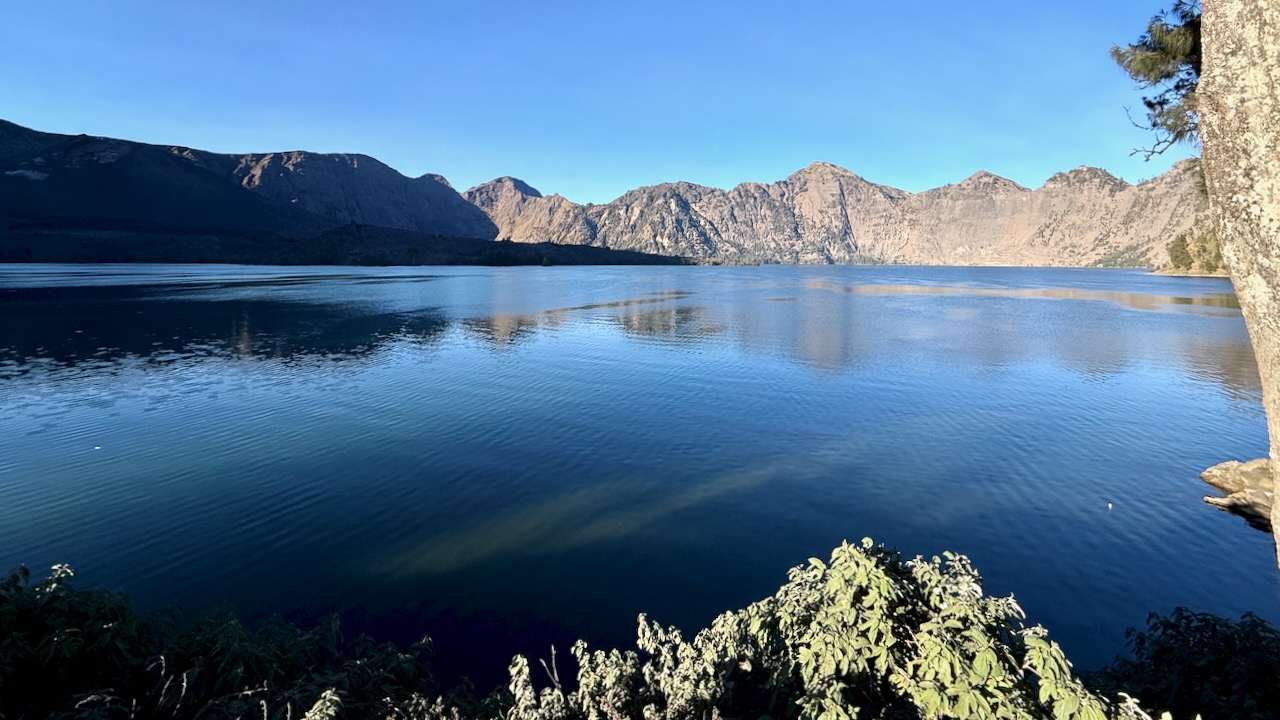
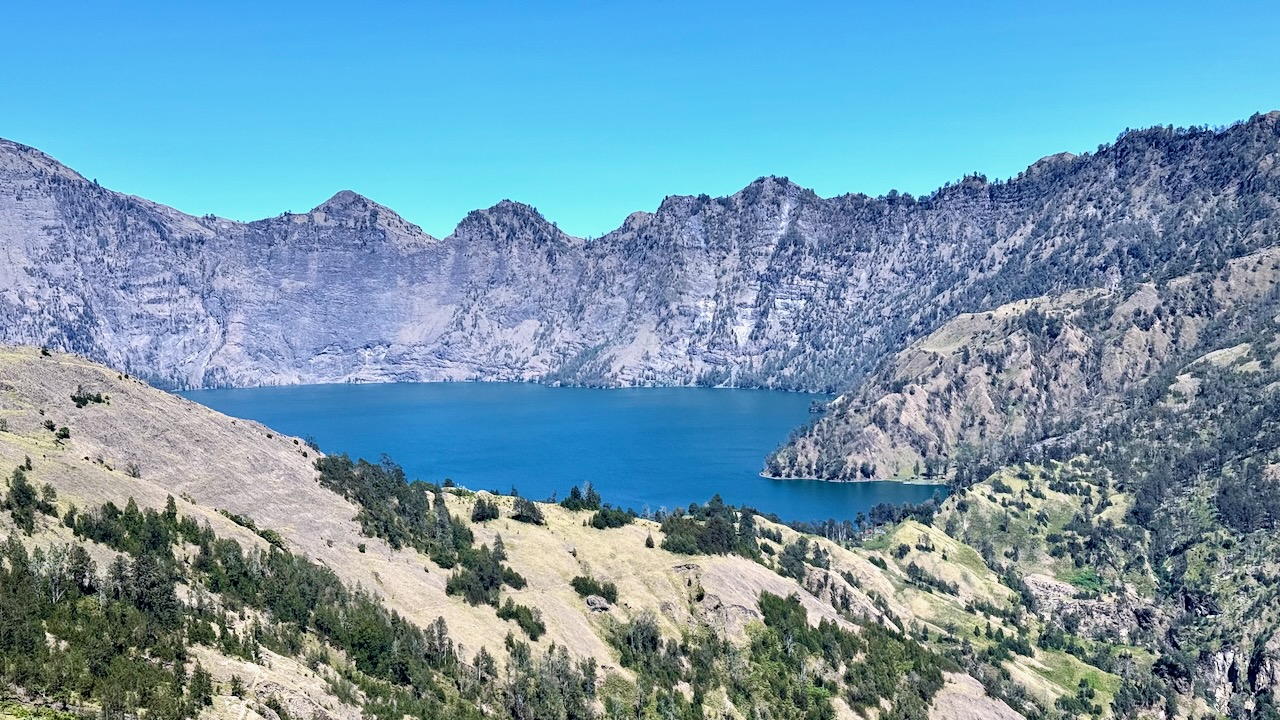
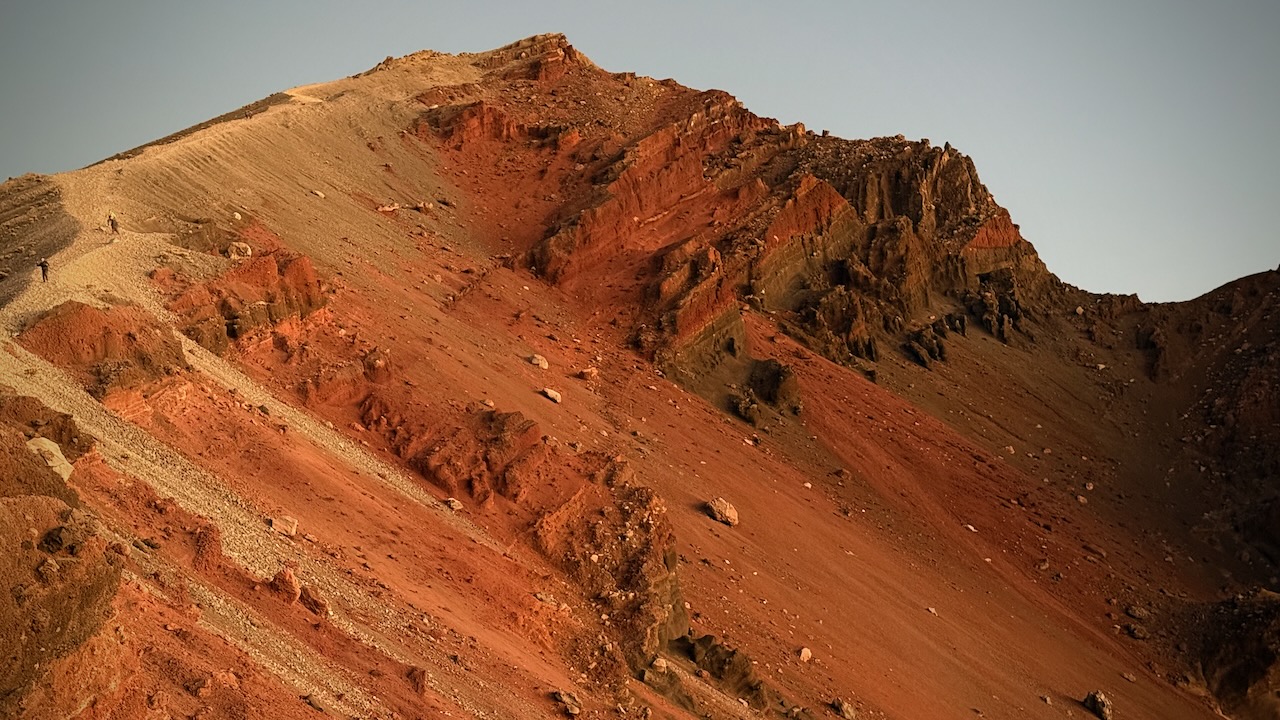
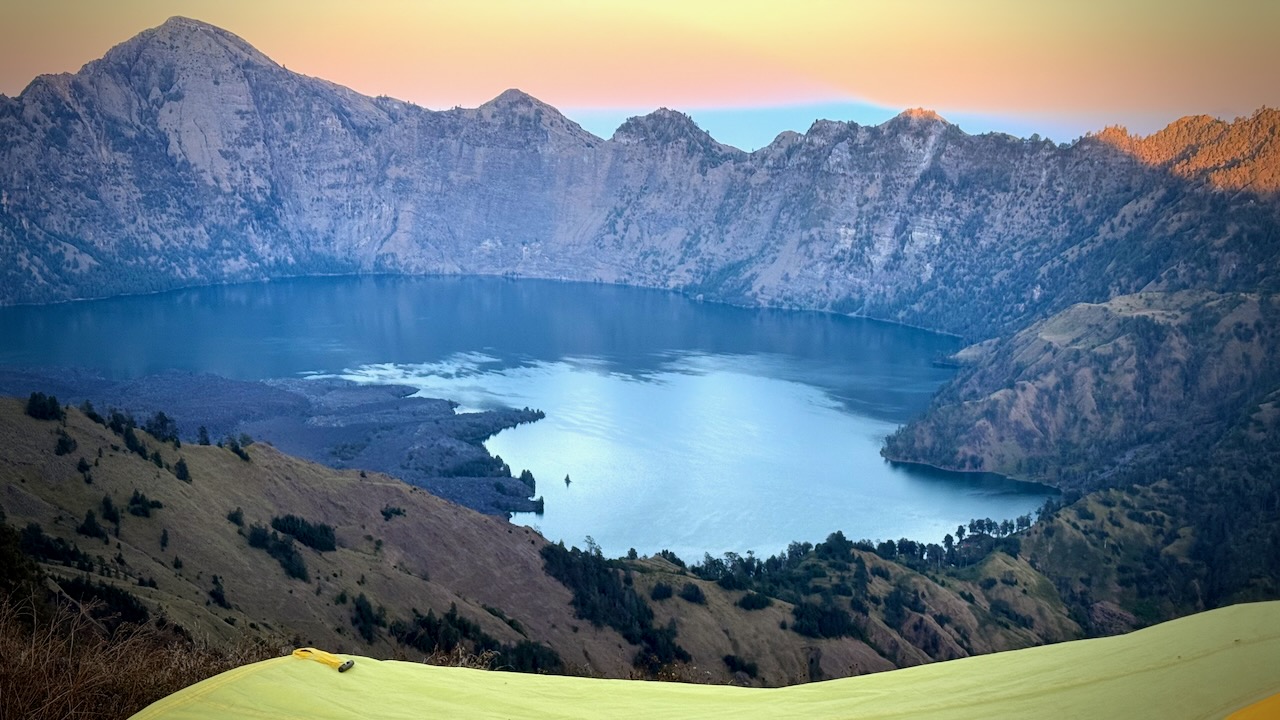
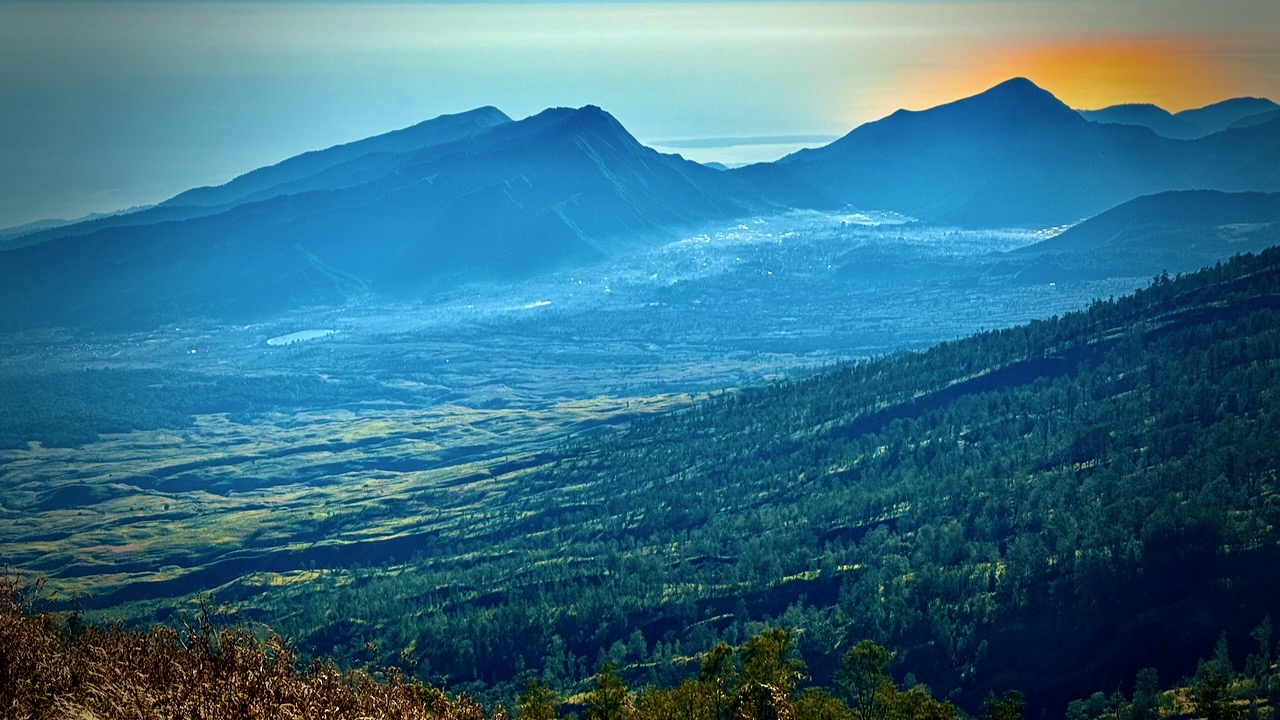
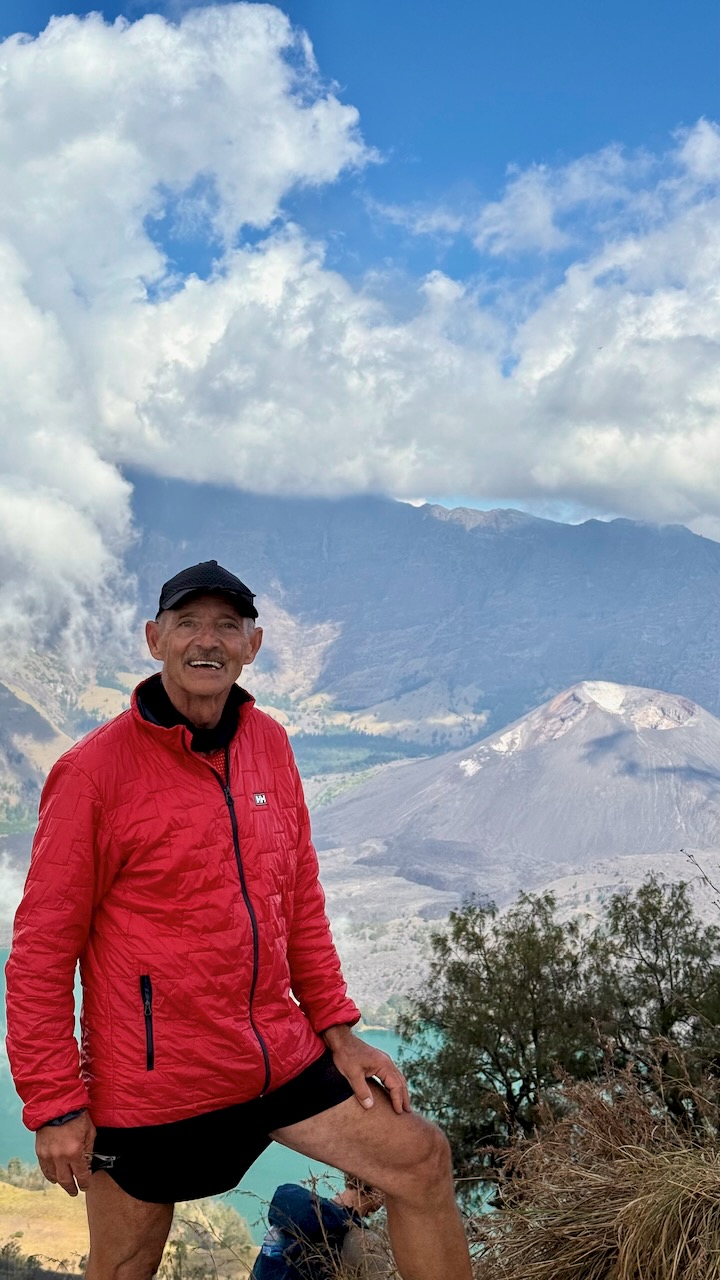
This — really — is the best vista on the hike. Crater lake Sagara Anak is huge, the colour unforgettable. The volcano’s eruption in 1257 is considered one of the most powerful global volcanic events of the last 2,000 years.
We were scheduled to set up our camp on the ridge here at 2,600m.
But we opted, instead, to hike down to the lake at 2000m, saving us 3-4 hours on day 2.
We all agreed to go for it.
OUCH …
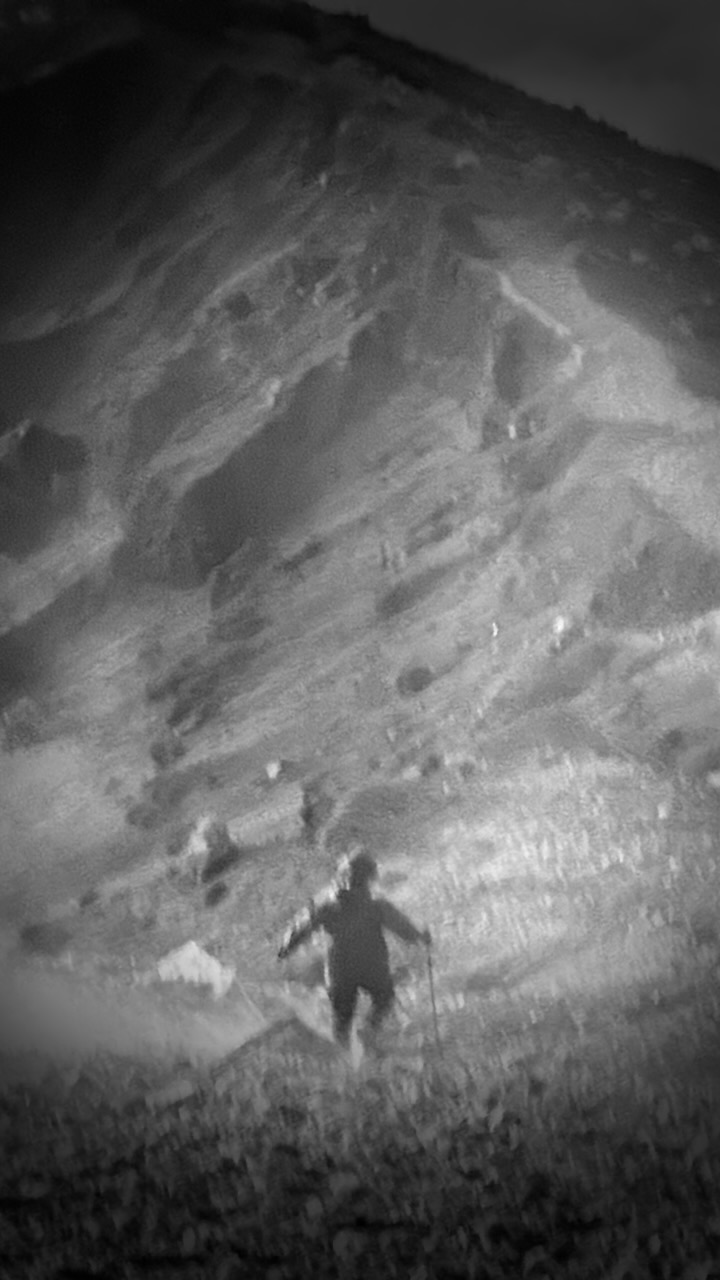
That decent is awful and dangerous. I took no photos. We had to concentrate on every technical step.
It was a relief to finally get to the lake. This one of my toughest hiking days of all time.
We arrived just before dusk.
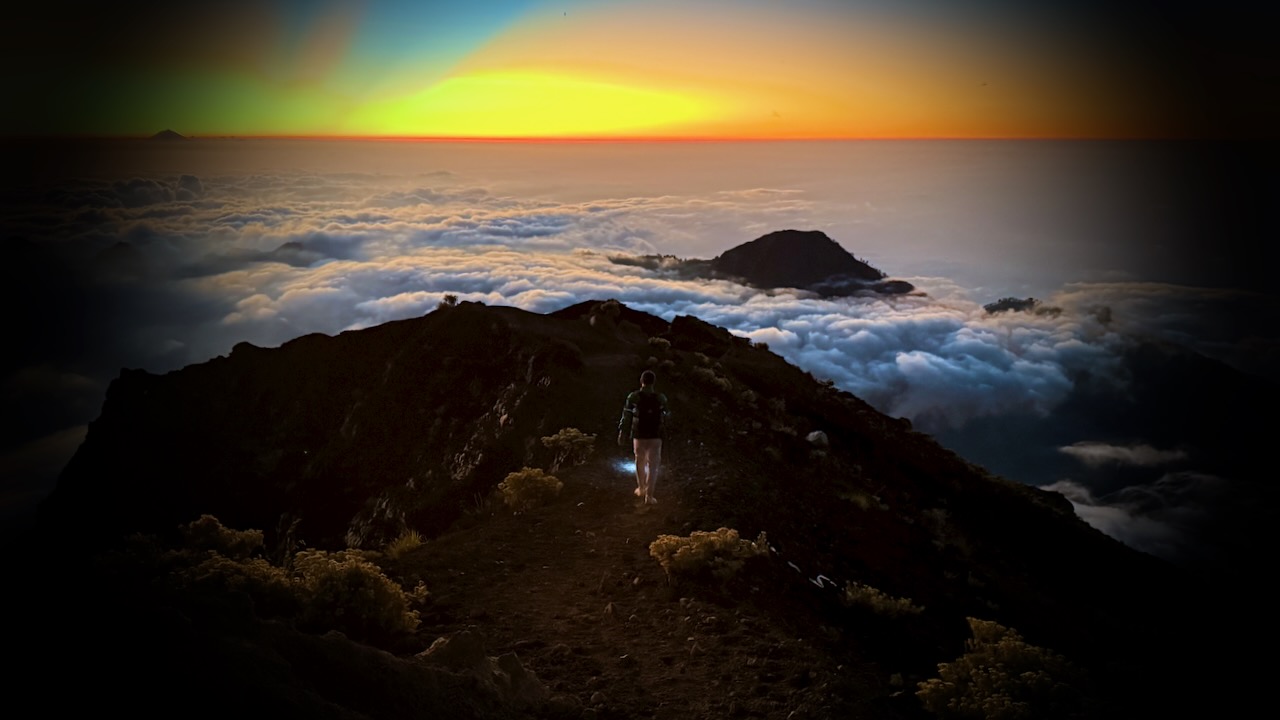
Alpenglow time.
Each group has their own toilet tent.
The alternative at major camps are these good looking public toilets. This one was filthy! But some are quite new. Fairly clean.
Major camps have emergency shelters. I don’t doubt they are used frequently. The trek is risky.
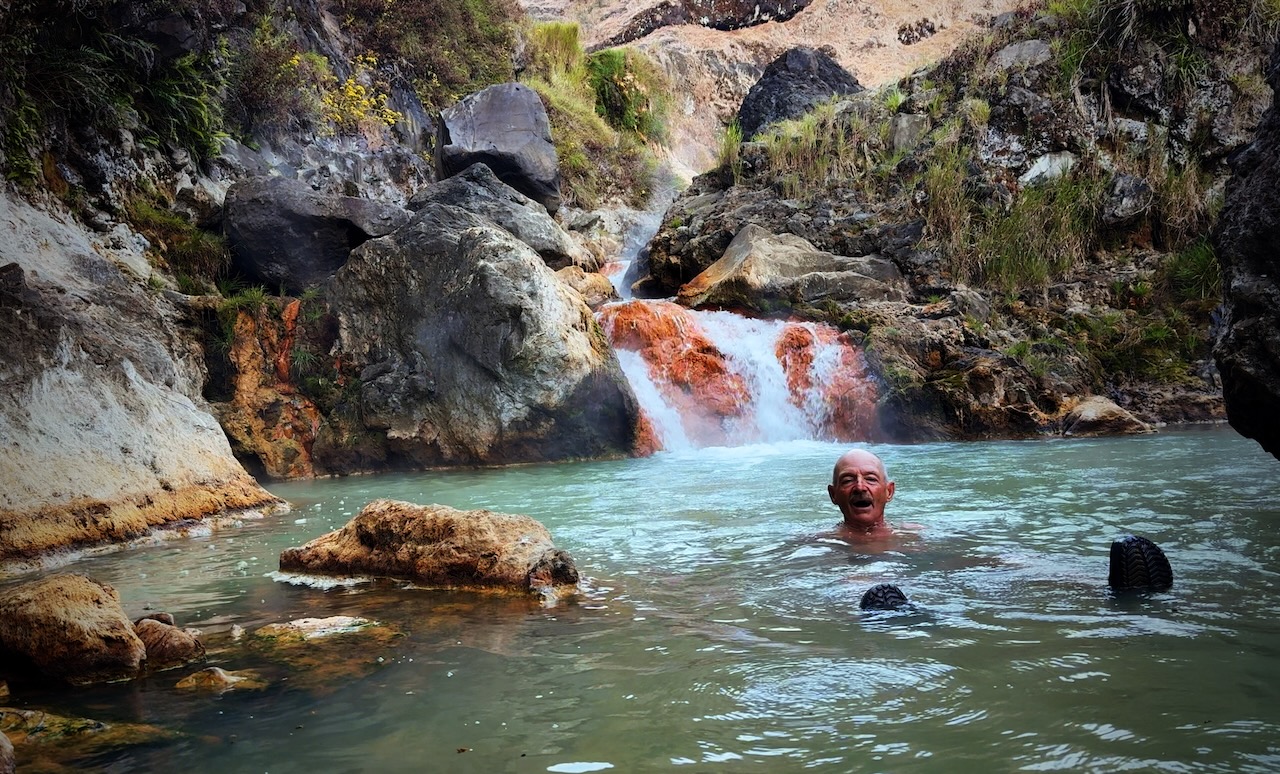
Our guide sent us to the hotsprings with one of the porters. Fantastic. A highlight of the entire trip.
Tim (tim_de_bruijn on Instagram) was a full-time social media manager for a major Dutch soccer team. He showed us fantastic photography tips on his iPhone, including these two. It was pitch dark at the hotsprings!
Pitch dark at camp, as well.
tim_de_bruijn
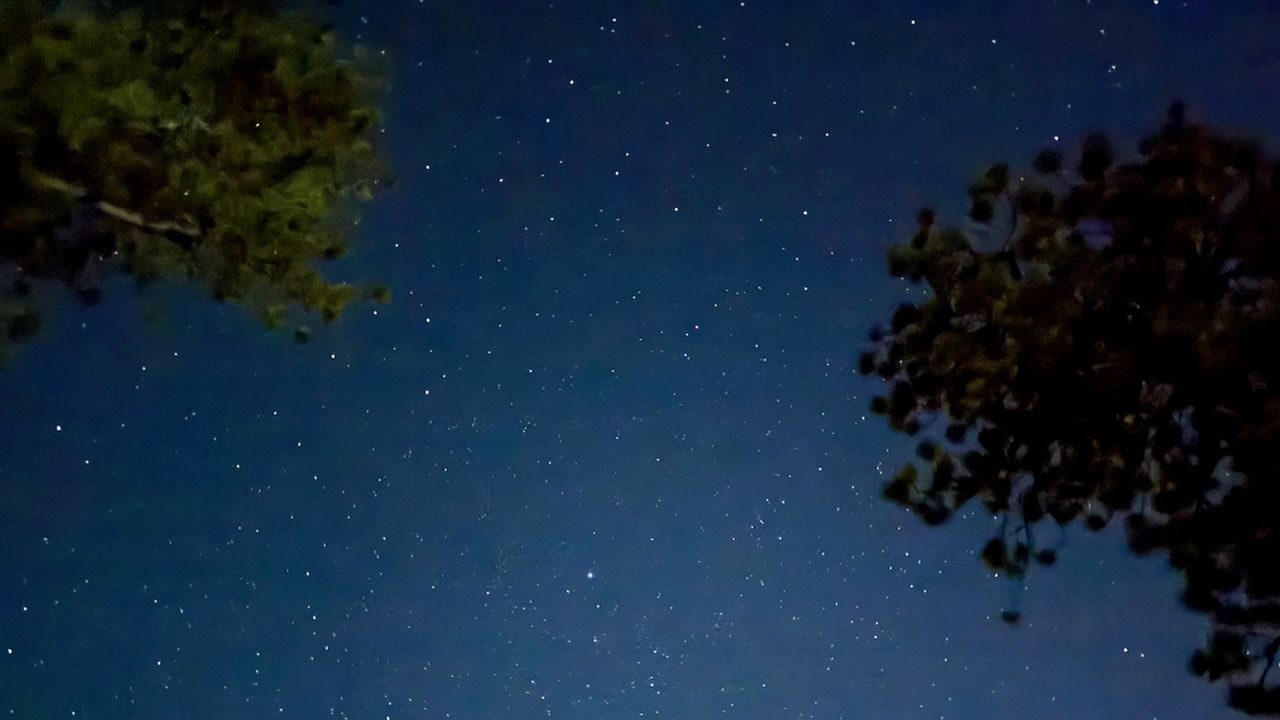
Most amazing of all was his capture of the night stars. Very few of these were visible to the human eye. This from an iPhone 16 Pro Max.
I actually carried my own tent on this adventure. Air mattresses in the provided tents were not good. 😀
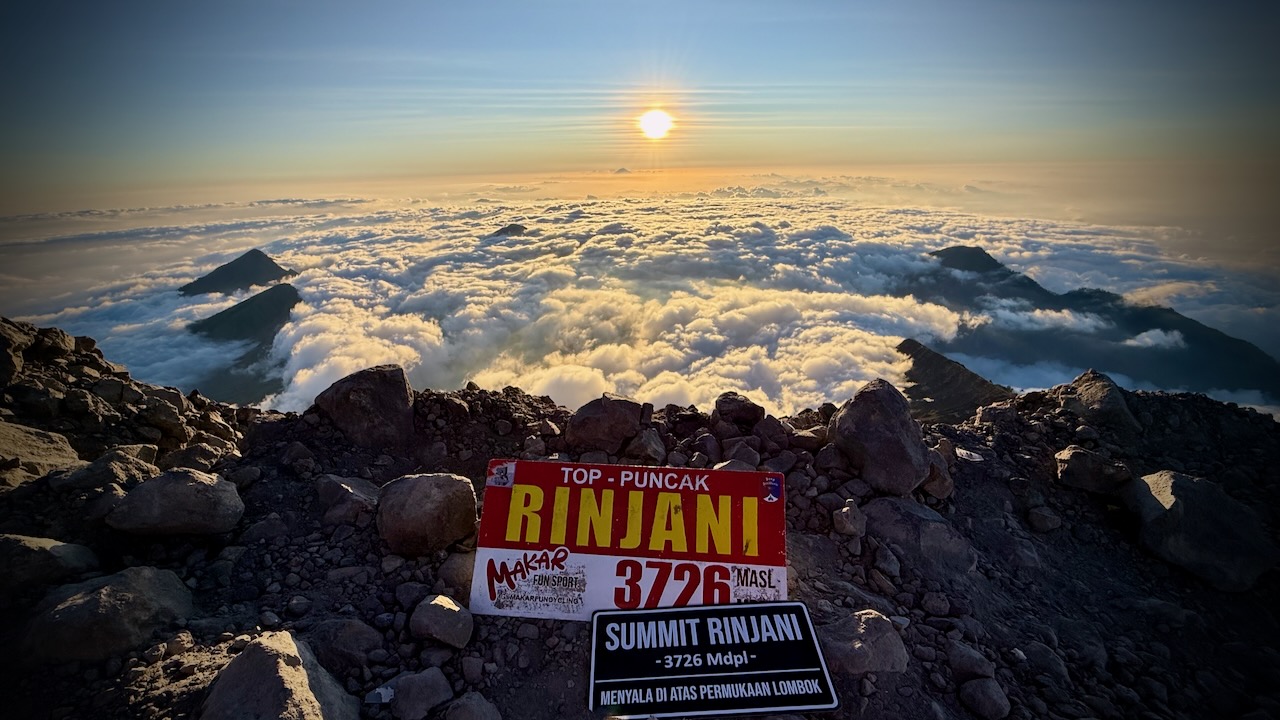
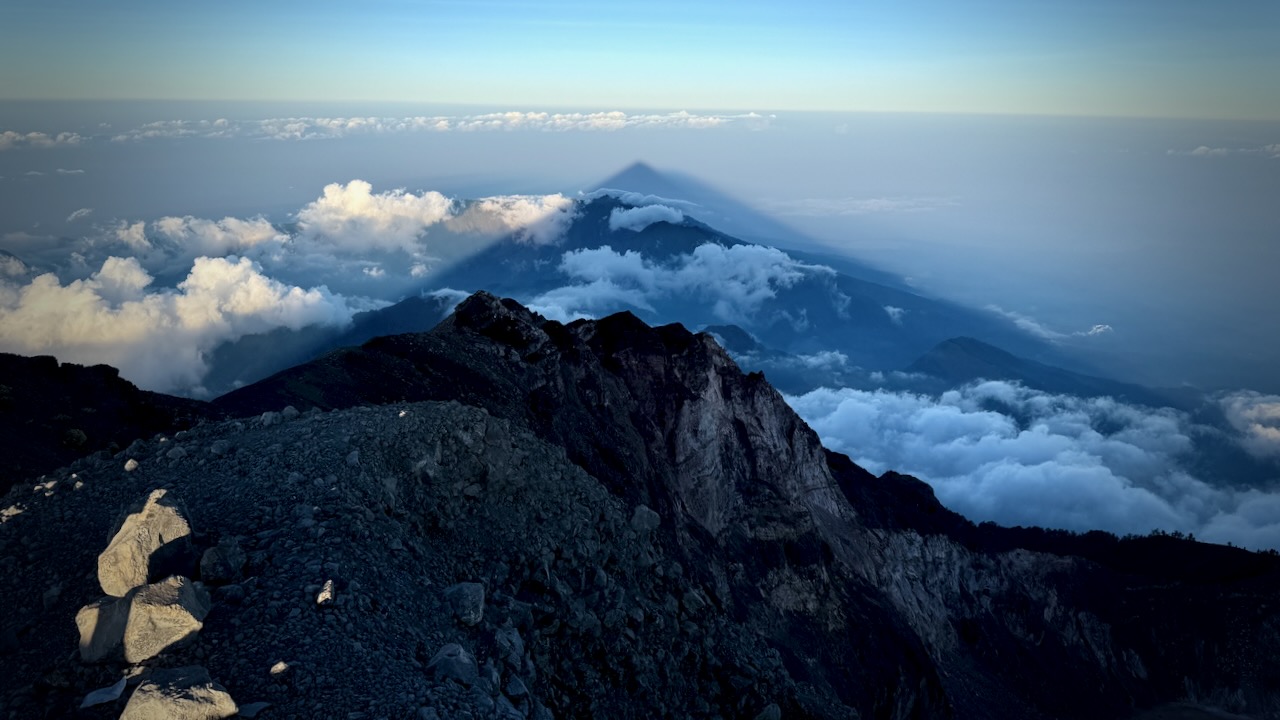
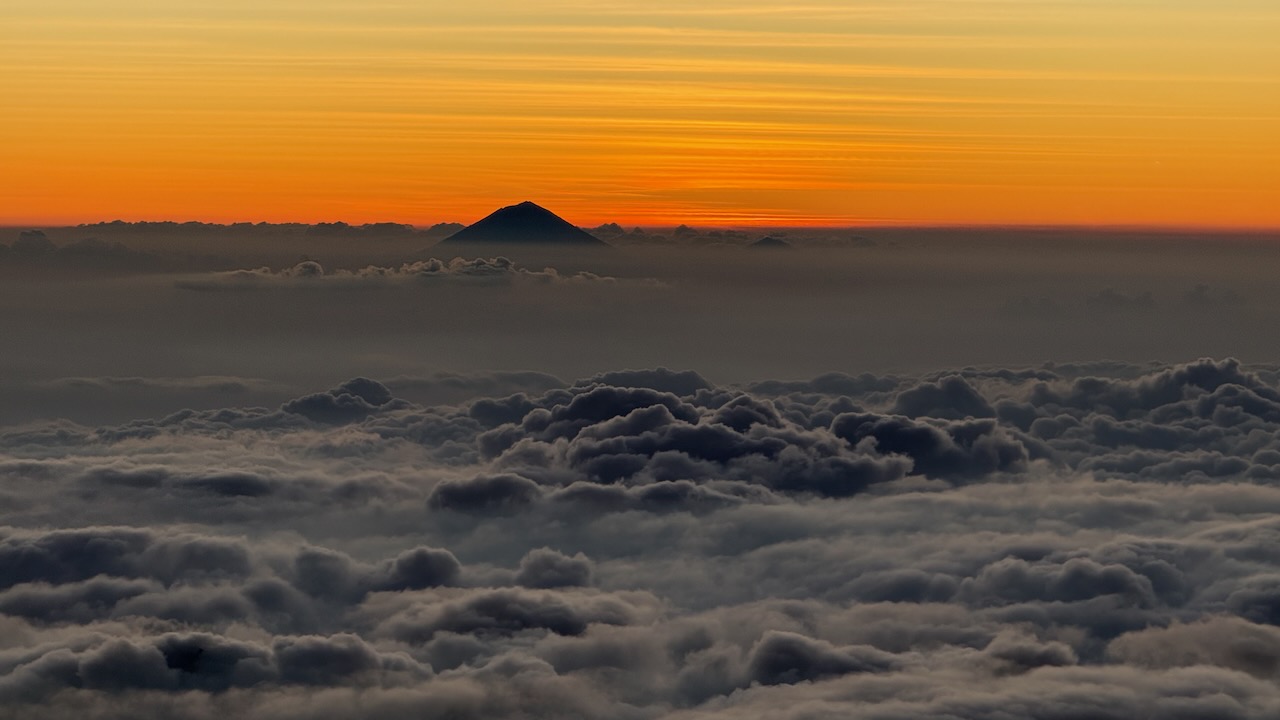
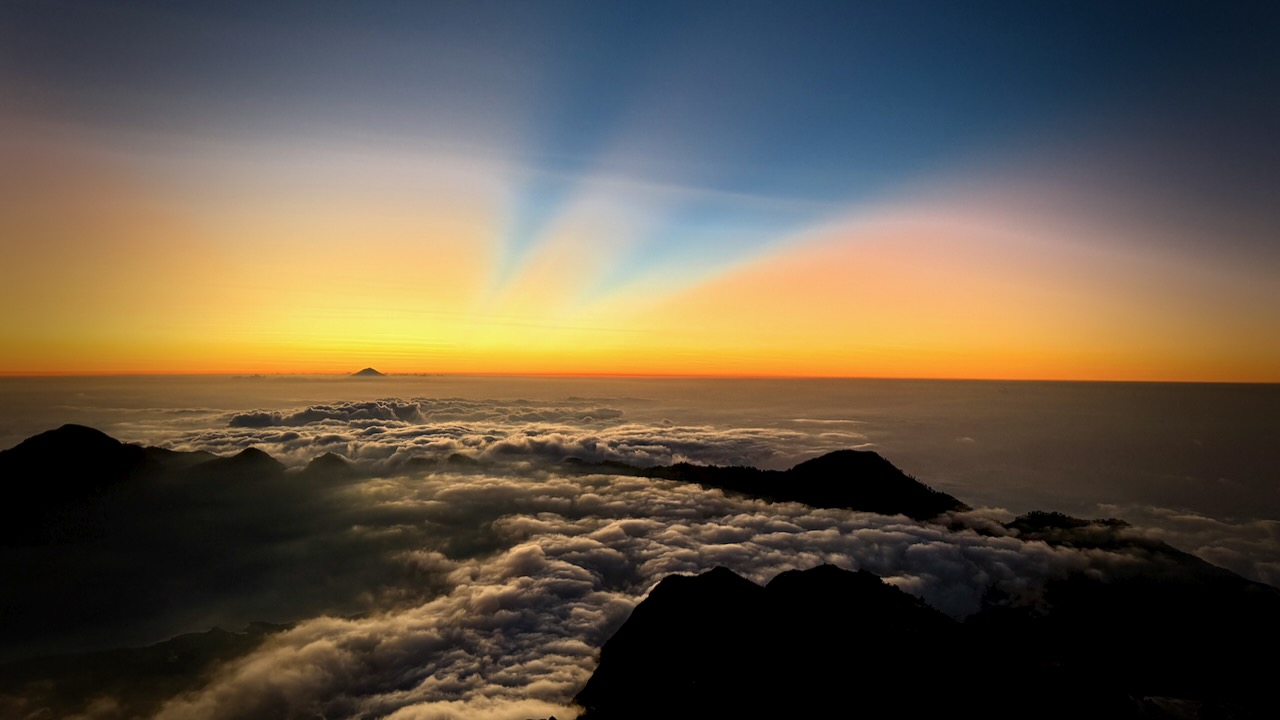
The crater rim vistas really are superb.
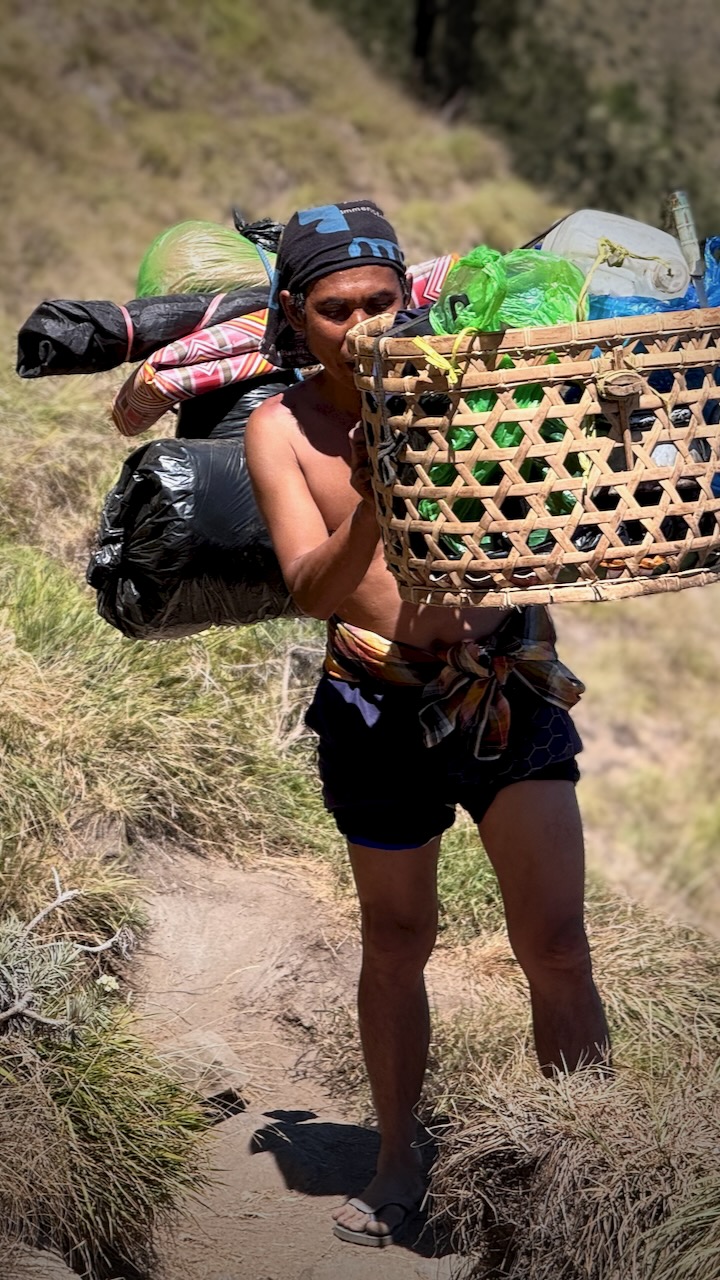
The biggest takeaway from this trip for everyone is being impressed with the porters. Rather than use the more efficient tump system, they balance these loads on one shoulder while doing big step-ups and step-downs.
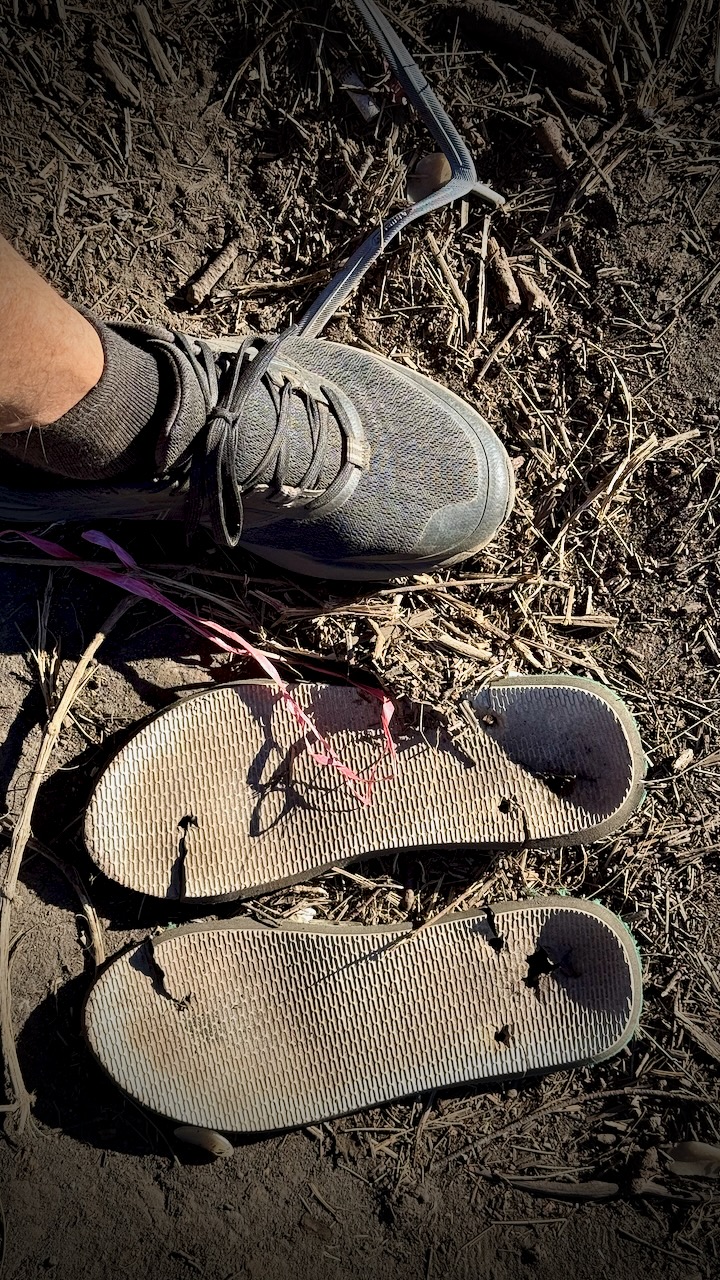
They all wear flipflops. Until they break.
We were headed down, back to civilization.
Somewhat slippery — but overall fairly easy.
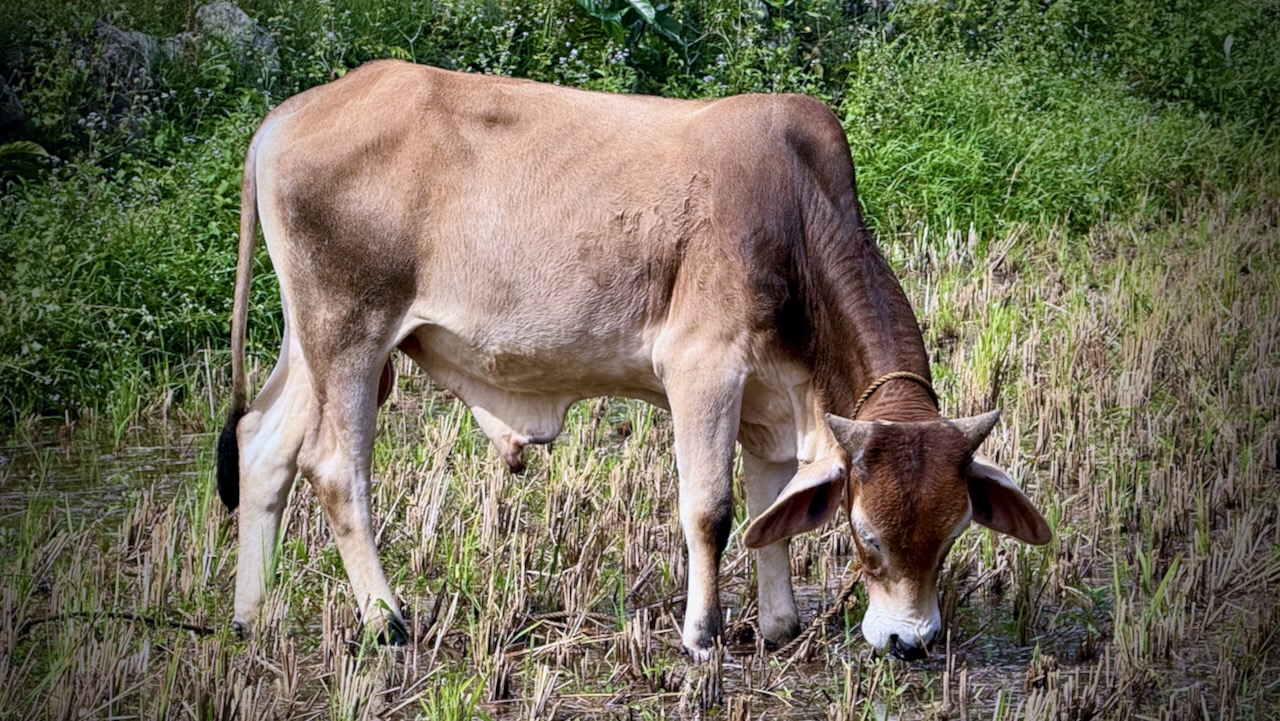
We had lunch in a shady forest, monkeys and cows standing by to gobble down what leftovers they could get.
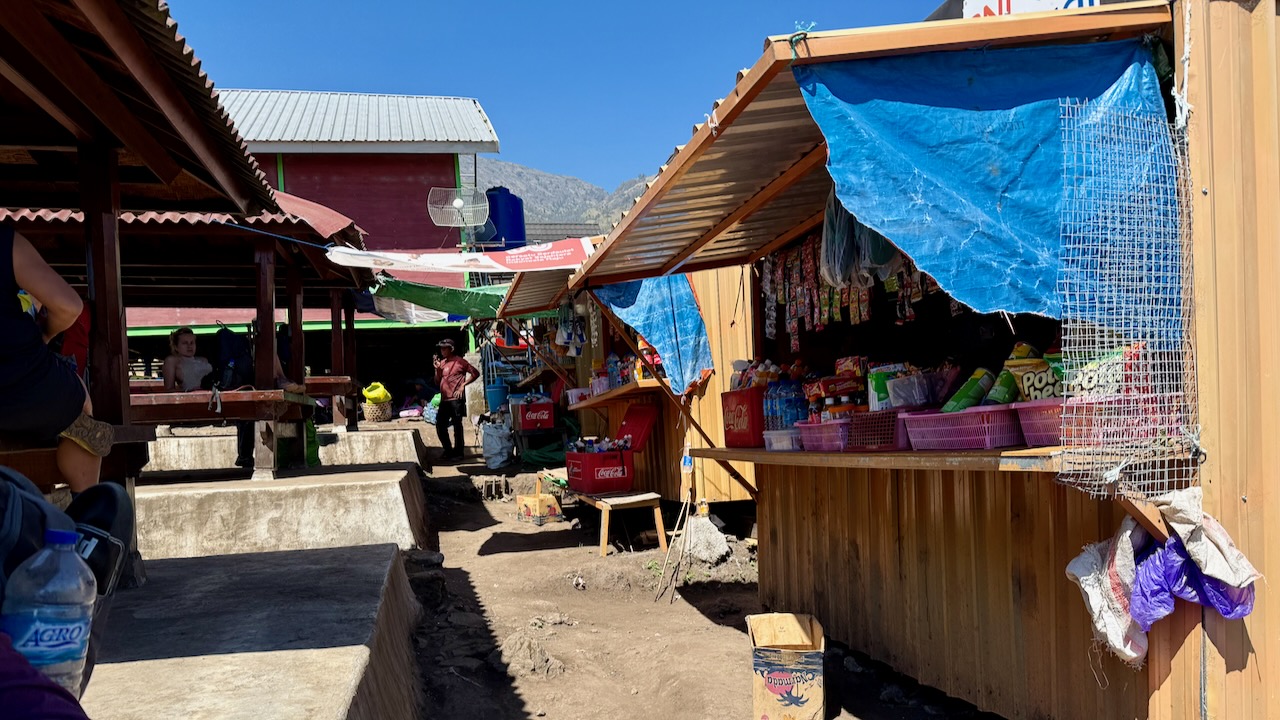
It was a shock to get to the trailhead. Noisy motor cycles.
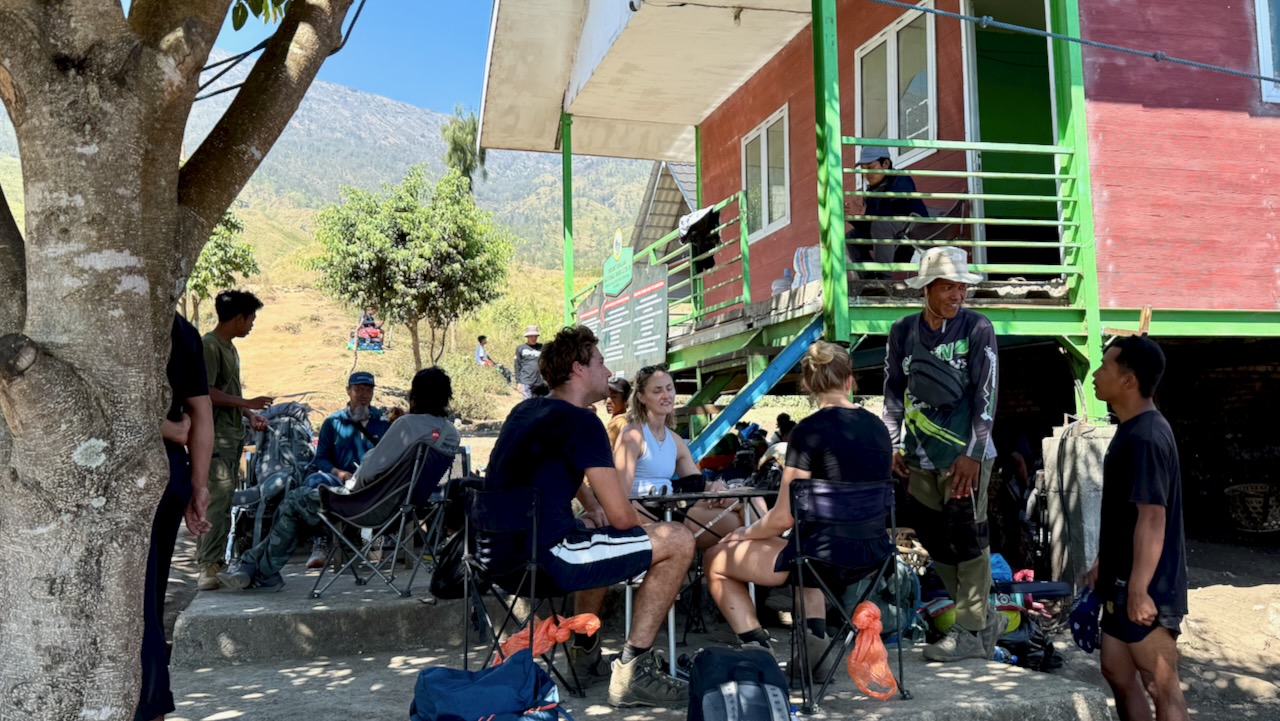
Perhaps 120 people readying to start.
Those who sign up for 2 days, 1 night begin and end here close to Sembalun village. They miss the lake and hotsprings.
It took about an hour to drive back from Sembalun to our start at Senaru village. We returned rented gear and recovered our luggage left in storage.
TIPS
BEST HIKE is our itinerary (3 days, 2 nights in tent) with an afternoon ascent rather than the crowded, dusty line-up for dawn. Day 1 is long and hard, however.
WAIT for a good weather forecast, if you can
Green Rinjani looked one of the most professional companies at camp, to me. Modern tents. Tables and chairs.
Grippy and comfortable shoes are the most important piece of gear. Wear a size larger than normal so your toes aren’t crushed on the descent.
Protection from sun and wind is important. Sun screen. I brought a sun hoodie.
Porters provide as much water as you can drink.
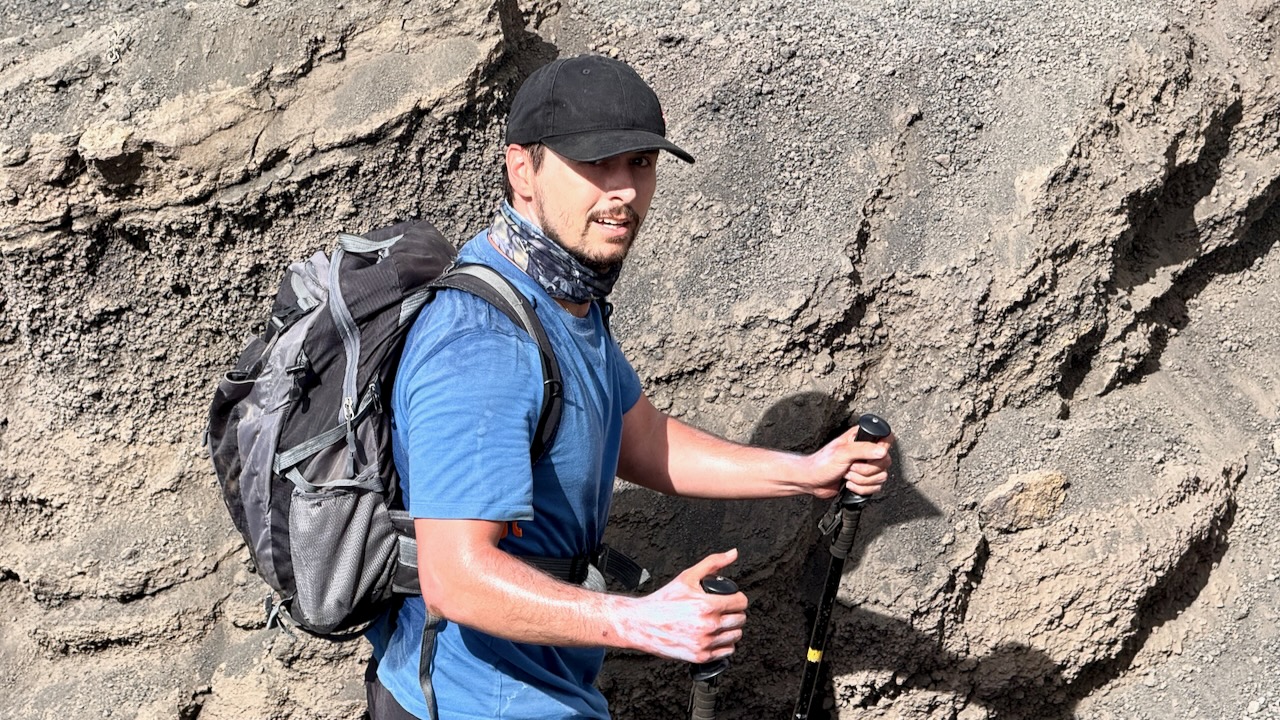
I fell about 8 times over the 3 days. No injuries as I almost always landed on my backpack.
I didn’t bring trekking poles. And that was a mistake. Our guide gave me one pole for long down climbs.
It’s badly littered.
Sanitation standards are low. No water for washing up. Not even the expected containers of alcohol gel that I’ve had on similar trips around the developing world.
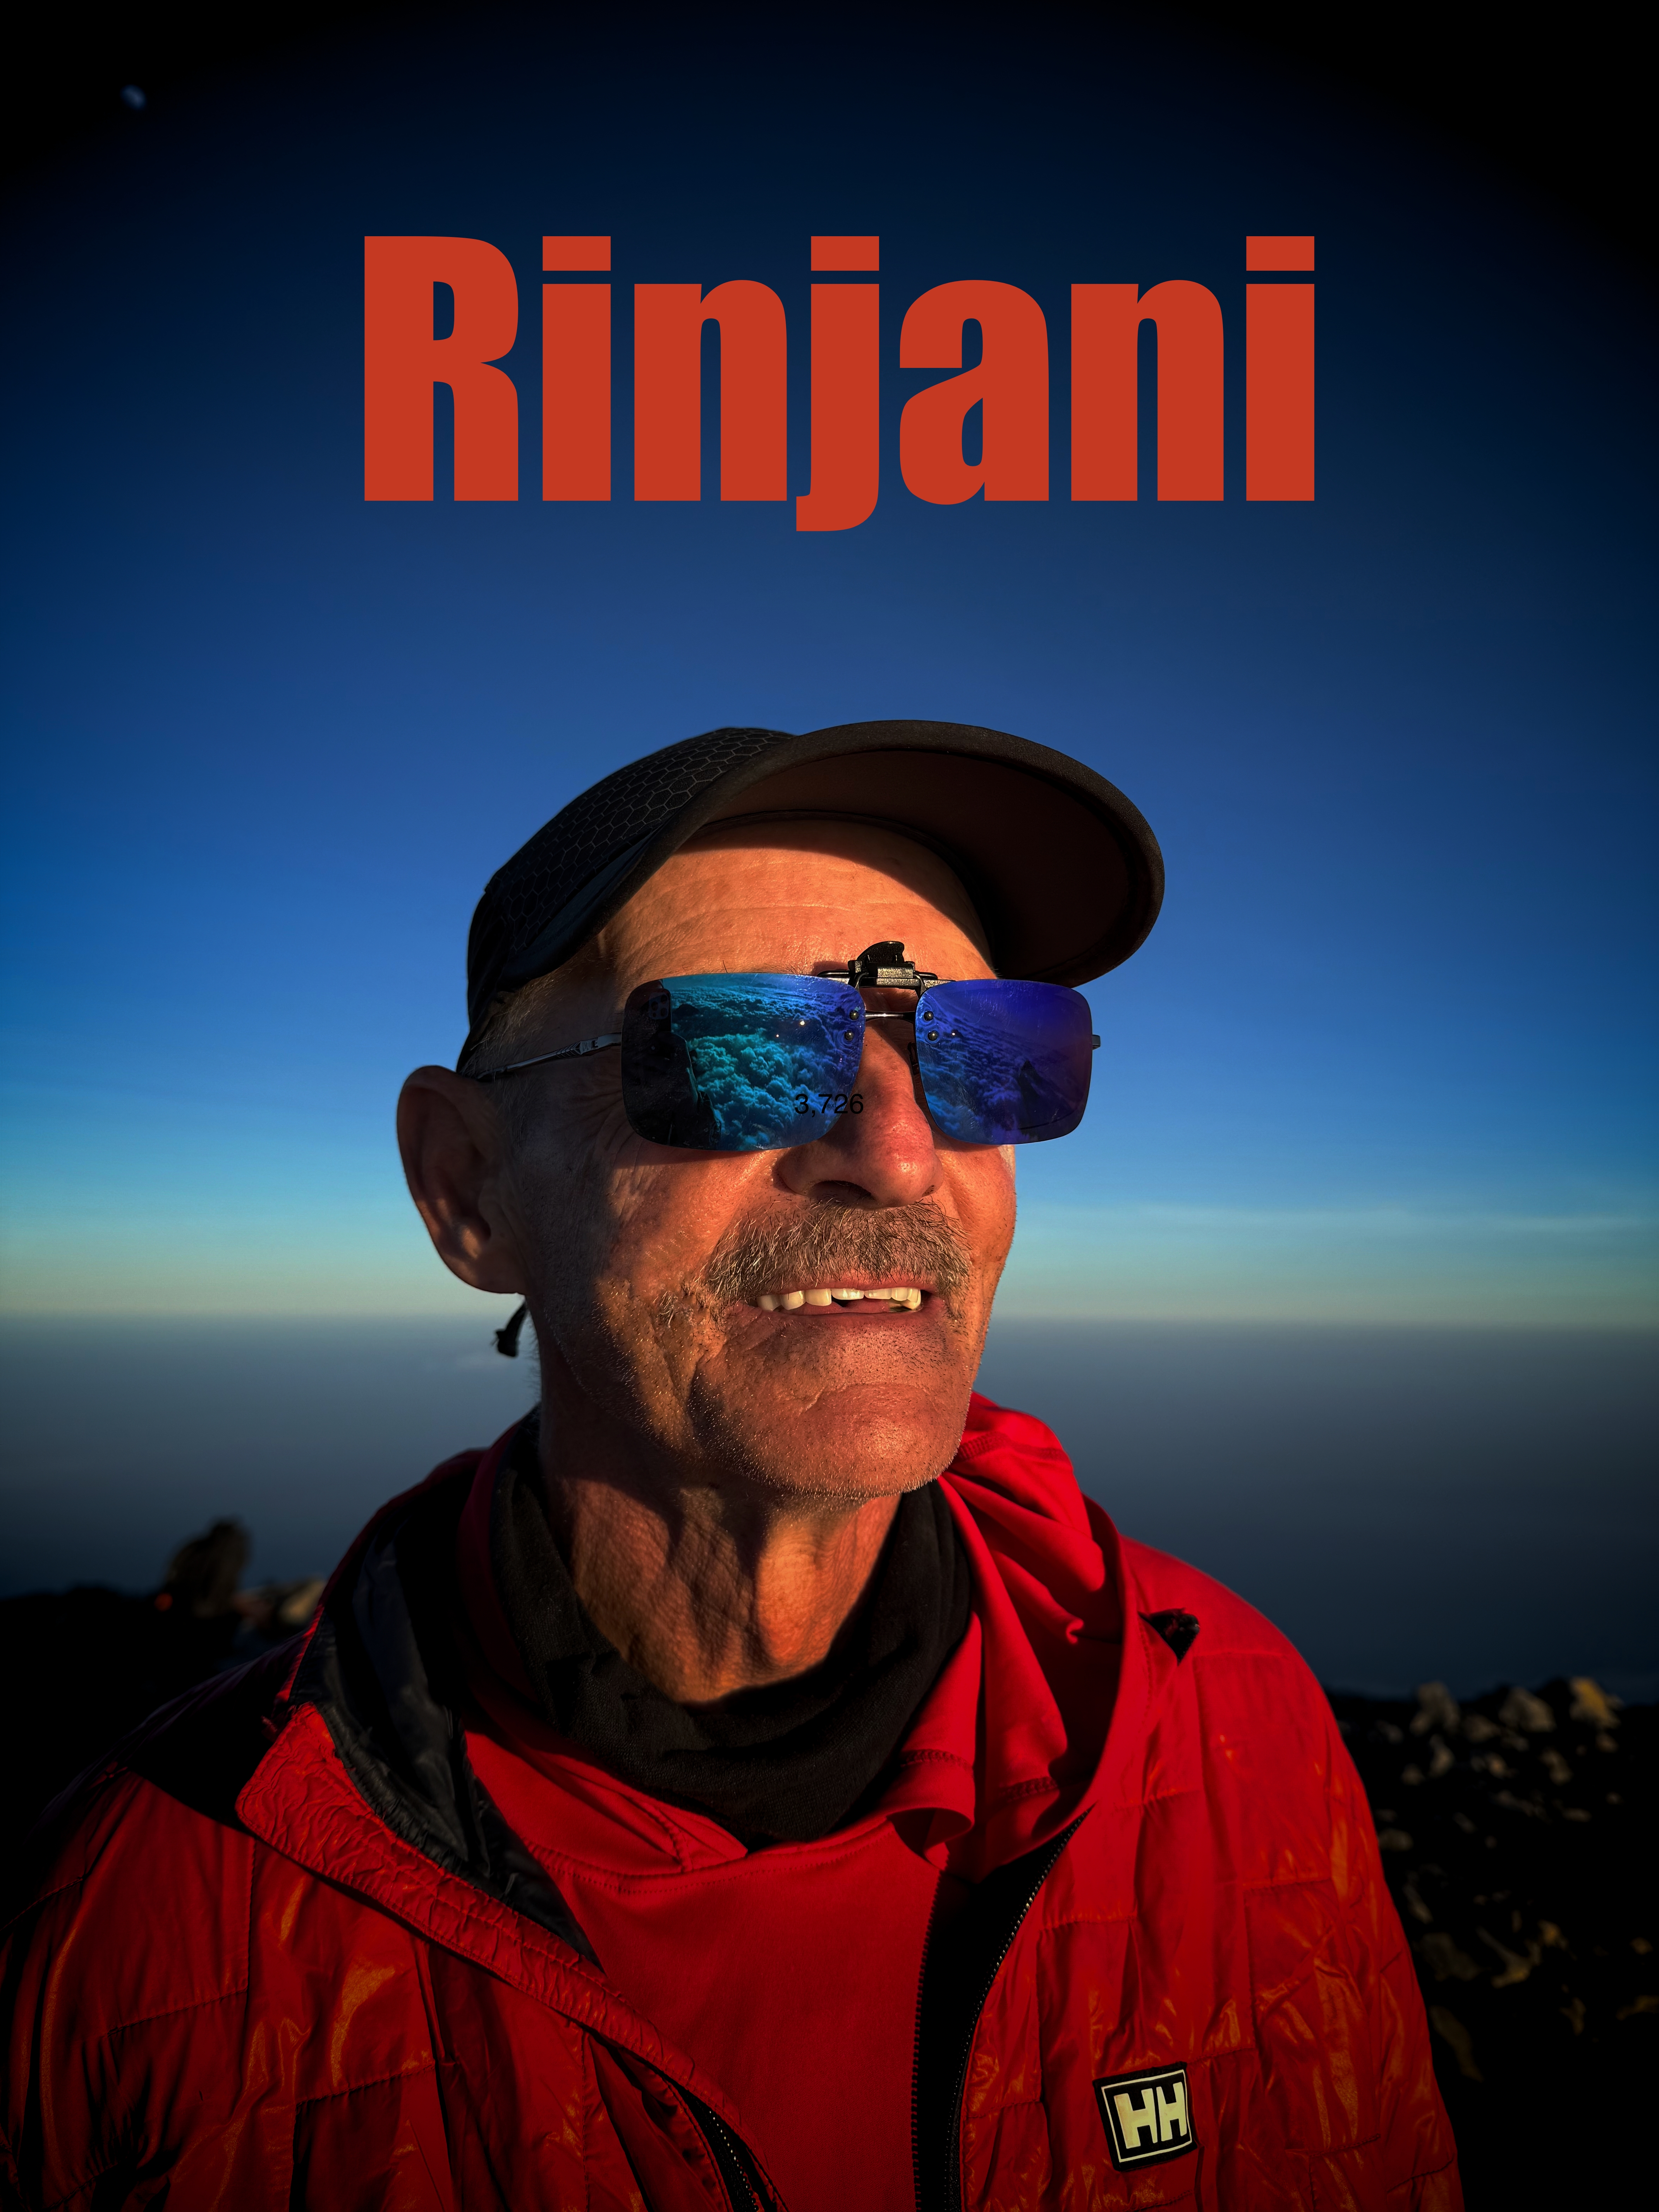
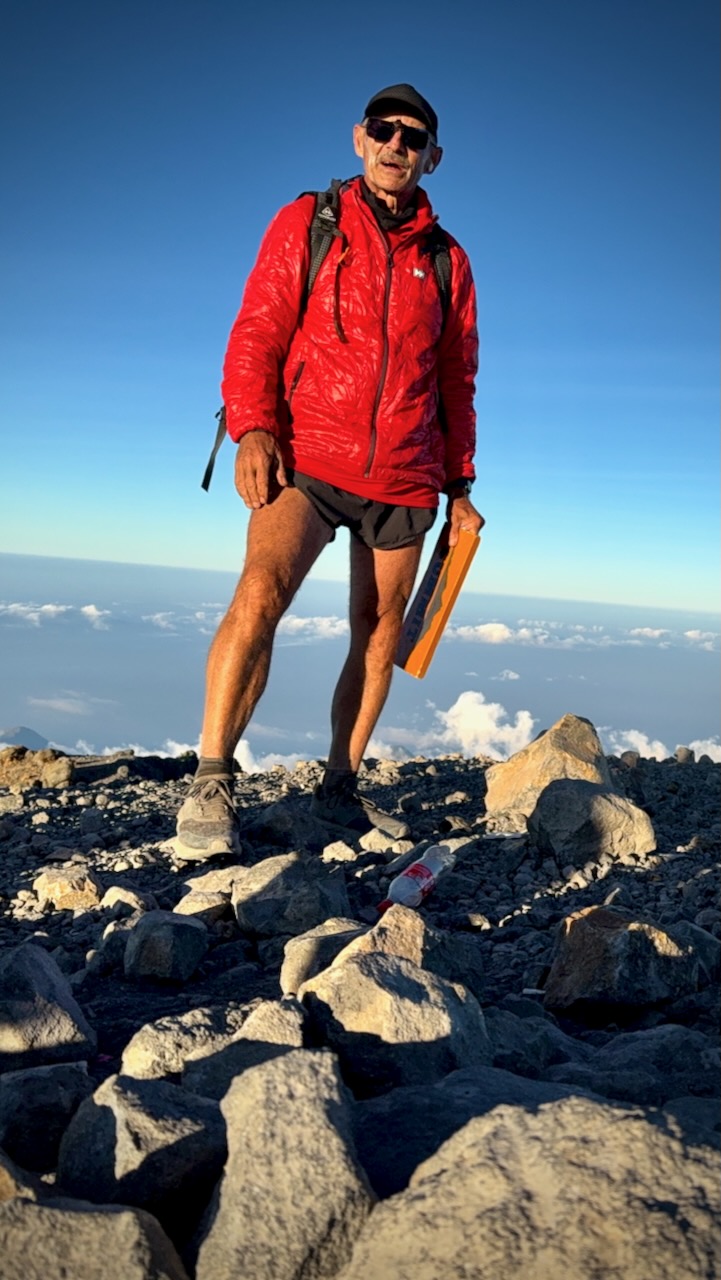
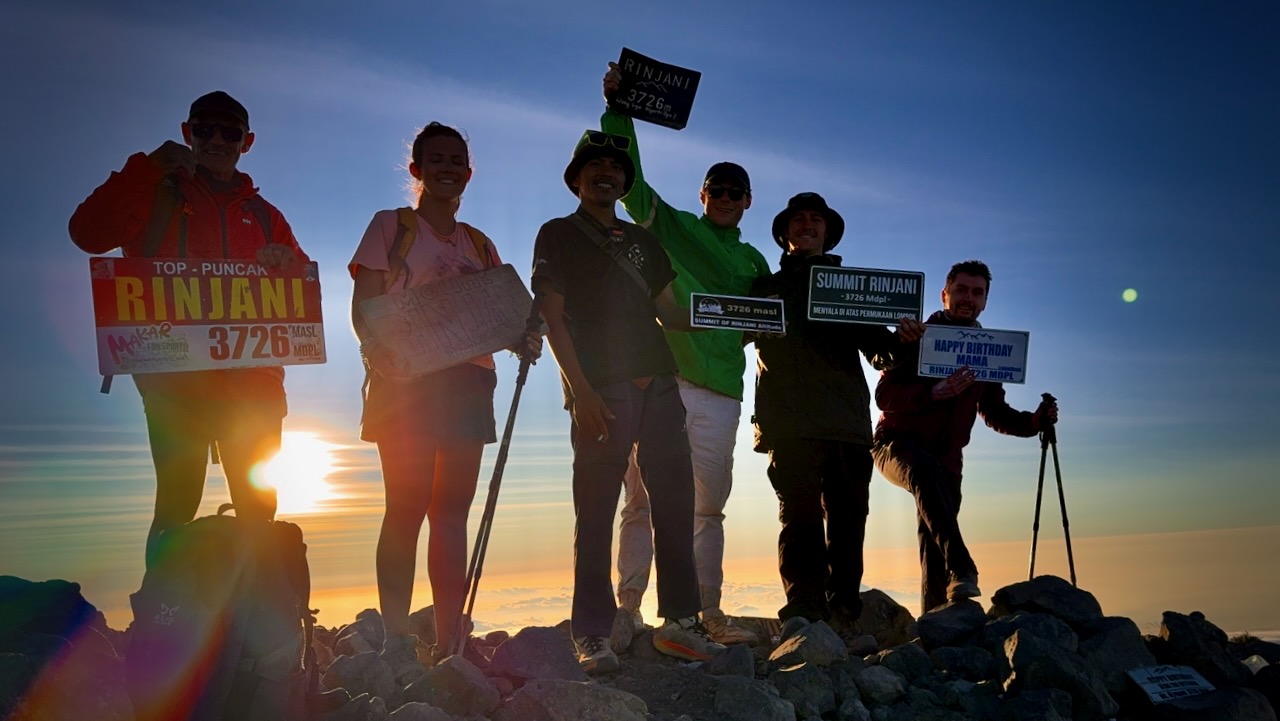
I completely enjoyed Rinjani. It could hardly have gone any better for our group with the afternoon ascent.
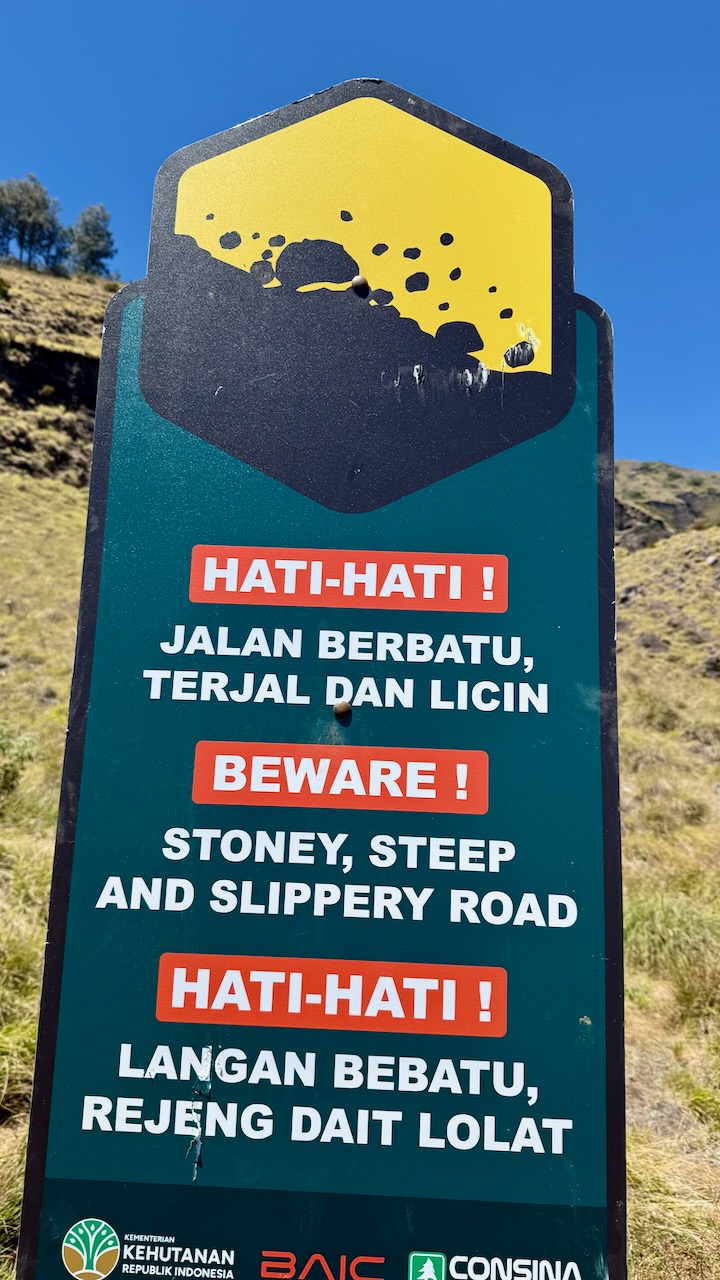
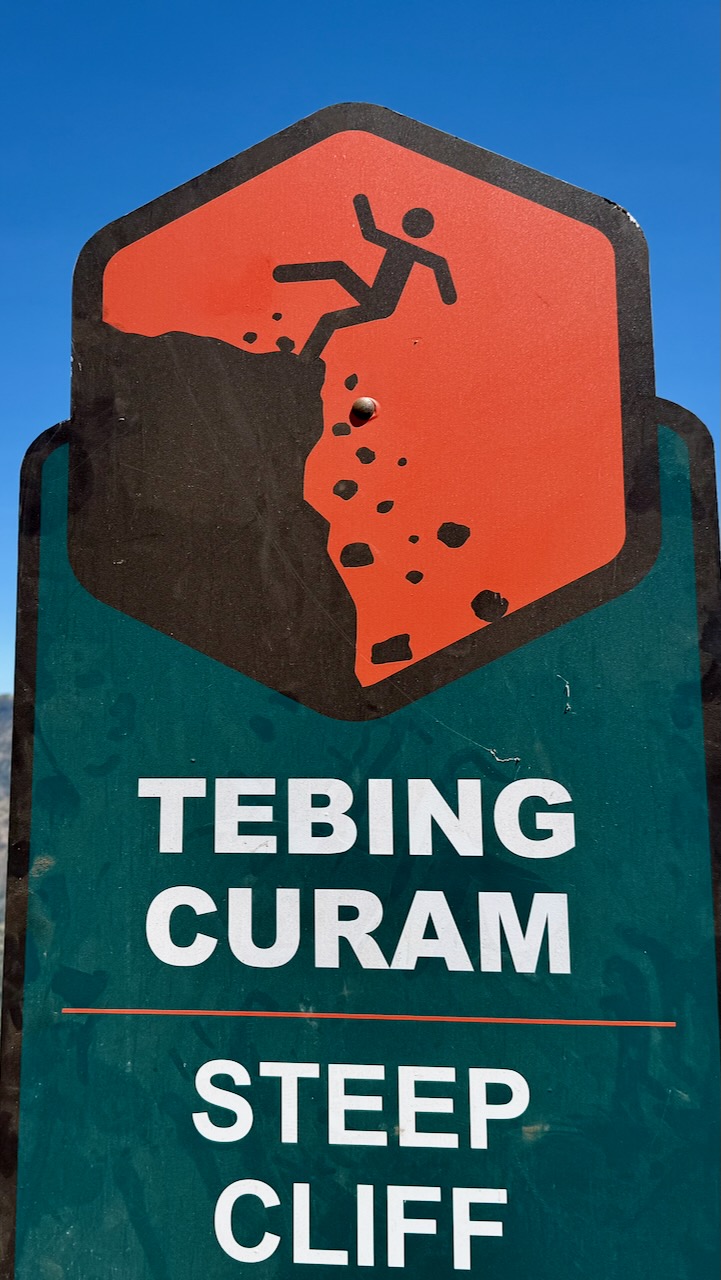
BUT ➙ Bottom line ➙ I can’t recommend this hike. It’s simply too dangerous.
During the July 2018 Lombok earthquake, multiple climbers and guides were killed by landslides triggered on Rinjani’s slopes.
March 2007, seven people died of exposure after illegally scaling the volcano during a ban.
Be sure to have evacuation insurance, just in case.








 besthike.com