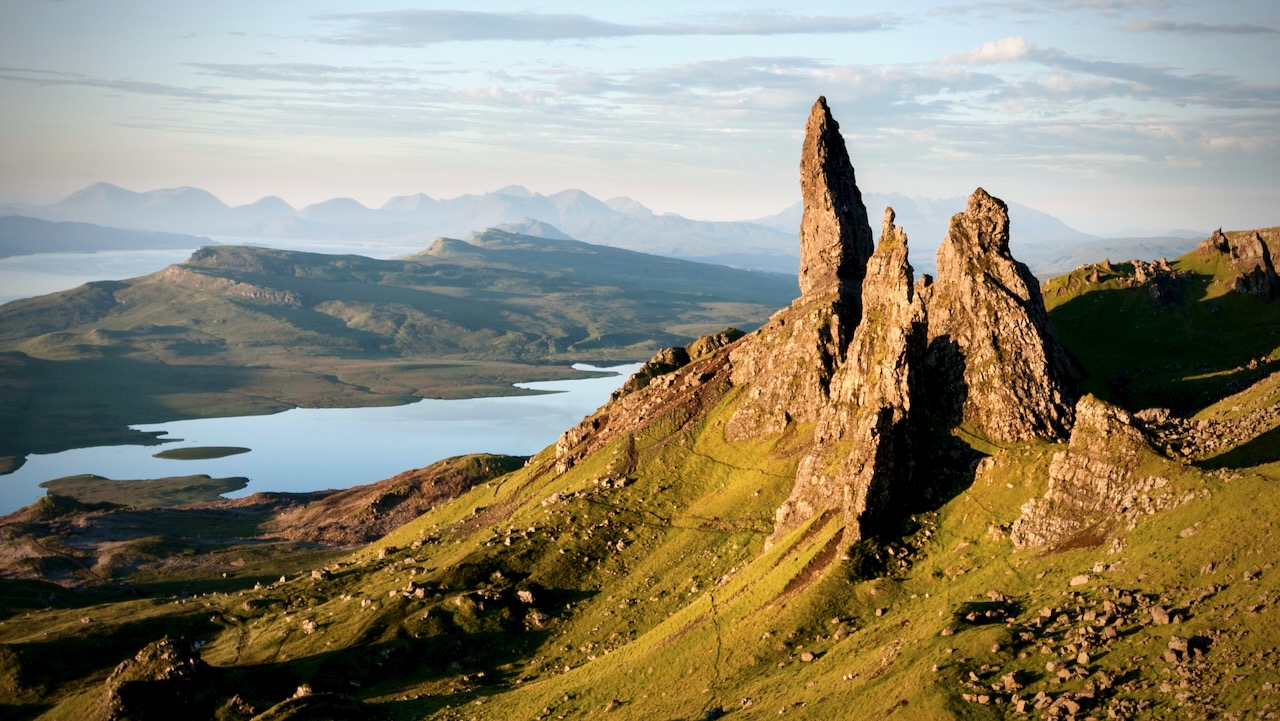
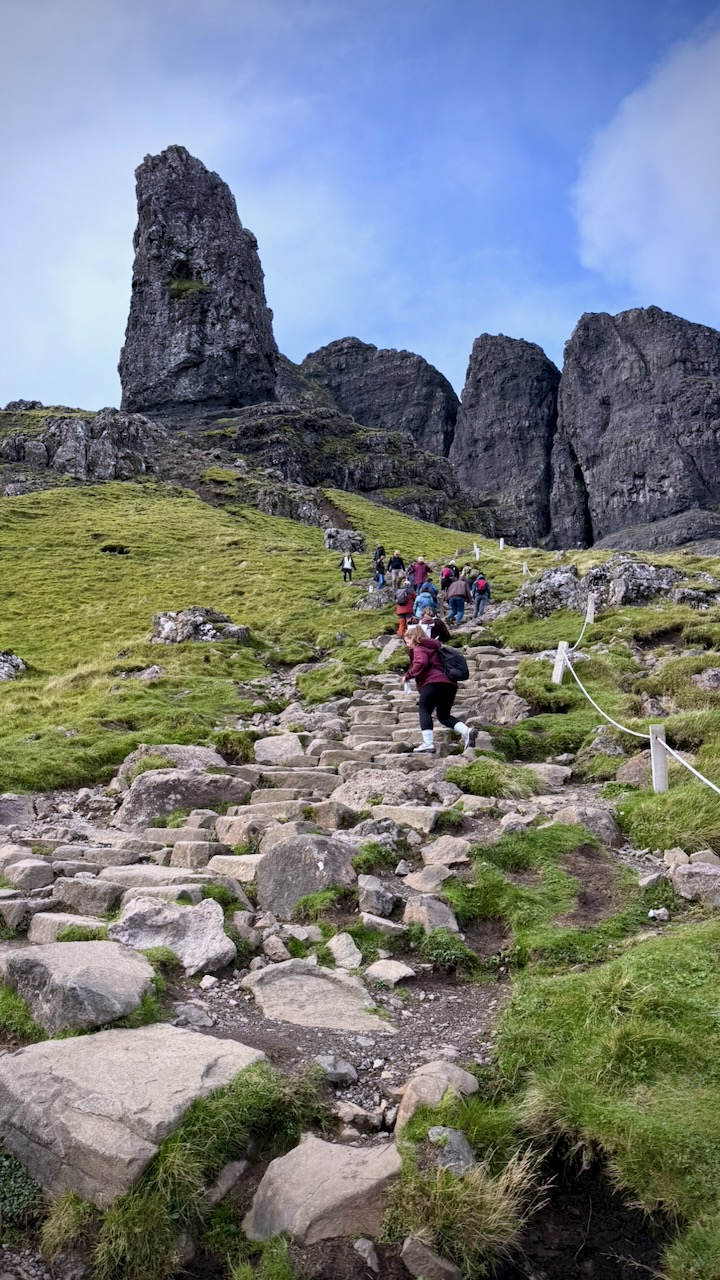
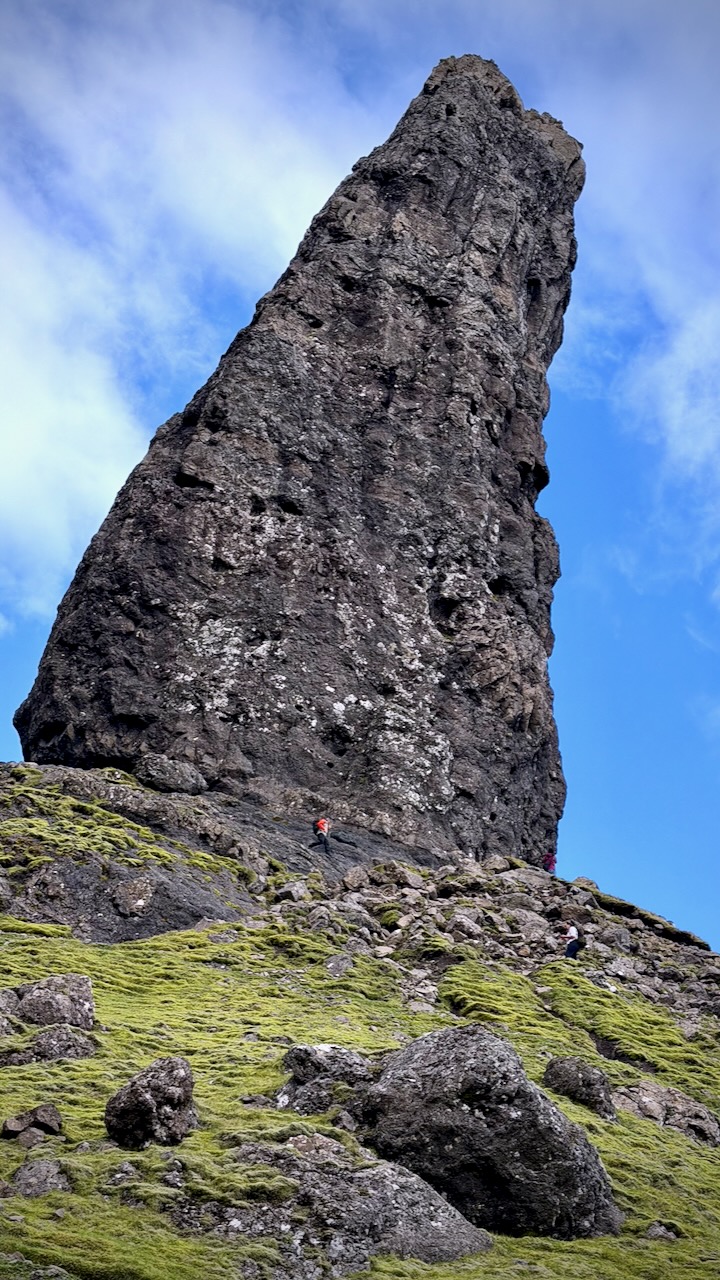
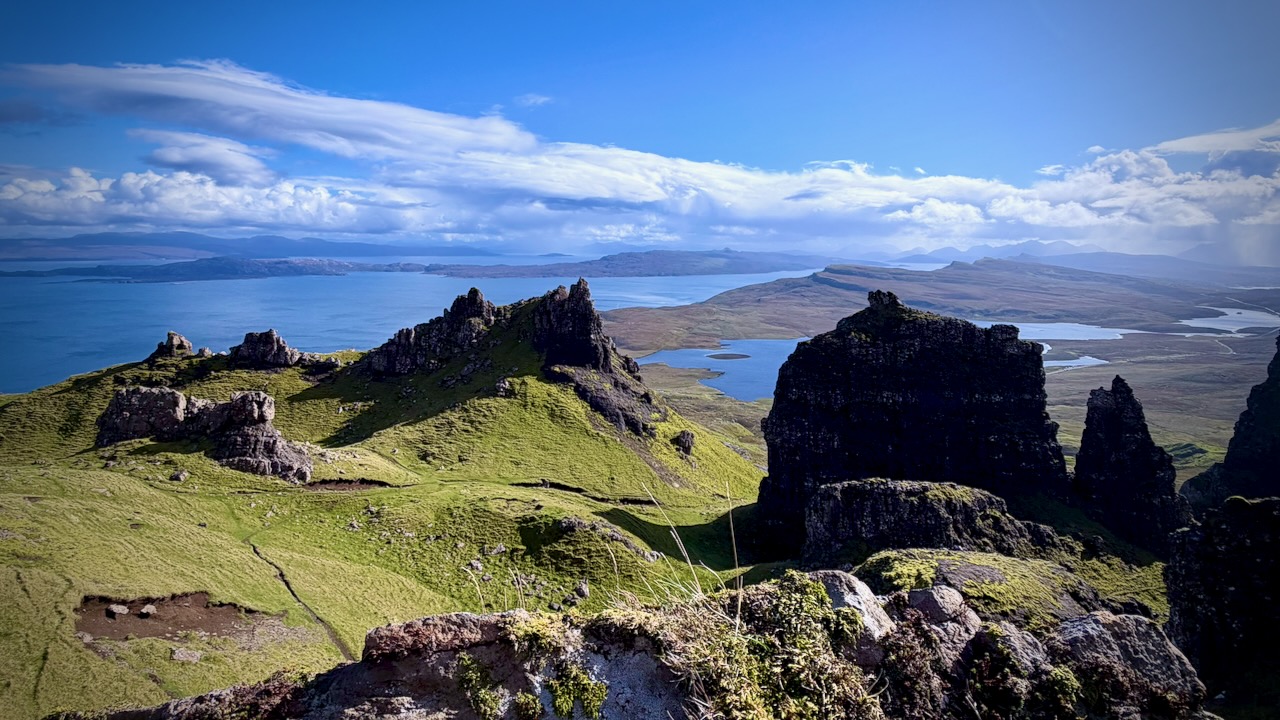
The Old Man of Storr is a 55-metre-high basalt rock pinnacle standing dramatically on the Trotternish Ridge of the Isle of Skye in Scotland.
Created by an ancient, massive landslide, this striking geological landmark sits roughly 7 miles north of Portree and is the most popular hiking attraction on the entire island.
Old Man of Storr, Trotternish, Isle of Skye, Scotland, UK
Easy and inexpensive bus access from Portree keeps this short day hike busy. In fact, all 300,000 visitors / year seemed to be out on the rare sunny day I was there. 😀
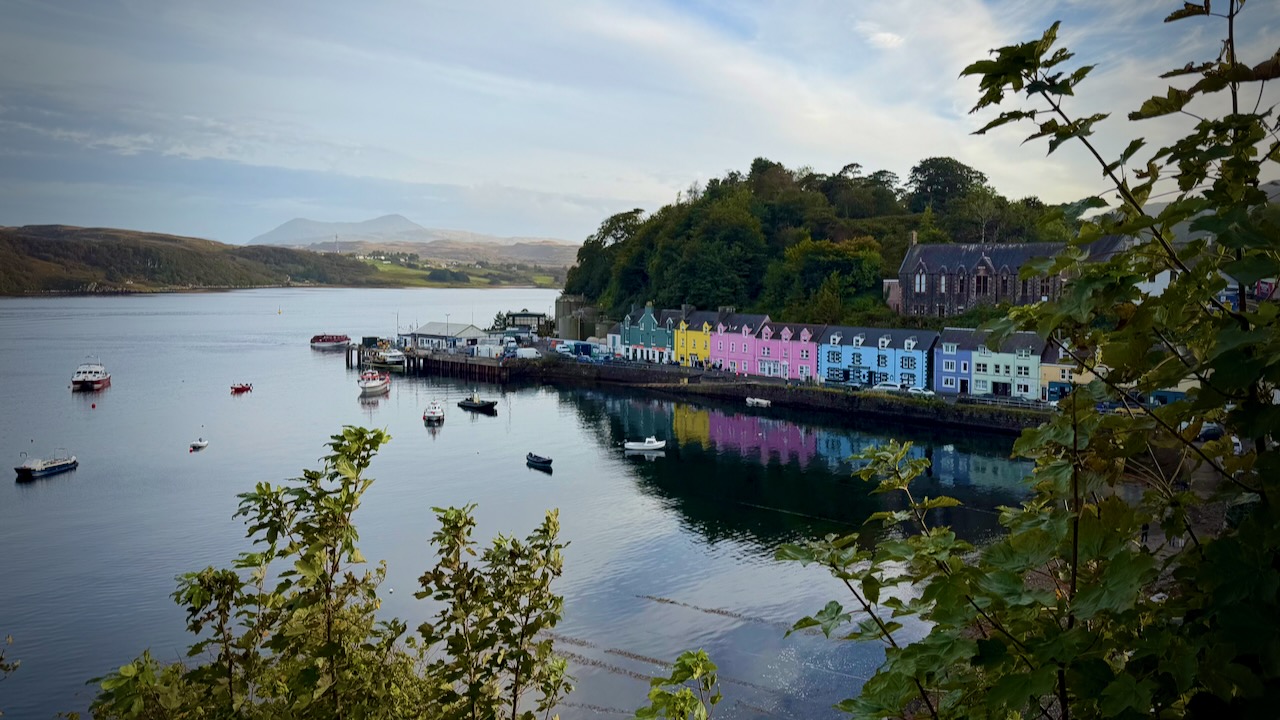
Portree, Isle of Skye
Distance: 3.8 km (2.4 miles) round trip.
Time: Approximately 1.5 to 2 hours.
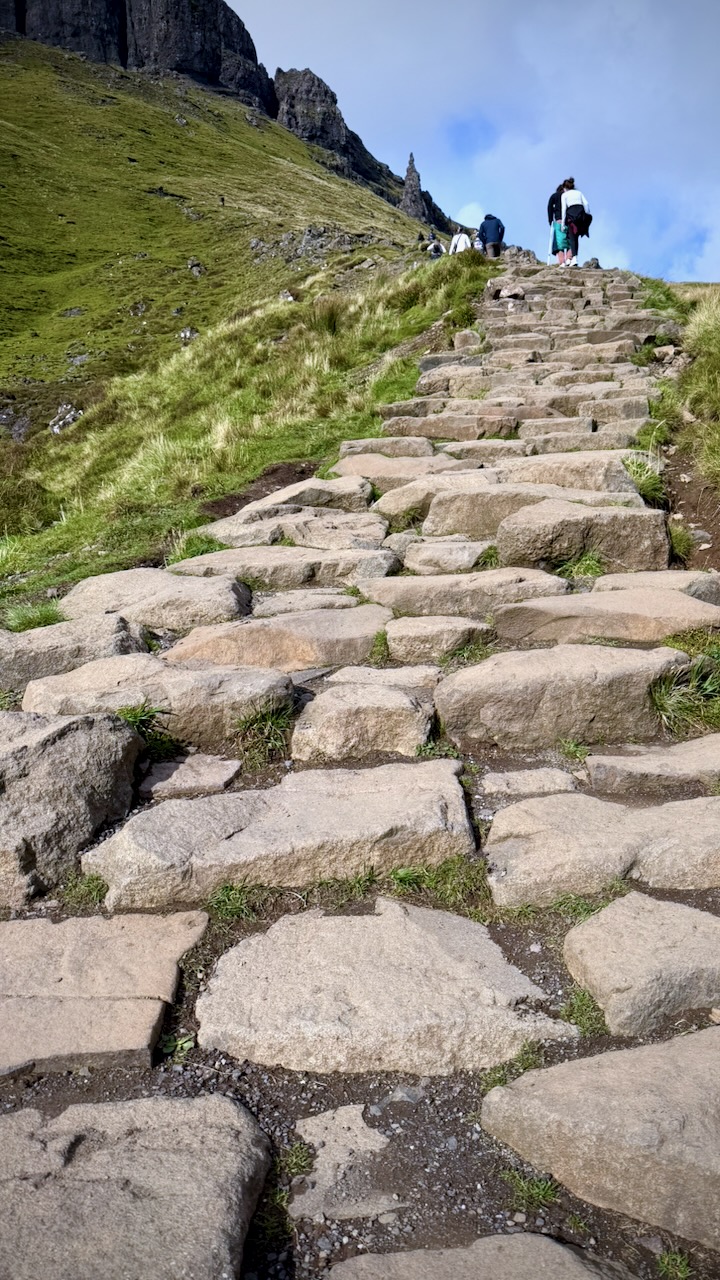
Difficulty: Moderate. The gravel trail is well-maintained but climbs steeply, gaining about 205 metres (700 feet) of elevation.
Terrain: Mostly firm gravel paths and pitched stone steps. The final stretches up near the “Sanctuary” (the base of the spires) can become muddy, rocky, and slippery, so sturdy footwear and the balance of a mountain goat are recommended
Aim to arrive before 8:00 AM or later in the evening to secure a parking space and enjoy a quieter hike
Several buses a day can get you here
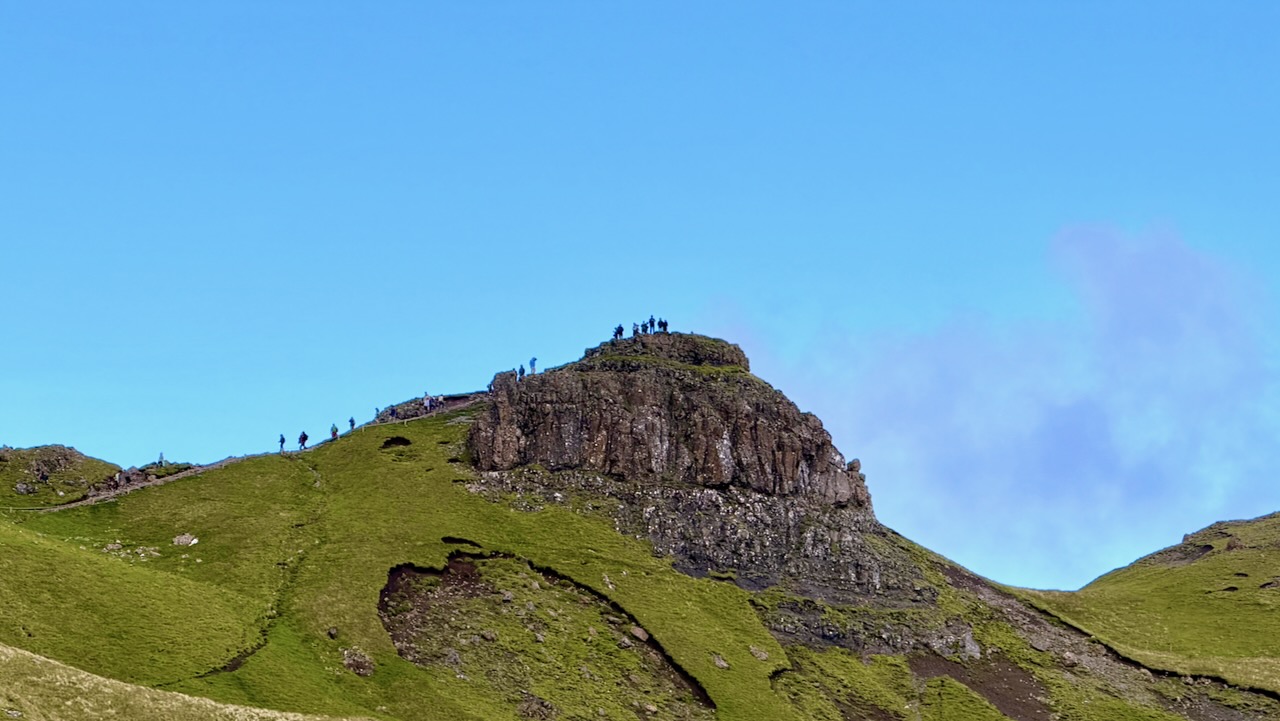
Here’s the start.
And here’s Storr, the main attraction.
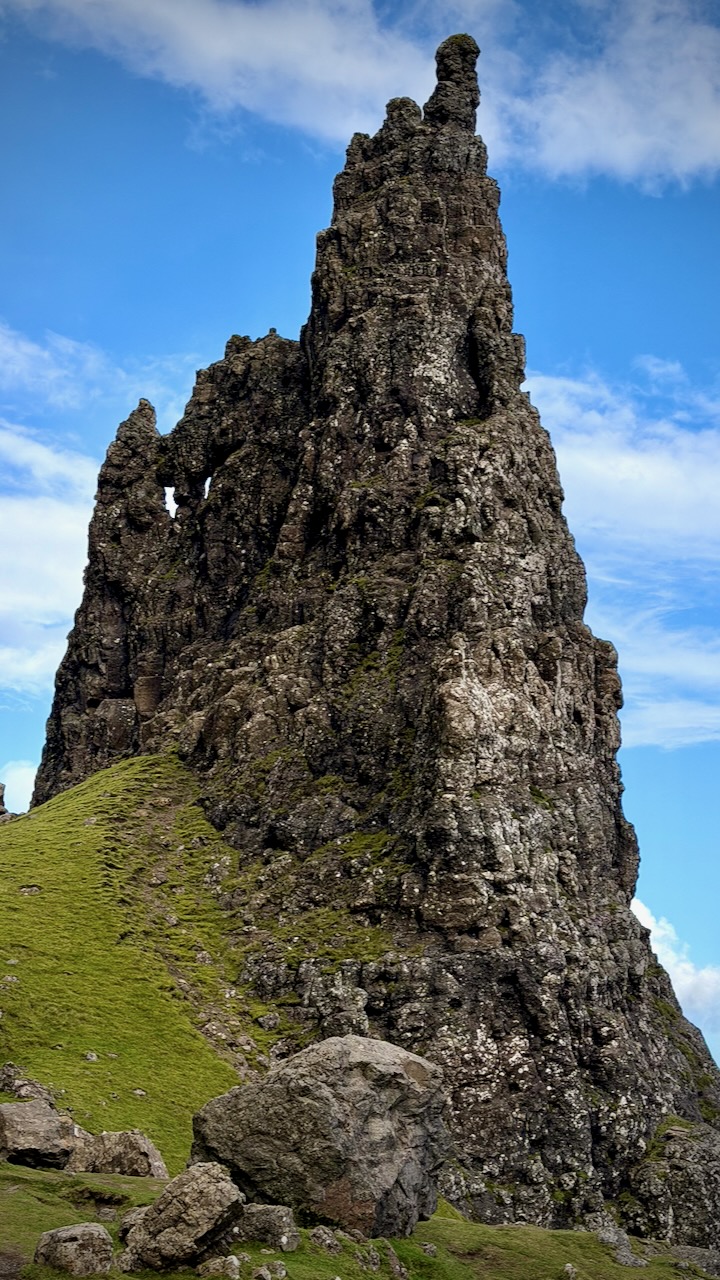
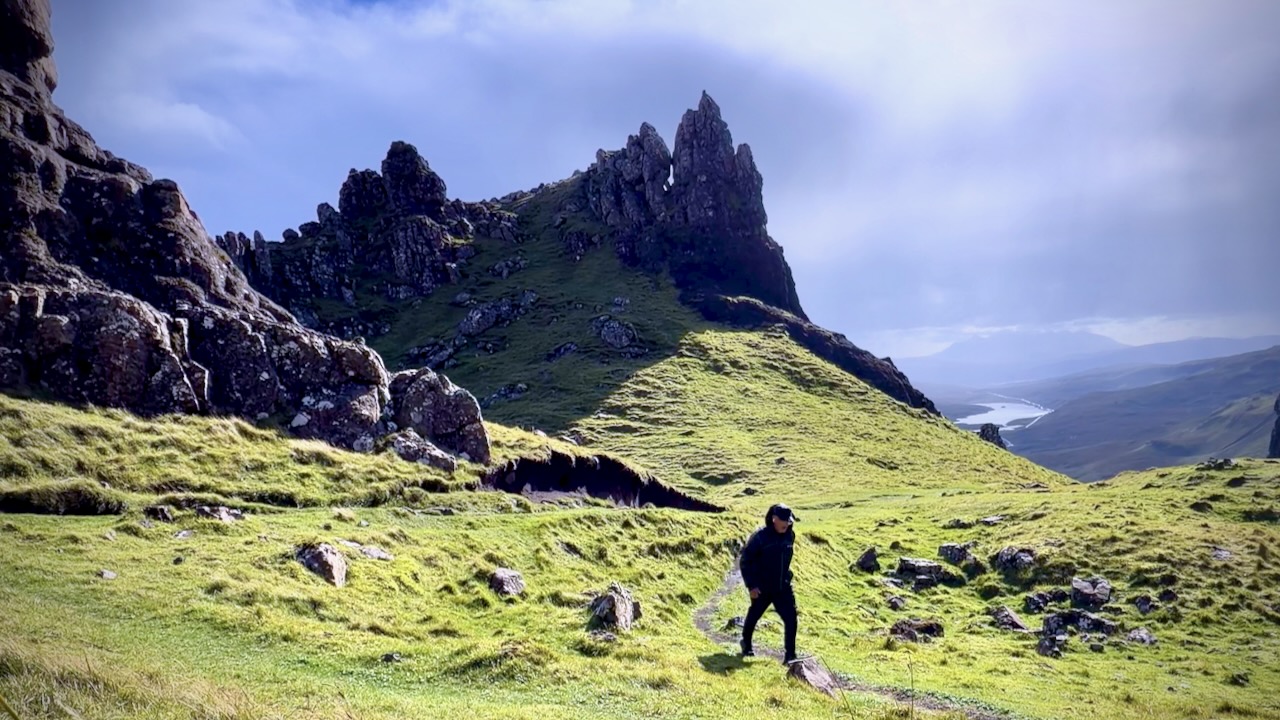
Of course there are many more spires, some even more striking.
There are a number of viewpoints.
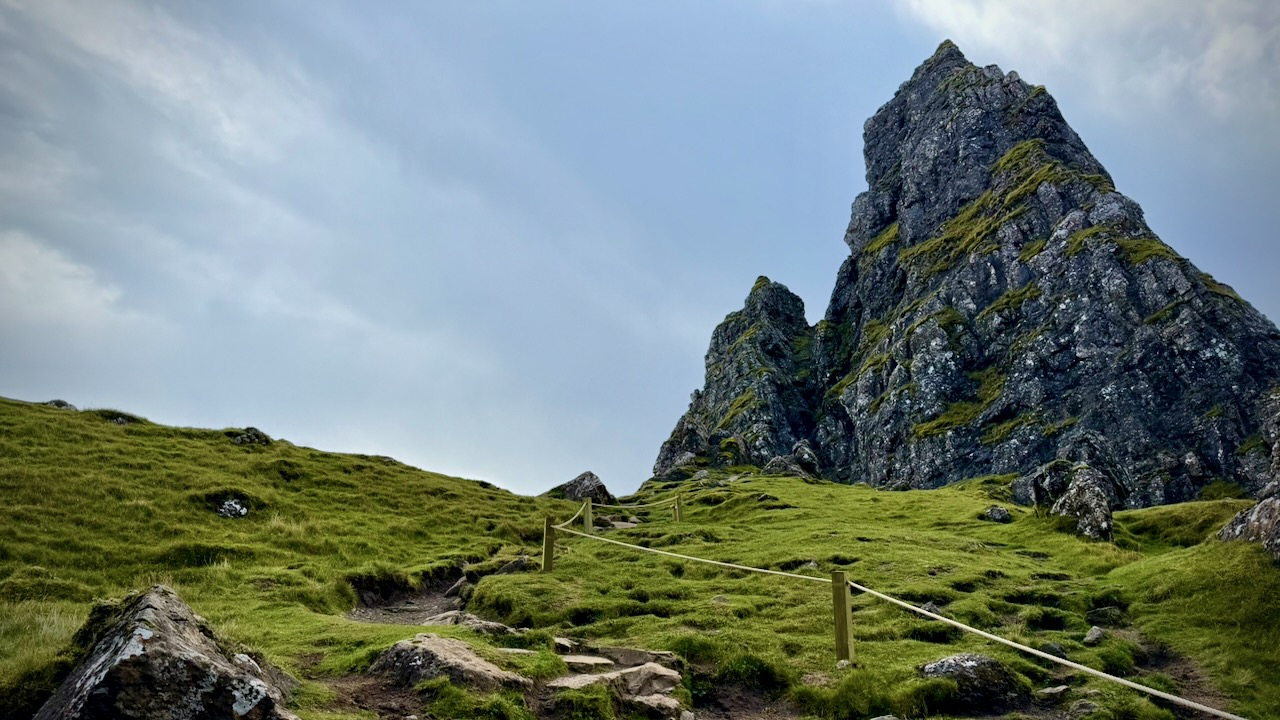
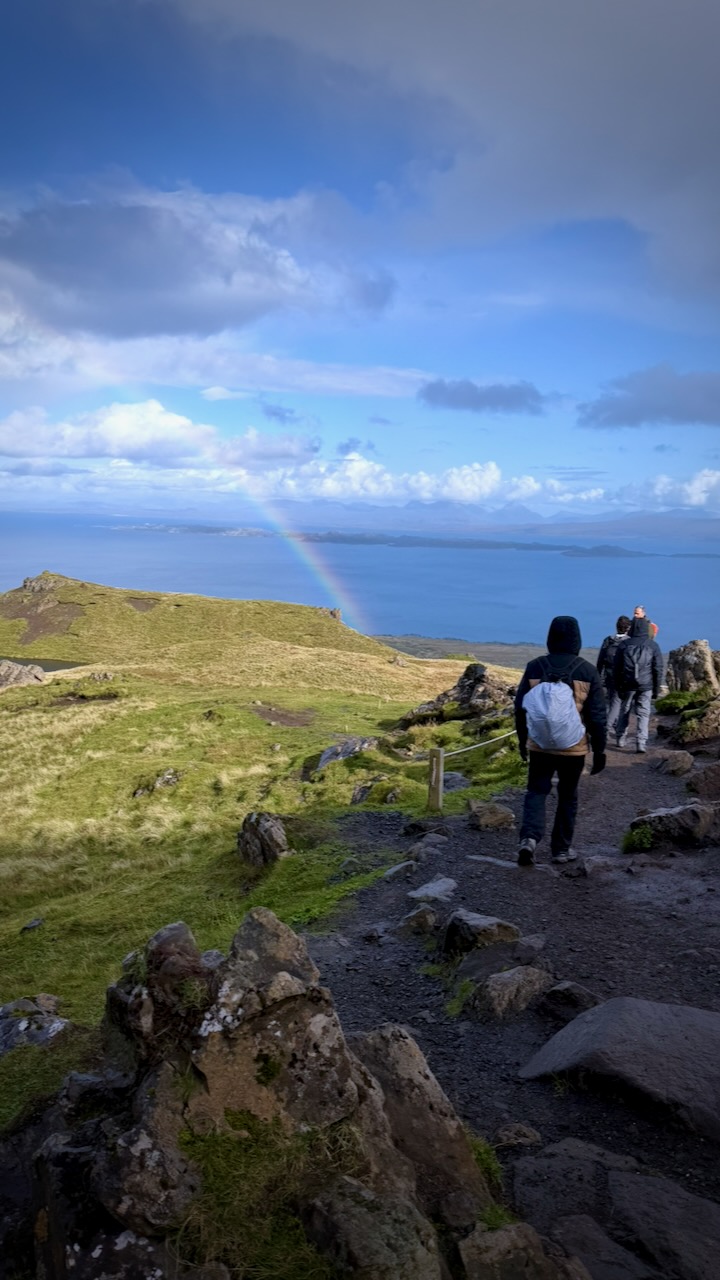
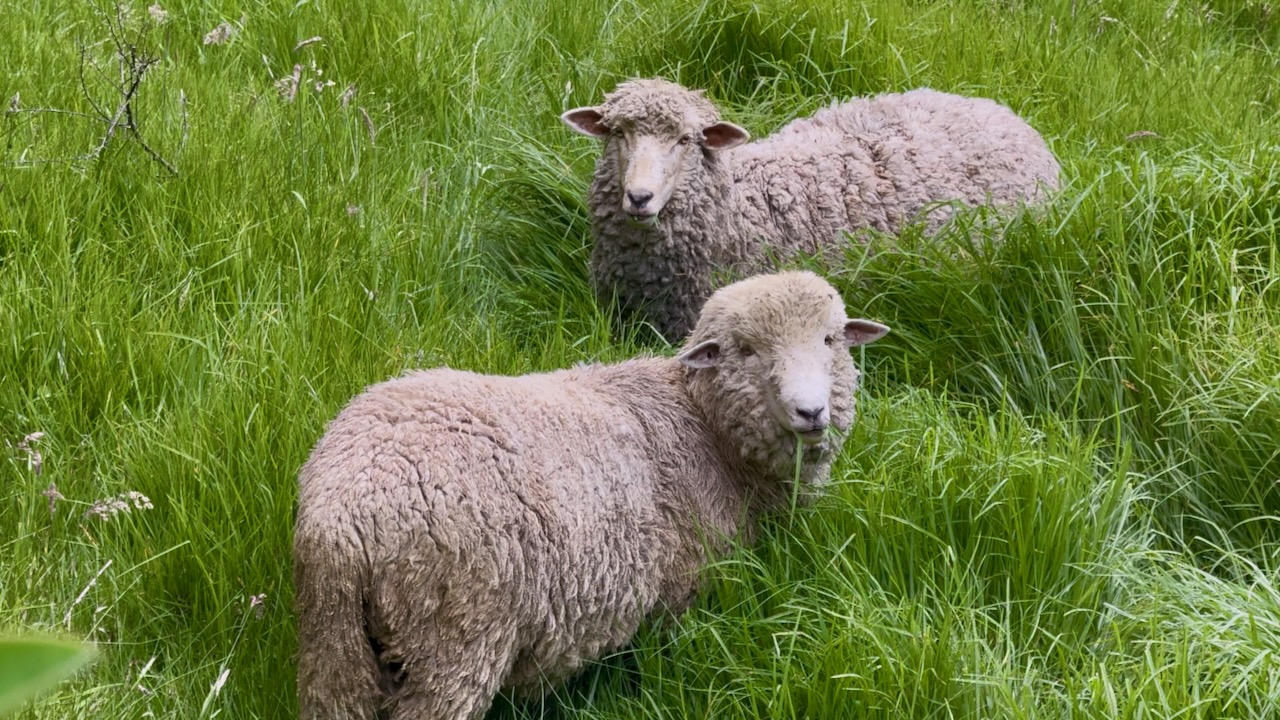
Follow the sheep along the roped off trail …
… or hop the rope and enjoy equally fantastic scenery on your own.
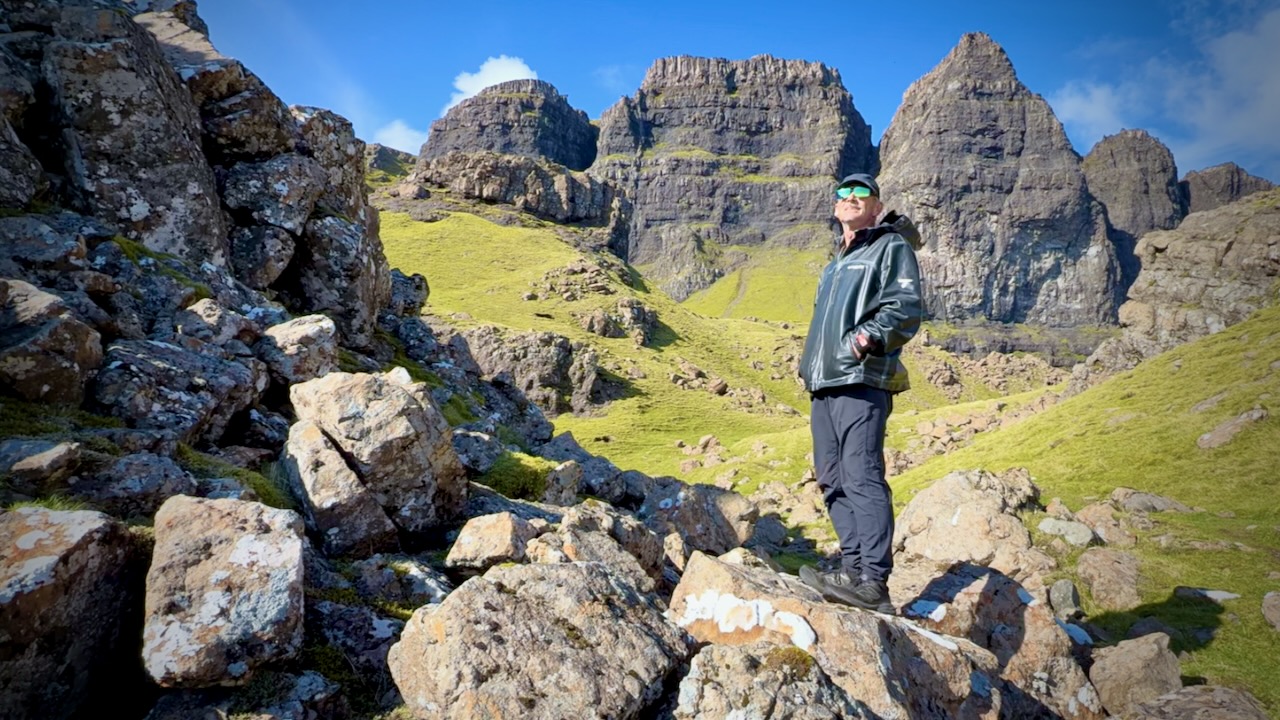
I had lunch and enjoyed the sunshine for about an hour without seeing any other people. I had plenty of time, waiting on the bus to my next hike.
A fantastic place.
Though it was a sunny day, we had some sun showers.
Highly recommended if you get to remote Isle of Skye.
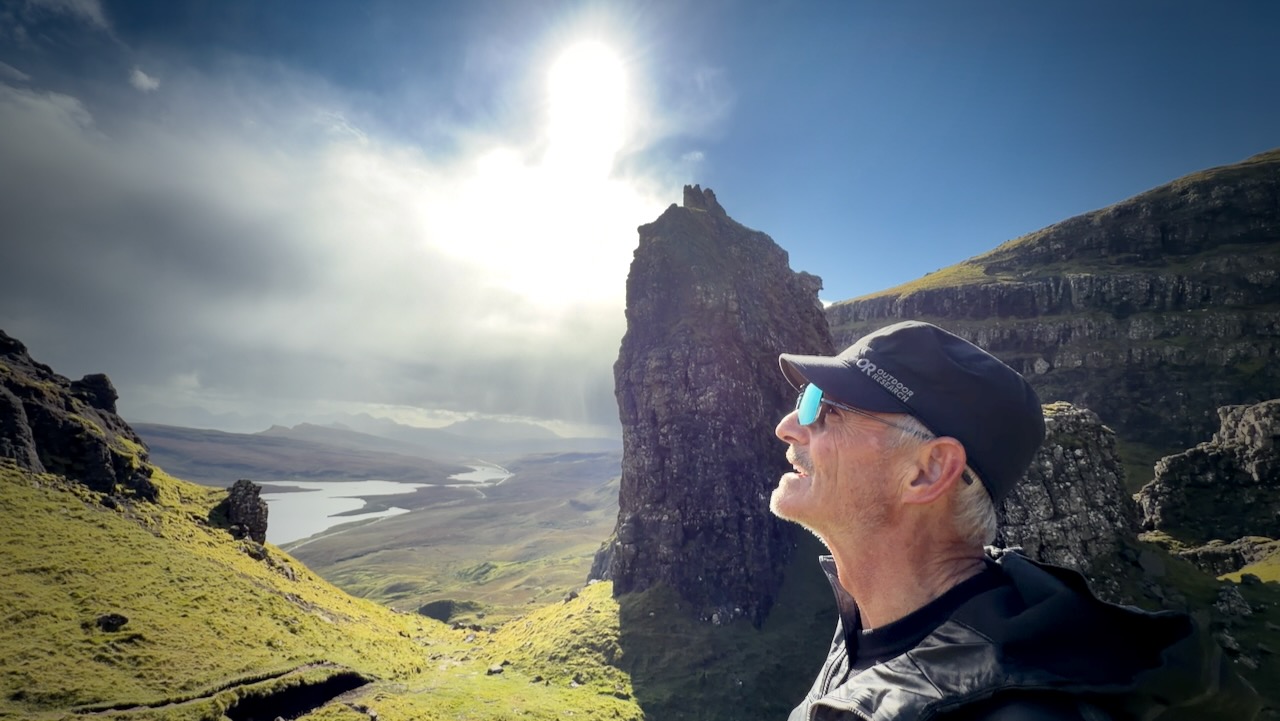
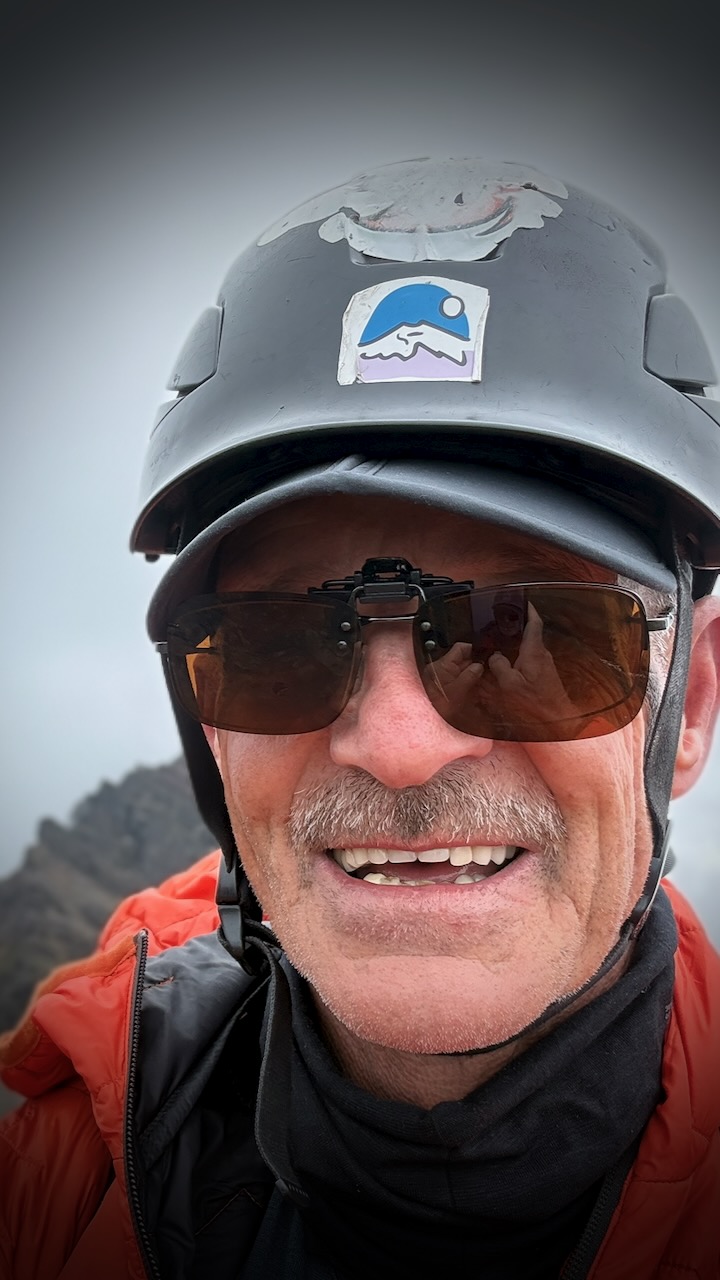
I’d posted an A.I. modified image of myself — aged by the Scottish highlands. 😀
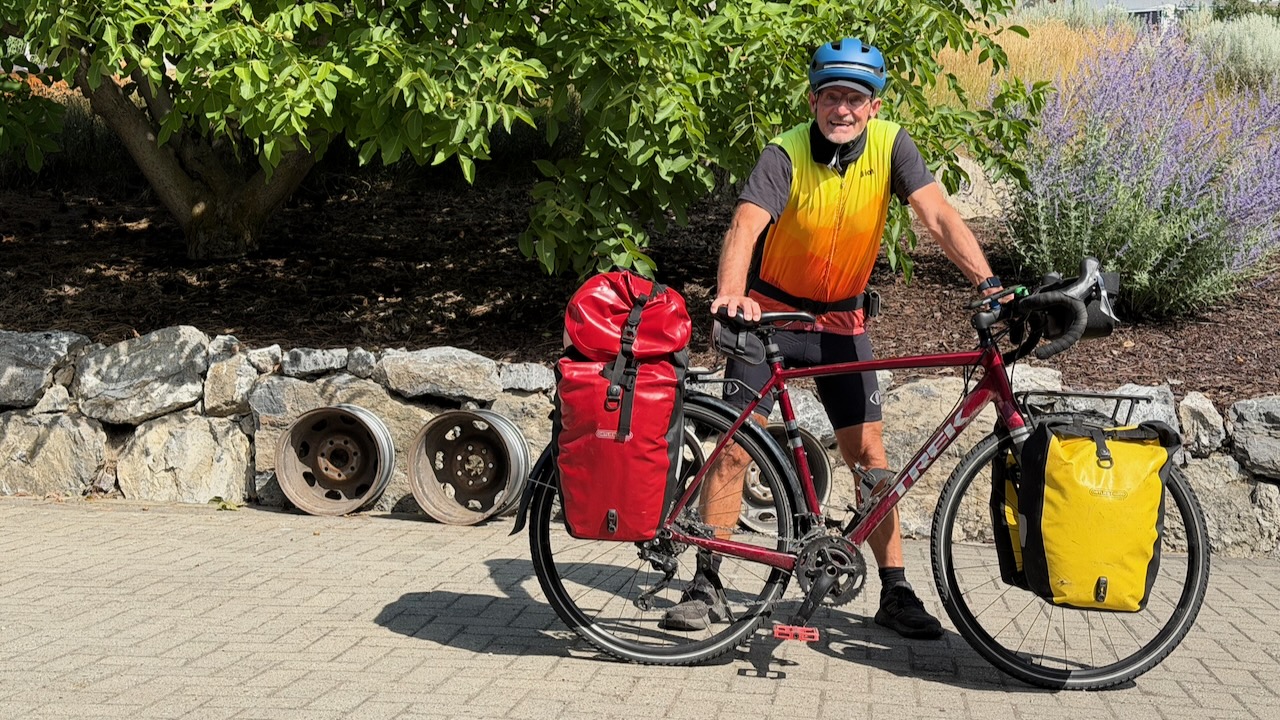
I stopped by Sun Country Cycle in Vernon to have them top up air in the tires and look over the bike for any potential problems.
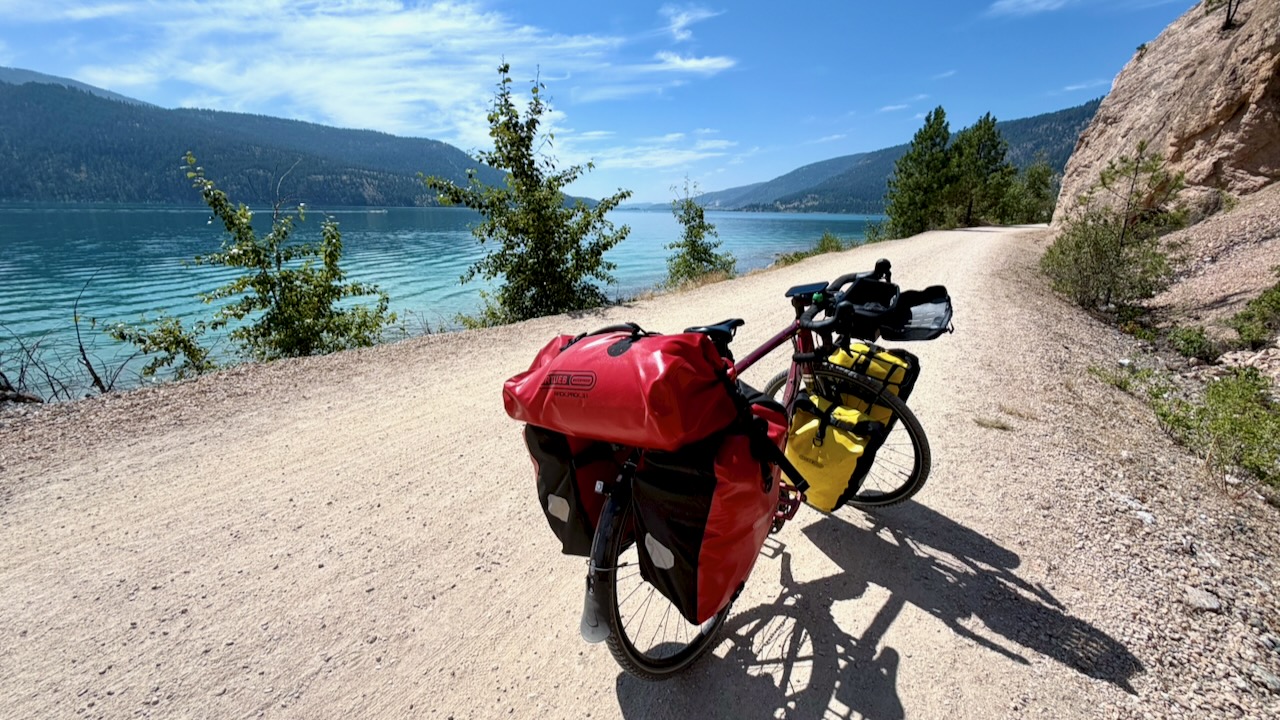
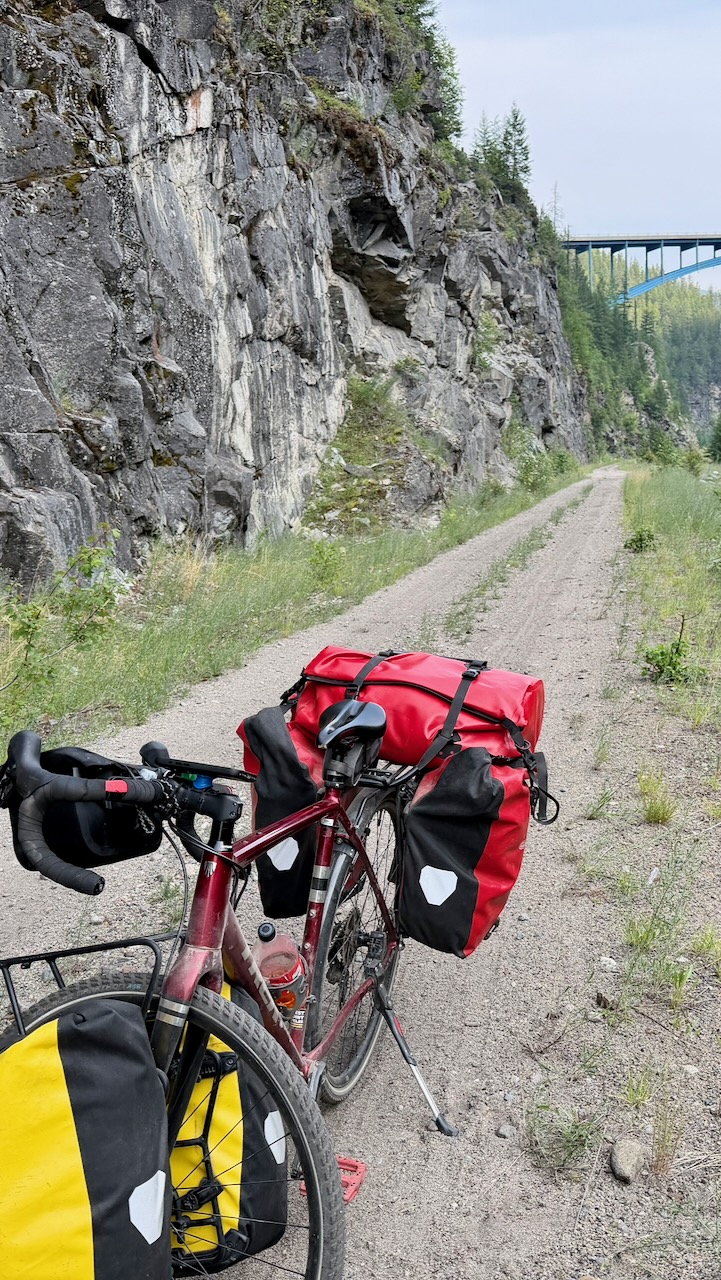
The Okanagan Rail Trail leaving Vernon is fantastic. This is not part of the Trans Canada Trail.
As you get closer to Kelowna, the route is not nearly so good. I was hurting, as well, and could barely walk after only about 60km. I checked into the hostel in Kelowna wondering if I’d be able to continue. My muscles were cramping badly.
BUT I did make it to Penticton. Still hurting, but less and less.
AND was able to cycle up to the Myra Canon trailhead — though the 945-meter elevation gain at never more than 2% grade in the HEAT was tough!
I crashed that night.
Myra Canyon Trestles & Tunnels
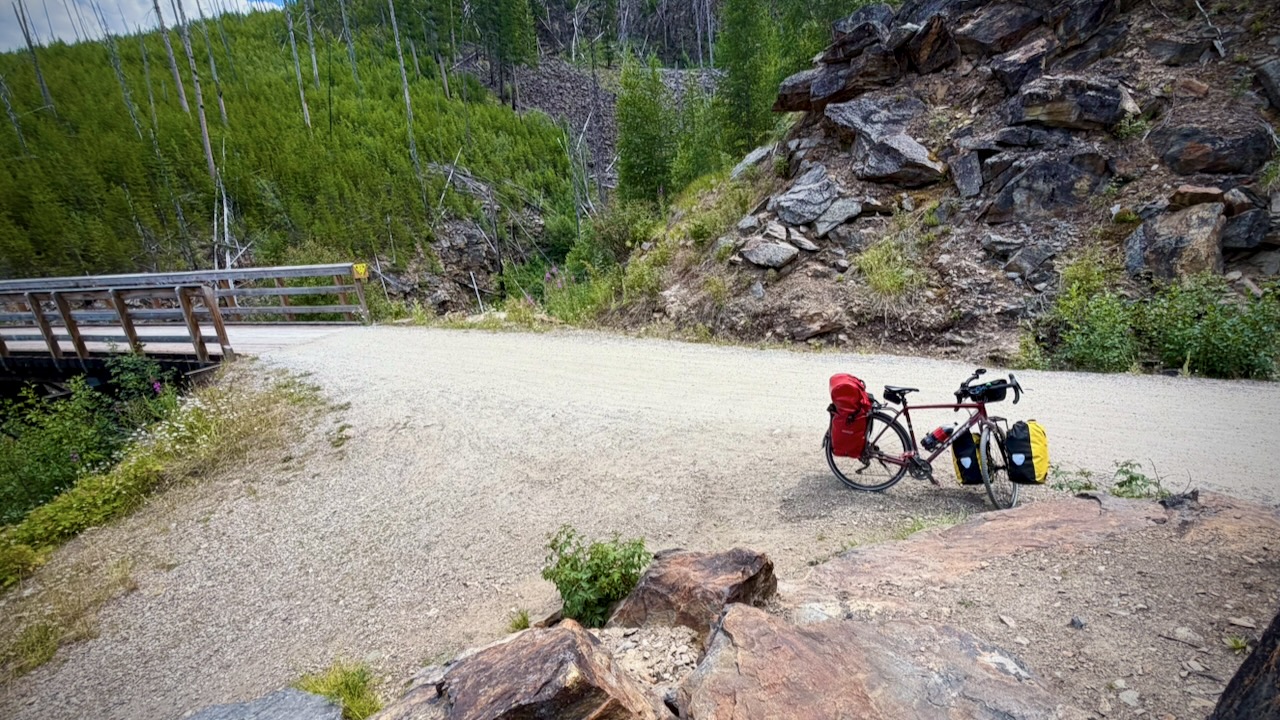
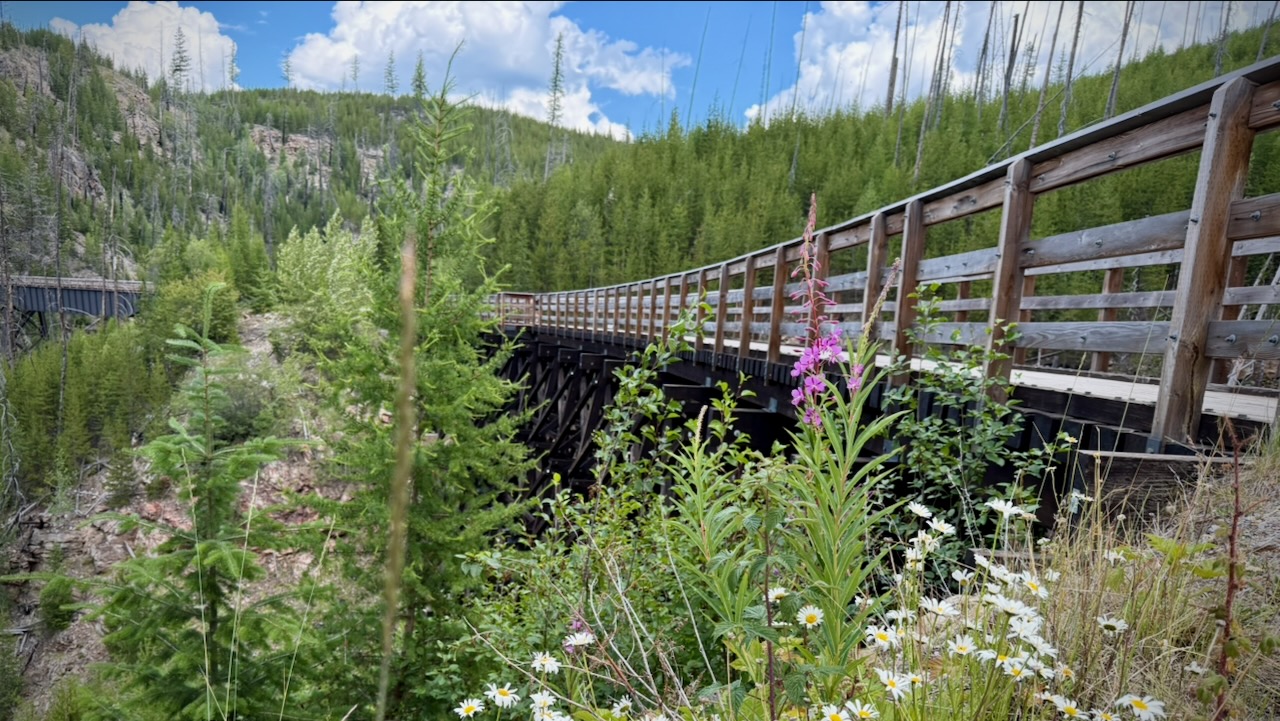
The 18 trestles and 2 tunnels are one of the highlights of the entire Trans Canada Trail. This was my 3rd time here and I enjoyed them as much as ever.
Fantastic views — though the surface near Kelowna is very sandy & rocky. Those on eBikes were much happier than me. A good mountain bike would be better, as well, than my gravel bike.
On the other hand, I had the trail to myself most of every mile.
I stopped for coffee at Chute Lake, charging my electronics and filling up about 5 lites of water.
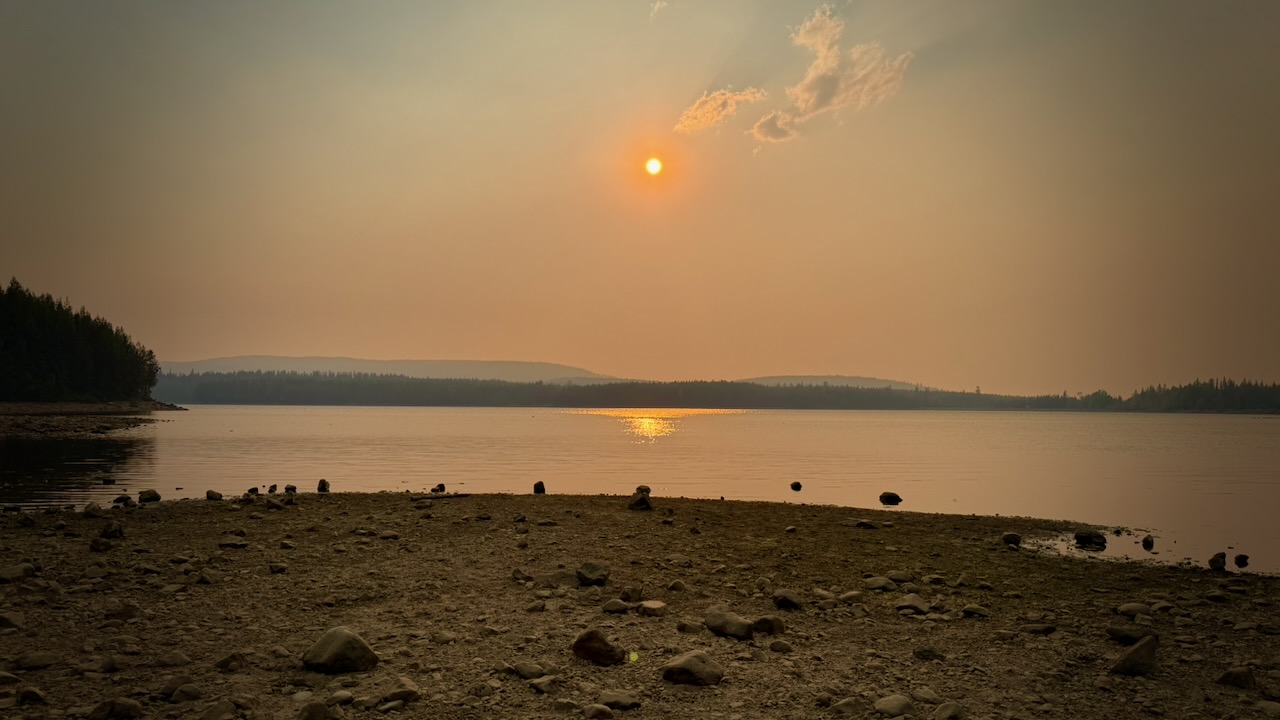
Up high on the trail, this was my brightest fire red sky at night. I was lucky to avoid any worse smokey air.
Columbia and Western Rail Trail
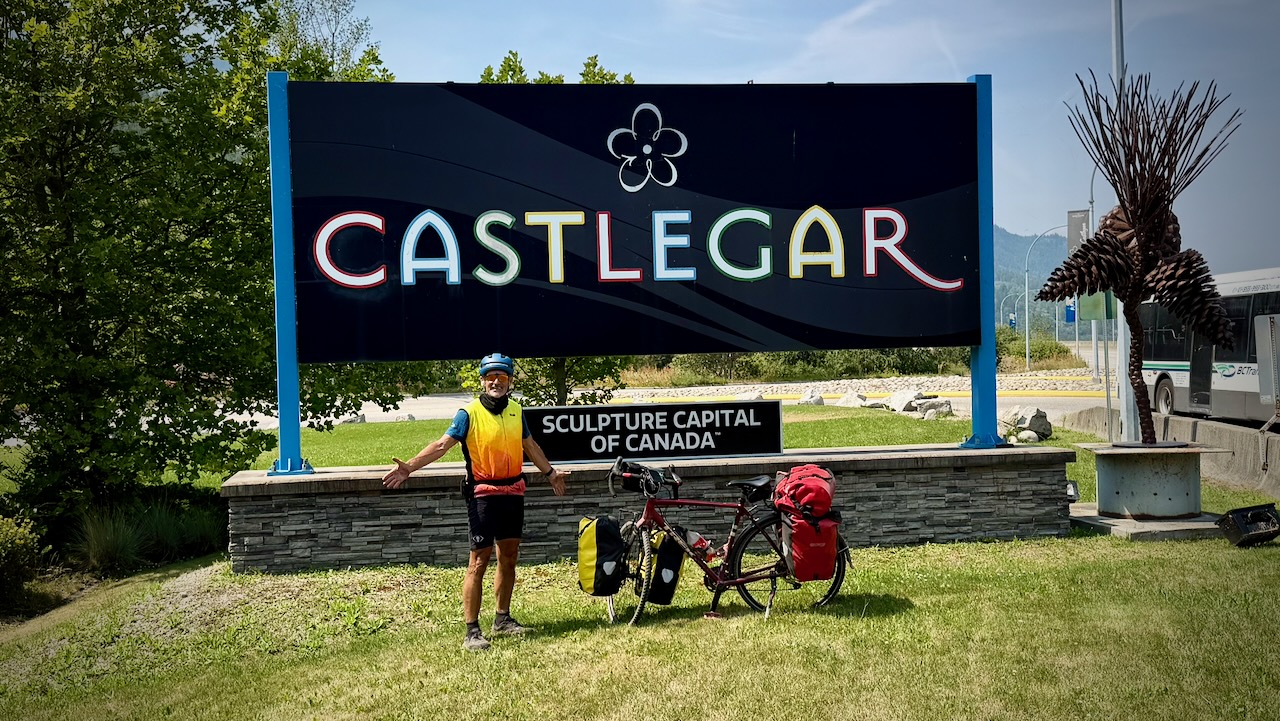
The KVR ends at Midway B.C.
I continued on towards the Columbia and Western Rail Trail. It’s about 162 km connecting Midway, Grand Forks, Christina Lake, and Castlegar.
Great sections, but not nearly as good as the KVR.
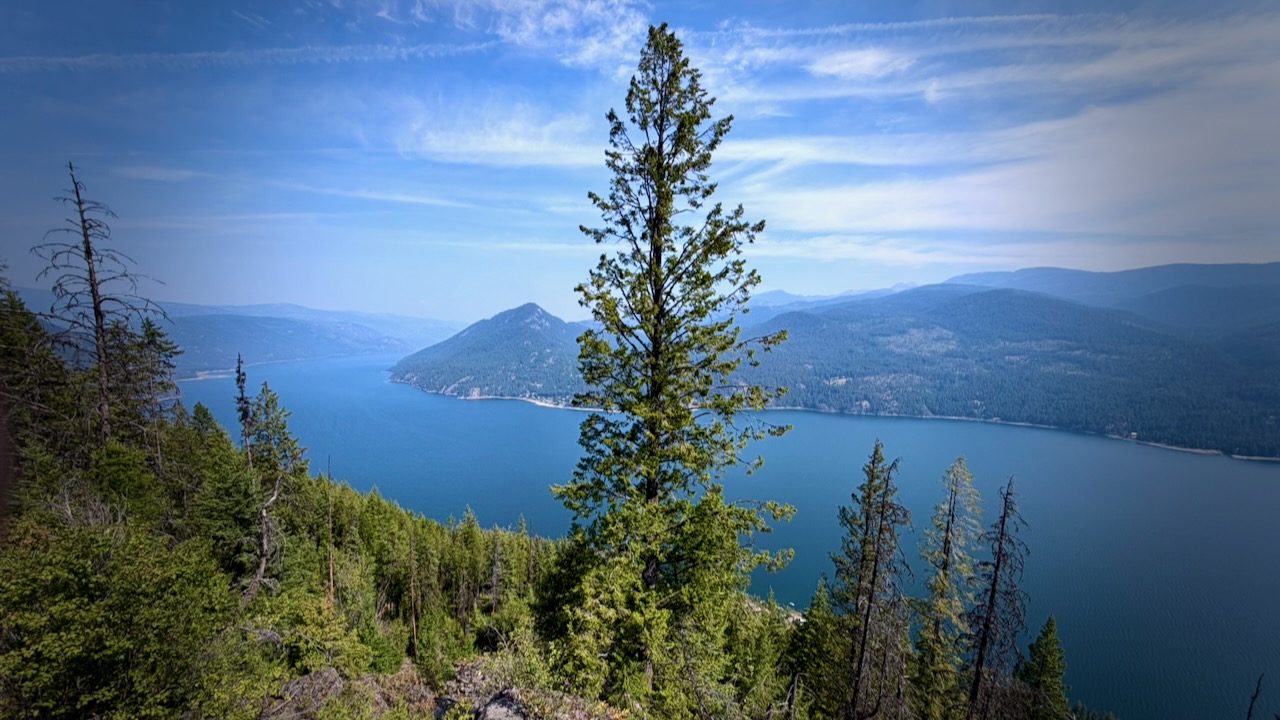
Highlights for me were sweeping views of the Granby Valley, Christina Lake, and Lower Arrow Lake.
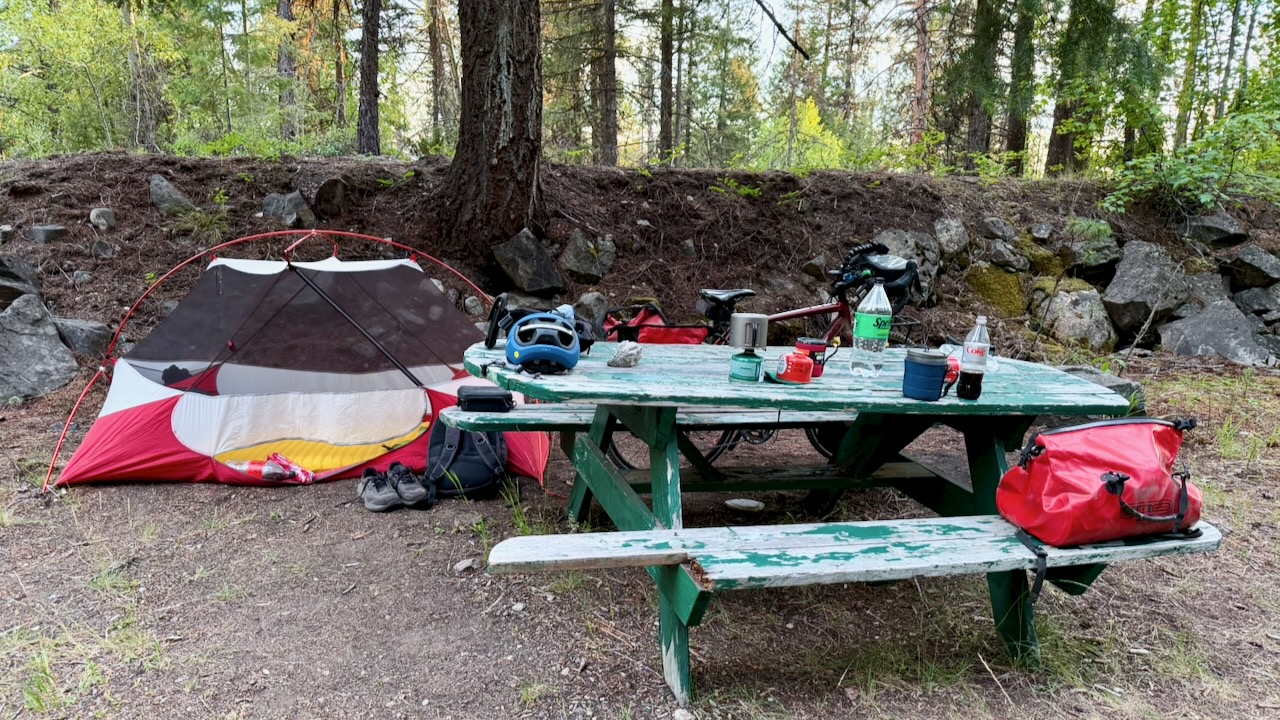
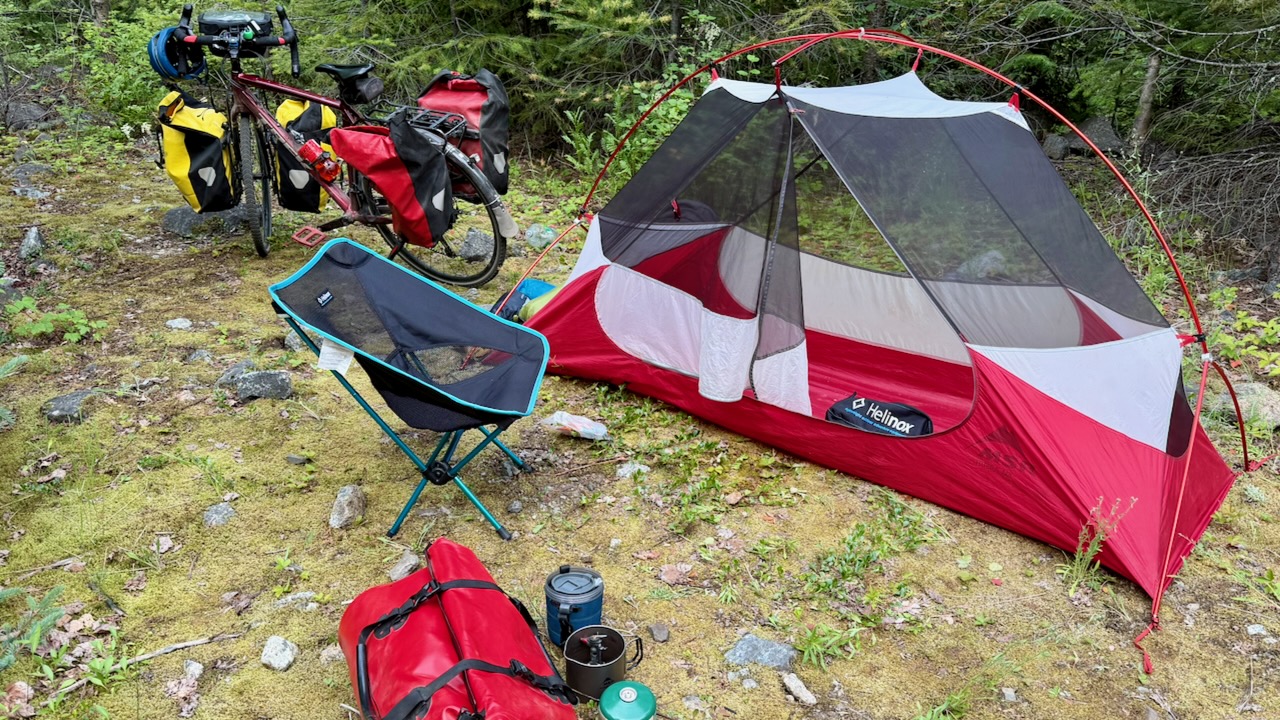
And it offers ideal wild camping — though there are not all that many water sources.
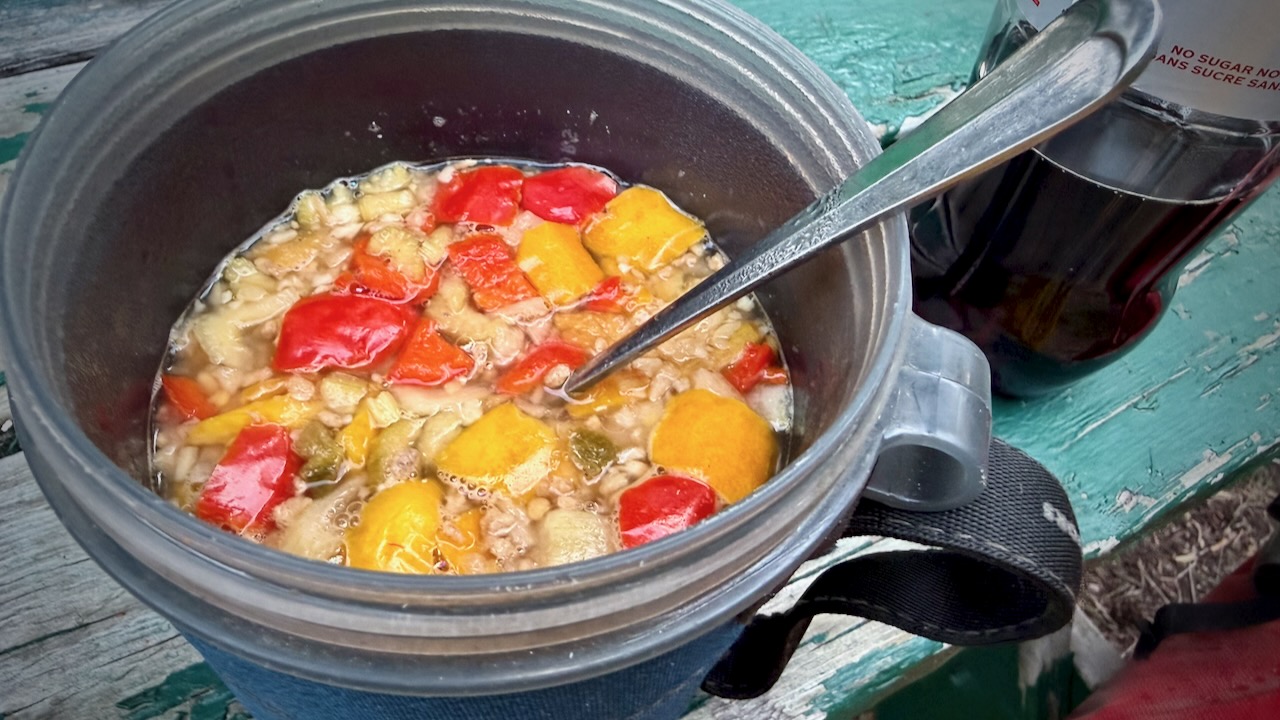
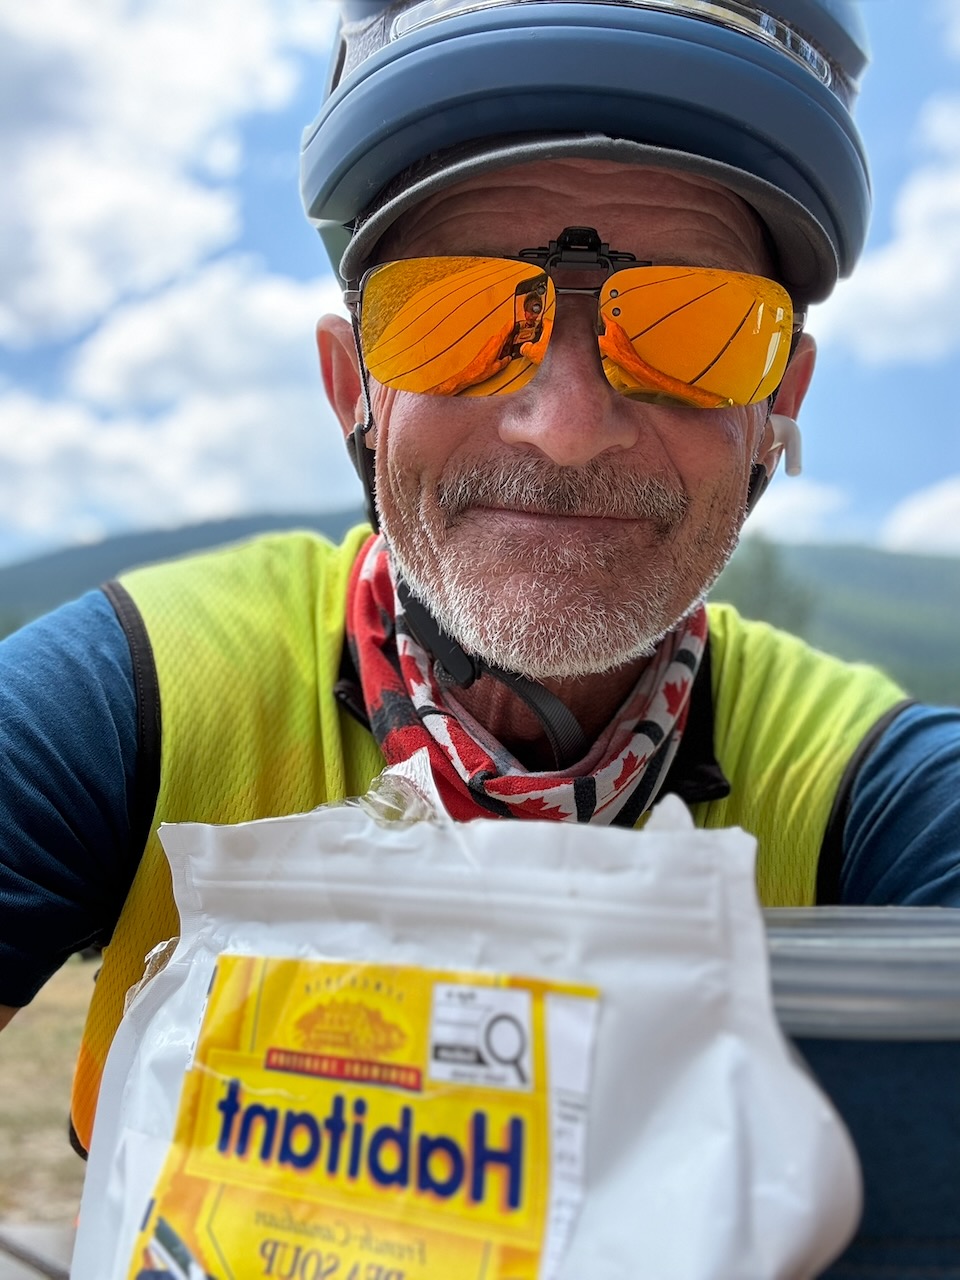
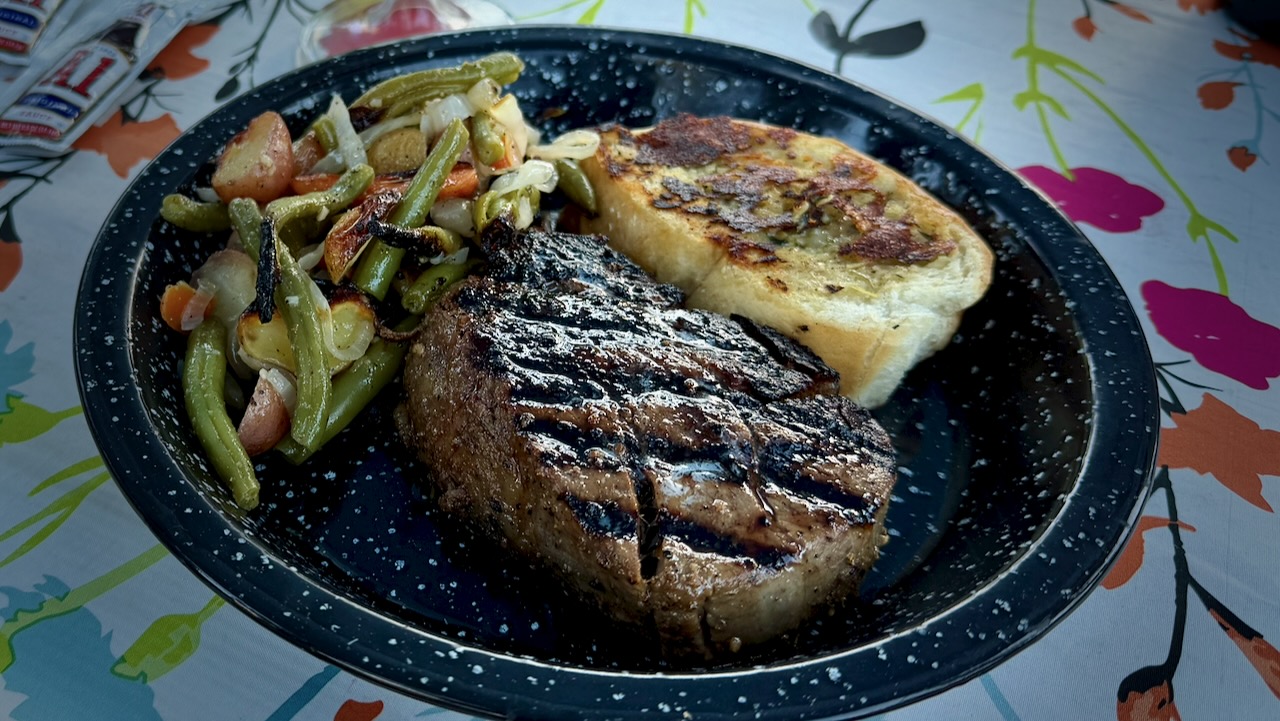
I enjoyed dinner every night, rehydrating meals frozen by my niece. Much tastier than any commercial camping dinners I’ve ever tried.
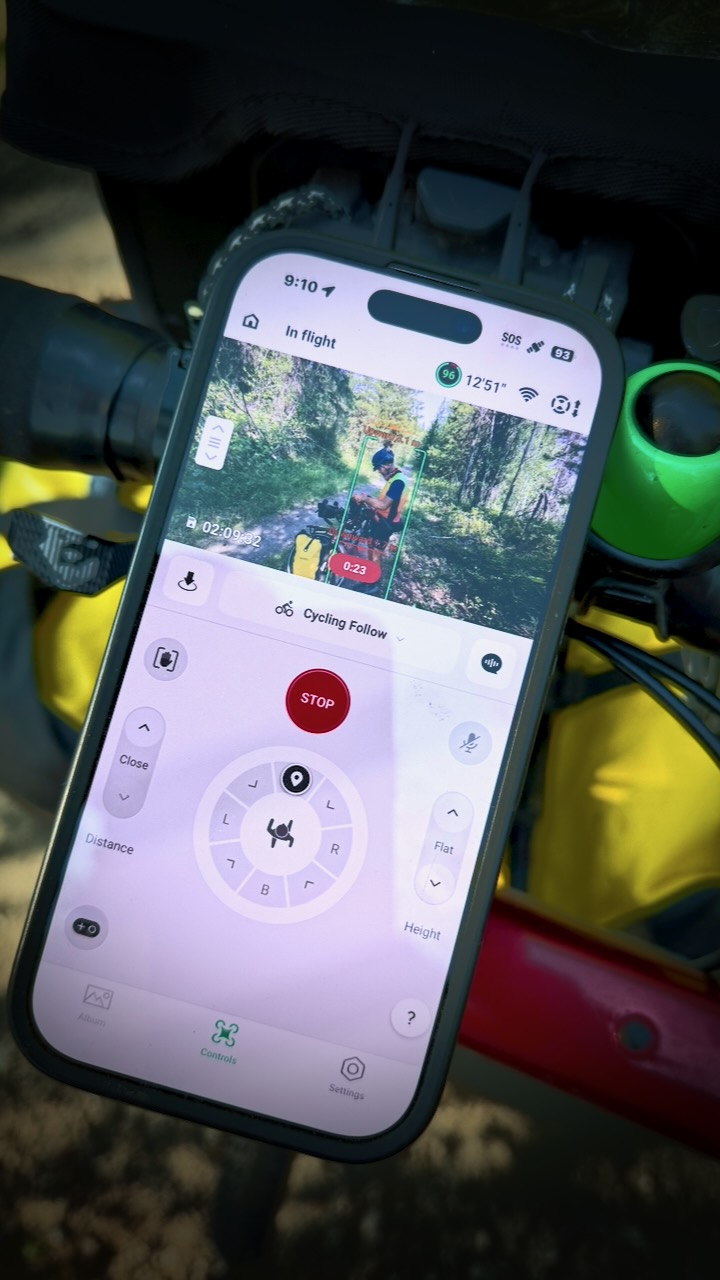
NEW for me is using a toy drone automatically following my bicycle.
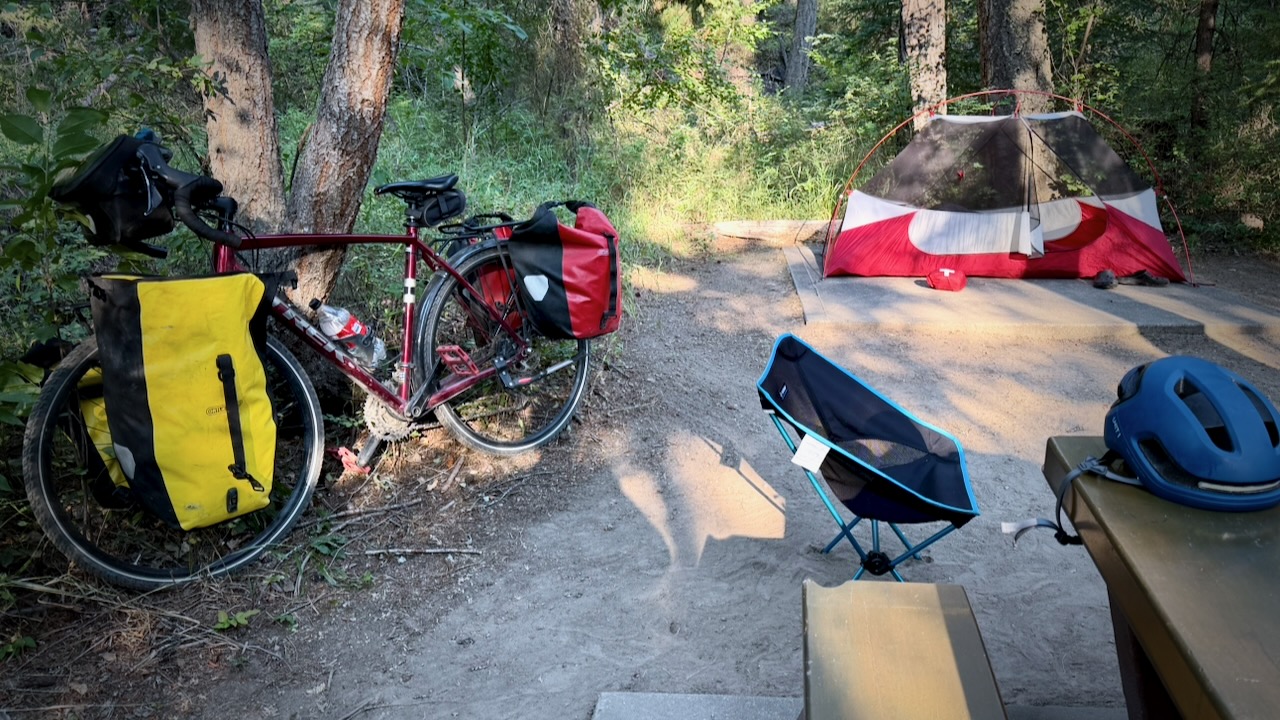
Also new for me while bikepacking, is carrying a portable camping chair.
I love it!
Though rehydrating meals is ideal …
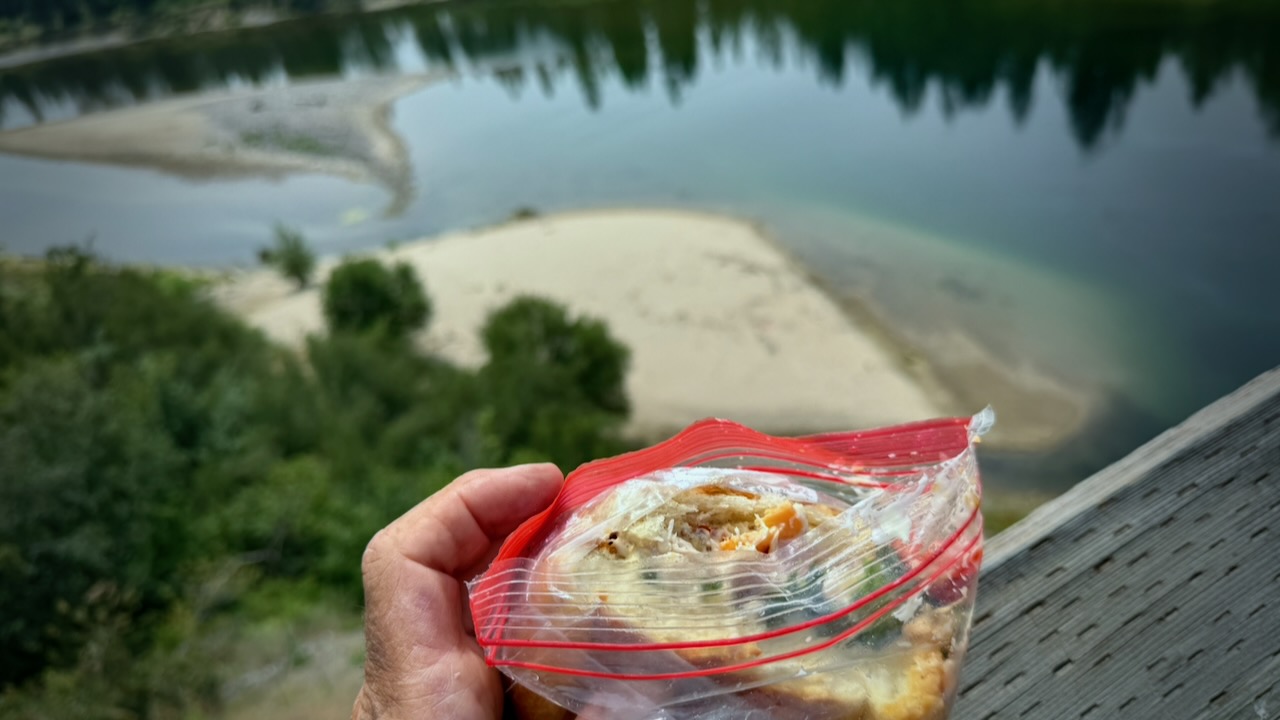
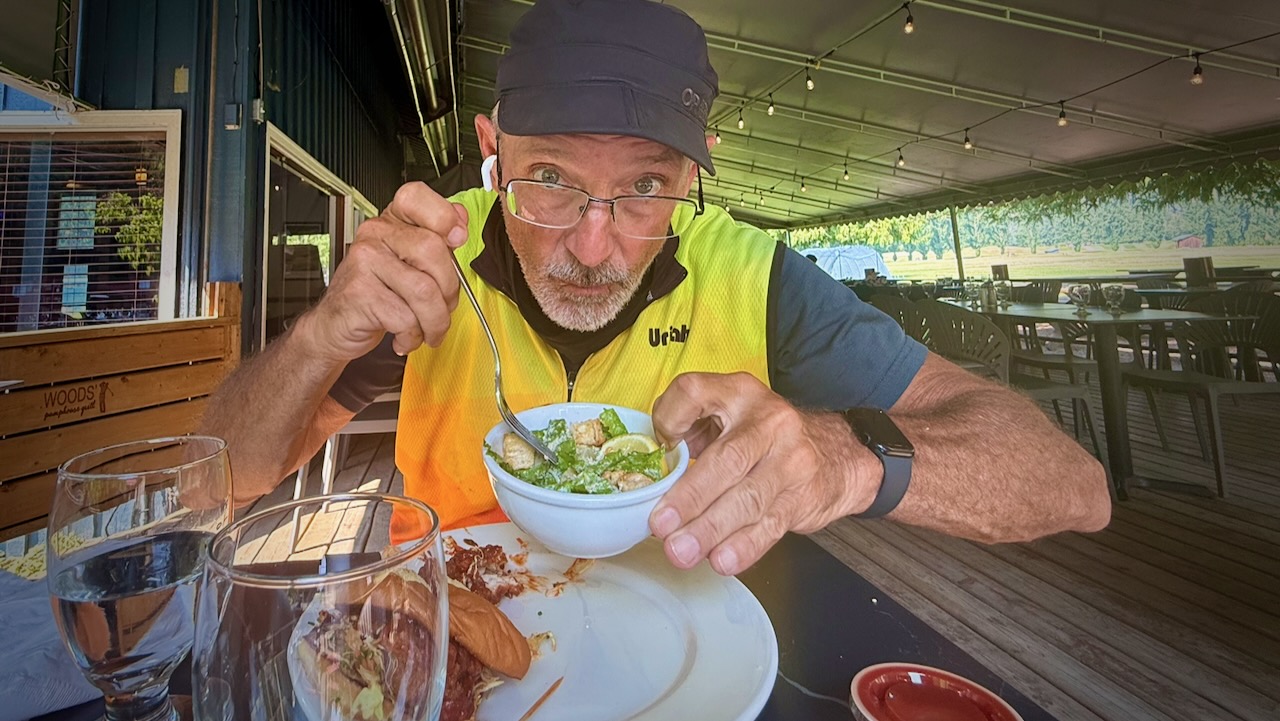
… I eventually had an urge for solid food.
Here I am saying goodbye to the Columbia and Western Rail Trail.
To Nelson & Crawford Bay
As we had a house in Crawford Bay B.C., I was keen to continue on to Nelson and the old homestead. But I was forced on to highways and rural roadways with … HILLS.
Why didn’t someone warn me there were HILLS in British Columbia? 😀
After flat rail trails, almost every ascent seems daunting. And HOT.
I love Nelson and checked into the hostel for a night. Happily, my friend Tam happened to be in Nelson at the same time and we were able to catch up for coffee.
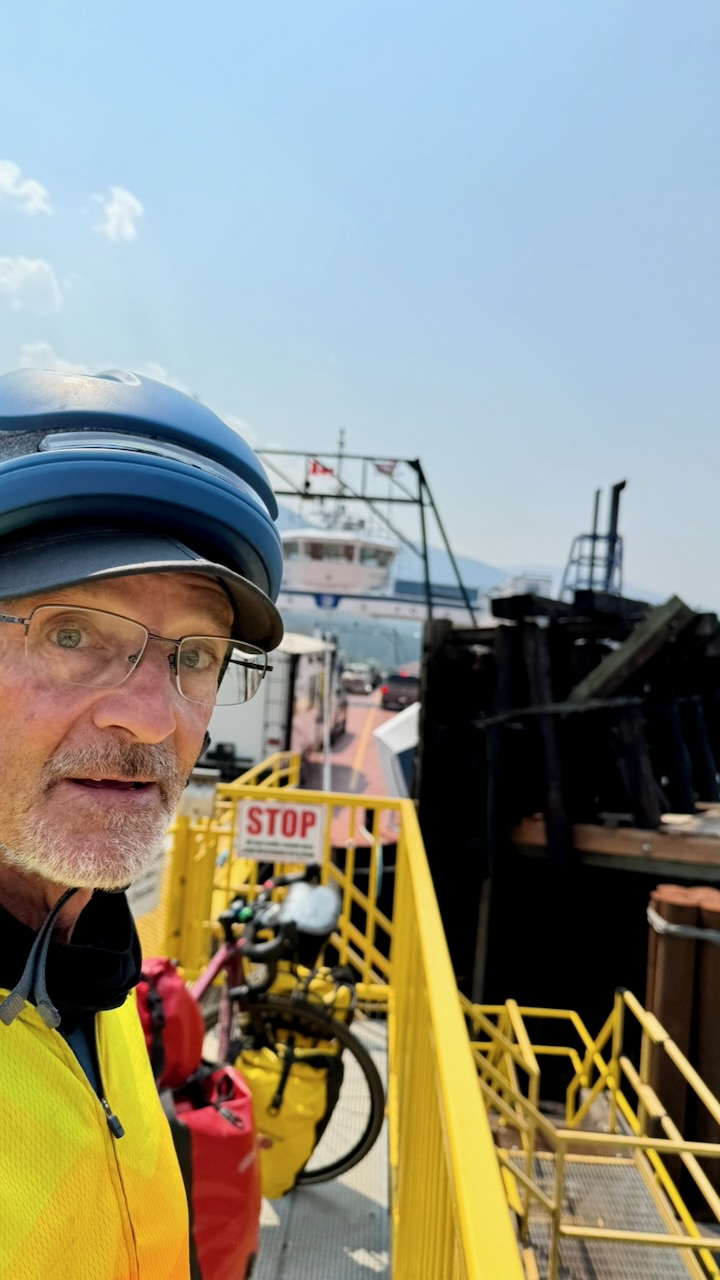
Rather than cycle the dangerous tourist highway out of Nelson, I put my bike on the local bus to the Kootenay Lake ferry.
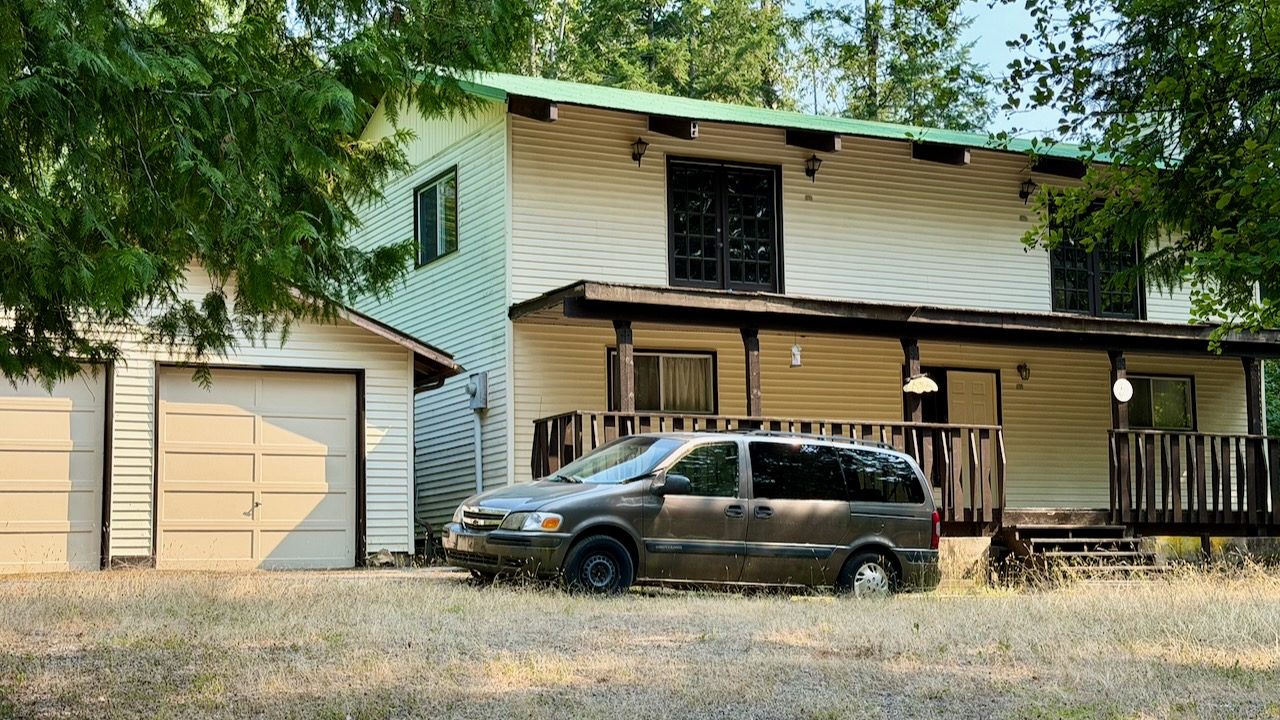
In 2020 the house my Dad built was in rough shape. Six years later it looks even worse.
I’m wondering when anyone actually last lived here.
Like 2020, I stopped for lunch at the fantastic Kokanee Springs Golf Course.
Busy, Dangerous 2-lane Highways
The highway from Crawford Bay to Creston is a favourite of mine. To drive.
On the bicycle it’s dangerous with very narrow shoulders in places.
I stopped at the Gray Creek General Store to inquire whether or not cyclists were taking the Trans Canada Trail up and over the Gray Creek Pass — probably the most challenging section across the nation.
Not many, I was told.
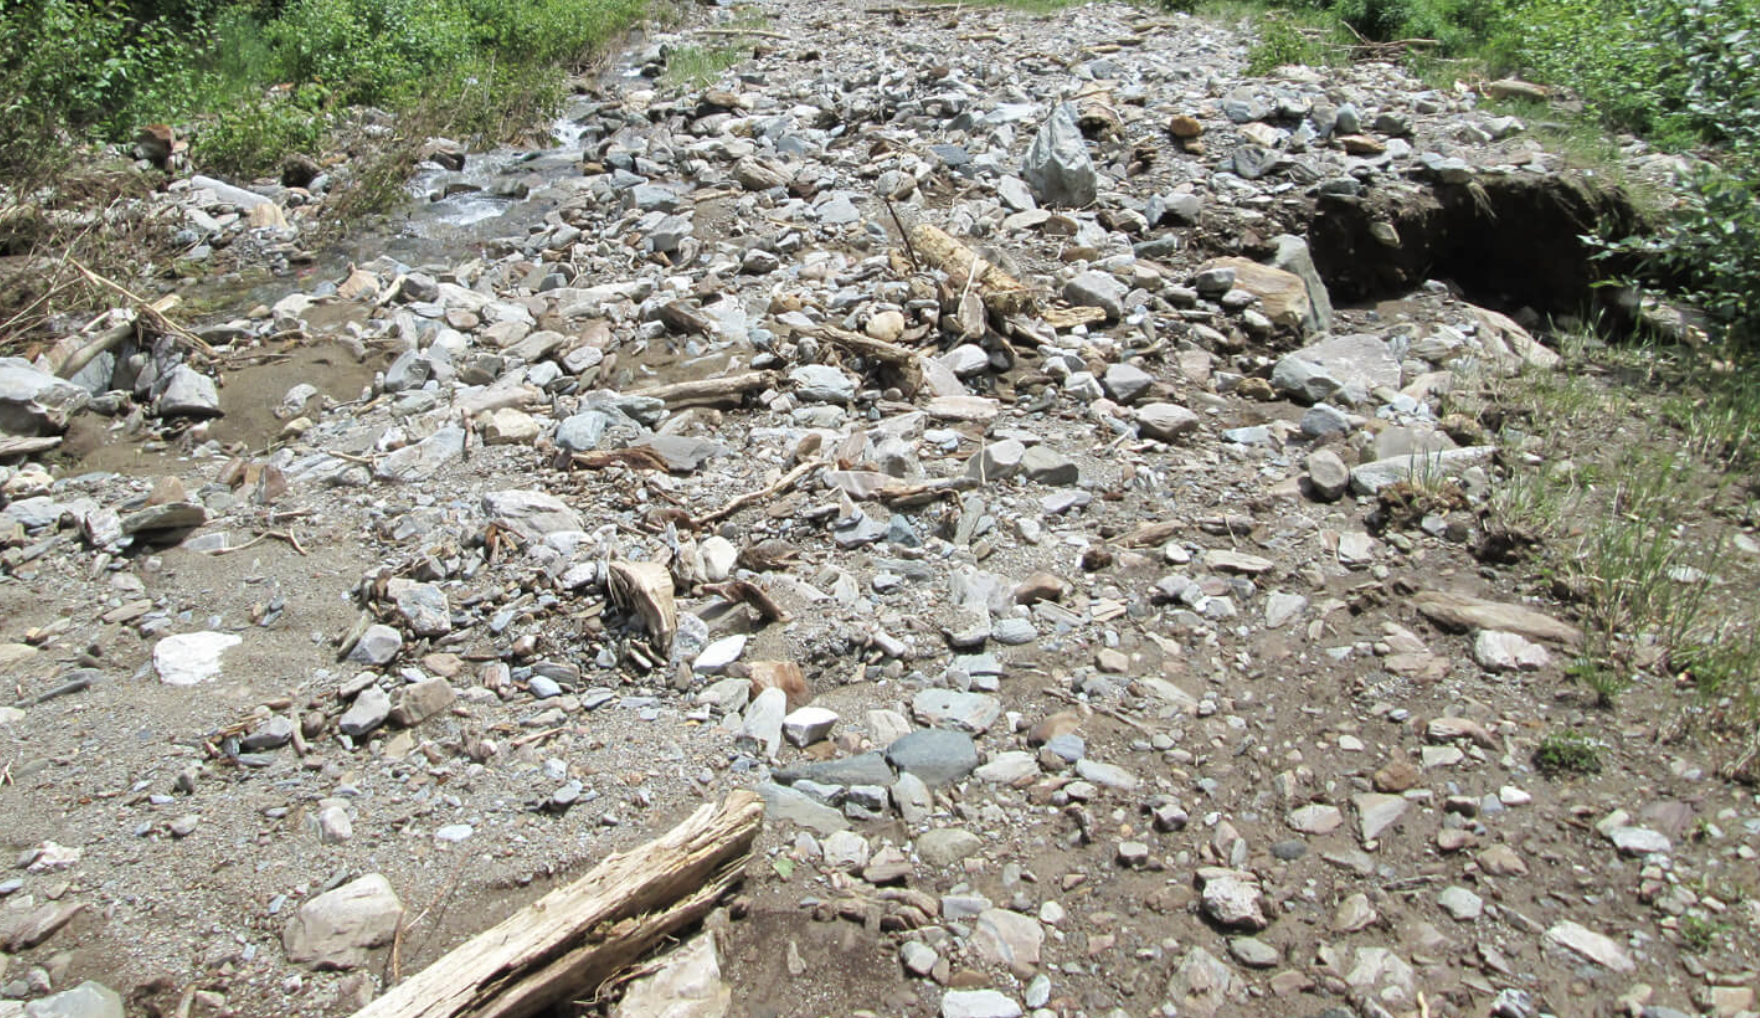
Average of nearly 9% grade for 17 km from Kootenay Lake up to Gray Creek Pass
Average of nearly 6% grade for 12 km from Gray Creek Pass down to Parker’s Creek
No service
Rough surface
Not recommended
As I did in 2020, I chickened out and cycled the highway to Creston.
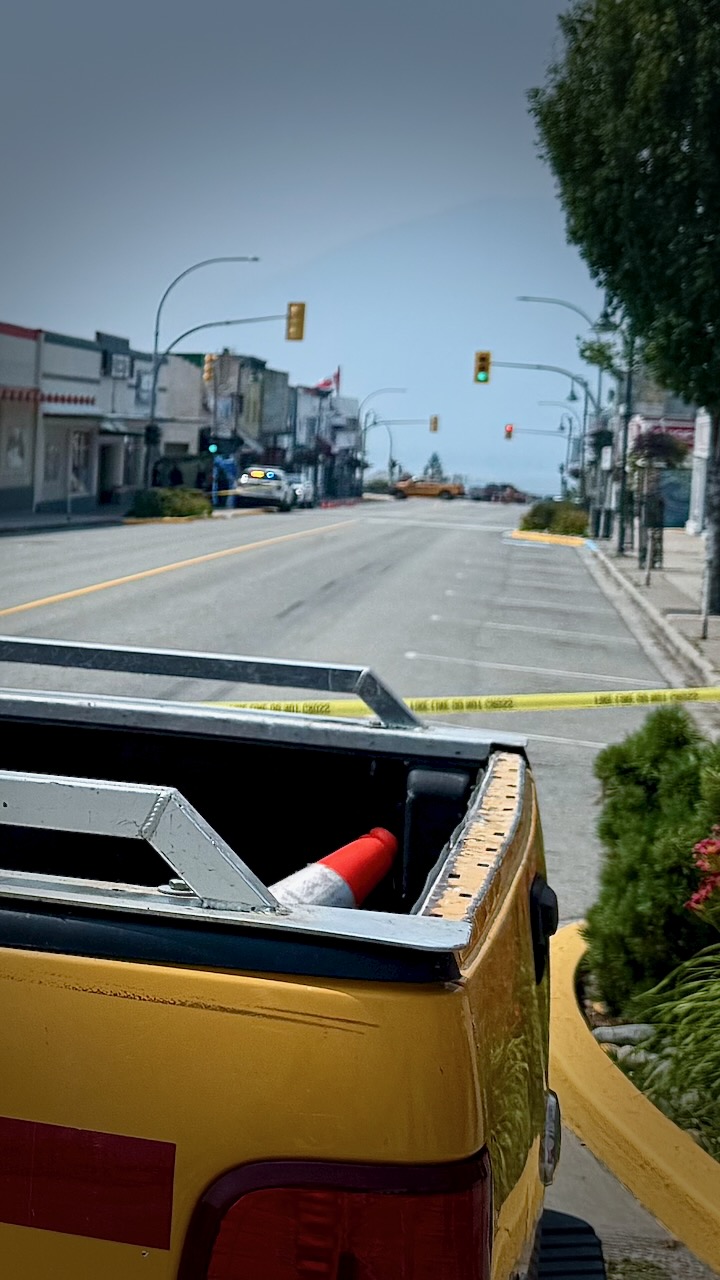
My first flat tire EVER on this bike. After trying to add air with my (crappy) hand pump, I saw there was a bike shop only 4km distant. Rolling my bike there, the street was shut down by police.
This was a crime scene. Stabbing, I was told. Possibly murder.
The bike shop owner happened to drive past, informing me it was still possible to enter the shop from the back. With no customers coming in the front door, they fixed the flat immediately and at low cost. Whew.
Creston to Cranbrook
Mostly highway. No photos.
Crawford Bay to Cranbook was the least interesting section.
Adventure Ends in Fernie
I got coffee in Cranbrook. And then tried to find the trail out of town.
It’s confusing. And I never found even one good navigation app for the Trans Canada Trail.
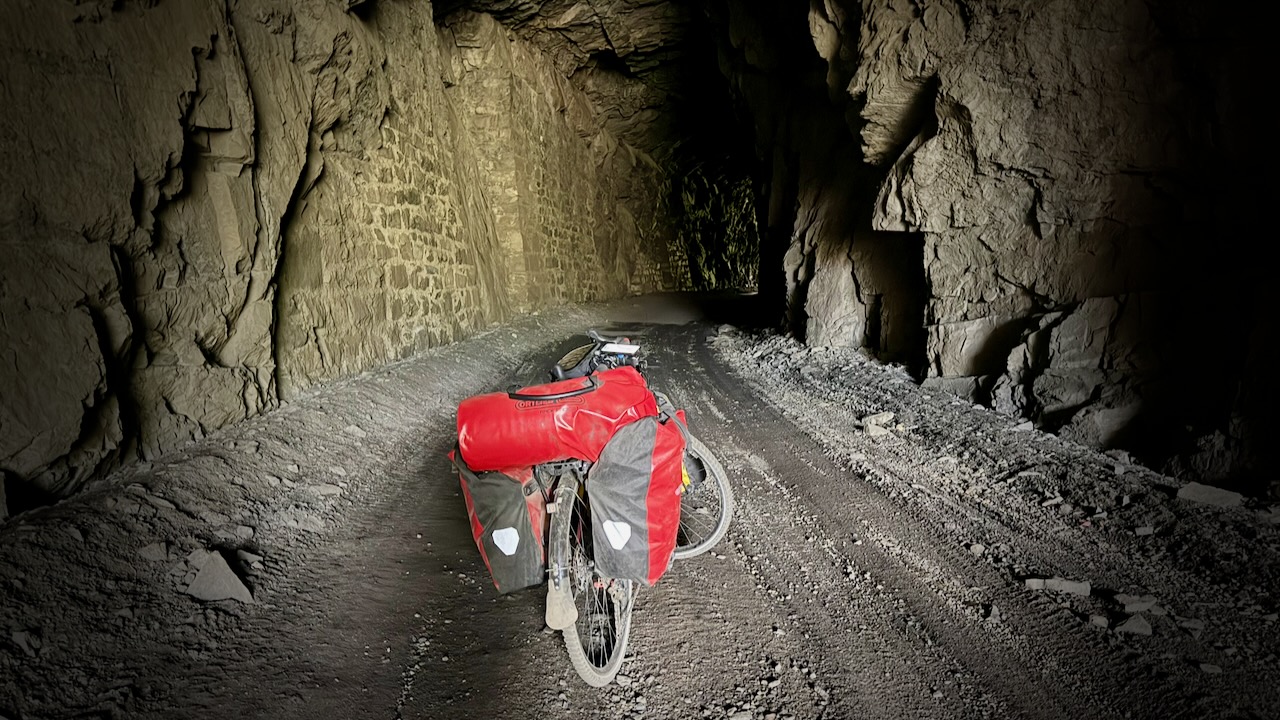
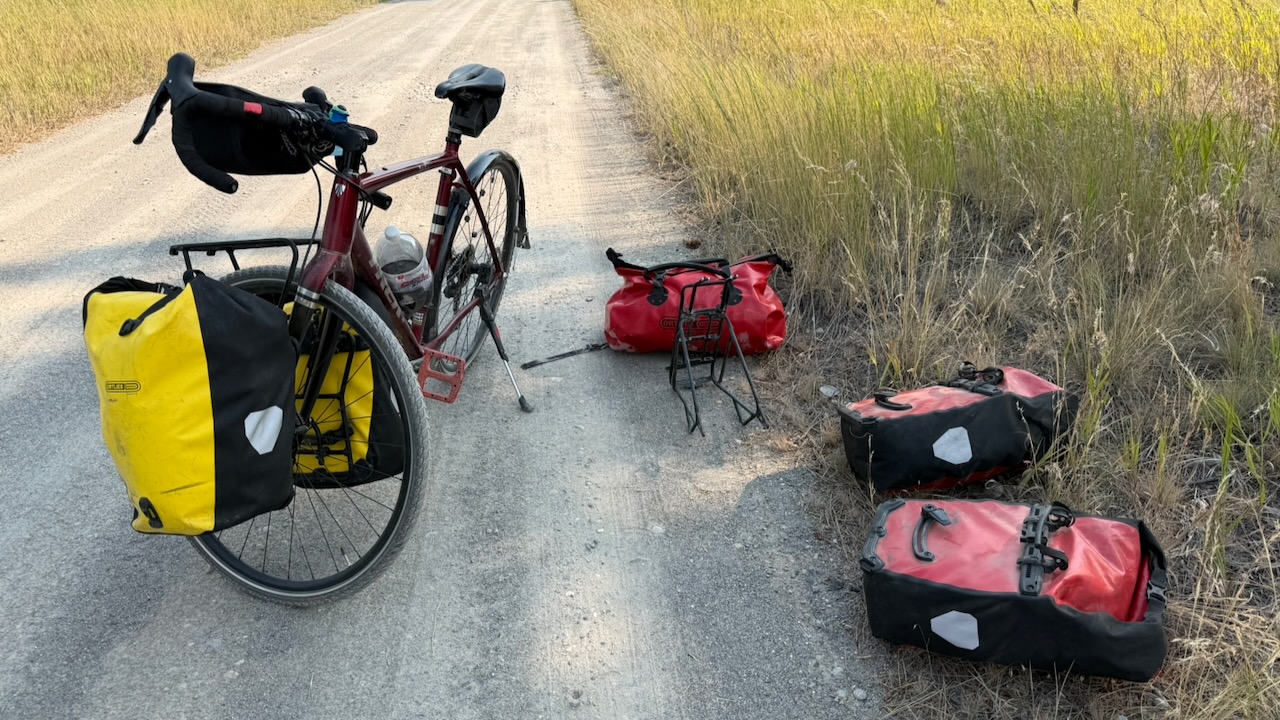
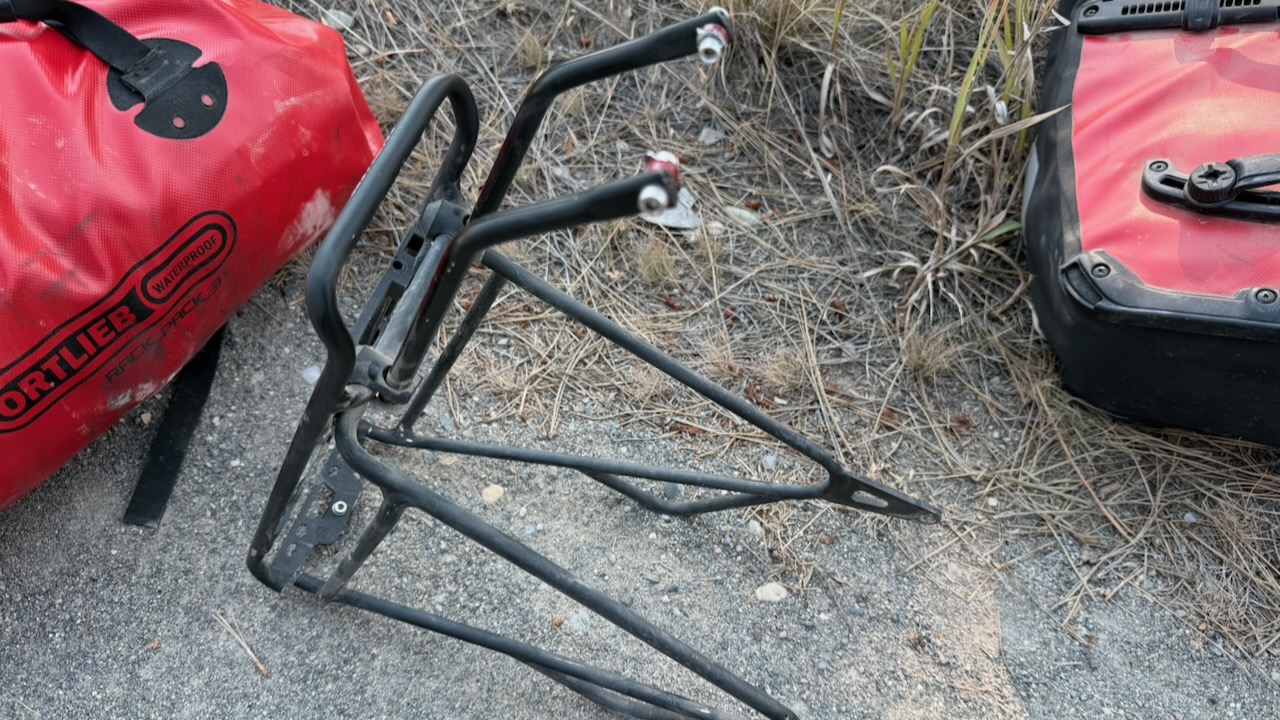
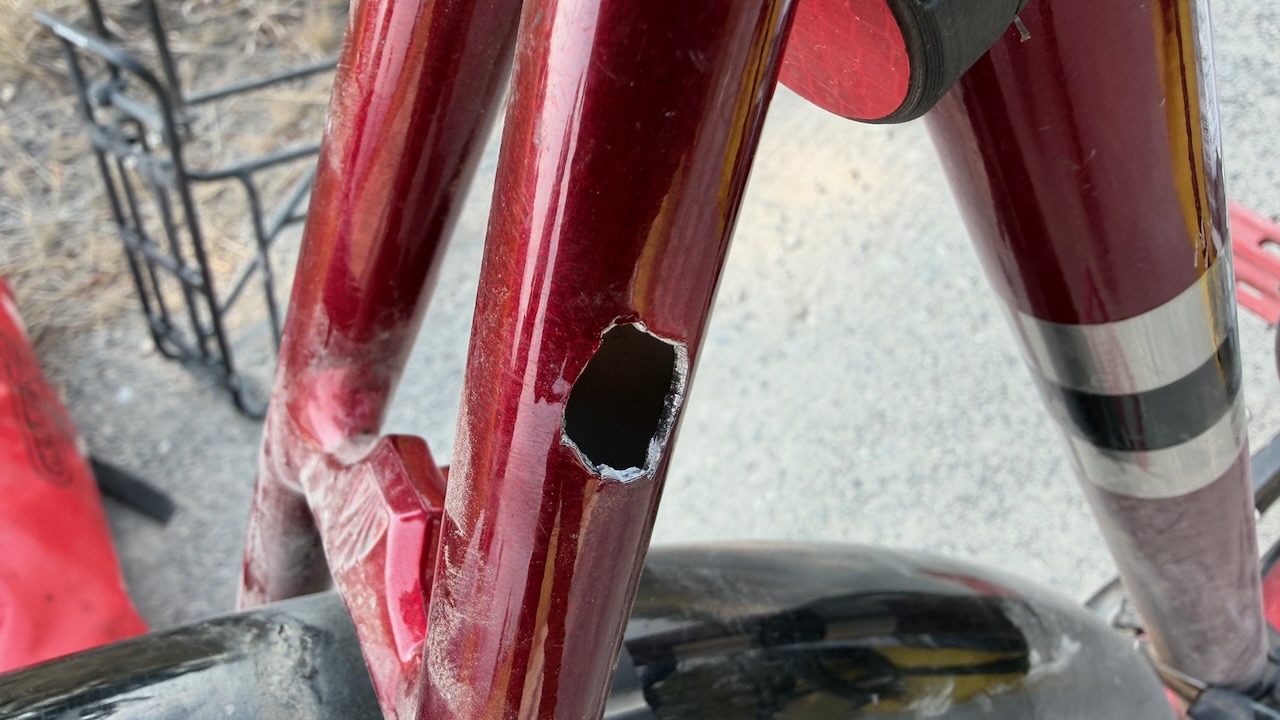
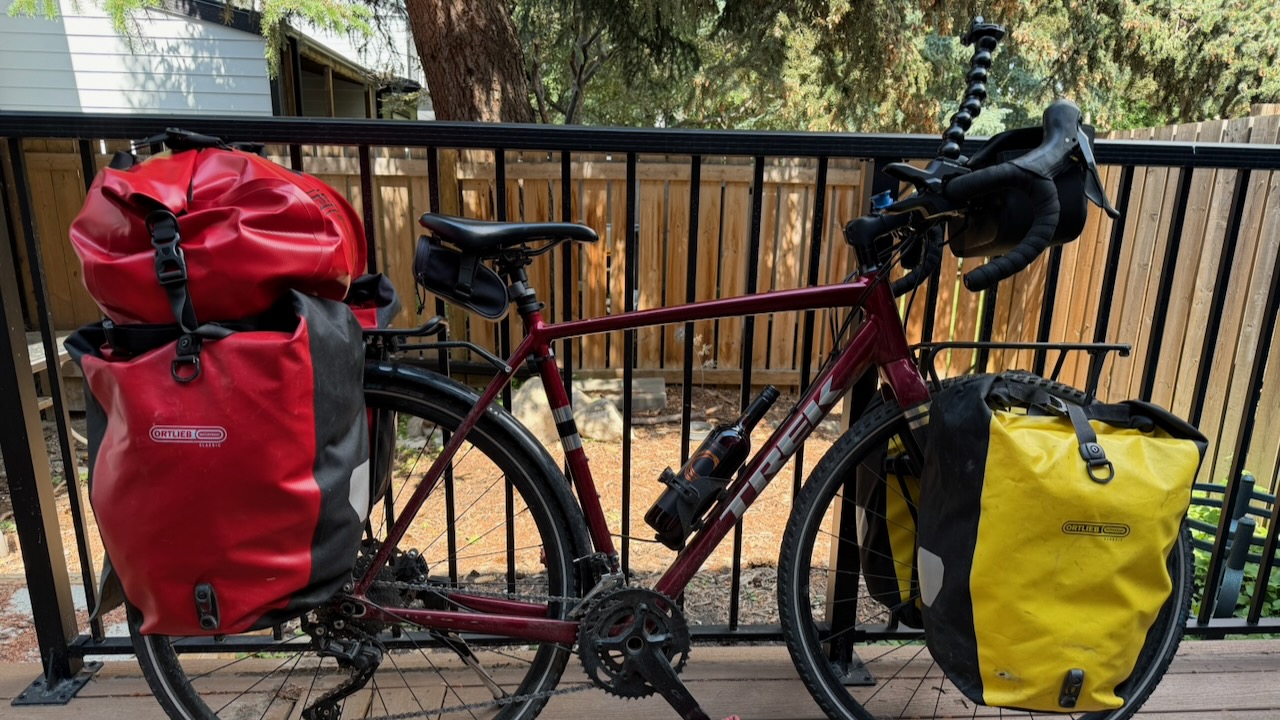
The end of my trip on day 11. My rear rack broke off completely going over one of those bumpy cattle guards a few hours after leaving Cranbrook.
GMoney, a ski shop owner in Fernie — who’s a punk musician in his spare time — picked me up while I was hitchhiking.
A big time hiker and cyclist, GMoney hosted me at his house and gave me advice on where I might get the bike fixed.
Turns out none of the 4 bike shops in Fernie had the kind of tools to repair the rear rack.
I stayed at the excellent Angry Elk Hostel, as well, for a couple of nights — enjoying Fernie for the 1st time — until my brother & his wife came to my rescue.
(Same day GMoney collected me, he and a girlfriend were 2 yards away from an angry Black Bear with cubs. Had to bear spray to stop her. That’s the closest bear encounter of anyone I’ve ever known. )
In the end, my cycling distance over the 11 days was around 750 km.
I Missed Fernie to Calgary
I broke down at the end of the worst highway sections, and the beginning of one of the best trail & gravel road parts of the entire Trans Canada Trail.
I have 3 cameras. iPhone 17. Action Camera. And a Drone.
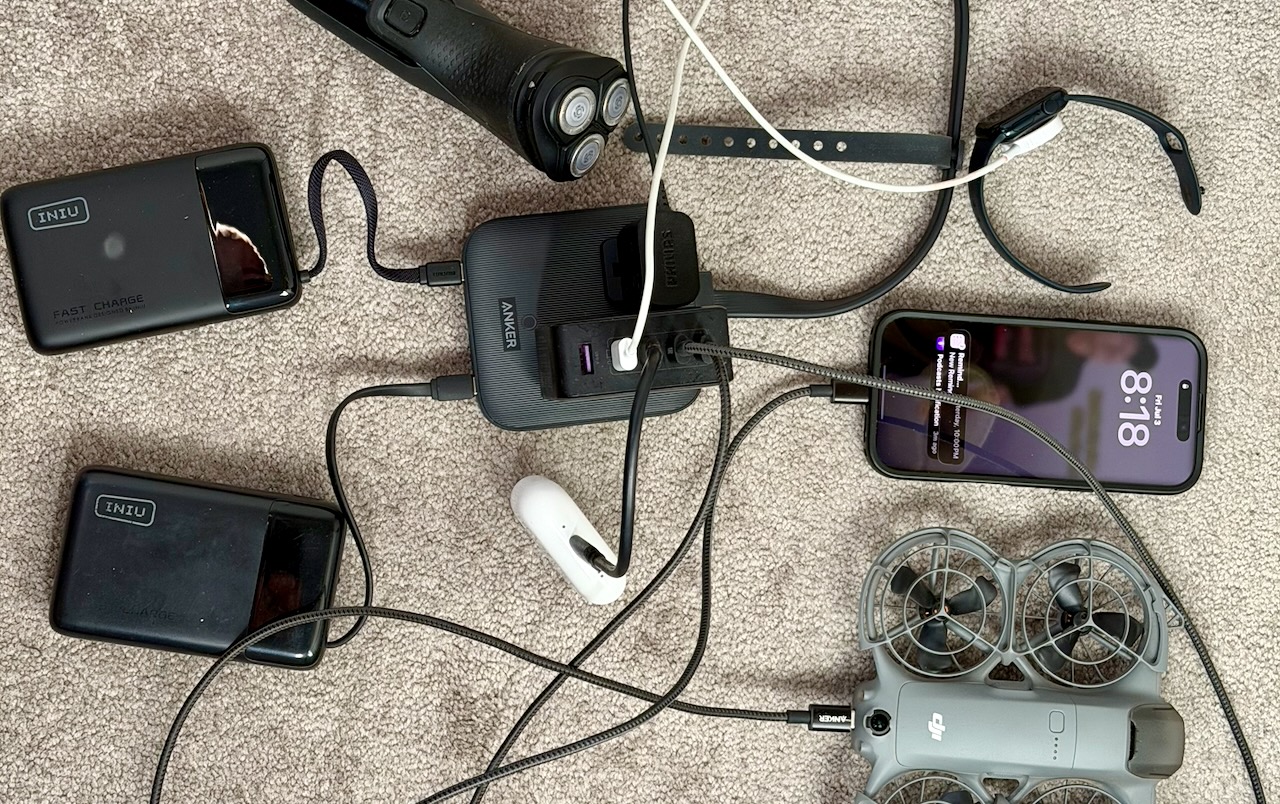
HIGH priority for me is ensuring I can keep ALL the batteries charged. Here’s how I could recharge with just one electrical plug. In a library, for example.
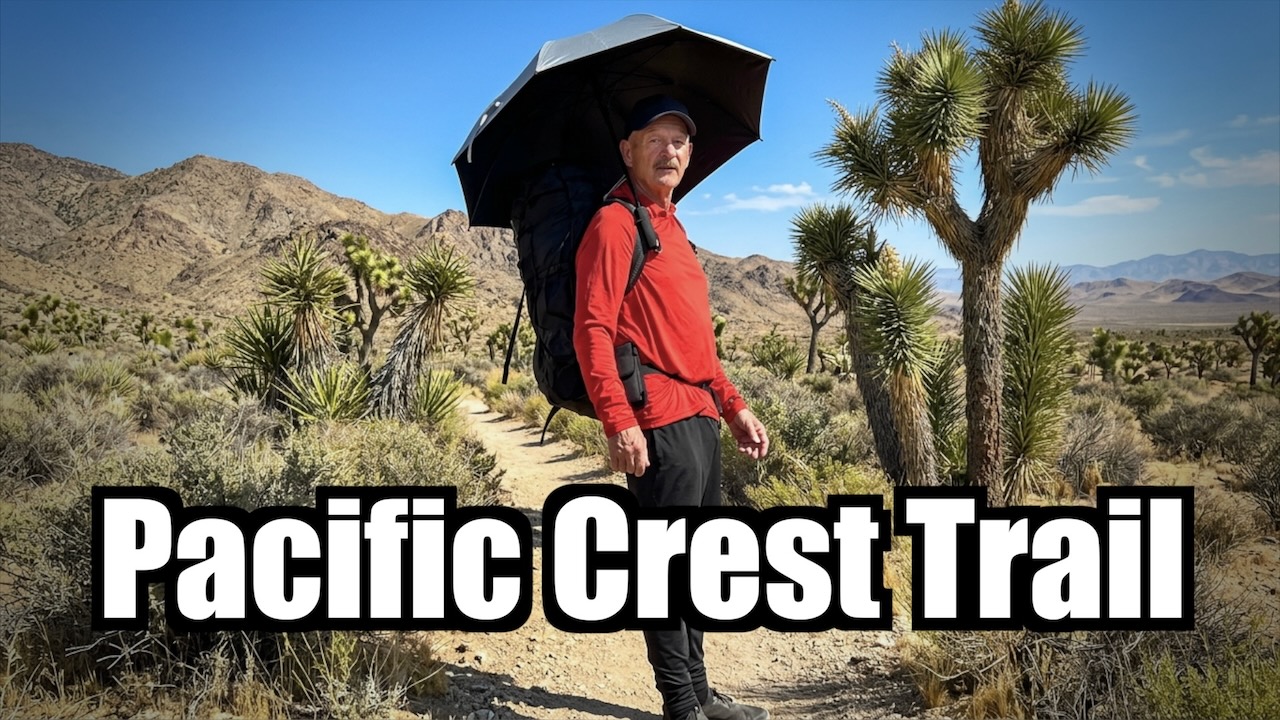
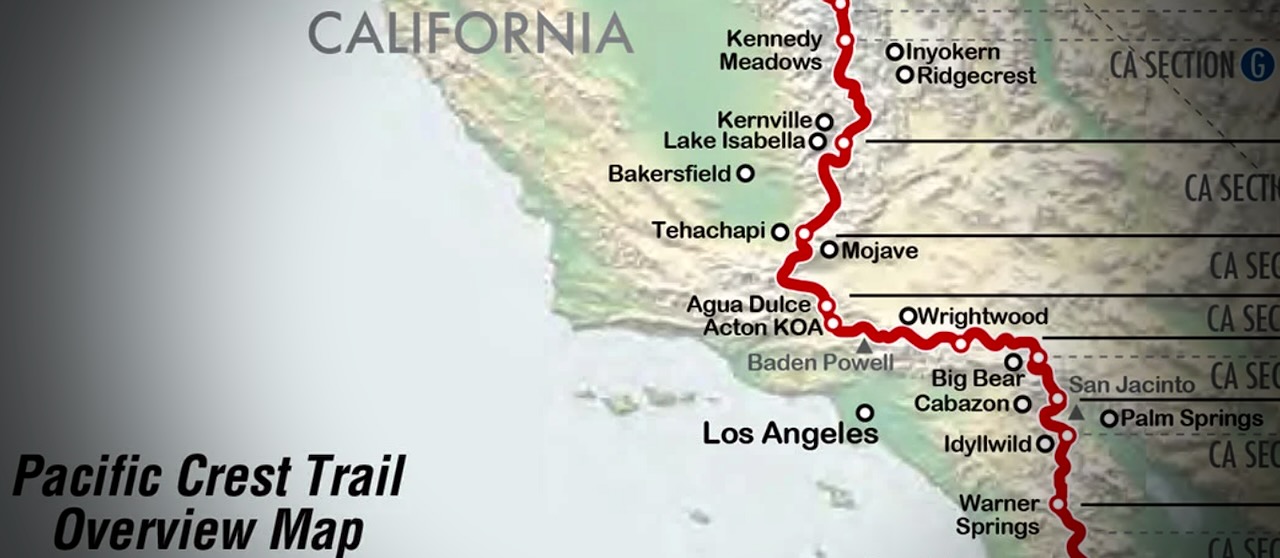
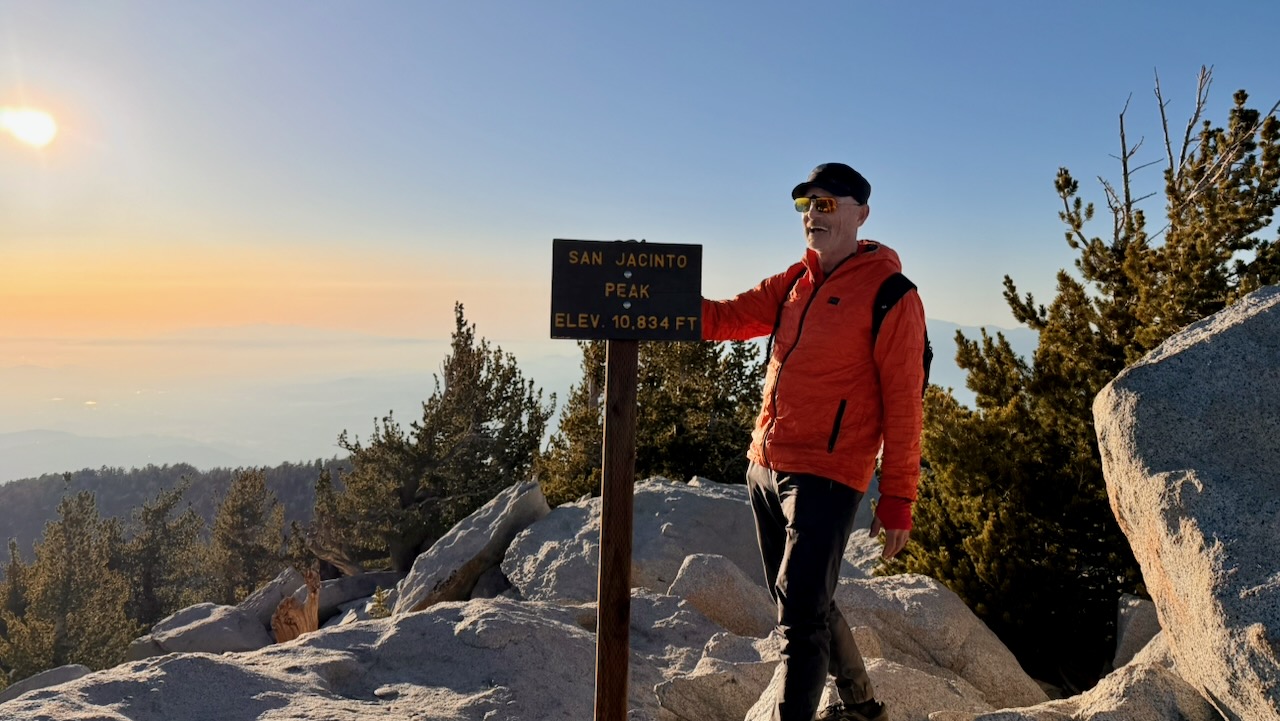
Hot, dry — but not flat. I ended up on the summits of Mt. San Jacinto (10,834 ft) and Mt. Baden-Powell (9,399 ft). Then had to descend.
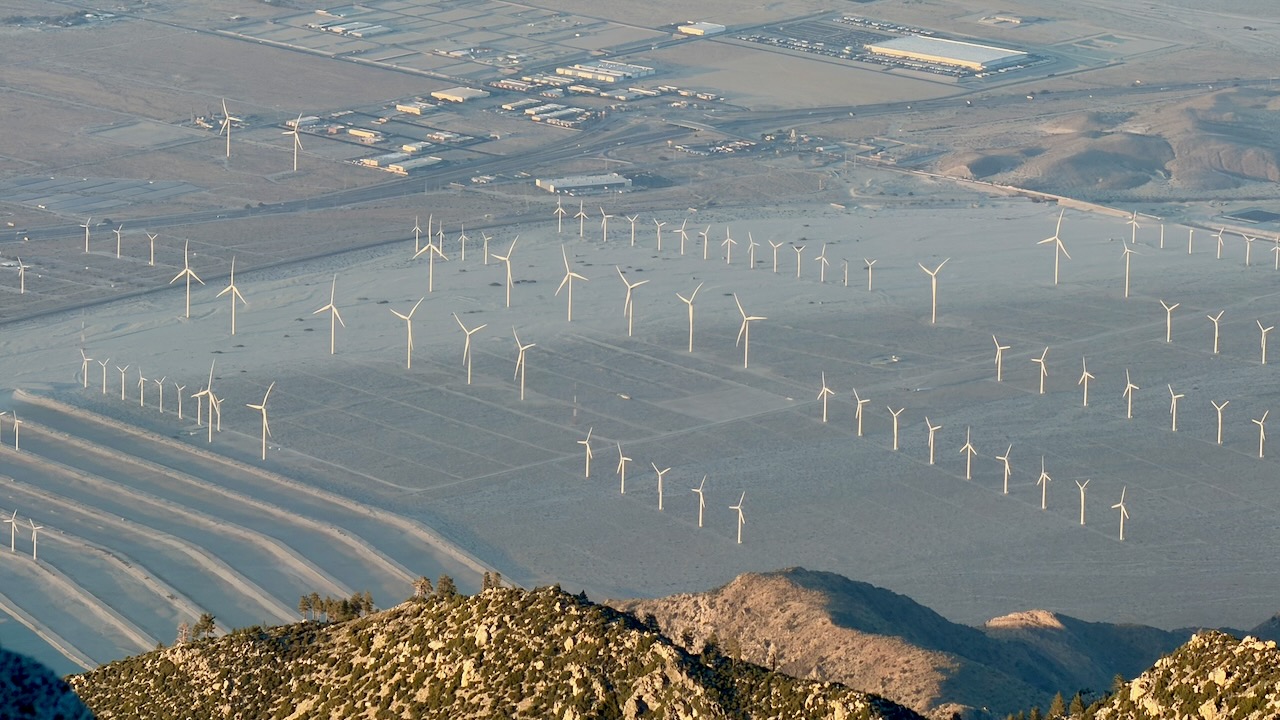
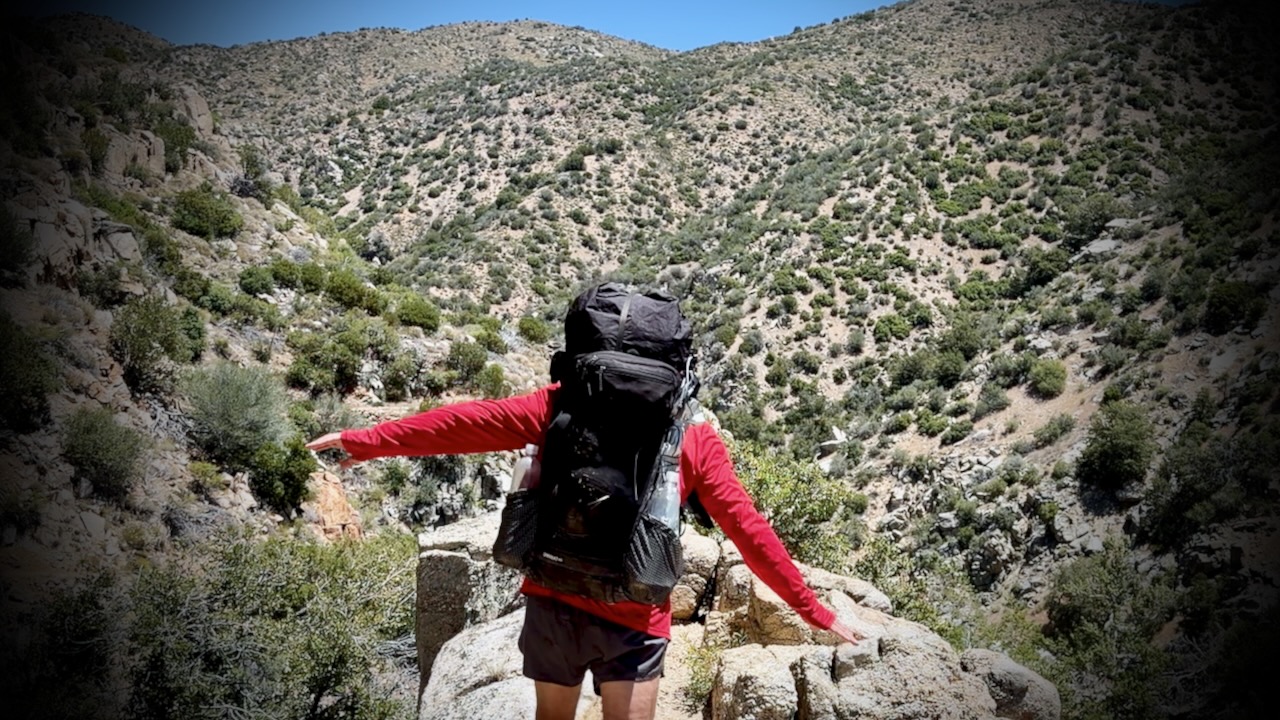
Palm Springs to Agua Dulce is about 245 PCT miles. My section was mostly rocky, sun-baked canyonsand scrub.
Many complain about the relentless wind. Personally, I like wind as it cools you off.
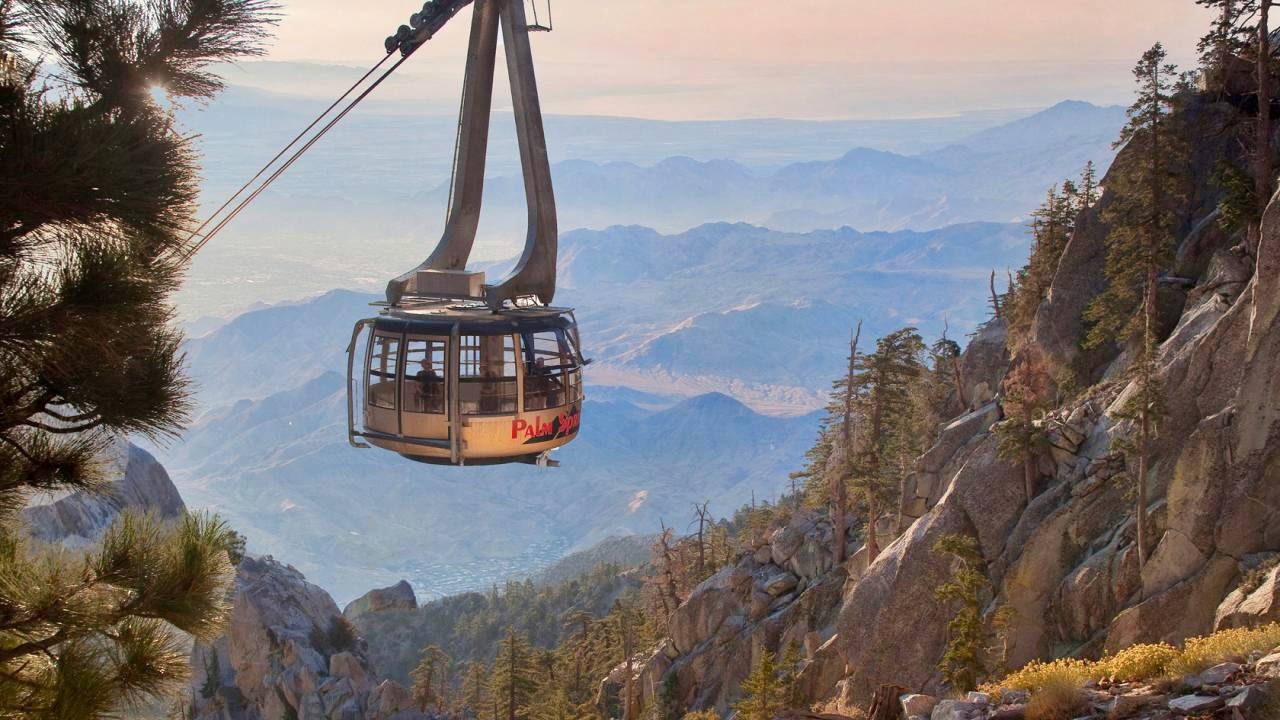
I skipped some of those miles taking 3 rides along the way. Of course I added miles hiking in from the Palm Springs Tramway. And ALL hikers add miles when they hike into and out of resupply stops.
I flew into Palm Springs. Bought camping gas and stopped at a grocery. Then took the bus to the bottom of famed Palm Springs Aerial Tramway.
Turns out there’s no public transit for the last 3 miles. Oops. Happily, a guy on a motorcycle noticed my dilemma, offering a lift to the base. My first Trail Angel.
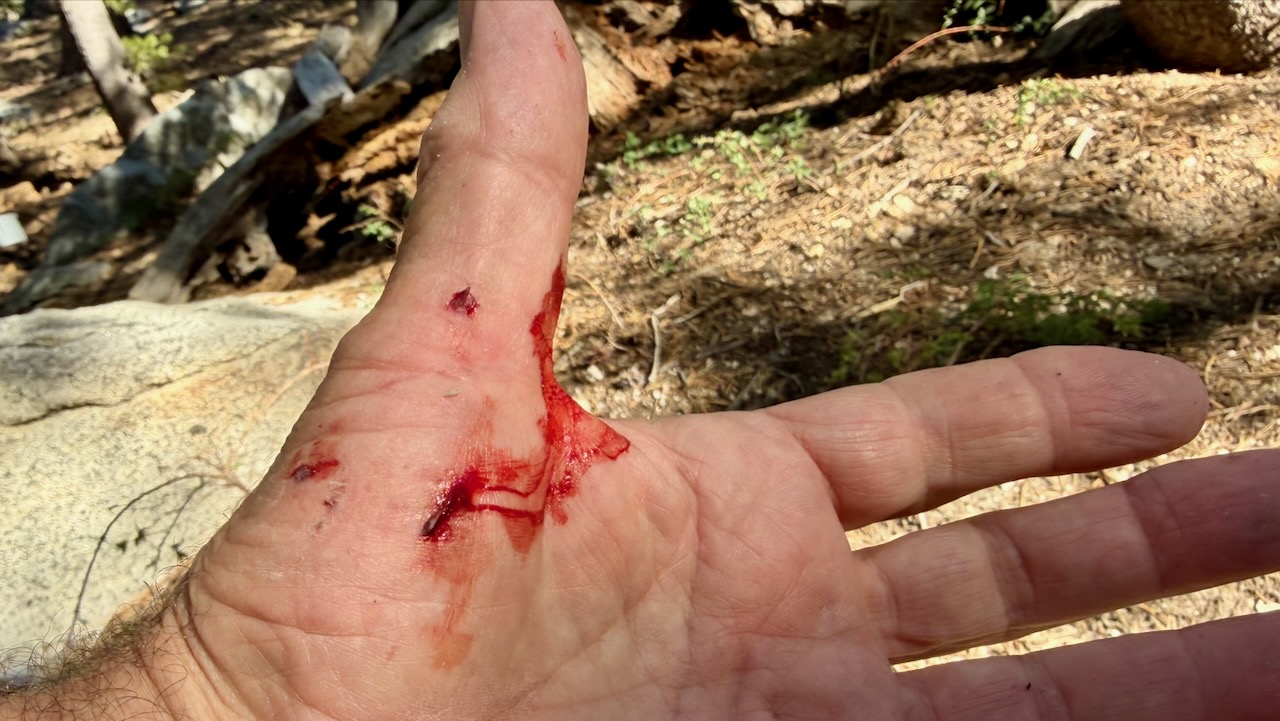
Within an hour, I had my only real injury. Standing up, I forgot I was wearing a heavy pack, and fell backwards over a rock. Getting scratched up. … Dumb mistake.
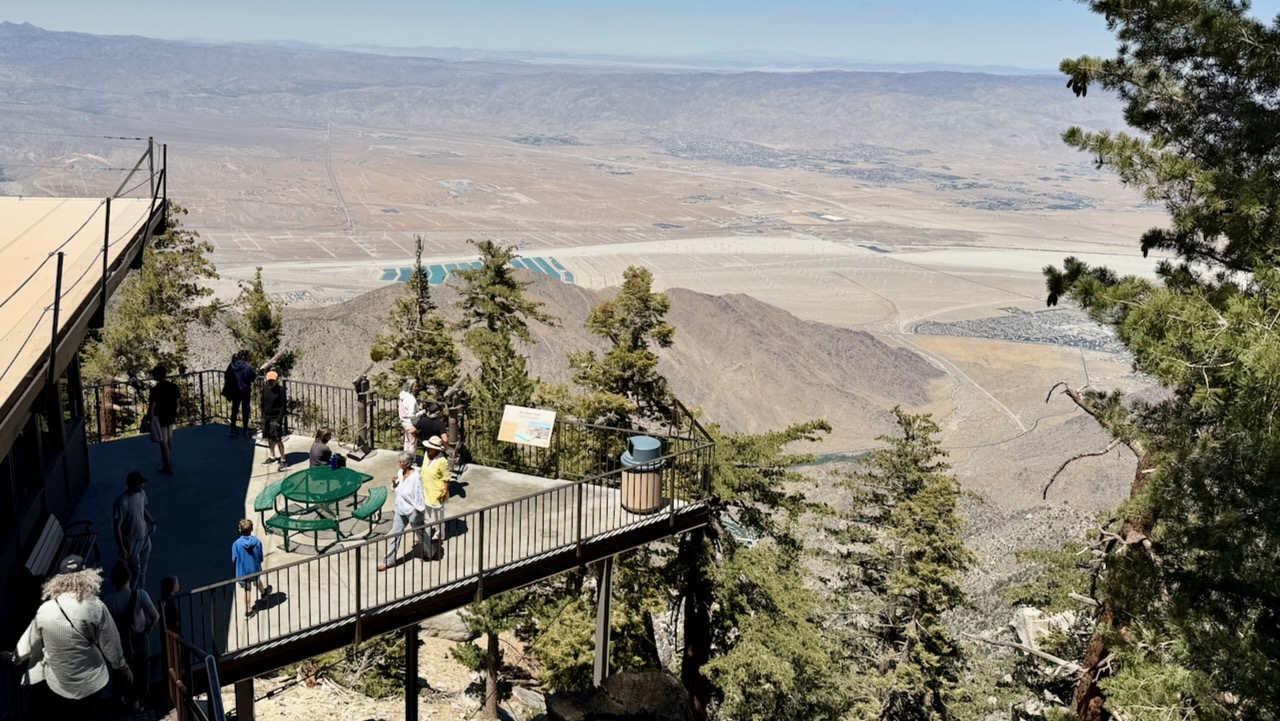
I enjoyed the short side trip to San Jacinto Peak. It’s over 10,000 feet higher than Palm Springs.
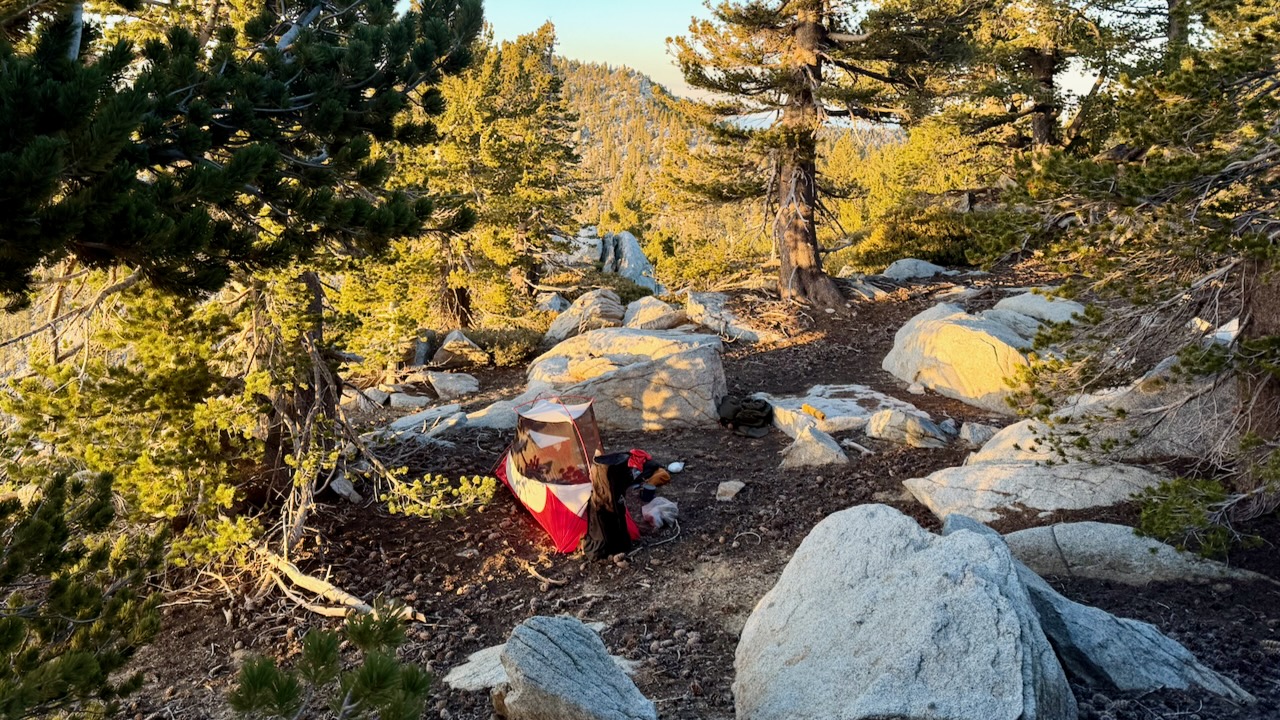
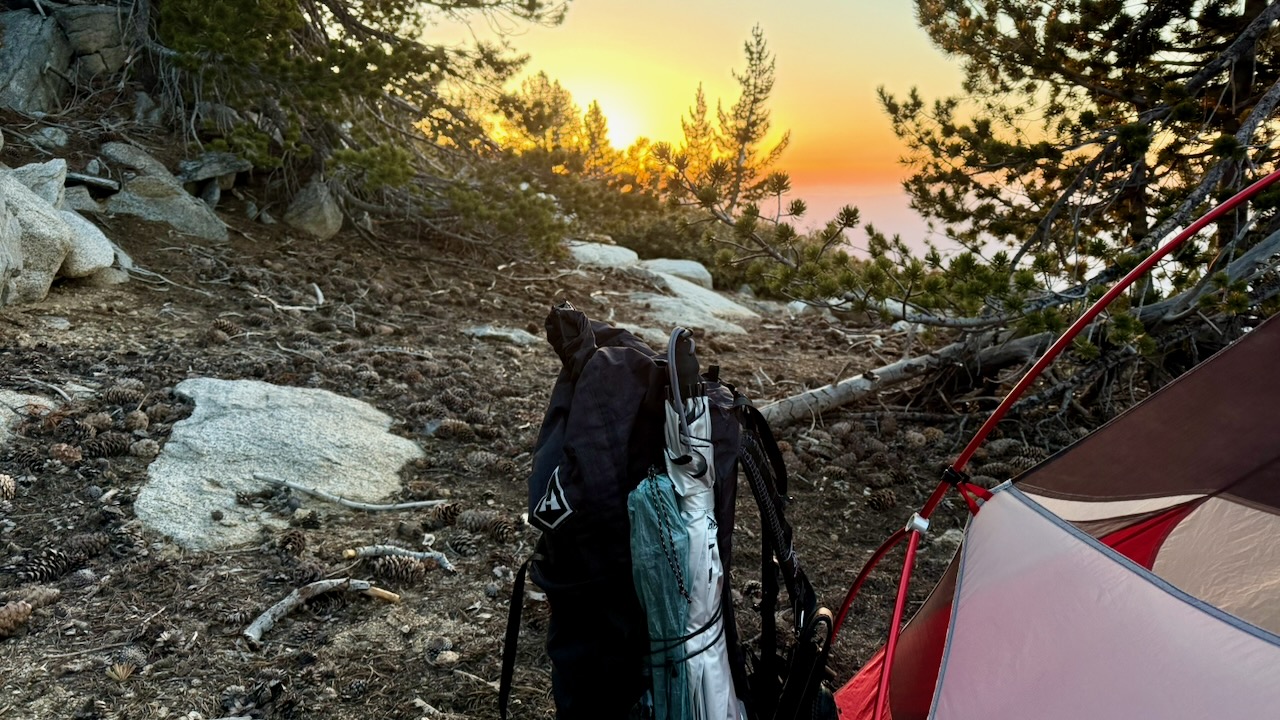
I camped nearby. And was surprisingly chilly in the sleeping bag.
Rather than post a day-by-day account, here are major themes of my 2 weeks on trail.
Priorities
Staying Hydrated
Foot Care
Avoiding Heat Emergencies
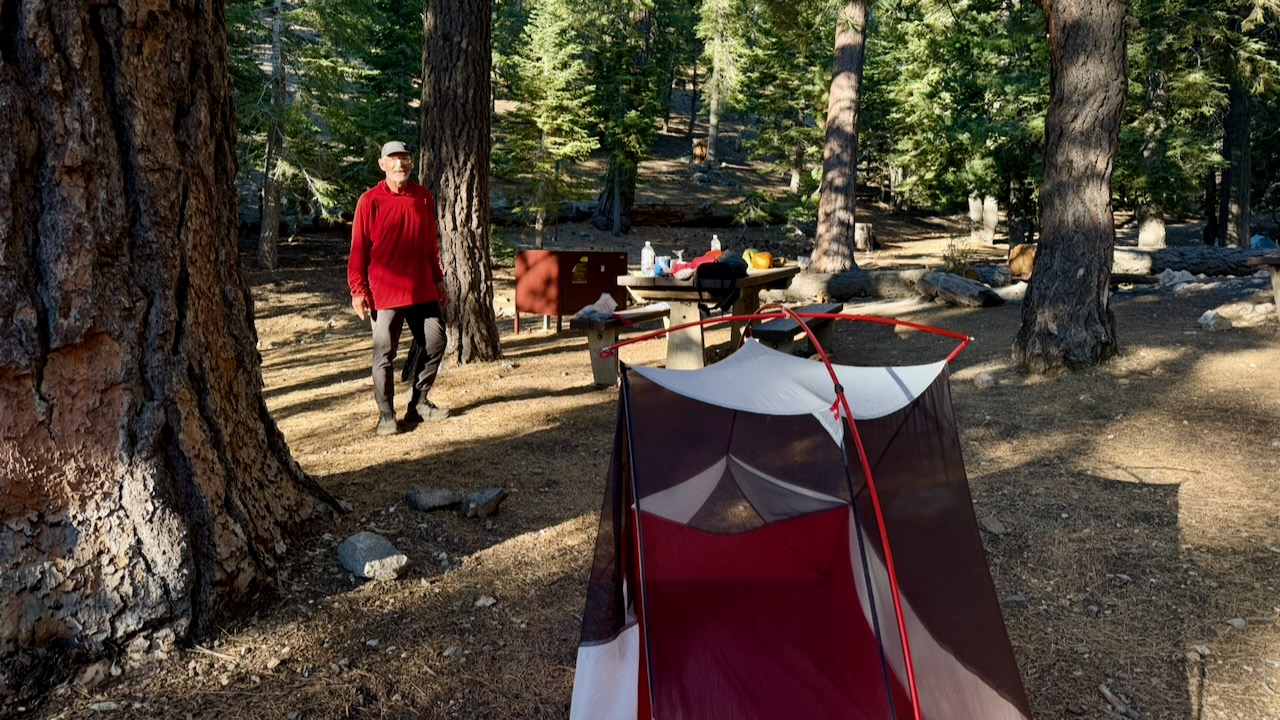
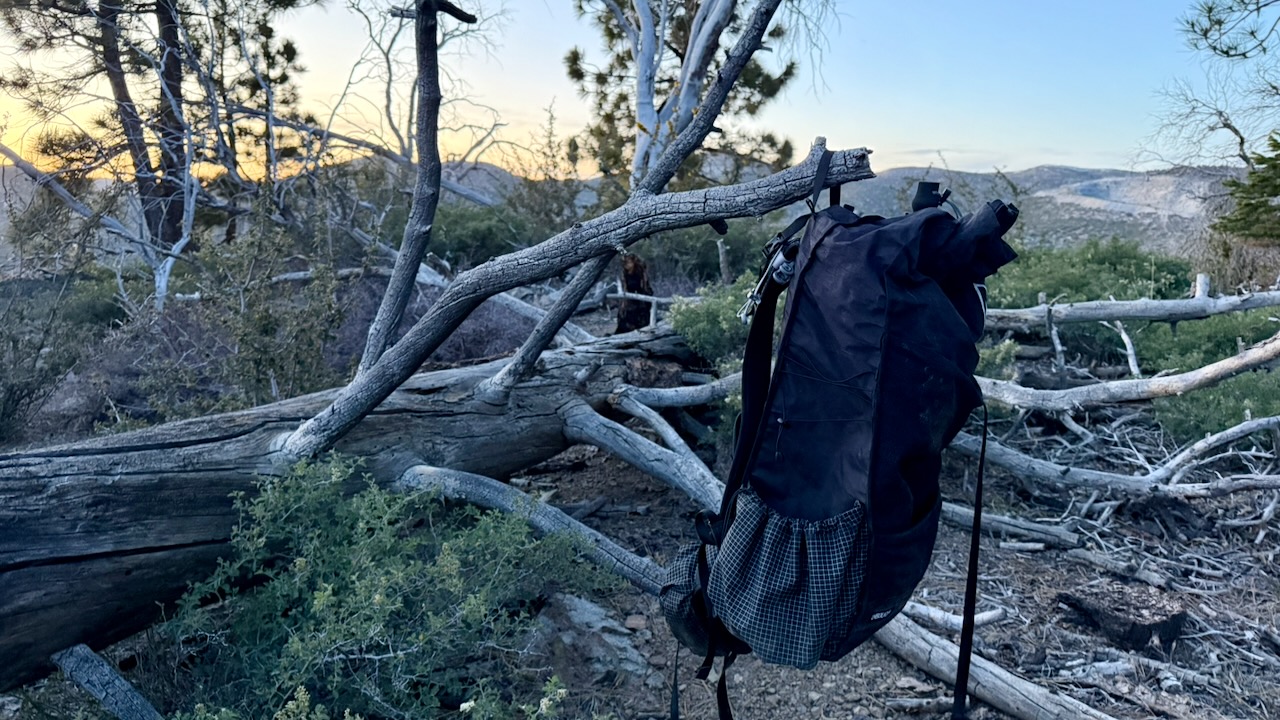
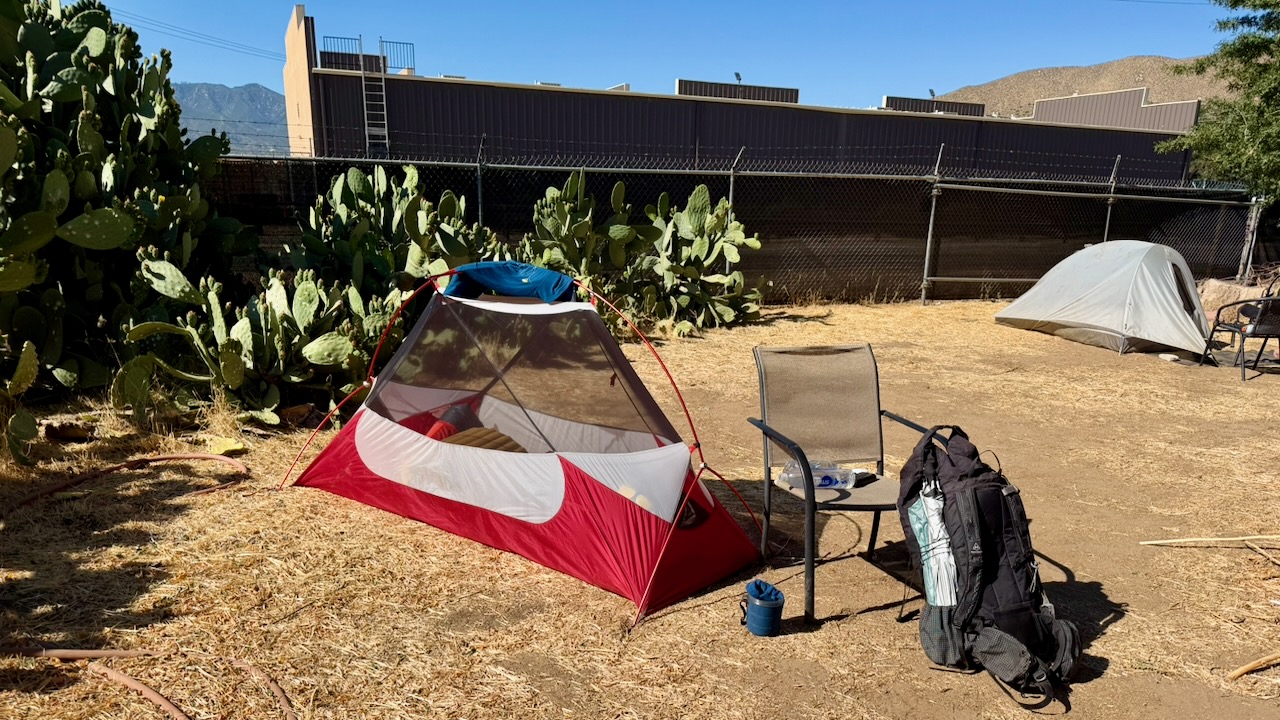
Wild Camping
About 5:30pm I’d start looking for a campsite. Ideally near a water source.
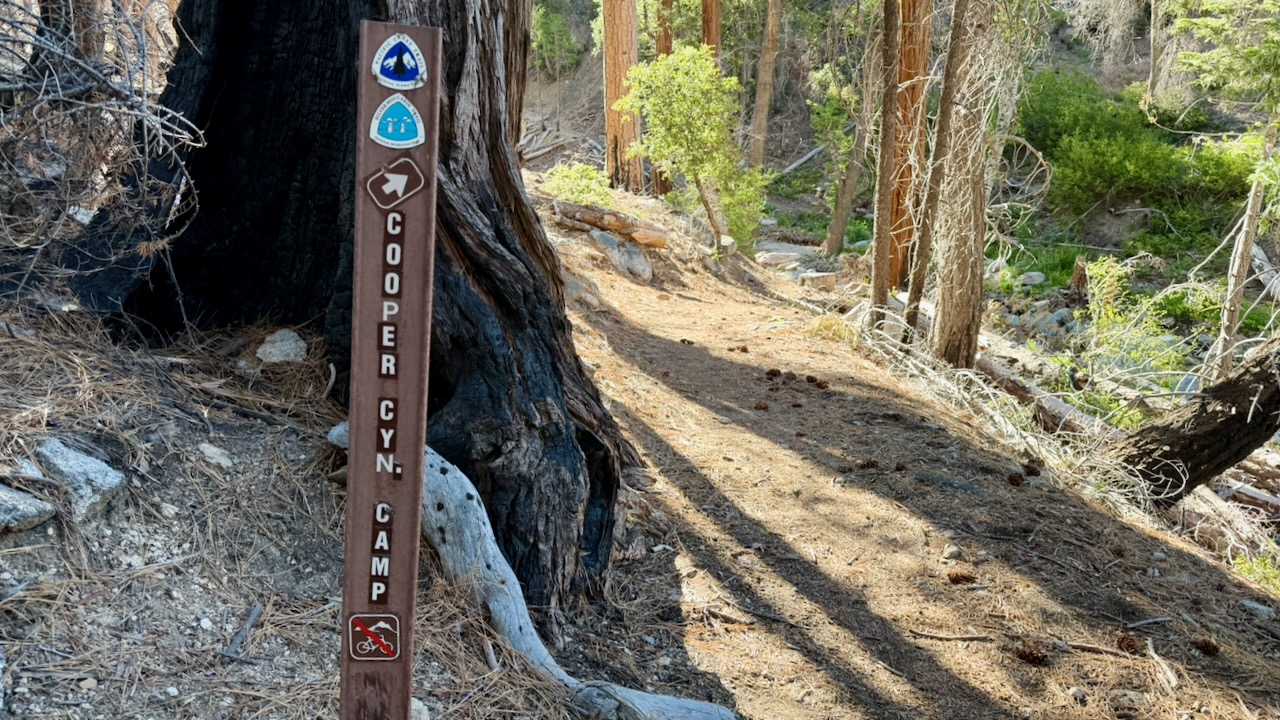
IF there is a Bear Locker, use it. At the excellent Little Jimmy Campground we advised everyone to lock up food and backpacks.
About 2am a bear arrived to check if lockers were closed. Checked every tent. Started dragging a backpack out of a vestibule as it had some food in it. The hiker (now known as Bear Bait) shouted and had a tug-of-war with the beast, eventually winning the battle for his pack.
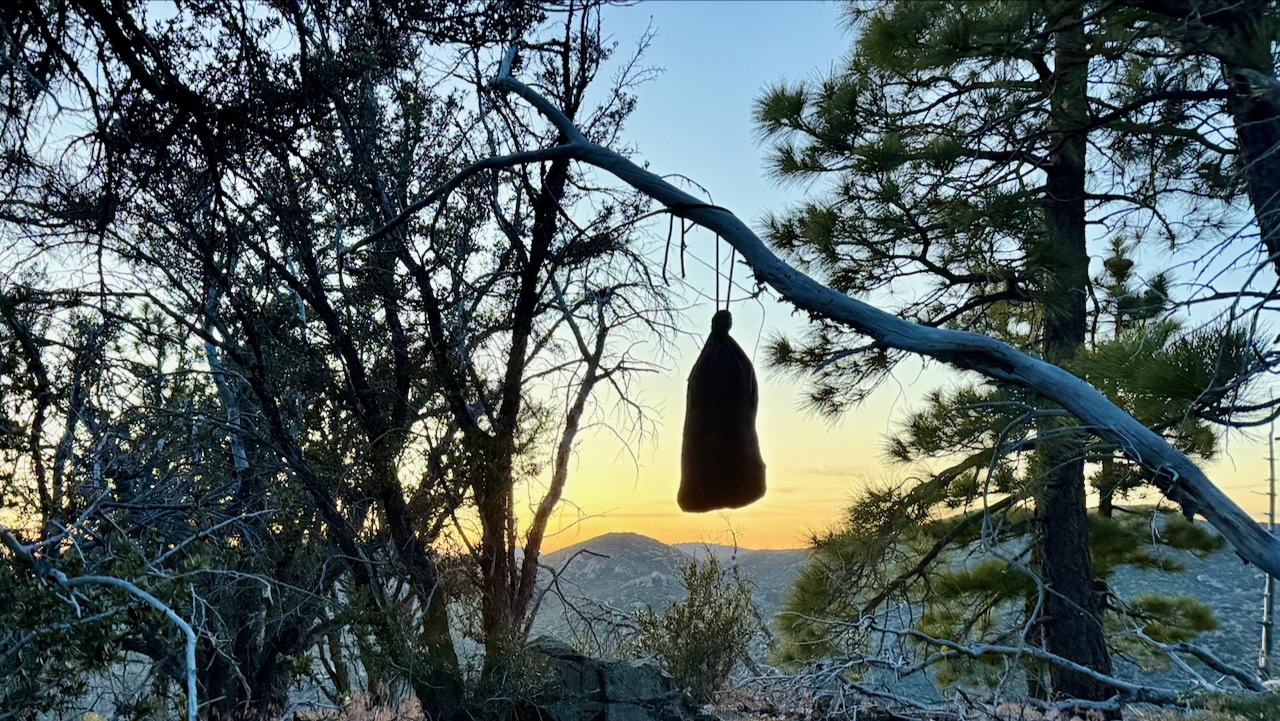
If there is no Bear Locker, hang your backpack away from insects & rodents.
I had my food in an Ursack, and tied it away on a tree.
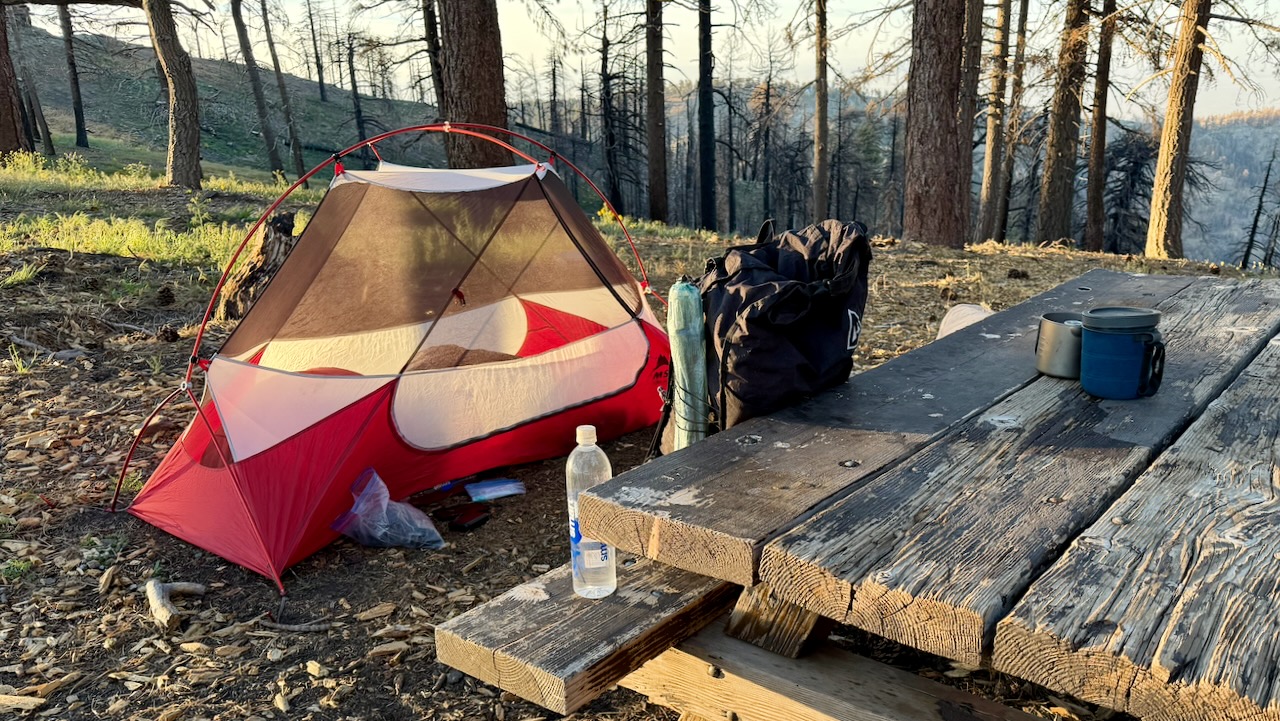
I do love having a picnic table.
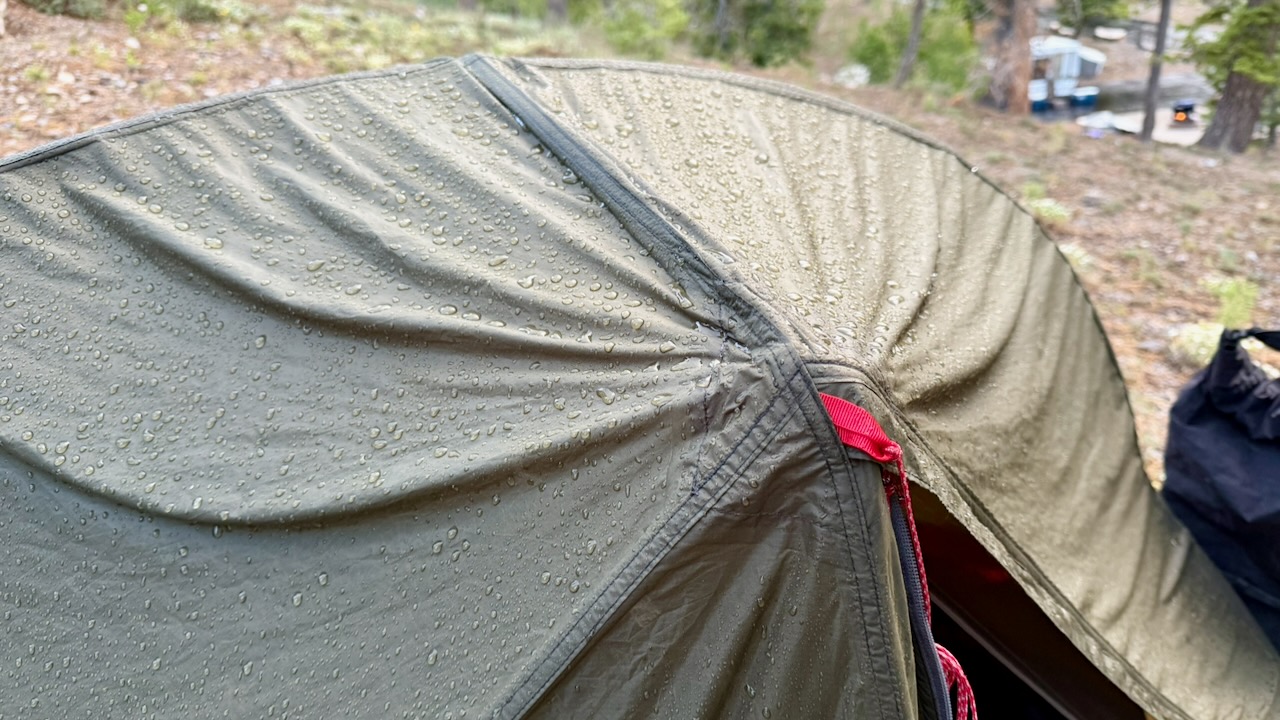
As it turned out, I only put my fly on the tent 2 nights of 17. Why didn’t somebody tell me it never rains in southern California? 😀
Foot Care
As I’d suffered blisters on the PCT once in the past, this time I brought 2 pairs of hiking shoes, both about 1.5 sizes larger than what I wear in the city. And both were WIDE sized.
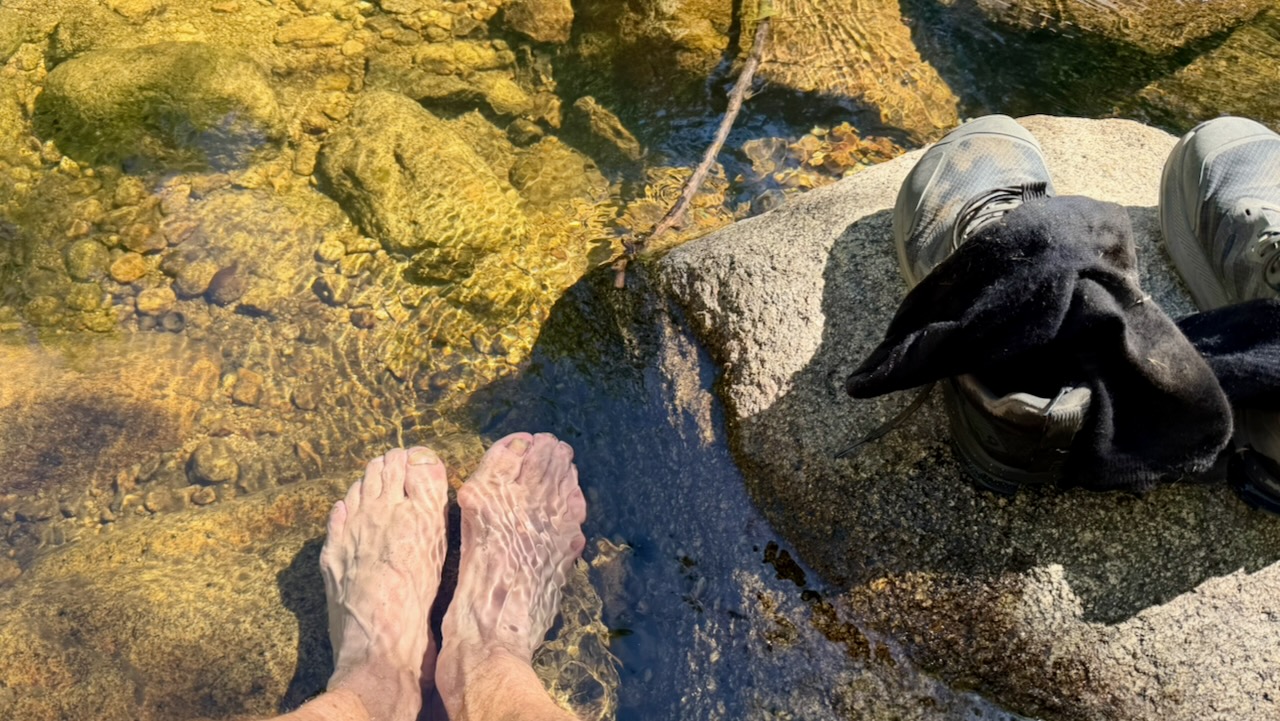
I changed shoes regularly. Changed socks often. Washed and cooled my feet every chance I got. And it worked.
Near the end of my desert hiking, I bought a pair of Injinji toesocks. I think they might have helped, too.
Pack Weight
Only hiking a couple of weeks, my pack was heavier than most. Starting with 10 meals, carrying 3-4 litres of water, it might have been close to 40 pounds.
After a week or so, it was near 32 pounds.
The lighter, the better. I did find my pack too heavy.
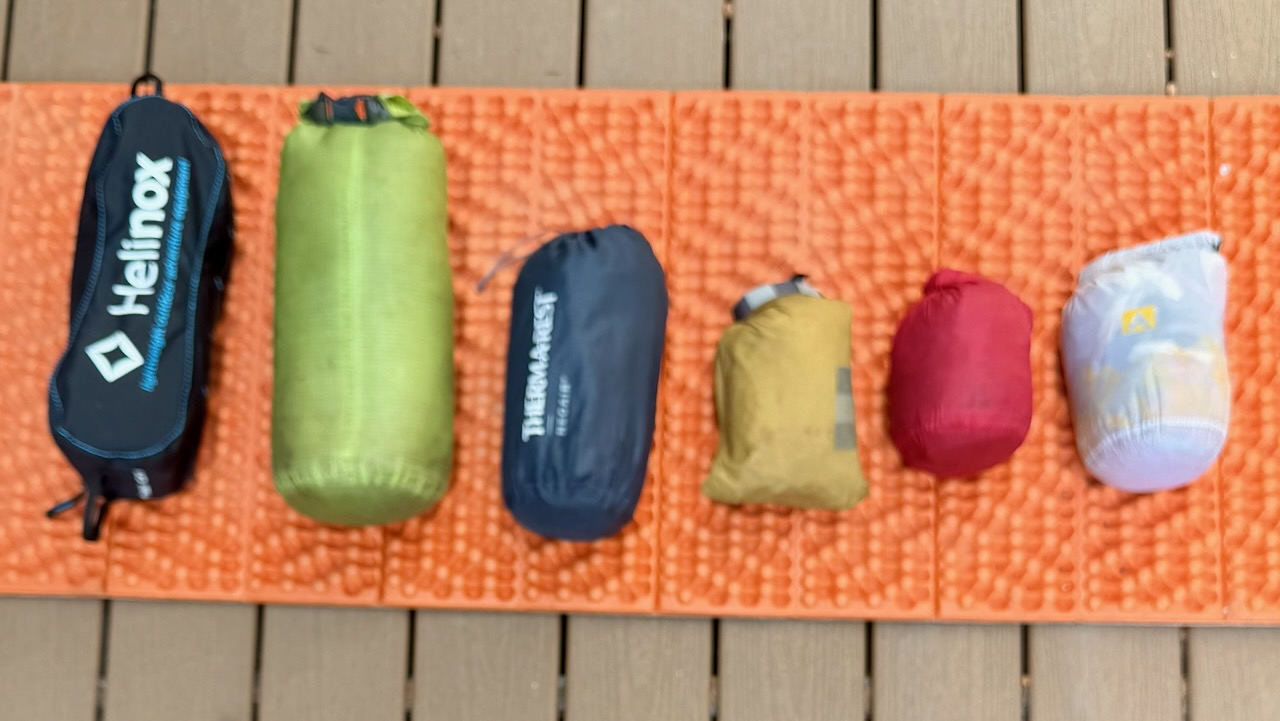
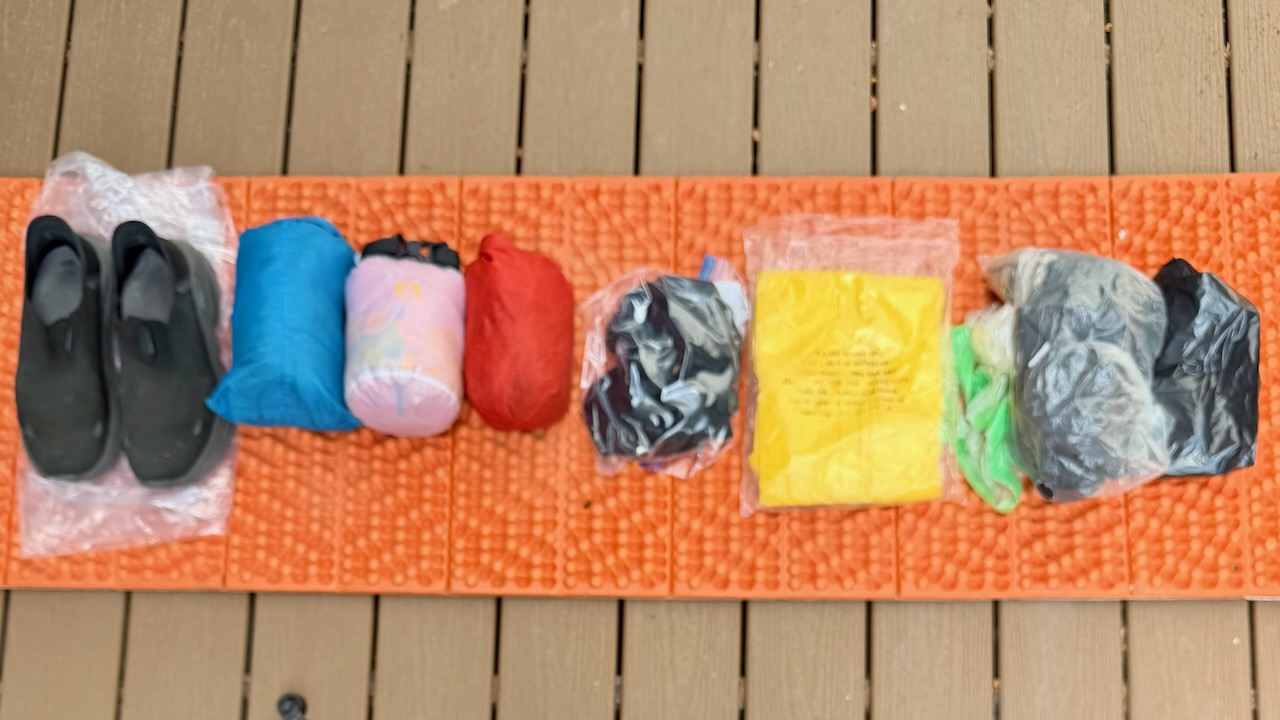
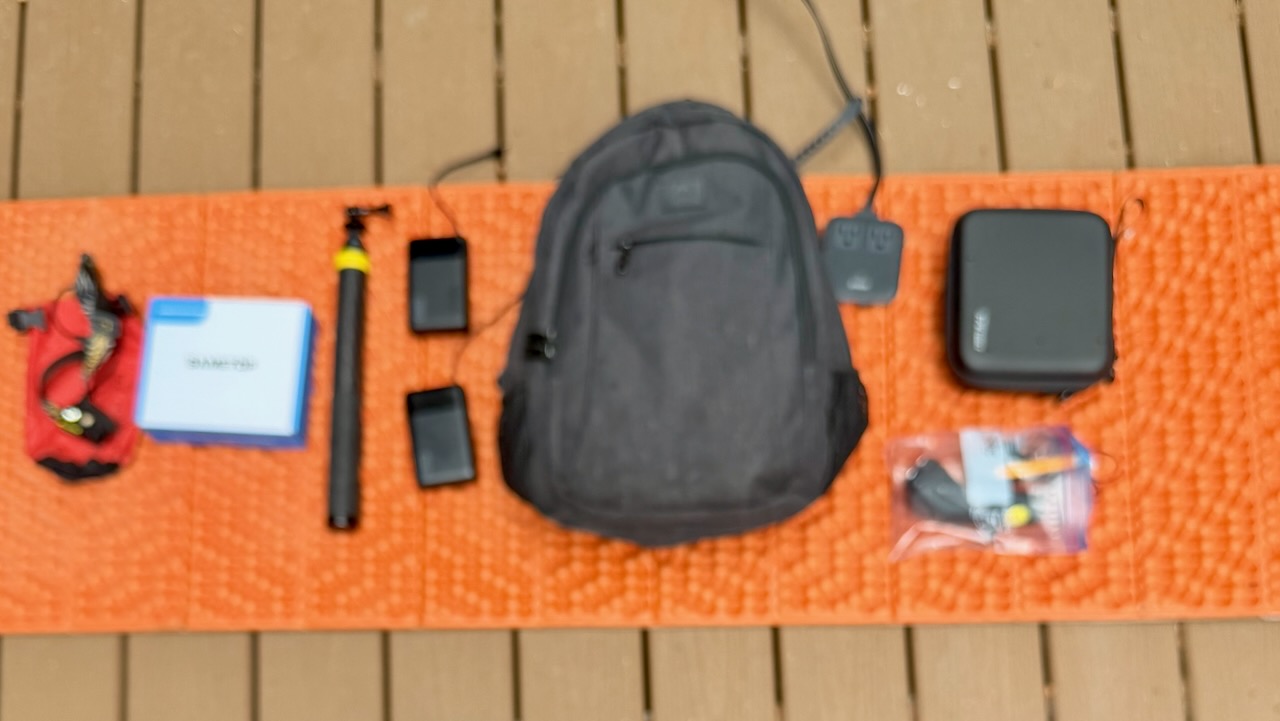
Here’s my full gear list. You can decide what I should have left behind. 😀
Risk of Heat Emergency
Personally, I love the southern California weather. Sunny and dry. Day after day of blue skies.
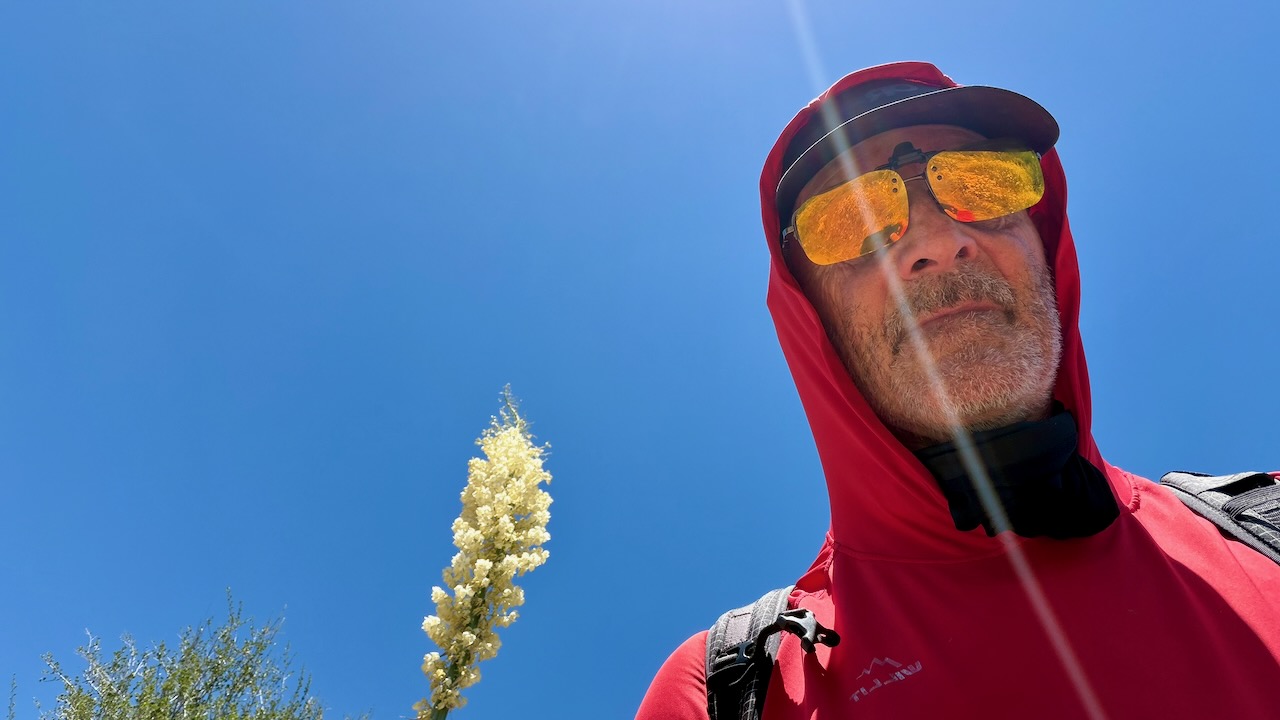
Of course I kept covered up as much as possible. A sun hoodie is essential.
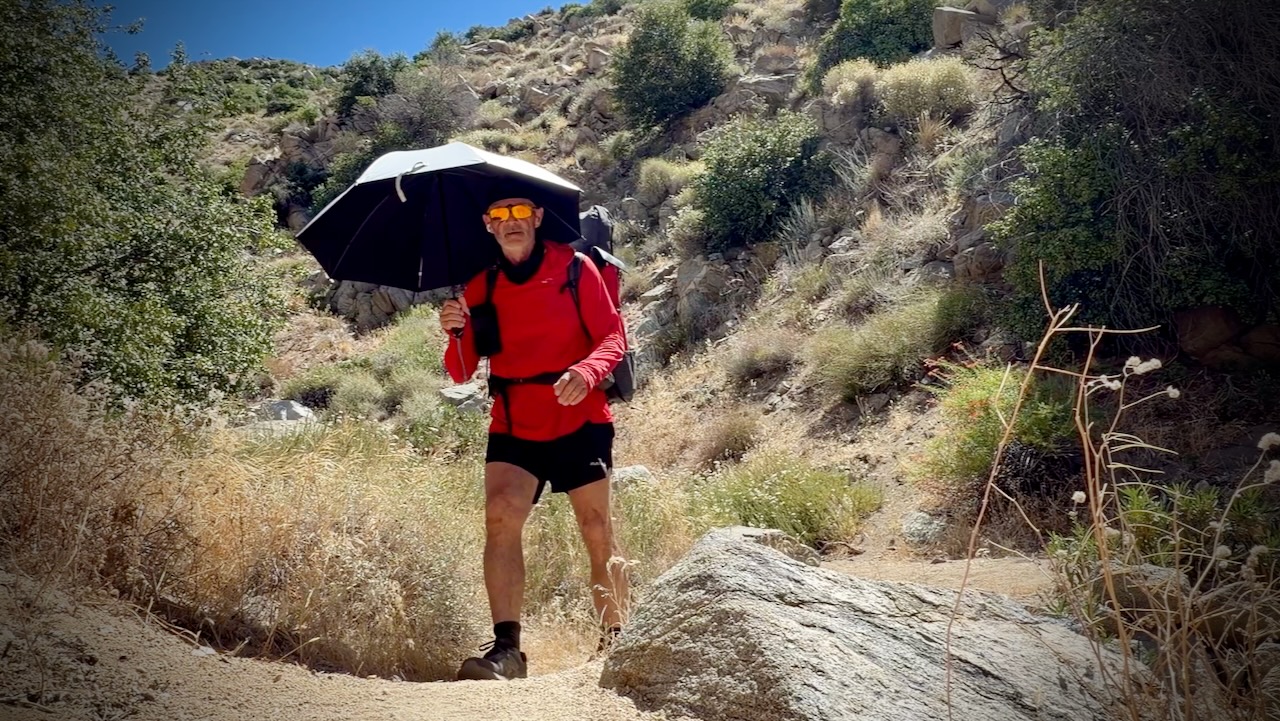
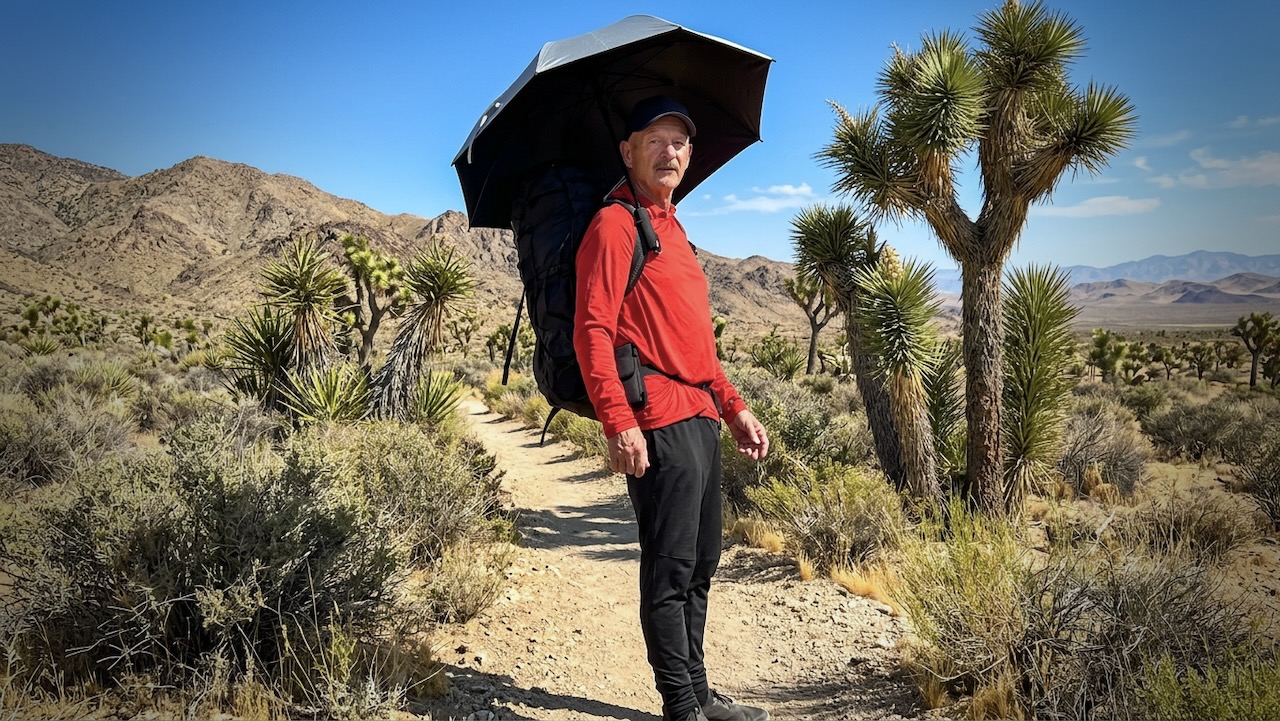
I did use a hiking umbrella for the first time. IF it was very hot. I found it easier to carry and adjust for wind often, rather than tie it on to my pack. They are popular in the desert section with PCT hikers.
Screenshot
One very experienced desert hiker known as Iceaxe suffered from a long day in the sun. Two day hikers helped get him to town where he took a zero to recover. We camped for free behind a pub.
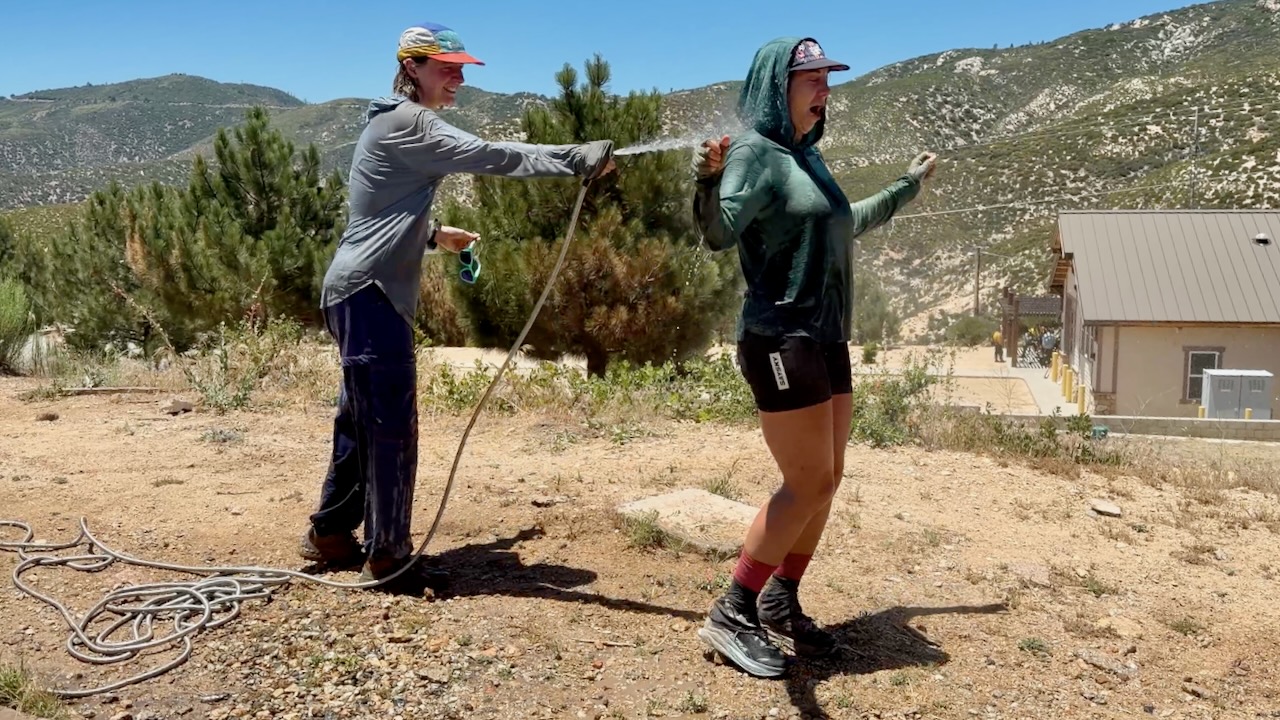
At one of the rare hoses, PCT girls gone wild soaked themselves. Smart.
Water
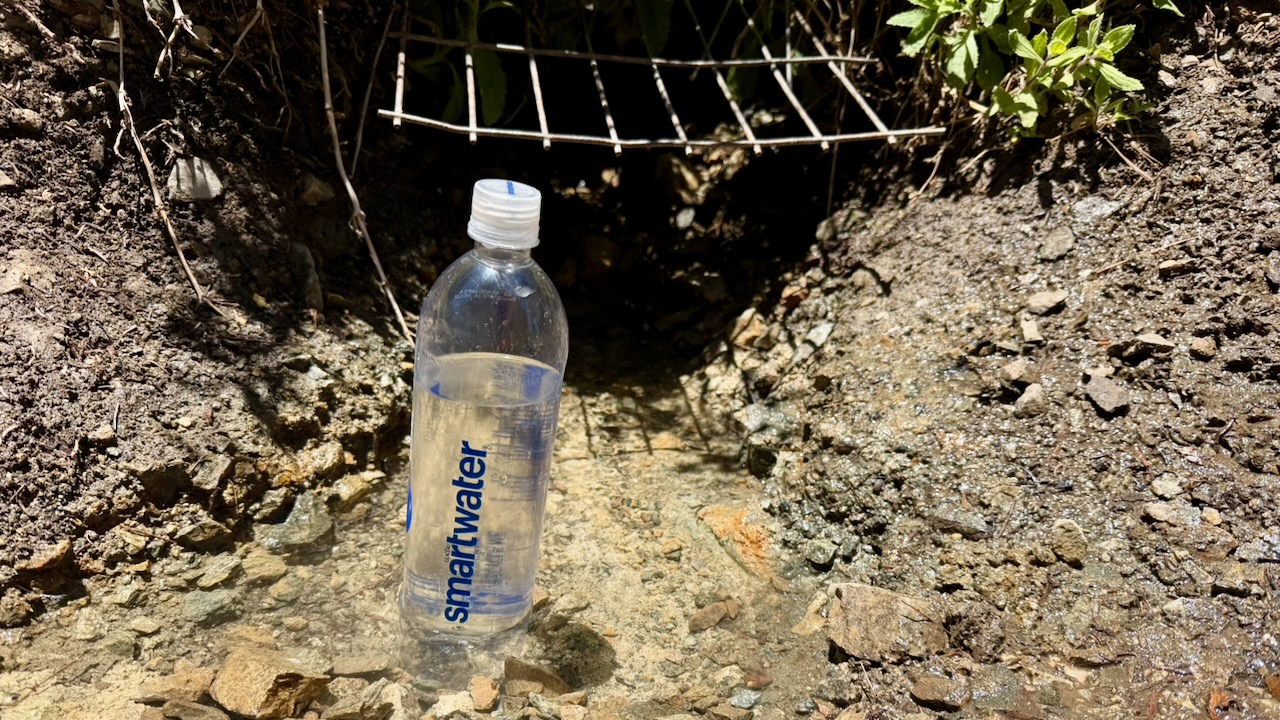
Much discussion regards water sources in the desert. And how many litres to carry. Often I started with 3-4 litres. The heaviest thing in my pack.
Most hikers filtered almost everything. For me boiling is best. If the water looked great — directly from a high mountain spring — I did not treat. If worried, I threw in a purification tablet & flavouring. Usually Mio.
I probably should have had an electrolyte replacement like Tailwind.
Trail Magic
Wonderful on the PCT is when you arrive near a roadway and find that some volunteer has left water and/or treats for hikers.
My best Trail Magic was hiking in to find Marco all set up in a parking lot.
Many hikers stayed for hours enjoying his cold drinks, fresh fruit, hot dogs, and burritos. He’d driven 3 hours from home to provide help in a tough spot on the trail. In fact, I’m now planning to join Marco on an adventure next summer.
Thru Hikers
The highlight for me was meeting and chatting with people crazy enough to want to hike continually for months. Here are 2 legends known as Canadian Bacon. They’d finish the entire PCT in 2026, their last section over a number of years.
The guy I met most likely to finish the entire PCT in one year was Roman from Switzerland. He hadn’t acquired a trail name, as yet. Here he is after one month, looking like he just got off the plane. With a budget of $10,000 and no injuries, so far, Roman’s cruising to Canada.
Cheating
From Palm Springs to Agua Dulce, 3 times I skipped miles, taking motor vehicles. Only the purists — like Roman — do every single mile. It’s often logistically smart to bypass difficult sections.
For example, I shared a Lyft from Whitewater to Big Bear to avoid a huge, hot climb.
OUT of Big Bear, however, it’s a huge hot climb of thousands of feet to the top of Mount Baden-Powell.
Food & Resupply
Like most others, I indulged in high calorie food every chance I got.
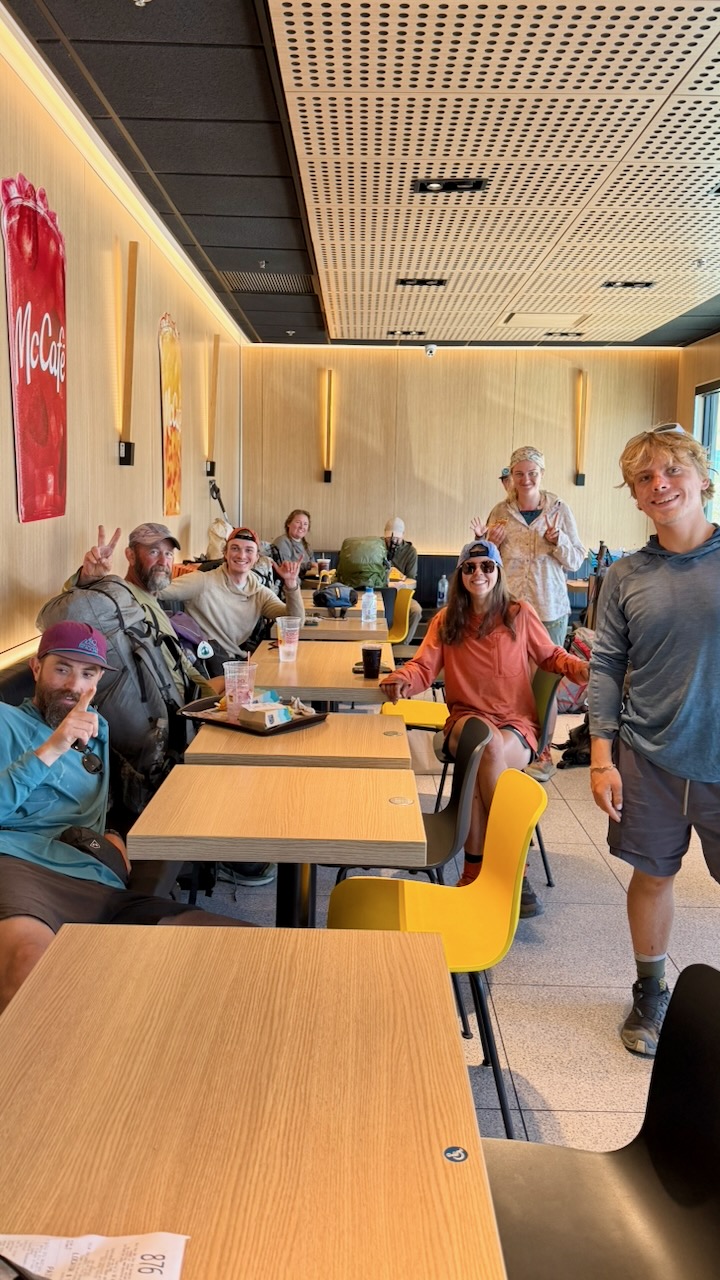
All these hikers gorging at McDonalds swear they never enter the place in their real lives.
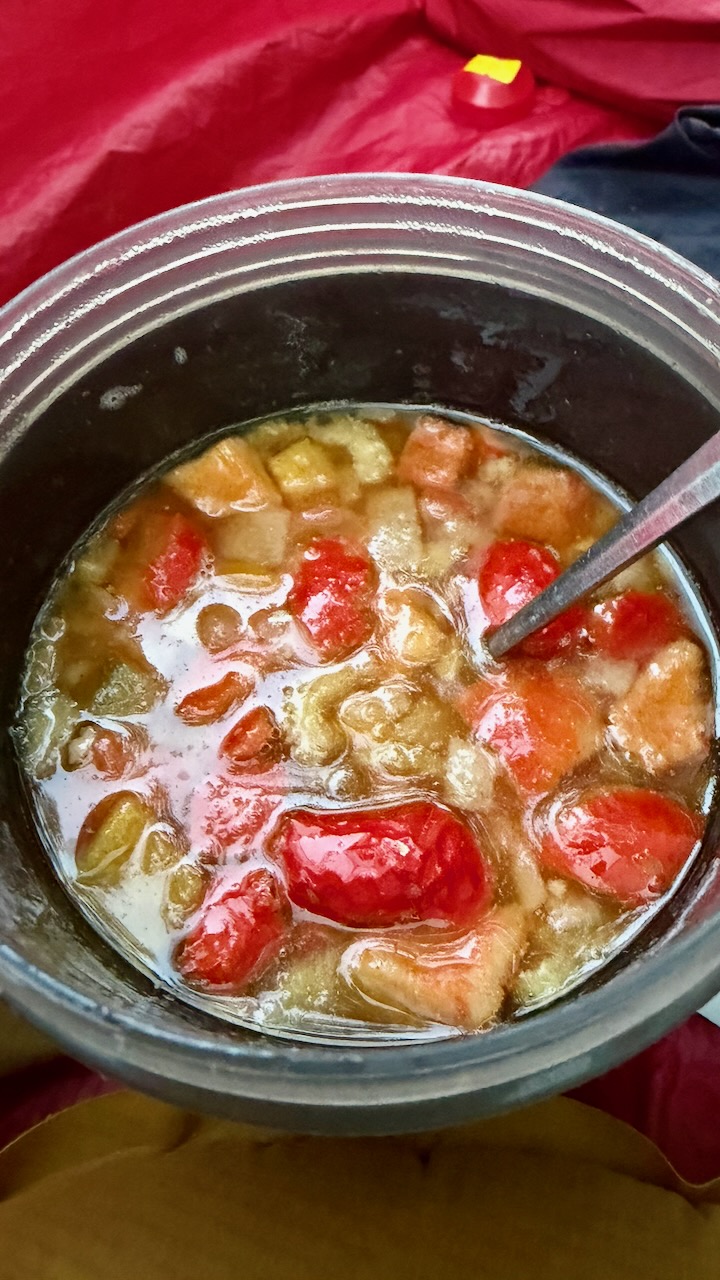
On the trail, I carried a stove and made up meals that had been flash frozen by my niece Stacey. Delicious.
Forest Fire
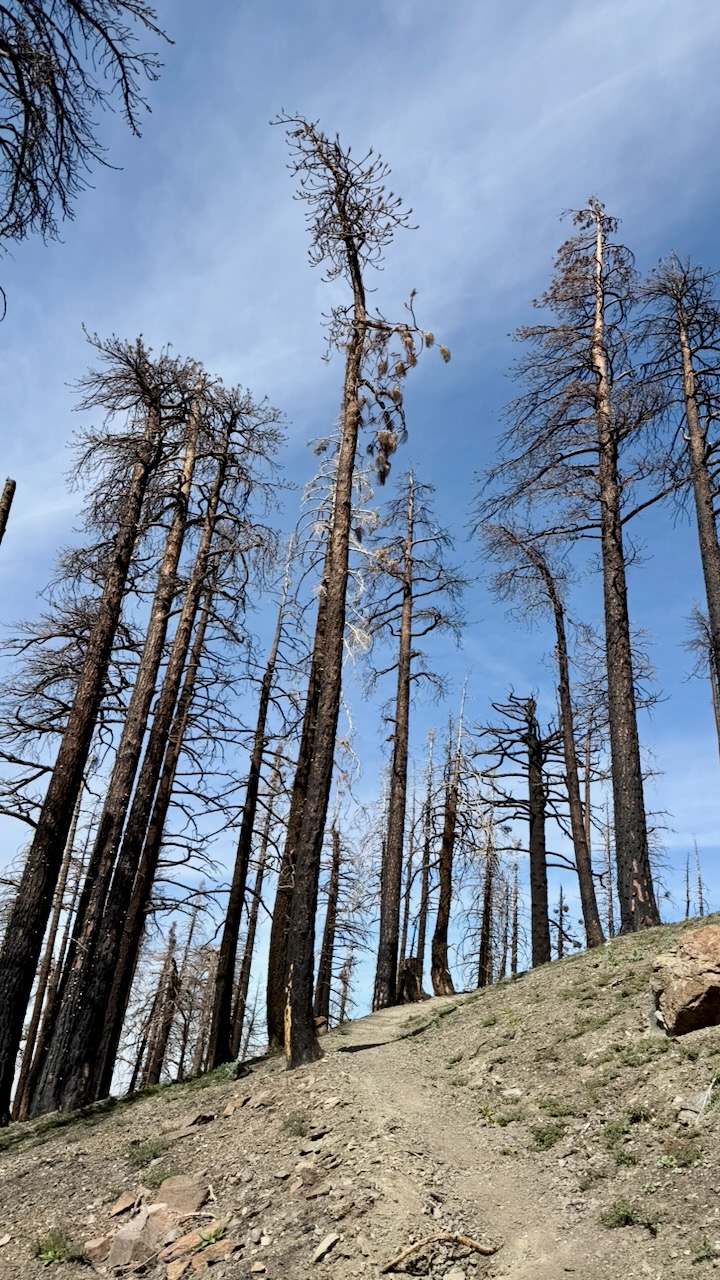
Happily, my 2 weeks were unaffected by fires in 2026. We saw smoke behind us one day. And hiked sections that had been burnt in recent decades.
Road Walking
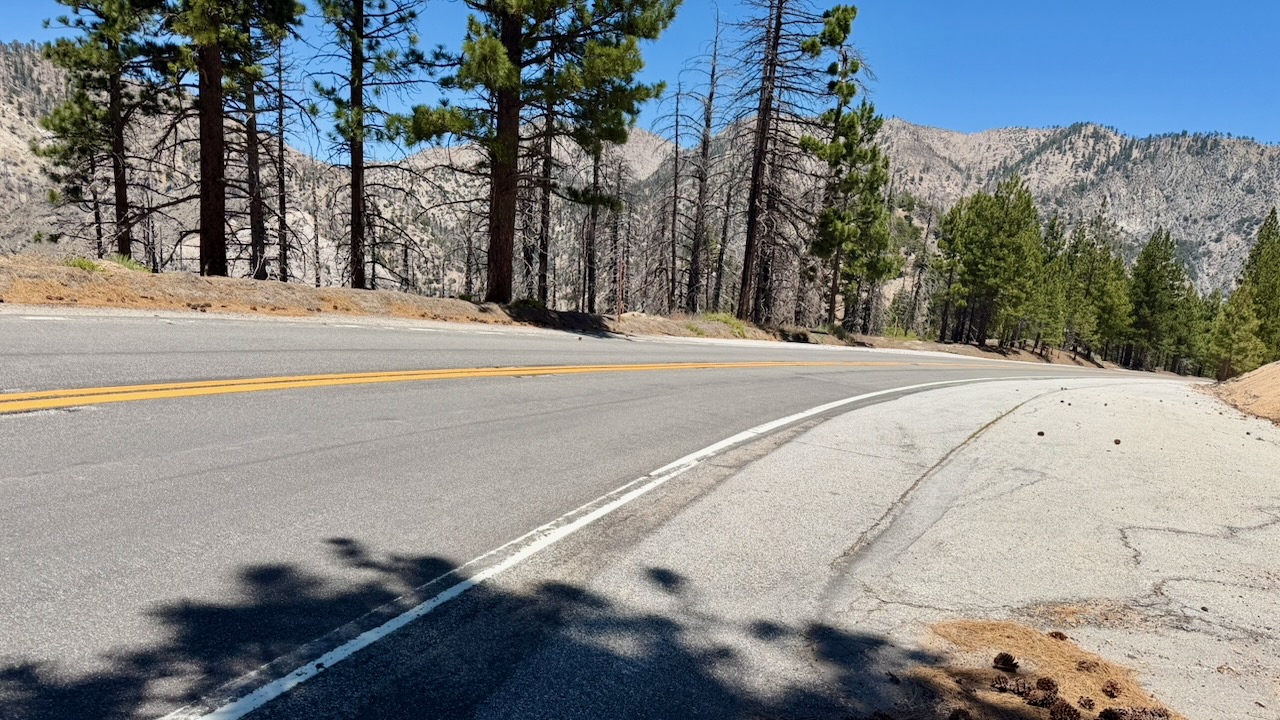
One mandatory detour had us road walking. Surprisingly, I found it a refreshing change.
Navigation
Almost everyone uses the expensive FarOut PCT app. It works offline and has some up-to-date comments on waypoints that are super valuable.
On the other hand, the interface is ugly and not detailed enough. I often switched to the free Maps.me app offline. Every hiker gets lost, sooner or later.
There is signage. But it’s not always clear which way to go when you reach an intersection.
Ticks and Snakes
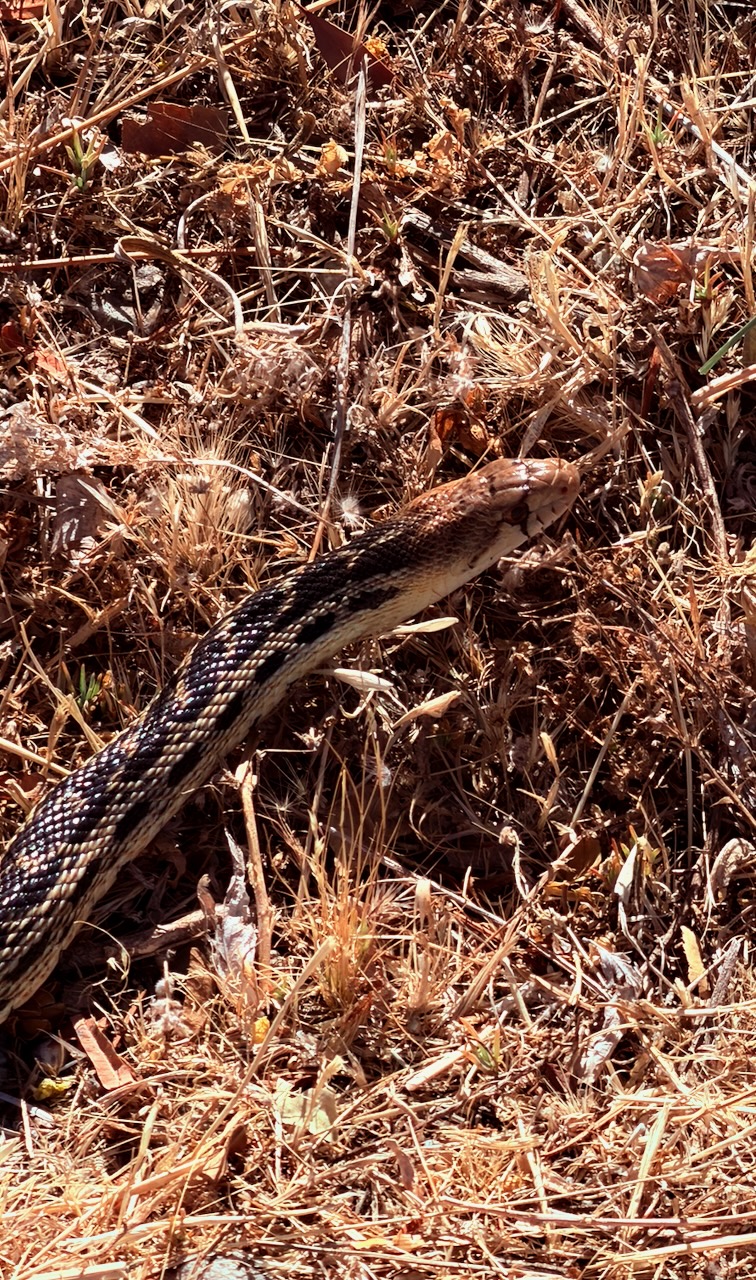
I found one tick on my leg. Removed it before a bite. And saw one tick on a leaf.
It’s an issue, for sure, in southern California. I carried tweezers specifically for tick removal, if necessary.
Only mad dogs and … hikers go out in the midday sun? 😀
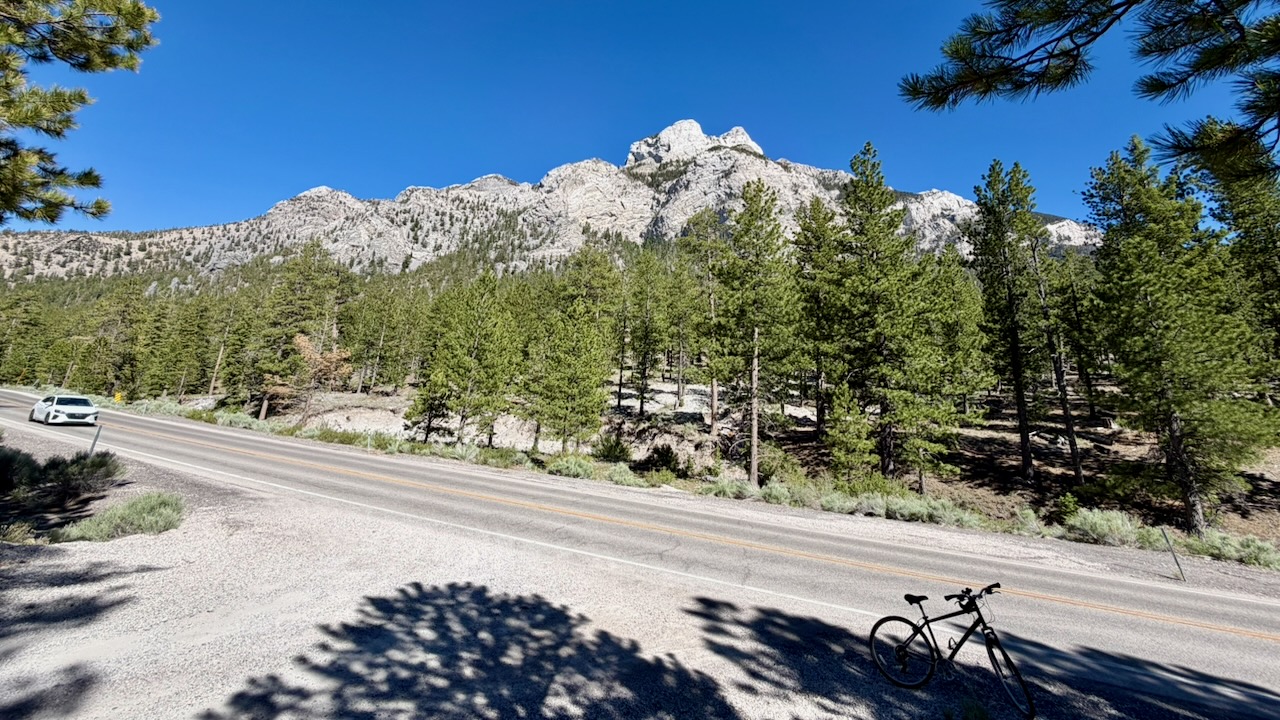
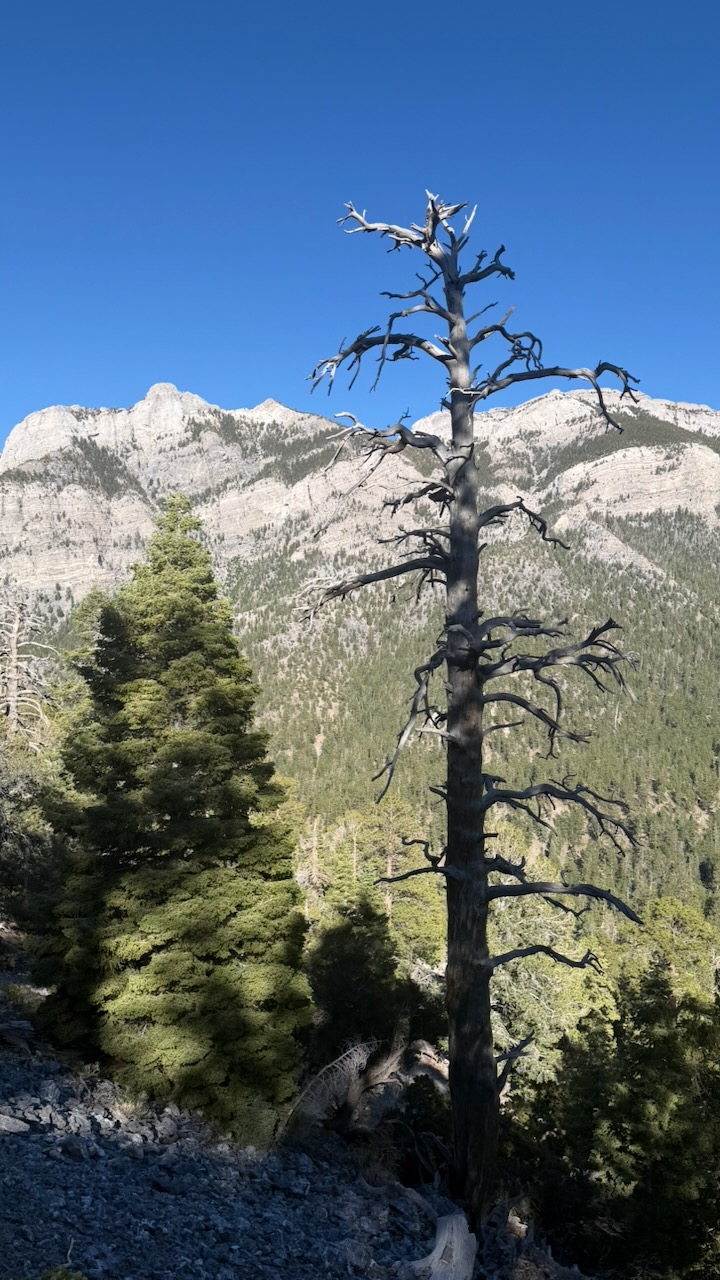
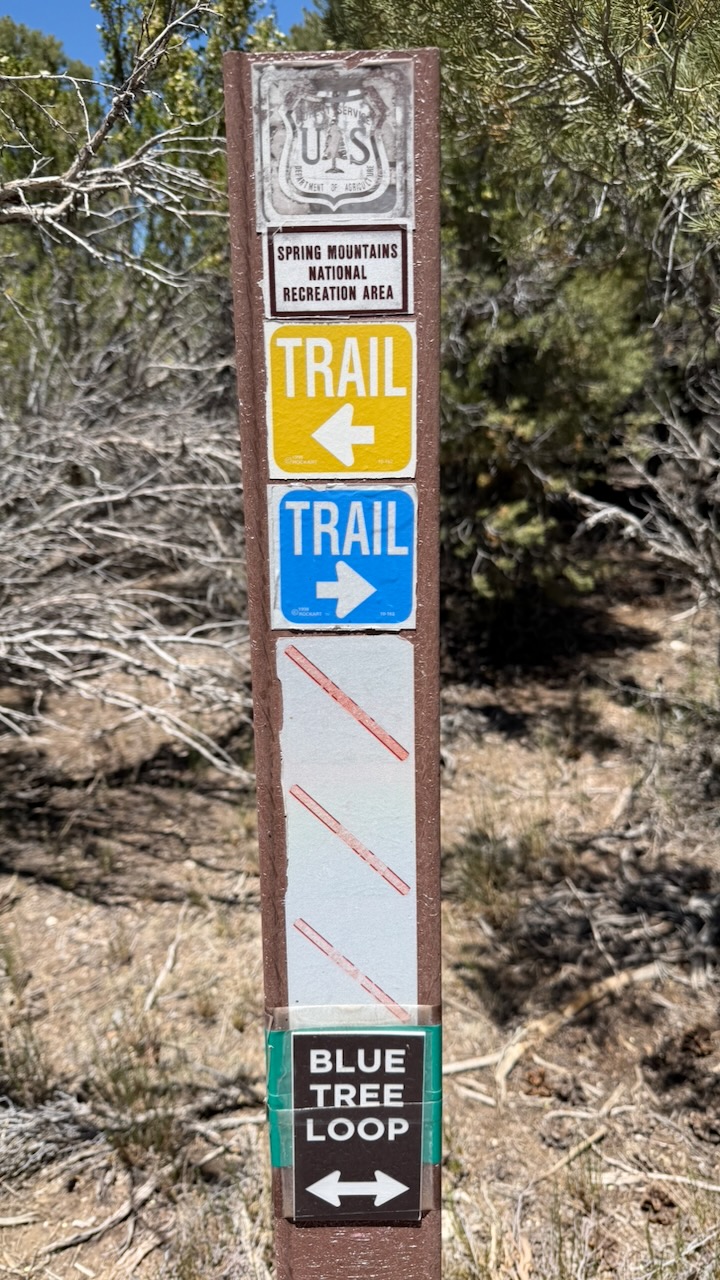
Surprisingly, when Las Vegas is sweltering over 100 Fahrenheit, an hour away you can hike Mount Charleston (11,916 feet or 3,632 m), typically 20°F to 25°F cooler than the city.
Click PLAY or get a glimpse on YouTube. Late June 2026, I tented 4 nights. This video is a compilation of several day hikes.
Should have done some research. Summit trekking peak tours of Etna generally operate from April through November, with the main hiking season starting around May.
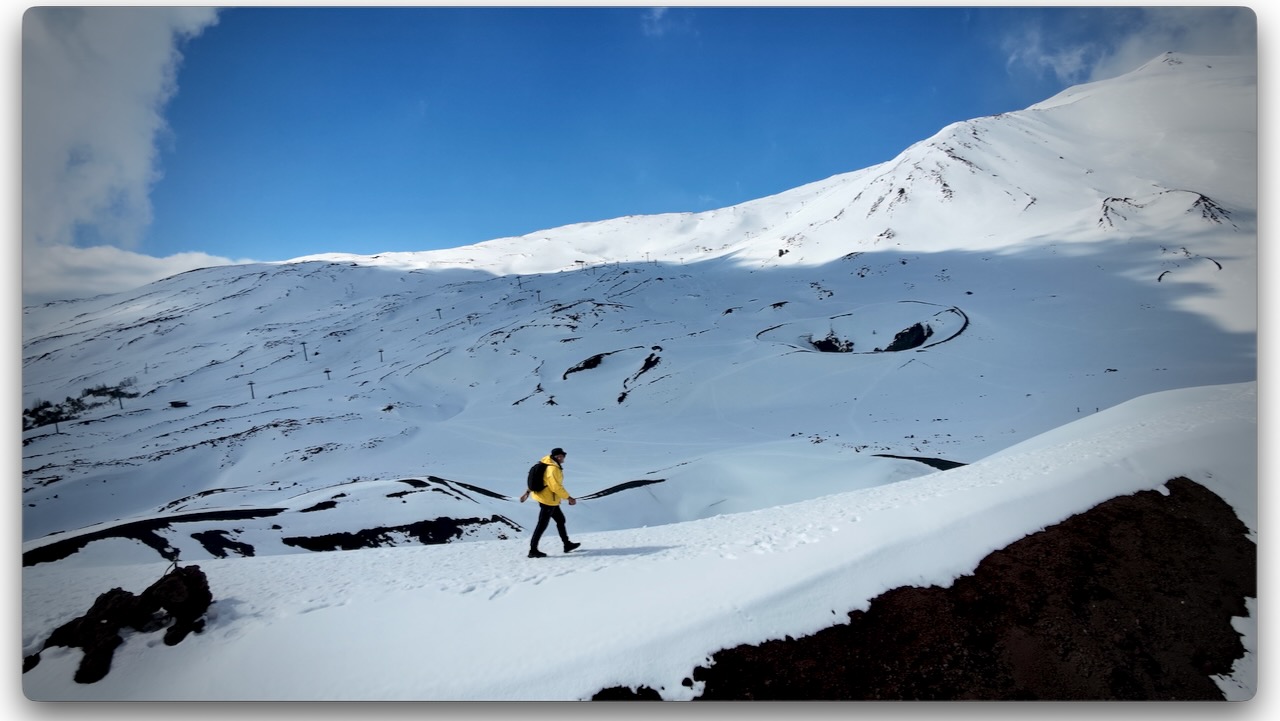
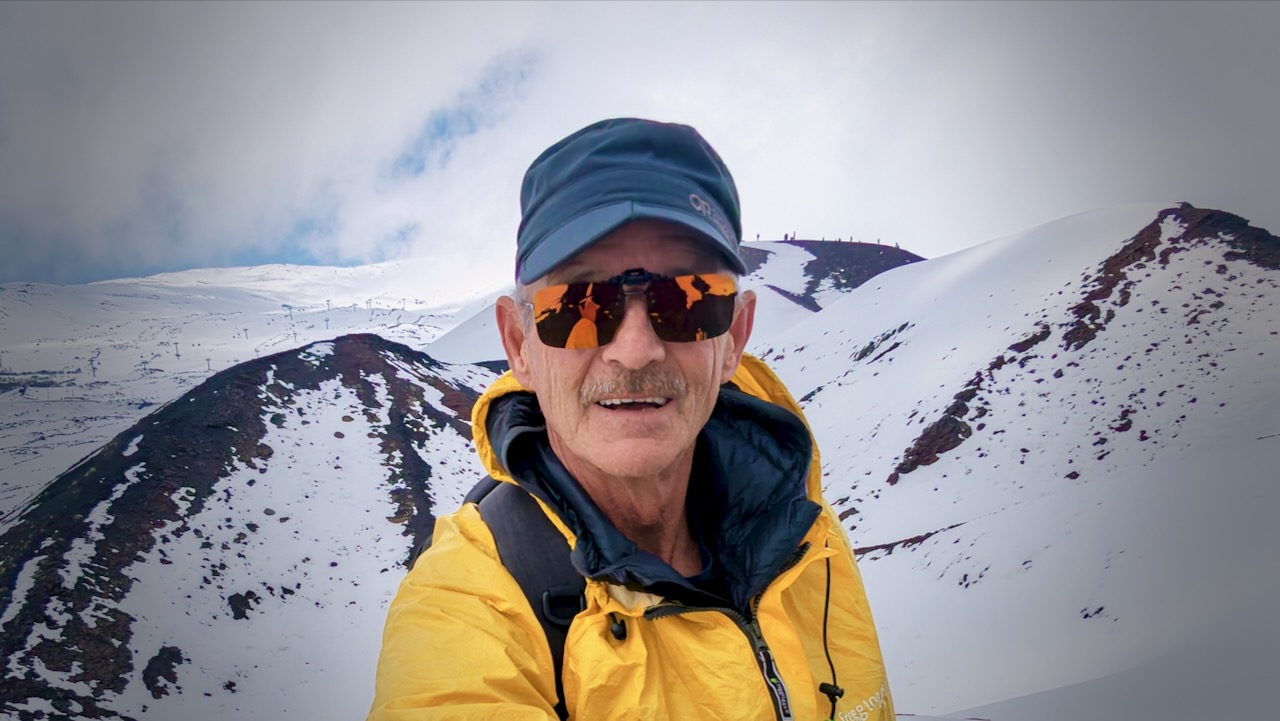
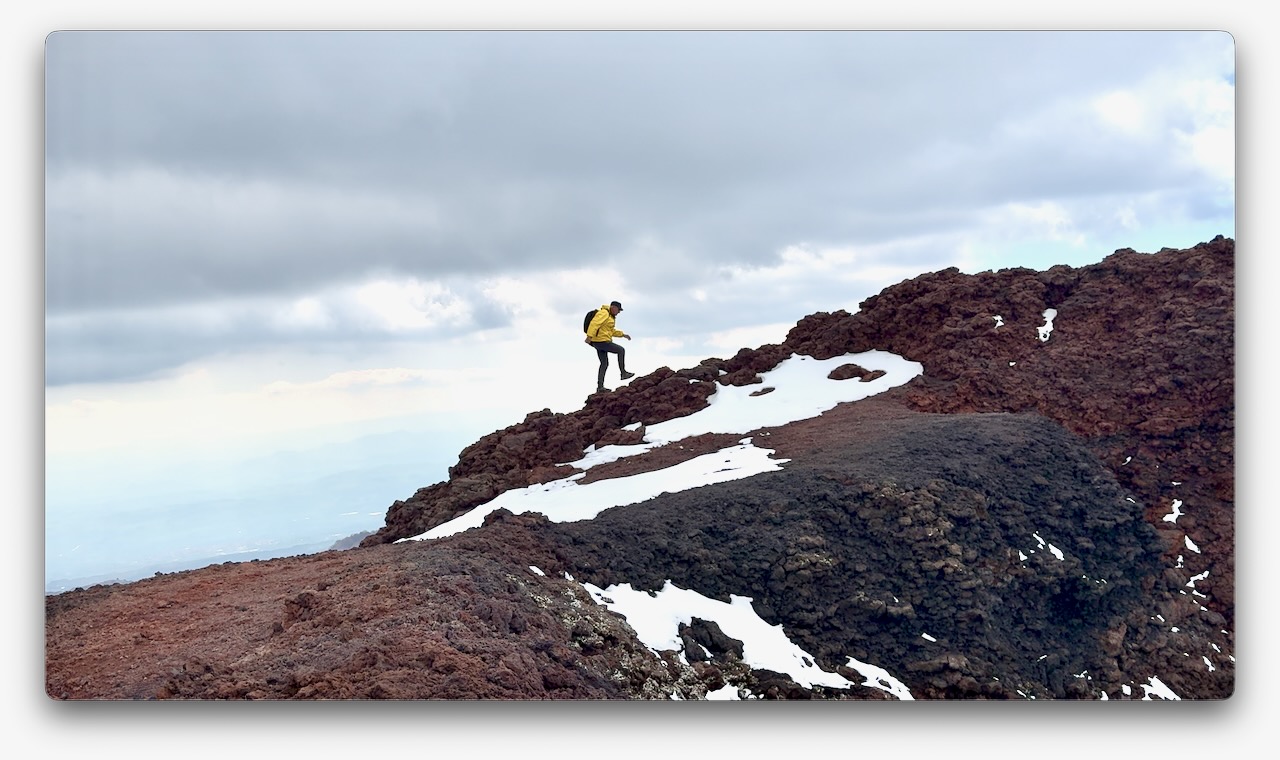
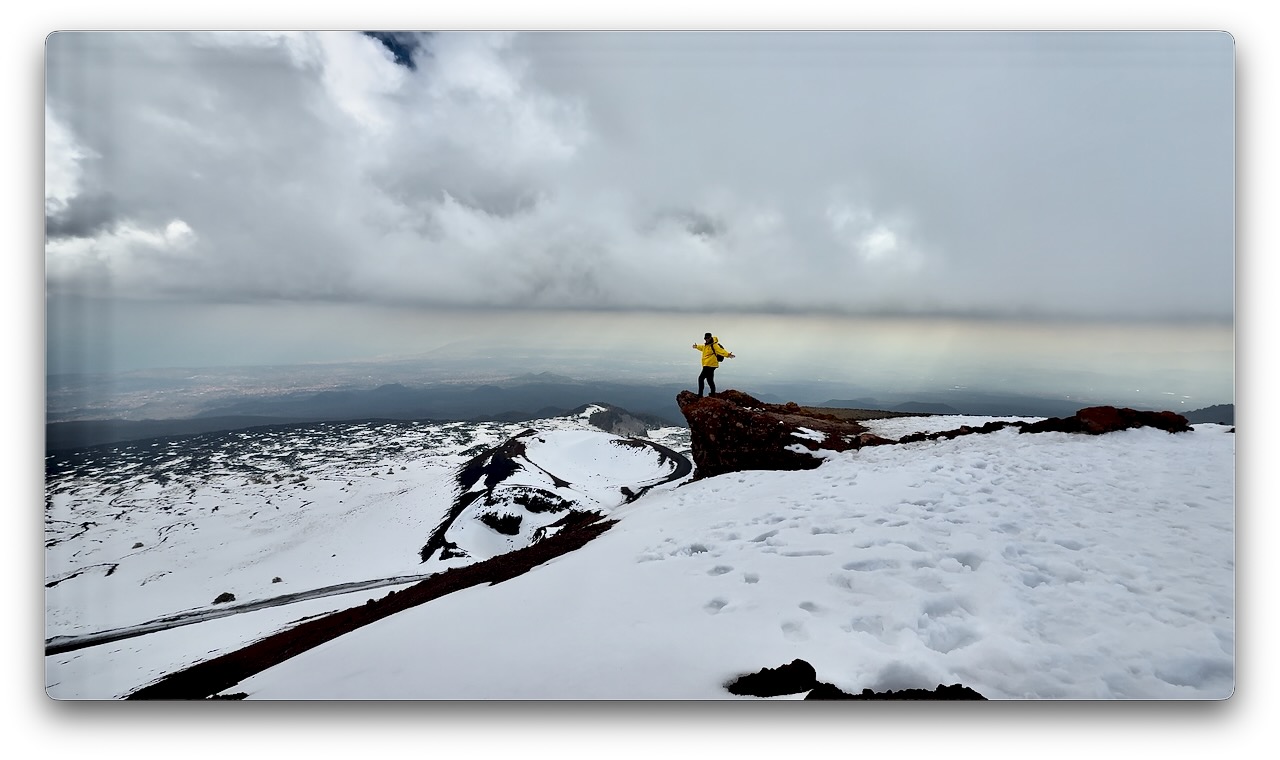
I arrived late March. There was a LOT of snow, even around 1900m. It can be 10–15°C cooler than in Catania. Many tourists arrive underdressed. And with footwear better for the beach than snow. 😀
Volcanic rock is somewhat sharp. It can cut flip-flops. I wore approach shoes and was OK on the snow and ice. Coming from Canada, this was normal for me. I didn’t see anyone using any kind of ice cleats.
They ski and snowshoe here. There are 2 small ski resorts.
I’d flown into the jumping-off point for Etna, the city of Catania.
There are dozens of options for day hiking Etna, from dozens of companies. It’s confusing.
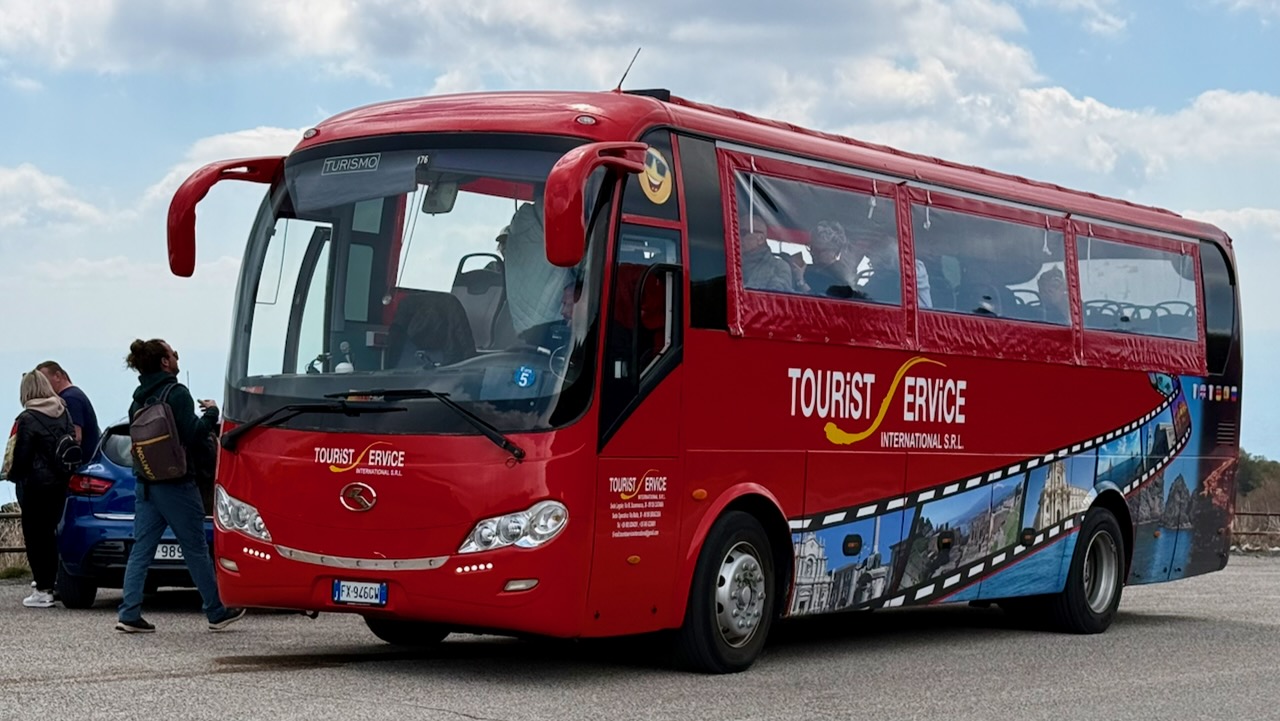
My hostel recommended a day trip by bus offered by Tourist Service for €30, discounted from a posted €35 regular price. Since their office was right next door to my accommodation, I signed up.
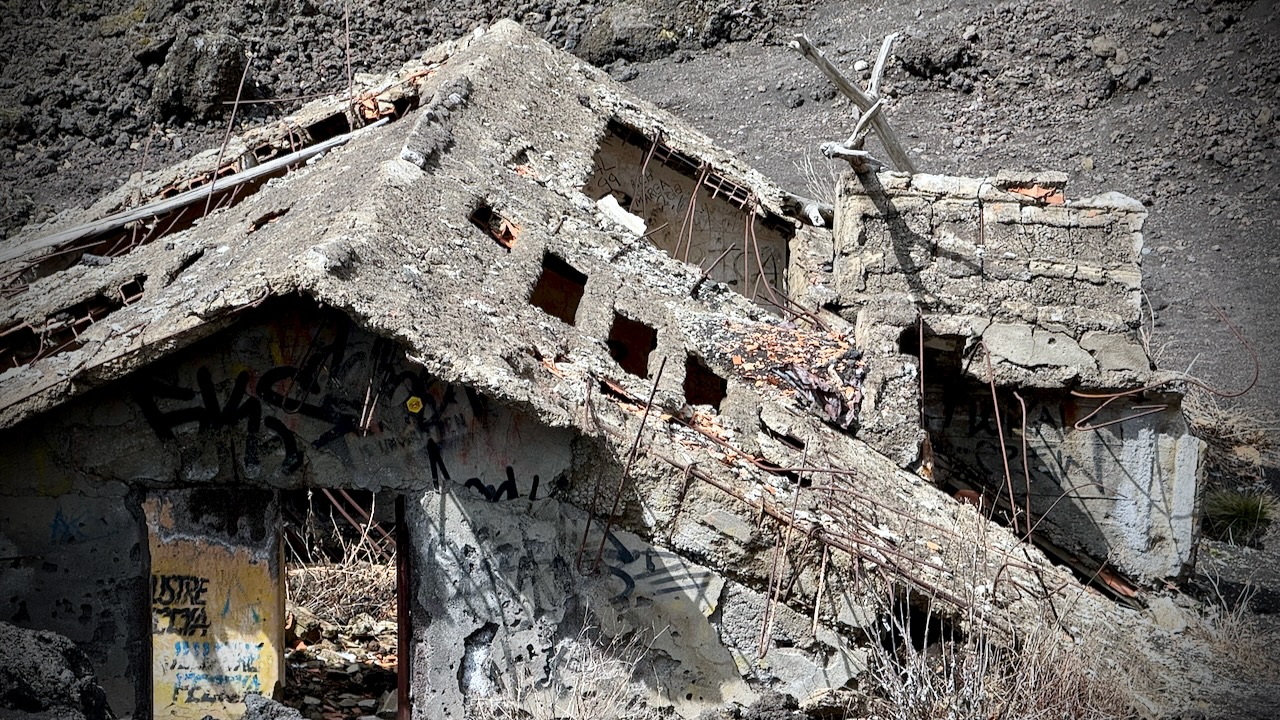
It’s about 2 hours (with traffic) to Etna from the city. On the way up, we stopped to see a recent example of eruption damage. Yikes. This mountain has killed a lot of people over the centuries.
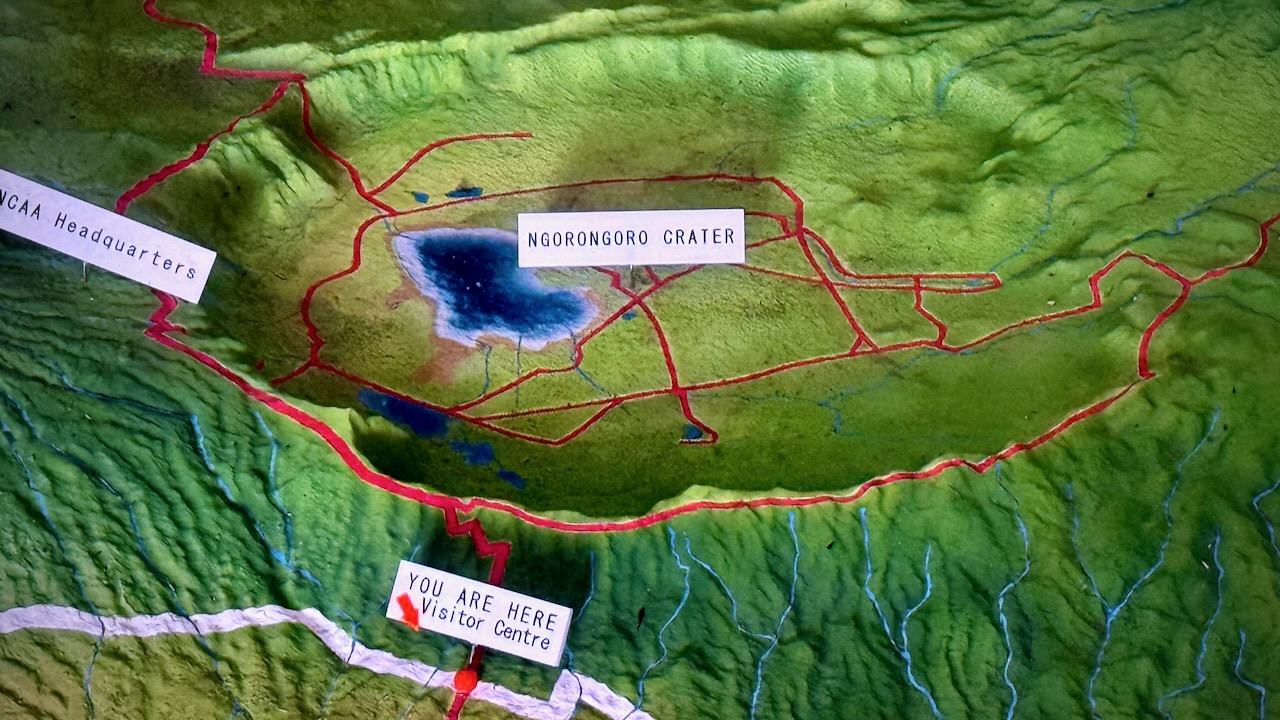
Bus delivered us to Rifugio Sapienza at around 1900m on the more popular south side of the mountain. A bit of a tourist trap. The north trailhead (Piano Provenzana) is better for offers wilder hiking trails and fewer crowds.
From Sapienza you can take a cable car up to 2500m. It’s expensive at €54 return when I was there. And you can hire a 4×4 contraption to pay even more. Guides are required at higher elevations.
I opted to stay close to the Rifugio Sapienza trailhead, saving my money for a summit climb some time in future.
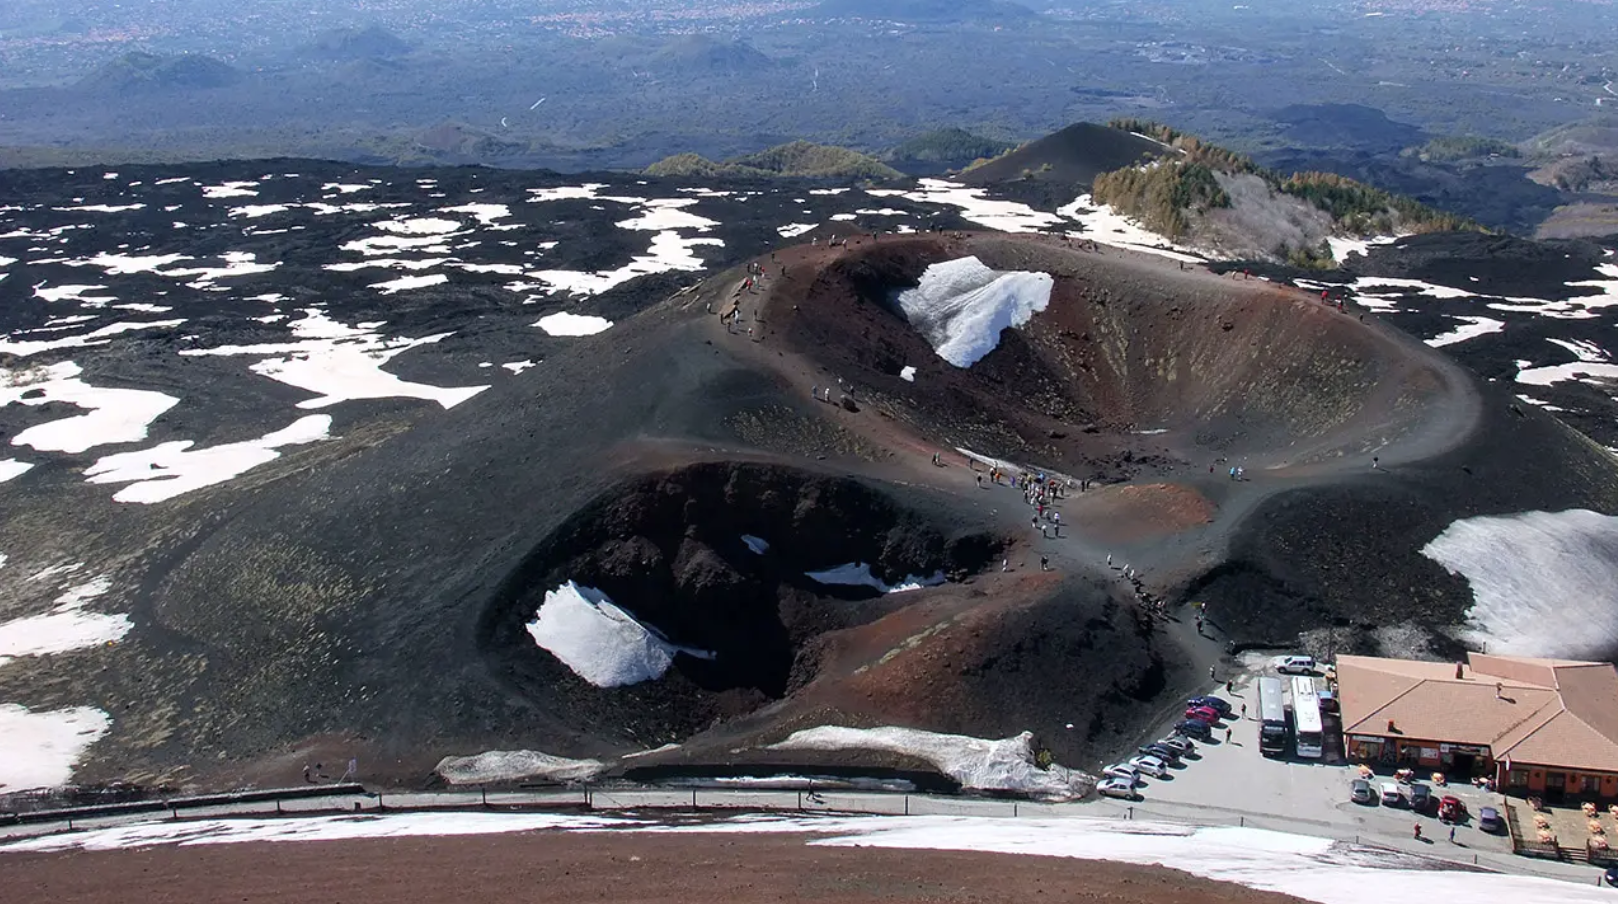
There’s an additional €5entry fee for the Silvestri Craters on the south side. Well worth it. The highlight for me.
It’s only about 1km to circumambulate all 5 craters — but they are scenic.
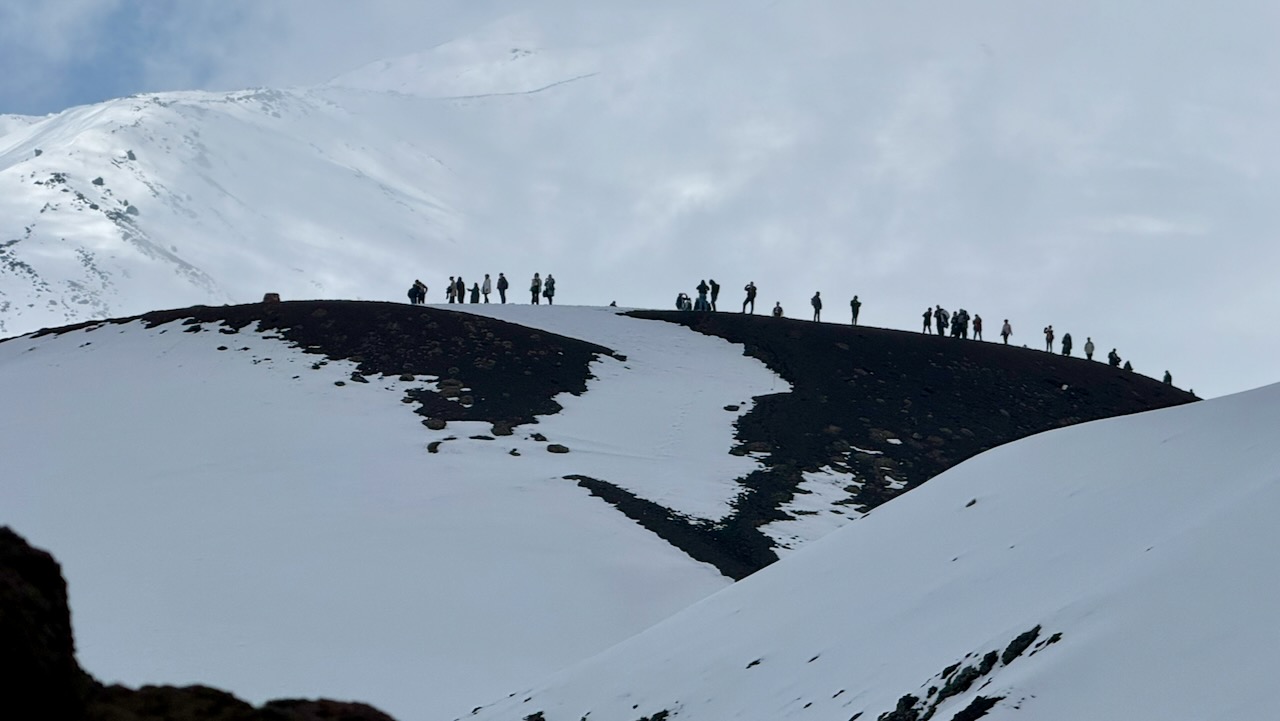
With an hour left before my bus departed, I climbed the most conspicuous cone.
Driving your own vehicle to Rifugio Sapienza is a good option. And there’s a public bus €6.60 return — but it leaves Catania very early. Returns very late. I assume that service runs mainly for employees.
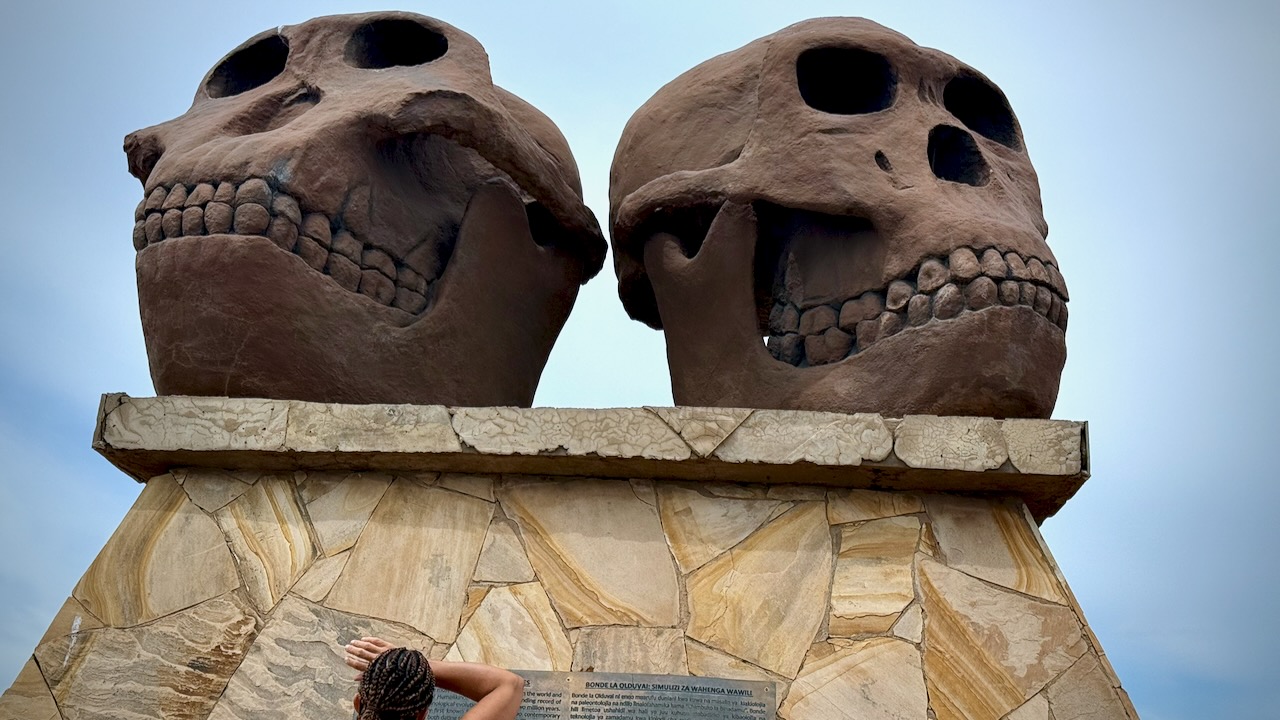
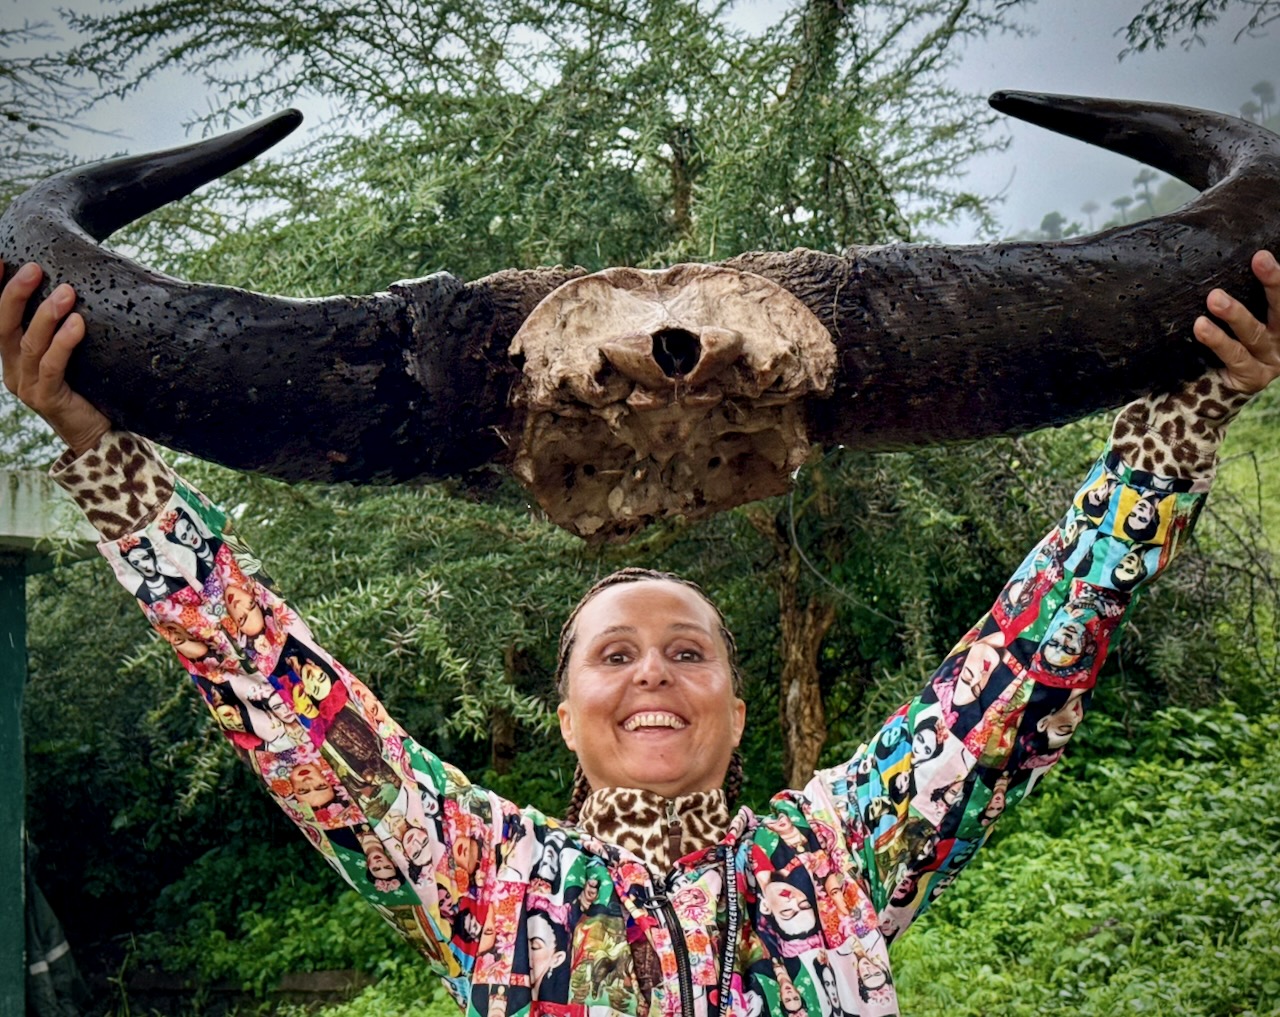
This is where Mary Leakey worked for decades. Olduvai Gorge. Hominin fossils more than 3.75 million years old.
The Maasai still live in the highlands here, though they are no longer in the caldera nor in the National Parks. Maasai herds can be as impressive as the wild animals.
Kids as young as age-4 are sometimes given responsibility to watch them.
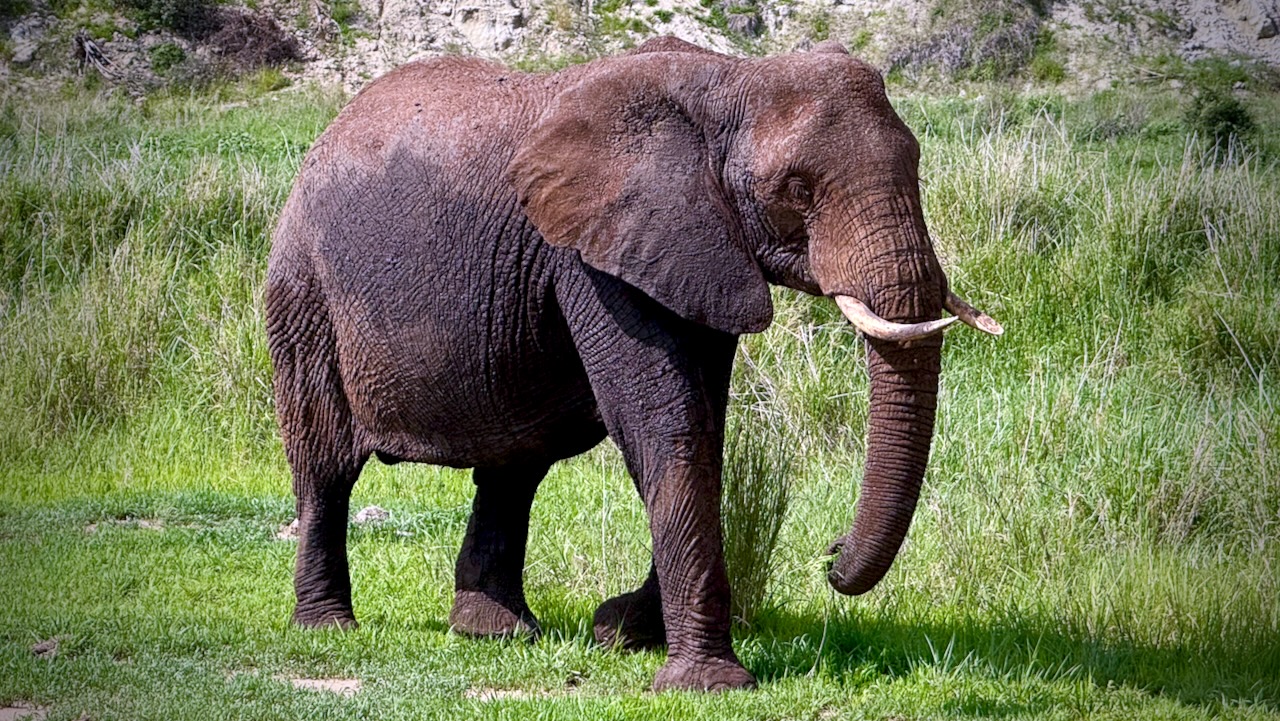
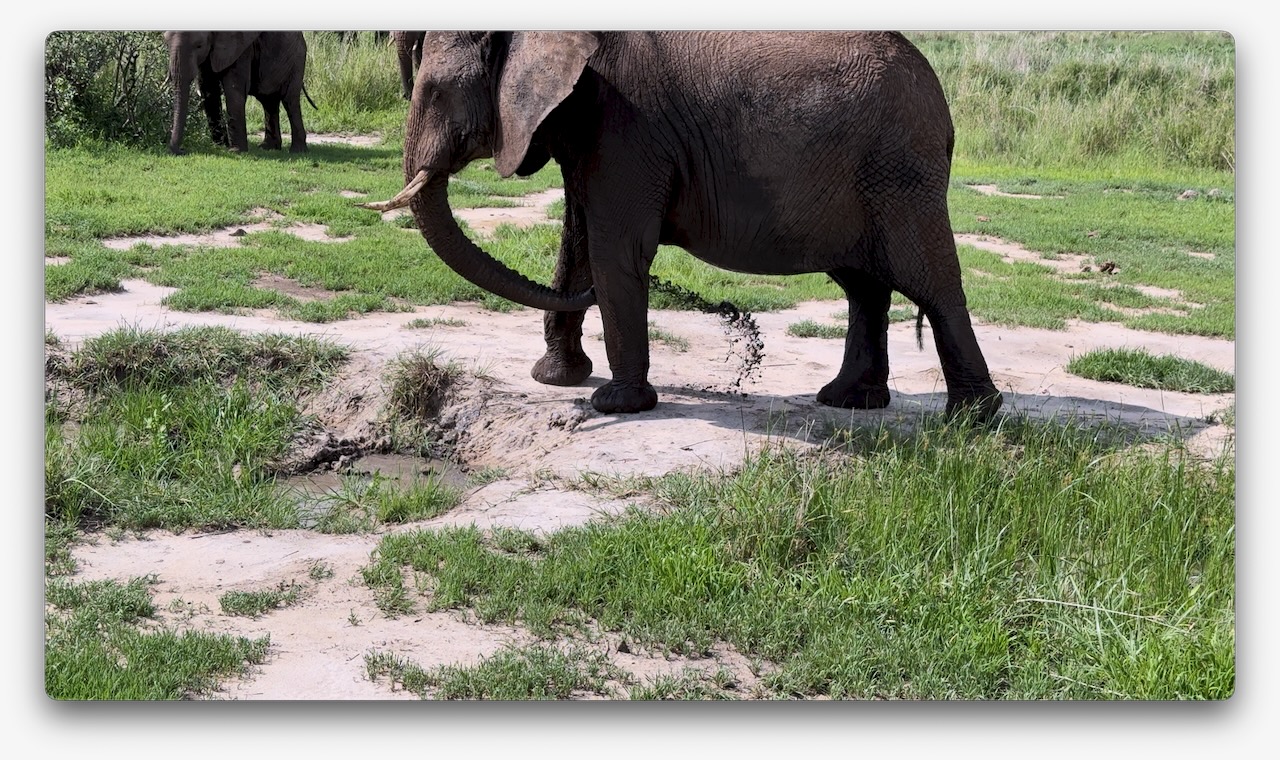
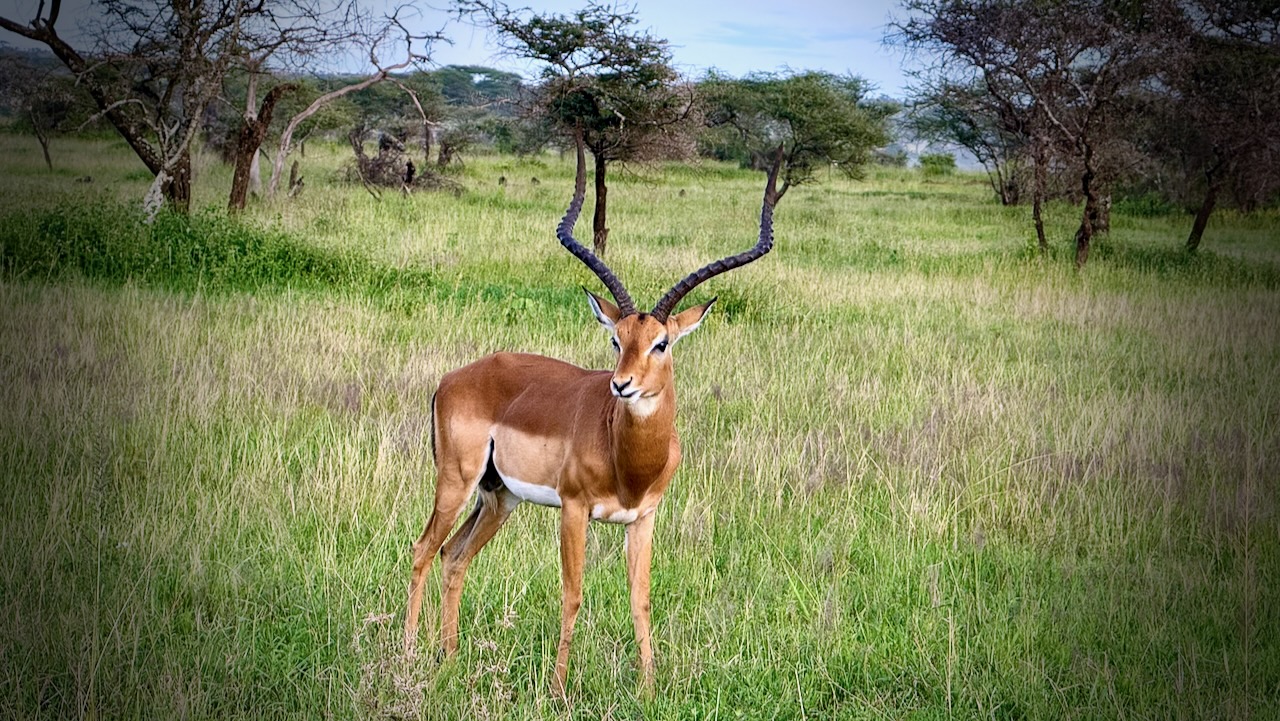
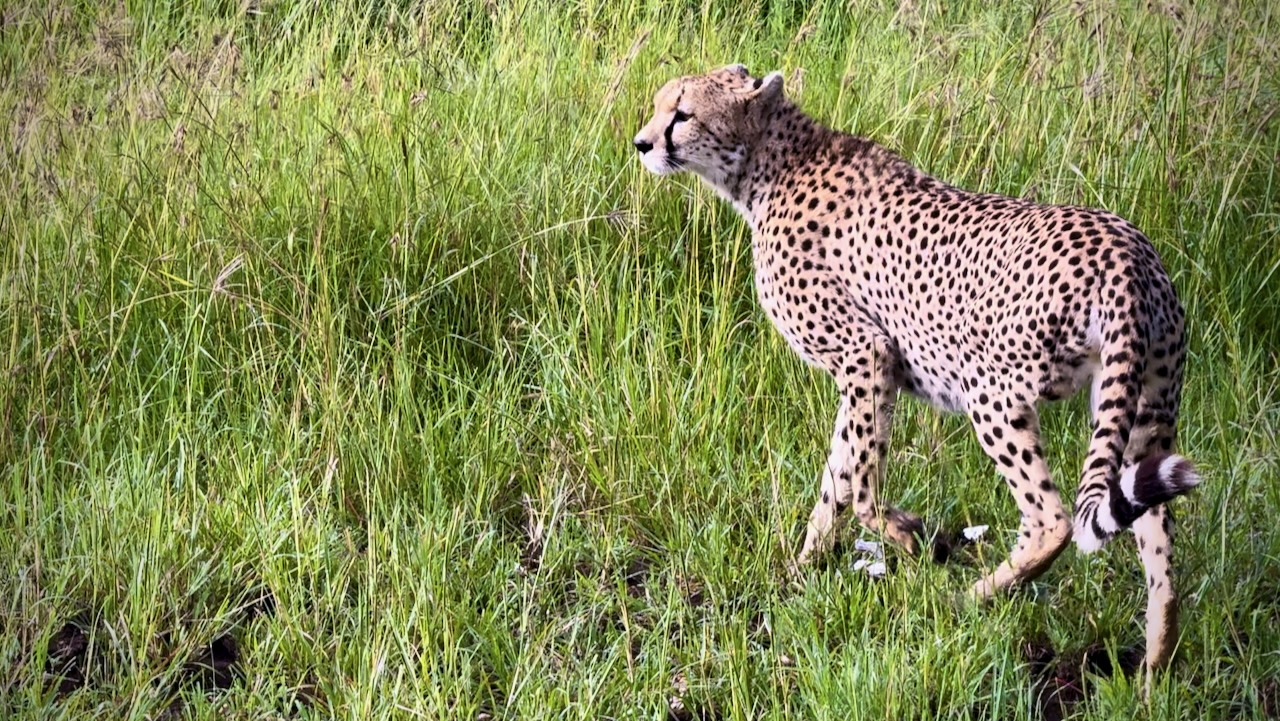
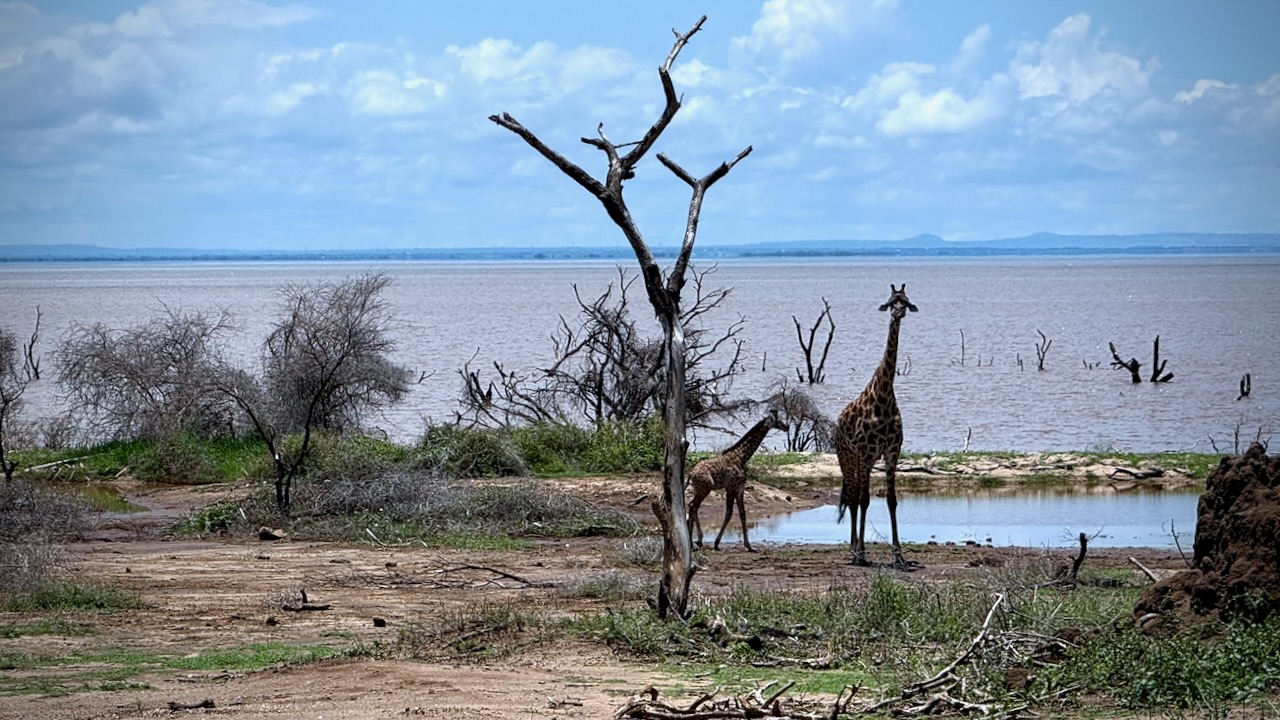
I hadn’t realized how many Impala and similar antelopes roam these grasslands.
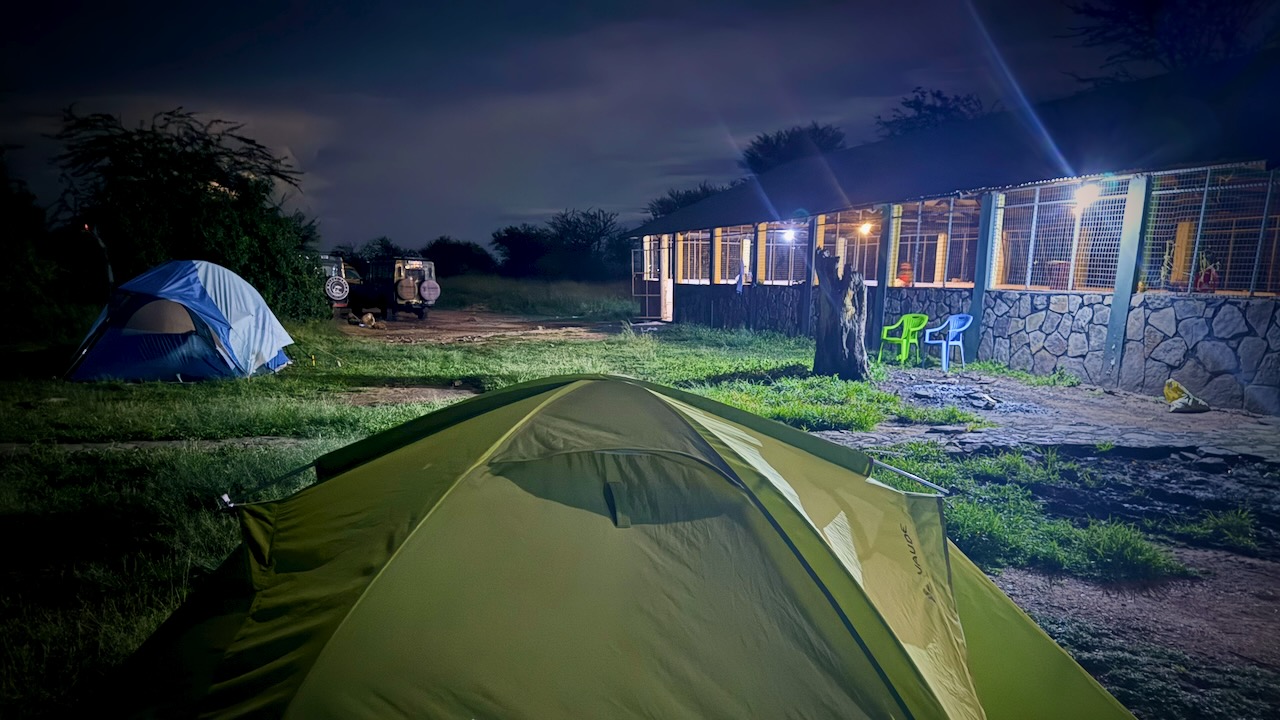
We camped in Serengeti.
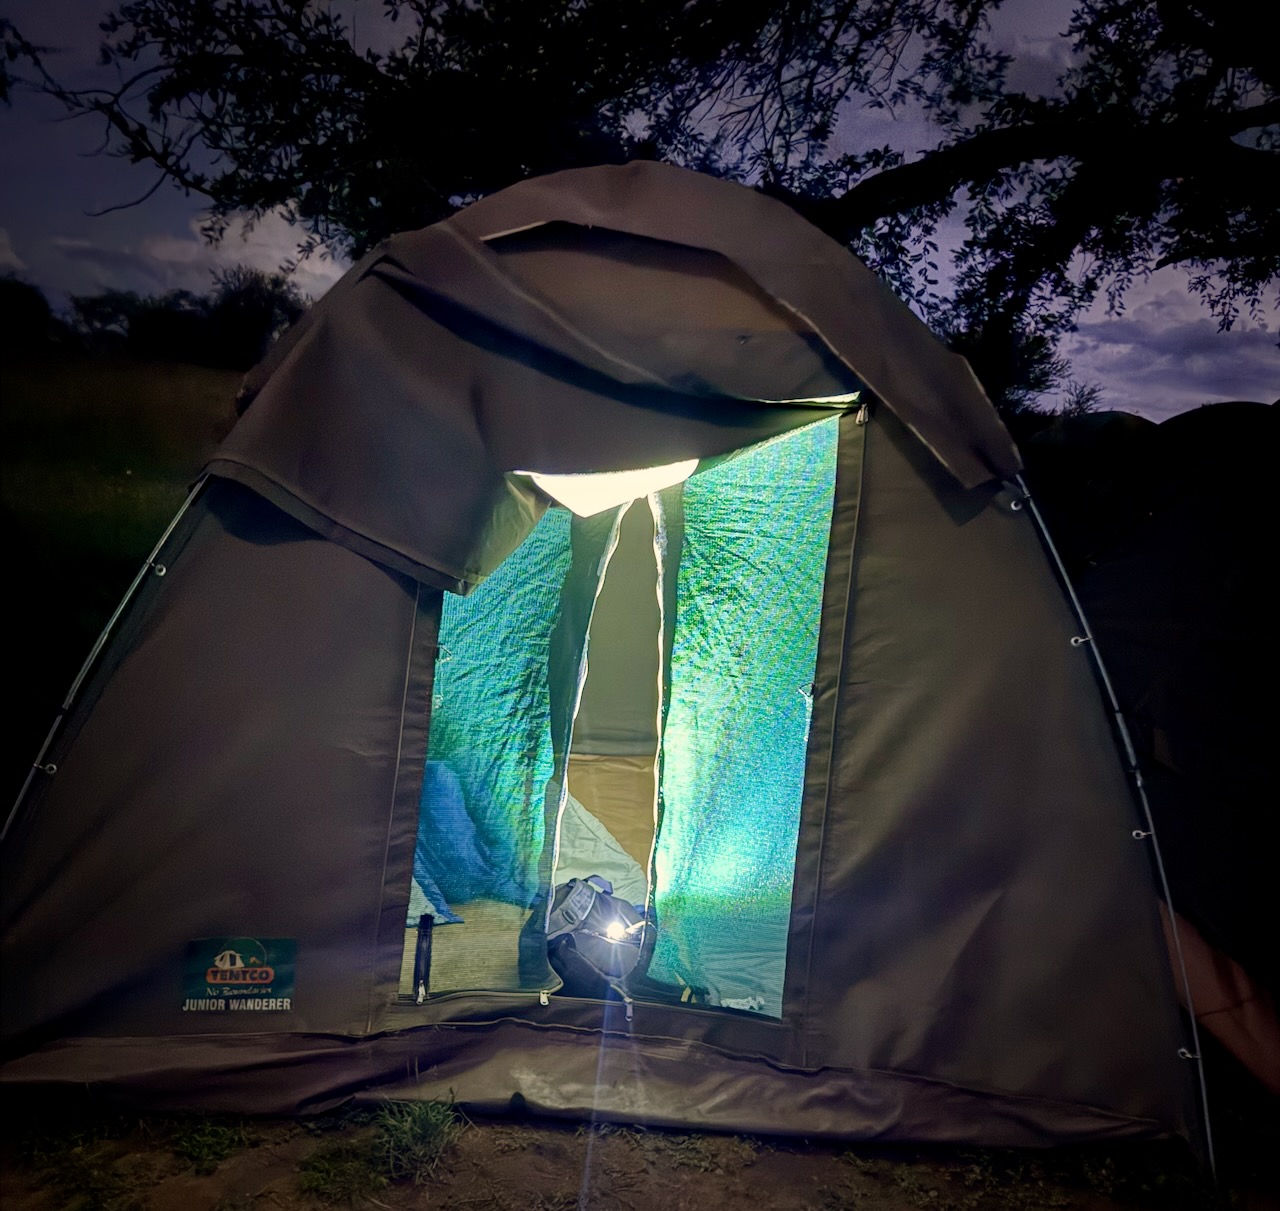
Simple canvas tents. I used my own sleeping bag and air mattress.
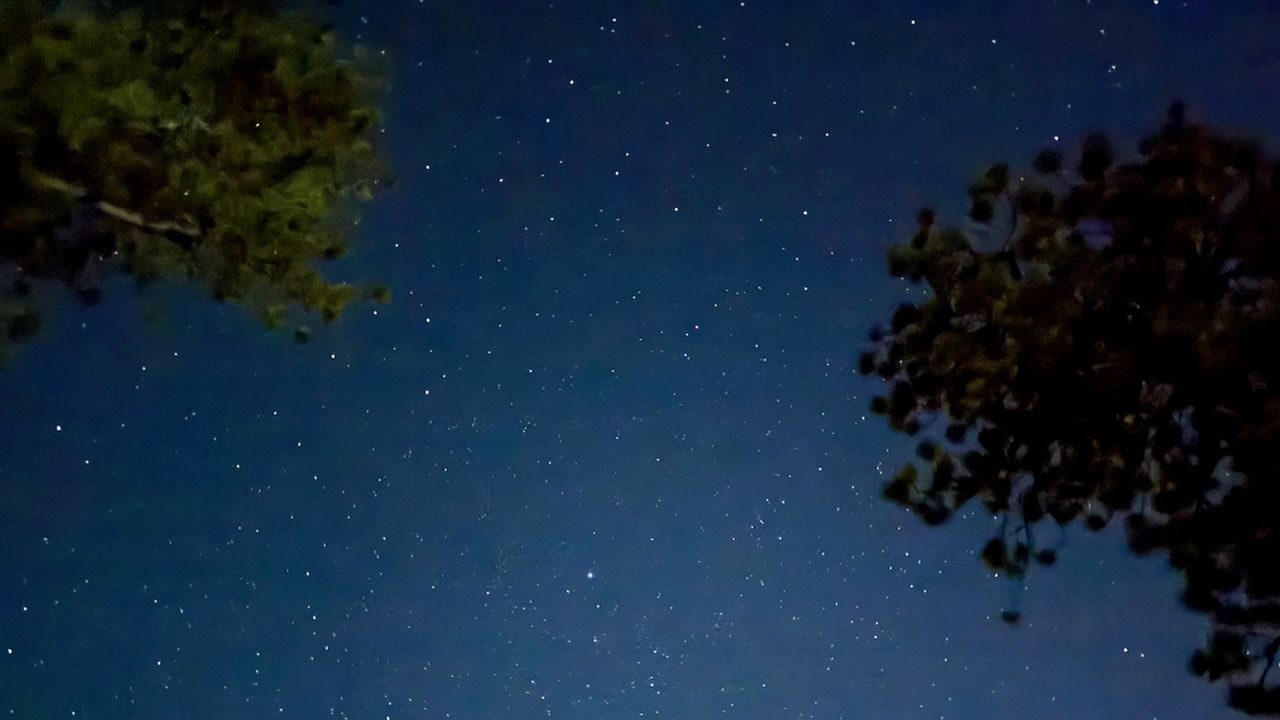
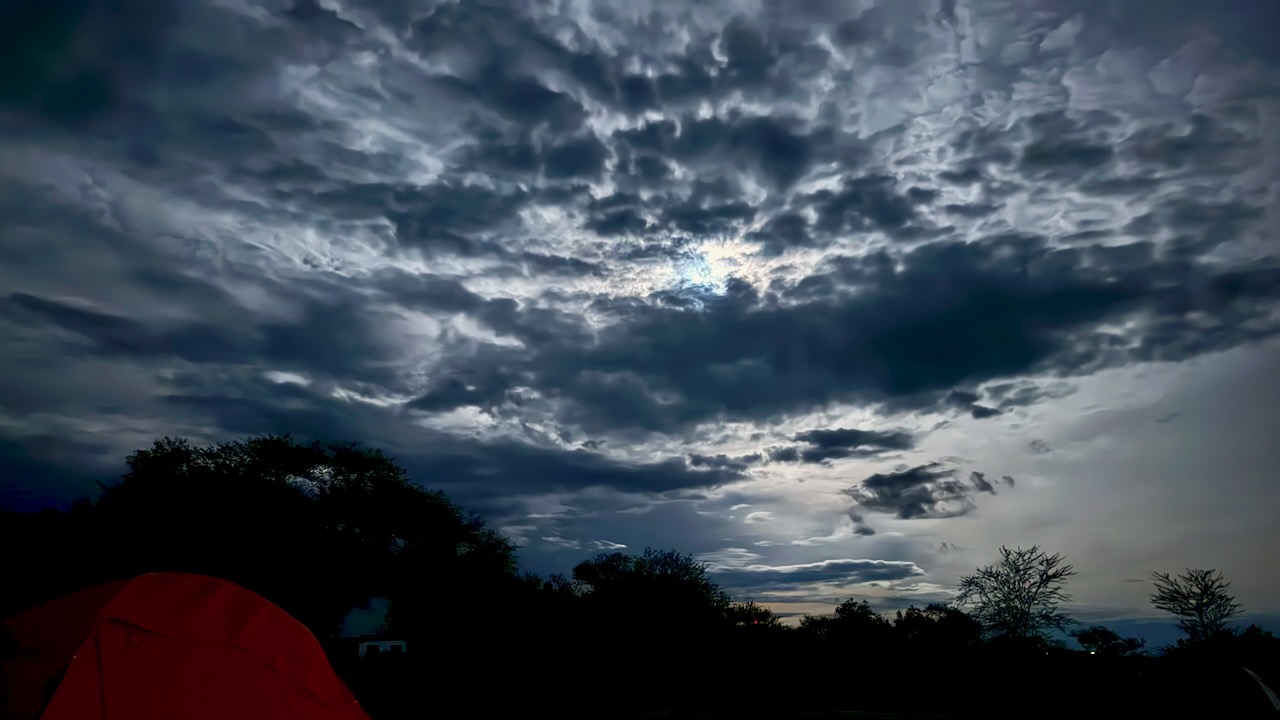
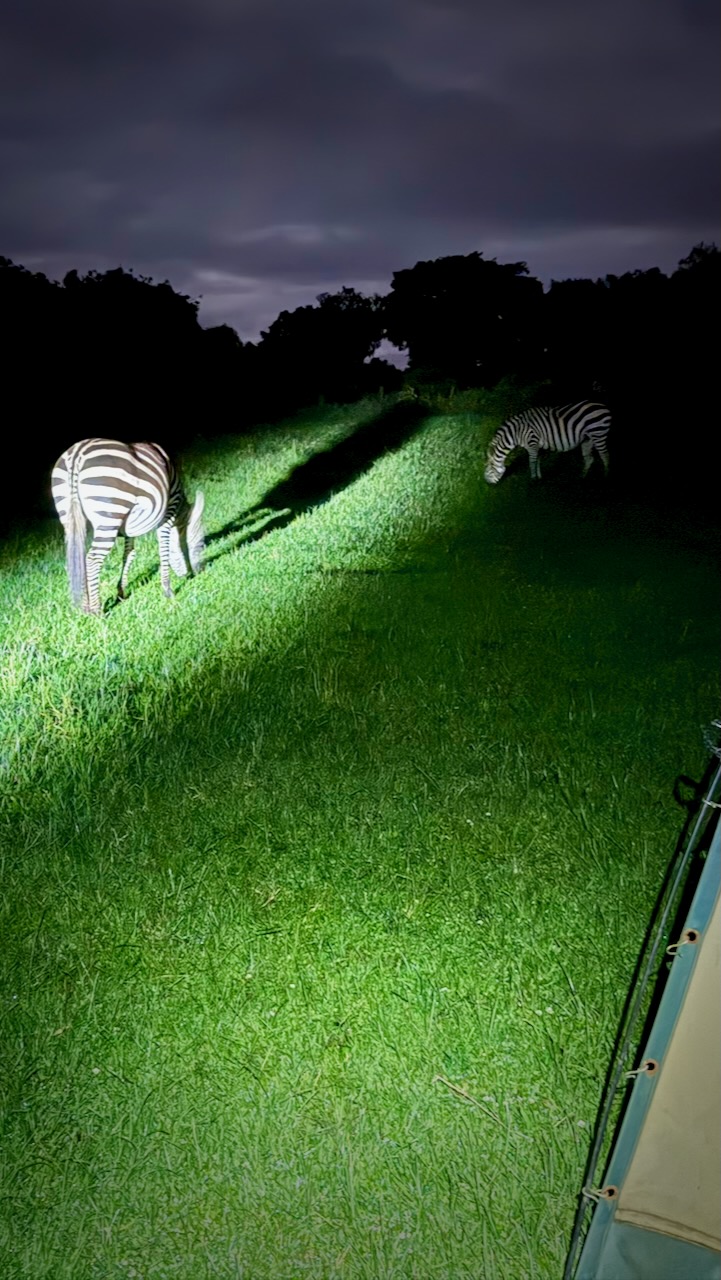
During a 2am pee break, here’s how the sky looked to my iPhone 16 Pro.
We awoke to heavy rain. It seems the “long rains” from March to May have just begun.
Early start dropping down into the crater.
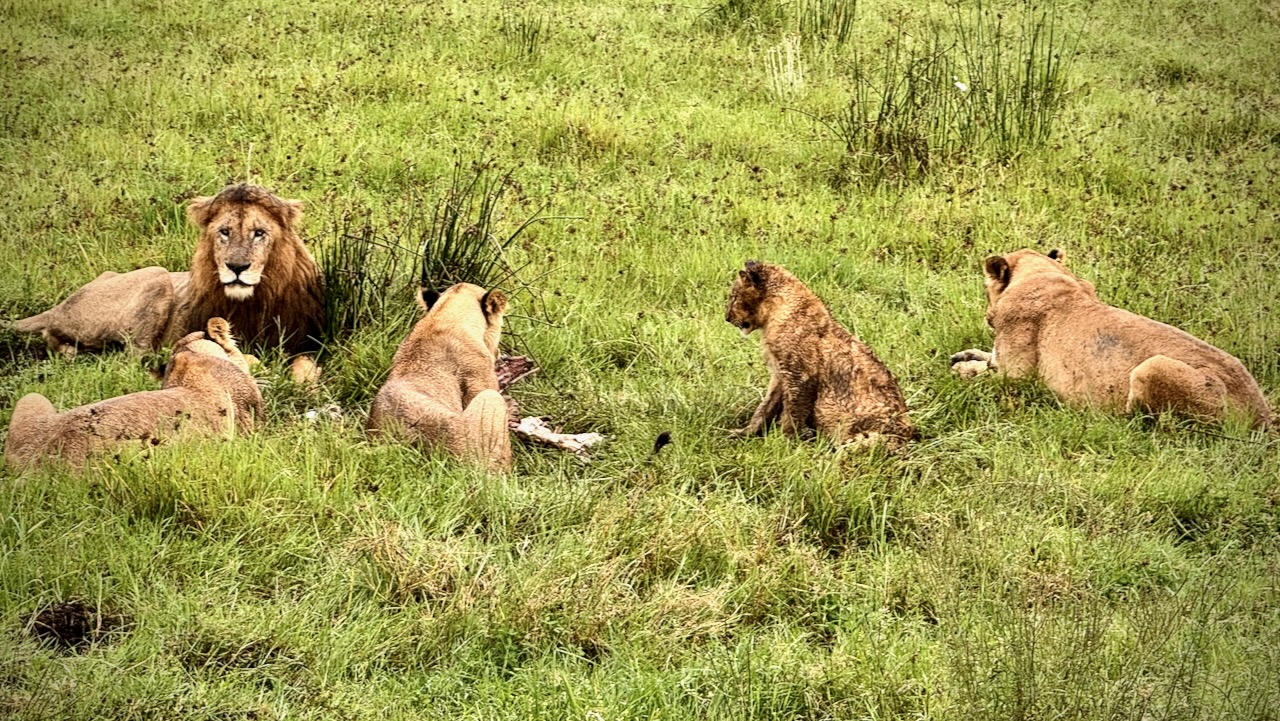
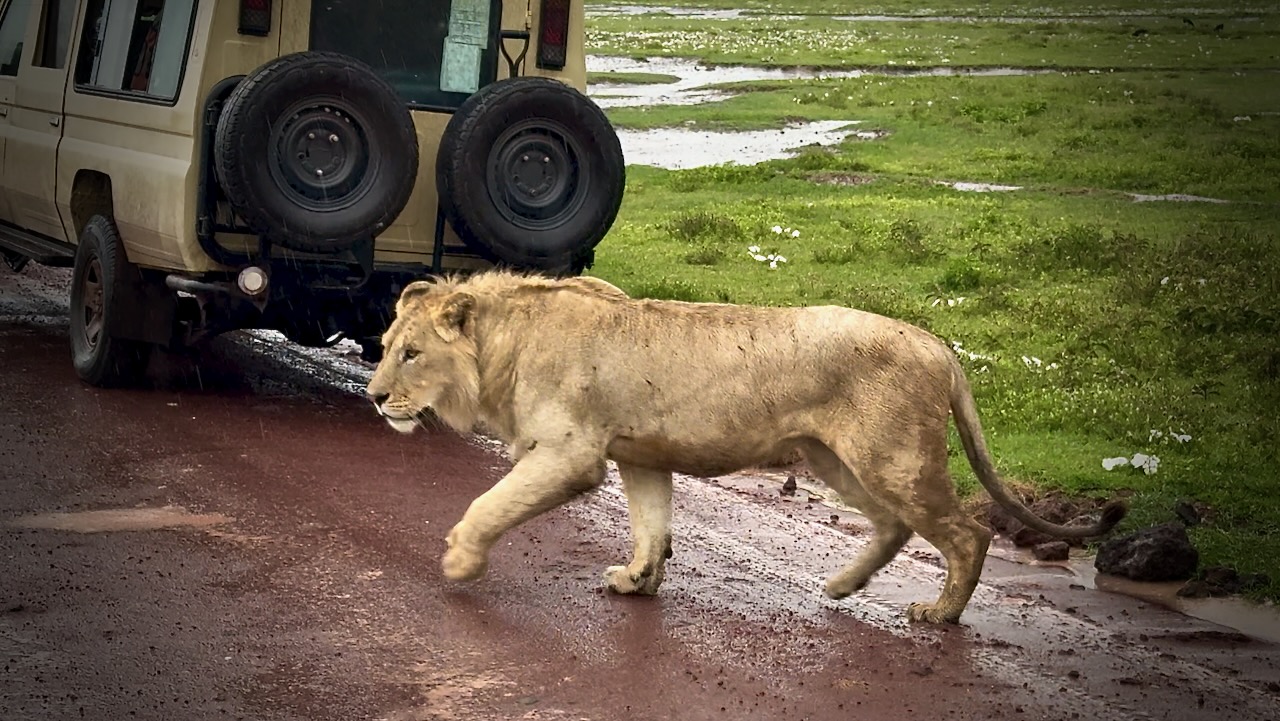
Predators were still working on their kills from the previous night. It seems young zebra are the dinner of choice for most.
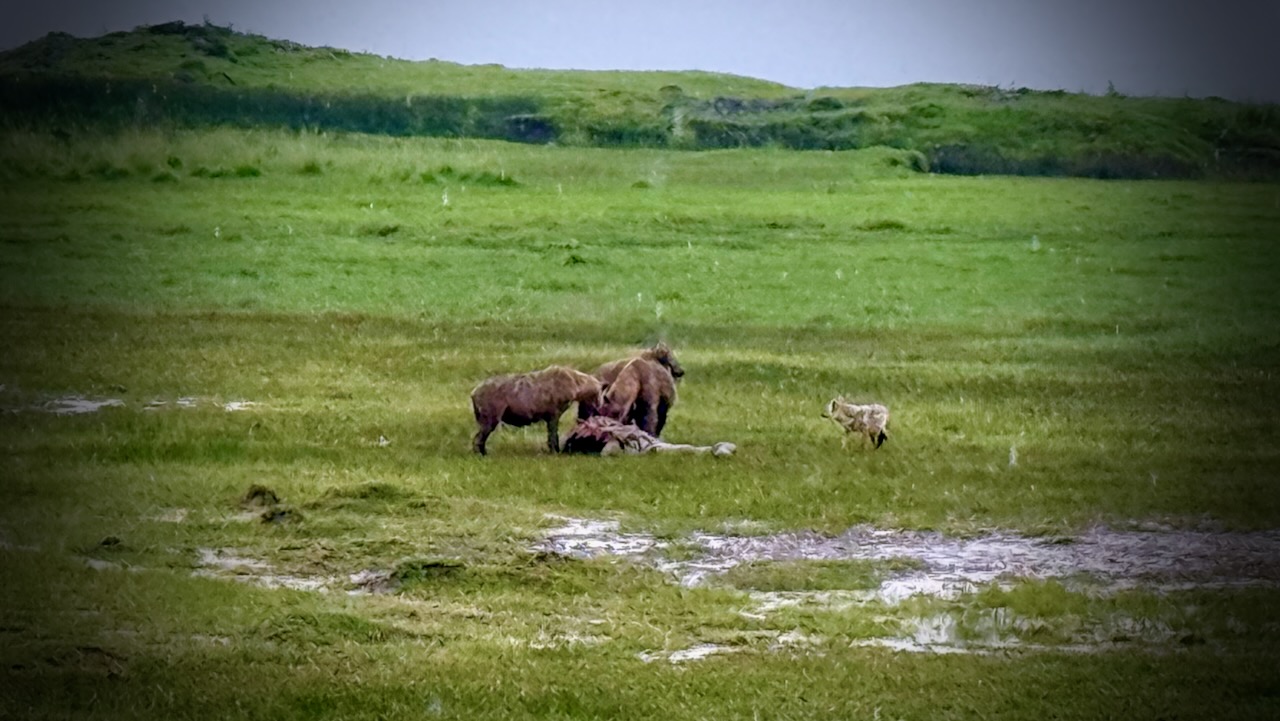
These hyenas were almost finished with their kill. A jackal was sneaking in to get quick bites, when it could.
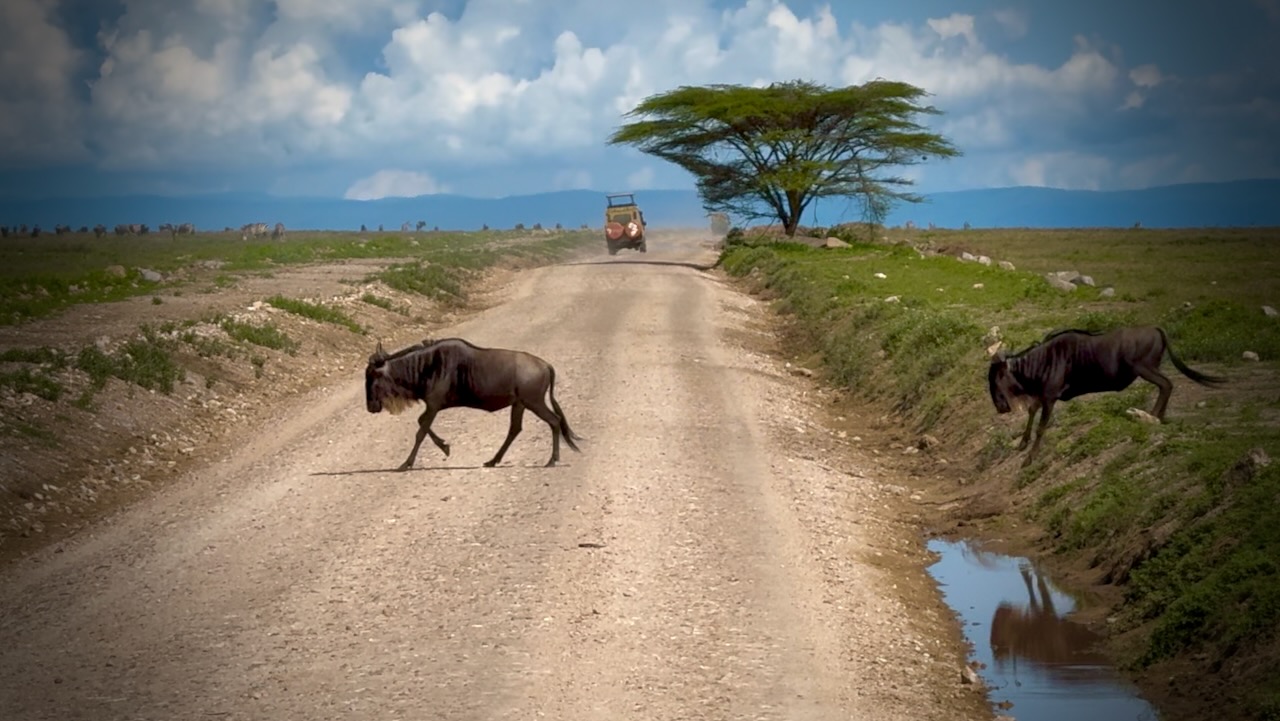
Why did the Wildebeest cross the road.
Animals migrate for grazing and water sources. Predators follow.
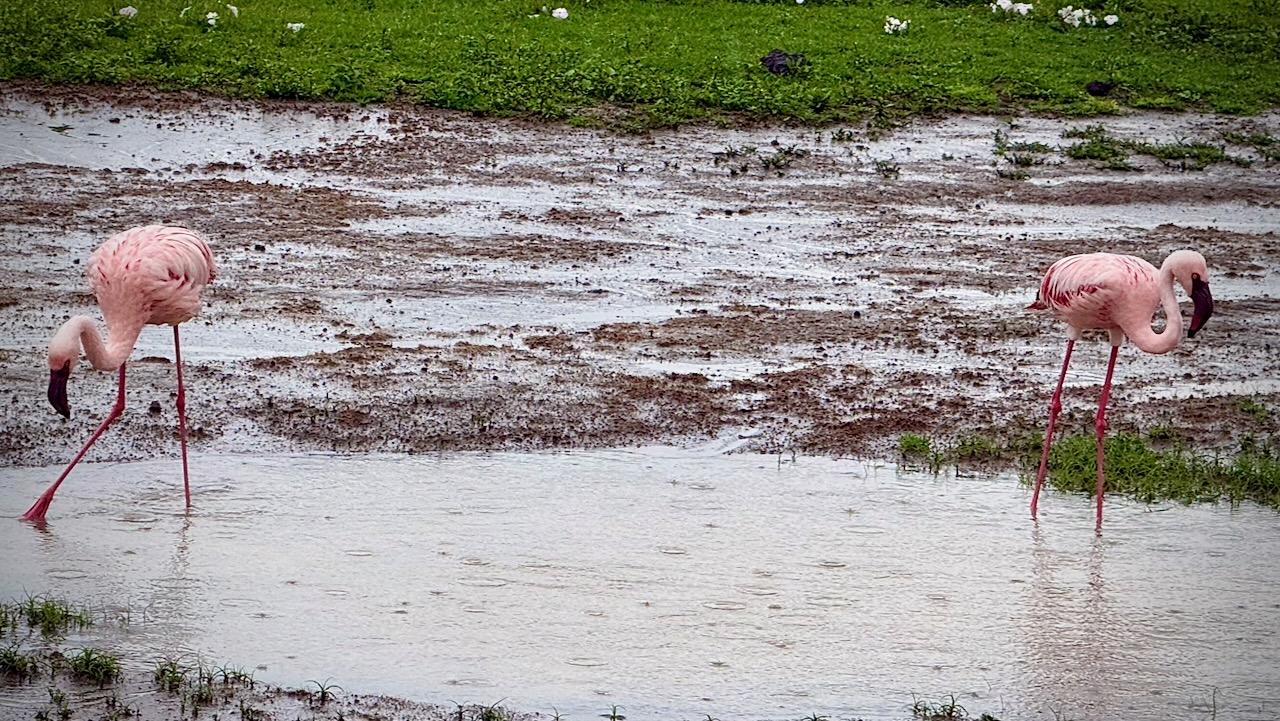
There was plenty of water in the crater while we were there. Flamingos a highlight.
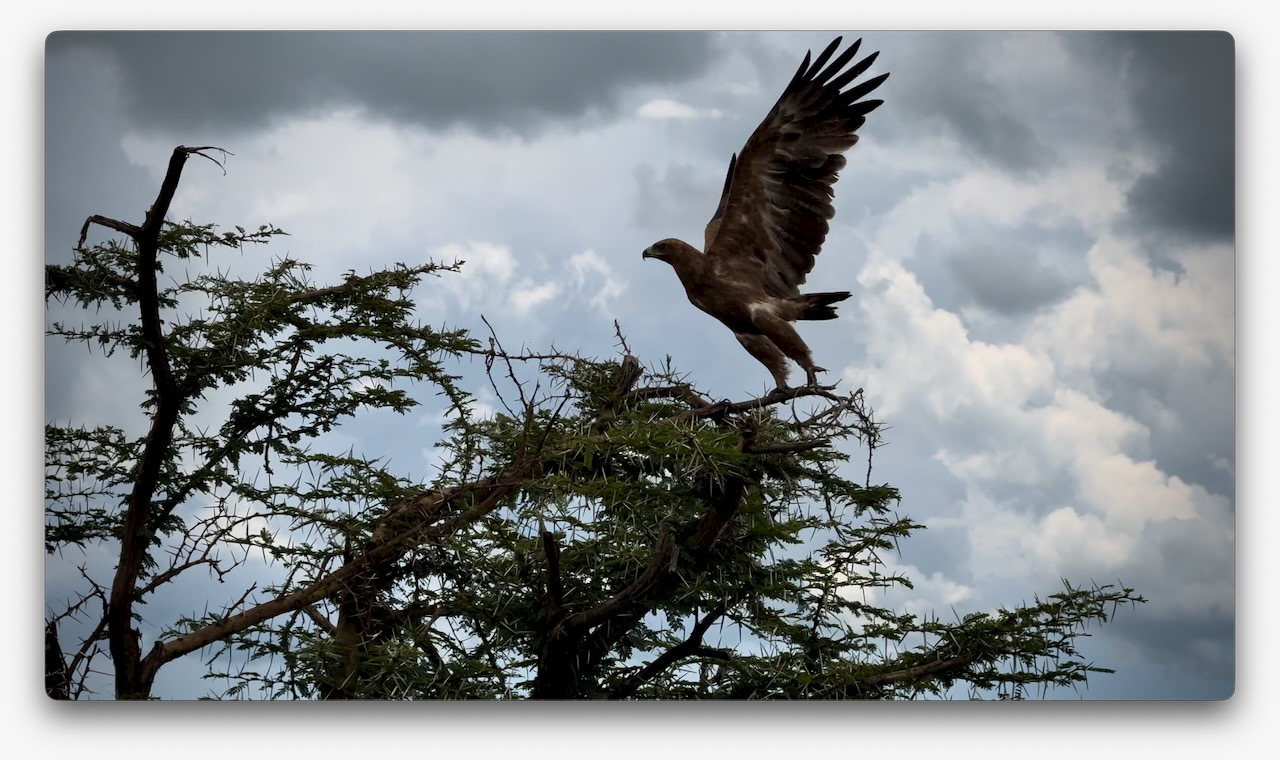
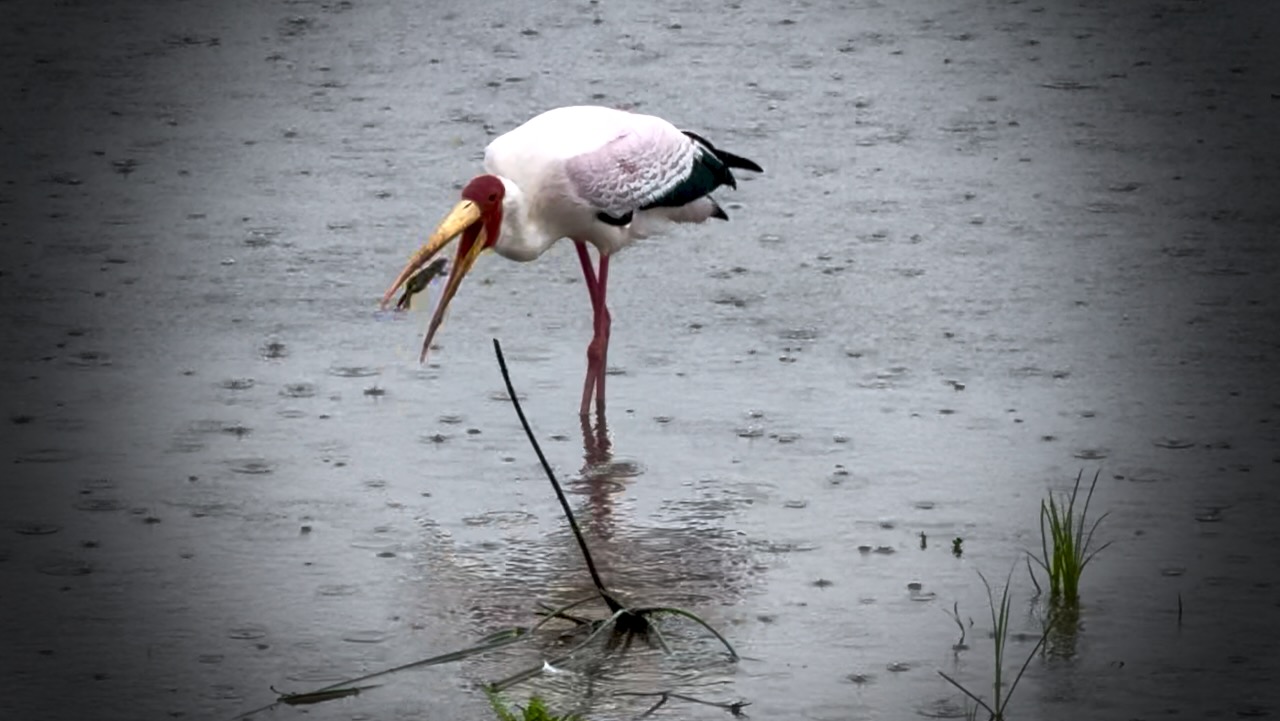
Water birds of all species eat well here.
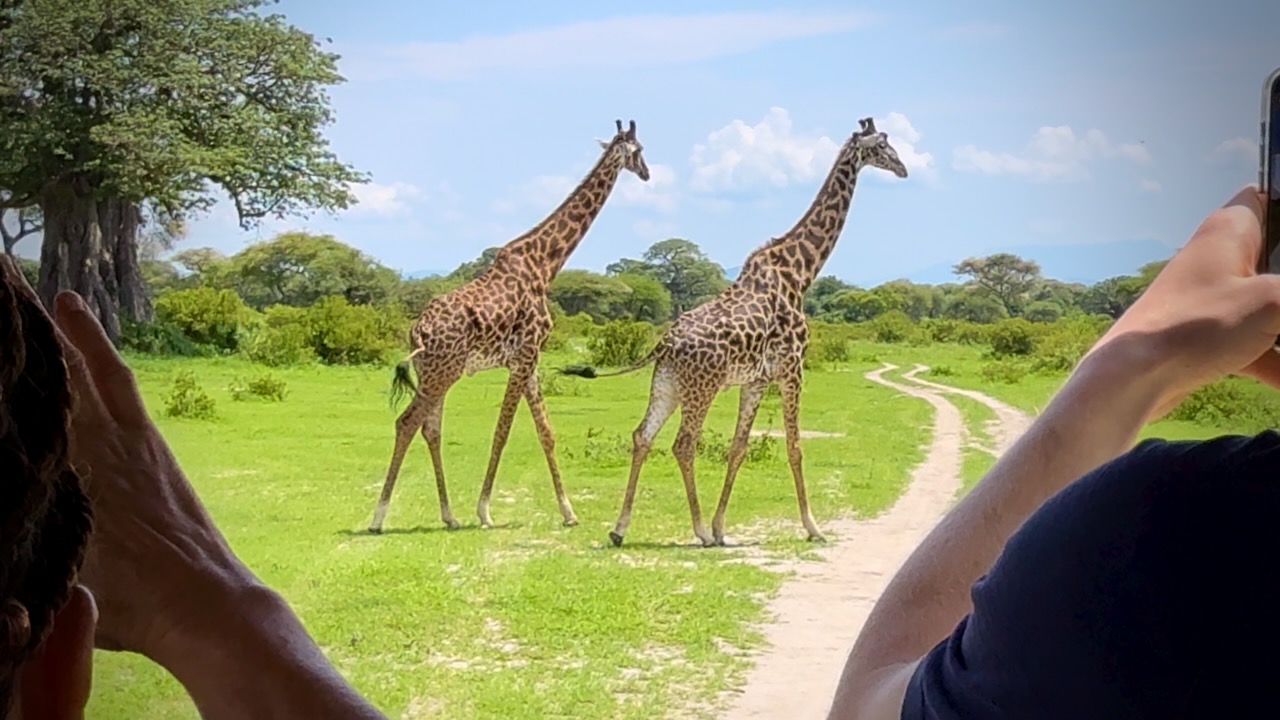
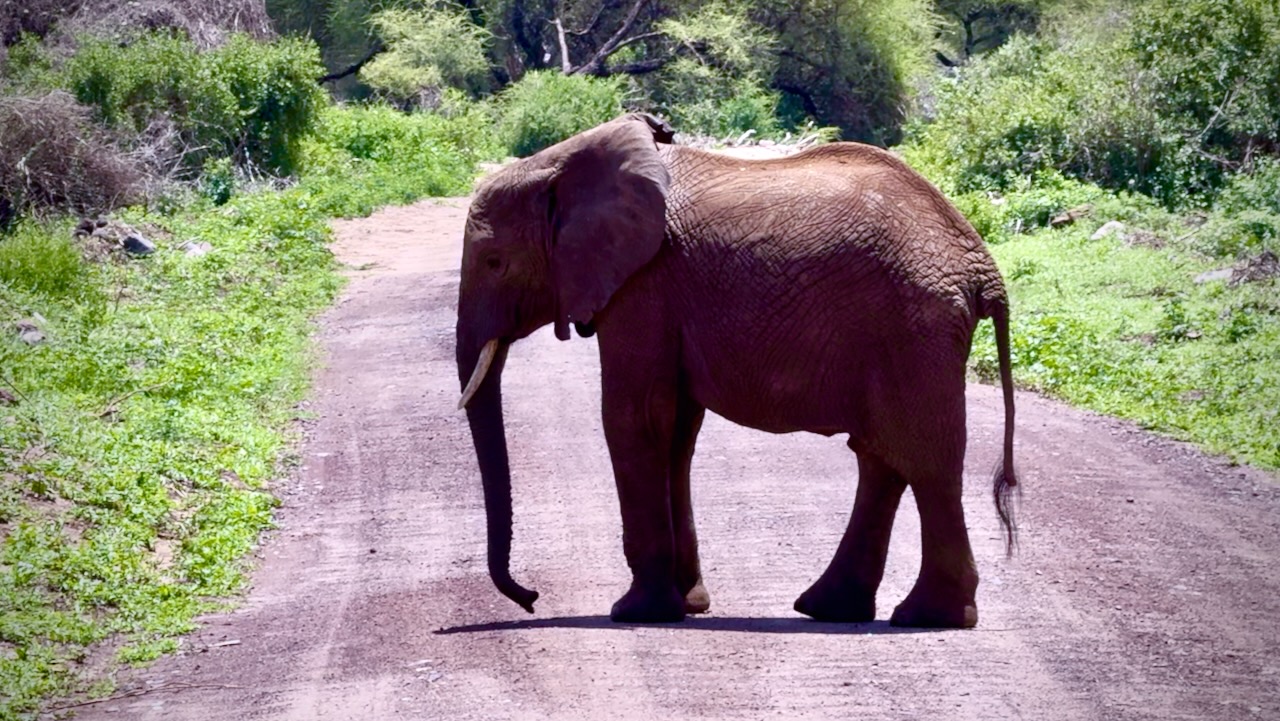
Everyone enjoys the safari experience.
Needing to drop off 2 of our group of 5, we drove all the way back to the Mosquito River hotel. This means I actually spent 2 of the 4 nights in a comfortable hotel, even though I’d signed up for camping. 😀
Last day we had only 2 of our original five signed on for the 5th day.
Manyara was better than expected. A small, well-maintained park alongside a muddy Lake.
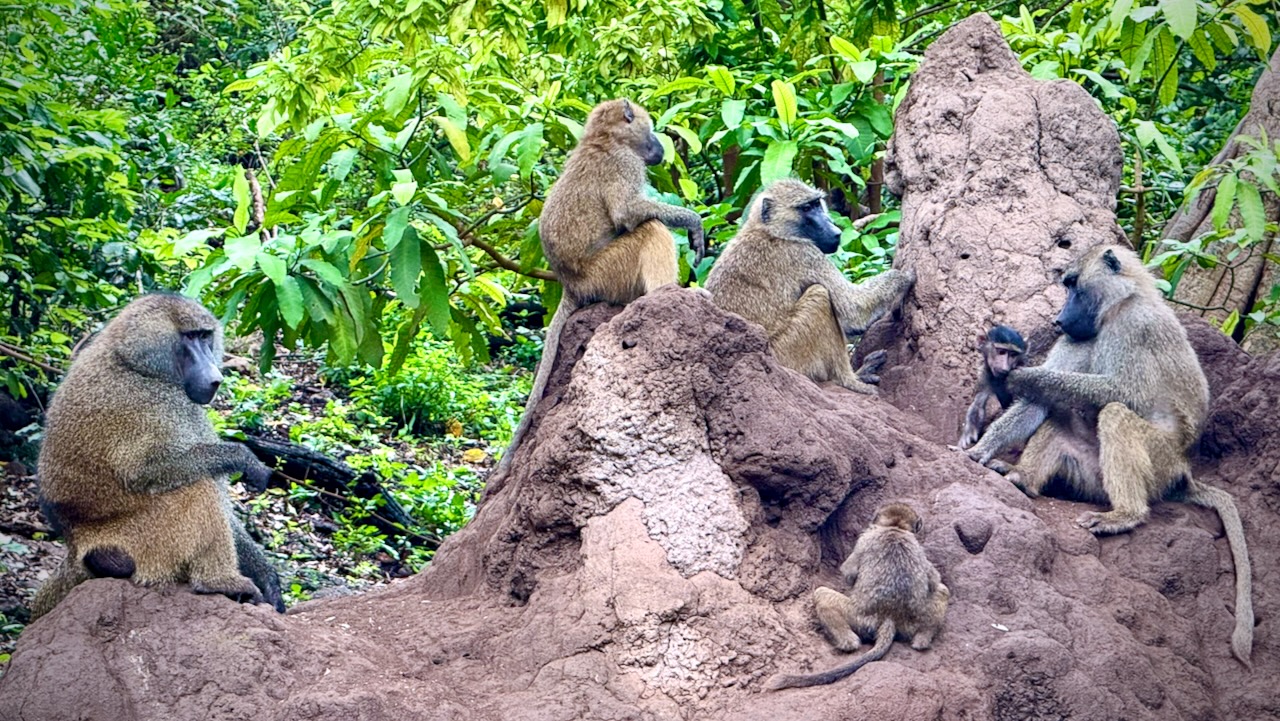
We’d not seen many baboons nor monkeys over the previous 4 days. Made up for it here. We saw thousands of entertaining baboons playing, fighting, chasing, grooming.
Plenty of Blue monkeys. And Blackface (Vervet) monkeys, as well. The different species seem to cooperate well.
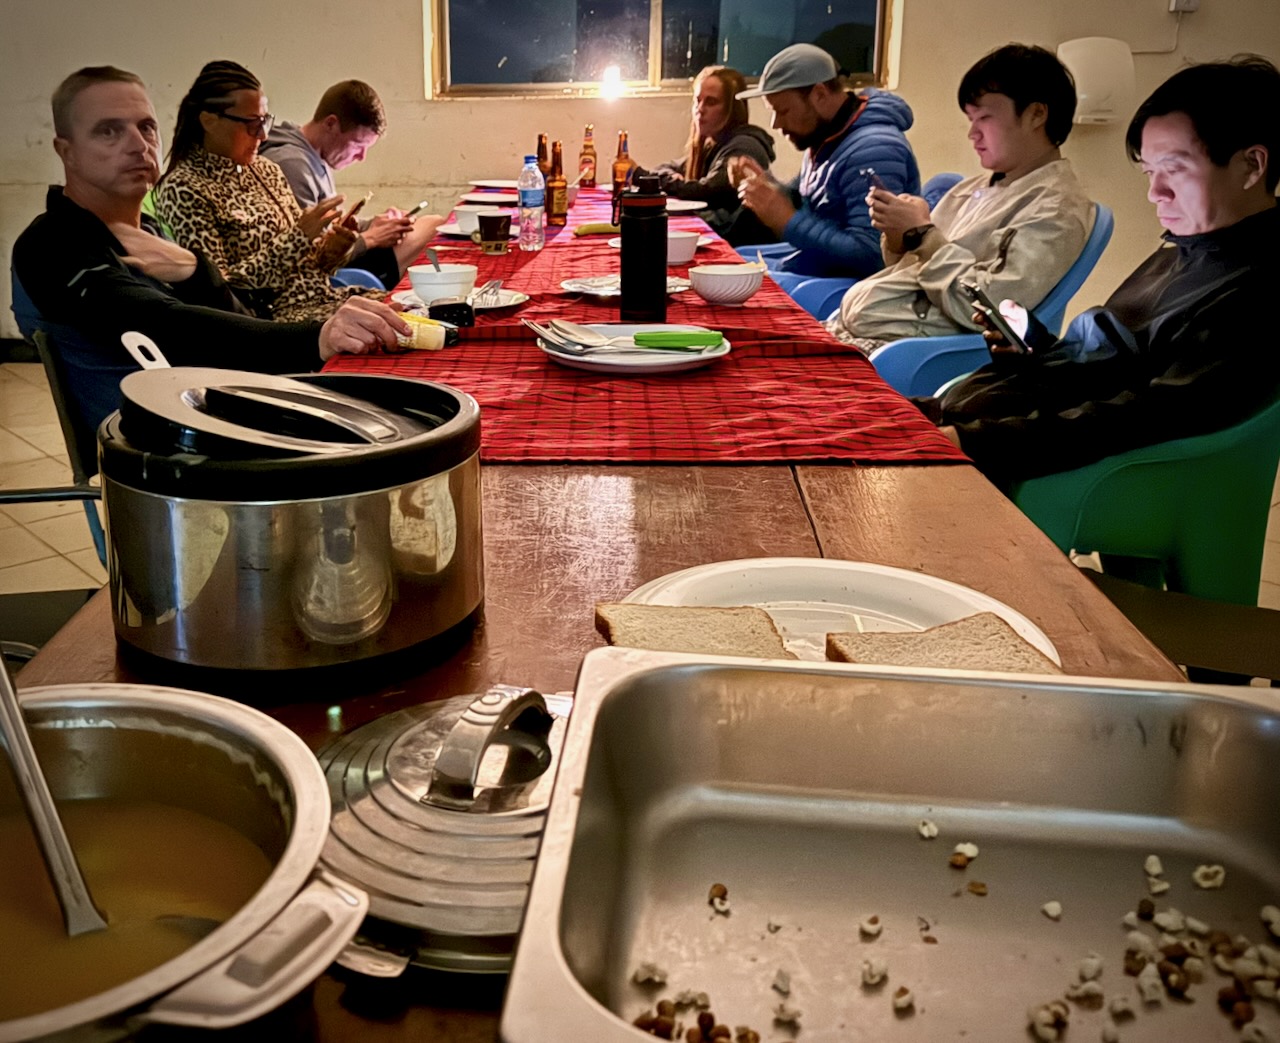
Back to the hotel for one last lunch from Tony.
His best yet.
And then the 3 hour drive back to Arusha. Our safari ended.
TIPS
It’s confusing to decide on which company to go with. Certainly you’ll be in the same Toyota LandCruiser, on the same bumpy roads, seeing exactly the same animals with most.
The only one that caught my eye for the camping option is Suricata Safaris.
Prices go way up from $200 / day depending on where you sleep each night. Luxury lodges are available. Budget about 10% for tips. And about 10% for unexpected charges.
Private bookings are more expensive, as well.
Though I did 5 days, 4 nights — optimal, I’m thinking, is 4 days, 3 nights. You’ll probably miss Lake Manyara National Park if you do this.
My iPhone 16 Pro was perfect for climbing Kilimanjaro. But it’s a frustrating, crappy option for safari. I constantly wanted more optical zoom. Bring an excellent camera on a short tripod, if you can. Also binoculars.
My only other safari was Addo Elephant Park, South Africa, in 2013. Excellent. My guide provided a checklist of animals and birds we might see ➙ and it was super fun to fill that checklist during the day. I wished I had something similar here.
Power failures are a near daily occurrence in Tanzania. Bring power banks to recharge your electronic devices.
Wifi is slow and inconsistent here. Best get phone data which works quite well.
Many tourists are over-charged. Some cheated. We had a driver for a day who claimed I had shortchanged him $40. I hadn’t. But rather than argue I gave him an extra $20 — and reported to his employer.
Worst story I heard in person was a tourist landing in Zanzibar at 3am who was stopped by two supposed police. They took his passport. Two hours later he bribed them $200 to get his passport back.
Most of the worst stories I heard were in Zanzibar.
BEST is to have transportation from airports arranged in advance with your accommodation.
Second best is to download the ride sharing Bolt app. It worked well for me.
Arguing with taxi drivers is the worst option.
Intercity buses can be OK — but driving is slow in East Africa. Short flights a better option.
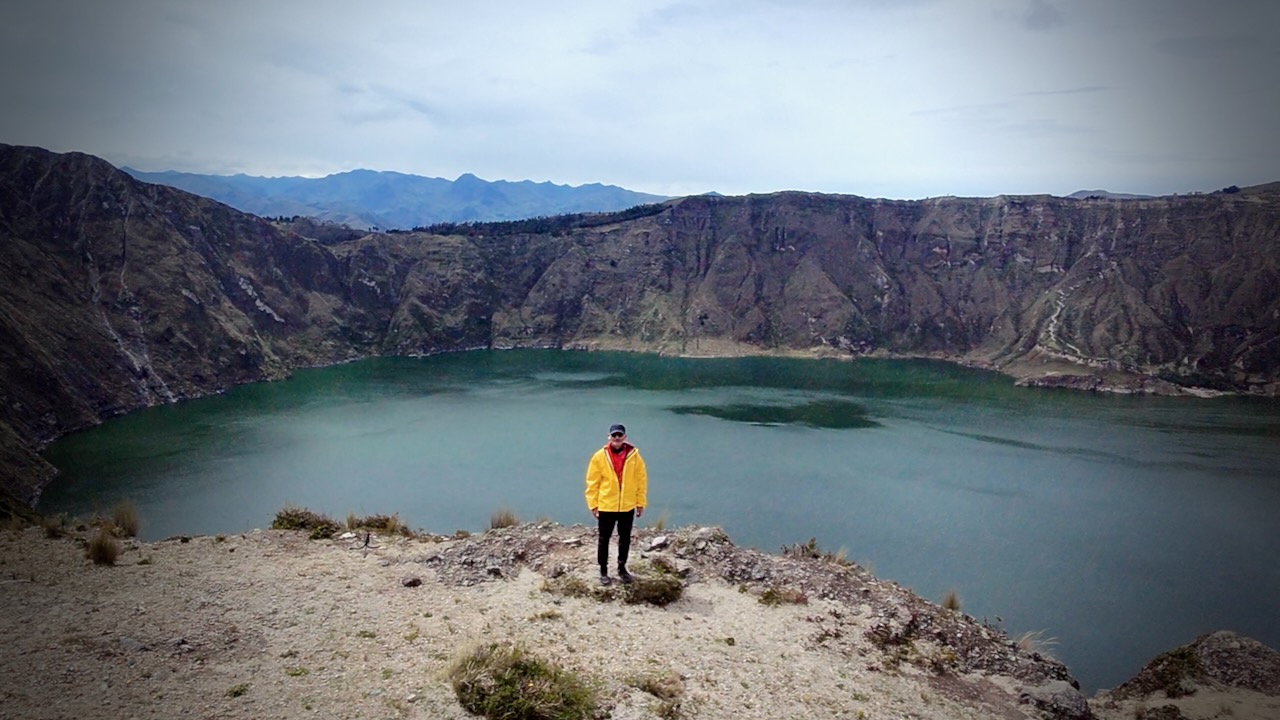
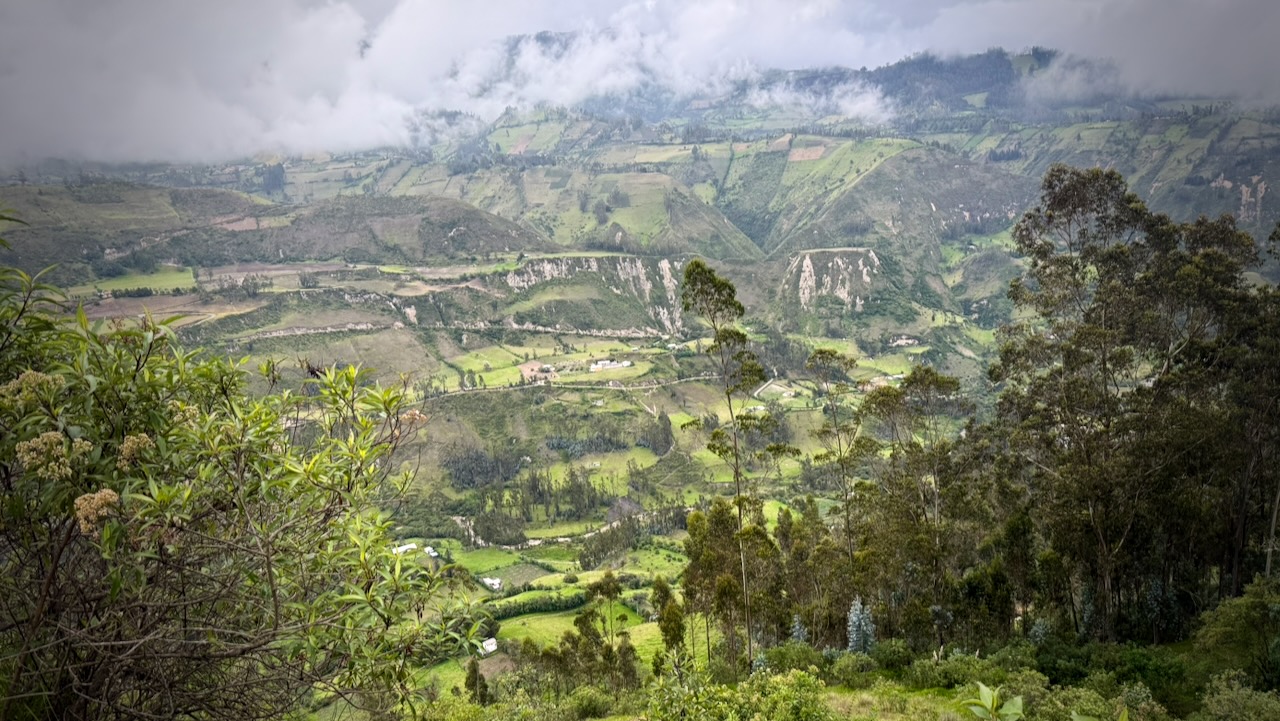
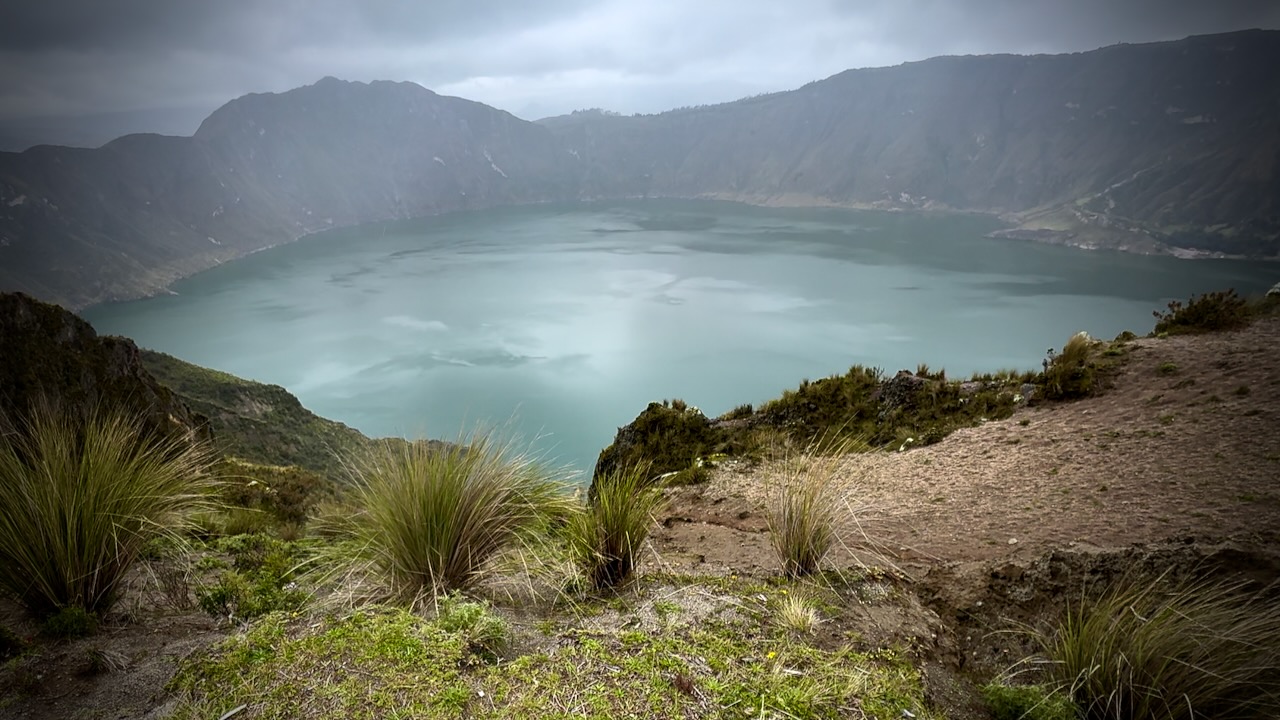
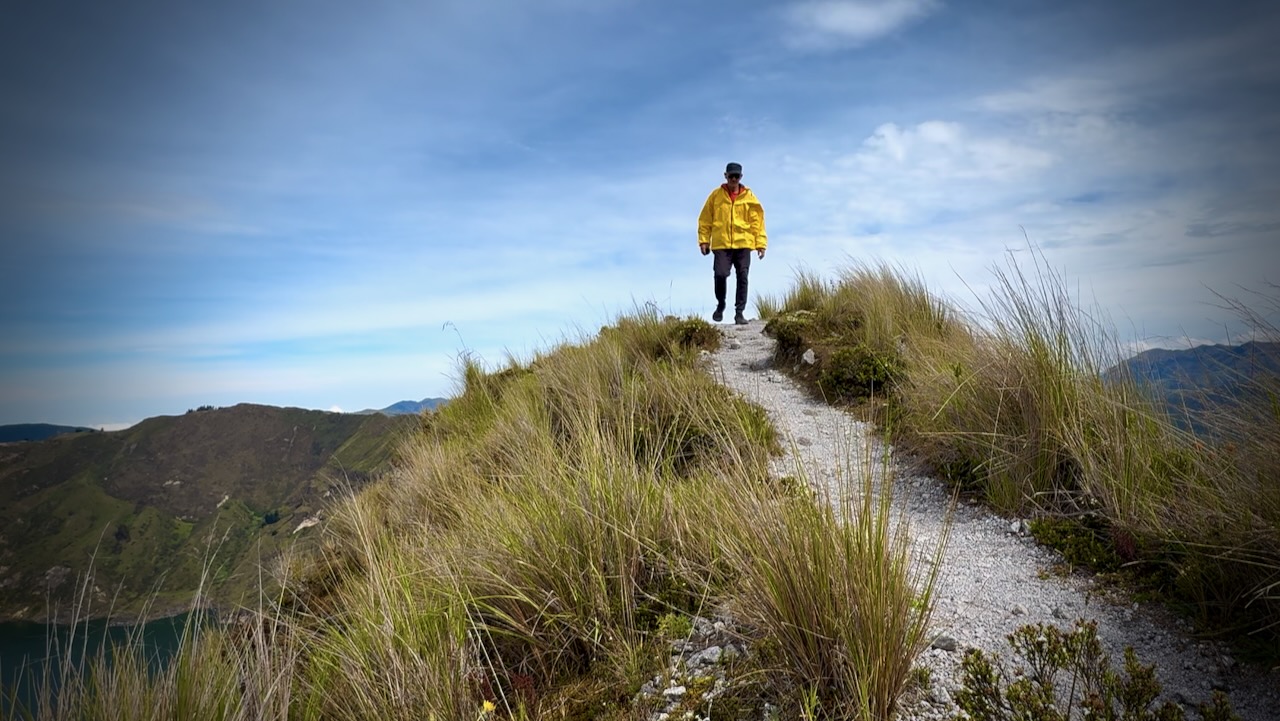
The Quilotoa Loop, climbing to a 3-kilometre (2 mi)-wide volcanic caldera, is the most famous multi-day hike in Ecuador.
34.8km
2,480m elevation gain
4 days, 3 nights
It’s essential that you be acclimatized for altitude before climbing with a full pack. I’d been in Ecuador over 2 weeks before starting, most of that time above 3000m.
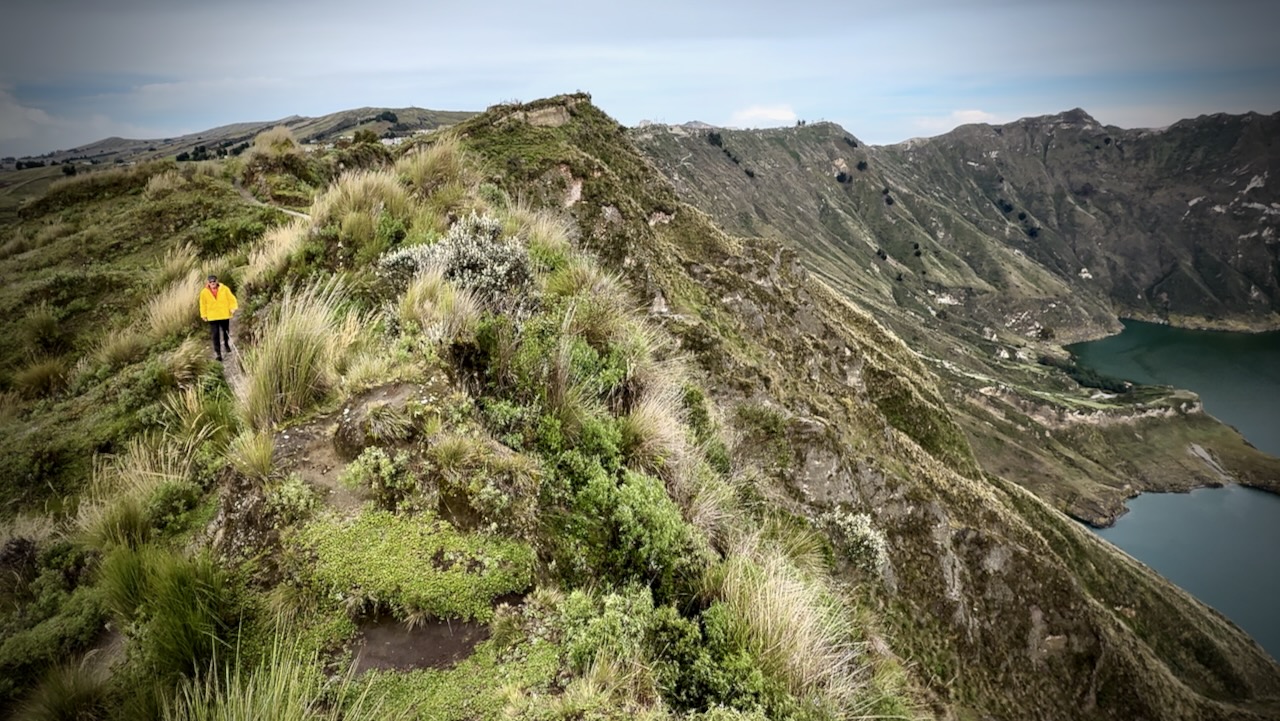
Quilotoa Crater Rim
In 2026 almost every hiker I met was using the AllTrails app offline to find their way. Our back-up was the Maps.me app offline which includes more trails, more options.
Despite those apps, we all managed to miss multiple side trail turn-offs every day. 😀
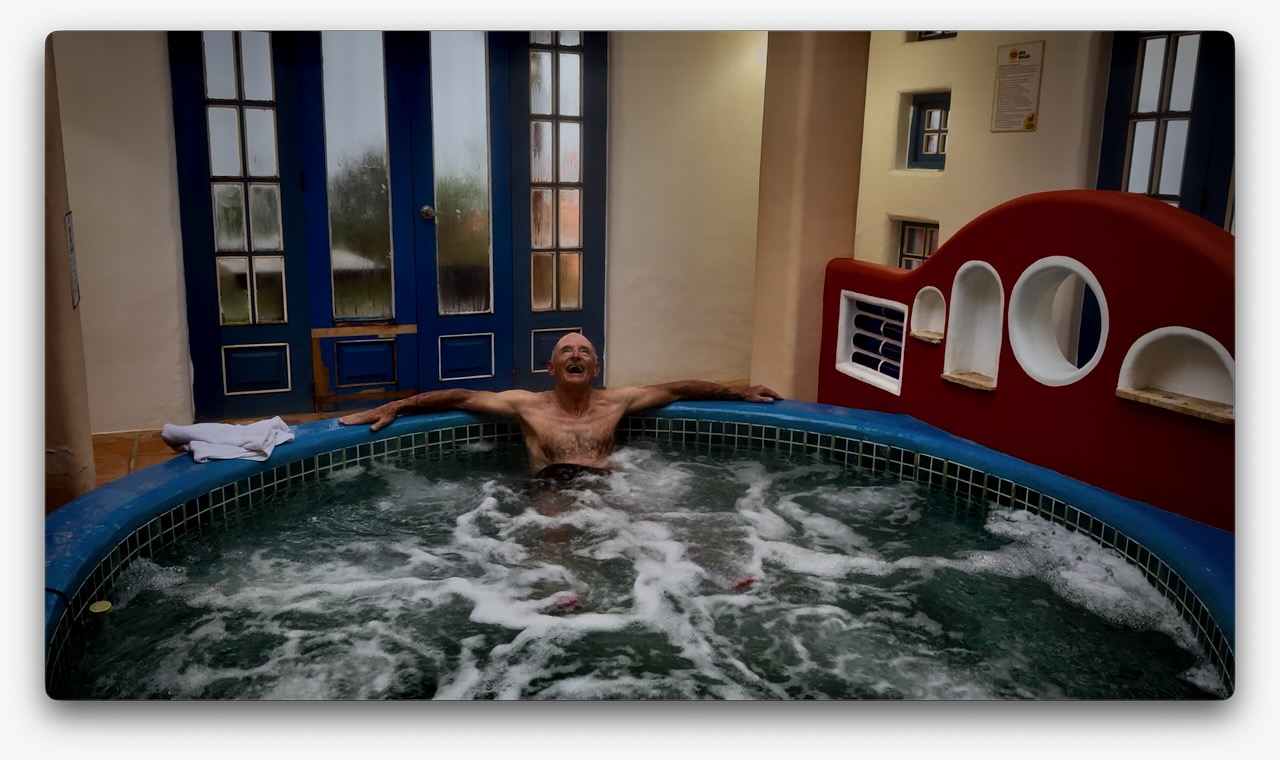
Most hostels cost about $20 for a private room including a complete breakfast and dinner. Hot or warm showers. Good wifi. Jacuzzi and sauna extra charge. A fantastic bargain.
Though I carried a tent as emergency back-up, there’s no way I was going to use it with so many great, inexpensive hostels available.
Weather is a huge factor. I hiked in early February, one of the best months. But had rain almost every afternoon. The rule here is to do as much hiking as possible early in the day.
Farm dogs tend to bark at strangers. At times you must pretend to throw something at them to dissuade.
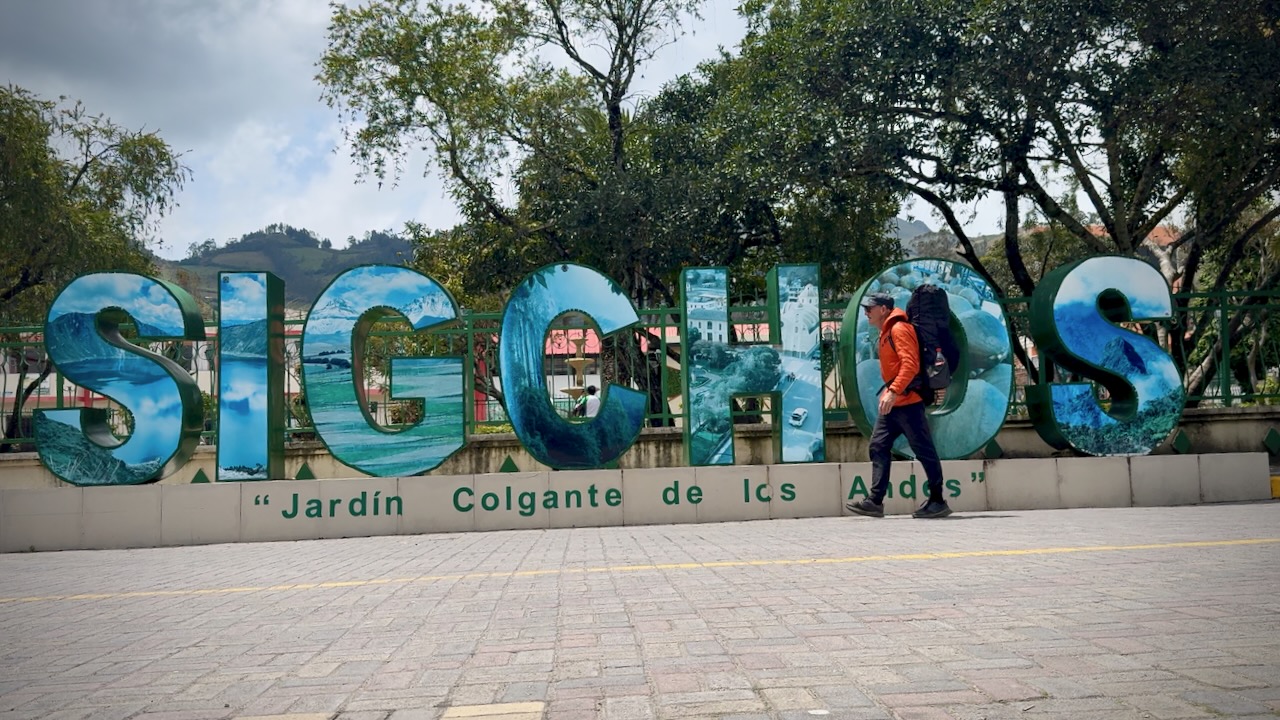
Typical 3-Day Itinerary (Sigchos to Quilotoa)
Most hikers prefer this direction to save thecrater lakefor the end and to acclimatize more gradually.
Sigchos (2850m) to Isinliví (2950m).
Distance: ~9.9 km (6.1 miles)
Time: 4–7 hours
Details: This is the easiest day, involving a descent into the Toachi Canyon and then an ascent to Isinlivi. The trail goes through lush farmland and past small communities.
Isinlivi to Chugchilán (3200m)
Distance: ~11.8 km (7.3 miles)
Time: 4–8 hours
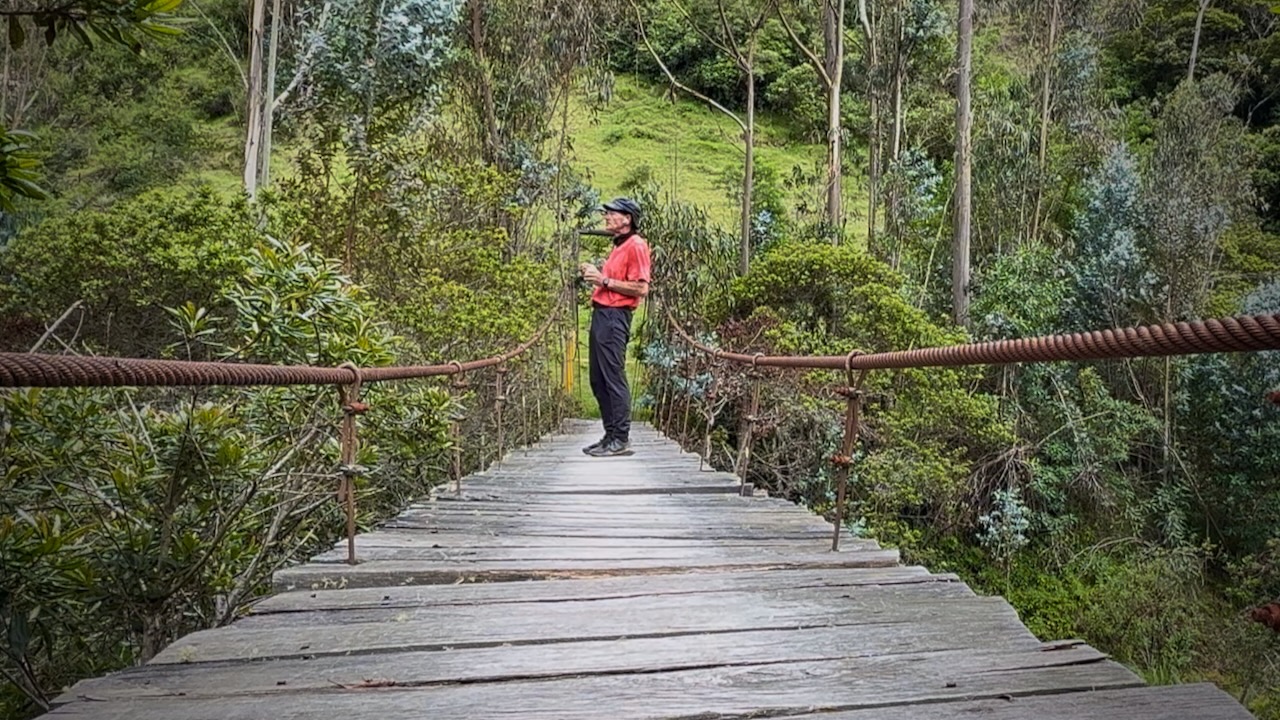
Details: A harder day with two major climbs and a suspension bridge crossing at the bottom of the valley. The hike takes you through more dramatic canyon landscapes.
Chugchilán to Quilotoa (3800m)
Distance: ~13.2 km (8.2 miles)
Time: 5–9 hours
Details: The most challenging day due to the significant elevation gain at high altitude. The trail gradually climbs up to the rim of the Quilotoa crater, offering stunning views of the lake at the finish.
Once at Quilotoa village, most hikers catch a bus back to Latacunga. I stayed overnight in the village to be able to complete the additional 10.8km Quilotoa Crater Circuit next morning. Not easy. That’s an extra 795m elevation gain.
Day 1
I stayed one night in Latacunga, gateway city to the Quilotoa Loop. Hostal Café Tiana was excellent. I opted to carry ALL my gear rather than leave anything behind at the hostel.
Next morning caught the bus toSigchos. And began the walk to Isinliví.
I was enjoying Llullu Llama Mountain Lodge — so didn’t start walking until 11am. Not smart. You should get going as early as possible each day.
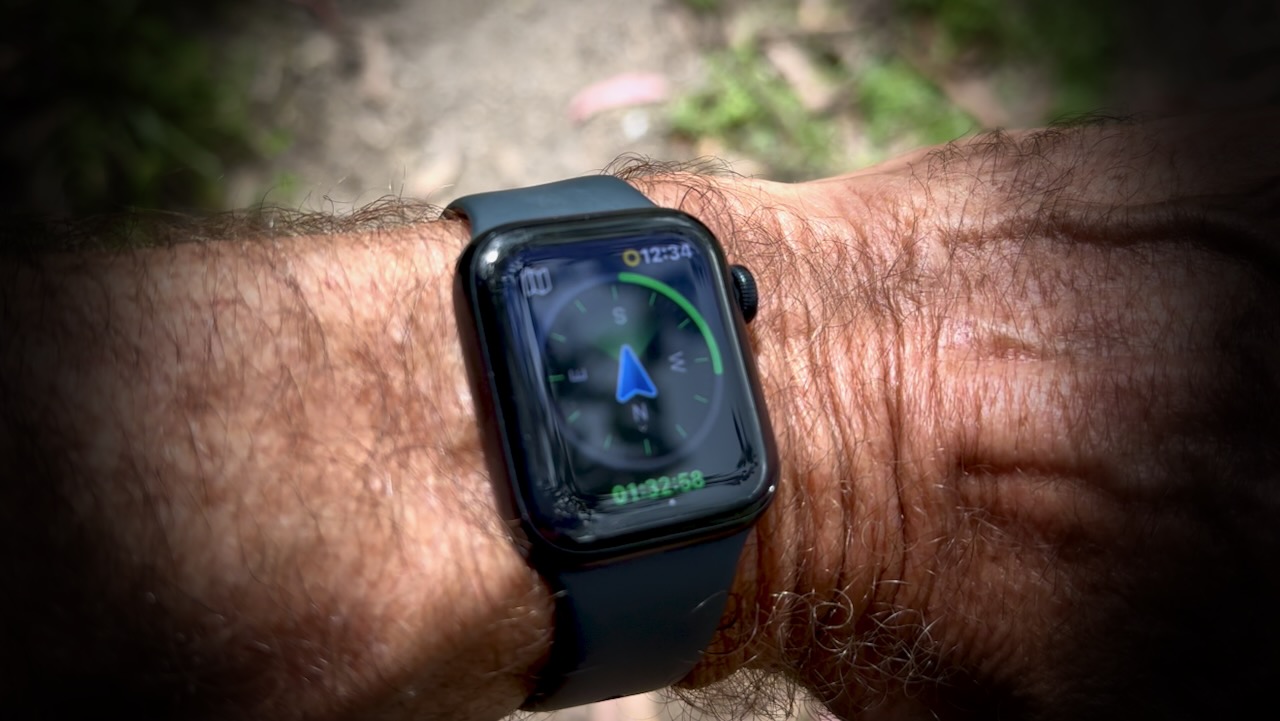
As we’d all missed many small trail turn-offs the day before, this time I opened the AllTrails app on my Apple Watch. In general, the green means you’ll be turning in that direction. It did help. I missed fewer turns. BUT this does kill the watch battery quickly.
Screenshot
Day 2 was tougher and wetter.
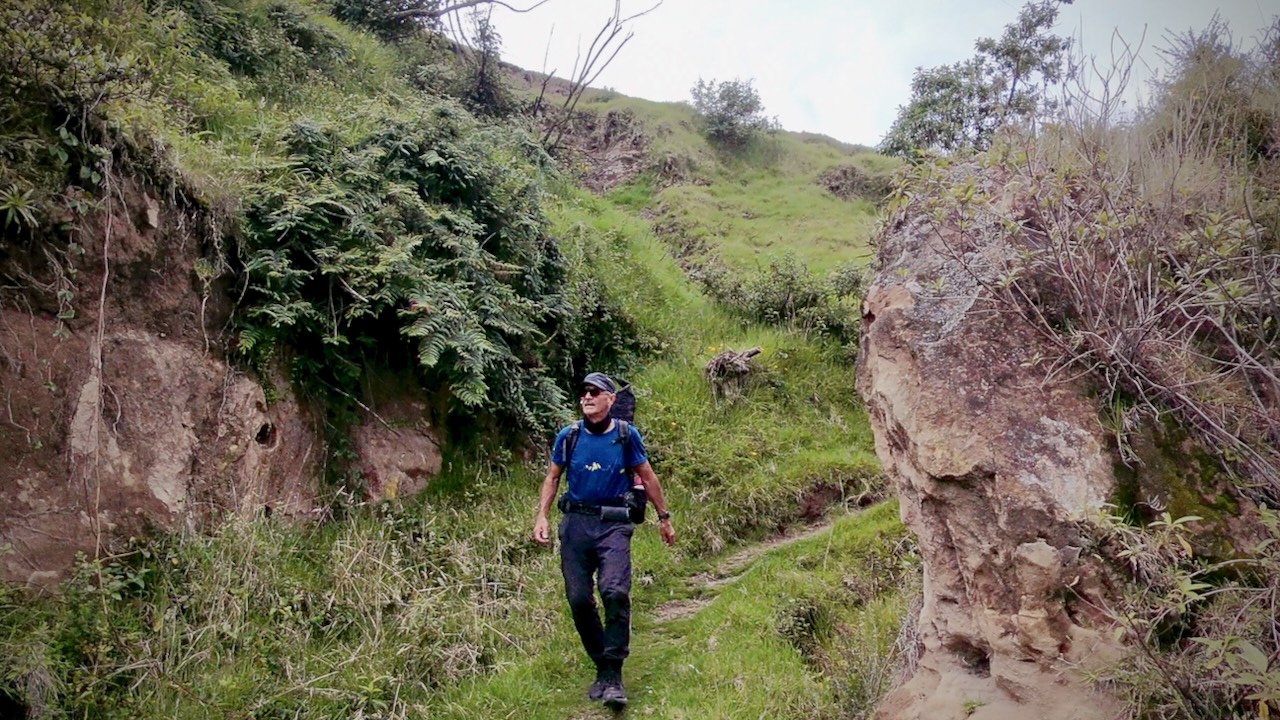
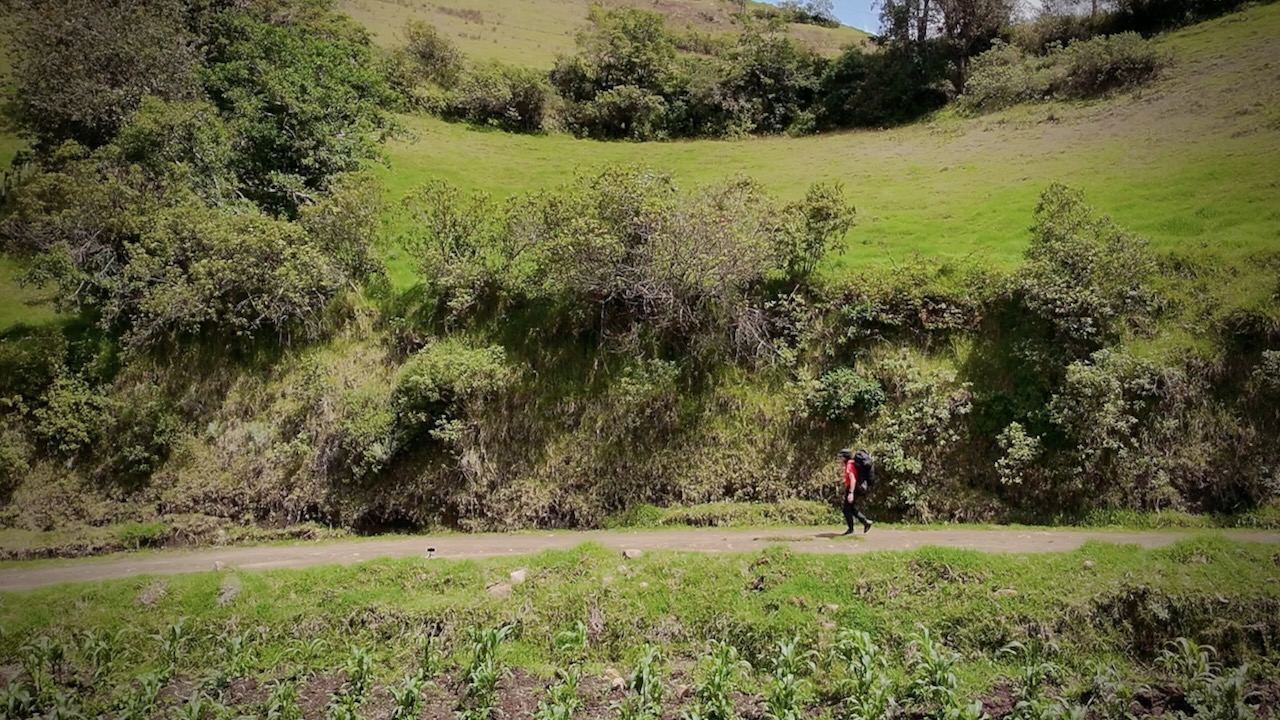
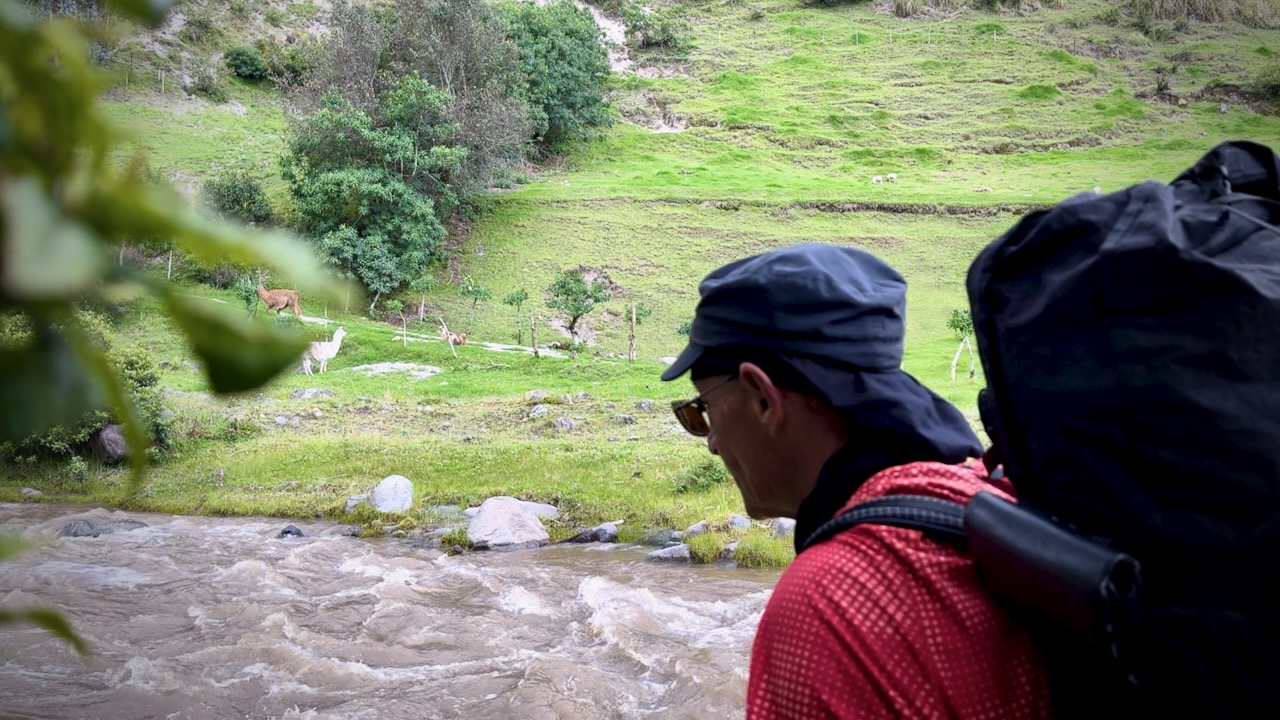
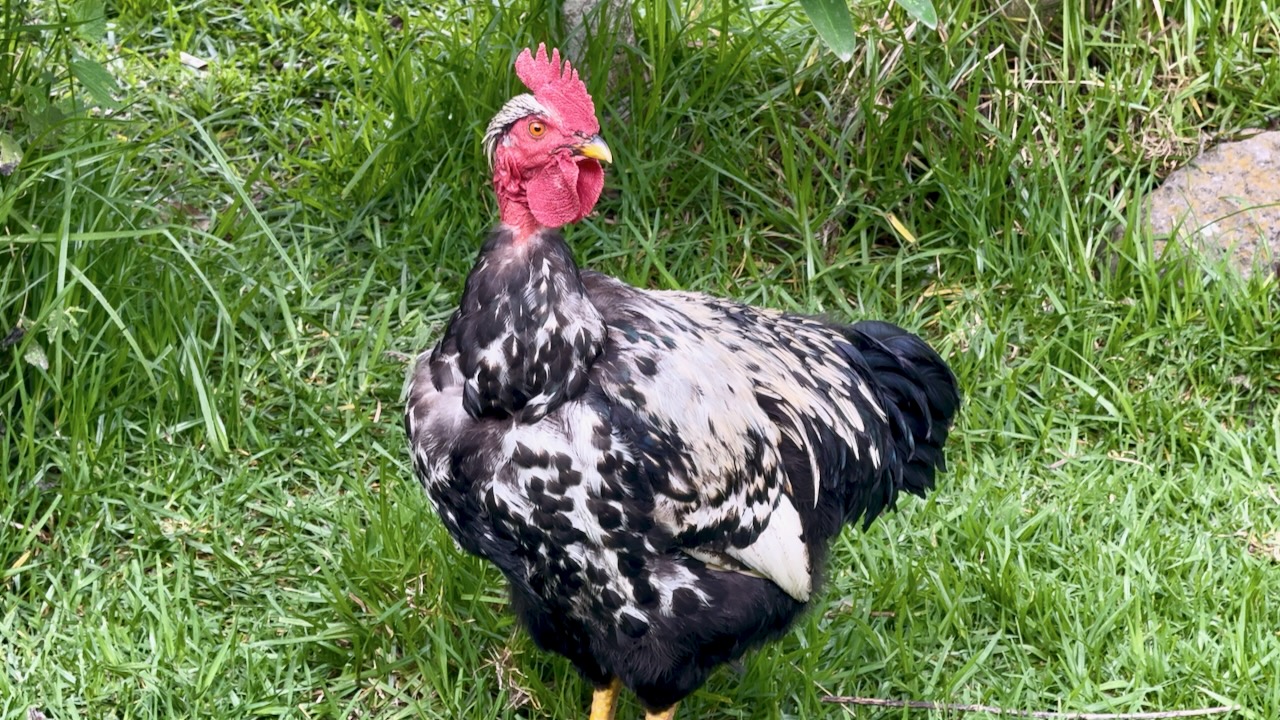
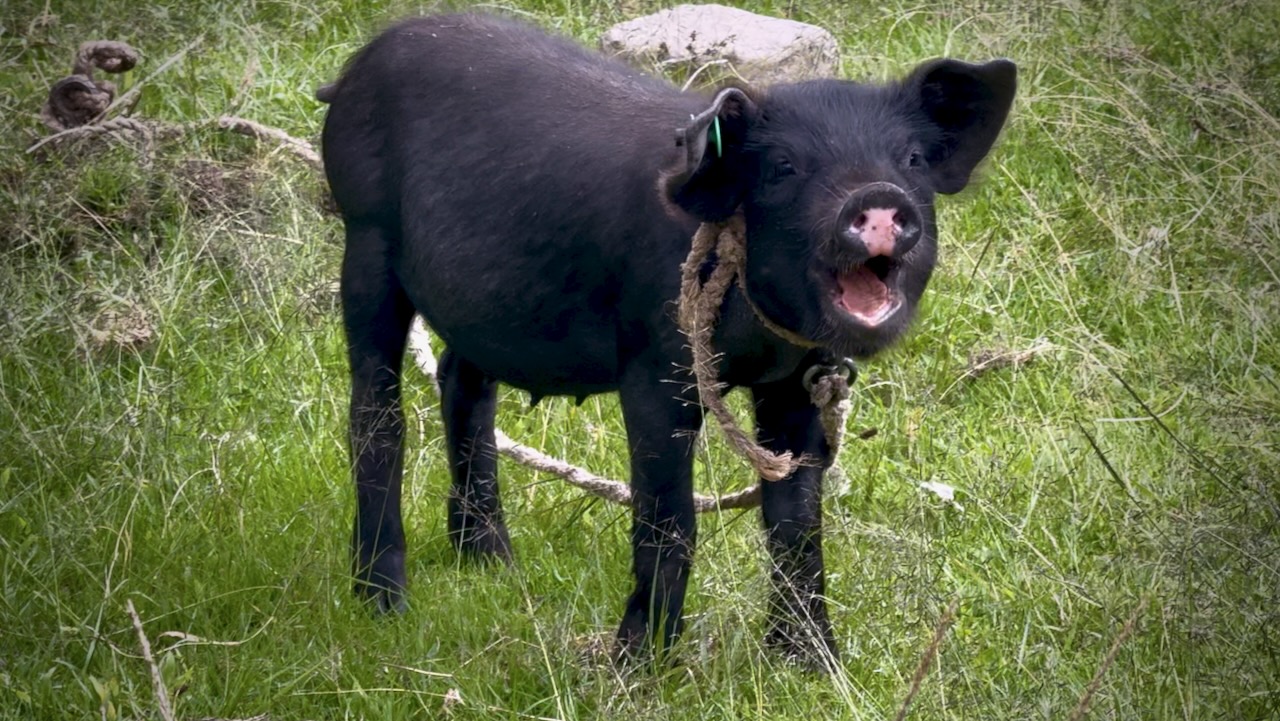
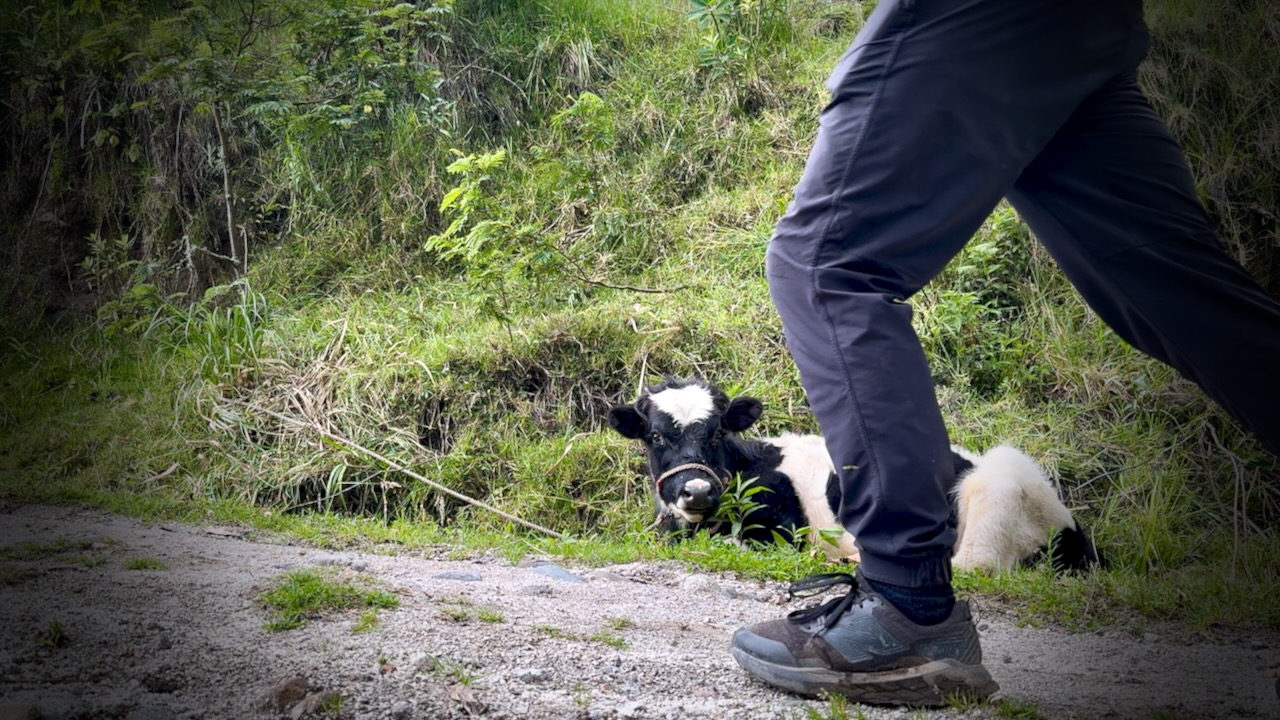
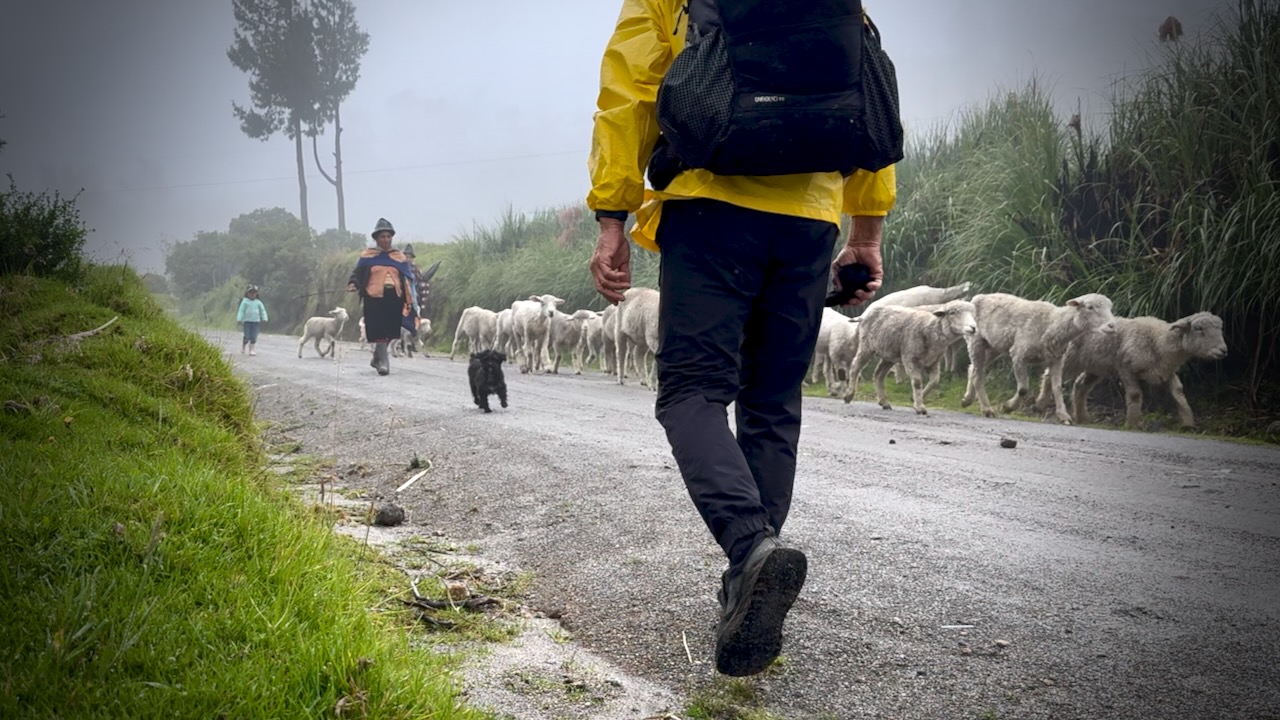
I saw few hikers each day as we were all walking the same direction. BUT was never lonely. Domestic animals are everywhere on this trail.
The sun was out for several hours. Dangerous near the equator. It’s easy to sunburn. I should have covered-up up better.
Sunburn victim.
Peanut butter for lunch on the bridge.
As is typical of the weather here, rain began in the early afternoon. My phone ran out of juice and would not be recharged by portable battery because the cable was wet. My Apple Watch died.
Without electronic navigation, I could really have gotten lost.
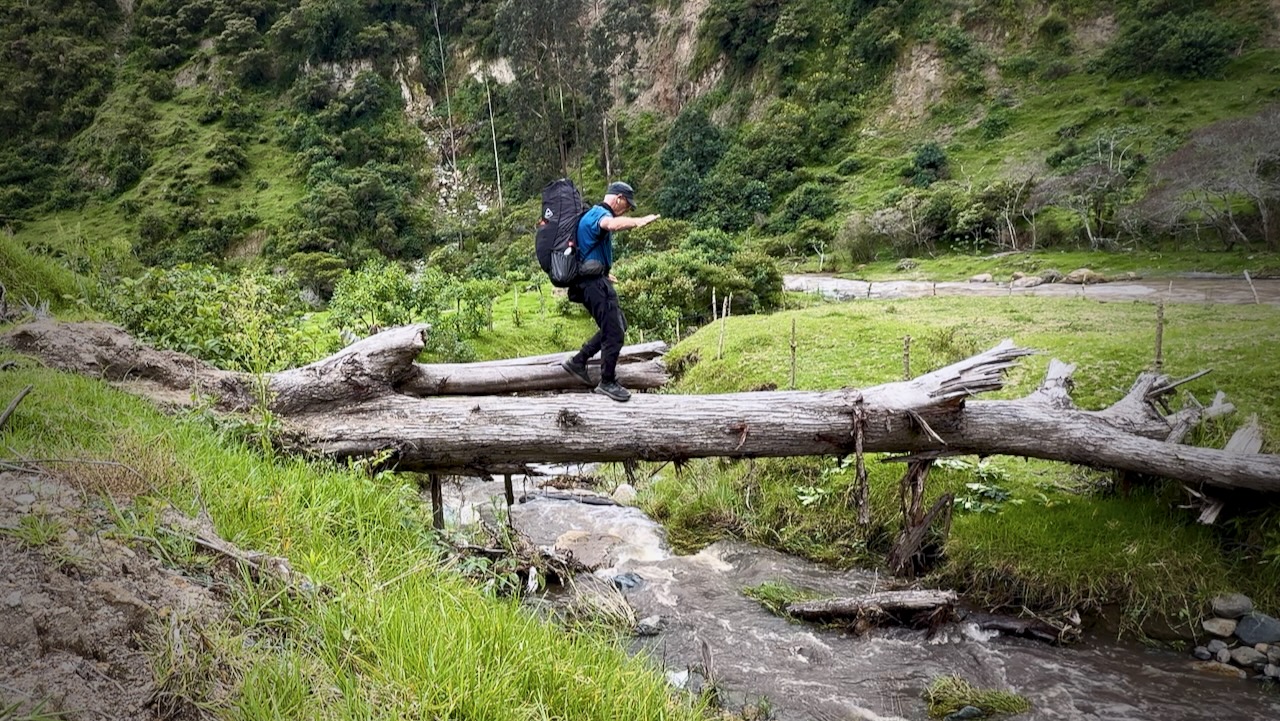
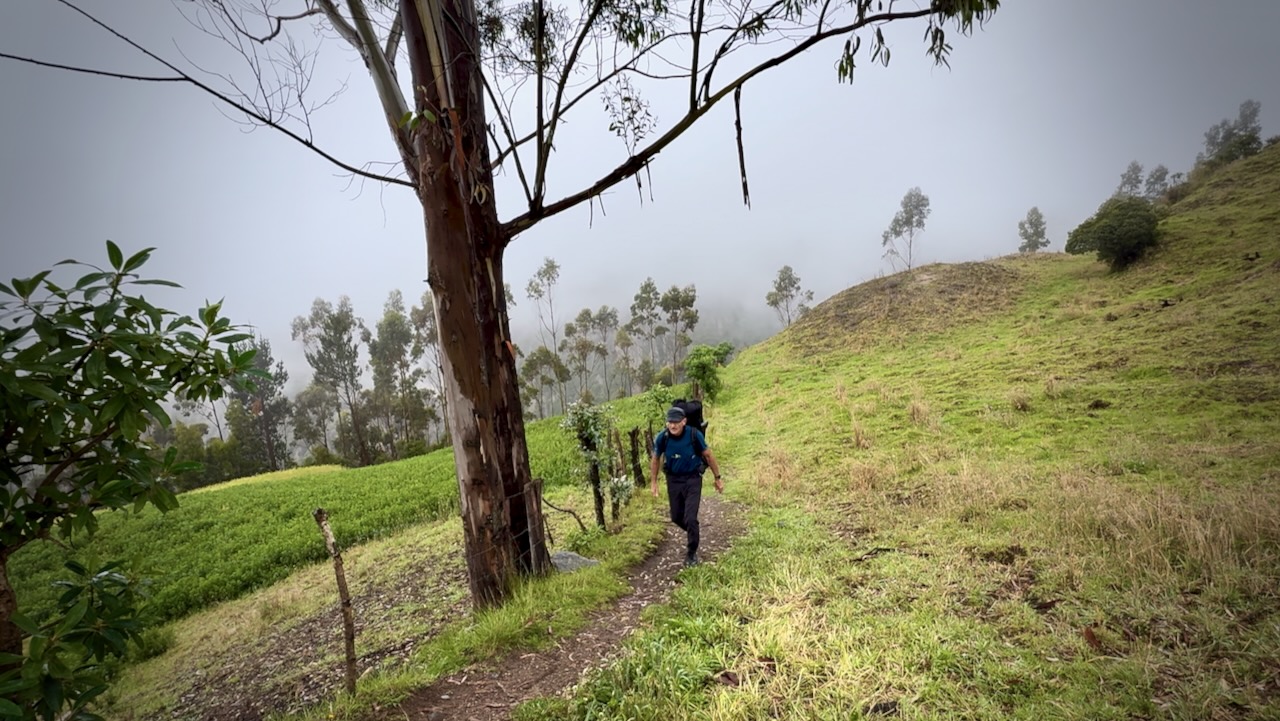
Even worst, the last part of day 2 has multiple possible routes. I ended up on one which was stunning, but more difficult. Somehow I still made it to Chugchilán, a larger town. We stayed at the Cloud Forest which featured a Sauna.
Day 3
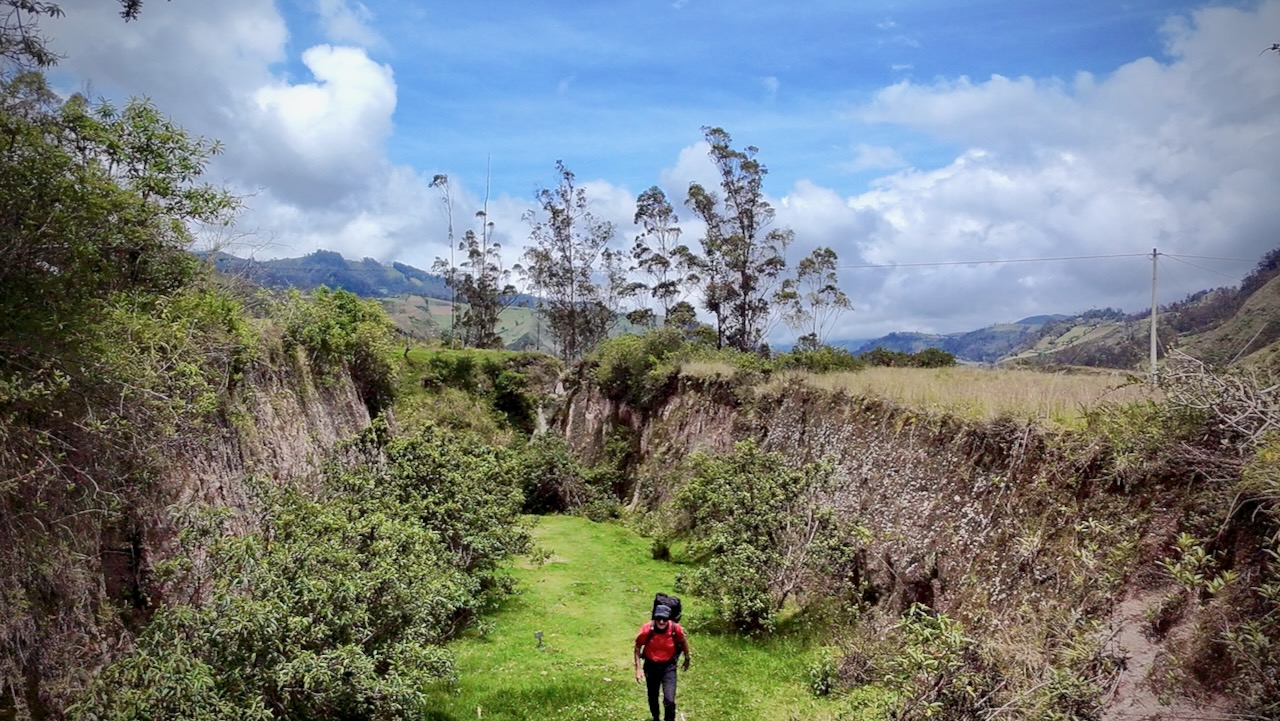
Having learned my lesson, I started early.
As elevation increases, I had more cloud.
Hikers debate which is tougher ➙ day 2 or day 3. Both are challenging.
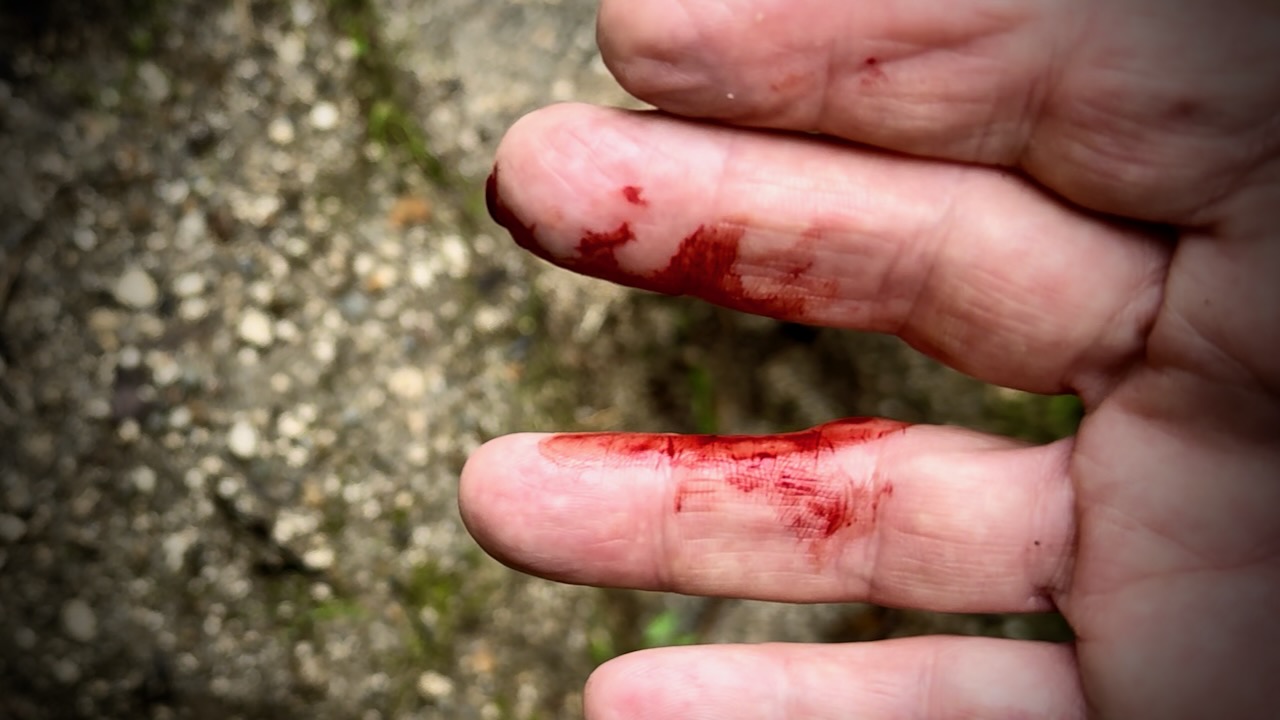
My fingers were bleeding at least 3 times. Some of the vegetation is thorny.
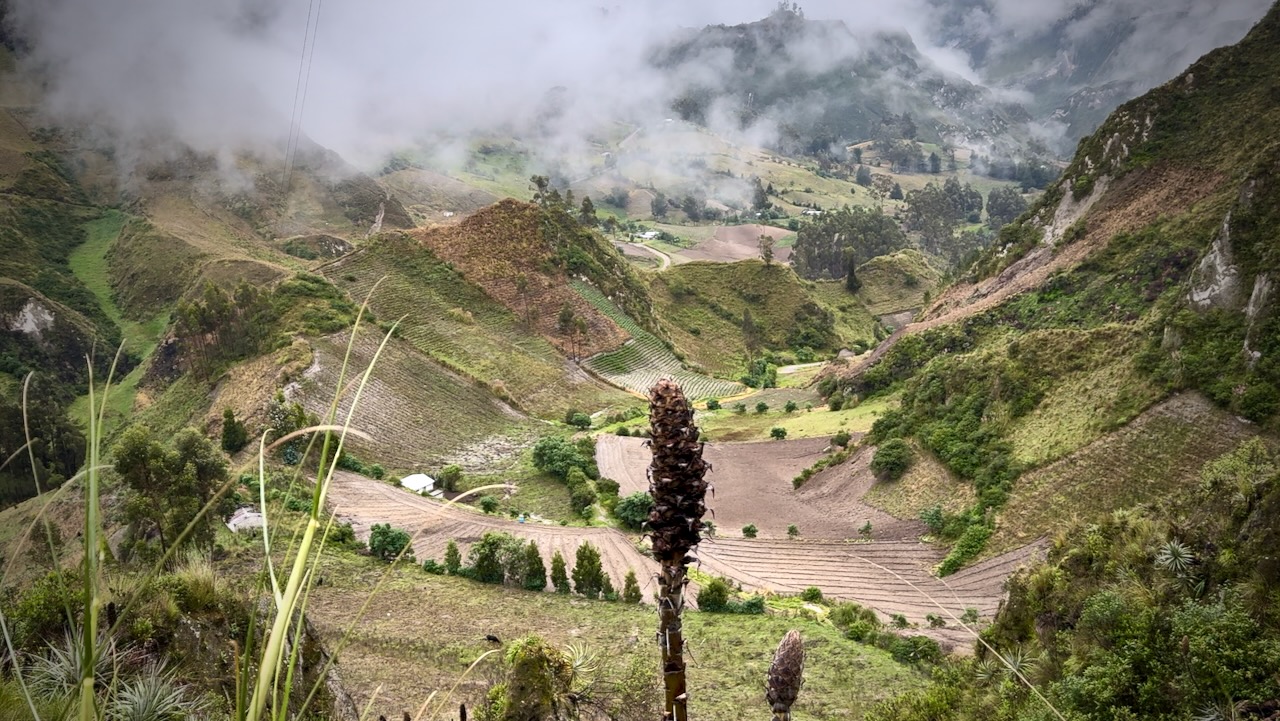
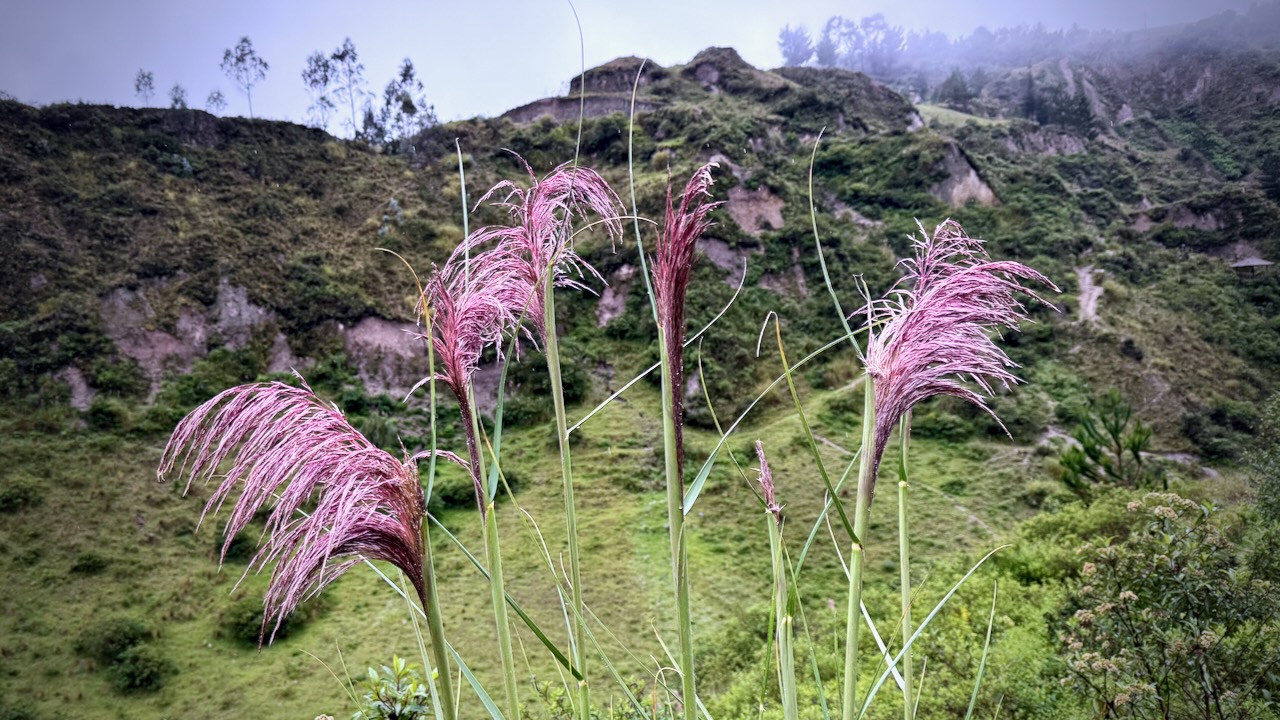
There are some astonishing valley vistas this day.
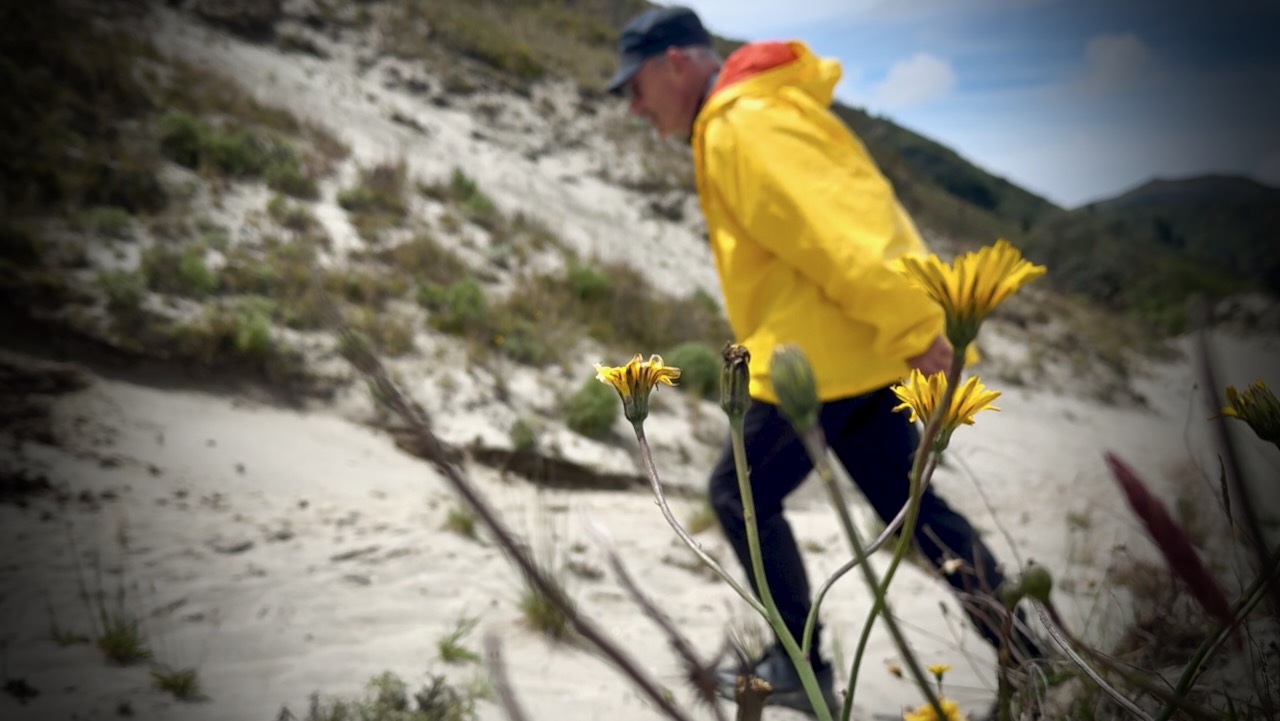
Vegetation does change with elevation.
Rush hour.
Celebration time when finally reaching the crater ridge.
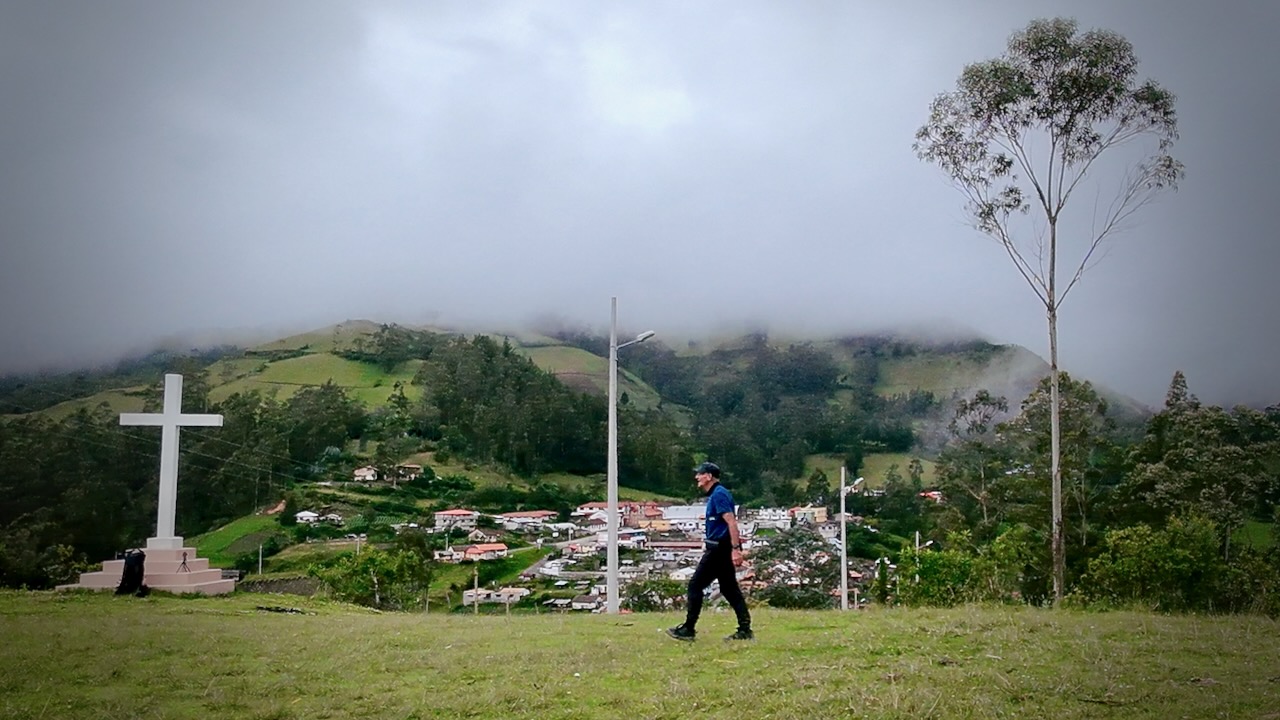
From this point, it’s still about an hour’s walk to Quiloto village, a 100% tourist trap.
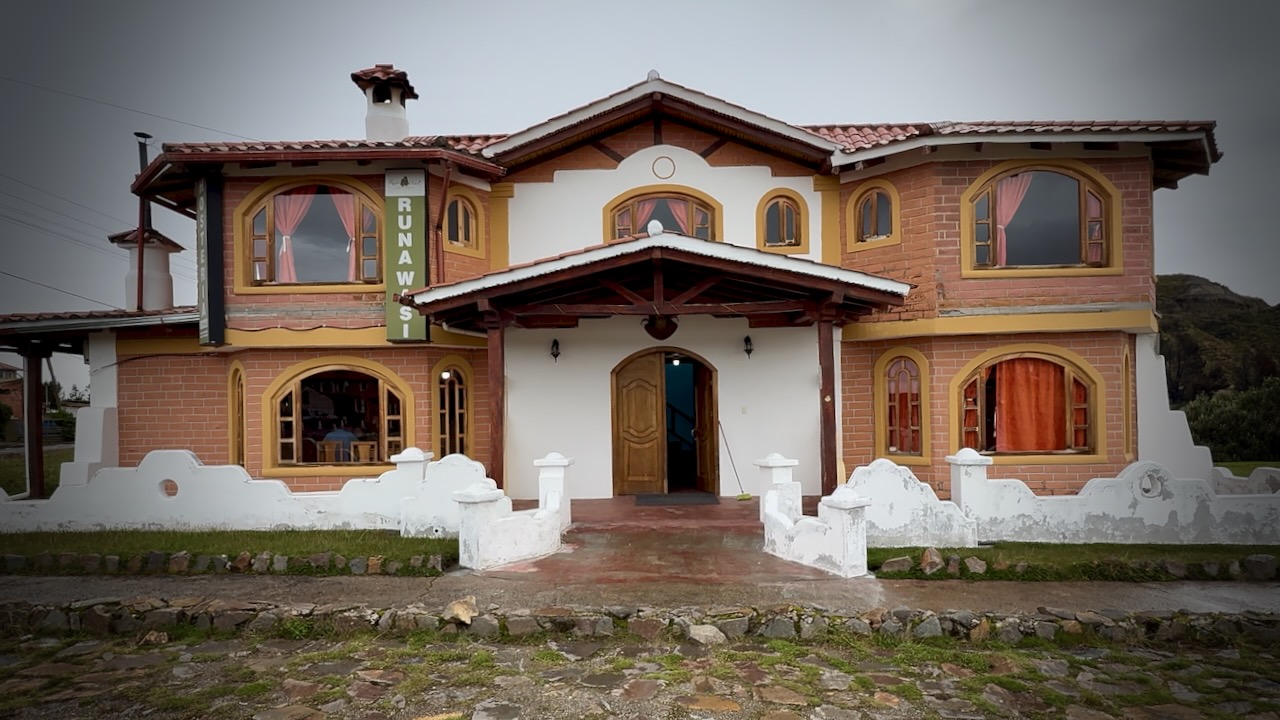
I was happy we decided to stay at Runa Wasi hostel. Classy, friendly accommodation.
By the end of day 3 you’ve gotten to know hikers on the same schedule. Celebration time.
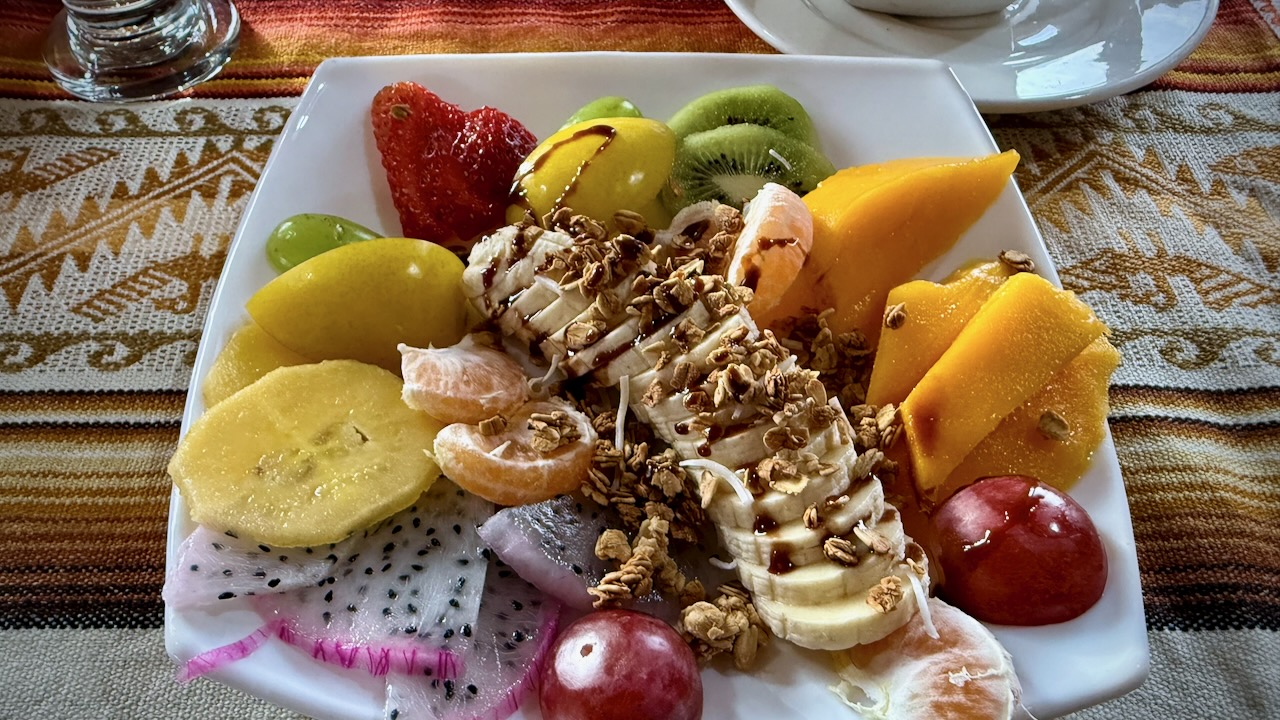
Great food, as well.
Day 4
Breakfast as quick as possible ➙ then off while the weather was good.
The 10.8km Quilotoa Crater Circuit next morning took me 4-5 hours. An extra 795m elevation gain with MANY photo & video stops.
Quilotoa village.
After 3 days with a heavy load, I decided to chug a litre of water. Then speed hike the Circuit with no day pack.
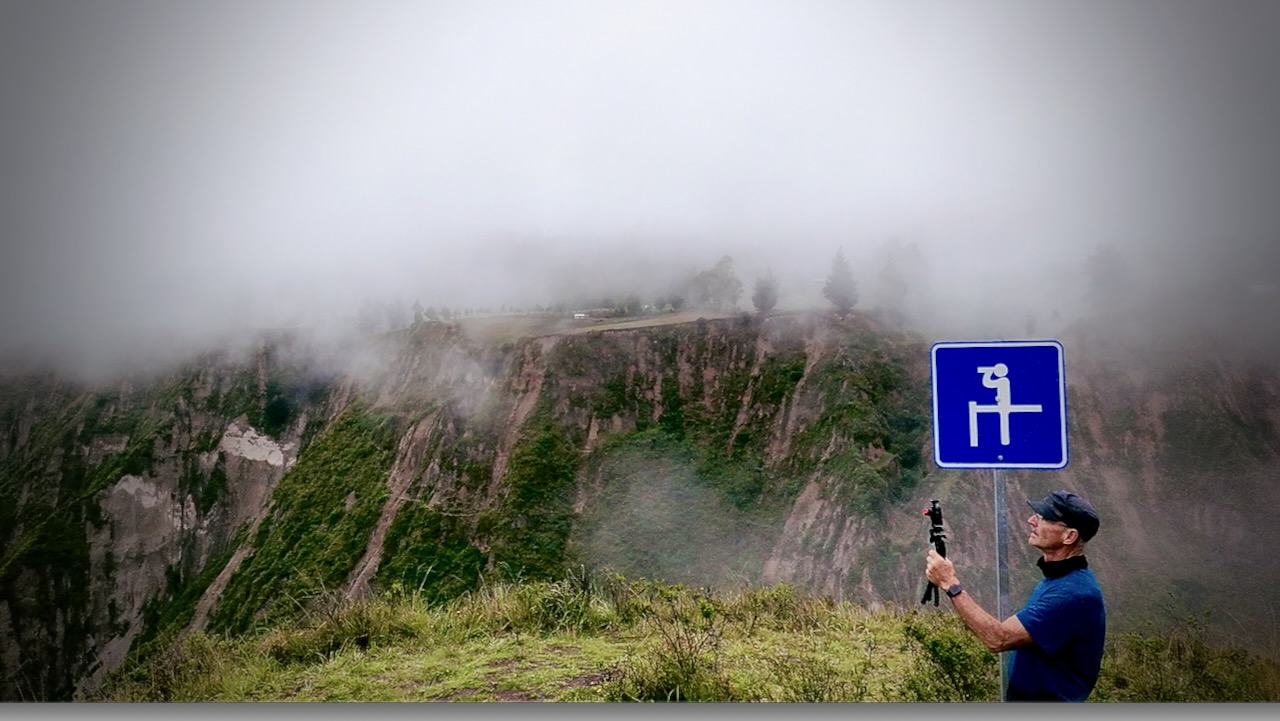
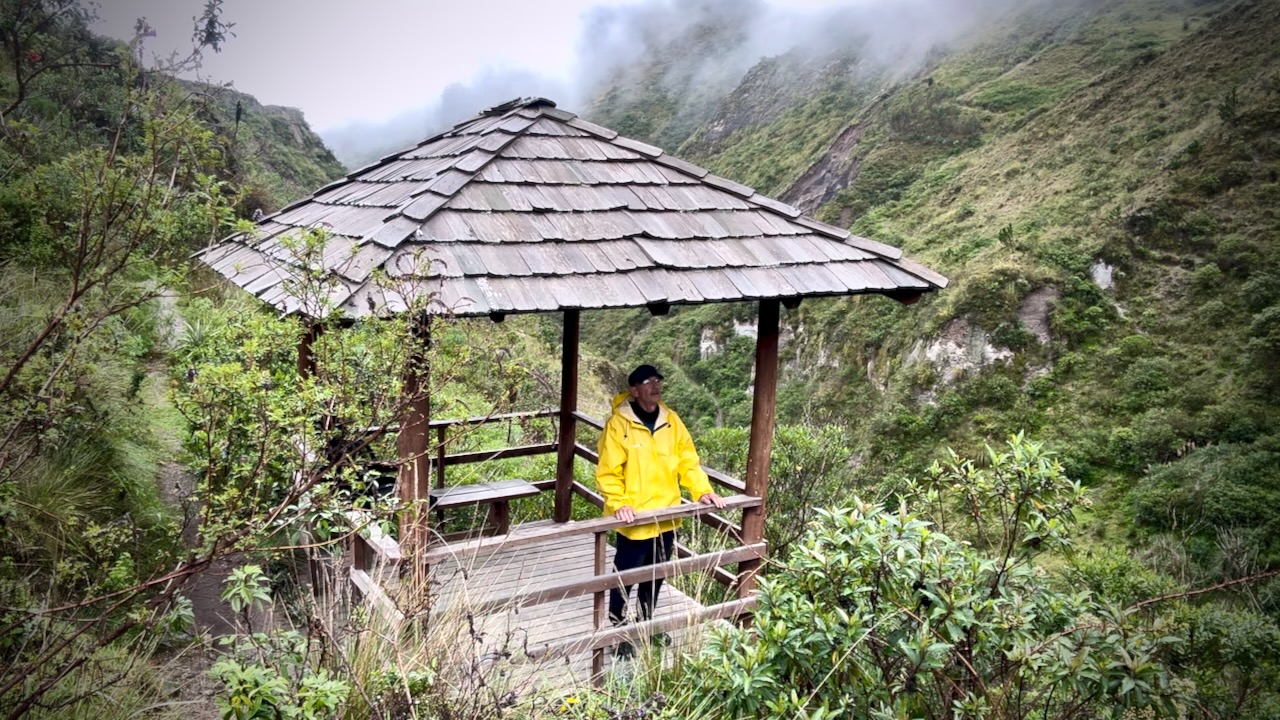
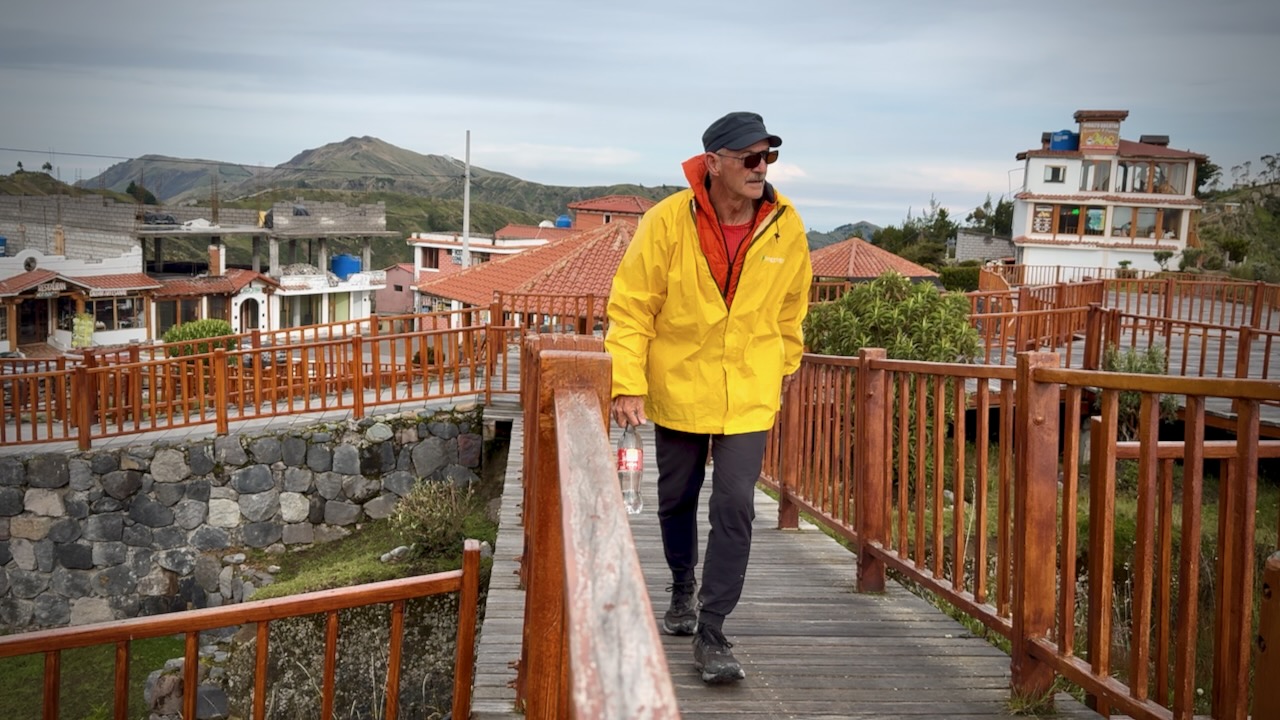
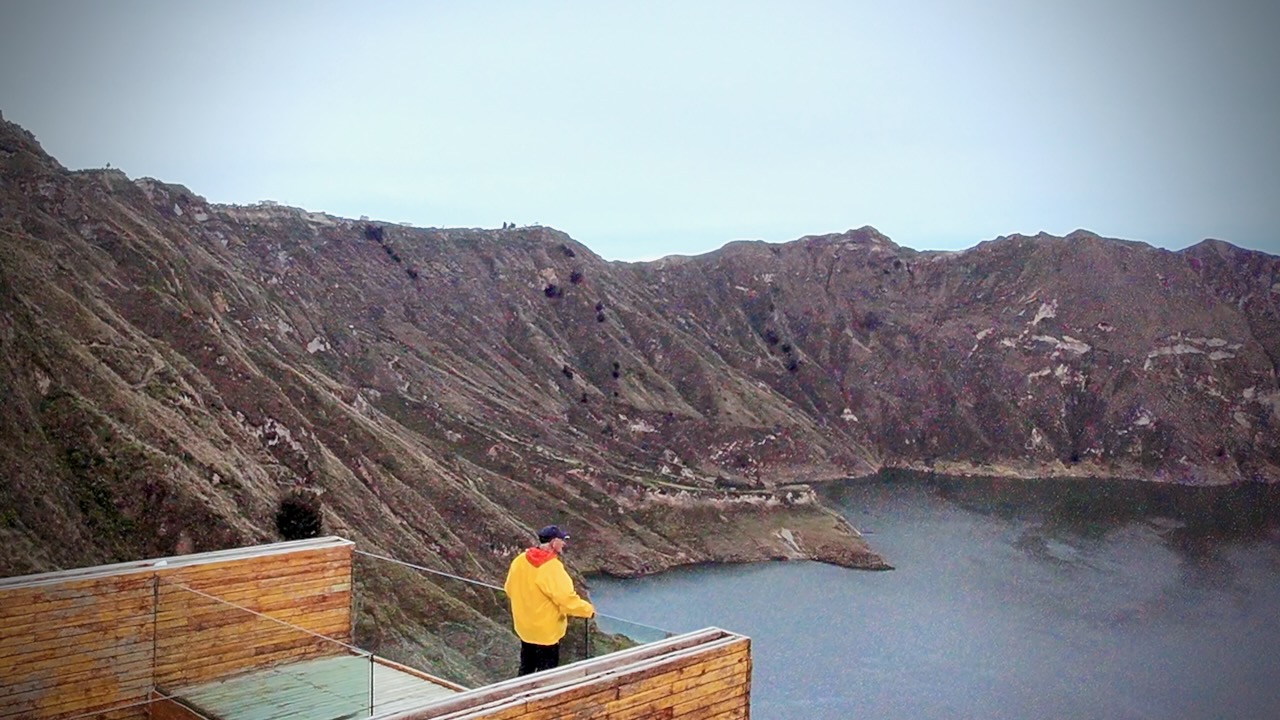
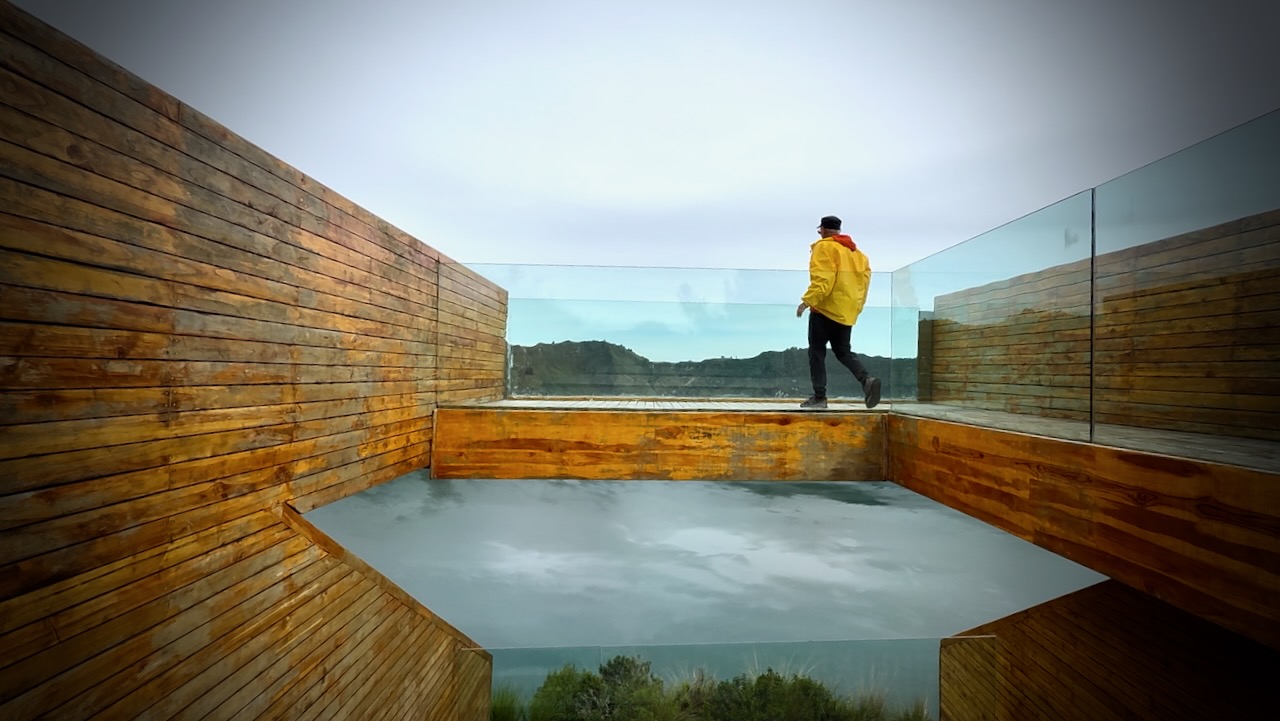
There are a number of viewpoints. This one with the glass floor the most impressive.
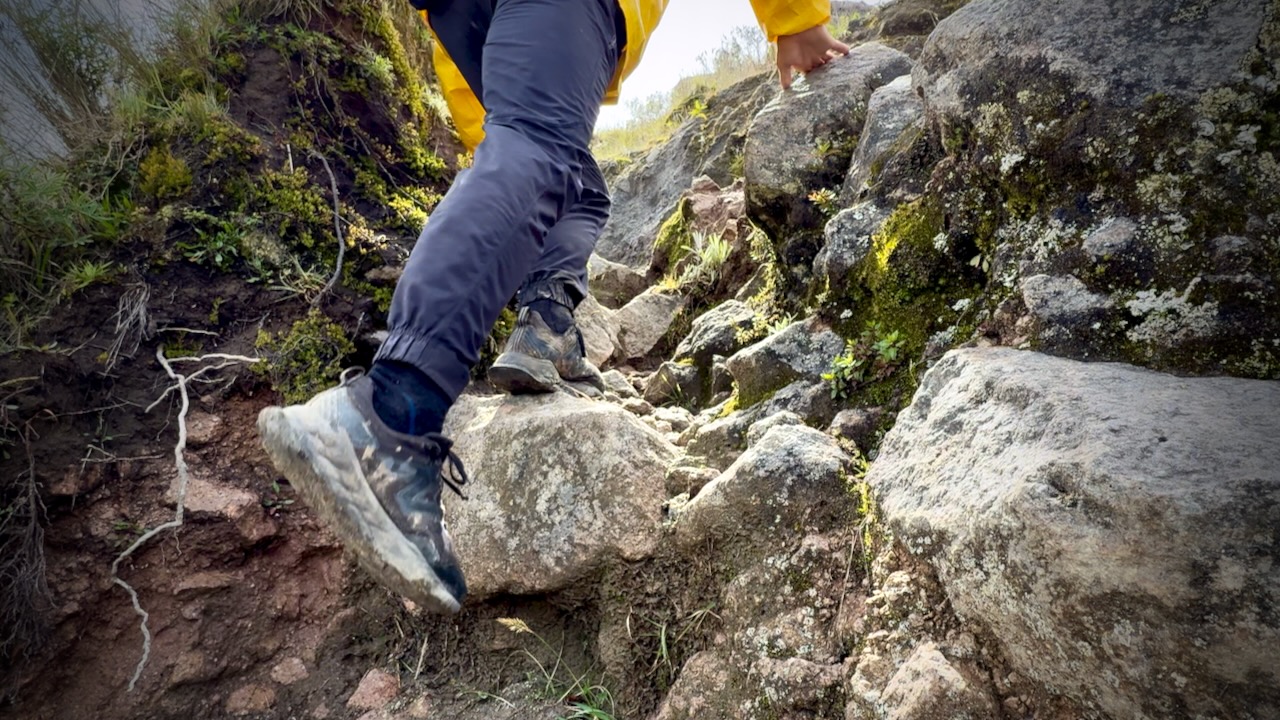
I’d decided to turn right from the village as this was considered the more difficult part. And I wanted to do it first in case of rain later. There is some scrambling.
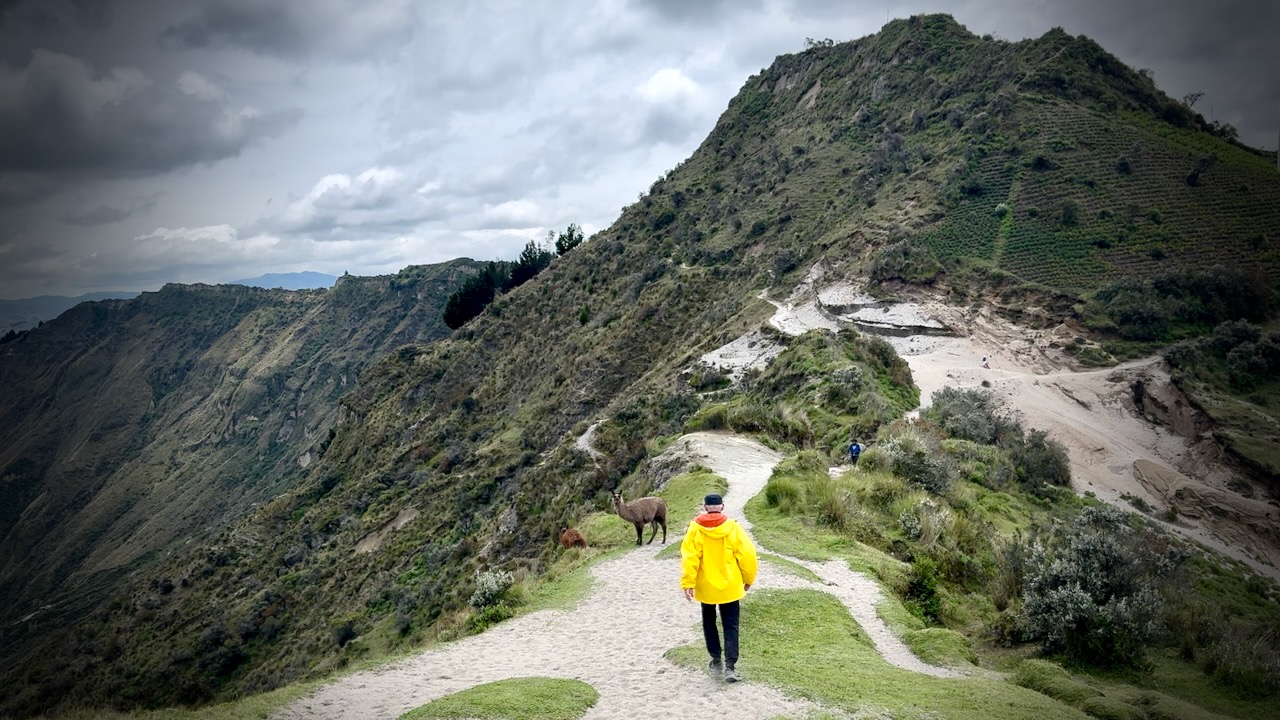
There are some random llamas on the rim. Village children ask $1 if you want to take a photo.
With no day pack, I made good time.
Weather excellent this morning. Though quite windy.
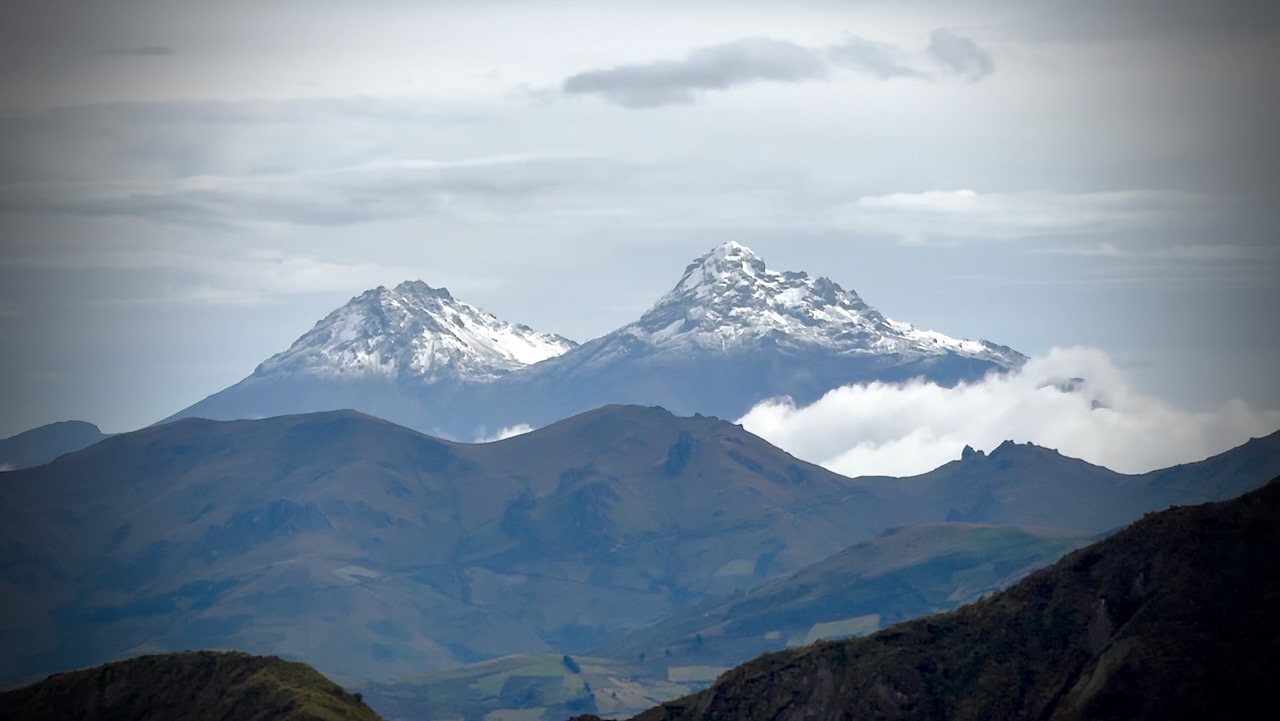
Good views of snow-capped volcanoes Cotopaxi and Chimborazo.
For me, this was the best hiking day.
You could drive or bus up to Quilotoa village and just do this Circuit.
I caught the bus back to Latacunga. And connected to Quito.
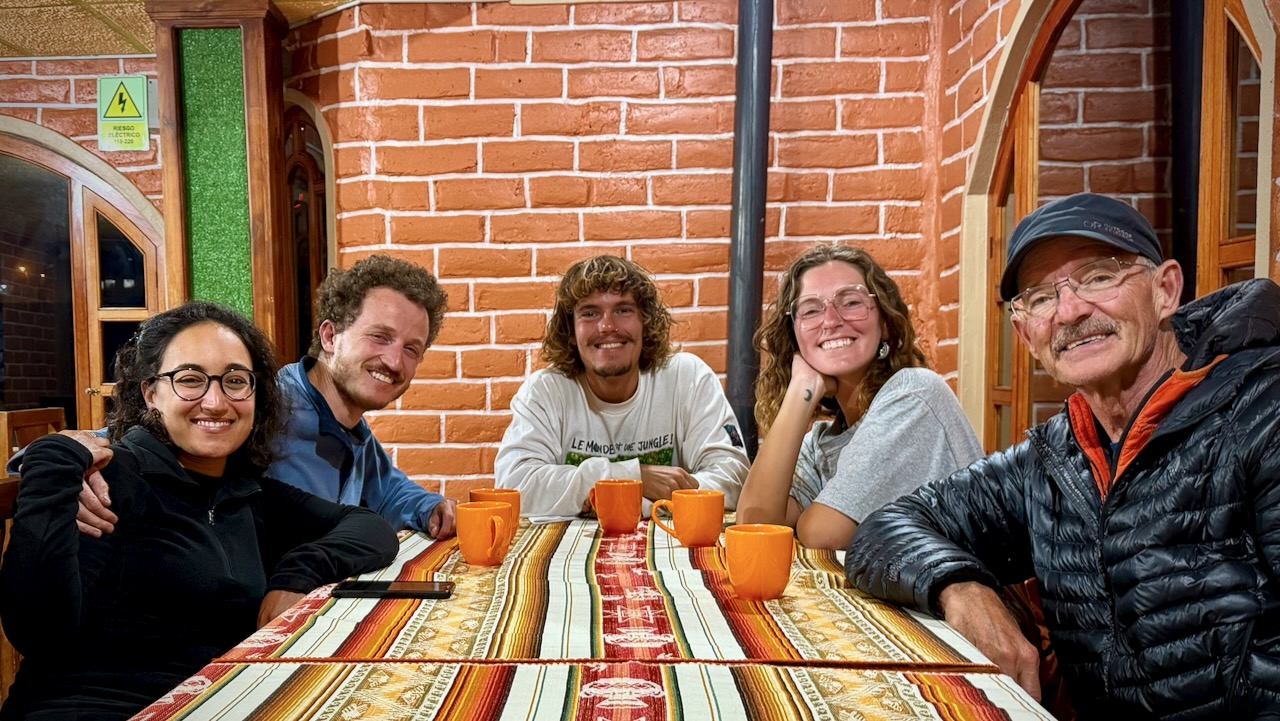
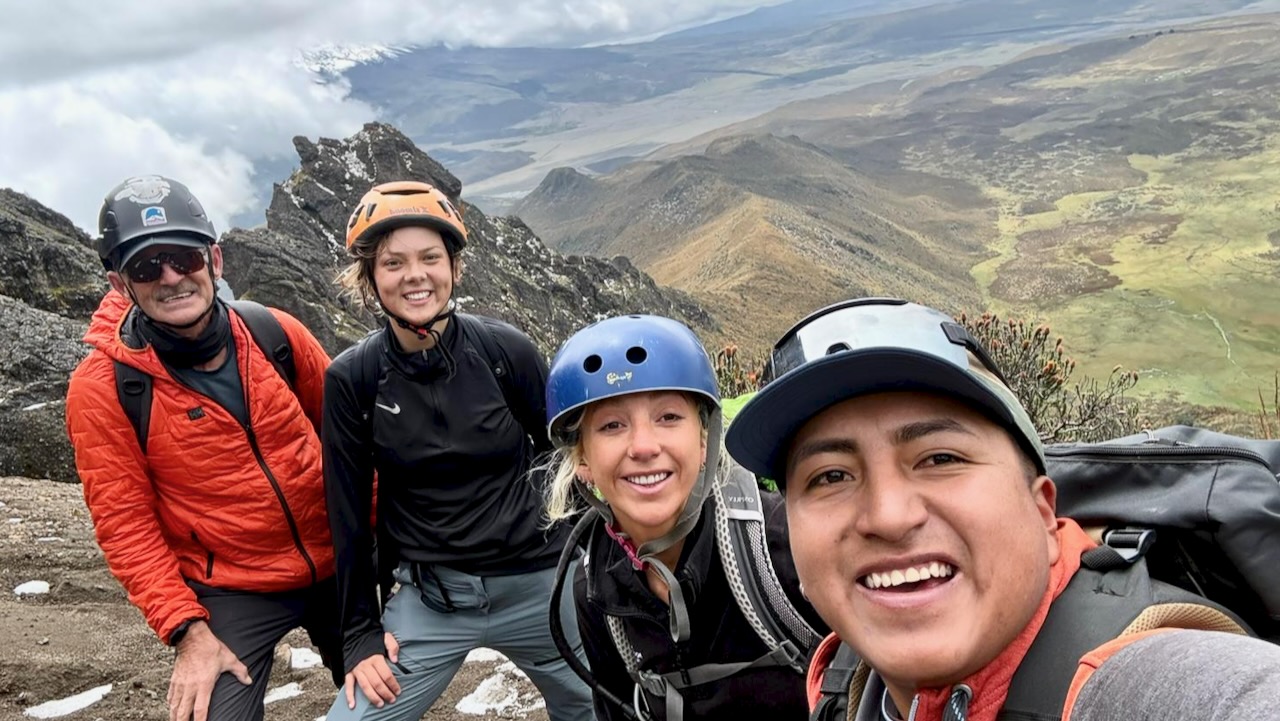
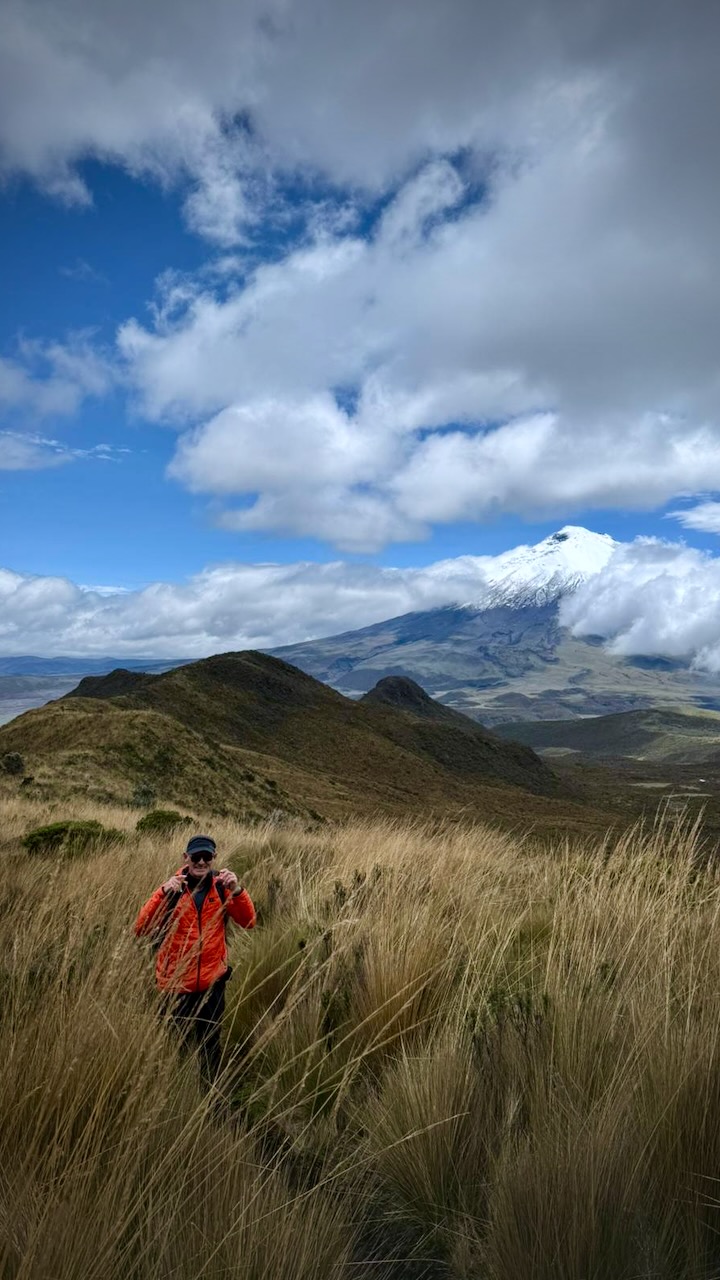
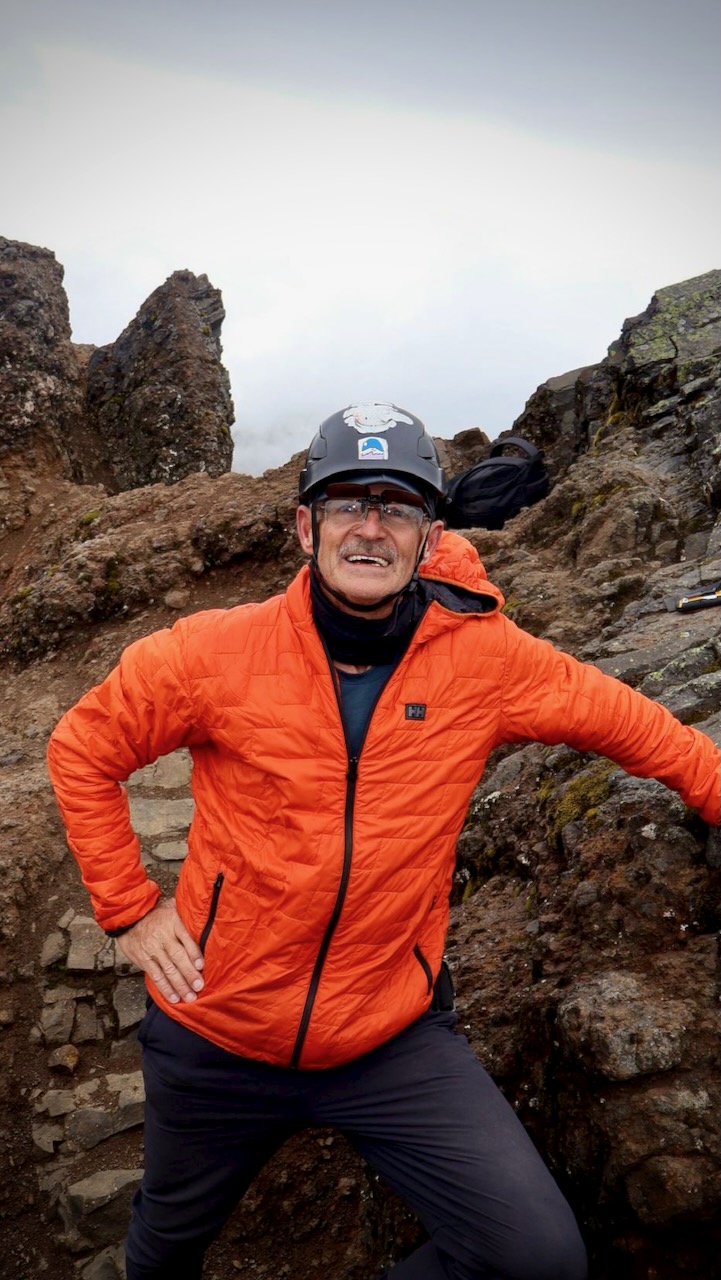
Spoiler. Lexi, Tahel, and myself all made it to 4,643m. Super happy here. Our guide was terrific.
Rumiñahui is considered a lead-up to Cotopaxi (5,897m) and then Chimborazo (6,263–6,310m).
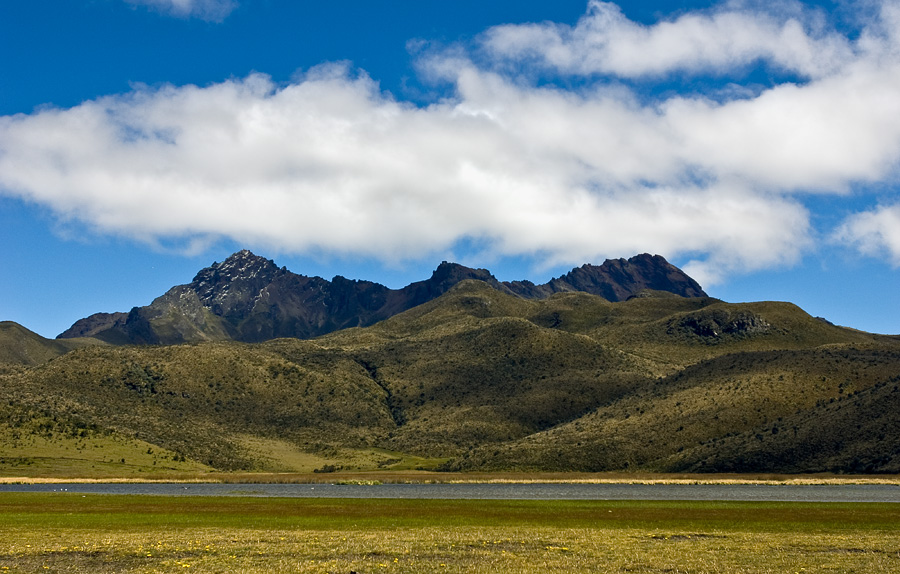
Rumiñahui is a dormant, heavily eroded stratovolcano 4,721 metres (15,489 ft) above sea level.
Situated in the Andes mountains 40 km south of Quito, Ecuador, it is overshadowed by its famous neighbour Cotopaxi.
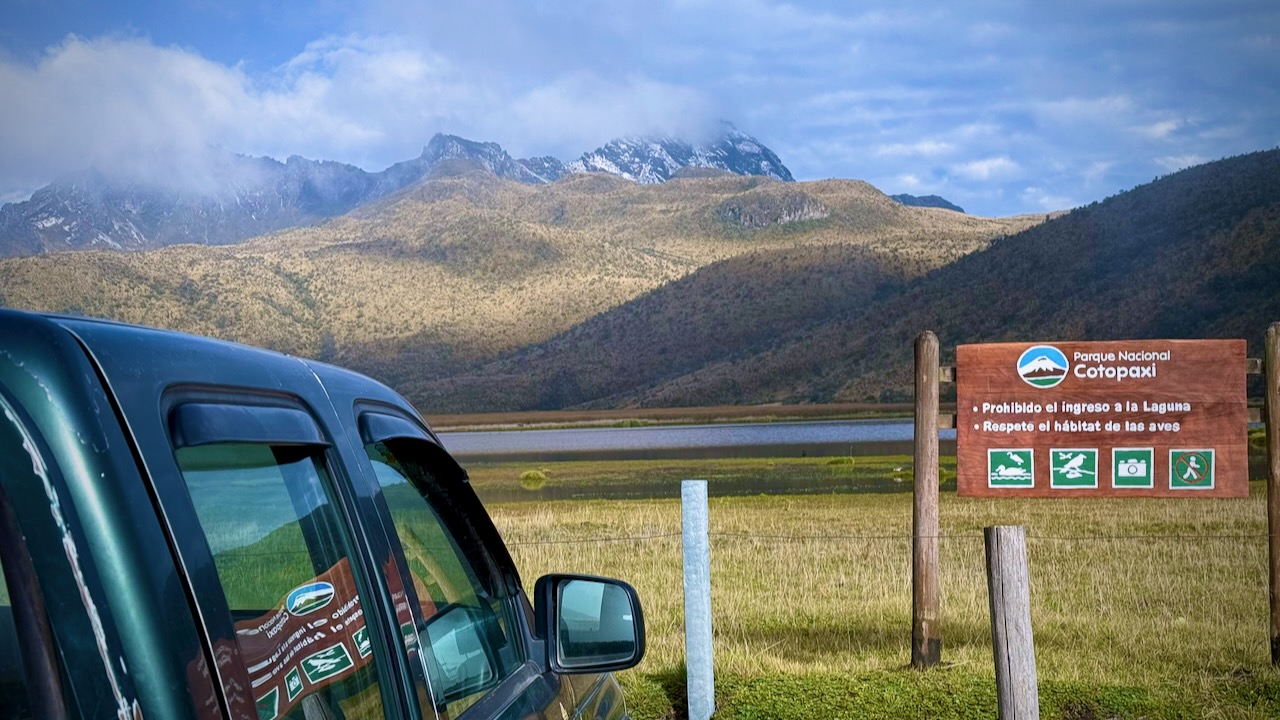
This mountain is in Cotopaxi National Park, so we drove directly towards the big peak. Excellent weather early morning.
We parked at Lake Limpiopungo at approximately 3,850m. Many different species of birds alight here.
Headed to that central peak.
We saw rabbits at the beginning while climbing up through paramo.
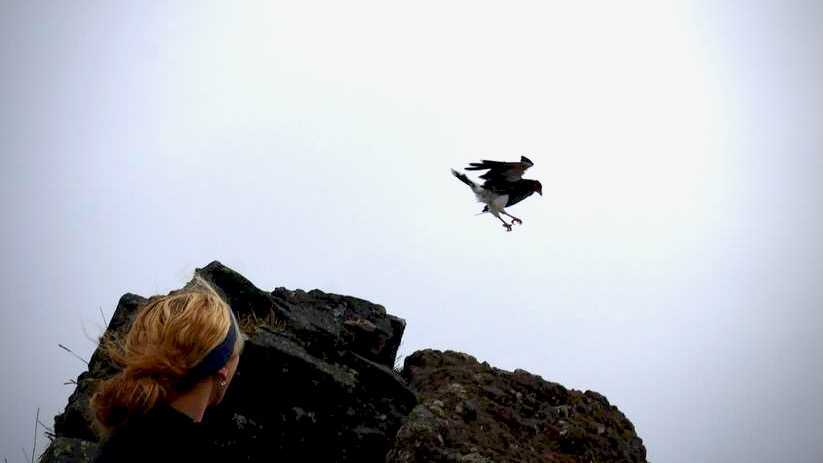
And condors floating in the updraft.
On the way down, our guide spotted wild horses below.
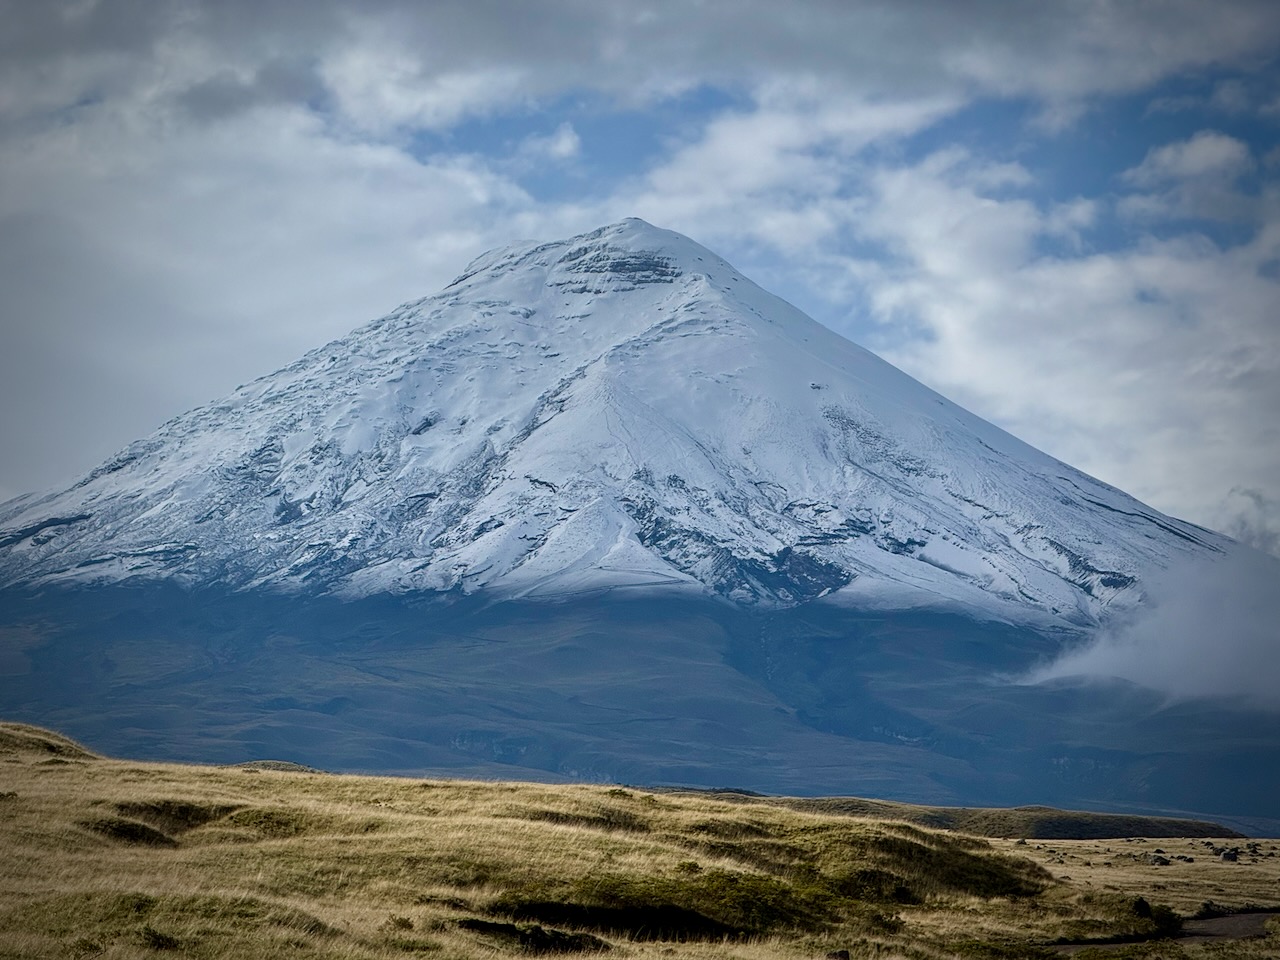
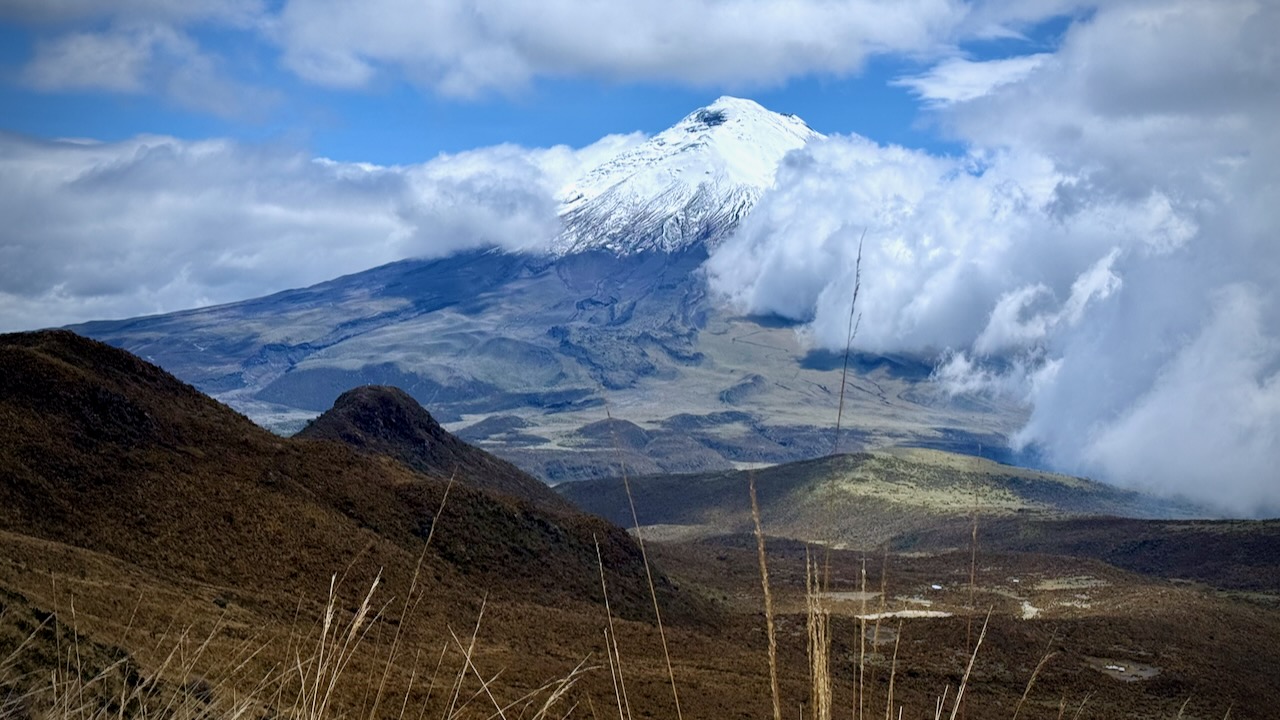
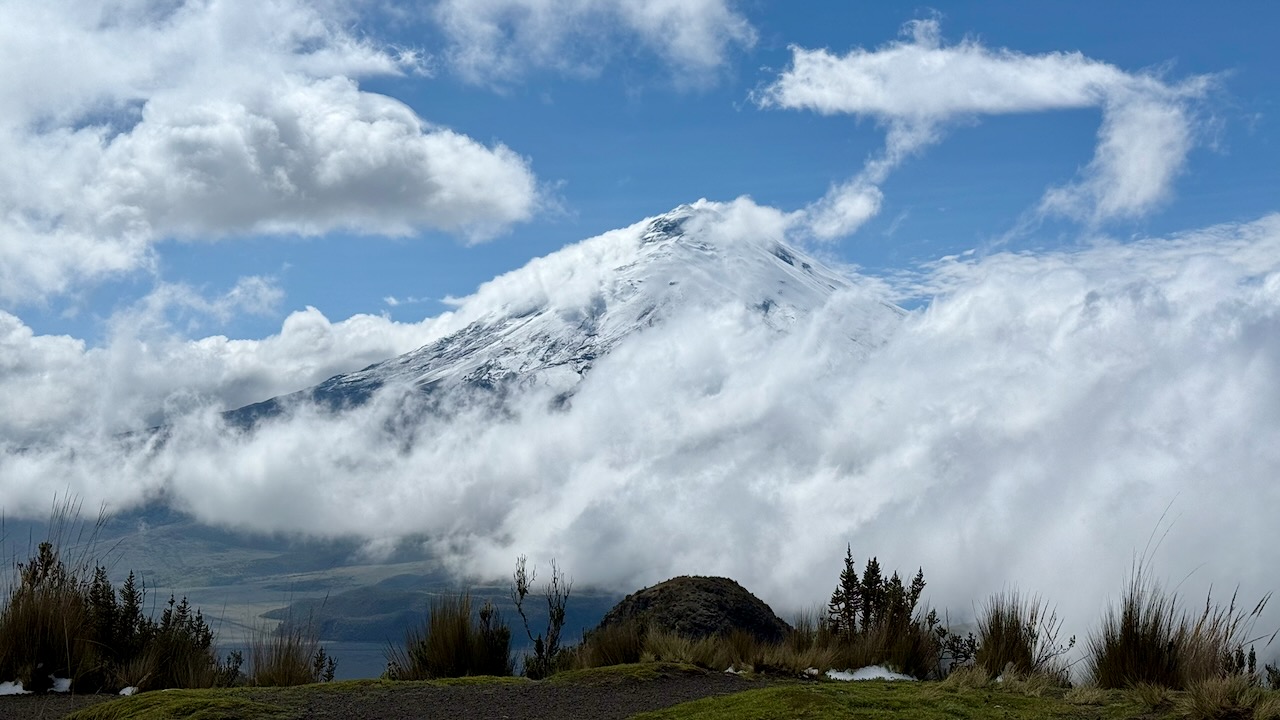
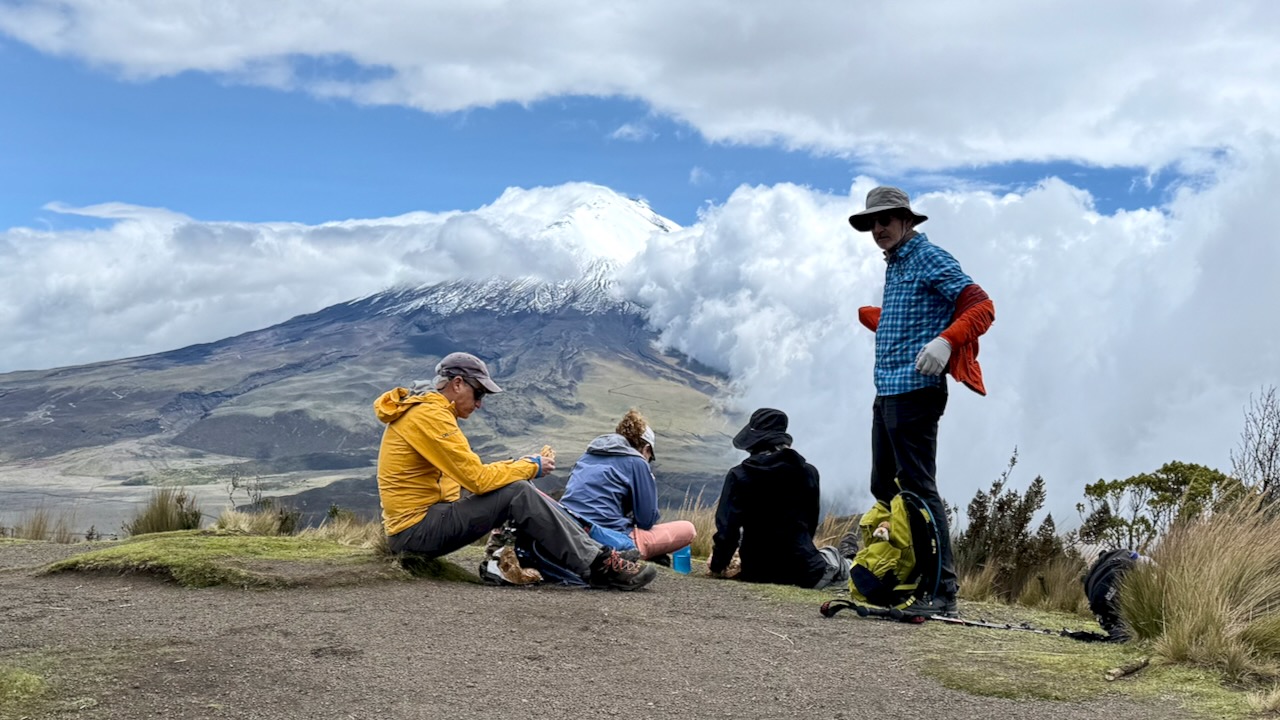
We had amazing views of Cotopaxi.
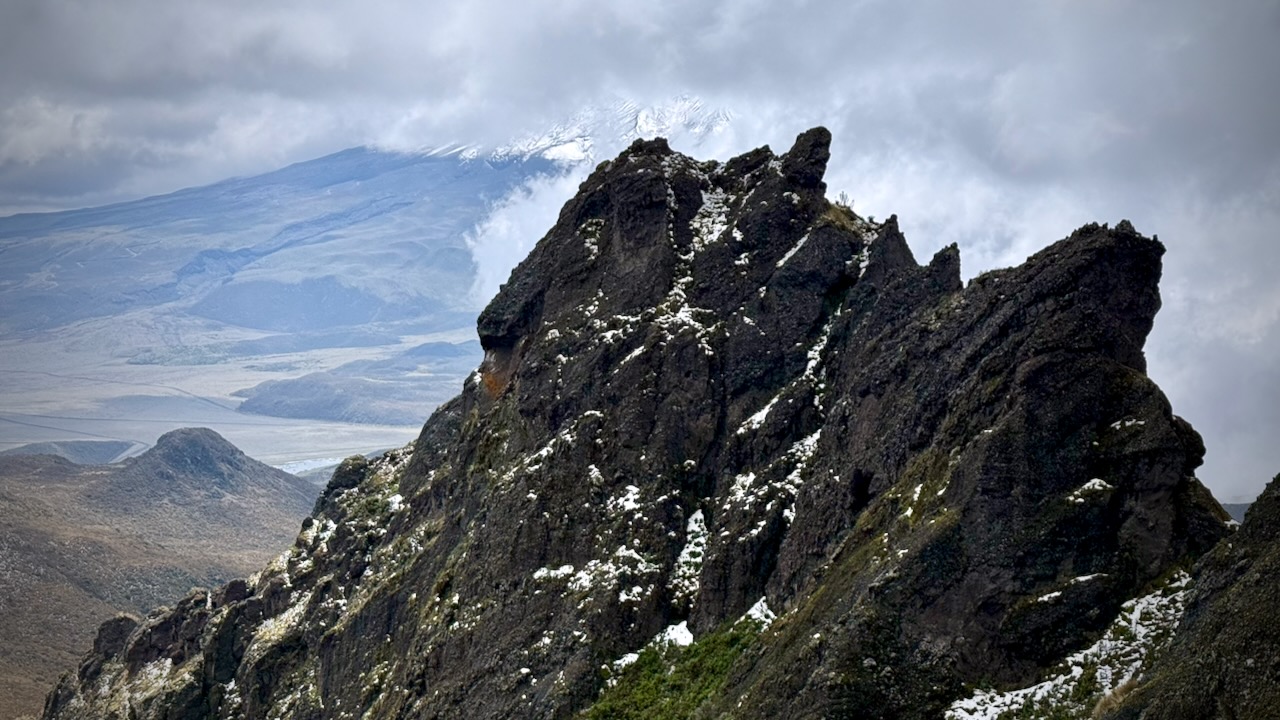
I call it a scramble because this mountain is quite jagged. We used our hands quite a bit at the top. Tahel put spare socks on her hands. I used a buff for protection. None of us had opted to carry gloves.