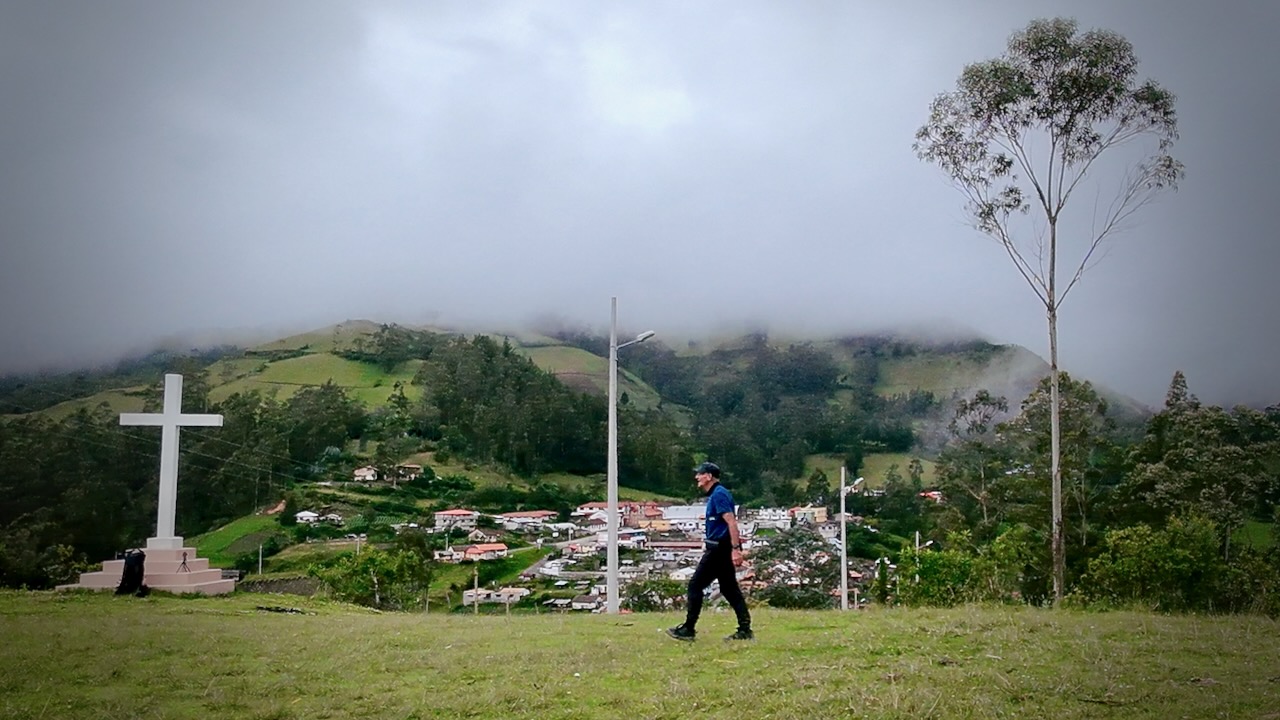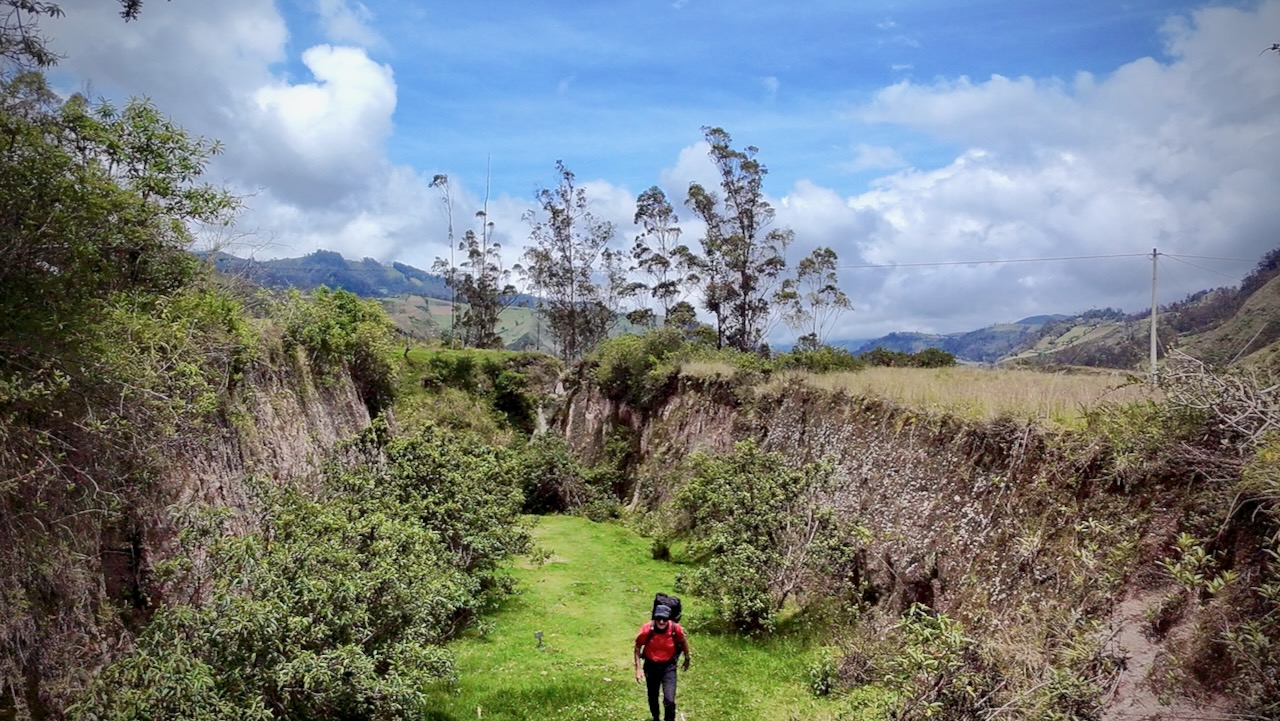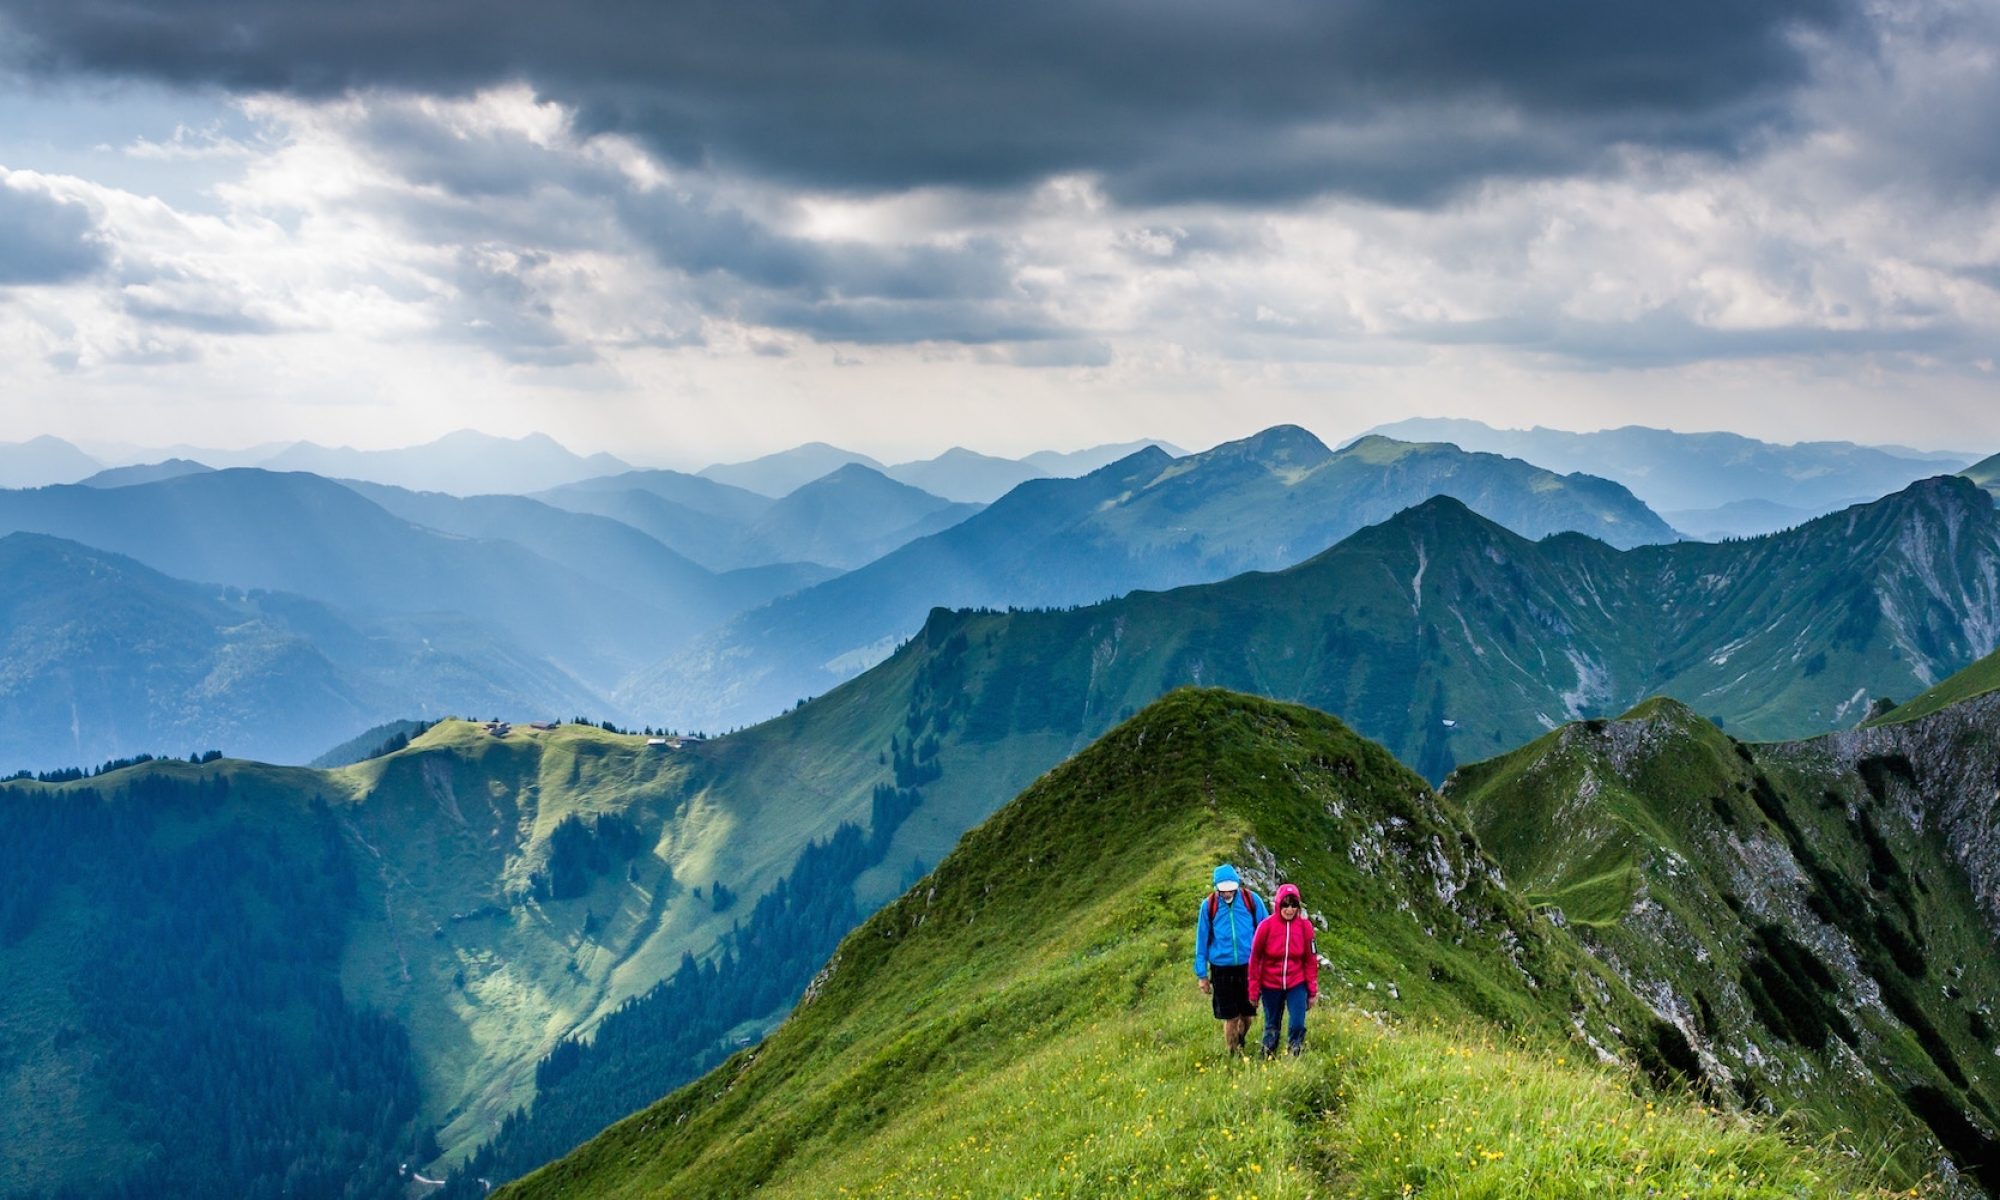

4 Days LOST on the Quilotoa Loop, Ecuador

Trip report by BestHike editor Rick McCharles

Independent hiking. No guide.

The Quilotoa Loop, climbing to a 3-kilometre (2 mi)-wide volcanic caldera, is the most famous multi-day hike in Ecuador.

  • 34.8km
  • 2,480m elevation gain
  • 4 days, 3 nights

It’s essential that you be acclimatized for altitude before climbing with a full pack. I’d been in Ecuador over 2 weeks before starting, most of that time above 3000m.
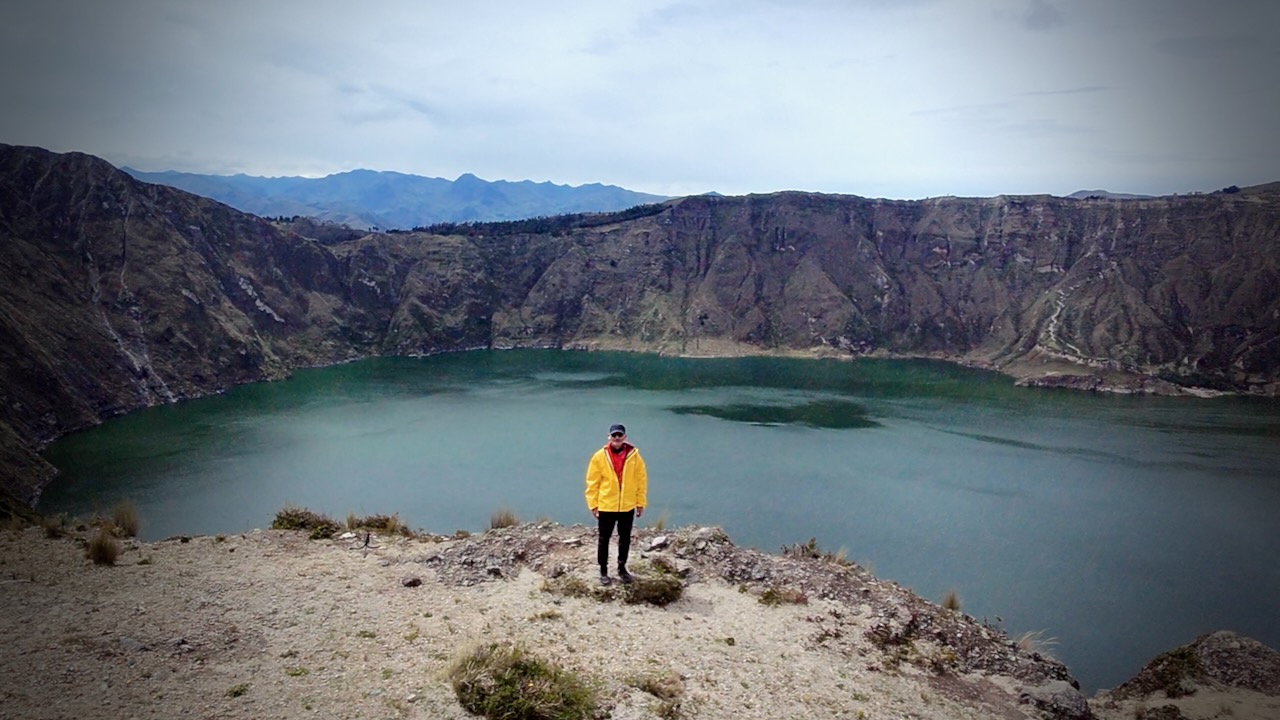
Quilotoa Crater Rim

In 2026 almost every hiker I met was using the AllTrails app offline to find their way. Our back-up was the Maps.me app offline which includes more trails, more options.

Despite those apps, we all managed to miss multiple side trail turn-offs every day. ๐Ÿ˜€

LOST.

Click PLAY or watch a short video of my hike on YouTube.

Most hostels cost about $20 for a private room including a complete breakfast and dinner. Hot or warm showers. Good wifi. Jacuzzi and sauna extra charge. A fantastic bargain.

Though I carried a tent as emergency back-up, there’s no way I was going to use it with so many great, inexpensive hostels available.

Weather is a huge factor. I hiked in early February, one of the best months. But had rain almost every afternoon. The rule here is to do as much hiking as possible early in the day.

Farm dogs tend to bark at strangers. At times you must pretend to throw something at them to dissuade.

Typical 3-Day Itinerary (Sigchos to Quilotoa)

Most hikers prefer this direction to save the crater lake for the end and to acclimatize more gradually. 

  1. Sigchos (2850m) to Isinlivรญ (2950m).
    • Distance: ~9.9 km (6.1 miles)
    • Time: 4โ€“7 hours
    • Details: This is the easiest day, involving a descent into the Toachi Canyon and then an ascent to Isinlivi. The trail goes through lush farmland and past small communities.
  2. Isinlivi to Chugchilรกn (3200m)
    • Distance: ~11.8 km (7.3 miles)
    • Time: 4โ€“8 hours
    • Details: A harder day with two major climbs and a suspension bridge crossing at the bottom of the valley. The hike takes you through more dramatic canyon landscapes.
  3. Chugchilรกn to Quilotoa (3800m)
    • Distance: ~13.2 km (8.2 miles)
    • Time: 5โ€“9 hours
    • Details: The most challenging day due to the significant elevation gain at high altitude. The trail gradually climbs up to the rim of the Quilotoa crater, offering stunning views of the lake at the finish. 

Once at Quilotoa village, most hikers catch a bus back to Latacunga. I stayed overnight in the village to be able to complete the additional 10.8km Quilotoa Crater Circuit next morning. Not easy. That’s an extra 795m elevation gain.


Day 1

I stayed one night in Latacunga, gateway city to the Quilotoa Loop. Hostal Cafรฉ Tiana was excellent. I opted to carry ALL my gear rather than leave anything behind at the hostel.

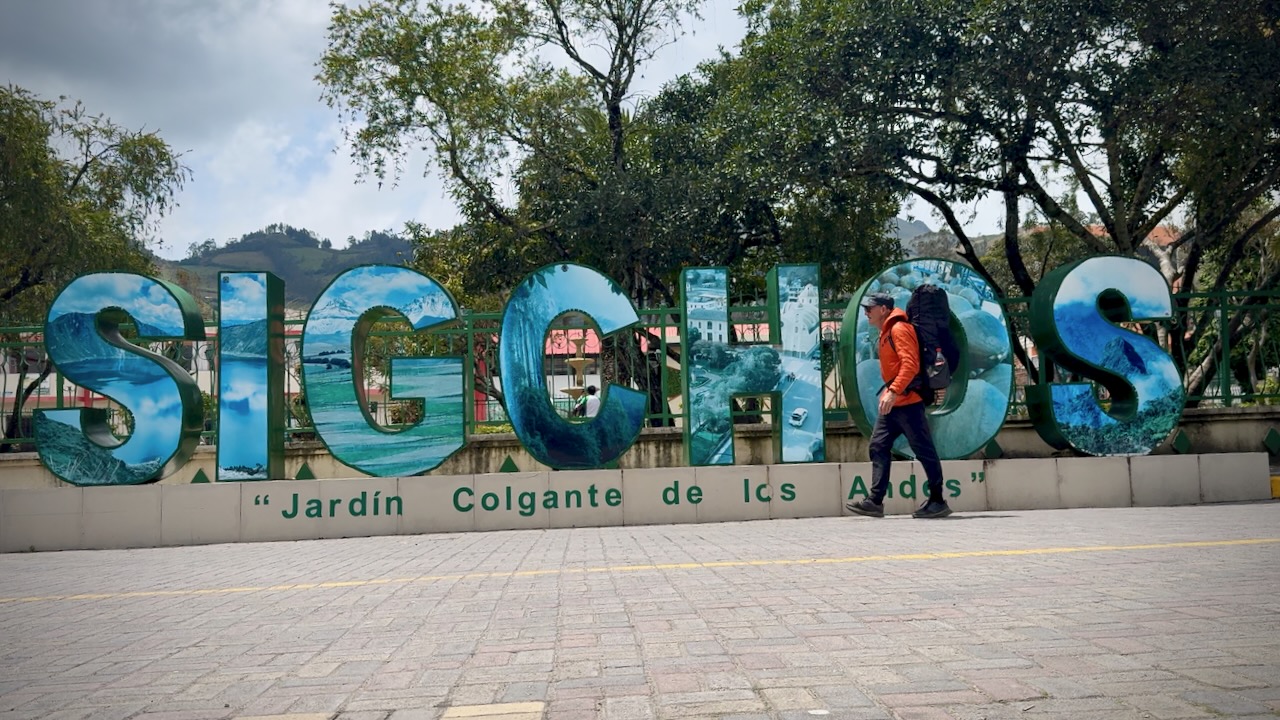
Next morning caught the bus to Sigchos. And began the walk to Isinlivรญ.

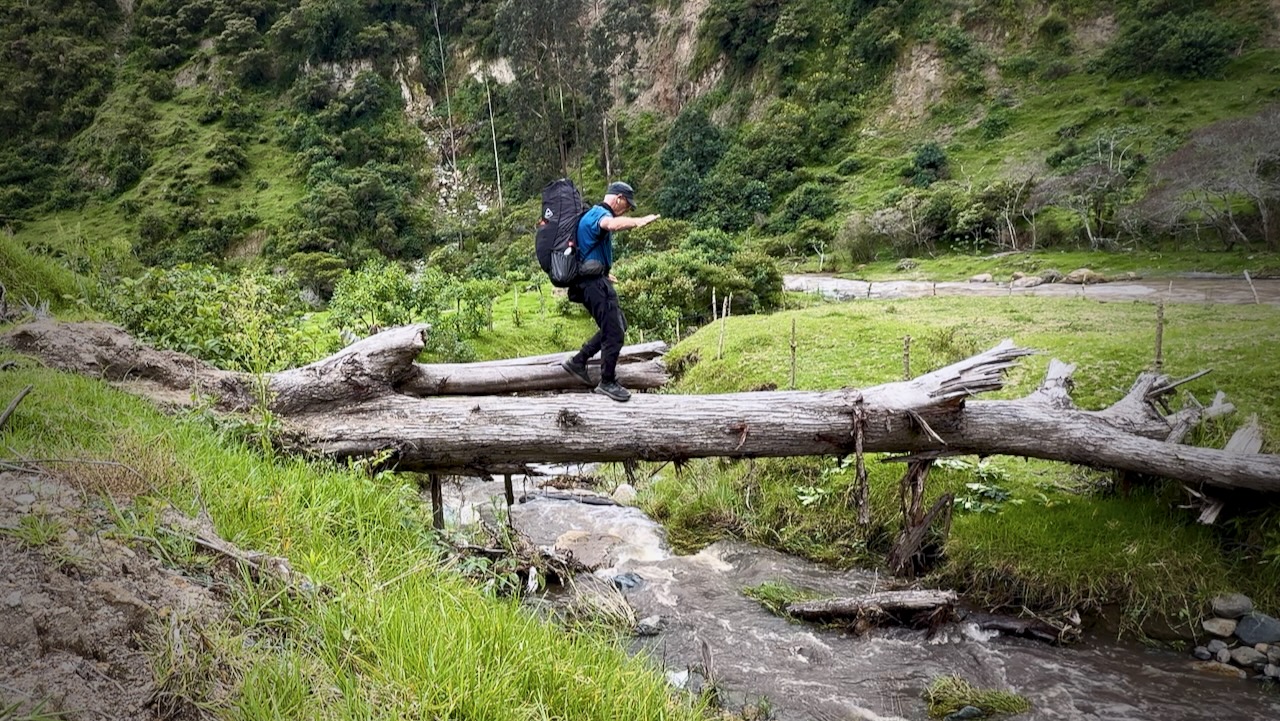
I didn’t get my feet wet.

Above Isinlivรญ.

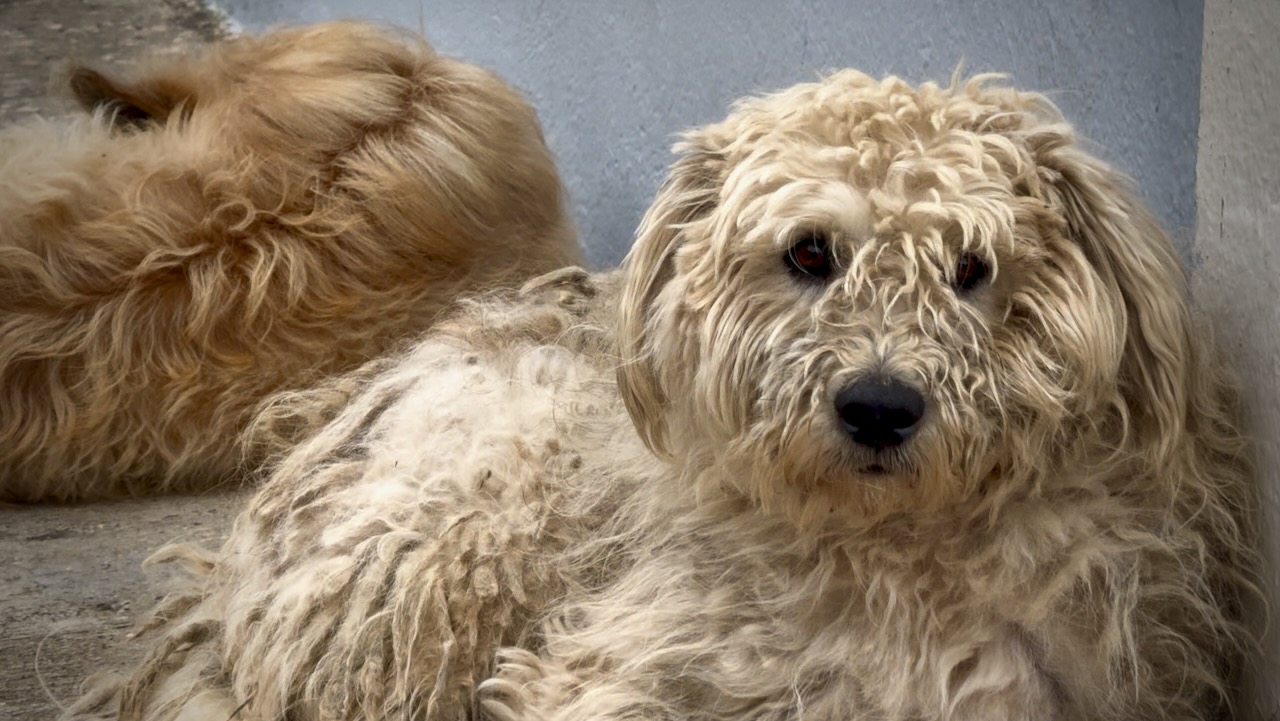
Dogs are all loose. These two not at all menacing.
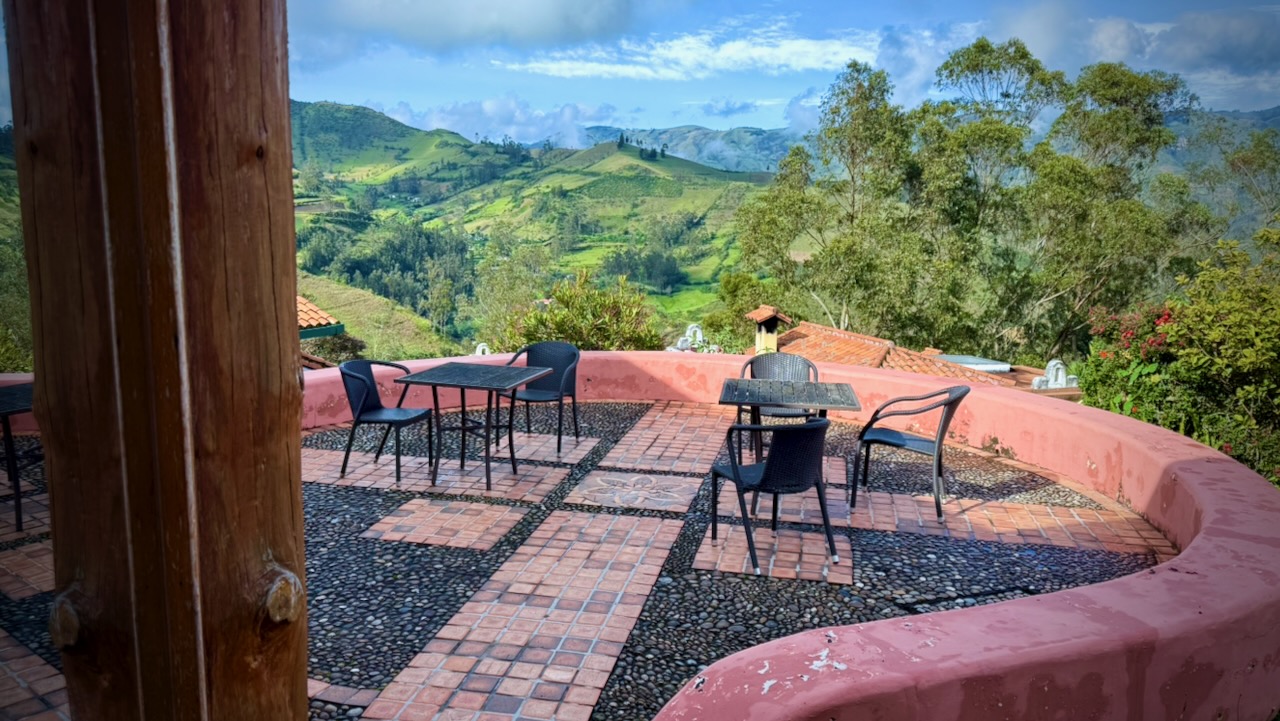
It was a relief to finally reach Llullu Llama Mountain Lodge, the best hostel on the Loop.
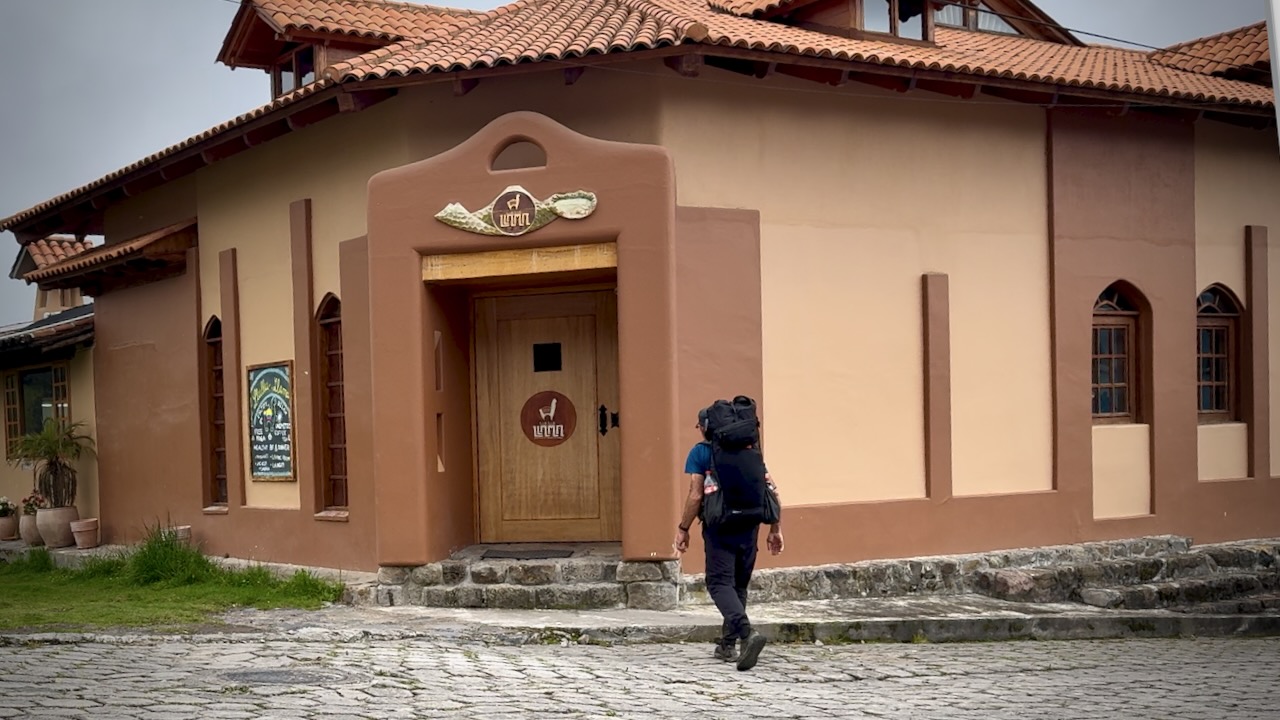
What a facility.
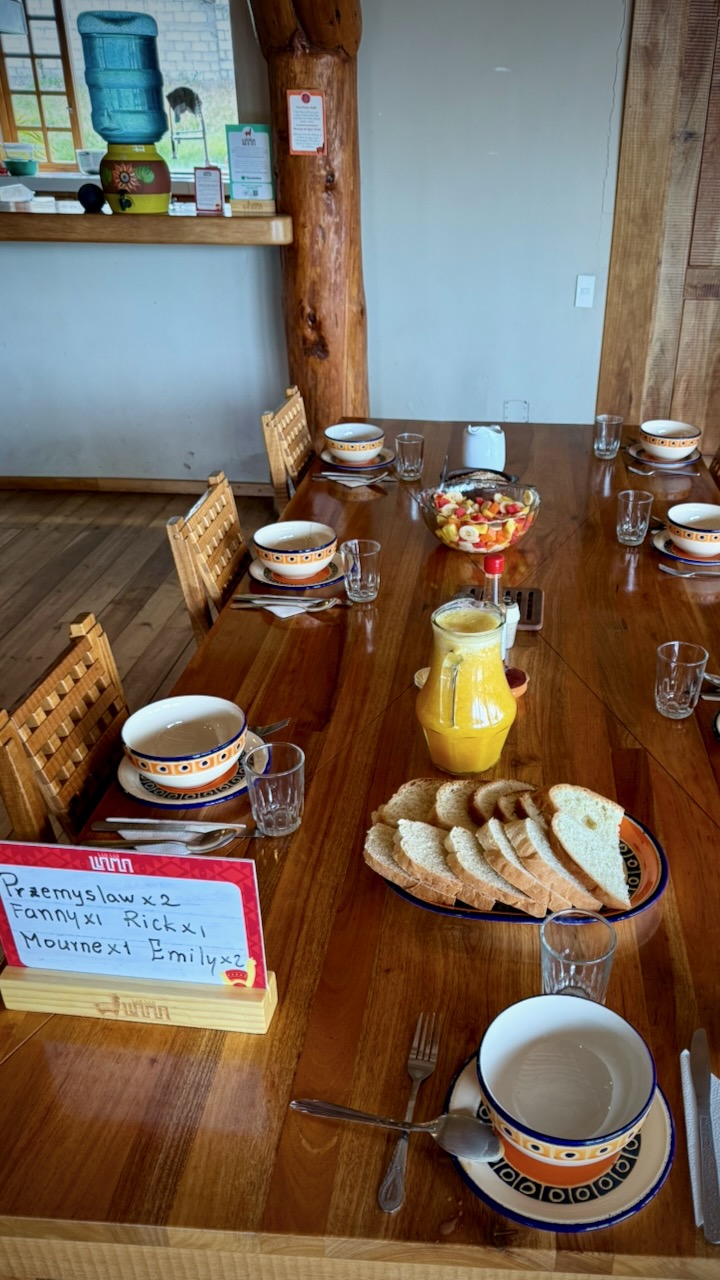
Excellent dinner and breakfast included.
$5 / person for the jacuzzi.
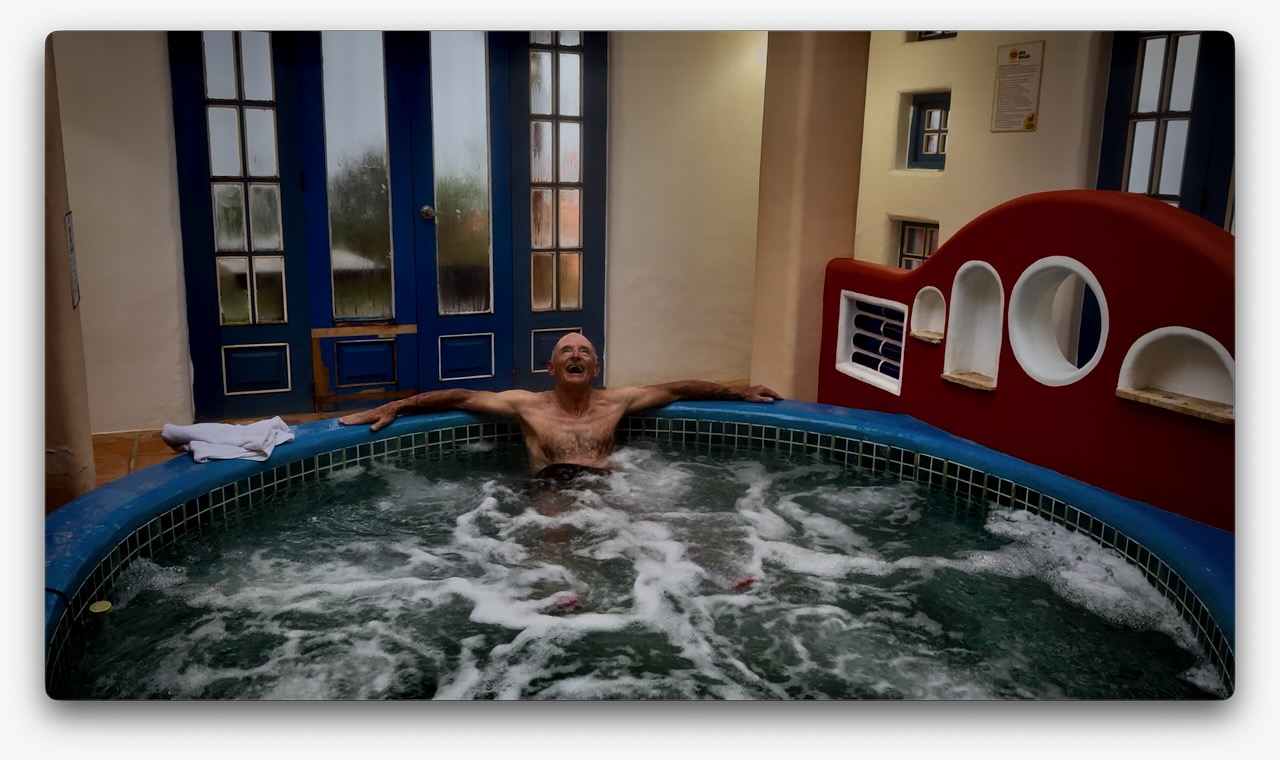
Happy Hiker.

Day 2

I was enjoying Llullu Llama Mountain Lodge โ€” so didn’t start walking until 11am. Not smart. You should get going as early as possible each day.
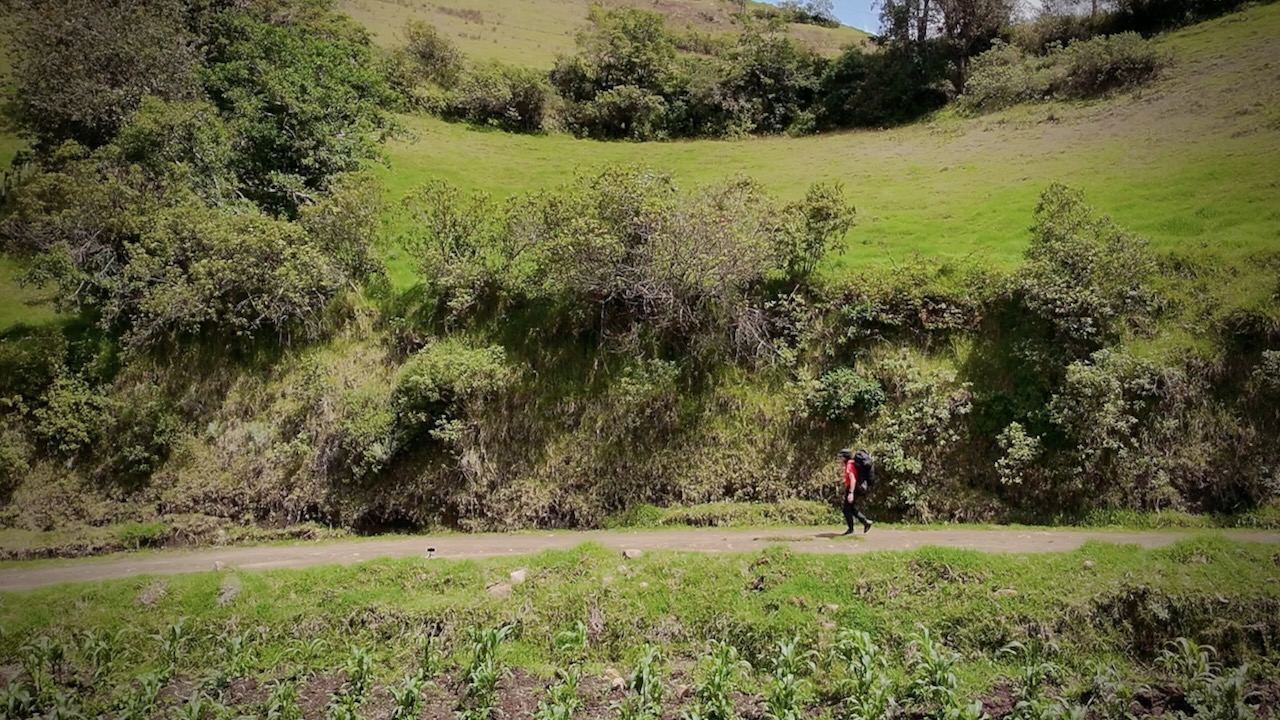
As we’d all missed many small trail turn-offs the day before, this time I opened the AllTrails app on my Apple Watch. In general, the green means you’ll be turning in that direction. It did help. I missed fewer turns. BUT this does kill the watch battery quickly.
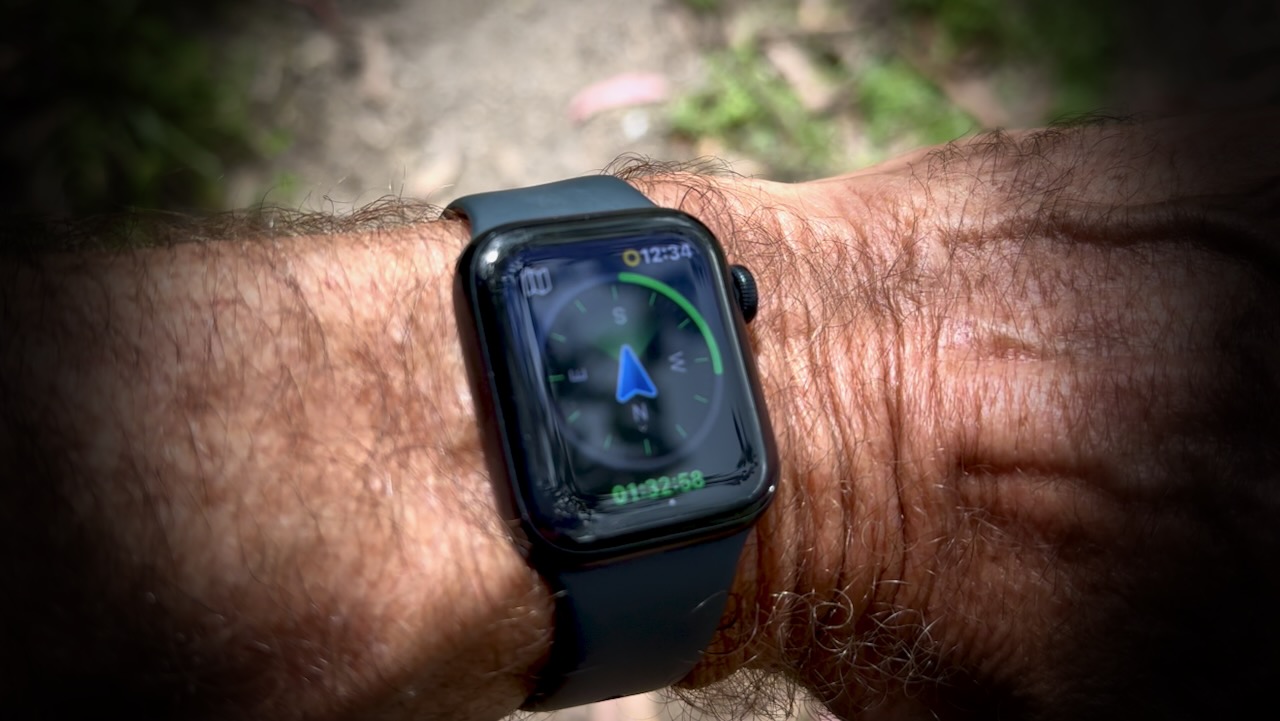
Screenshot

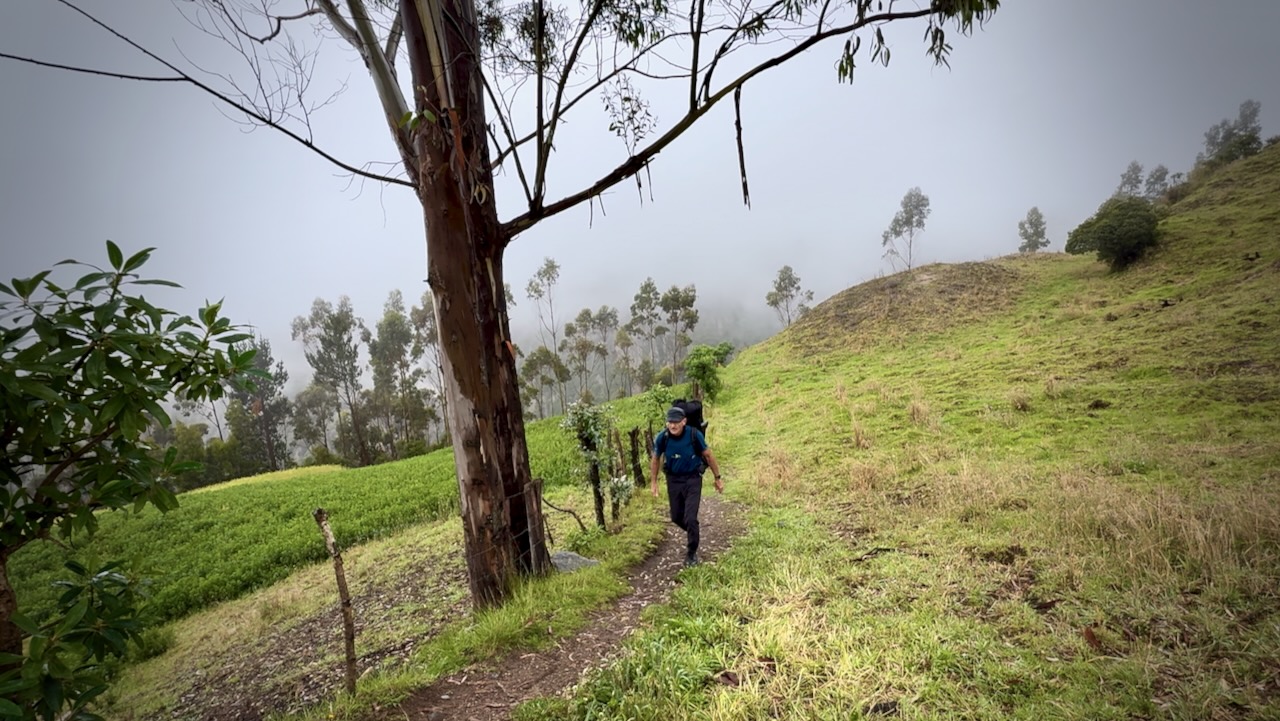
Day 2 was tougher and wetter.

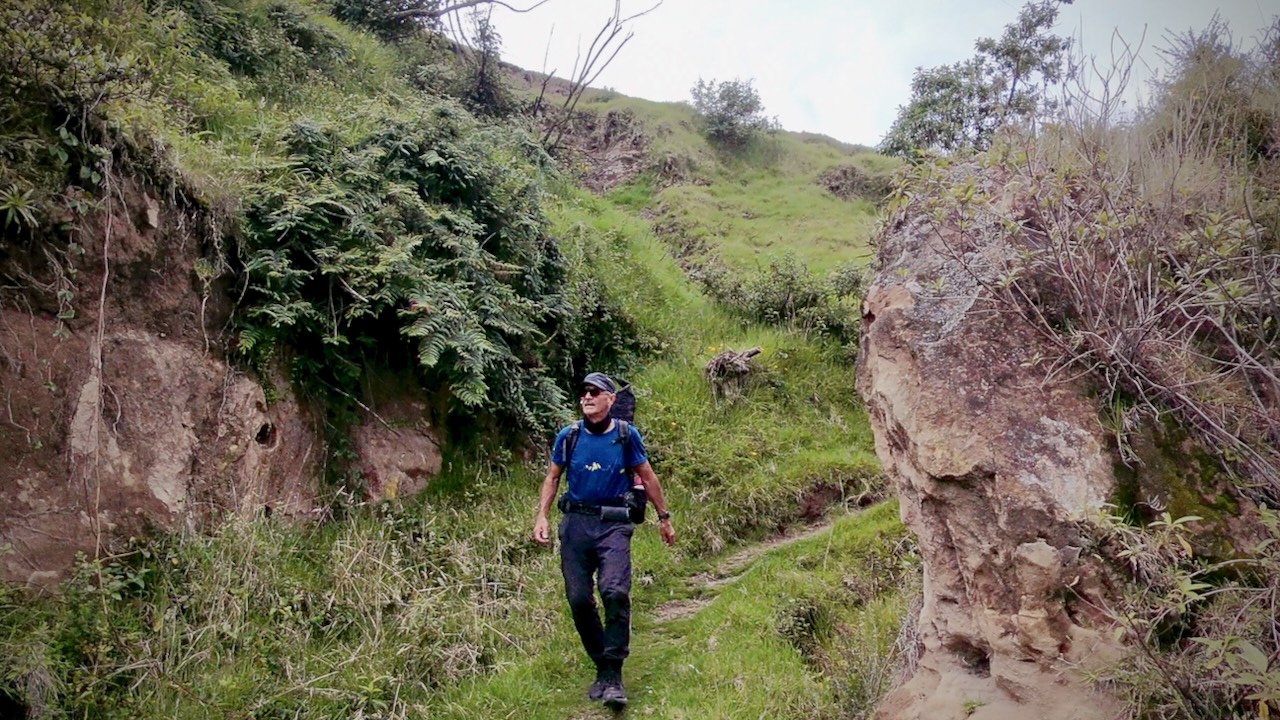
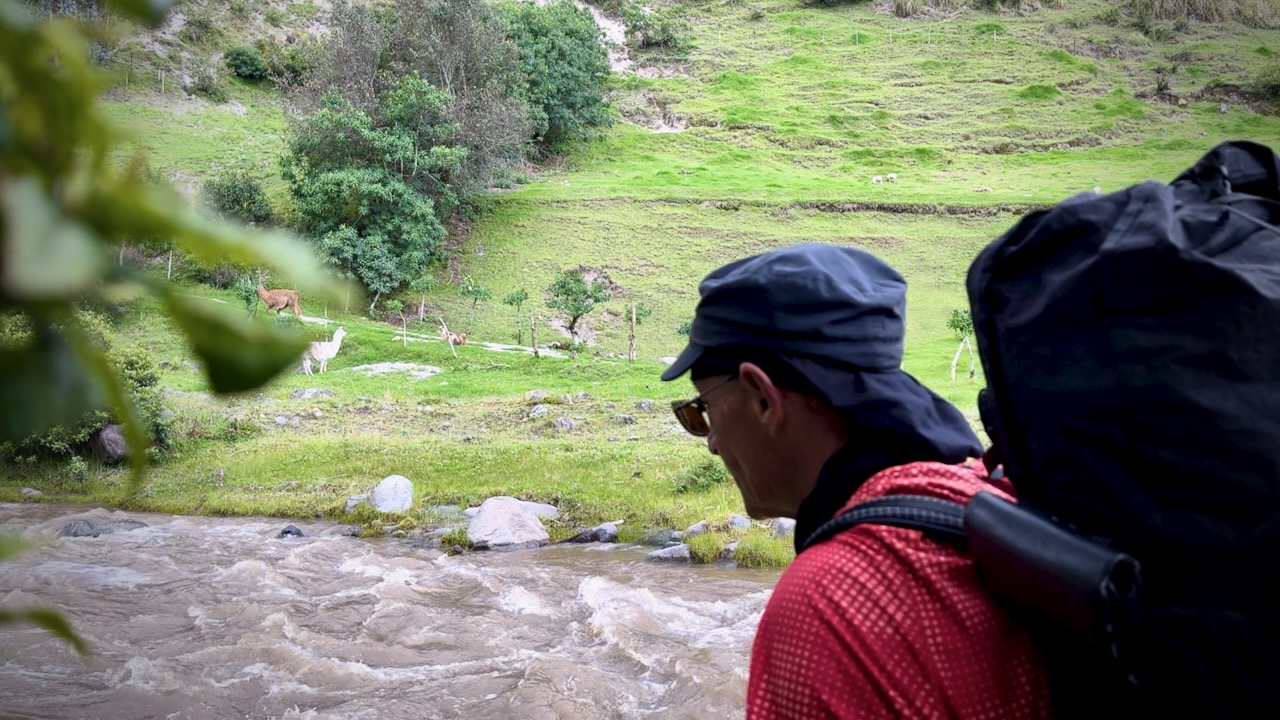
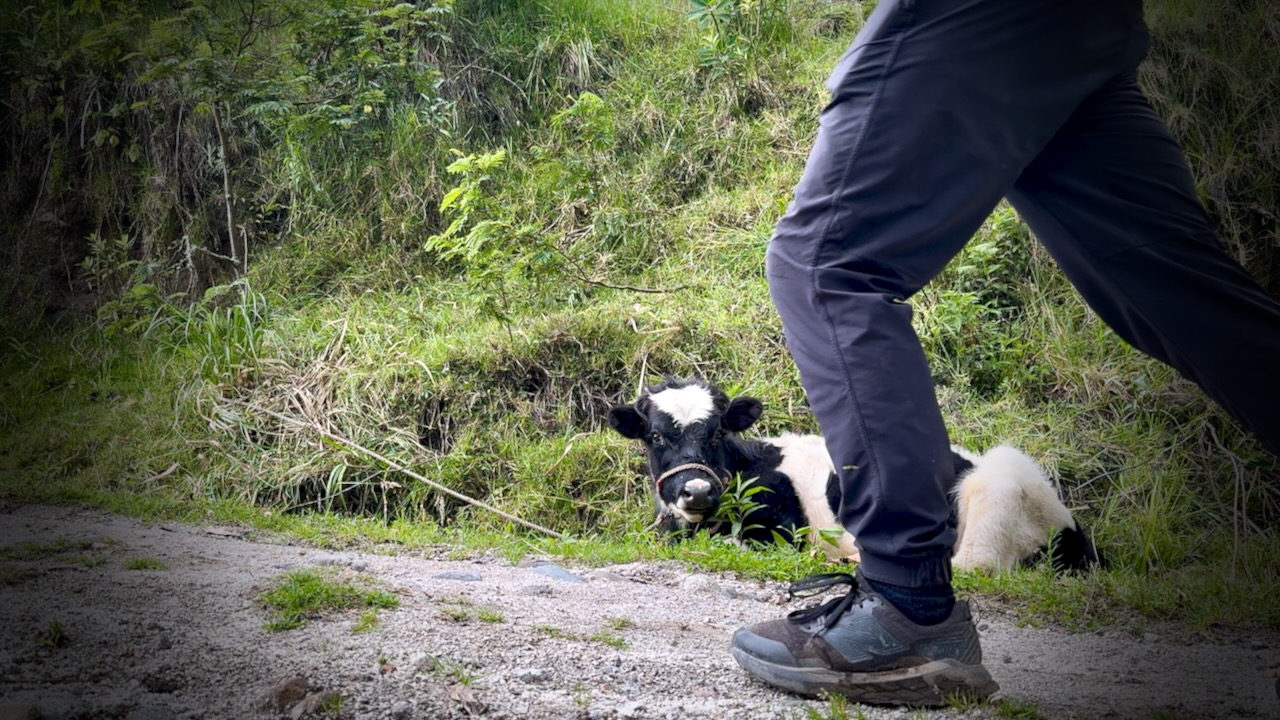
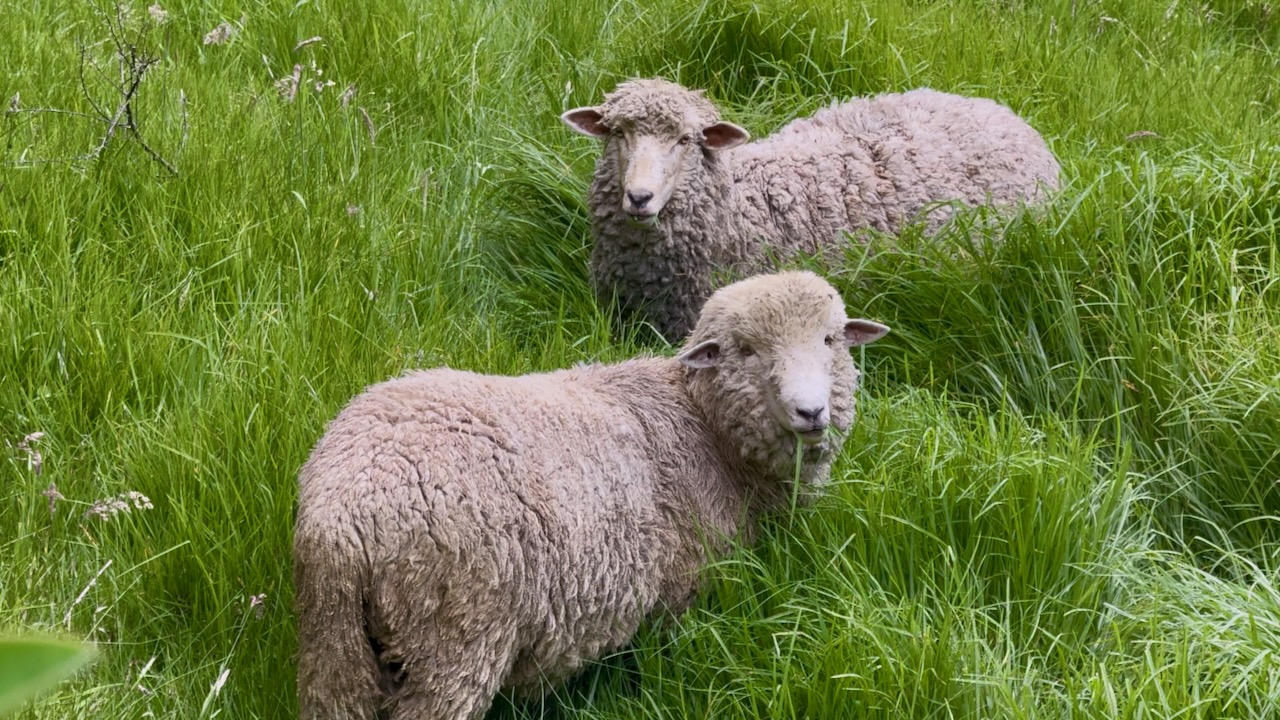
I saw few hikers each day as we were all walking the same direction. BUT was never lonely. Domestic animals are everywhere on this trail.
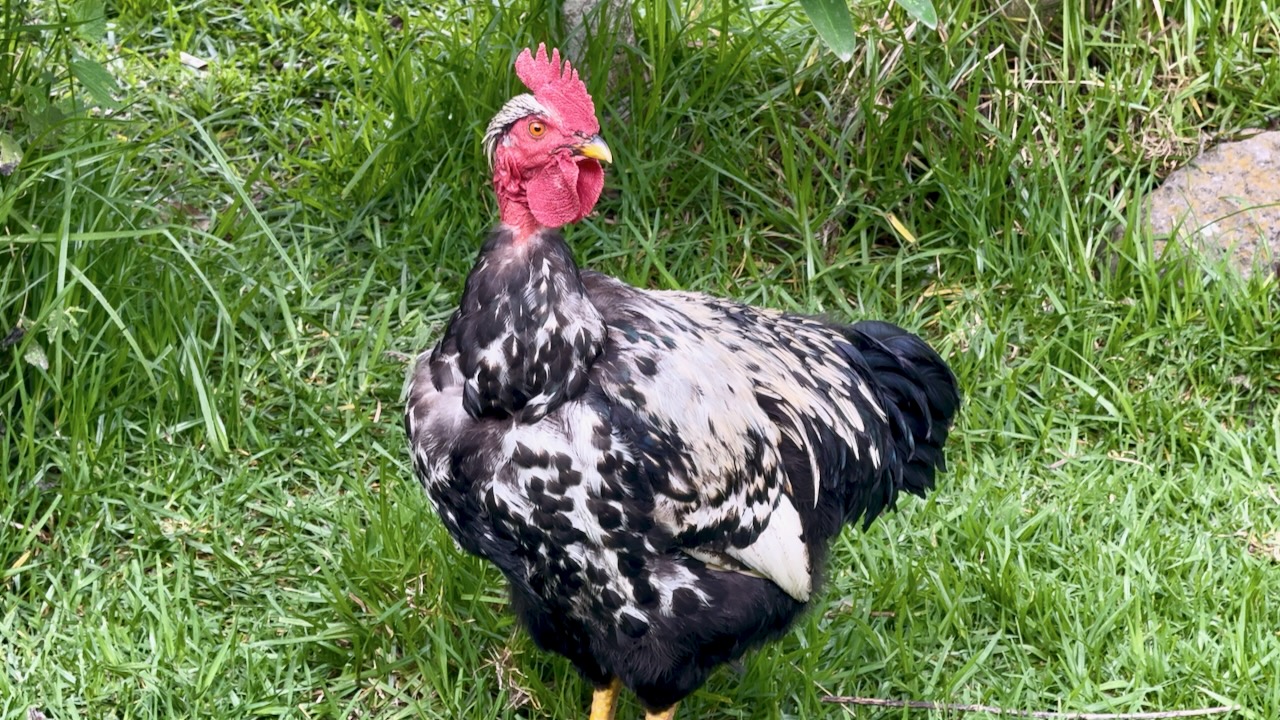
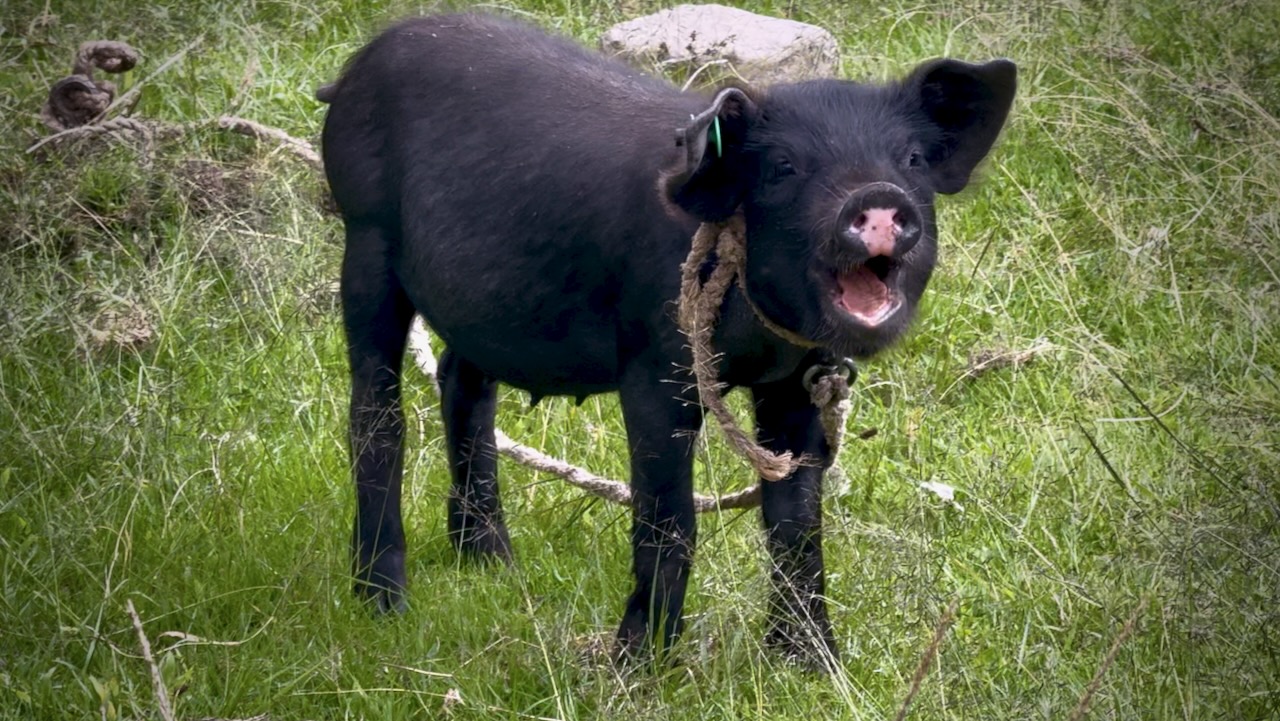
The sun was out for several hours. Dangerous near the equator. It’s easy to sunburn. I should have covered-up up better.
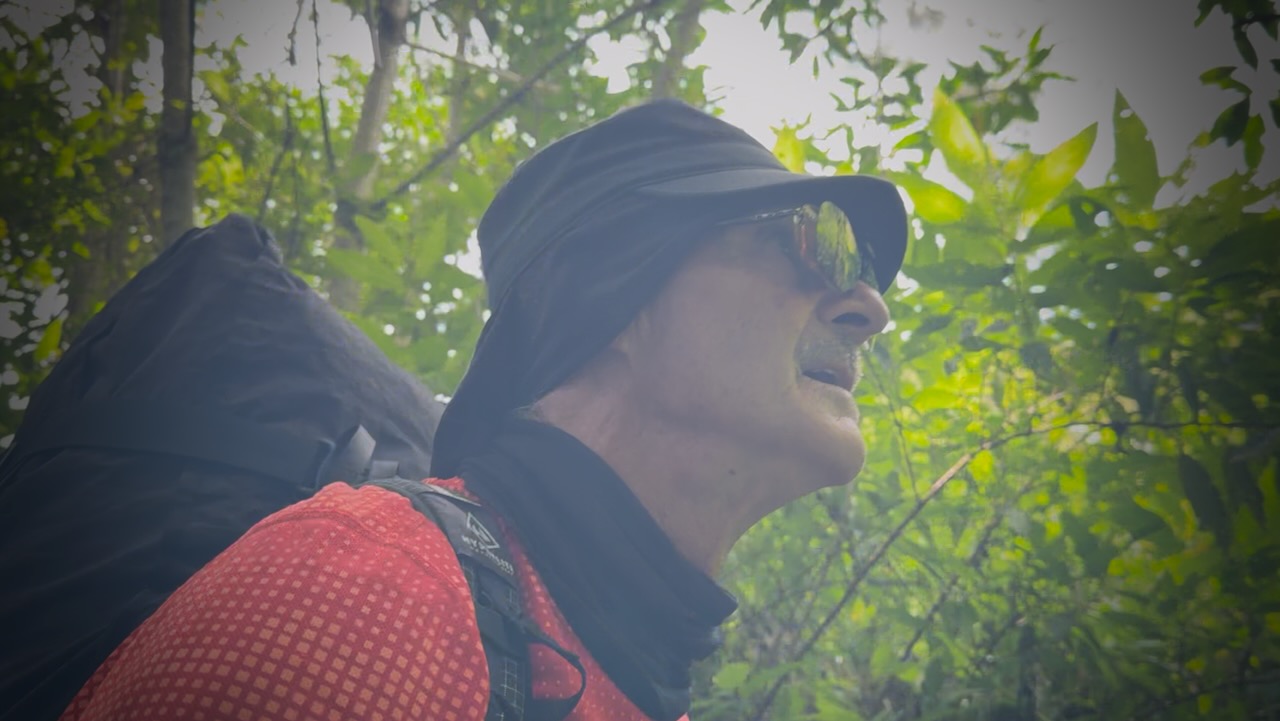
Sunburn victim.

Peanut butter for lunch on the bridge.
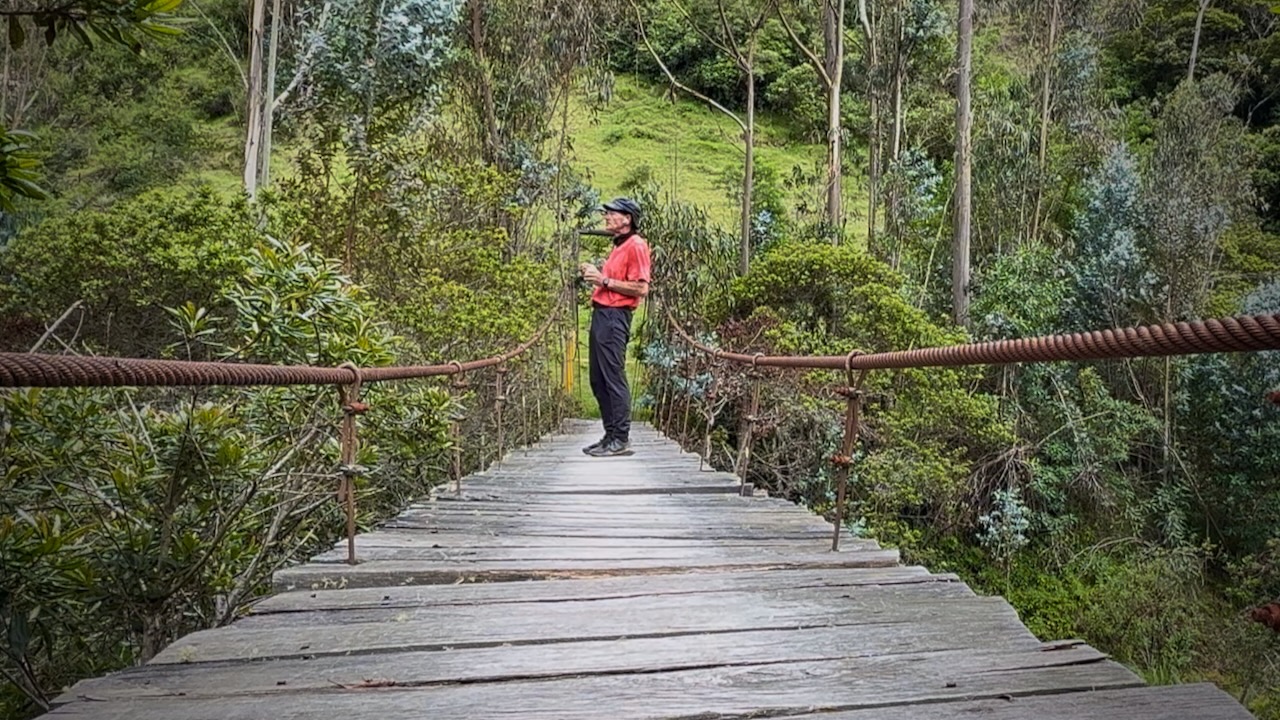
As is typical of the weather here, rain began in the early afternoon. My phone ran out of juice and would not be recharged by portable battery because the cable was wet. My Apple Watch died.

Without electronic navigation, I could really have gotten lost.

Even worst, the last part of day 2 has multiple possible routes. I ended up on one which was stunning, but more difficult. Somehow I still made it to Chugchilรกn, a larger town. We stayed at the Cloud Forest which featured a Sauna.


Day 3

Having learned my lesson, I started early.

As elevation increases, I had more cloud.
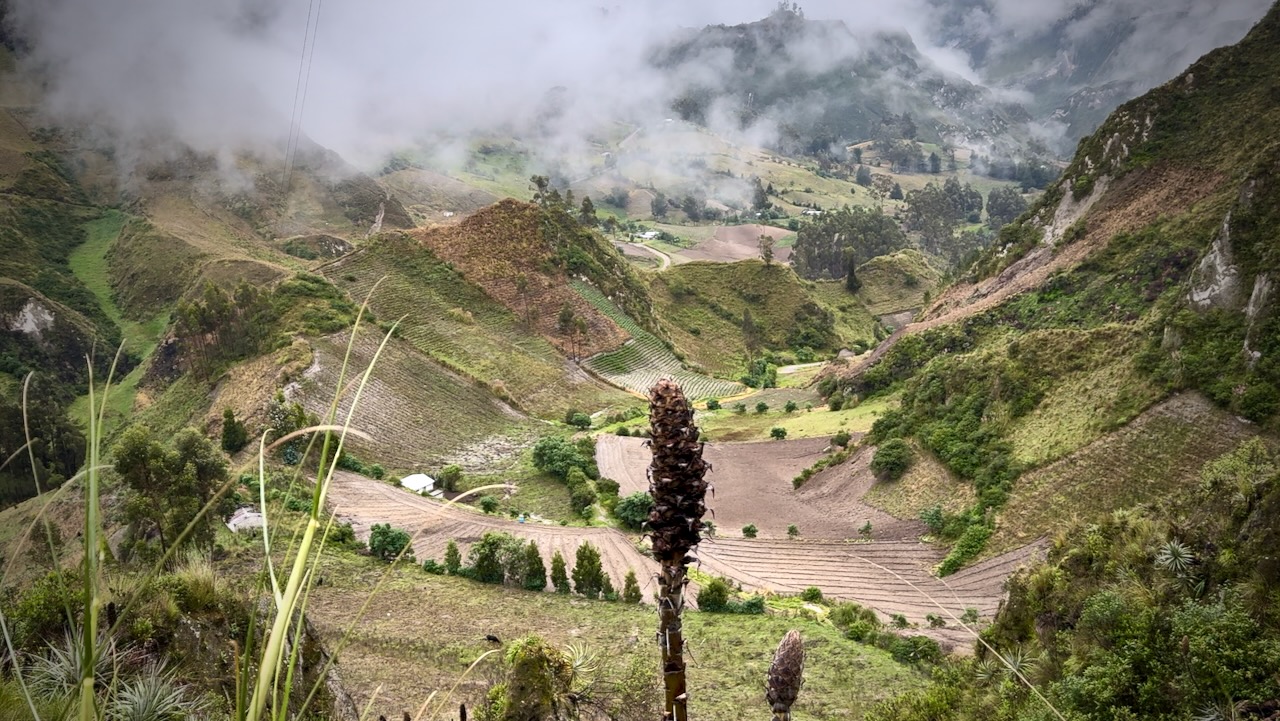
Hikers debate which is tougher โž™ day 2 or day 3. Both are challenging.

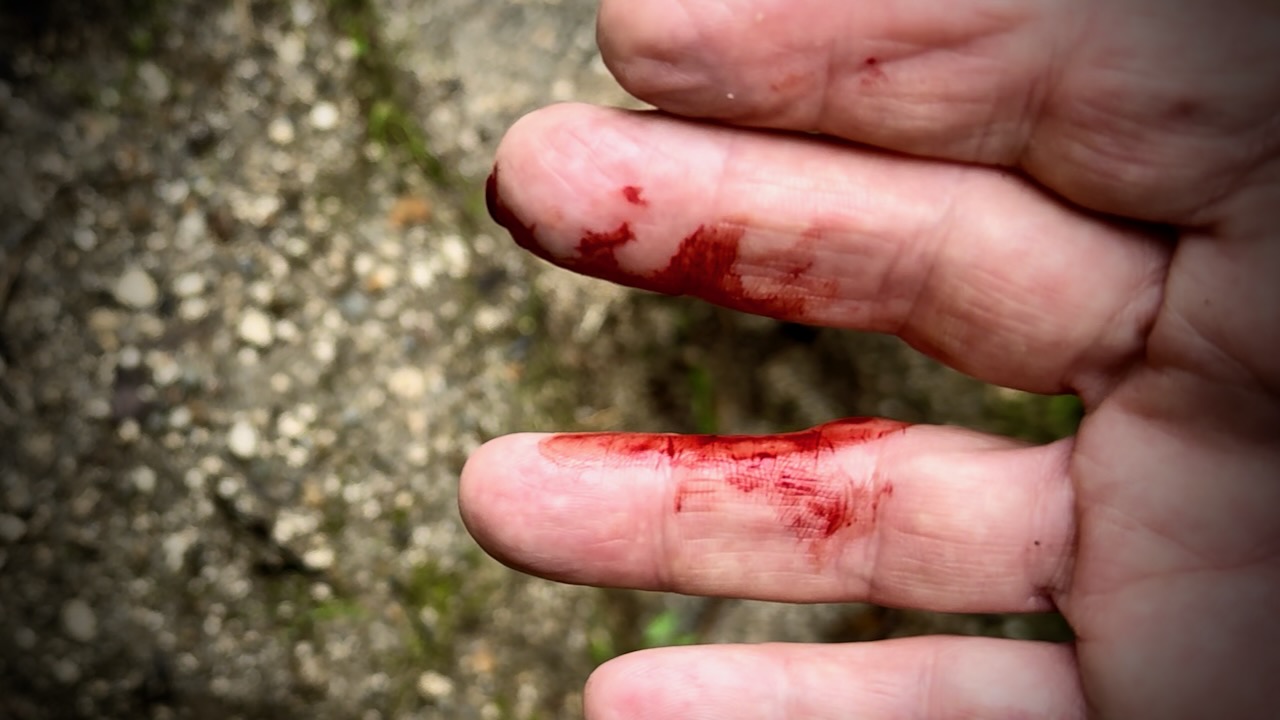
My fingers were bleeding at least 3 times. Some of the vegetation is thorny.
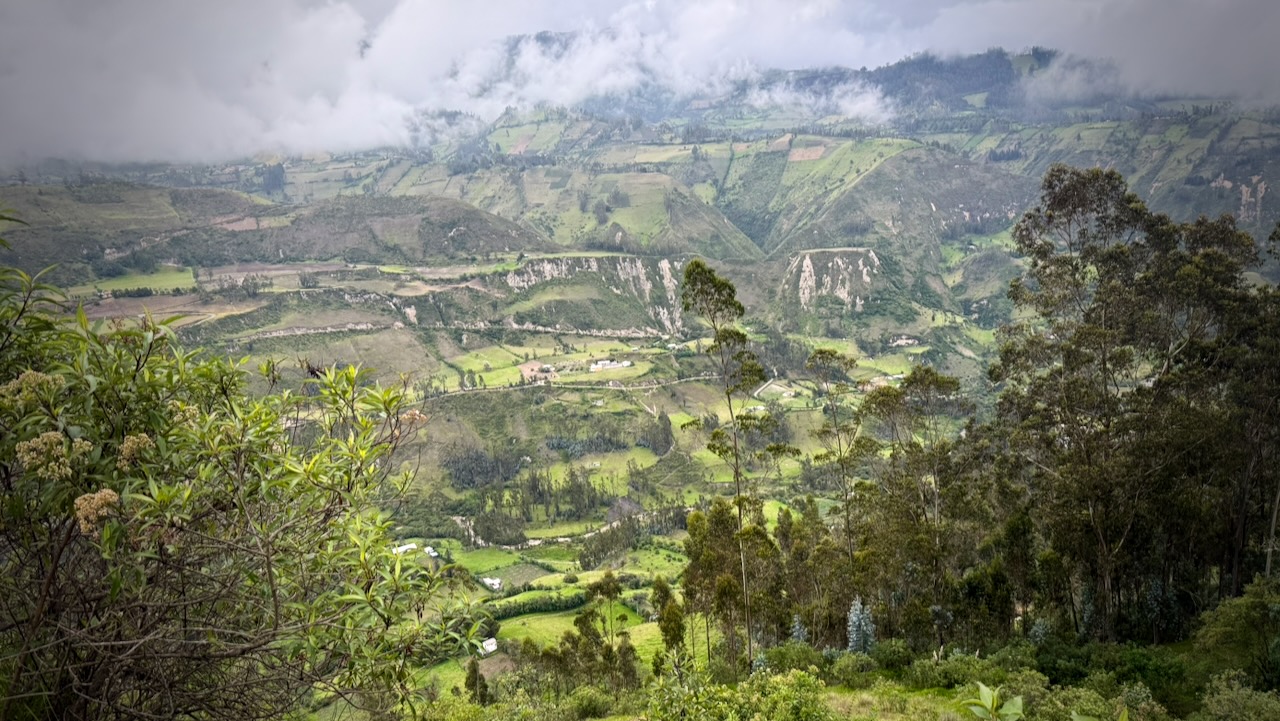
There are some astonishing valley vistas this day.
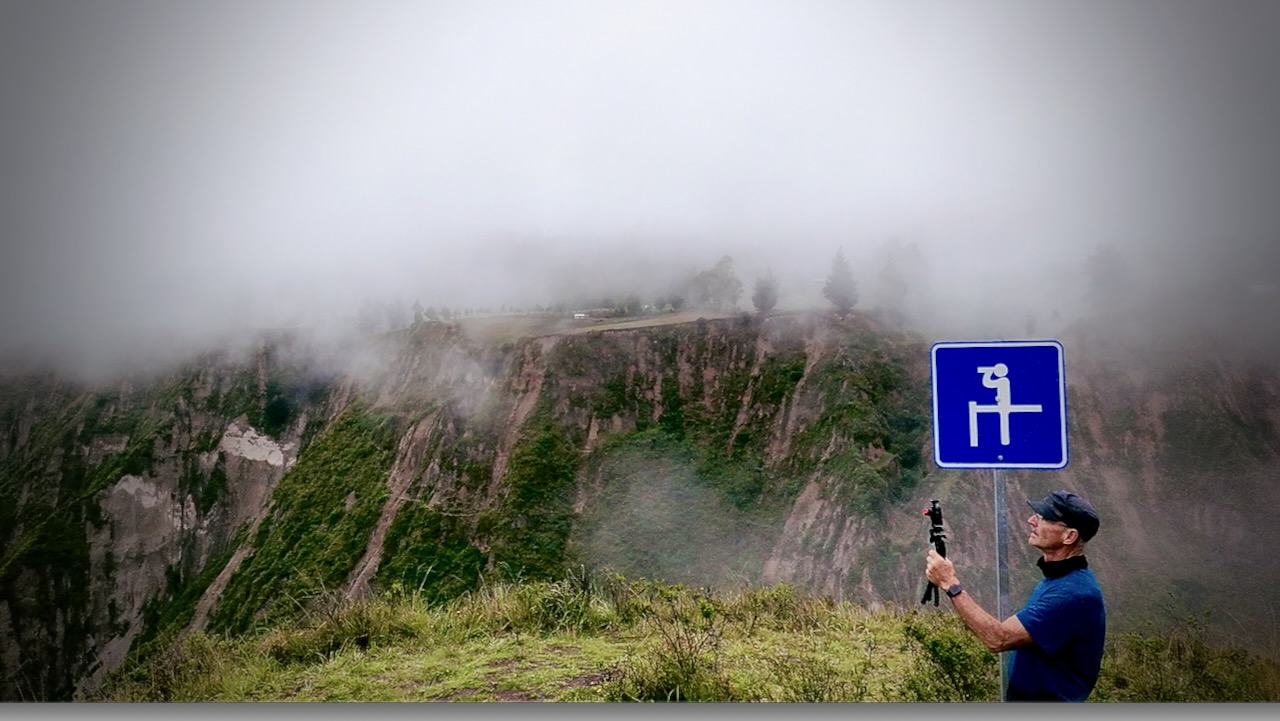
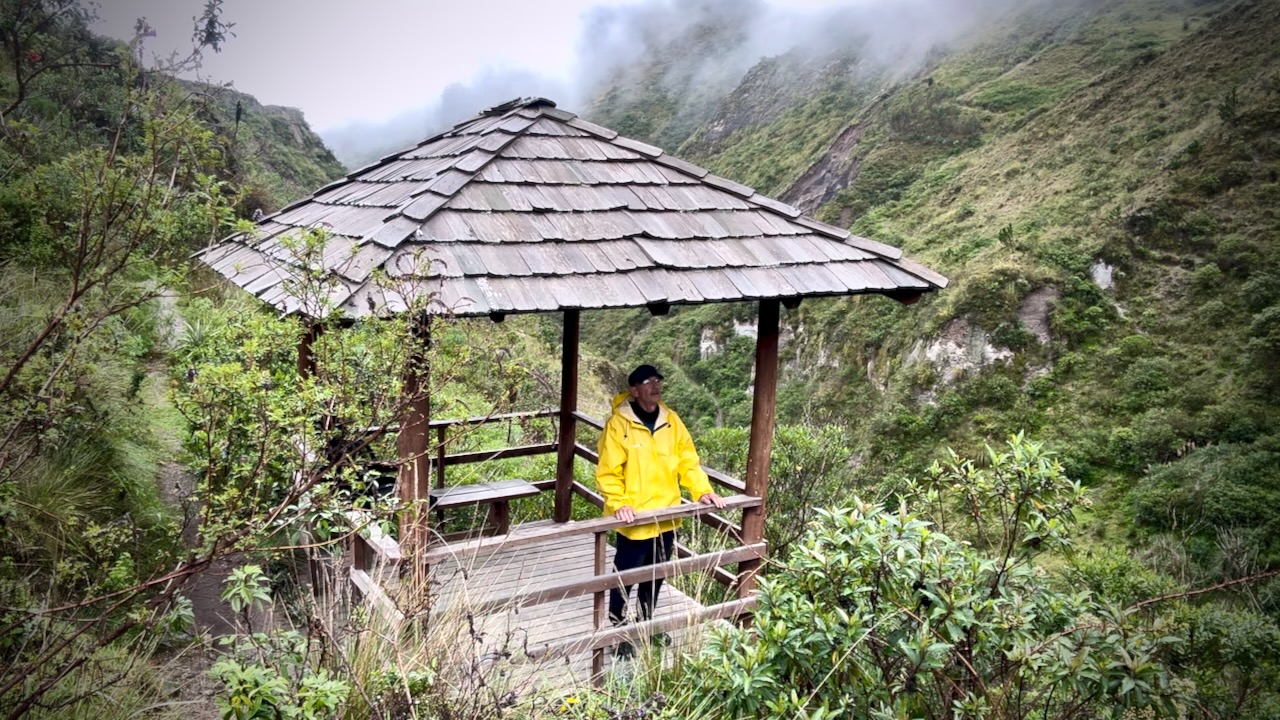
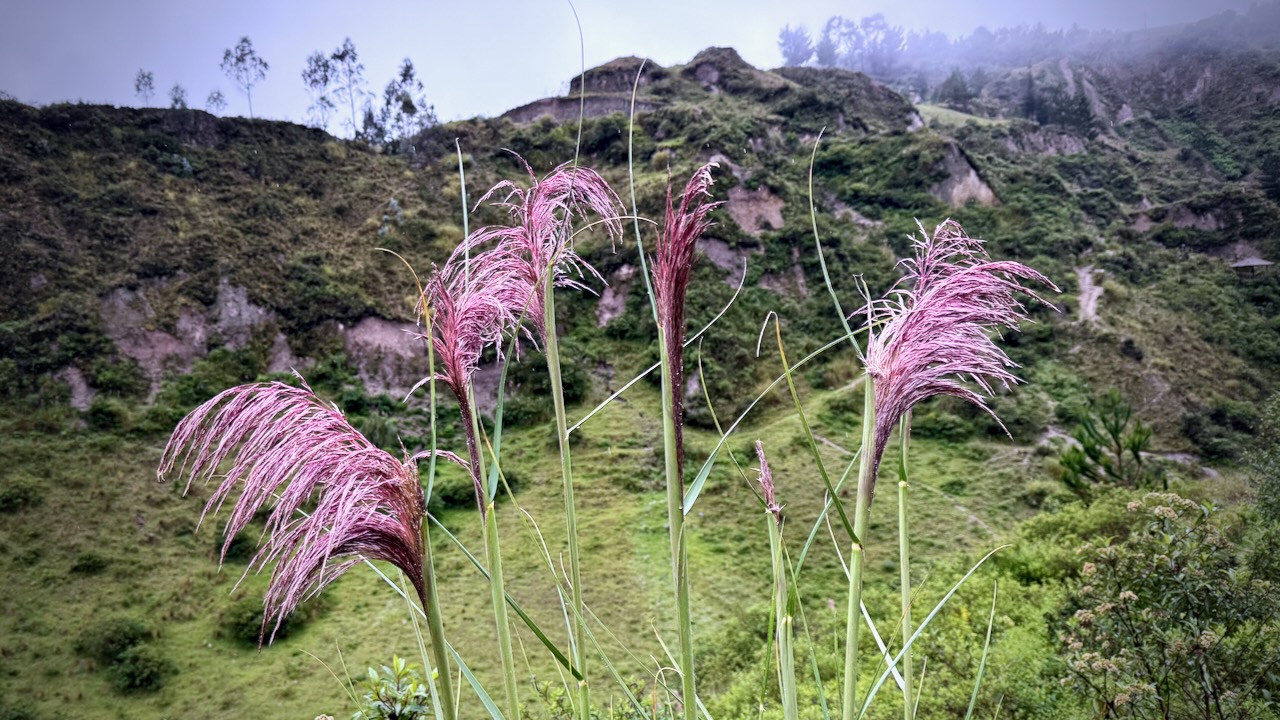
Vegetation does change with elevation.
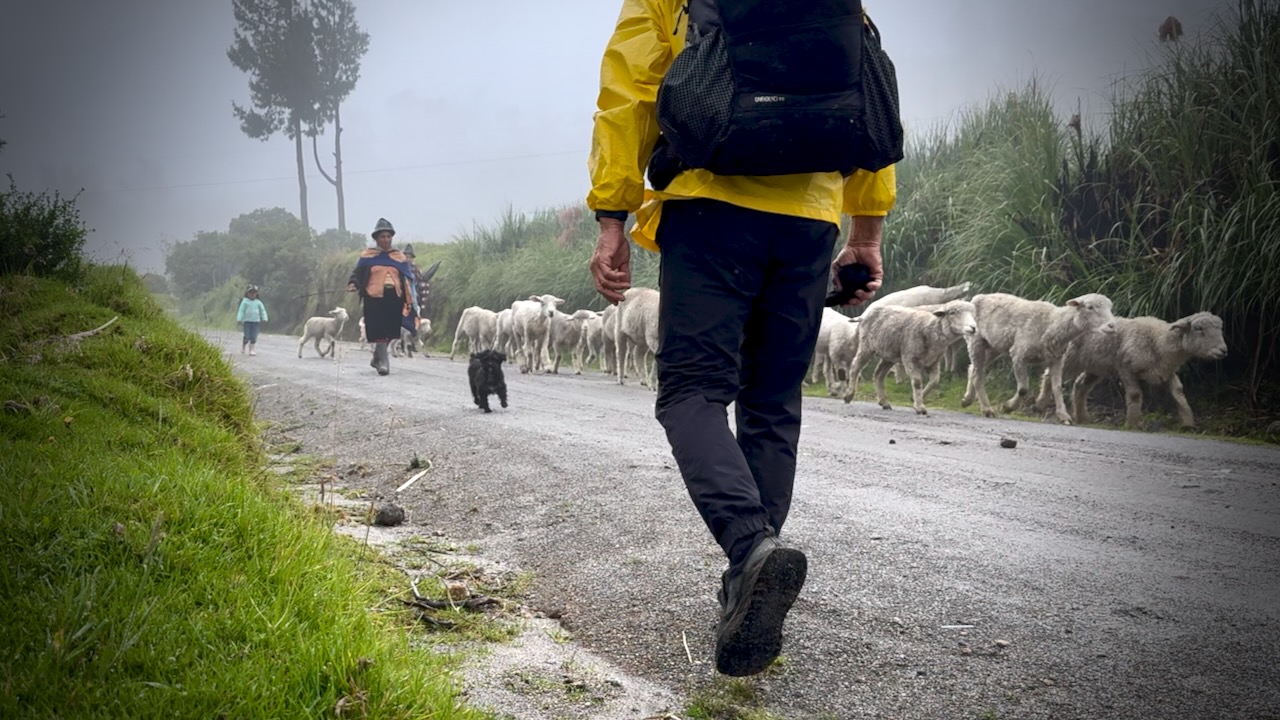
Rush hour.
Celebration time when finally reaching the crater ridge.
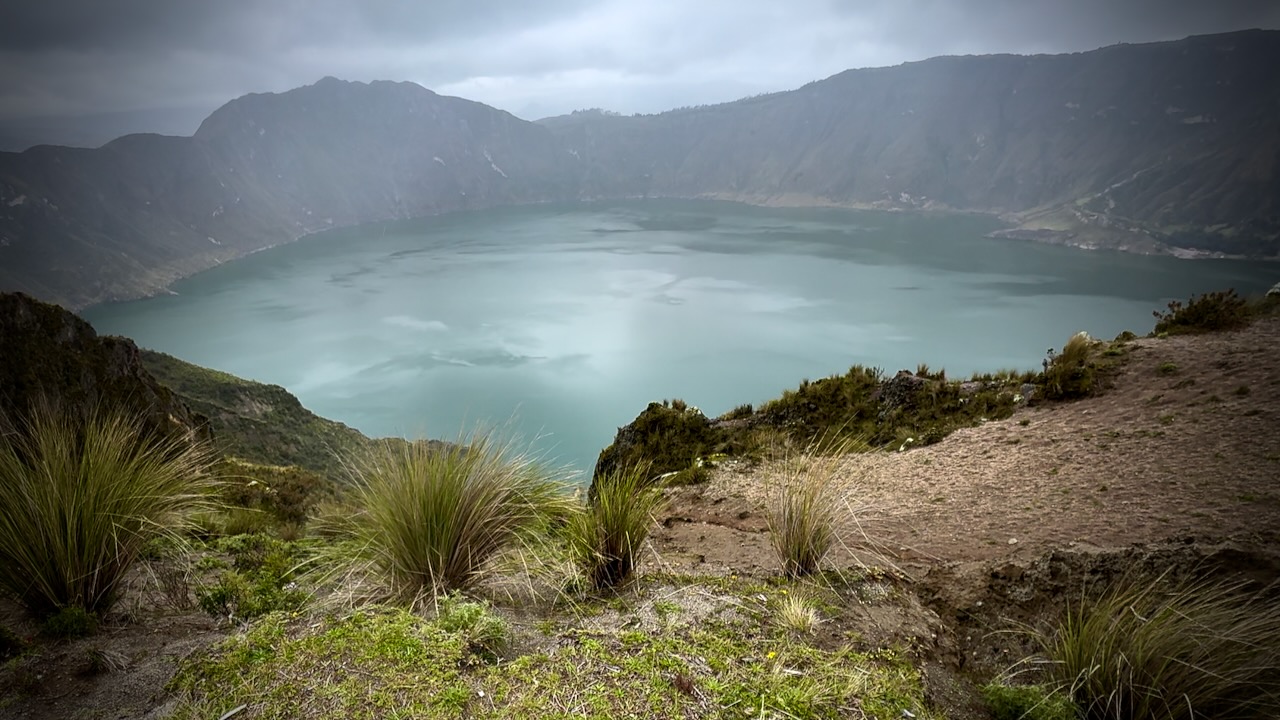
From this point, it’s still about an hour’s walk to Quiloto village, a 100% tourist trap.

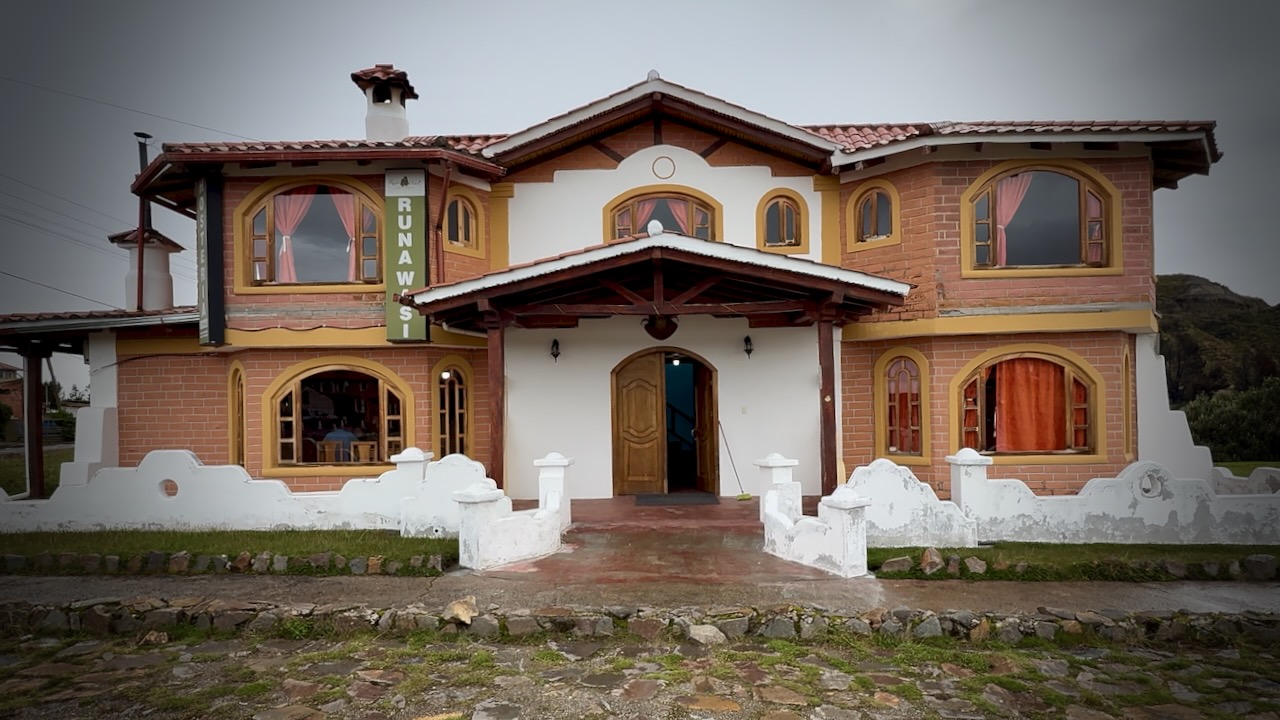
I was happy we decided to stay at Runa Wasi hostel. Classy, friendly accommodation.
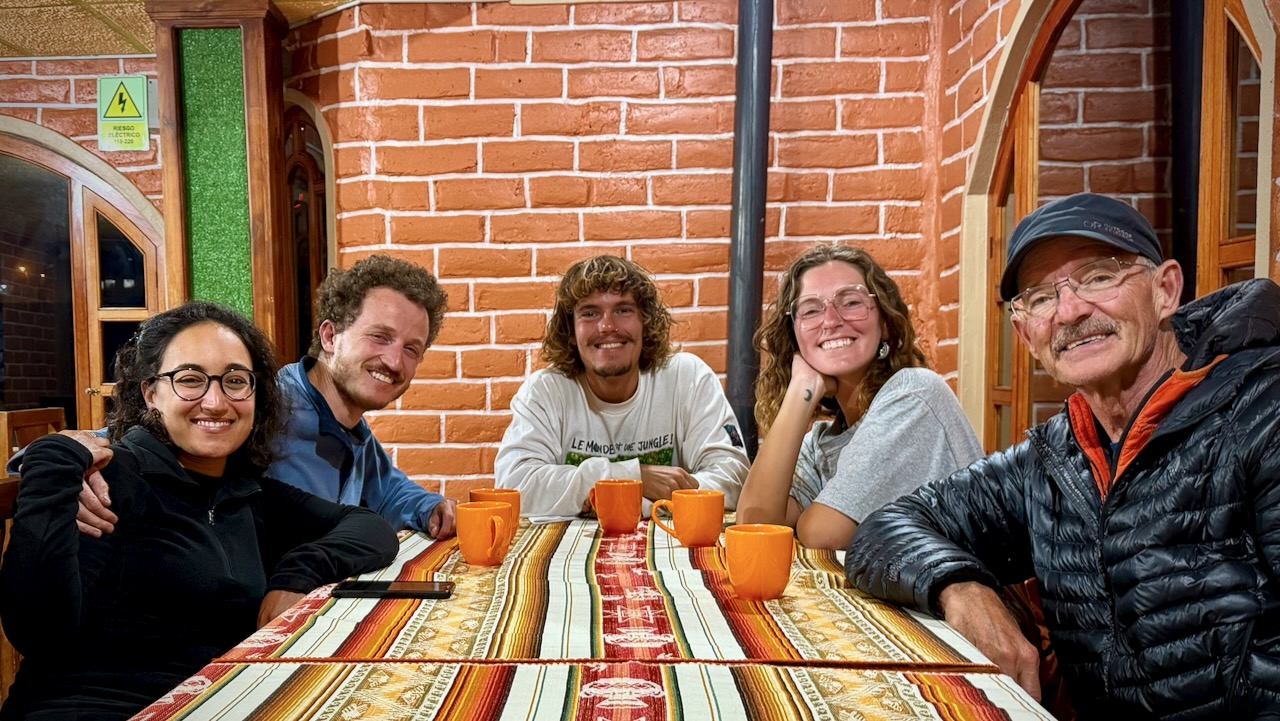
By the end of day 3 you’ve gotten to know hikers on the same schedule. Celebration time.
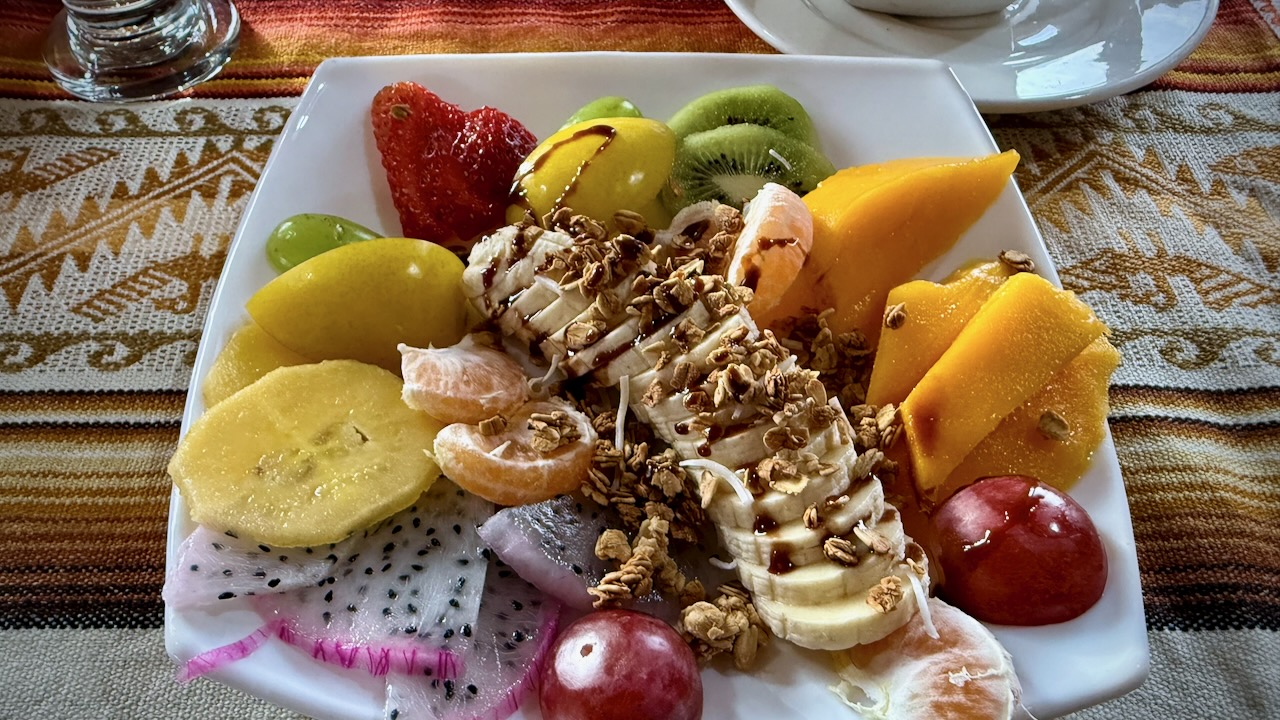
Great food, as well.

Day 4

Breakfast as quick as possible โž™ then off while the weather was good.

The 10.8km Quilotoa Crater Circuit next morning took me 4-5 hours. An extra 795m elevation gain with MANY photo & video stops.
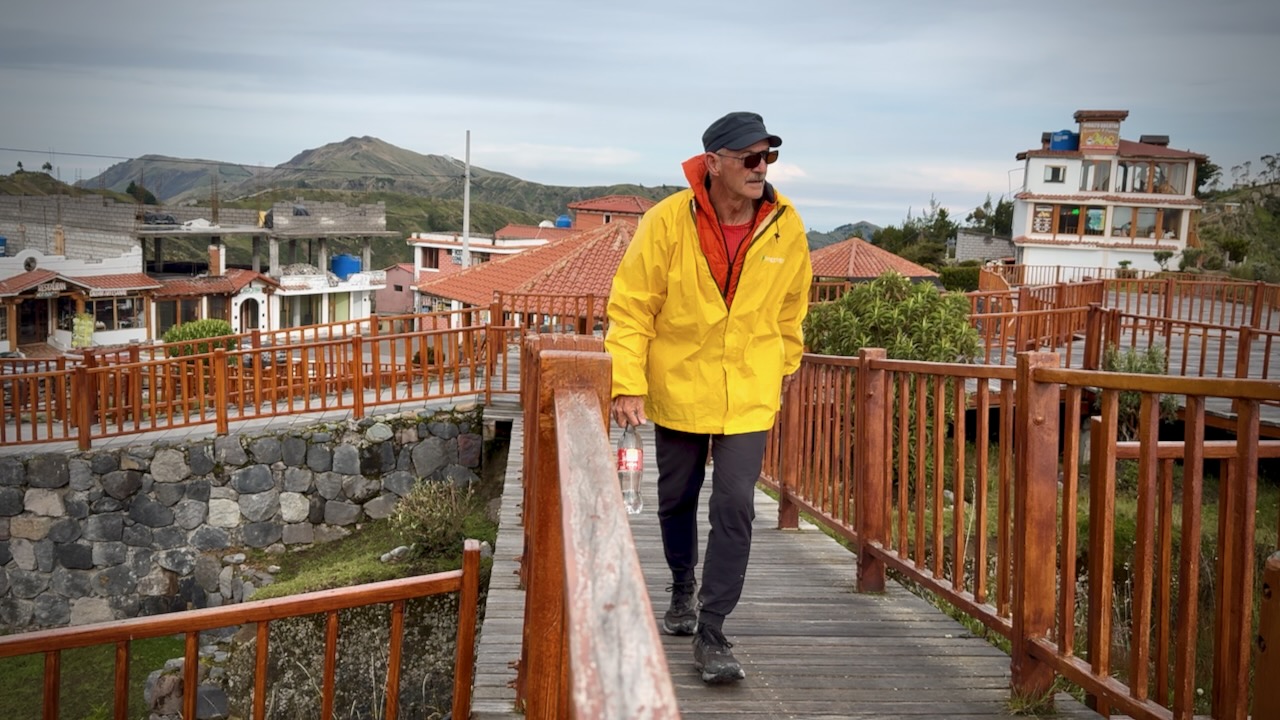
Quilotoa village.

After 3 days with a heavy load, I decided to chug a litre of water. Then speed hike the Circuit with no day pack.
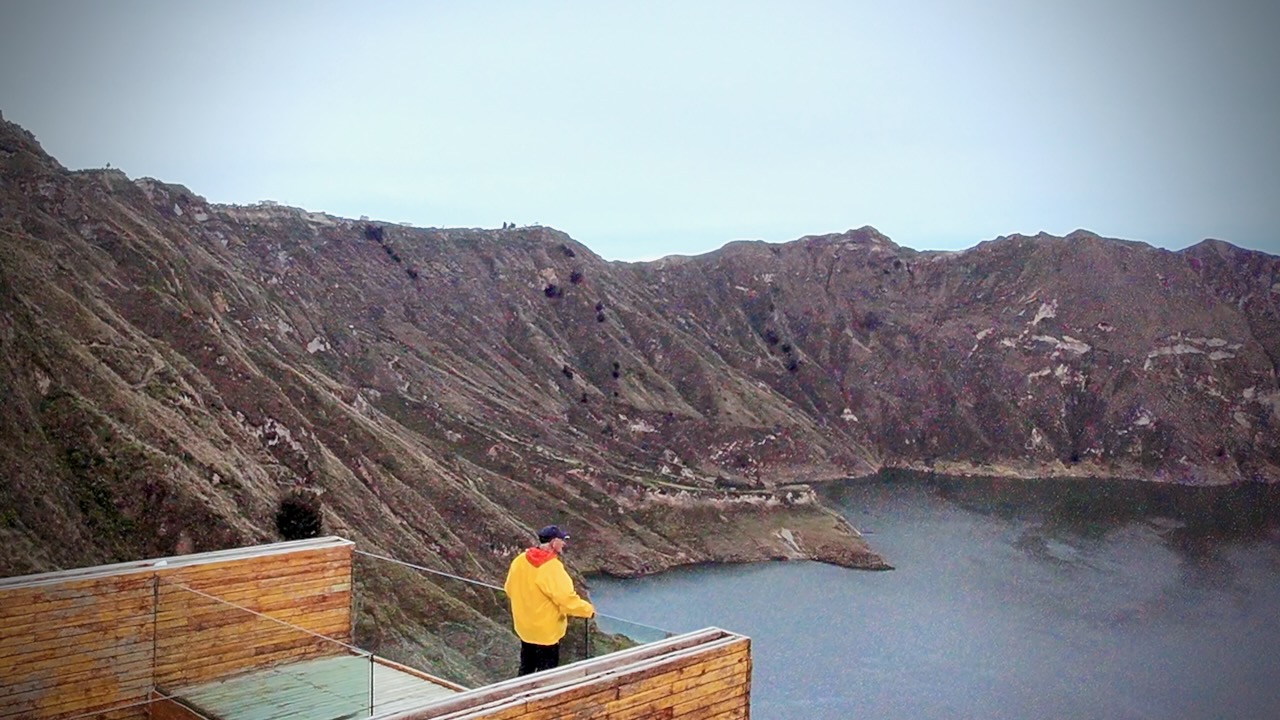
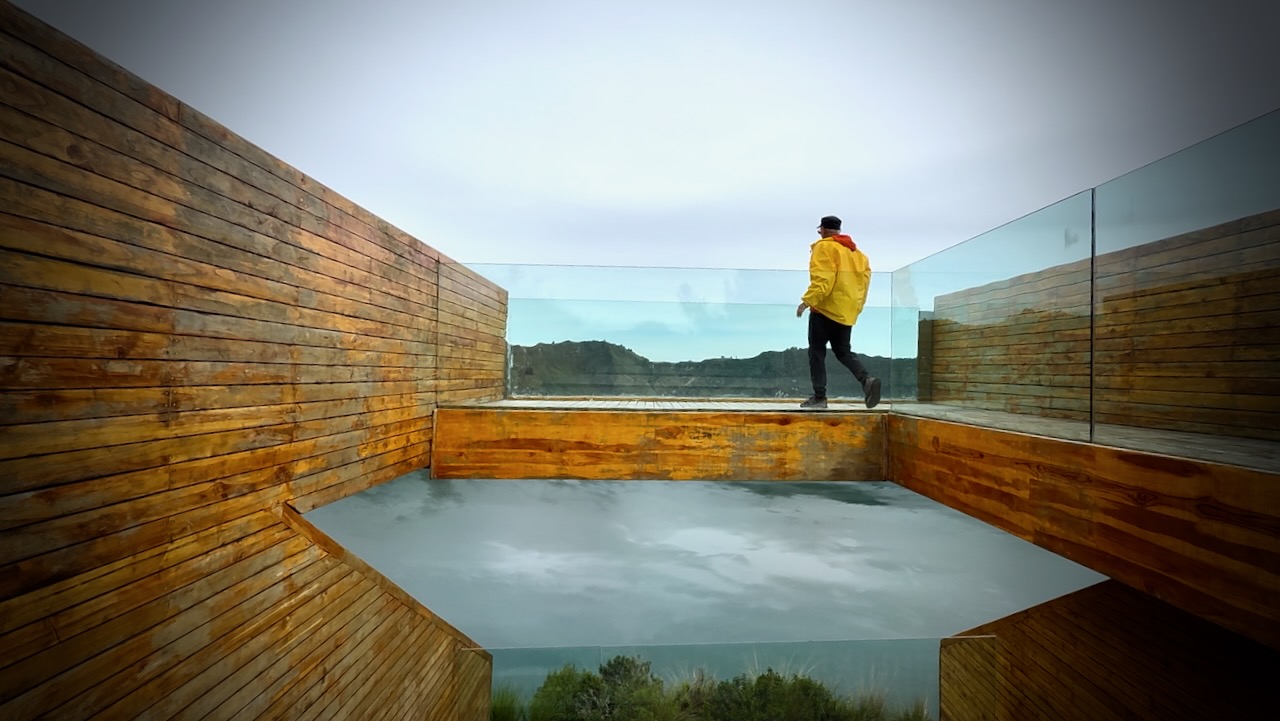
There are a number of viewpoints. This one with the glass floor the most impressive.
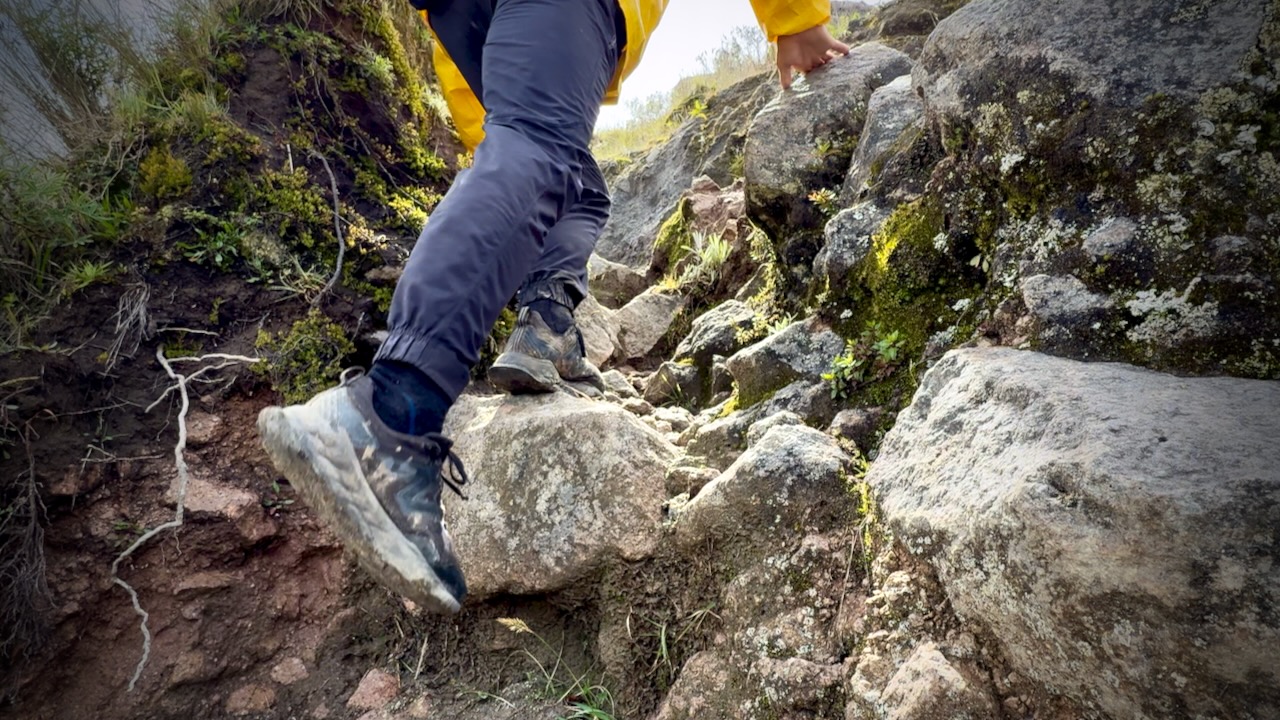
I’d decided to turn right from the village as this was considered the more difficult part. And I wanted to do it first in case of rain later. There is some scrambling.
There are some random llamas on the rim. Village children ask $1 if you want to take a photo.
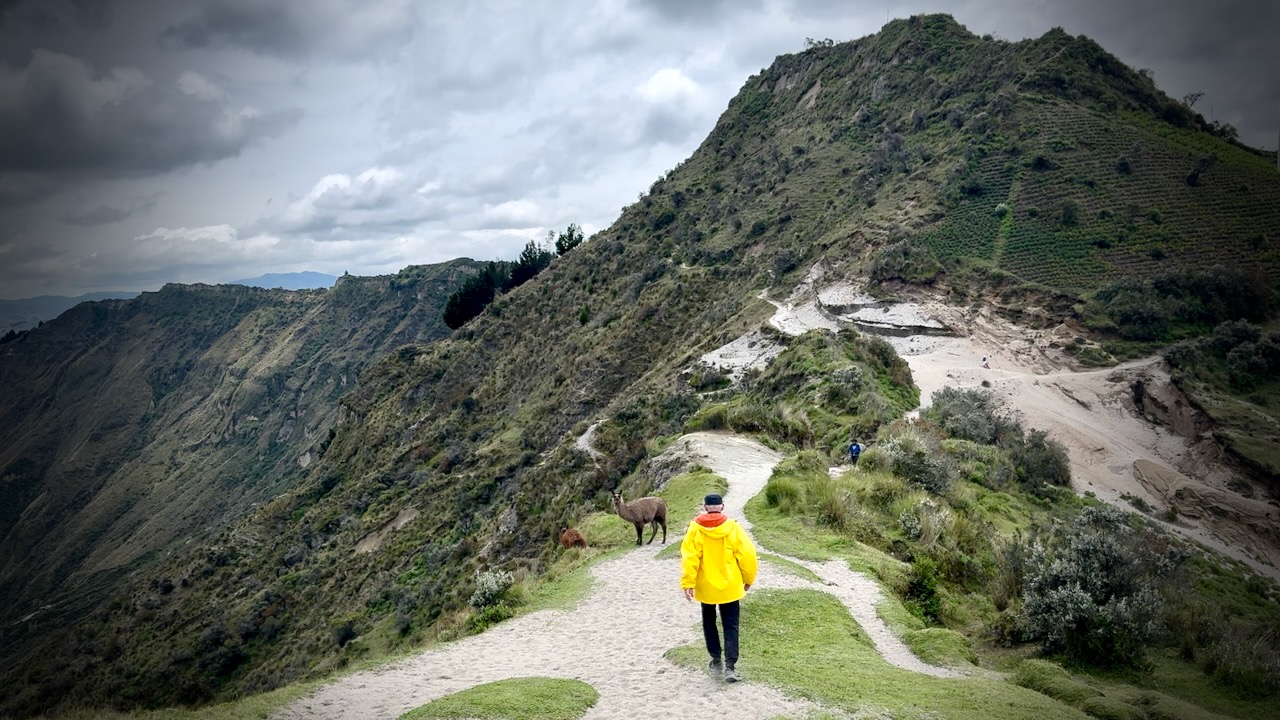
With no day pack, I made good time.
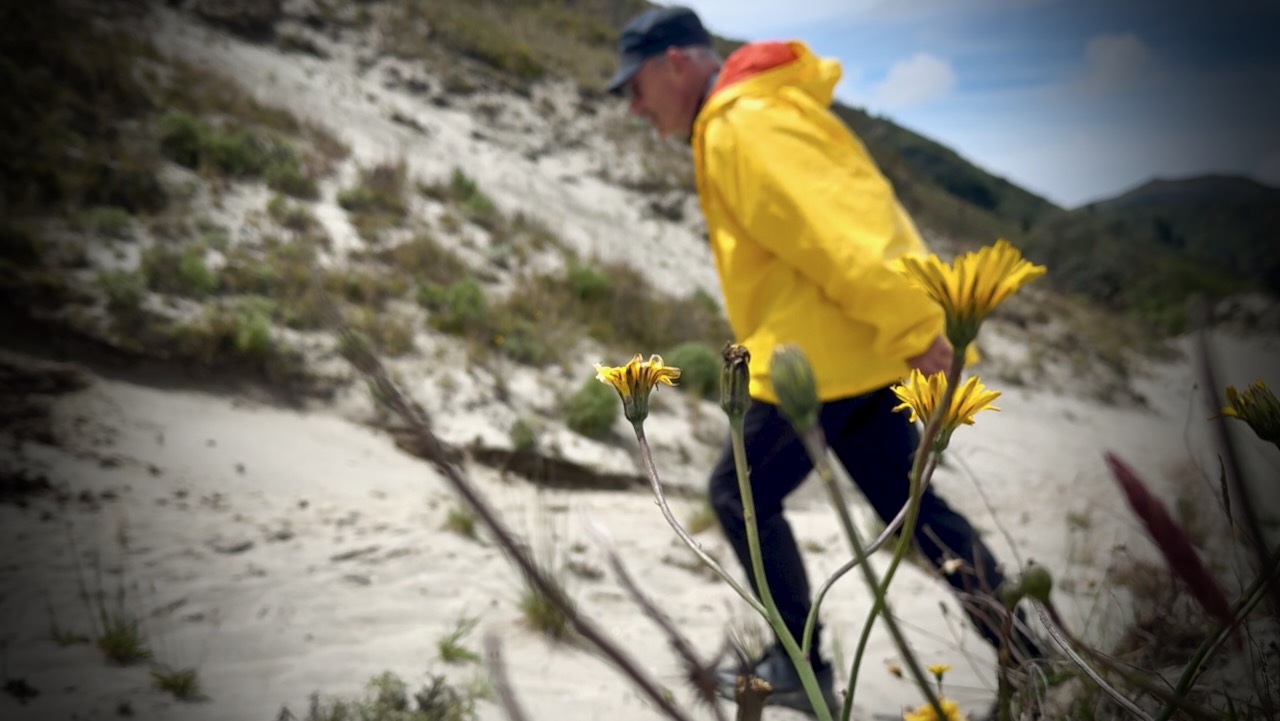
Weather excellent this morning. Though quite windy.
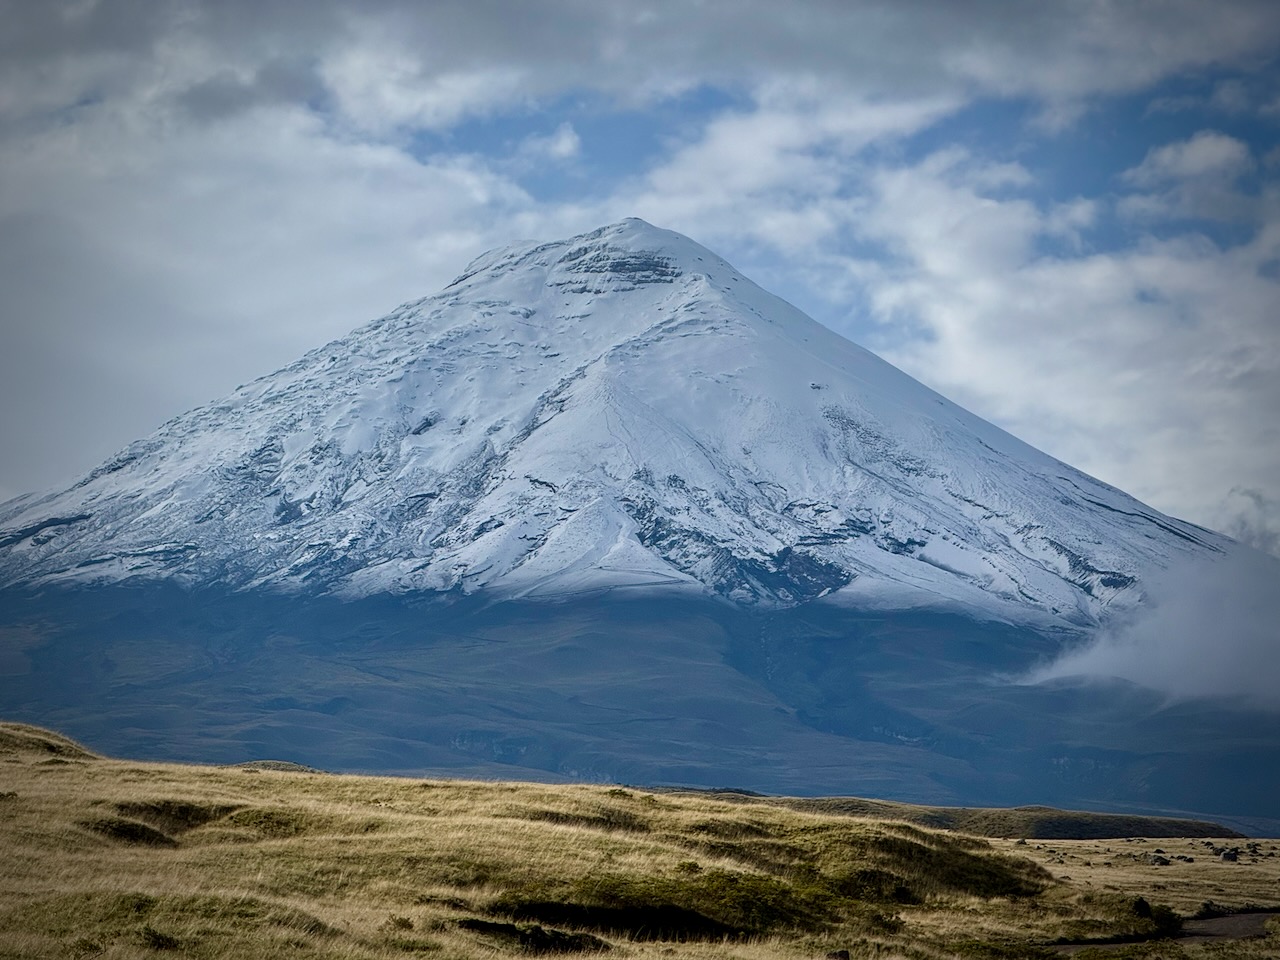
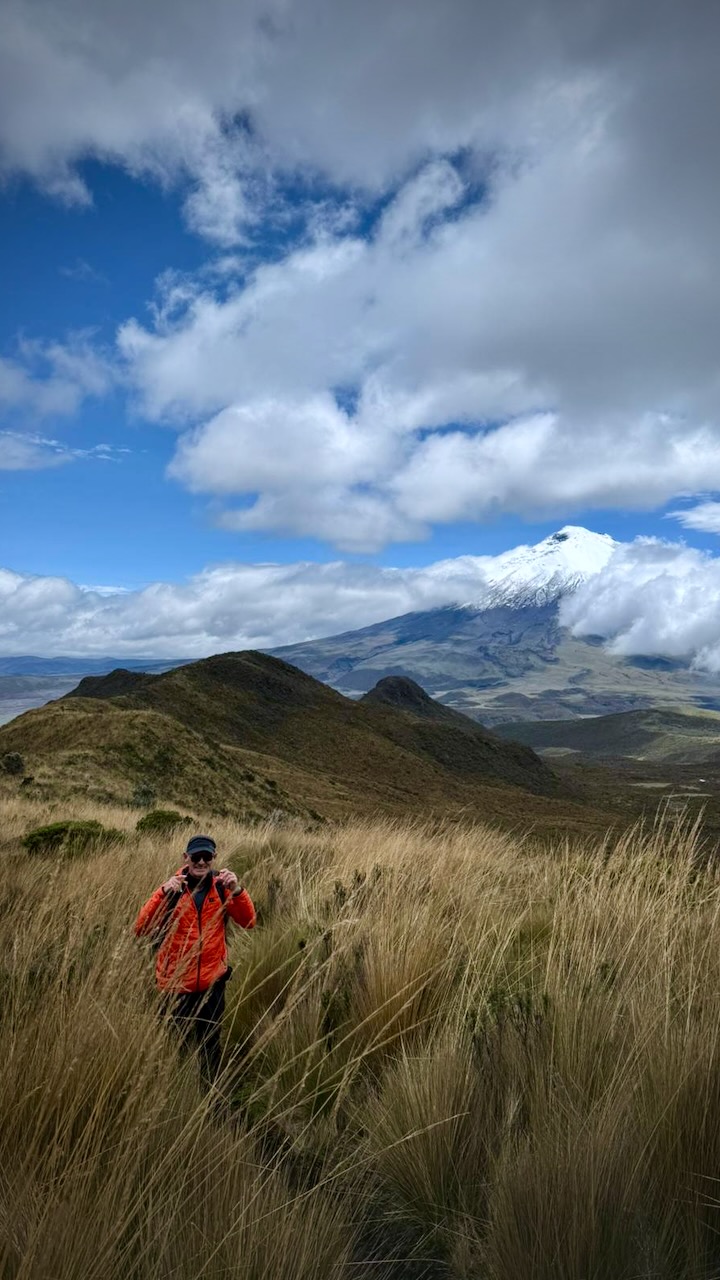
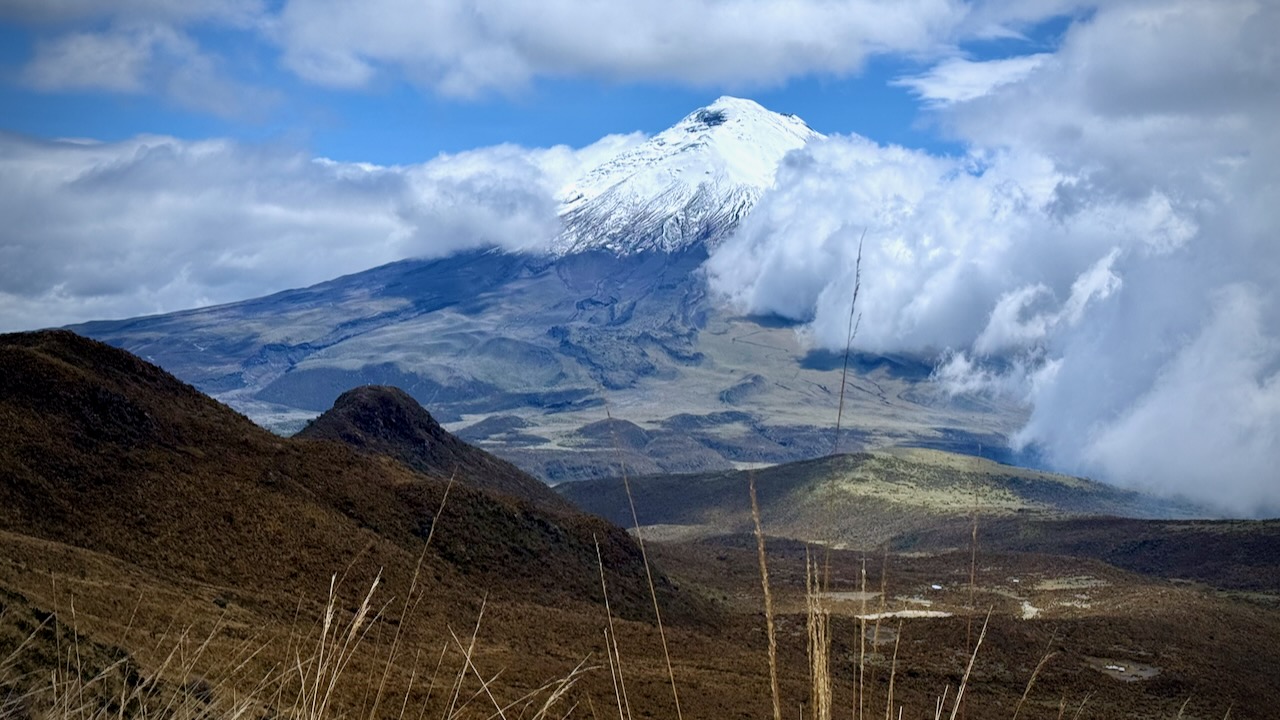
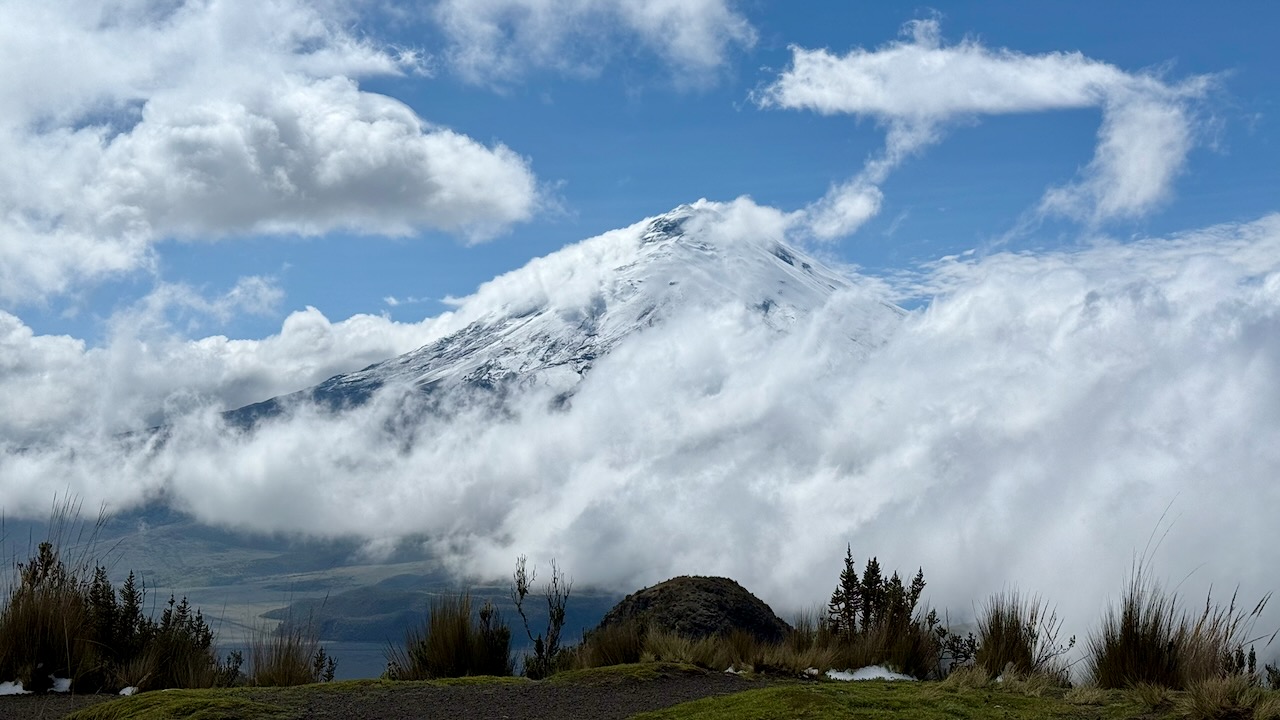
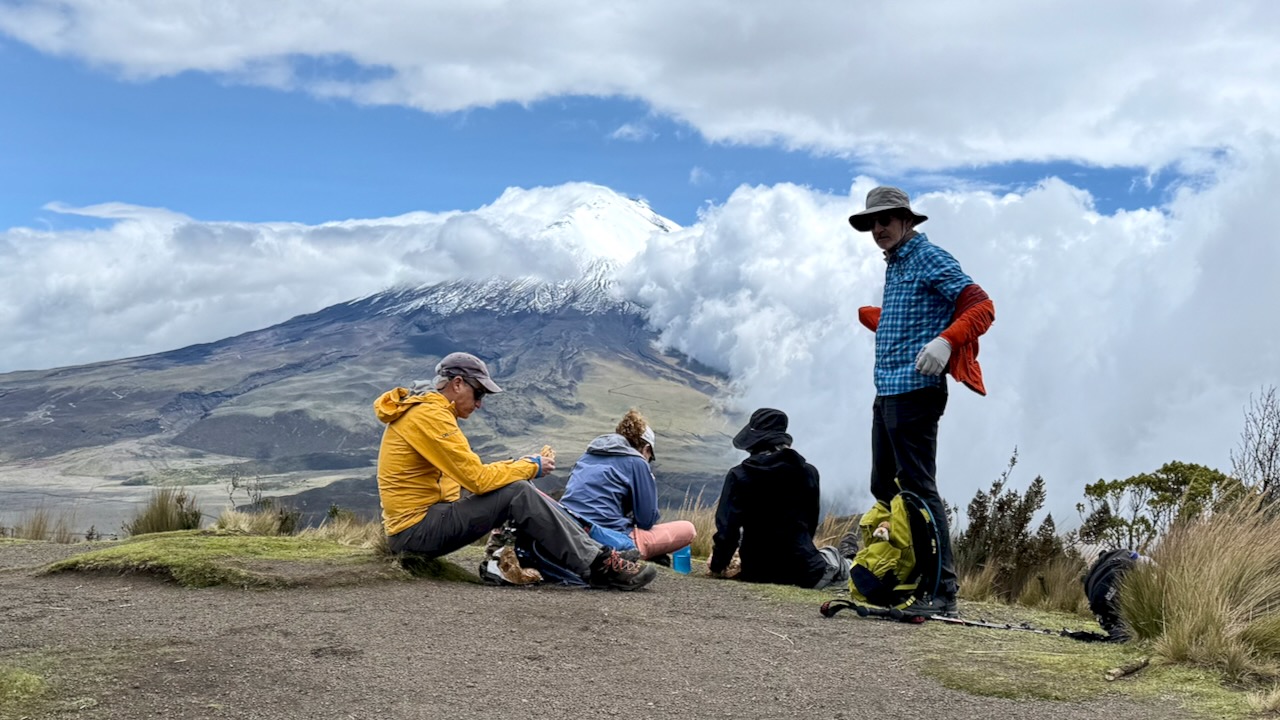
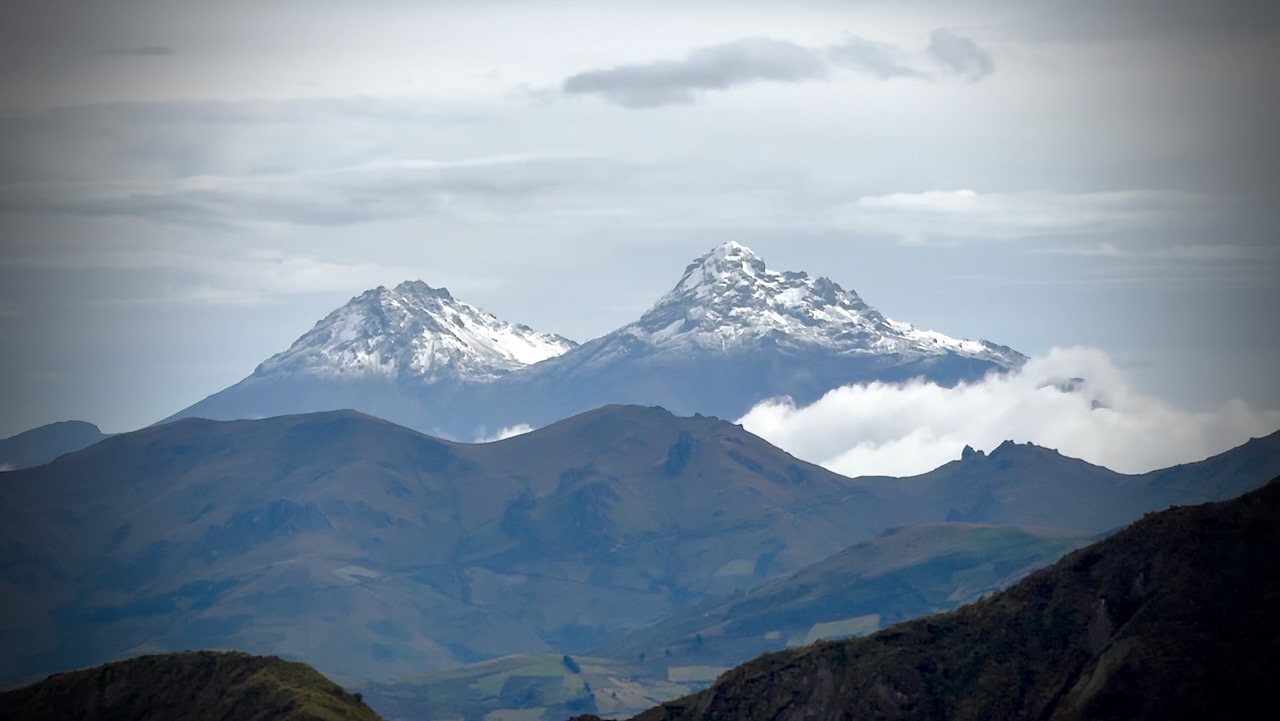
Good views of snow-capped volcanoes Cotopaxi and Chimborazo.
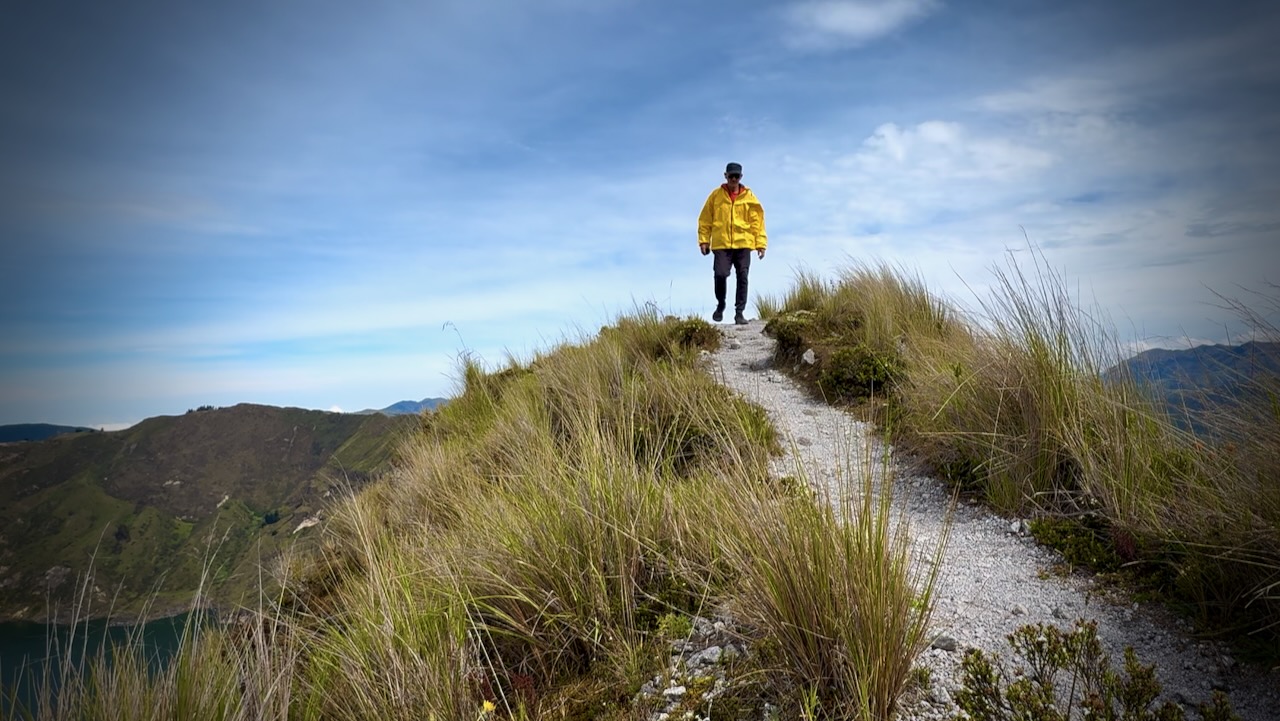
For me, this was the best hiking day.

You could drive or bus up to Quilotoa village and just do this Circuit.
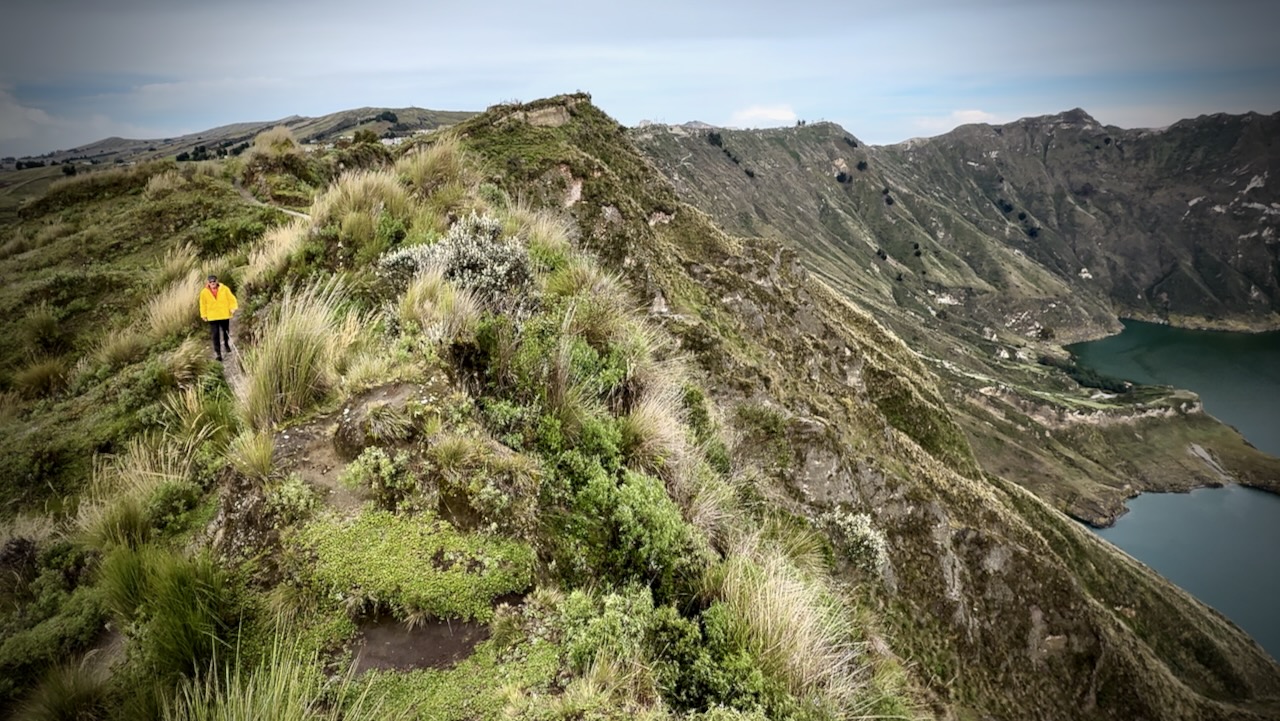
I caught the bus back to Latacunga. And connected to Quito.

All and all, a terrific hiking adventure.

Scrambling Rumiรฑahui Volcano, Ecuador

Trip report by BestHike editor Rick McCharles.

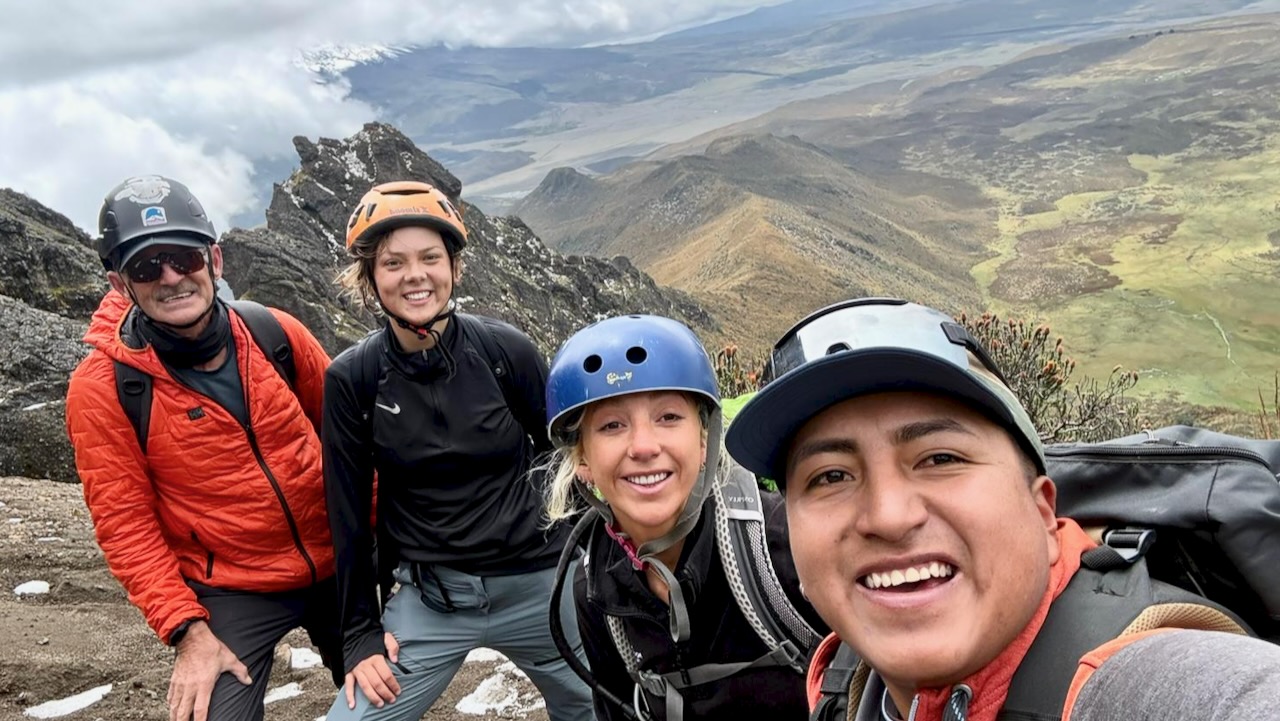
We signed on for a climb of Rumiรฑahui Central with Secret Garden Cotopaxi.

Spoiler. Lexi, Tahel, and myself all made it to 4,643m. Super happy here. Our guide was terrific.

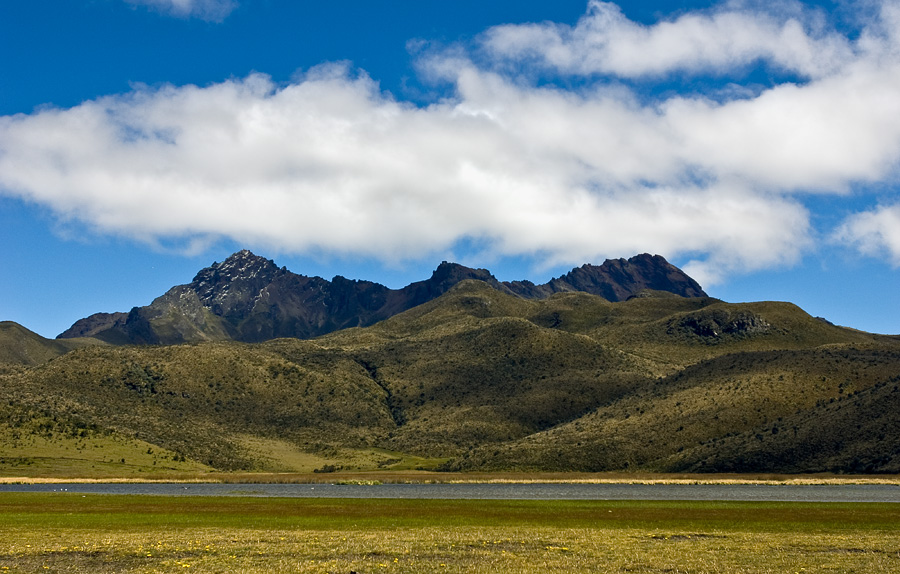
Rumiรฑahui is considered a lead-up to Cotopaxi (5,897m) and then Chimborazo (6,263โ€“6,310m).

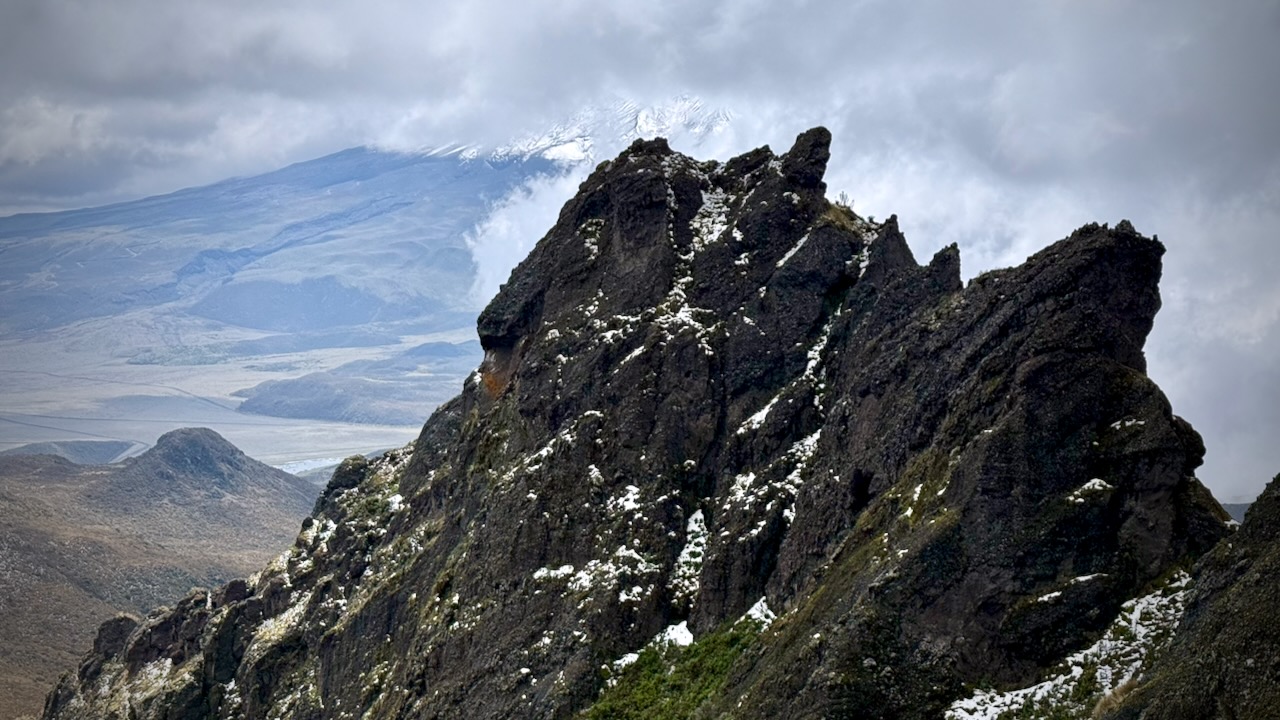
Rumiรฑahui is a dormant, heavily eroded stratovolcano 4,721 metres (15,489 ft) above sea level.

Situated in the Andes mountains 40 km south of QuitoEcuador, it is overshadowed by its famous neighbour Cotopaxi.

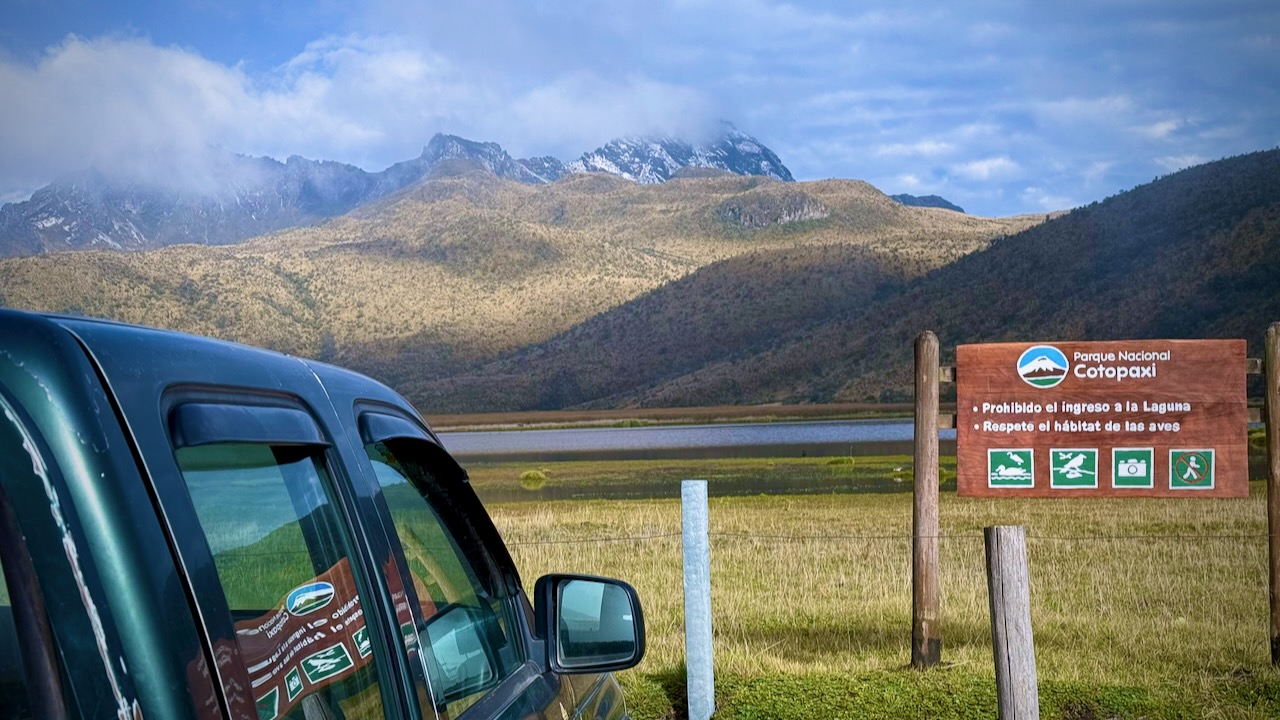
This mountain is in Cotopaxi National Park, so we drove directly towards the big peak. Excellent weather early morning.

We parked at Lake Limpiopungo at approximately 3,850m. Many different species of birds alight here.

Headed to that central peak.

We saw rabbits at the beginning while climbing up through paramo.

And condors floating in the updraft.

On the way down, our guide spotted wild horses below.

We had amazing views of Cotopaxi.

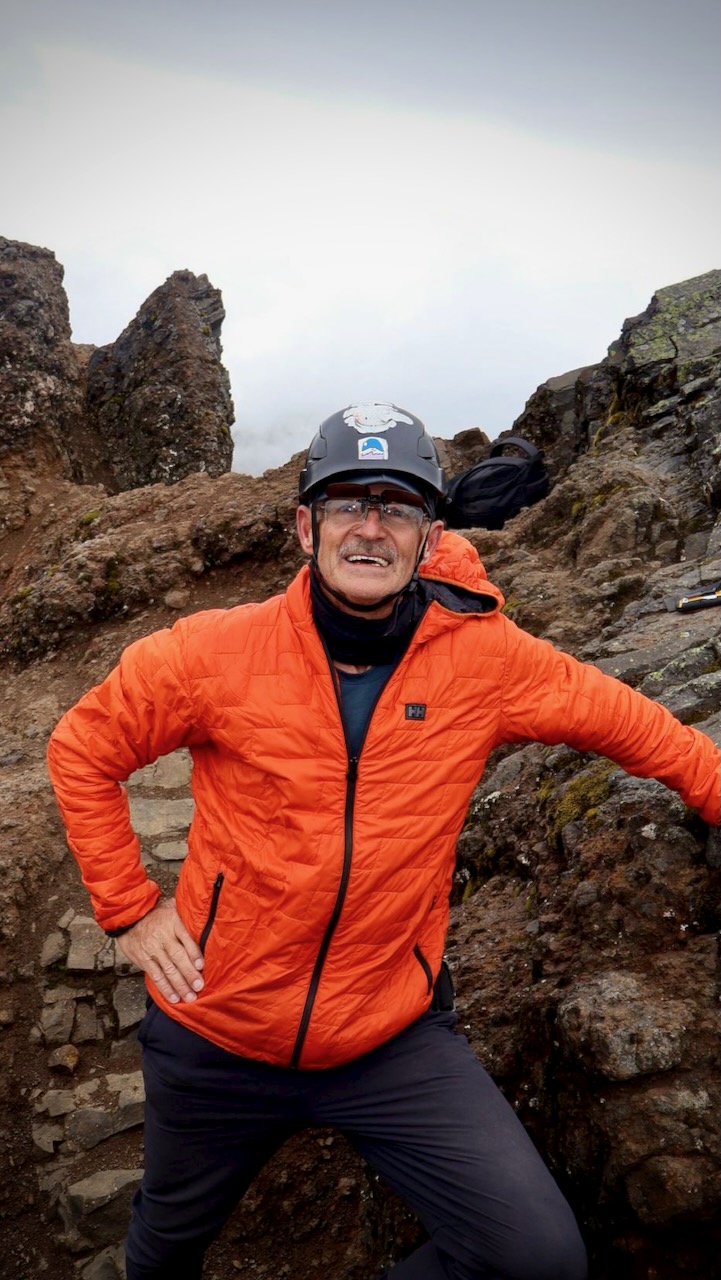
I call it a scramble because this mountain is quite jagged. We used our hands quite a bit at the top. Tahel put spare socks on her hands. I used a buff for protection. None of us had opted to carry gloves.

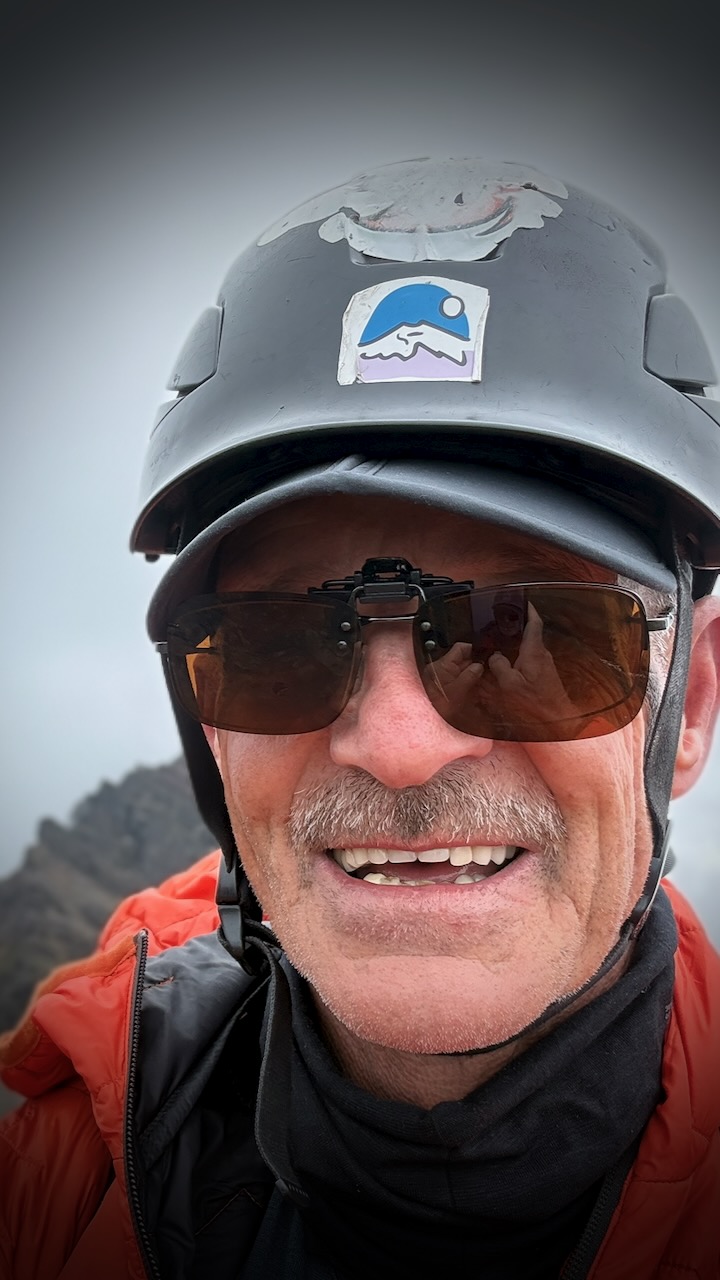
Check this rugged mountaineer.

Ready for Kilimanjaro, coming up next.

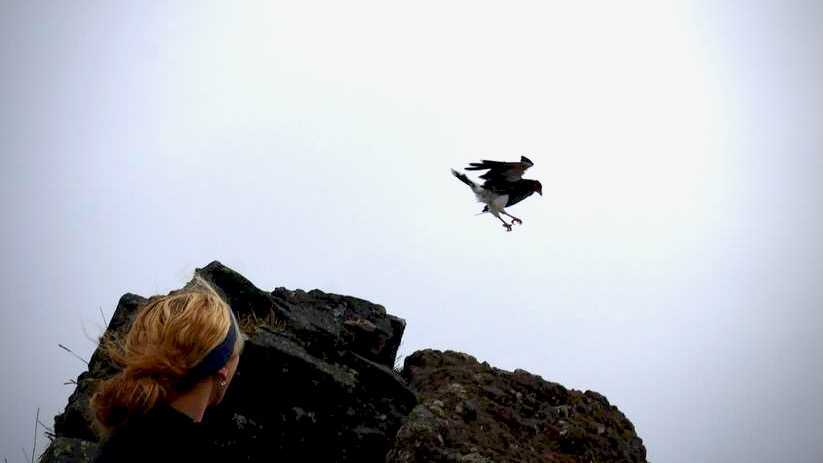
The most surprising moment of the trip was having a caracara land on the summit just as we were celebrating.

A bit slow getting to the top, we actually ran down much of the mountain as Tahel had to catch a bus back to Quito at 3pm.

We stopped to chat with this group at 1pm. Just starting up.

Well … they had horrific hard rainfall in the afternoon. You really want to finish your hiking by 2pm in the Andes.

Click PLAY or watch our adventure on YouTube.

Southern California Camping

Trip report by BestHike editor Rick McCharles

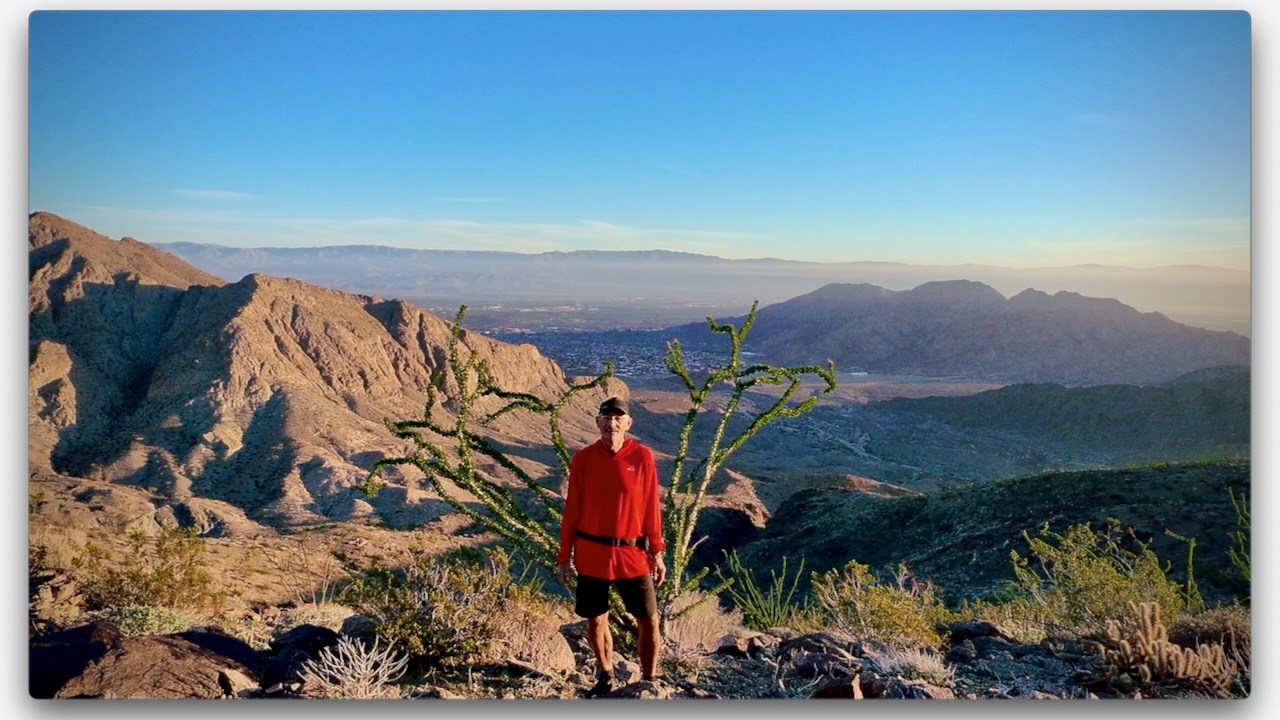
I wanted to sleep one night in the desert.

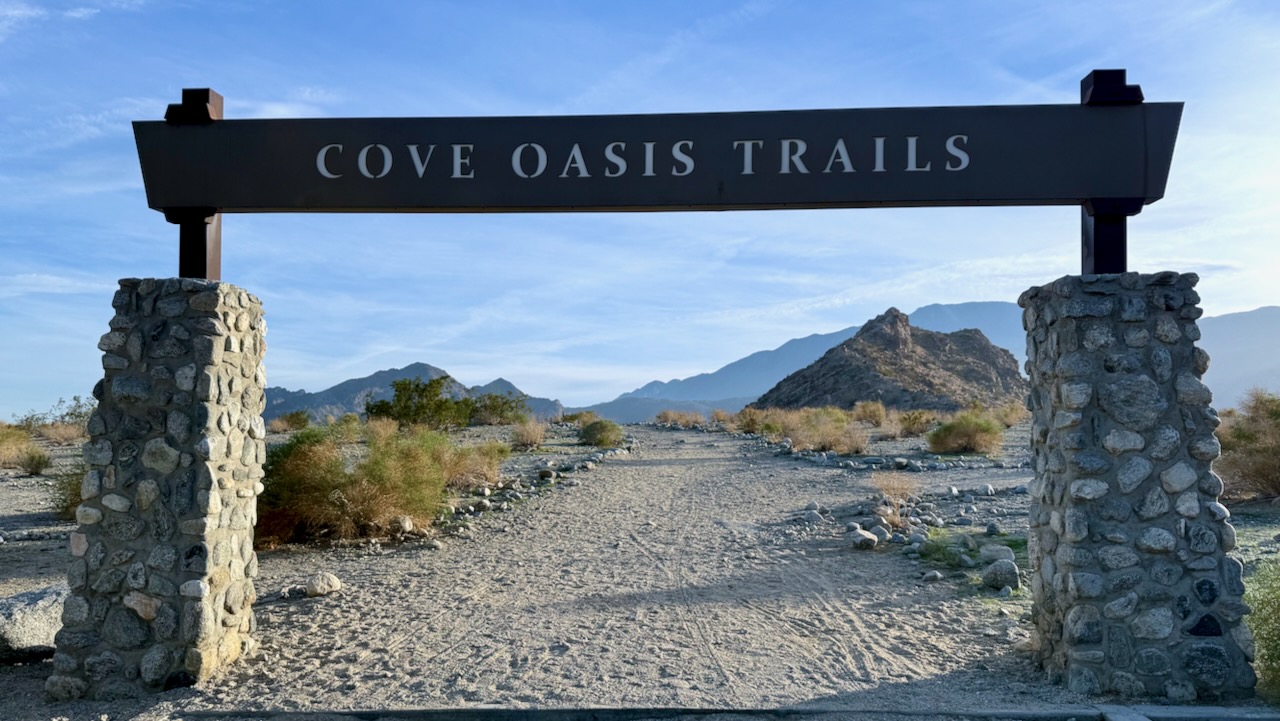
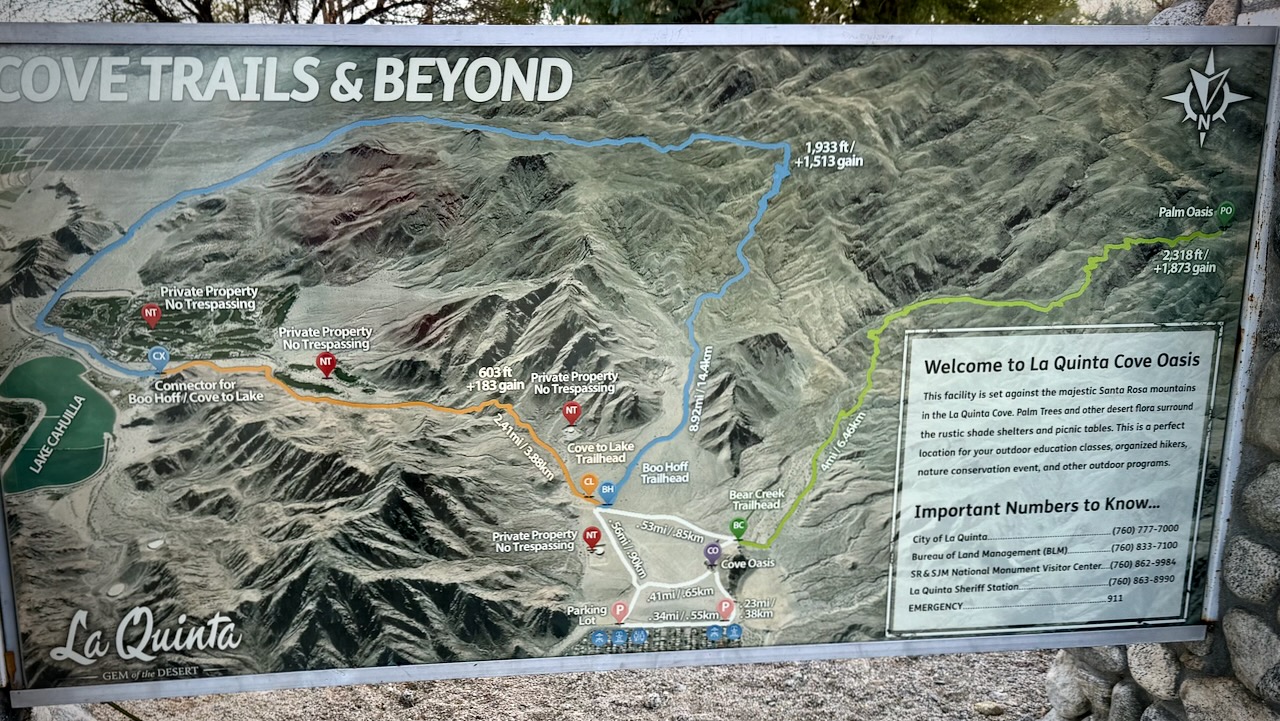
I started late afternoon on the Bear Creek Oasis Trail out of La Quinta Cove.

There are plenty of walking options. I found the unsigned trail heading towards “Palm Oasis” using AllTrails offline.

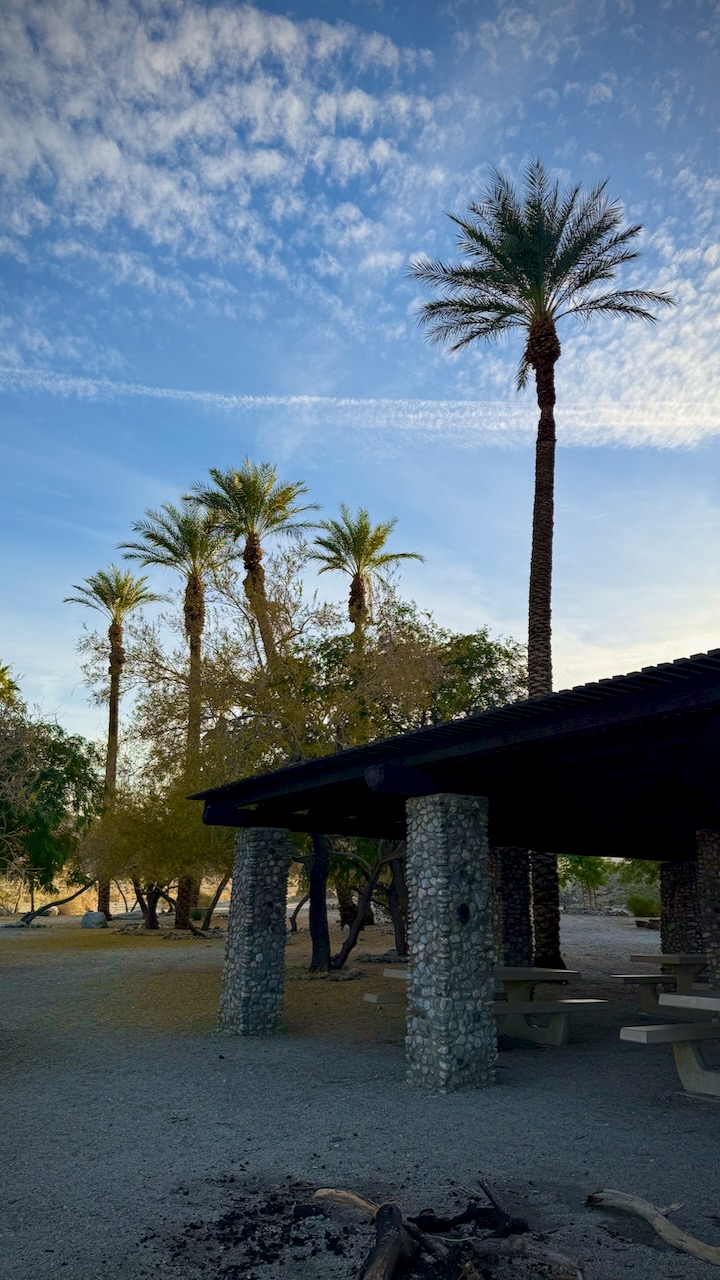
There’s a nice picnic area near the start. No dogs allowed past this point.

All of the hiking in this area is good. But there are very few birds, reptiles, animals, or insects.

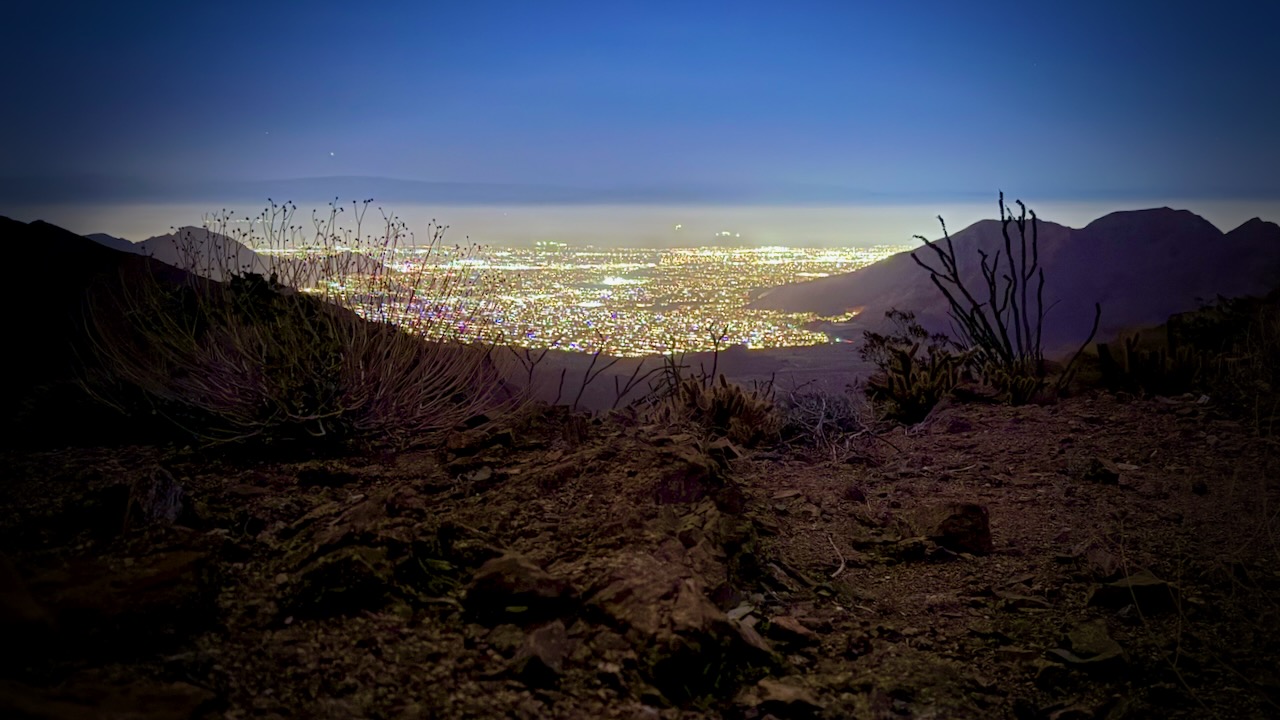
When it got dark, I looked for a sandy spot to set up my tent with a view over the town.

A very quiet night.

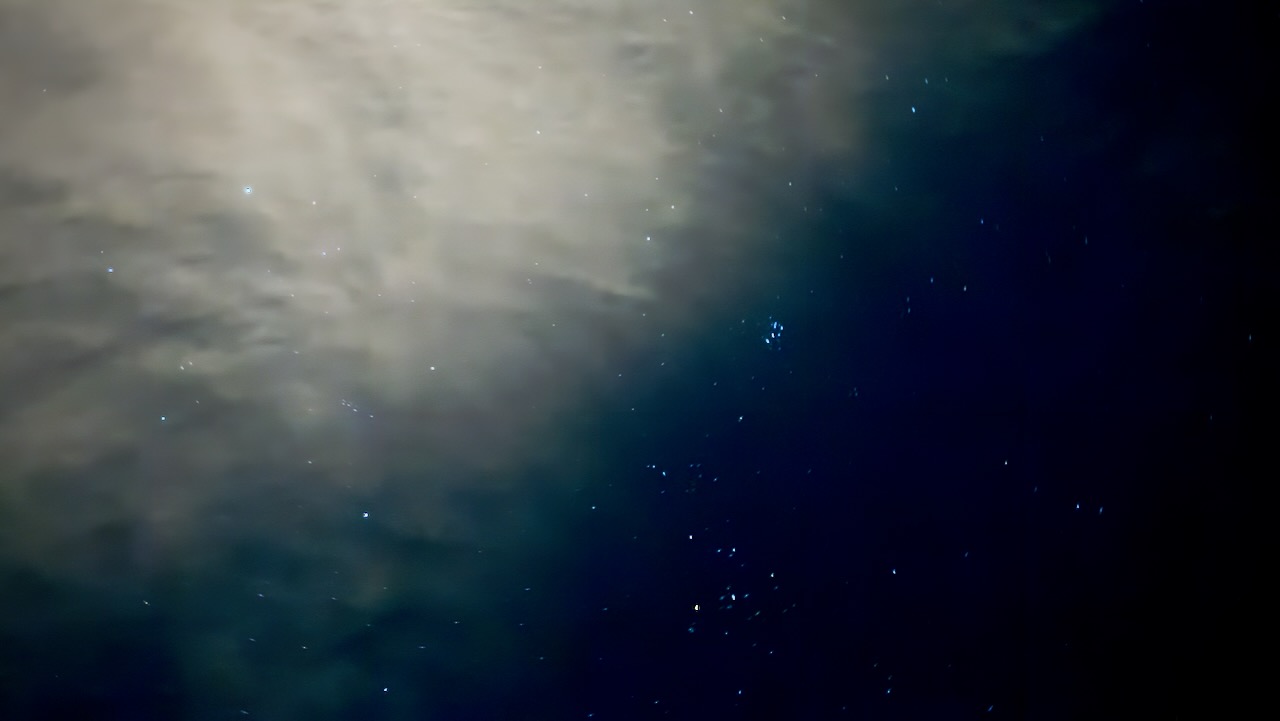
I used the iPhone 16 Pro Night Mode in RAW (ProRAW) for enhanced low-light detail. This sky photo looks much better than what I could see with the naked eye.

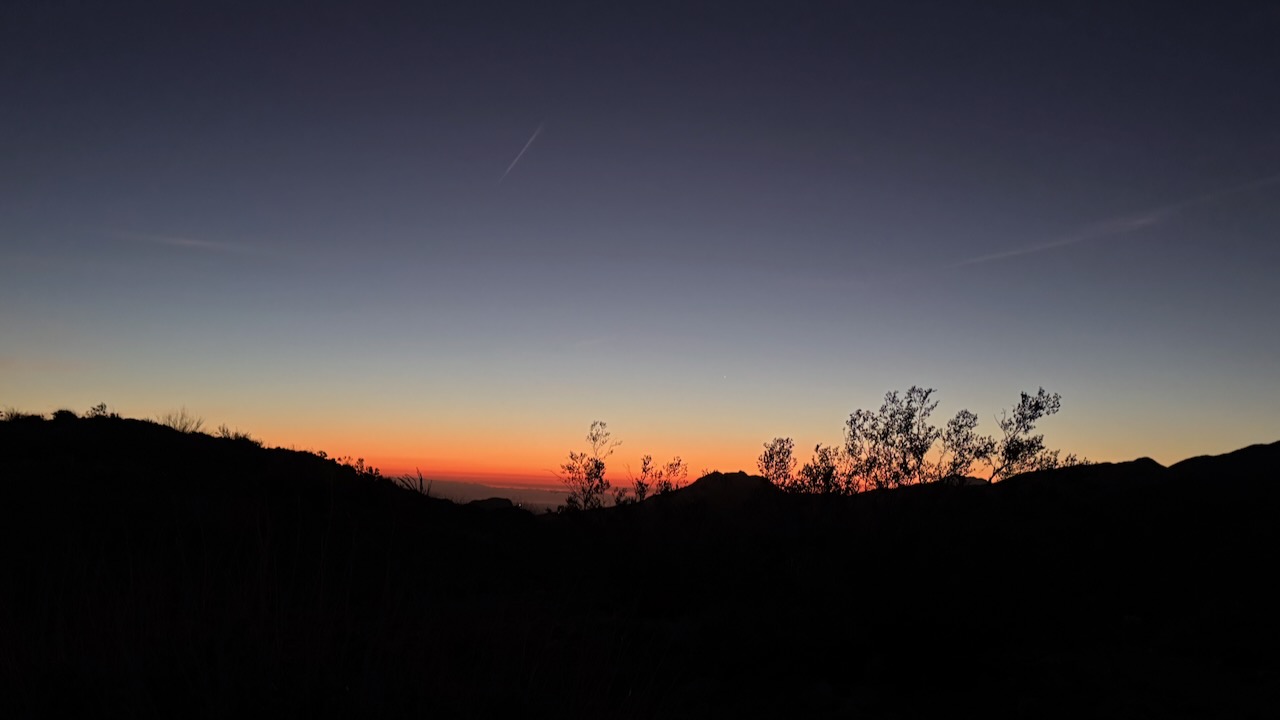
Dawn next morning woke me.

It was bright by 6am.

Early Sunday morning, hikers passed before 7am. Followed soon after by trail runners. This is a good trail to get some vertical. 708m elevation gain if you do the entire 15km return.

I climbed a little higher โ€”ย then headed down for breakfast and coffee.


El Camino de Costa Rica 280 km

El Camino de Costa Rica is a breathtaking 280 km / 174 mile hike from the Atlantic to the Pacific Ocean, which is no easy feat even for the most experienced hikers.

While it can be intimidating to take on this type of adventure, there are so many incredible things to see and do while trekking this route, from tropical beaches and dense trails to mountain villages and indigenous communities.

official website

Click PLAY or watch it on YouTube.

MacRitchie Reservoir & TreeTop Walk Loop, Singapore

Trip report by BestHike editor Rick McCharles

MacRitchie Reservoir is Singapore‘s oldest. One of the island nation’s most popular parks.

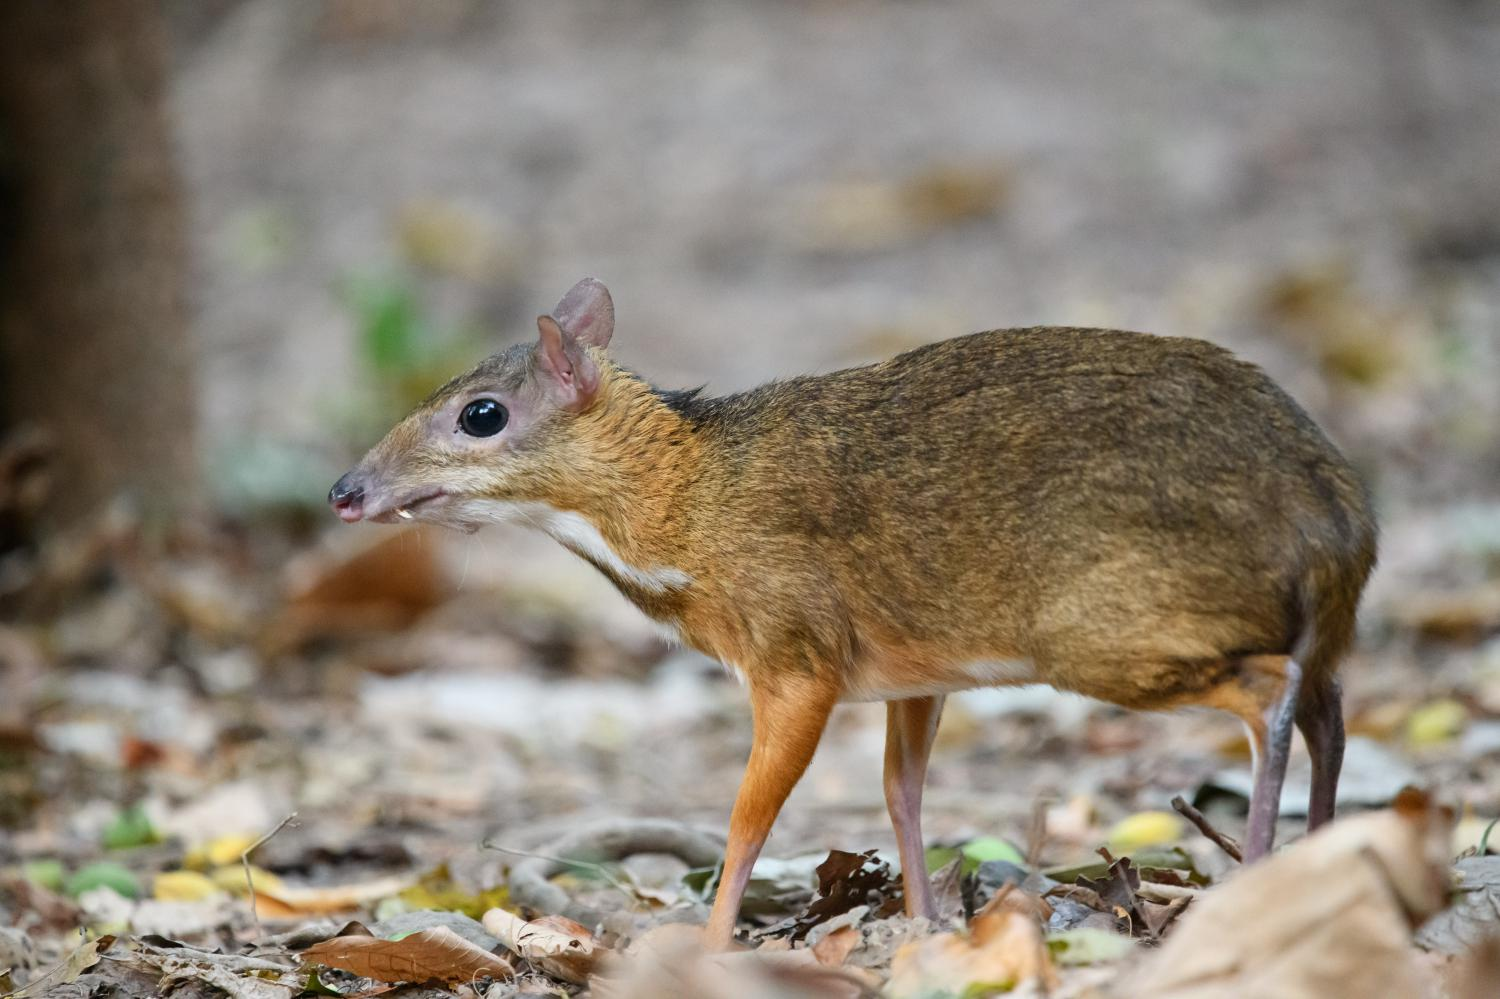
Highlight for me was seeing 2 of the world’s smallest hoofed animals, the lesser mouse deer.

Not expecting these little guys โ€” about 45 cm (18 inches) and 2 kg (4.4 lb) โ€” my first thought seeing them in the foliage is that they were GIANT RATS. ๐Ÿ˜€

You can hike a multitude of trails at MacRitchie โž™ or go kayak / canoeing.

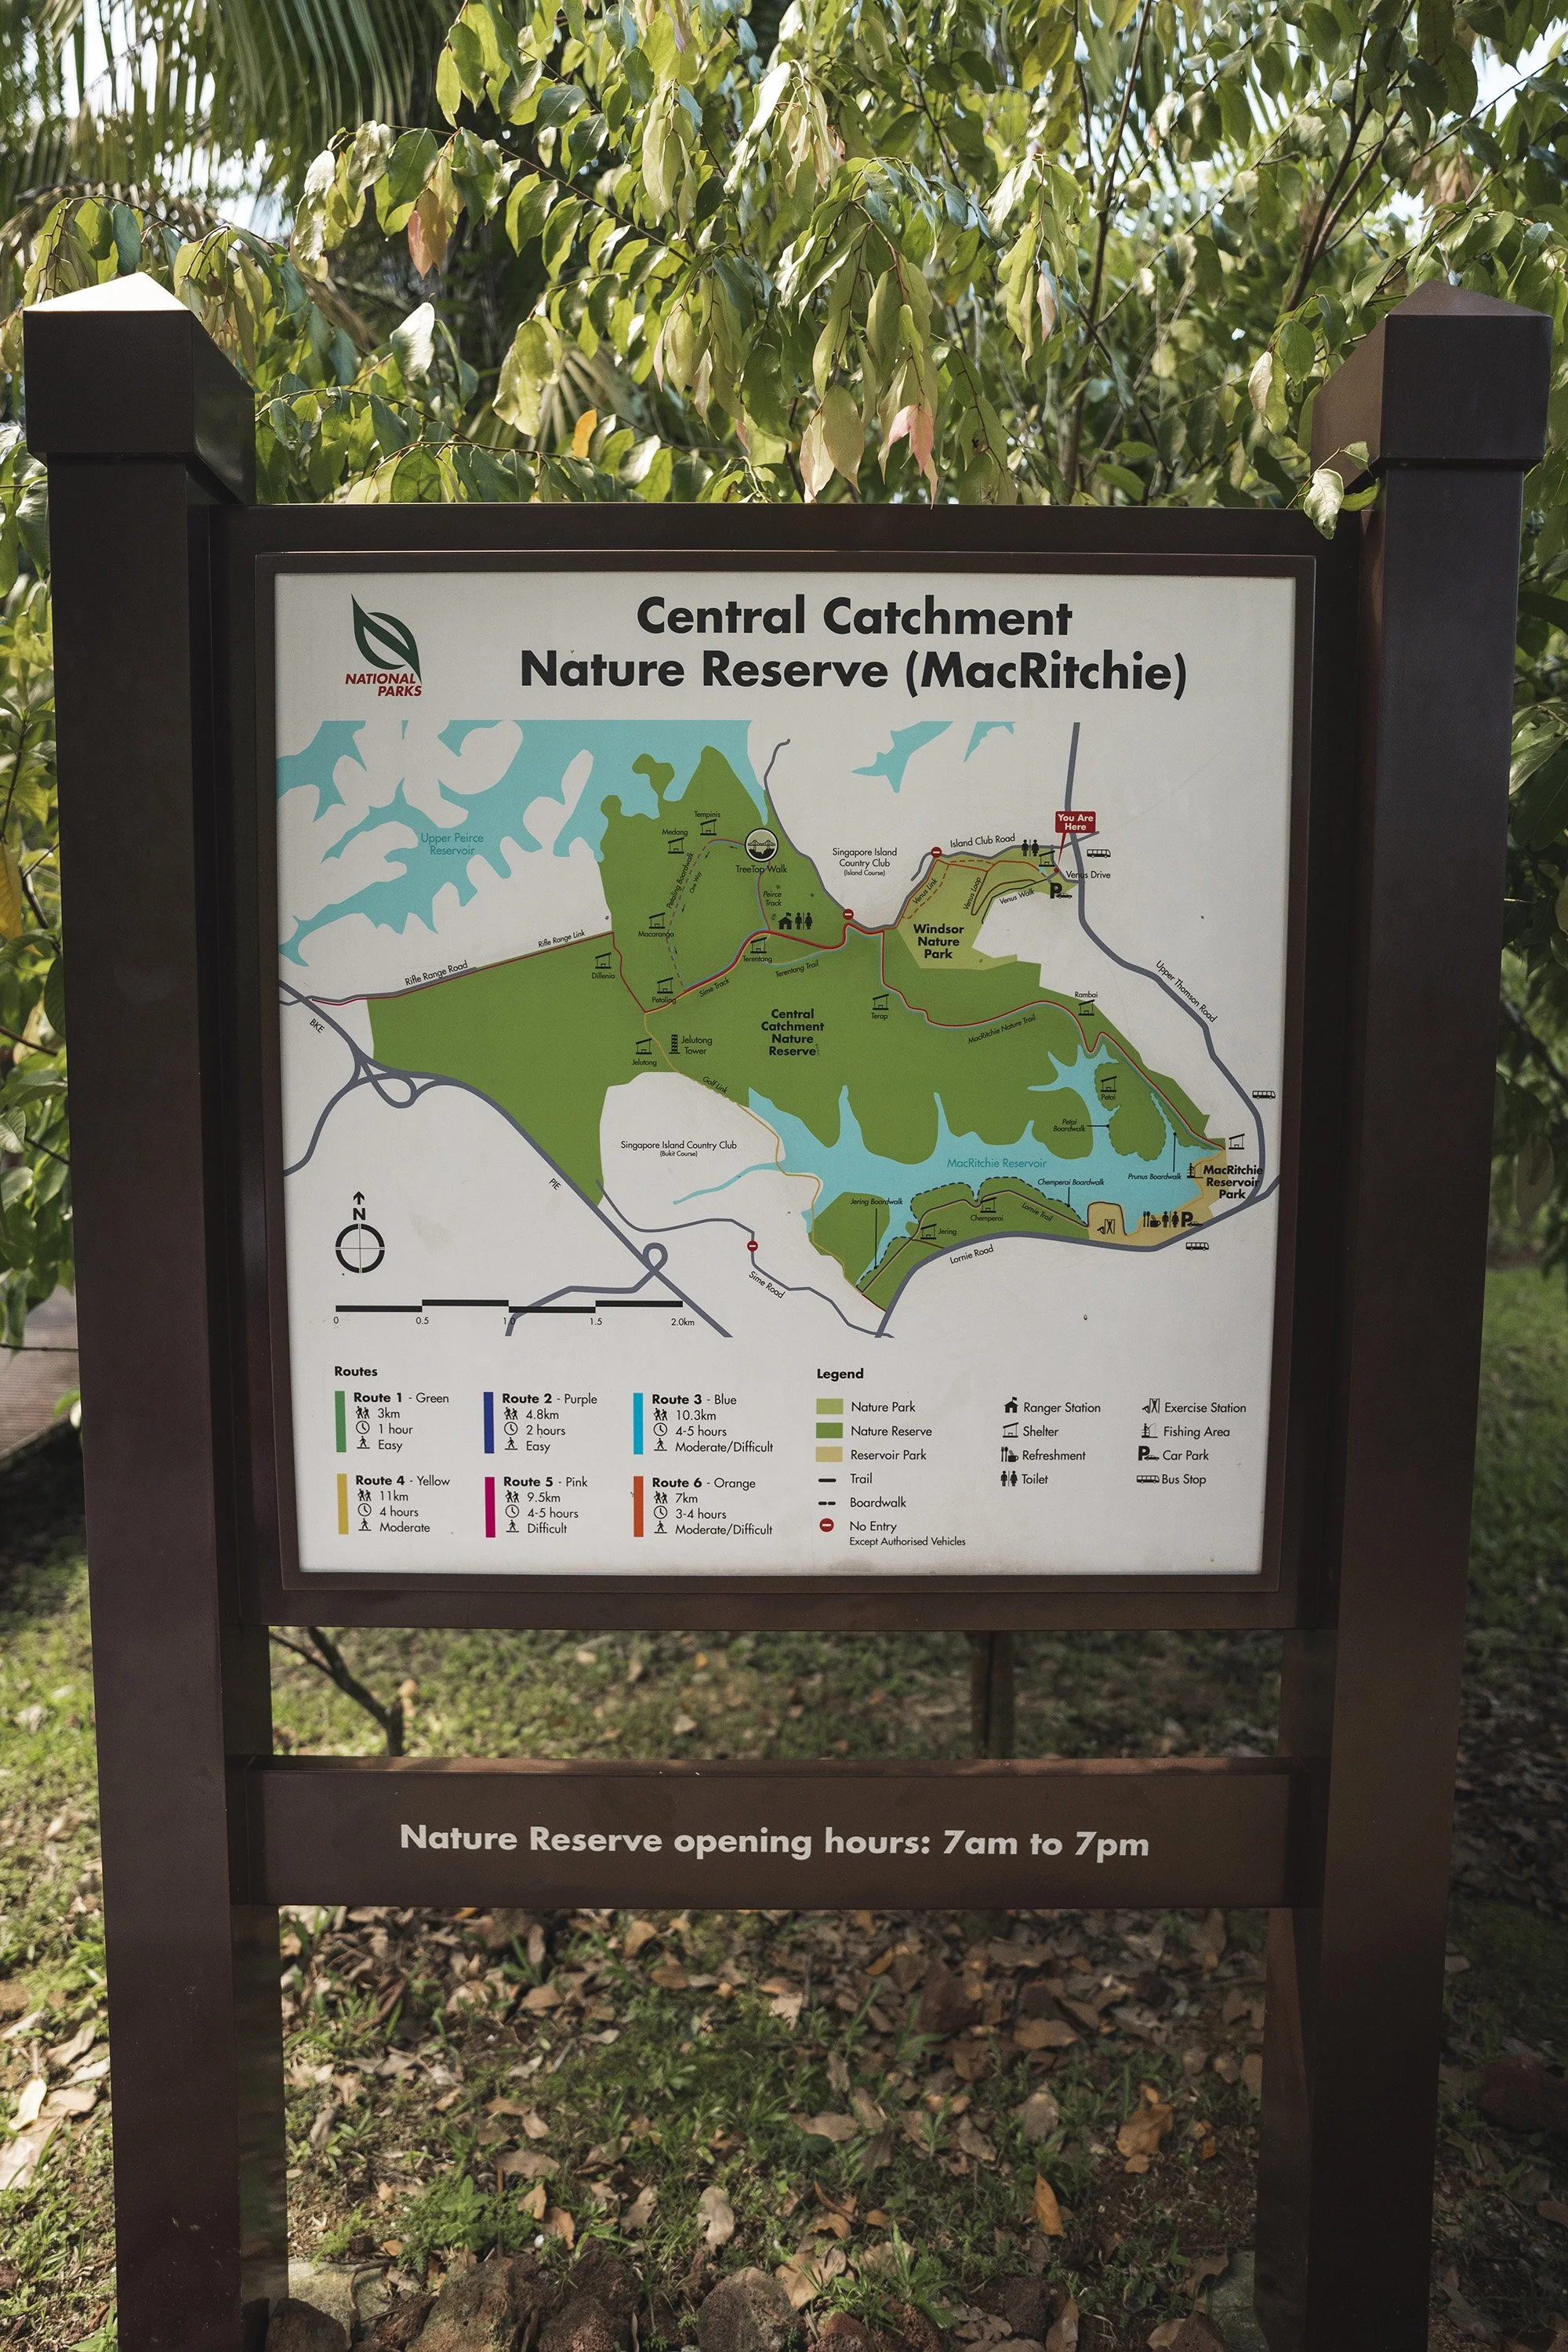
I tried the MacRitchie Reservoir and TreeTop Walk Loop.

  • 12.2km
  • 3โ€“3.5hr
  • 281m elevation gain
  • Zig Zag bridge
  • Performing Arts Pavilion

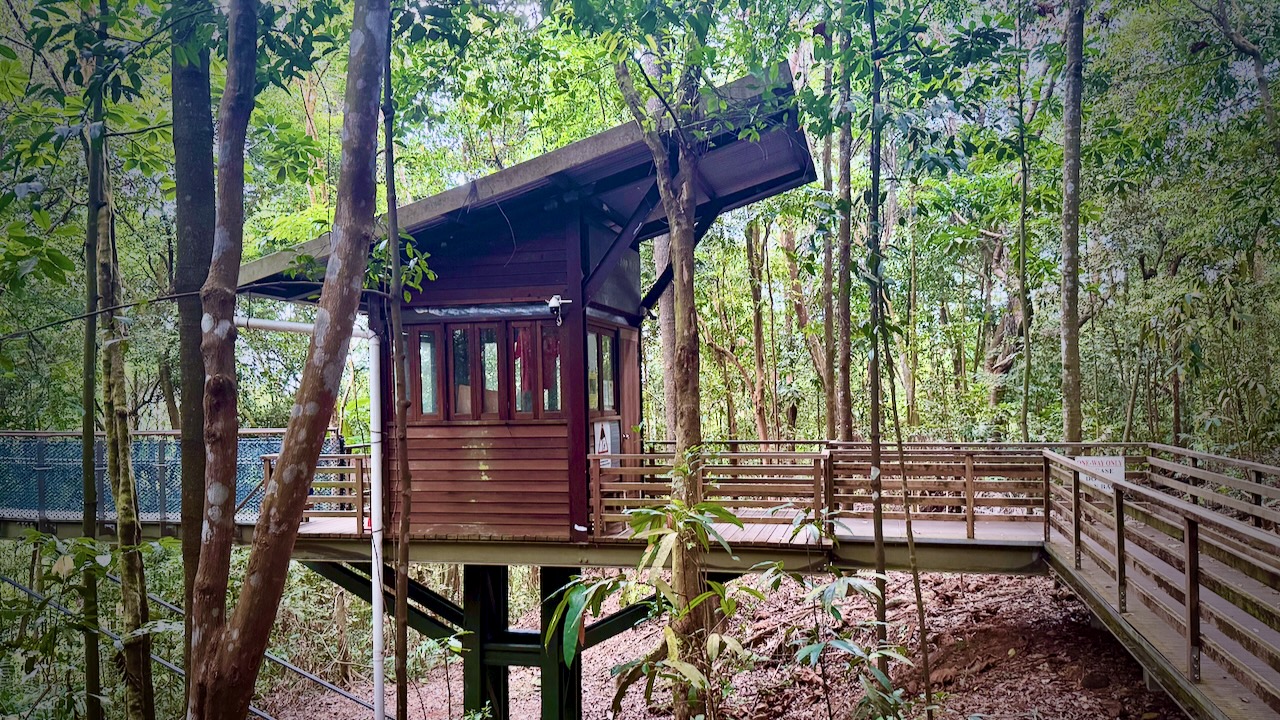
Unfortunately, I arrived at the TreeTop Walk about 15 minutes after it closed โ€” and, no, you cannot sneak across when locked up. ๐Ÿ˜€

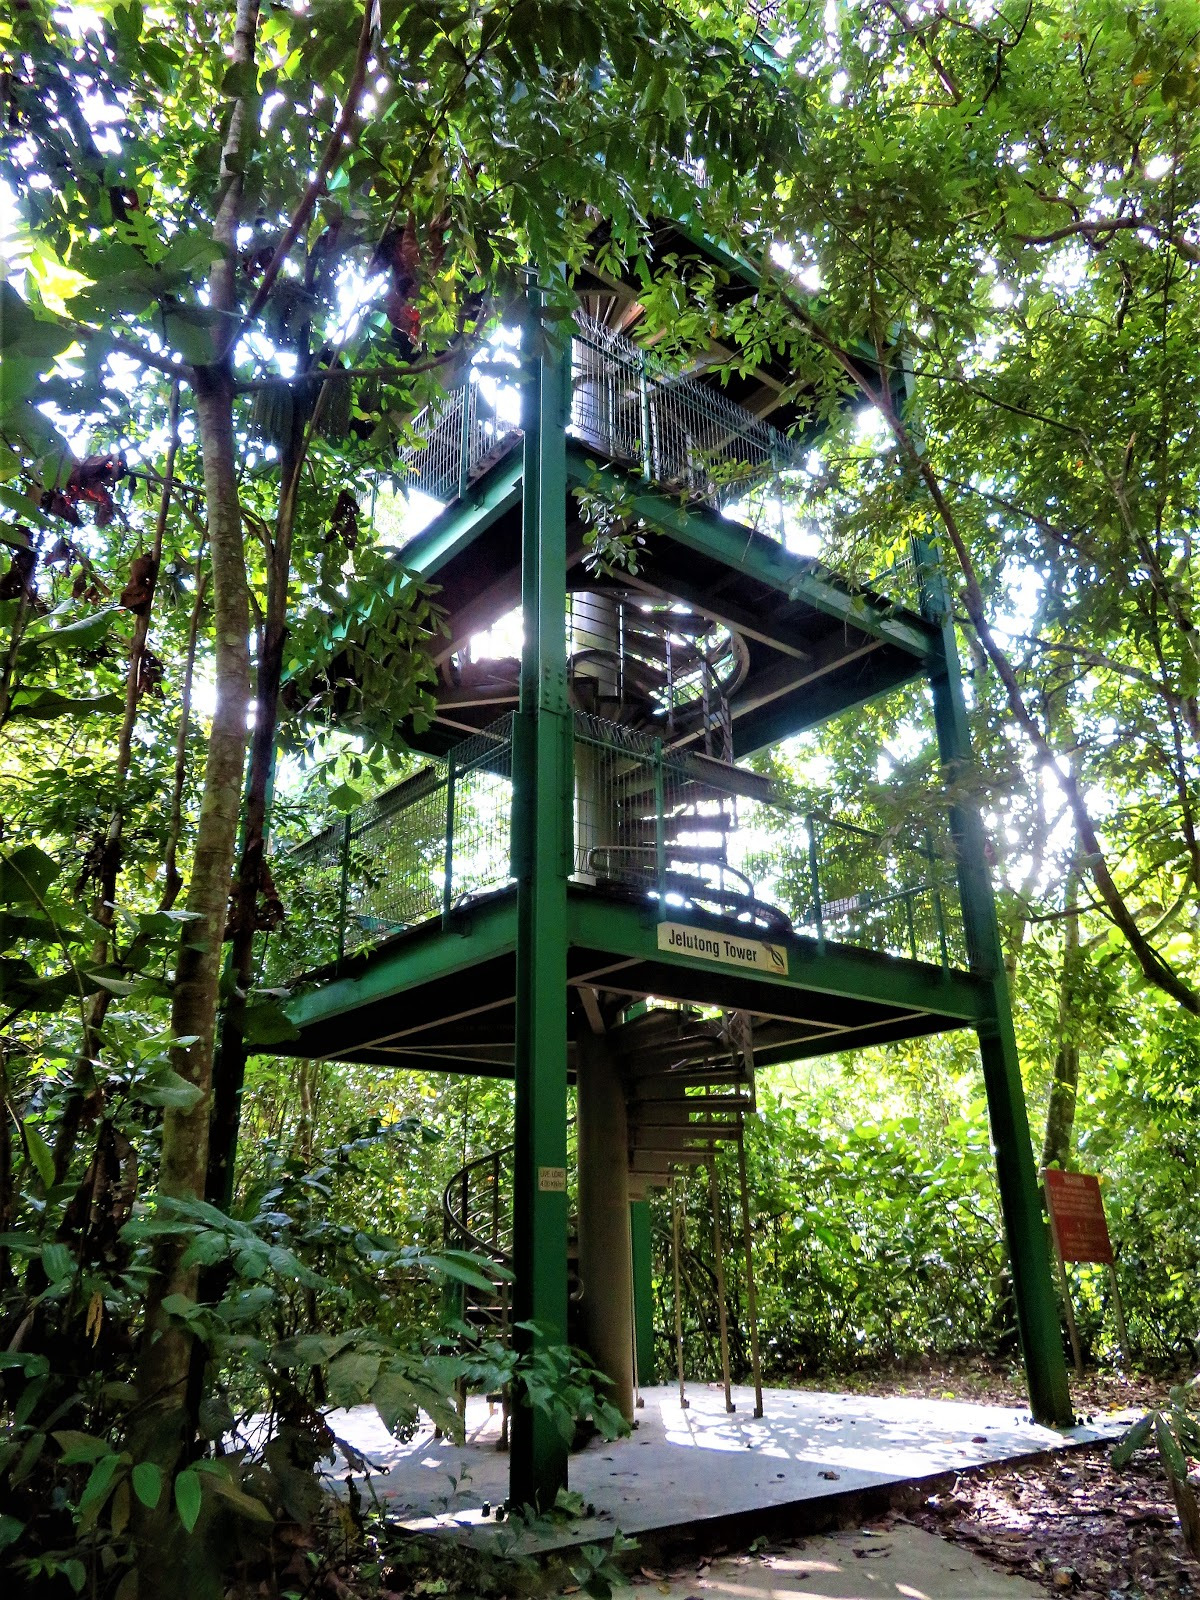
I had to backtrack a bit. Then continue to the next landmark, Jelutong Tower.

I’m finding the flat jungle walks in Singapore mostly offer views of … jungle.

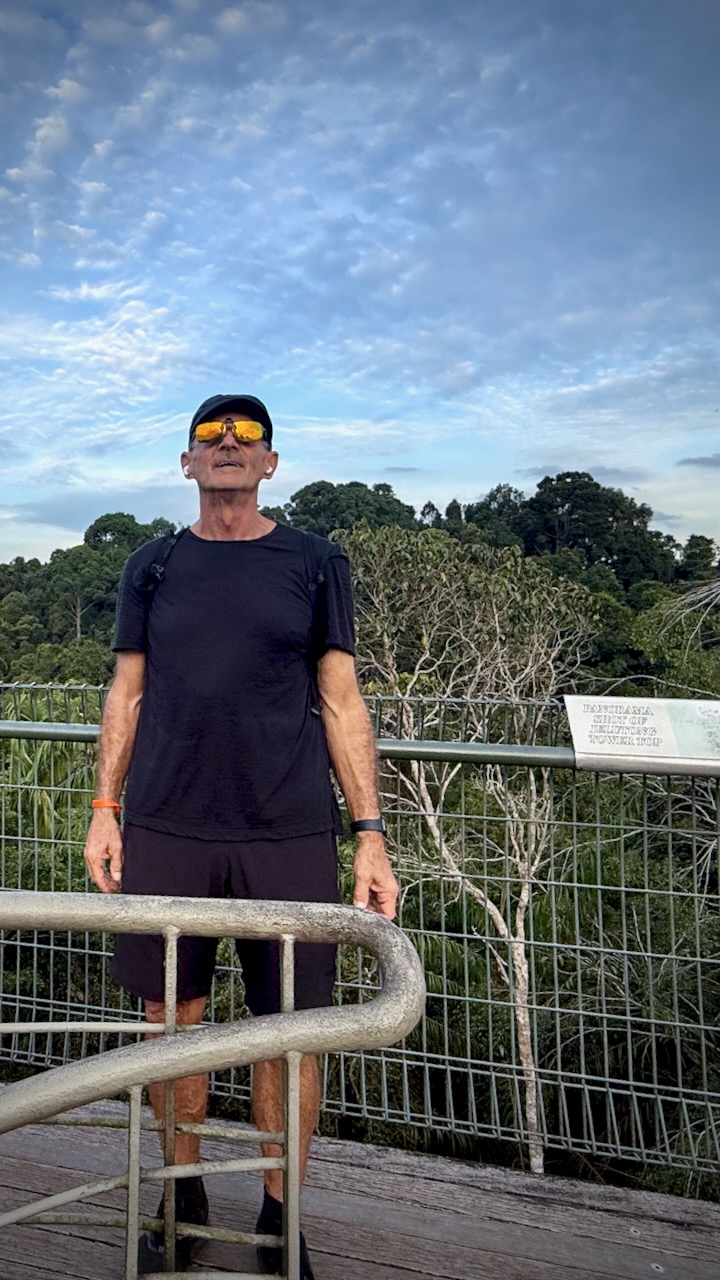
The tower finally gave me a chance to get up high and see the surrounding vista.

A big surprise is to see so few insects and spiders in October. Nice.

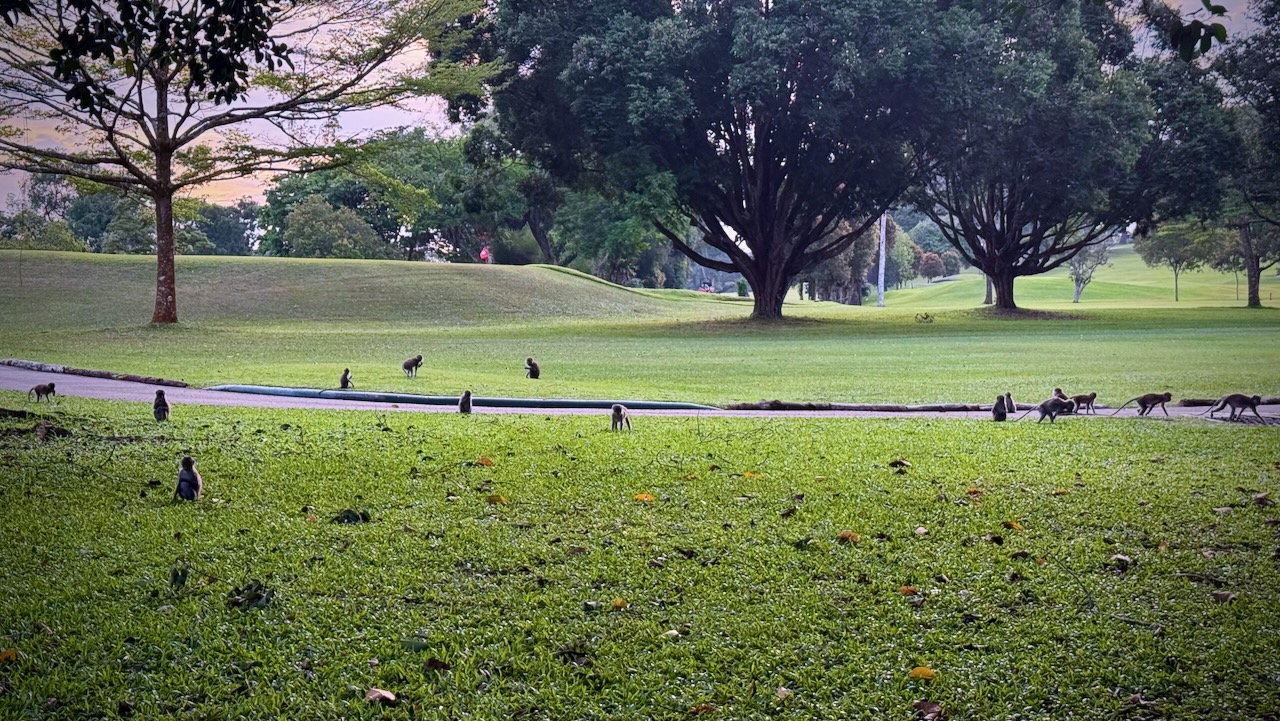
After a couple of months in S.E. Asia, I’m well used to macaques. You see them many times on this hike. But most on the Singapore Island Country Club.

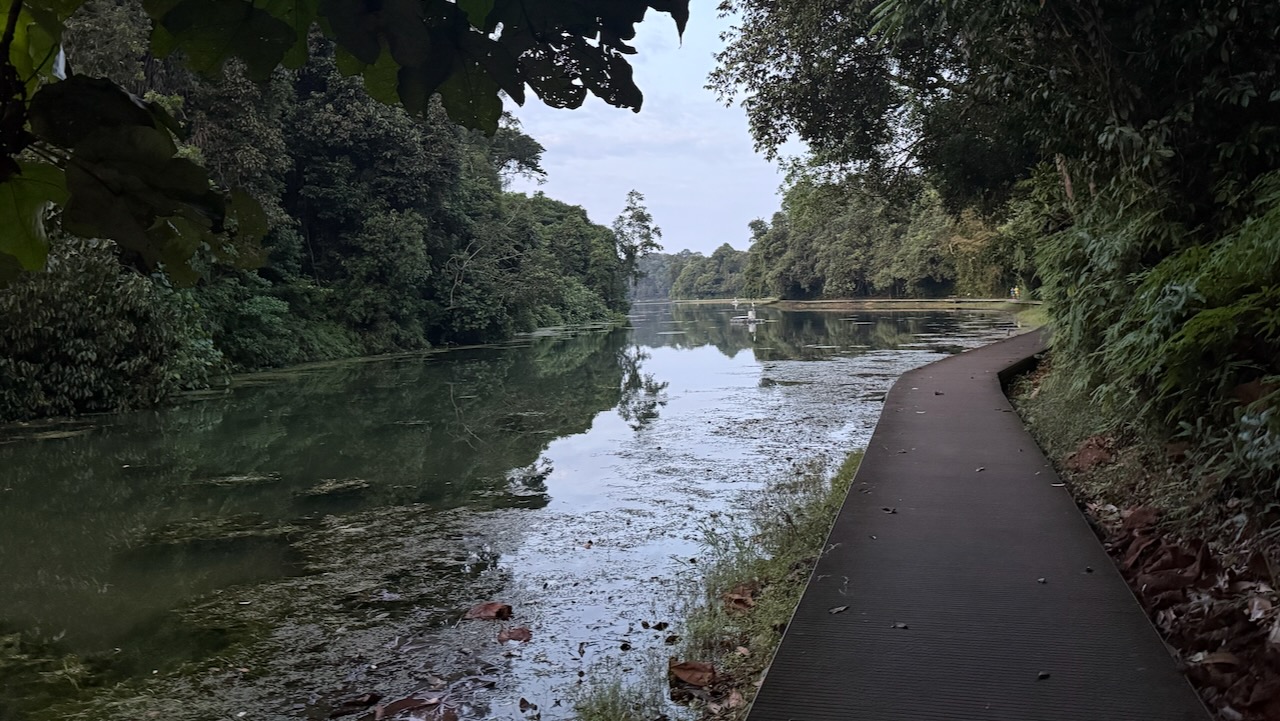
Somewhat marshy in places, this park has a lot of high quality boardwalk.

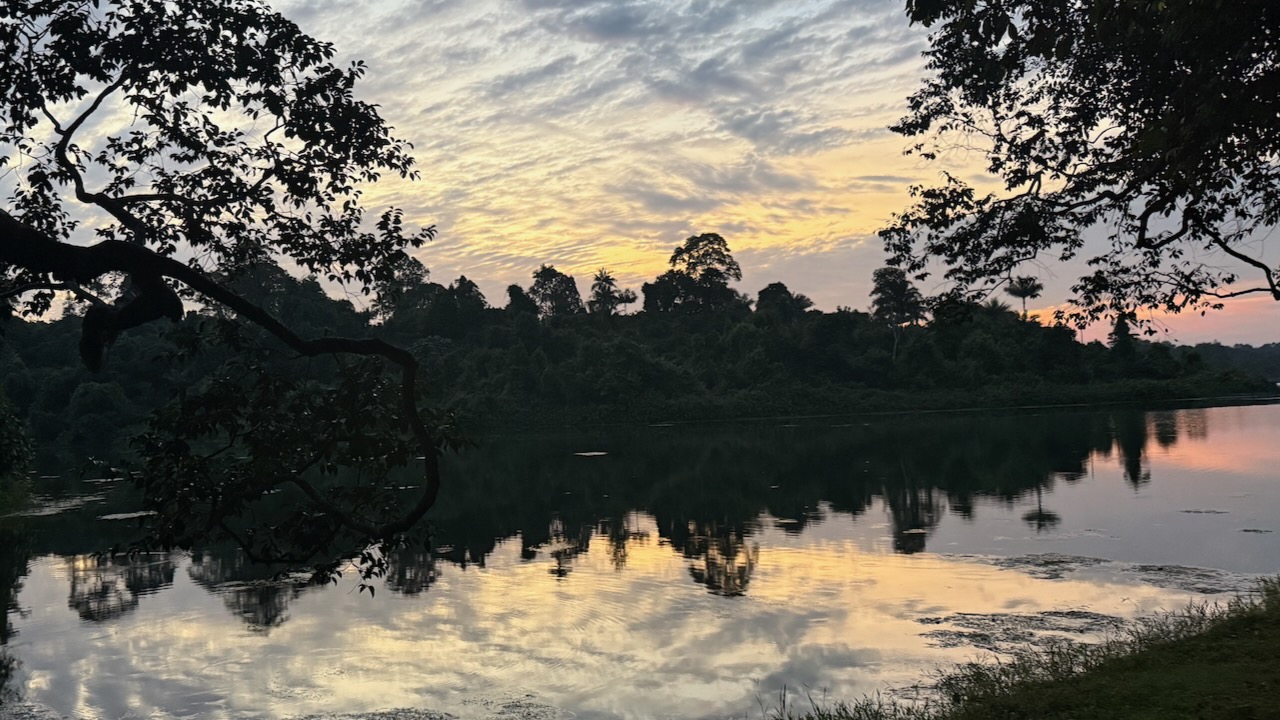
I was on boardwalk as darkness fell. Lovely over the water.

I shortened the loop somewhat because it got very dark on narrow boardwalks.

Because I was still in the city, I caught a nearby bus and was quickly back to my hostel.

MacRitchie is a terrific urban hike.

Singapore Botanic Gardens

by BestHike editor Rick McCharles

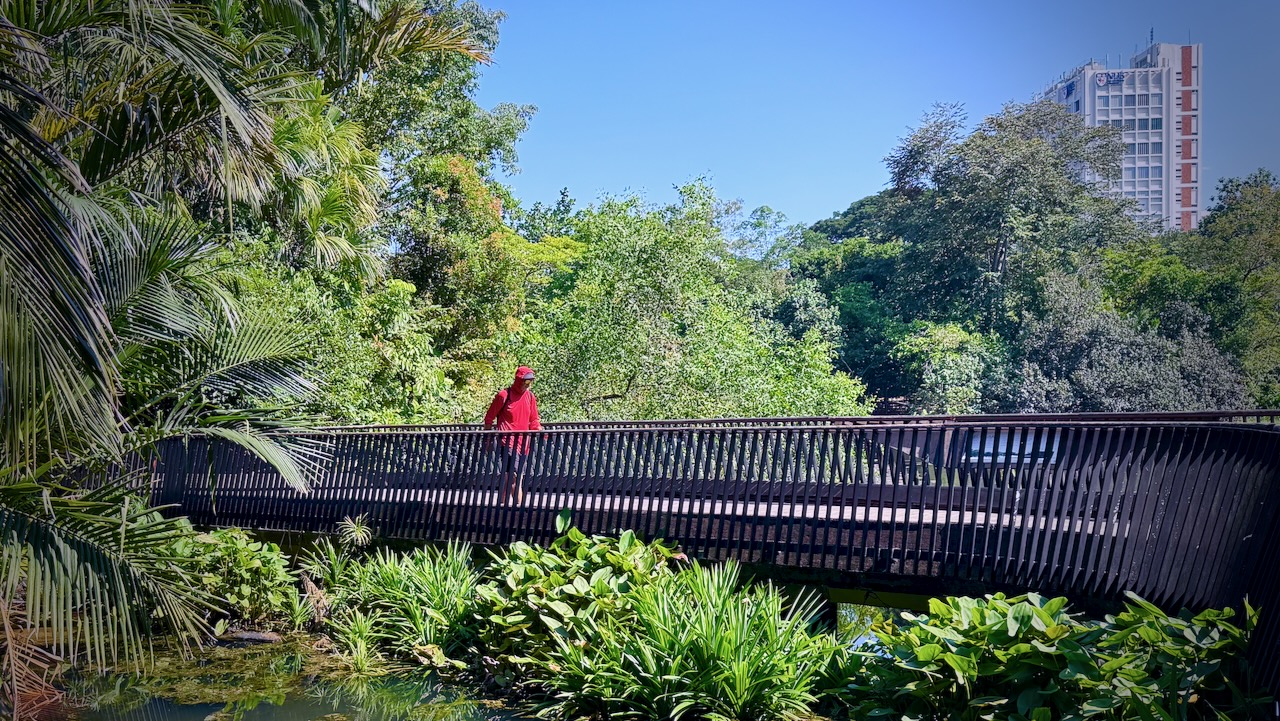
Singapore Botanic Gardens is a huge tropical green space located at the fringe of the Orchard Road shopping district.

I walked the Singapore Botanic Gardens Loop. Plus some side trips.

This 3.9km trail offers a delightful walk through the a lush tropical oasis and the country’s first UNESCO World Heritage Site.

IF you wanted to walk every trail, it would take perhaps 3 hours. The park is huge.

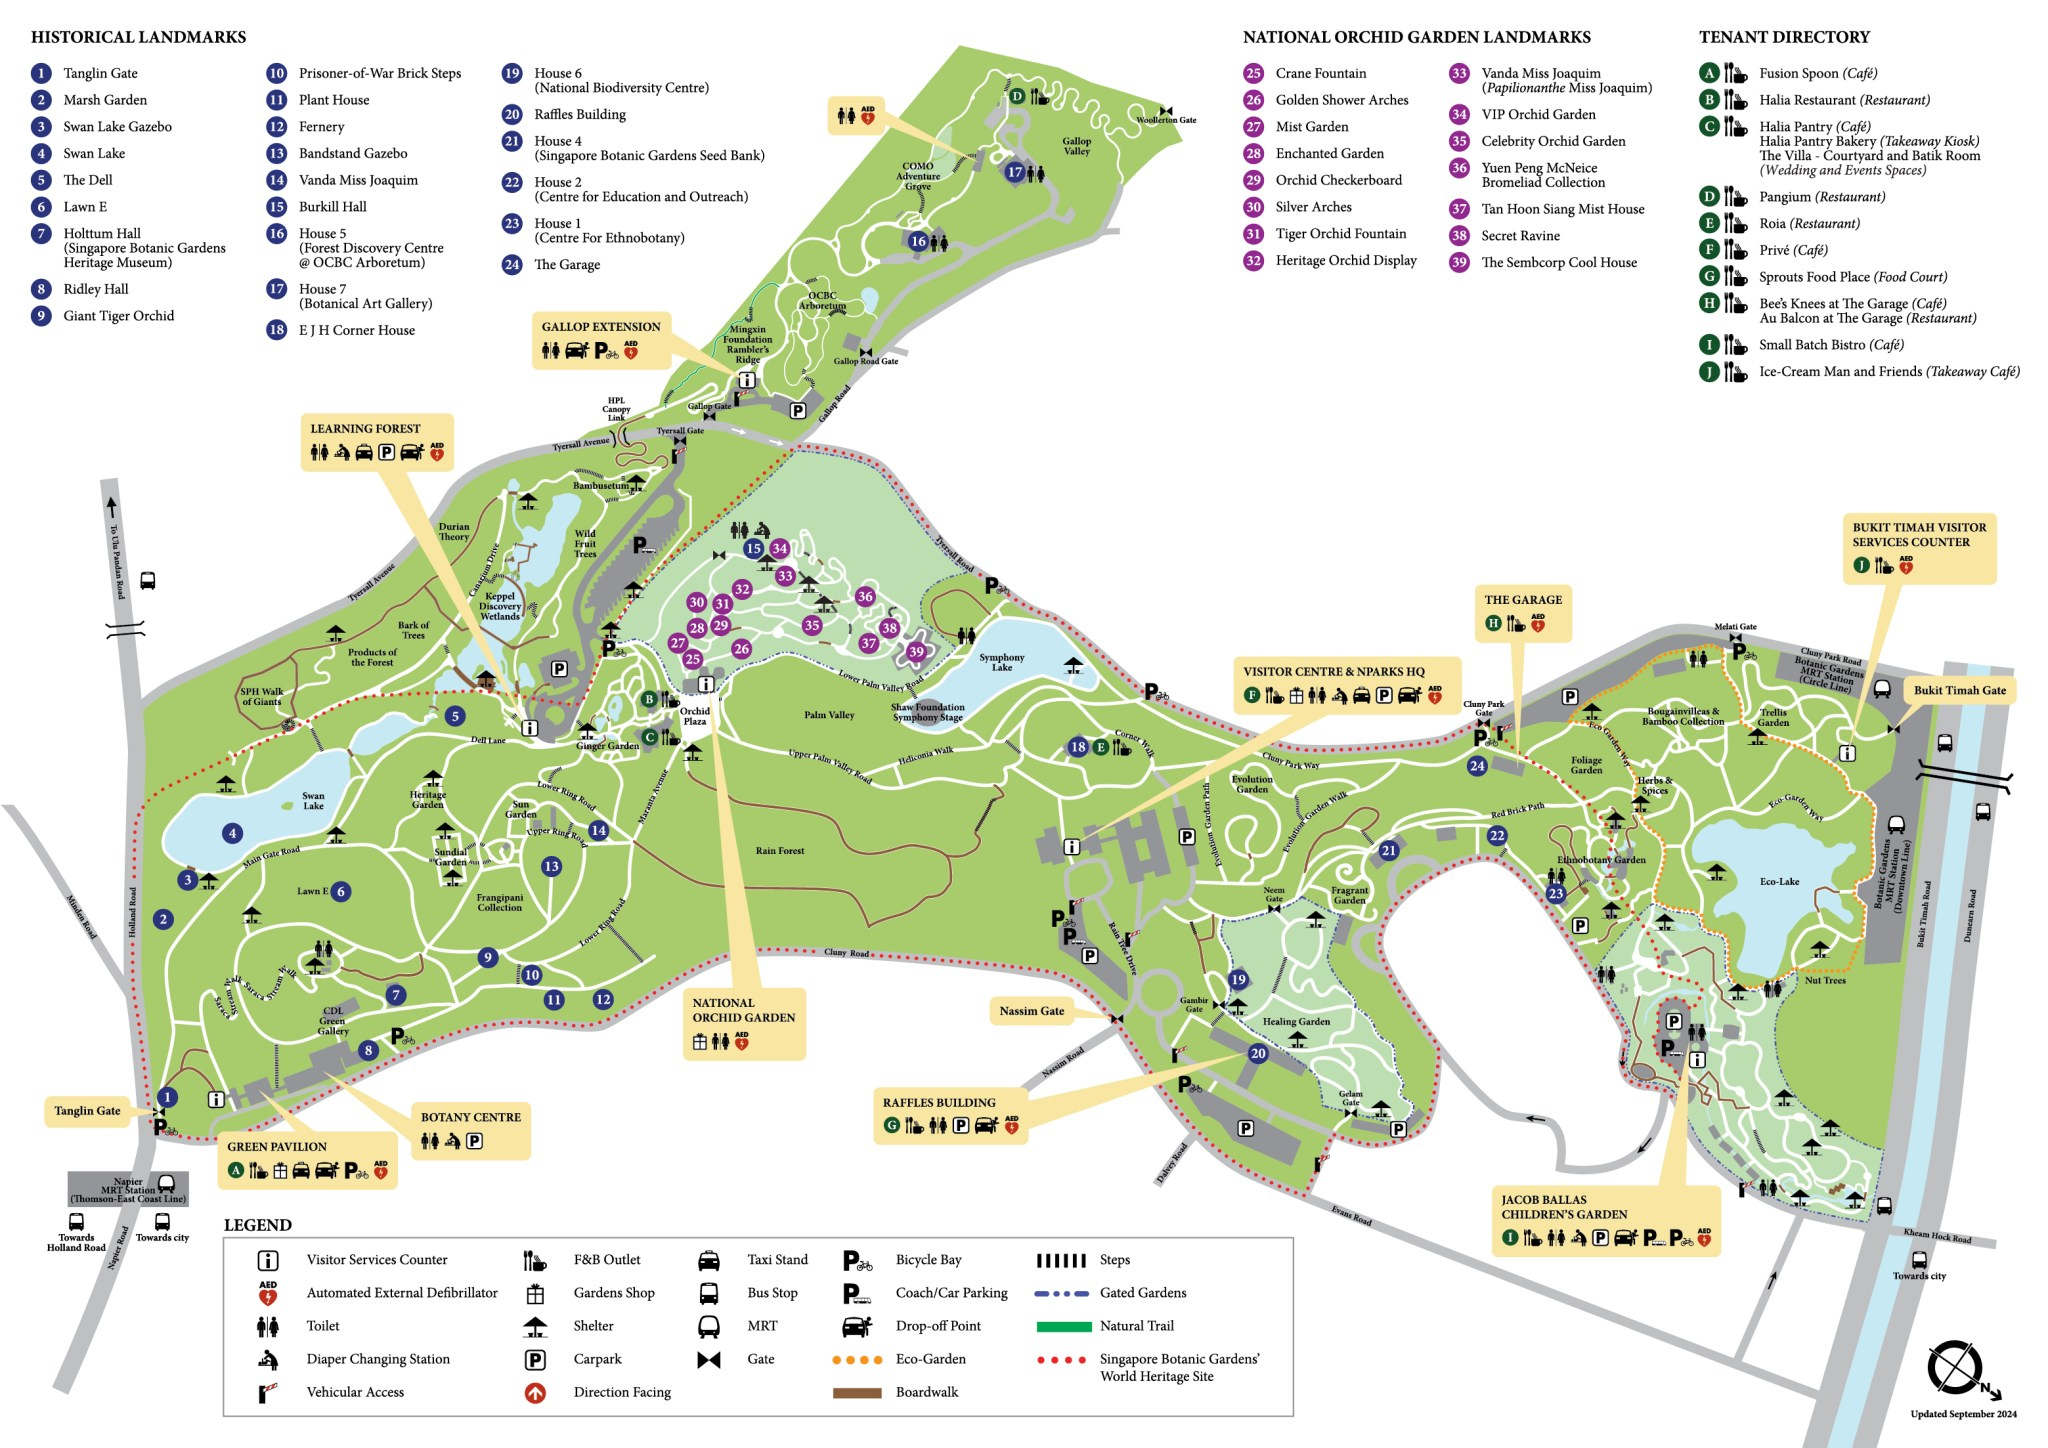
Singapore Botanic Gardens Map (https://www.nparks.gov.sg/sbg/visit-us)

More than 10,000 species of flora are spread over its 82 hectares (200 acres) area, which is stretched vertically; the longest distance between the northern and southern ends is 2.5 km (1.6 mi).

The Botanic Gardens receives about 4.5 million visitors annually. …

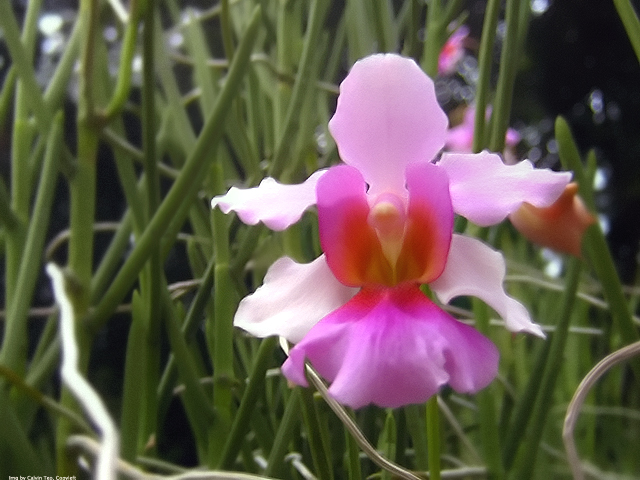
The National Orchid Garden is the main attraction within the Botanic Gardens. Located on the mid-western side of the Garden, the hilly three-hectare site has a collection of more than 1,000 species and 2,000 hybrids of orchids. …

Vanda Miss Joaquim, the national flower of Singapore

The park is free. But there is an extra admission cost for the Orchard Garden.

It’s Singapore, so everything is done with quality.

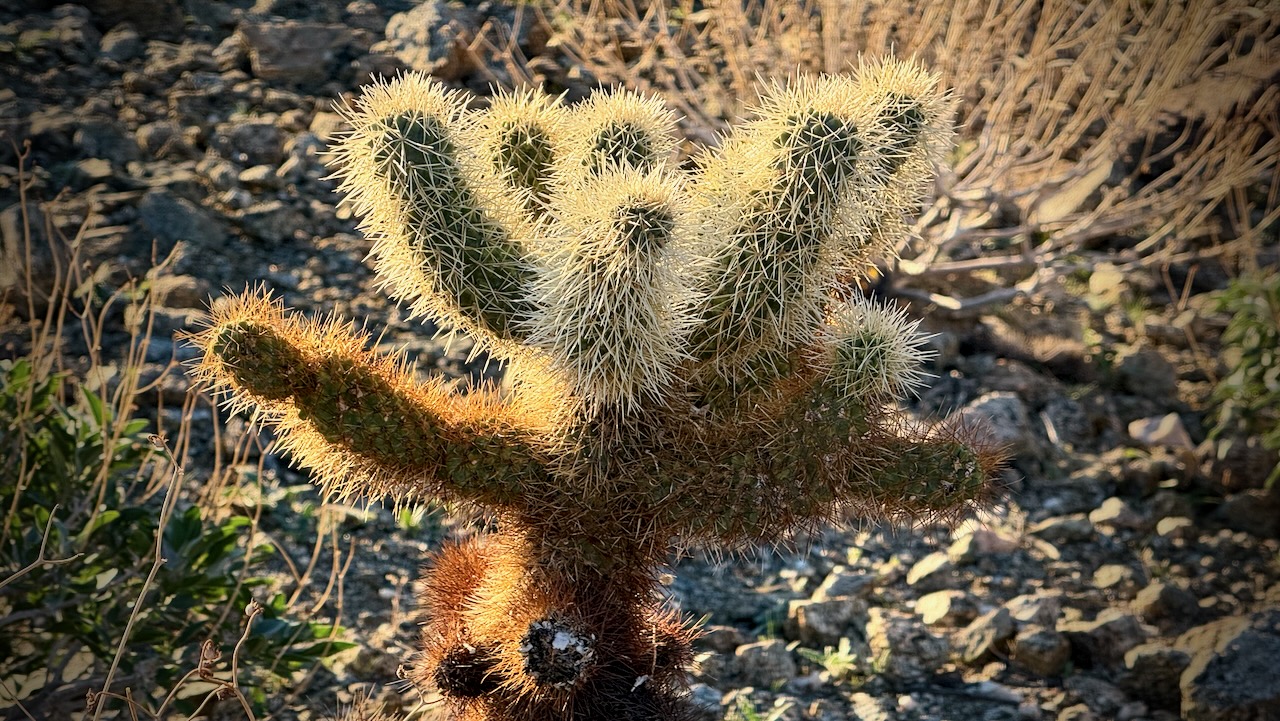
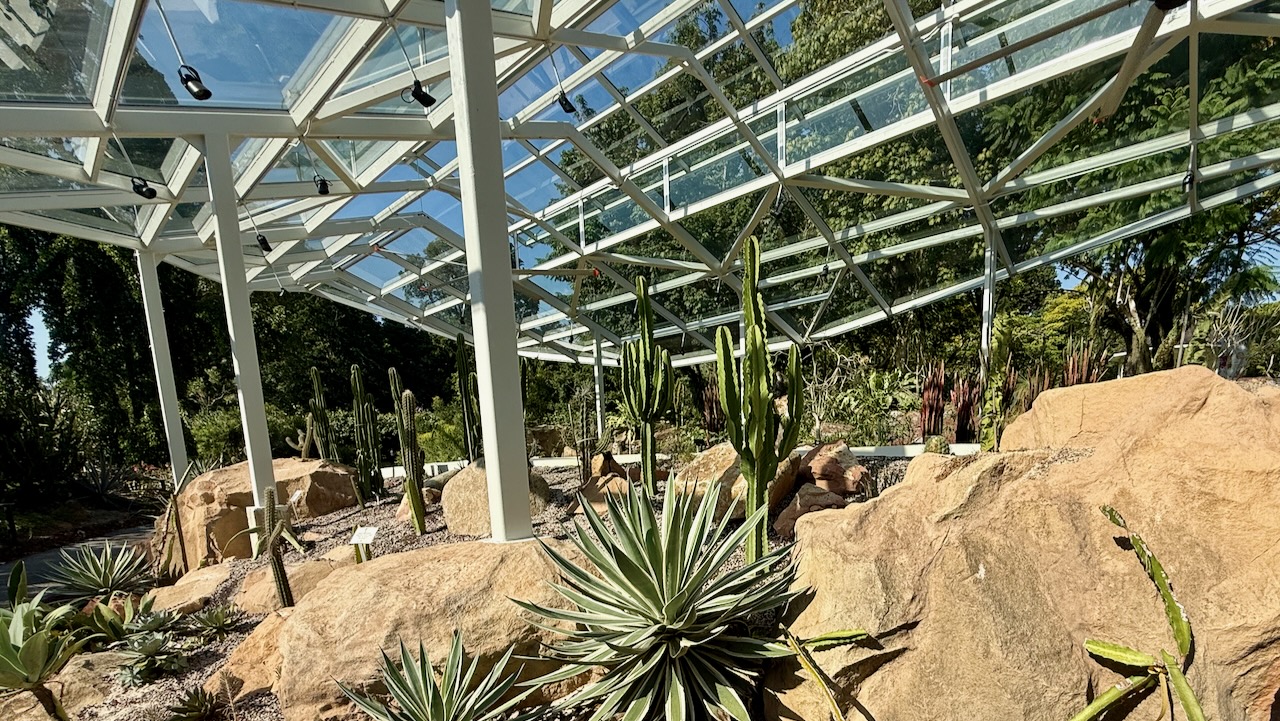
Desert Landscape

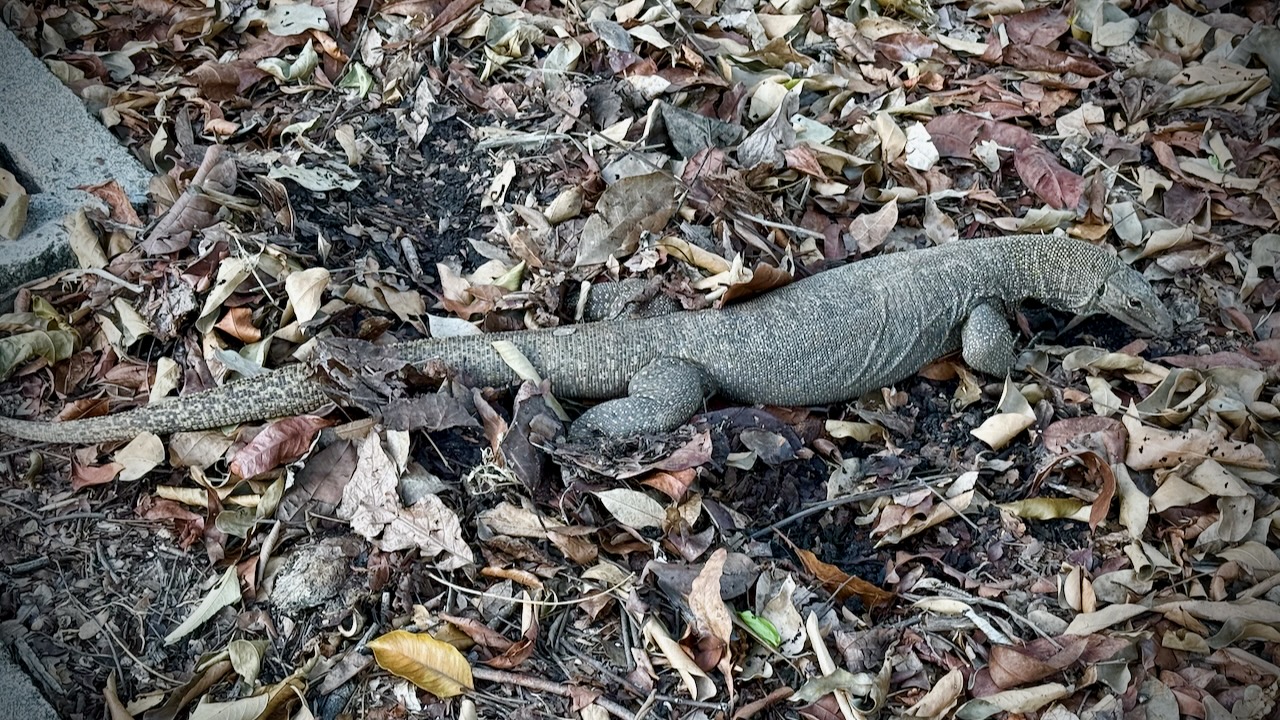
You’ll see many different birds. Chickens. But the most interesting for me are the many Monitor Lizards. Mostly carnivorous. Growing to  a length of 1 – 1.5m.

Read a detailed review with photos – A Visitor Guide to Singapore Botanic Gardens

Click PLAY or watch it on YouTube.

Climbing Rinjani, Indonesia – day 0

Trip report by BestHike editor Rick McCharles

Three days, two nights in the tent.

Cost is USD $220 to $330/ person.

I’ve long wanted to climb astonishing Mount Rinjani not far from Bali, Indonesia.

I took the local boat from Gili Trawangan to Lombok island for the start of our guided climb of Rinjani. I could see it in the distance.

Our group met up at a local restaurant close to Bangsal Port โž™ then we were efficiently (if dangerously) driven up to Senaru village at 400m. 

Screenshot

We had a typical Indonesian lunch based on rice or noodles. 

We dropped bags in our surprisingly interesting rooms. 

Then set off to see two local waterfalls

Plenty of macaques await ready to grab at your purse, backpack, or any kind of plastic bag.

Hereโ€™s the 1st waterfall. 

MOST interesting here is a fun tire tube ride underground through the irrigation channel.  Iโ€™d be too chicken, myself.  ๐Ÿ˜€ 

Hereโ€™s the 2nd even more impressive falls. 

Back at the guesthouse we did our introductory briefing on the volcano climb.  We had hoped two more would join us.  One was in hospital for some reason.  The other cancelled last minute.  

Rinjani is 3,726 metres (12,224ย ft), making it the second-highest volcano in Indonesia.ย 

We had signed up for the longer 3 days, 2 nights in the tent option.ย 

That turned out to be the right decision. Our itinerary the BEST HIKE.

Click PLAY or watch a preview on YouTube.

Climbing Rinjani, Indonesia – day 1

Trip report by BestHike editor Rick McCharles

MOST groups on our itinerary camp on the 1st volcano ridge day 1. Our guide offered us the chance to descend 3 hours to camp at the lake, instead. Super tough 1st day โ€” but we were all glad we did it.

Mount Rinjani Crater Rim 1st night on the 3 day trek.

We were up for the dawn.  I added milk powder to my brutal black instant coffee. 

Banana pancakes excellent, as always. 

Driving up to the start at 600m we stopped for a blessing.  An important tradition with the local Sasak people as well as Hindus. 

Still clean and keen at the start.  

Theyโ€™ve had a lot of deaths on this mountain, the most recent June 2025

Another died May 2025. Both from falls.

We each had to register with photo ID.   The Gunung Rinjani National Park, established 1997, is trying to make this adventure safer โ€” but they have a long way to go.  Itโ€™s dangerous. 

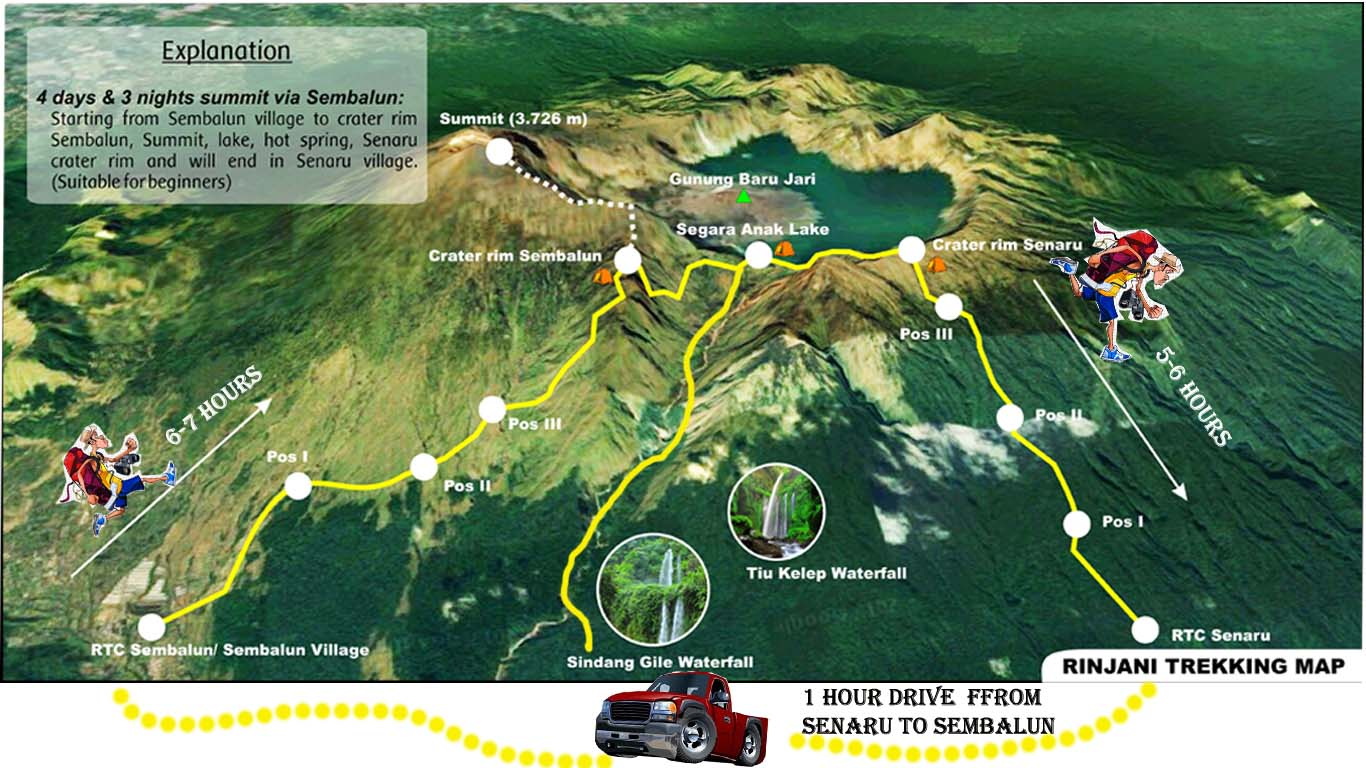
Our goal was the 1st crater rim โ€” only 6.9km.  Sounds easy until you calculate you need gain 2km in elevation over that short distance!

We started on the far right of this map.

The start through jungle was relatively easy.  THEN it got steep and challenging. 

Wherever hikers might stop to eat, long-tailed macaques will be waiting.  

These wild cousins are more worrisome than the โ€˜tameโ€™, well-fed ones in the Monkey Forest, Ubud. 

Breakfast !

We hiked into and out of clouds. 

Crater rim beckons. 

This โ€” really โ€” is the best vista on the hike.   Crater lake Sagara Anak is huge, the colour unforgettable.  The volcano’s eruption in 1257 is considered one of the most powerful global volcanic events of the last 2,000 years.

We were scheduled to set up our camp on the ridge here at 2,600m

But we opted, instead, to hike down to the lake at 2000m, saving us 3-4 hours on day 2. 

We all agreed to go for it. 

OUCH โ€ฆ

That decent is awful and dangerous.  I took no photos.  We had to concentrate on every technical step. 

It was a relief to finally get to the lake.  This one of my toughest hiking days of all time.

We arrived just before dusk. 

Alpenglow time. 

Each group has their own toilet tent.  

The alternative at major camps are these good looking public toilets.  This one was filthy!  But some are quite new.  Fairly clean. 

Major camps have emergency shelters.  I donโ€™t doubt they are used frequently.  The trek is risky. 

Our guide sent us to the hotsprings with one of the porters.  Fantastic.  A highlight of the entire trip. 

Tim (tim_de_bruijn on Instagram) was a full-time social media manager for a major Dutch soccer team. He showed us fantastic photography tips on his iPhone, including these two. It was pitch dark at the hotsprings!

Pitch dark at camp, as well.

tim_de_bruijn

Most amazing of all was his capture of the night stars. Very few of these were visible to the human eye. This from an iPhone 16 Pro Max.

tim_de_bruijn