by BestHike editor Rick McCharles
While traveling, I want to capture VIDEO and PHOTOS as quickly and easily as possible.
BEST for me in 2026 is to simply carry my iPhone 16 Pro. Typically I shoot video in the standard Camera app, 4K, 60 frames / second. HDR in automatic mode.
Only 5x optical zoom is a bit of a limitation, but it’s much better zoom than phones in the past. (I am tempted by the higher zoom in the 17 Pro.)
Depending on the video lighting conditions, I might take the time to lock focus and exposure.

I gave up last year on the Anker MagGo Power Bank, Ultra Slim 10000mAh Magnetic Battery Pack as it was too slow. And tended to overheat.
More often than not, I bring my inexpensive tripod from Fotopro. (Similar to JOBY GorillaPod — but a little better.)

The tripod works like a selfie stick. Or I can quickly set it up almost anywhere.
That tripod has a simple ball head. To it, I attach the Ulanzi ST-27 Metal Phone Clip to keep my phone secure. It fits a large smart phone with cover.
I’m addicted to my Apple Watch — and use the Camera Remote app as a viewfinder for taking photos and videos from a distance. I have that app as one of my Complications on the Apple Watch face so it’s always quickly available.

For multiple day adventures, I’ll bring one or more external batteries. . HEAVY — YES. But they are the safest way to recharge my electronics on the trail. These brutes have saved me many, many times in the past.
Currently my travel favourite is the inexpensive INIU Charger 22.5W 20000mAh with attached USB-C cable as a handle. In fact I’m taking two of these on my next trip as I’ll often be away from electricity.

When I have electricity en route, I use my UGREEN Nexode 100W 5 Port USB C Charger Block.

It can charge 5 devices simultaneously including a laptop, but I find the 4th and 5th (USB-A) really don’t get much juice compared with the first 3 ports in line. Almost all my devices now are USB-C.
If cycling — where weight and bulk are less an issue — I usually bring along a short extension cord. This makes it more convenient to plug into libraries, coffee shops, hostels, shopping malls, etc. (The UGREEN tends to fall out of a loose wall socket.)

I often hike and cycle internationally. Of course I add an international adapter.

For cycling, I often bring along my Insta360 Ace Pro action camera. One extra battery. I have many accessories, but rarely bring any of them.

Well … even trying to keep electronics as fast and easy as possible, my recharging station for bikepacking might already look like this!
Here I’ve added a second UGREEN Nexode 100W 5 Port USB C Charger Block. So could simultaneously charge at least 6 or more devices overnight from one wall socket. A mess. 😀

The BIG decision for me last year was whether or not to take the DJI Mini 4 Drone. The Controller is essential. … In fact, so far I always bring the bulky carrying case and 3 extra batteries. A major commitment.
BUT I love shooting drone video. And I am often willing to suffer with the extra bulk and weight.

Actually, all this gear is not bad when I’m bikepacking. I add even more gear including the world’s best helmet. 😀
Sadly, I lost the Mini 4 in S.E. Asia on the last trip. And have now switched to the smaller, lighter, much cheaper, more durable DJI Neo 1. I call it a toy drone.
Click PLAY or watch it on YouTube.
Mostly I’ll use this drone handheld. No phone. No controller.
For more complicated shots, I’ll take the time to use my phone as a controller.
For long trips, I bring along my old MacBook Air and 3-4 external 2TB SSD drives for back-up and video / photo editing.
I normally leave the Apple charging brick at home, using USB C charging, instead.

Critical for cycling is navigation. I use an old iPhone with a QuadLock attachment to the handlebars. And a rain poncho, when necessary. I keep my Canadian SIM card in this phone to ensure texts still reach me at the end of the world.


I’ll stop here …. though there are times I bring even MORE along in the bike saddle bags. 😀

IF I might need light at night, I’ll bring my tiny Nitecore headlamp and short charging cable.
Anker IQ wall plug for a quick charge at a coffee shop. ??
Bottom line? Show up with your phone and a back-up external battery. That’s what the smart folks do. 🙏
Me? I’ll always have the phone and drone.

For example, for my last international trip (hiking, not cycling) this was my MAIN recharging set-up. One electrical outlet ➙ light extension cord ➙ International adapter ➙ my UGREEN Nexode 100W 5 Port USB C Charger Block ➙ 1) laptop, 2) INUI external battery (charging watch), 3) UGreen (charging phone).
Cables are long for convenience in awkward recharging locations. Cables are high speed. Priority is keeping my external batteries charged for use away from an electrical outlet.

In addition are my devices to be charged irregularly. I’ll do these once the MAIN group of devices is done.
In foreign nations, I’ll put a local SIM card into the 16 Pro.
This is the bulky, heavy drone with 4 batteries. (My next drone is lighter and smaller.)

I do have AirPods, as well. Normally I top those up from the external battery when needed. In fact, I carry a spare AirPod.
I rarely take the Flow Pro 2 Gimbal — but that battery seems to stay charged almost indefinitely. 😀
Electronics are carried in my trusty old laptop case. Drone and accessories, separate.

For 2026 I’ve reduced bulk and weight of electronics. Next trip I’m going to try to combine my laptop bag and day pack into one.
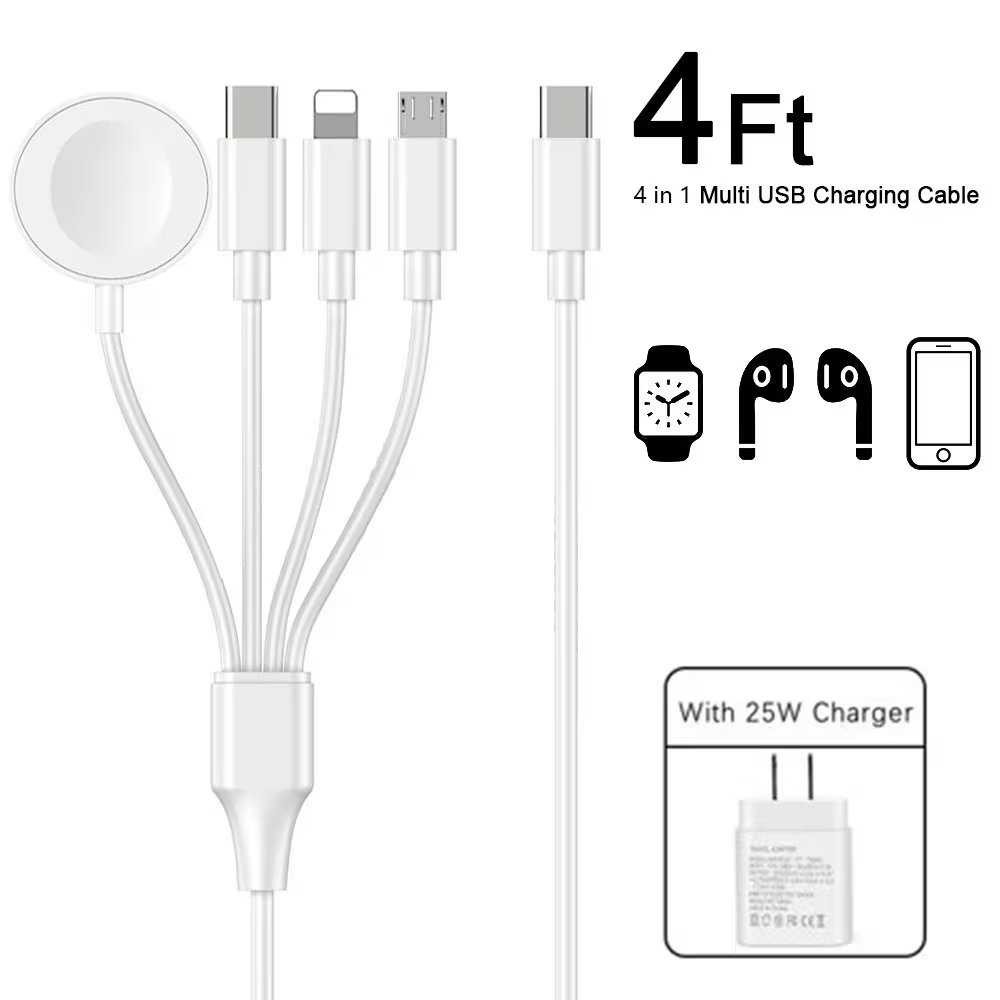
NEW ➙ My day pack cable can recharge Apple Watch, old iPhone, USB-C, and USB-A.