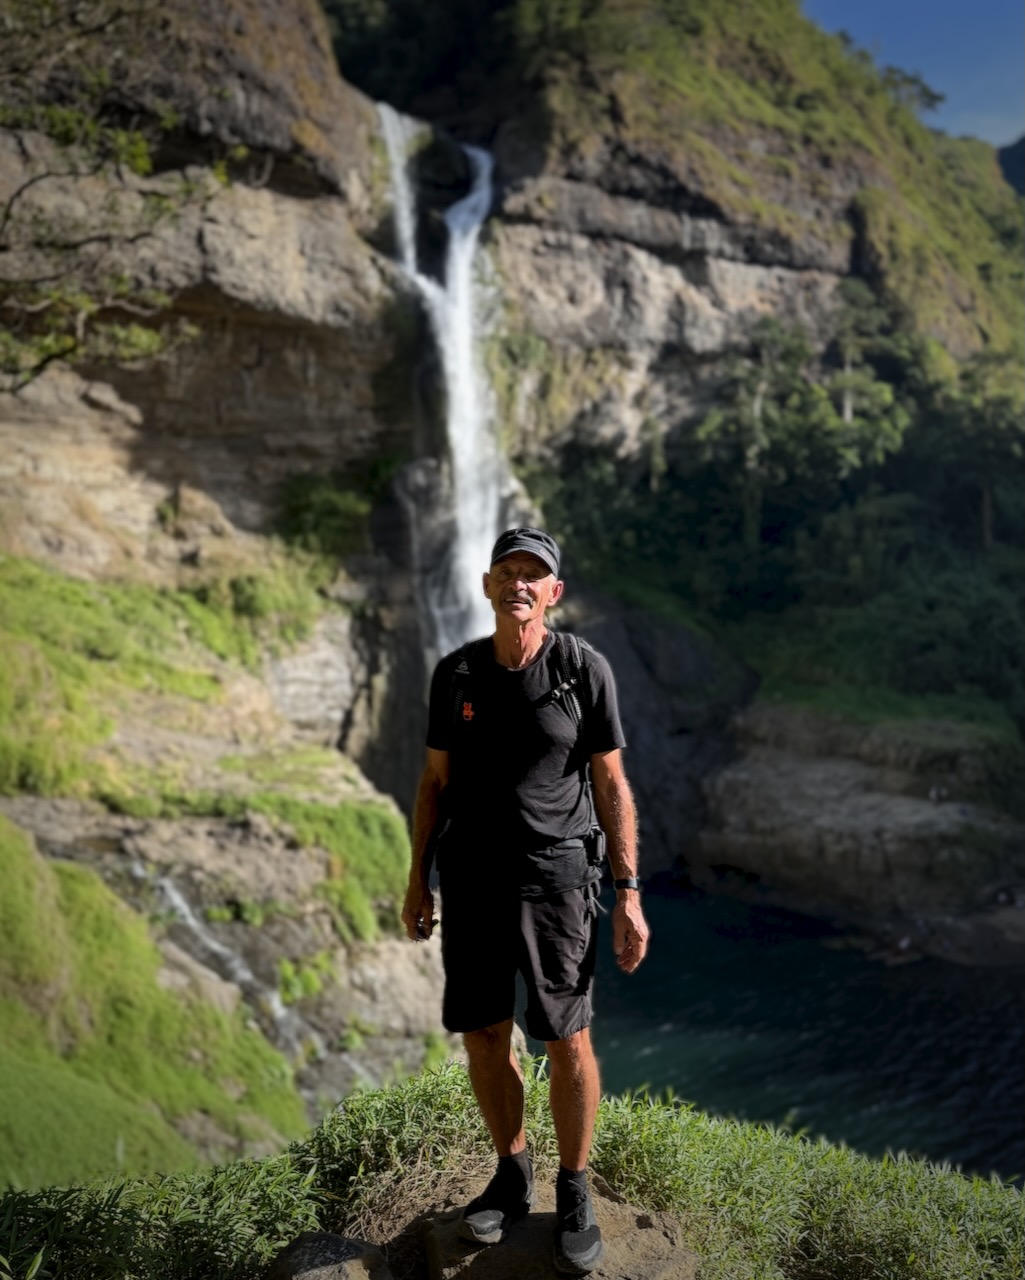
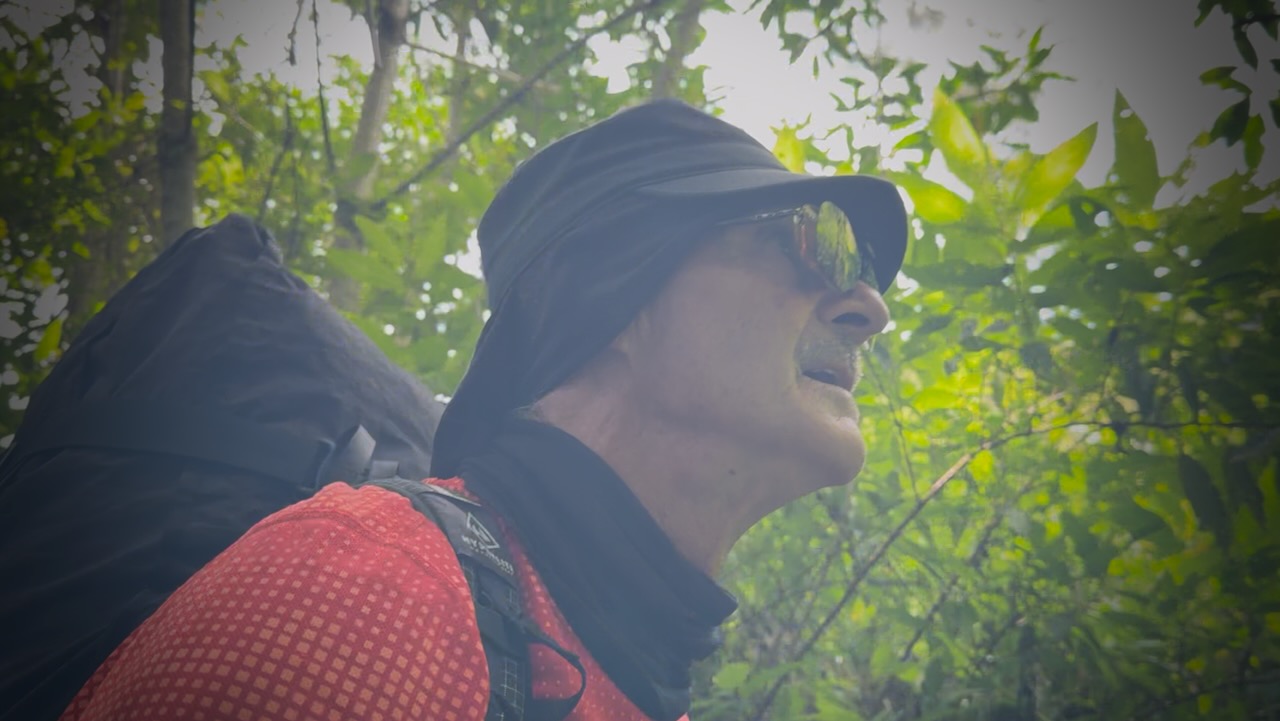
Trip report by BestHike editor Rick McCharles
Independent hiking. No guide.
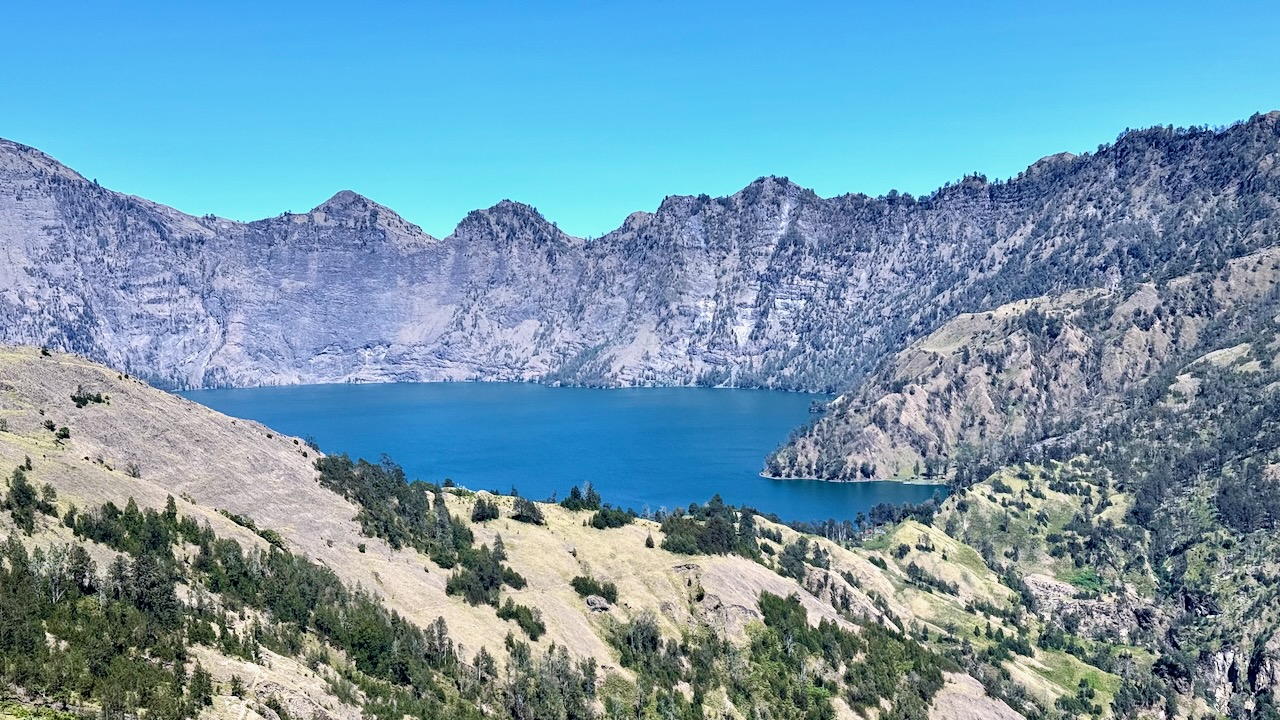
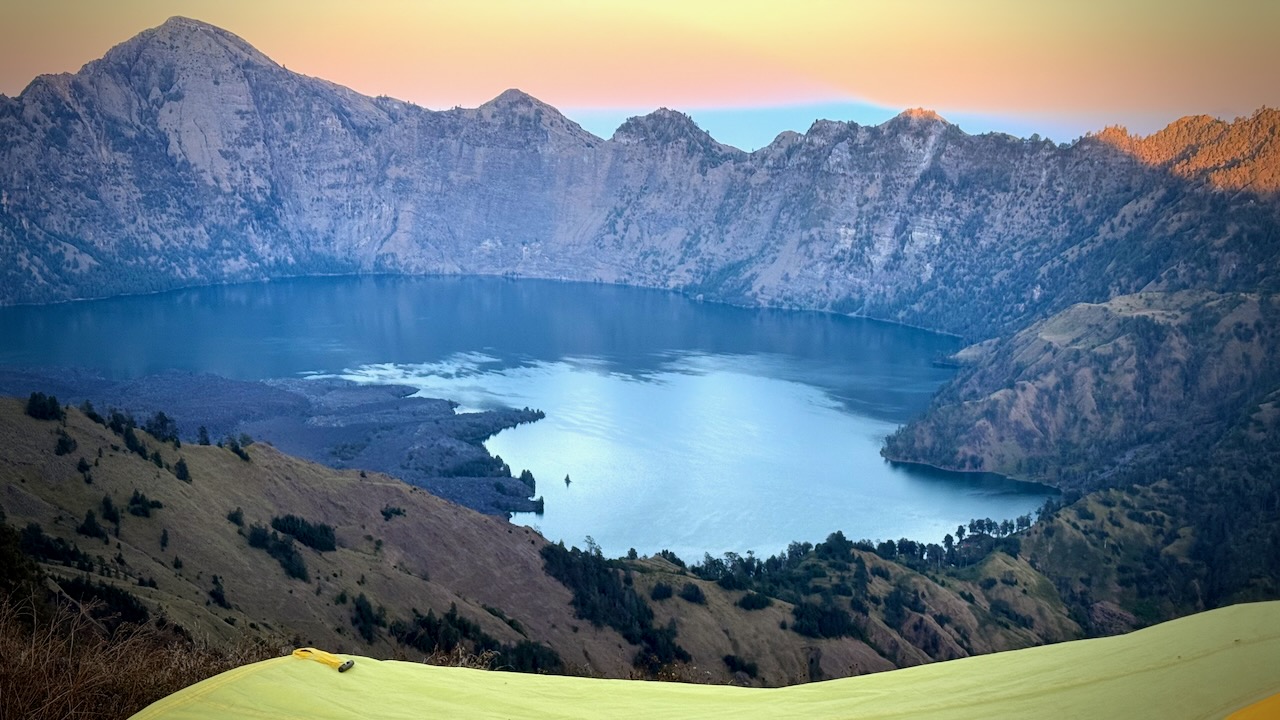
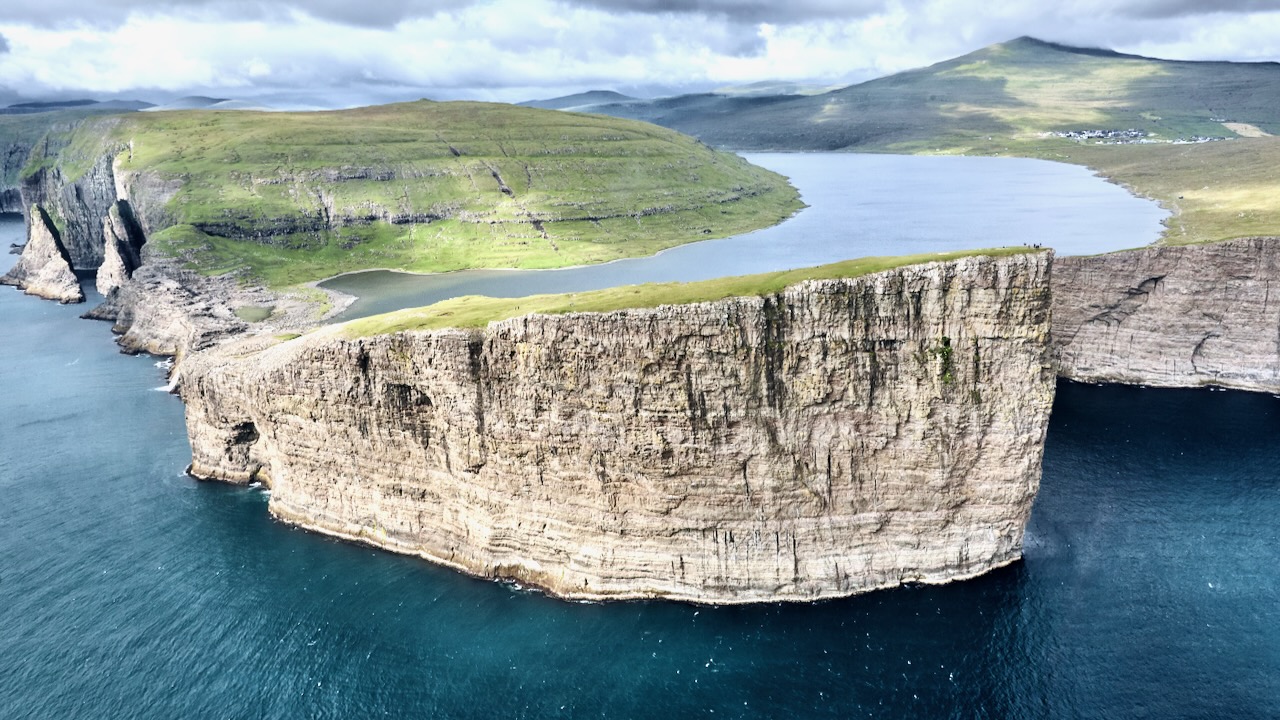
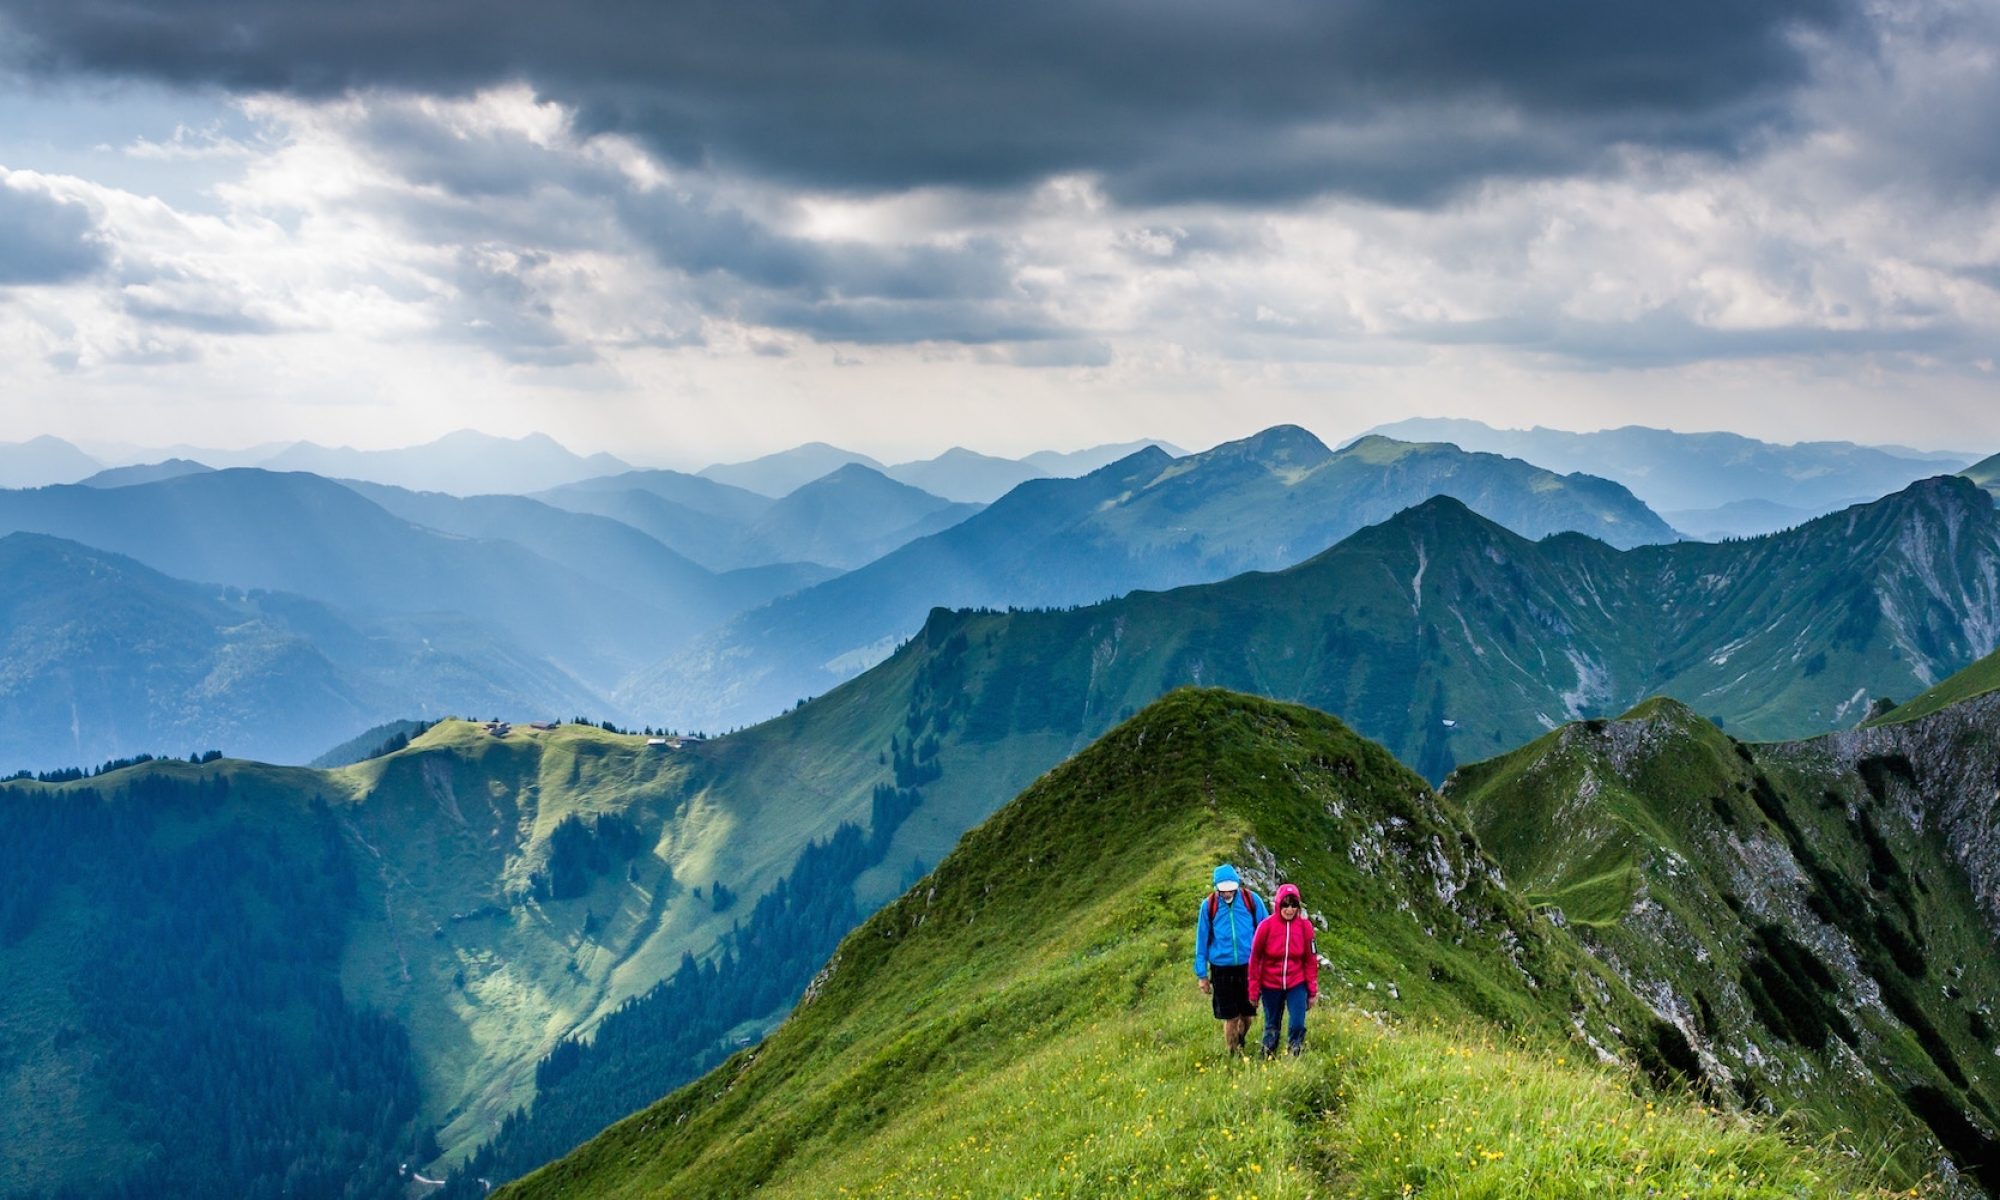
The Quilotoa Loop, climbing to a 3-kilometre (2 mi)-wide volcanic caldera, is the most famous multi-day hike in Ecuador.
- 34.8km
- 2,480m elevation gain
- 4 days, 3 nights
It’s essential that you be acclimatized for altitude before climbing with a full pack. I’d been in Ecuador over 2 weeks before starting, most of that time above 3000m.
In 2026 almost every hiker I met was using the AllTrails app offline to find their way. Our back-up was the Maps.me app offline which includes more trails, more options.
Despite those apps, we all managed to miss multiple side trail turn-offs every day. 😀
LOST.
Click PLAY or watch a short video of my hike on YouTube.
Most hostels cost about $20 for a private room including a complete breakfast and dinner. Hot or warm showers. Good wifi. Jacuzzi and sauna extra charge. A fantastic bargain.
Though I carried a tent as emergency back-up, there’s no way I was going to use it with so many great, inexpensive hostels available.
Weather is a huge factor. I hiked in early February, one of the best months. But had rain almost every afternoon. The rule here is to do as much hiking as possible early in the day.
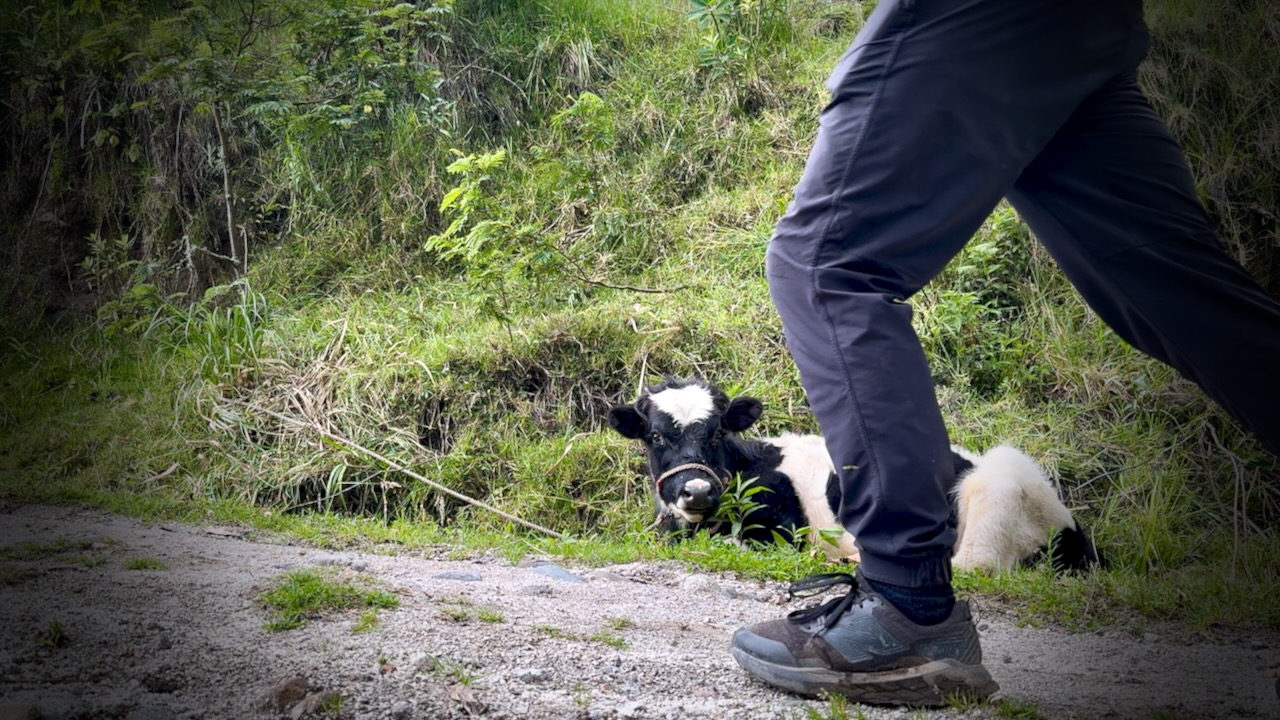
Farm dogs tend to bark at strangers. At times you must pretend to throw something at them to dissuade.
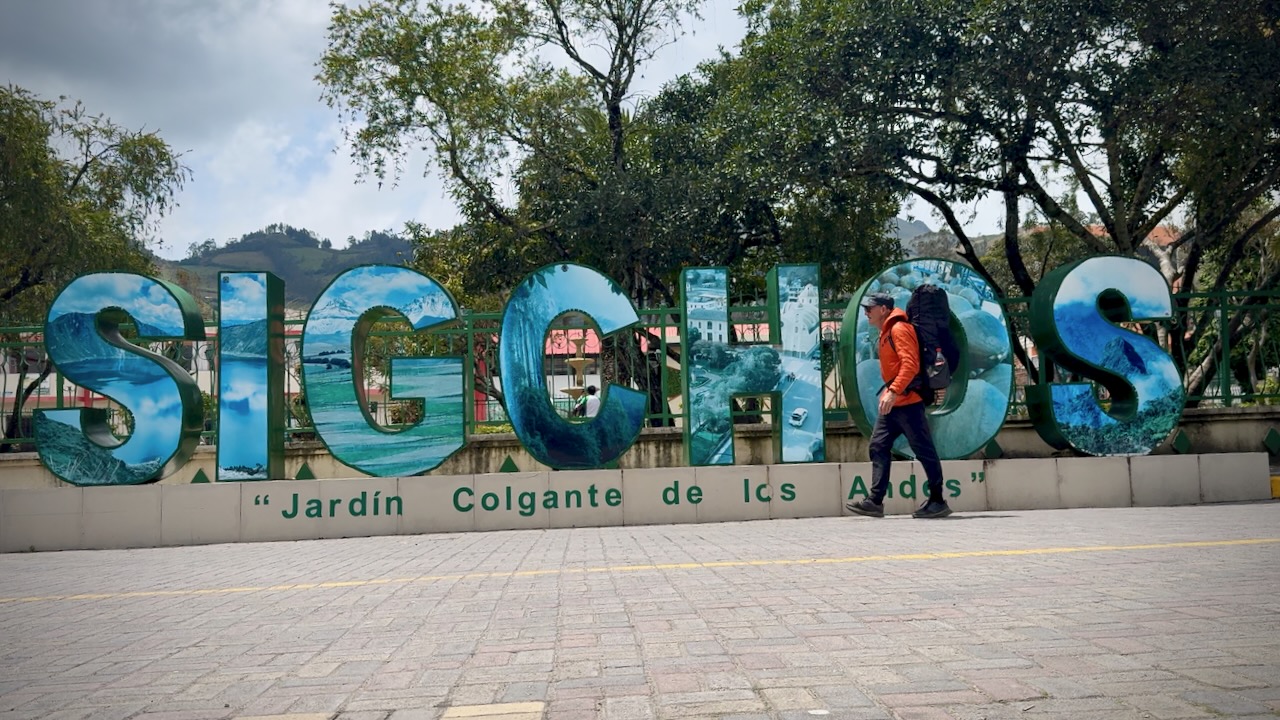
Typical 3-Day Itinerary (Sigchos to Quilotoa)
Most hikers prefer this direction to save the crater lake for the end and to acclimatize more gradually.
- Sigchos (2850m) to Isinliví (2950m).
- Distance: ~9.9 km (6.1 miles)
- Time: 4–7 hours
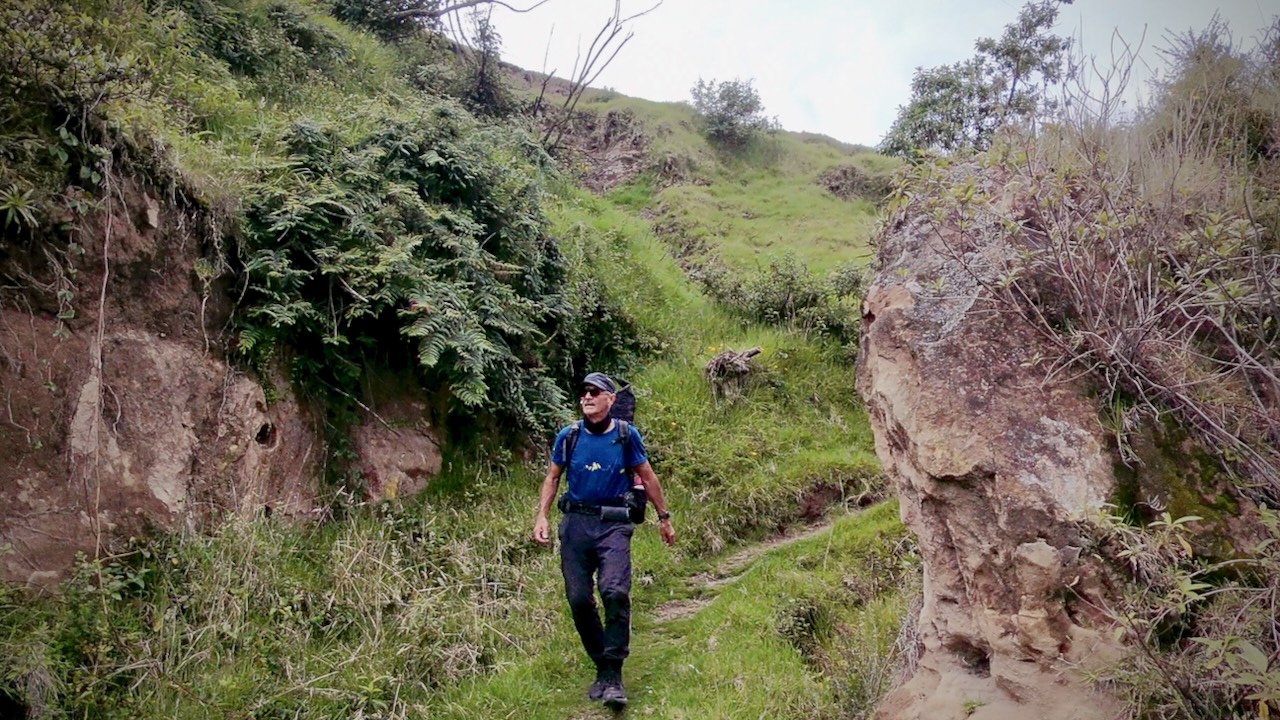
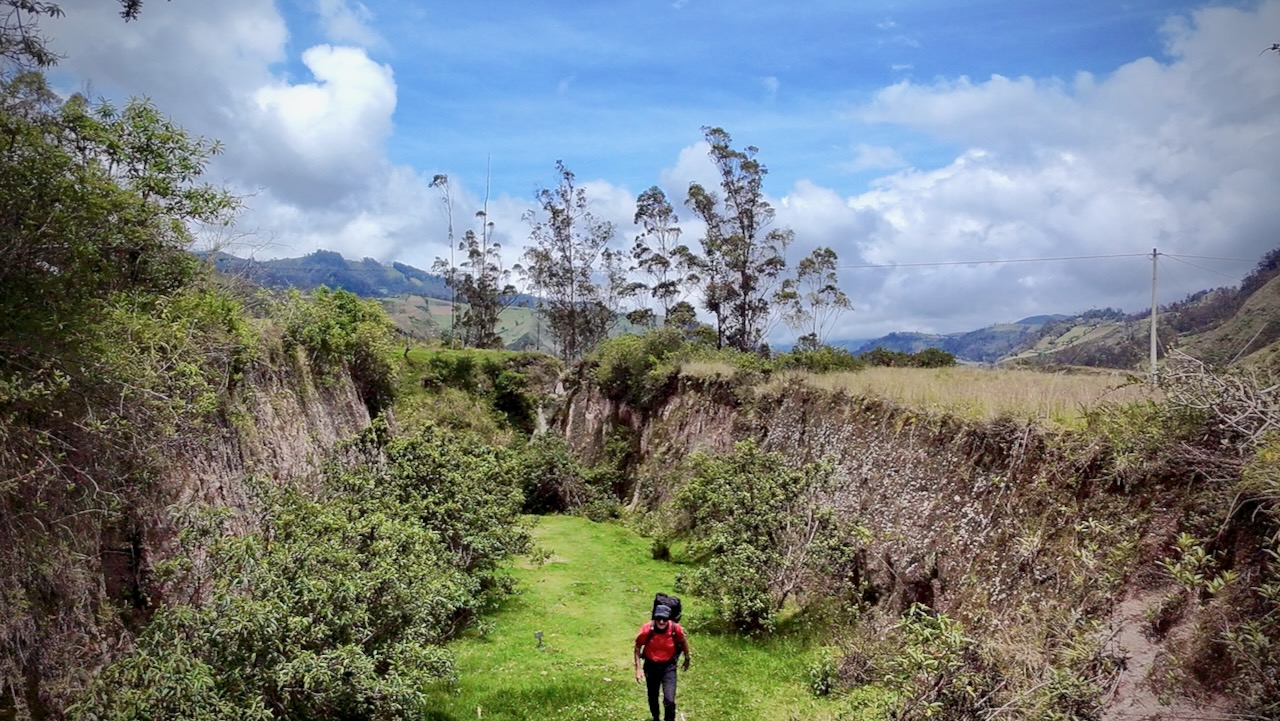
- Details: This is the easiest day, involving a descent into the Toachi Canyon and then an ascent to Isinlivi. The trail goes through lush farmland and past small communities.
- Isinlivi to Chugchilán (3200m)
- Distance: ~11.8 km (7.3 miles)
- Time: 4–8 hours
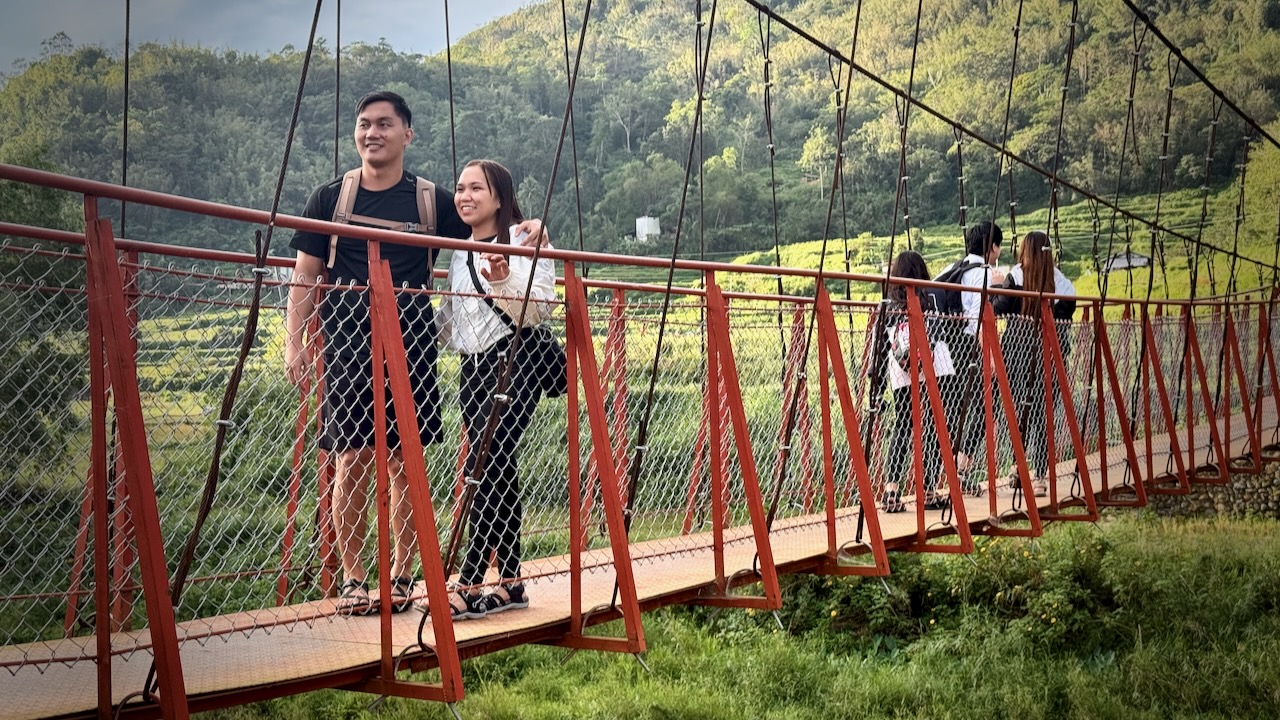
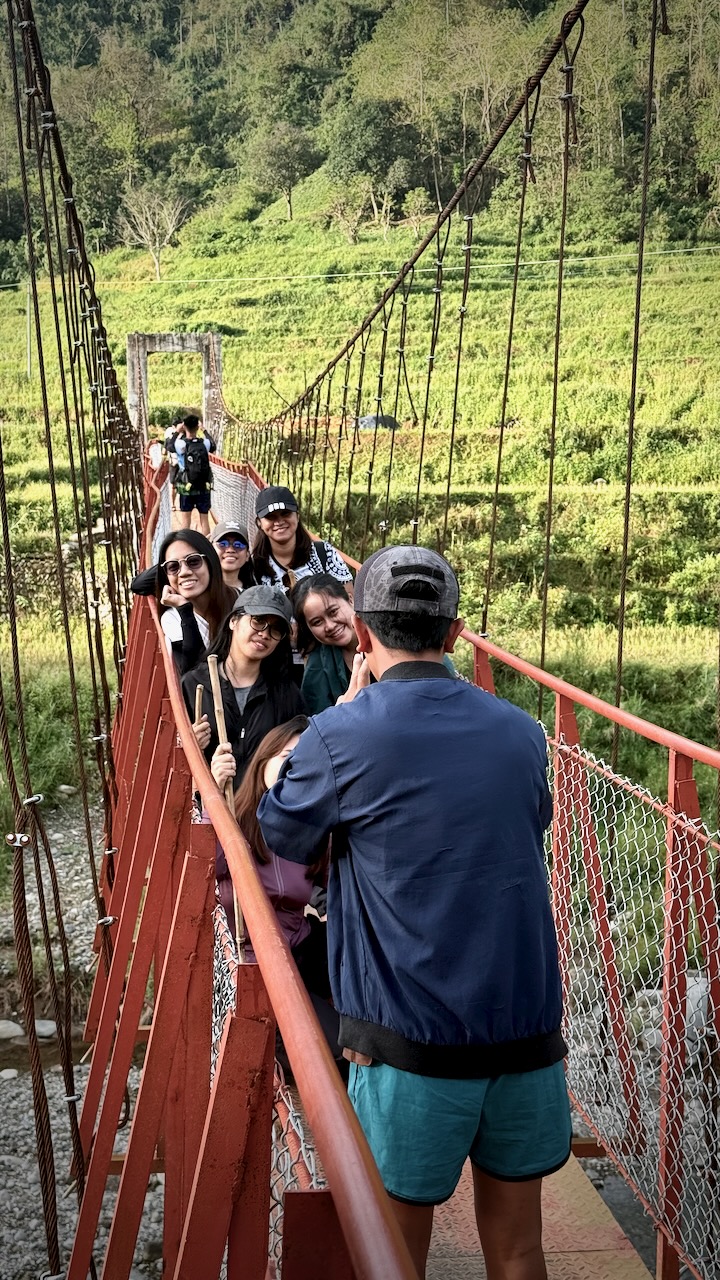
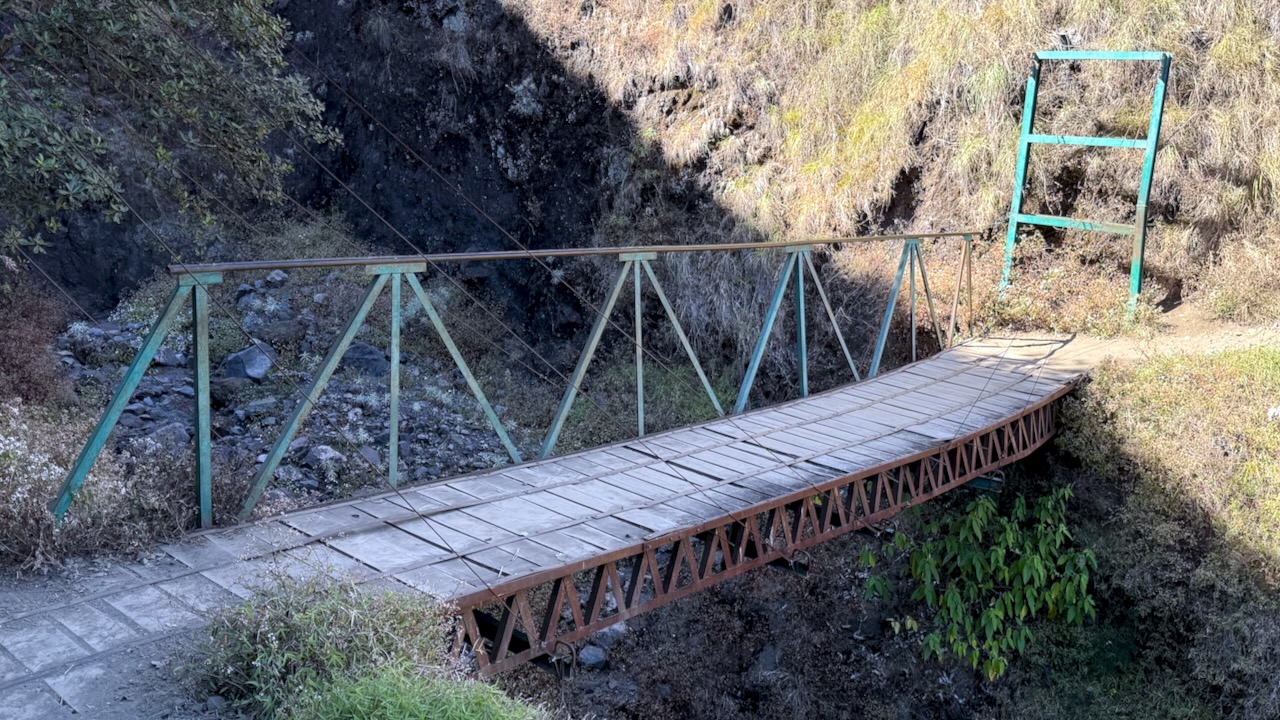
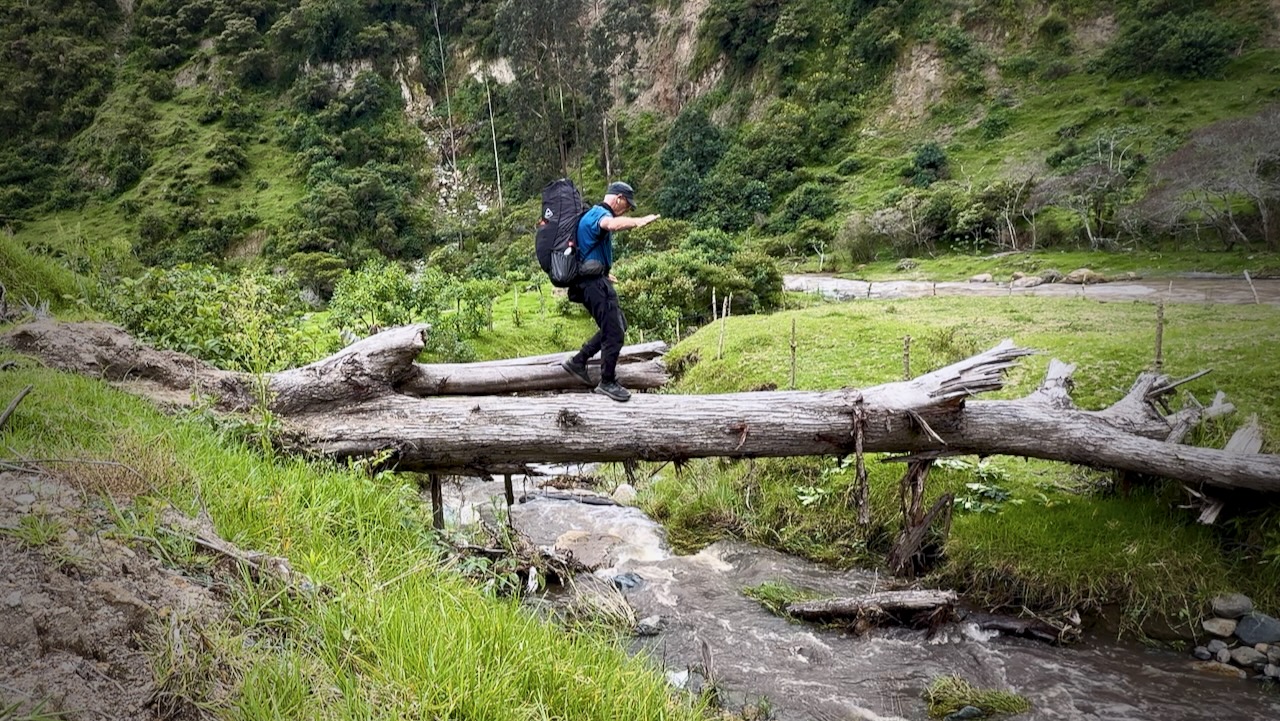
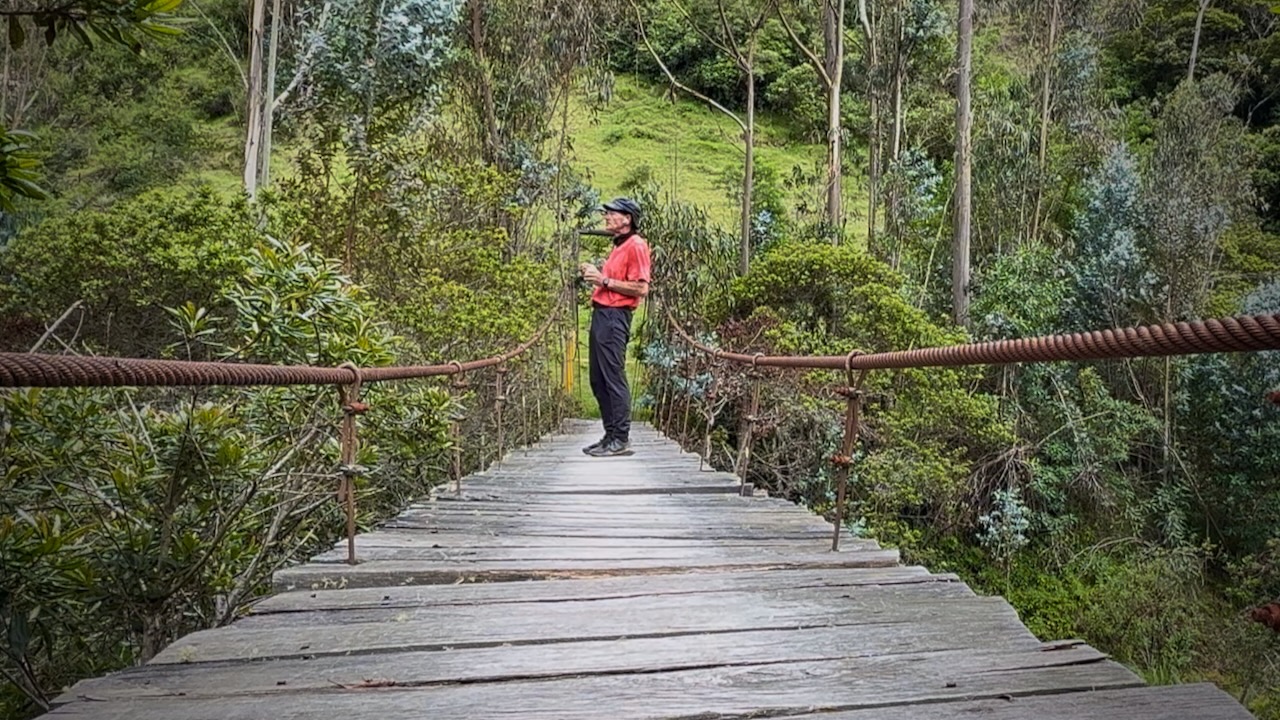
- Details: A harder day with two major climbs and a suspension bridge crossing at the bottom of the valley. The hike takes you through more dramatic canyon landscapes.
- Chugchilán to Quilotoa (3800m)
- Distance: ~13.2 km (8.2 miles)
- Time: 5–9 hours
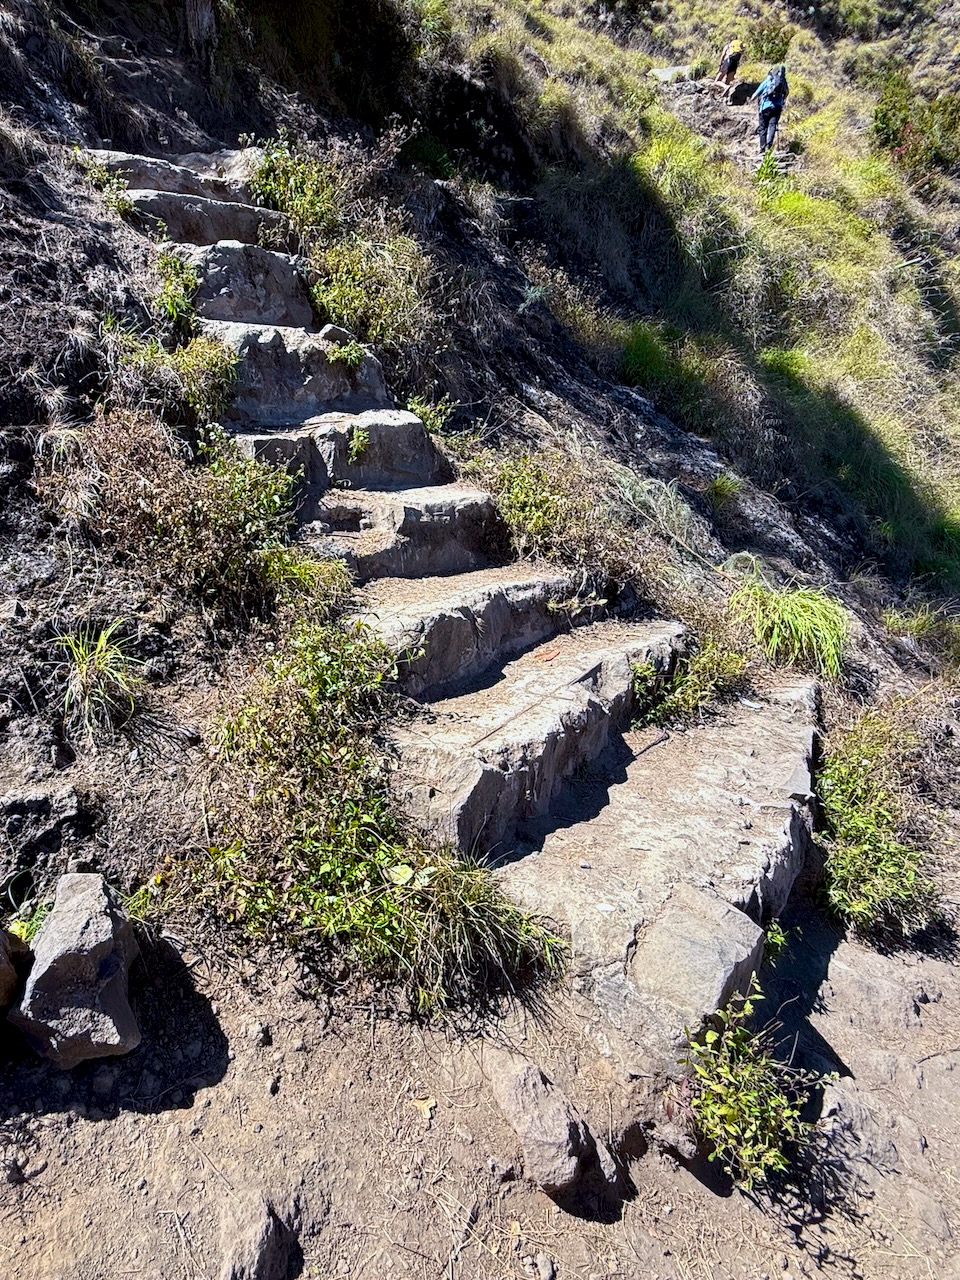
- Details: The most challenging day due to the significant elevation gain at high altitude. The trail gradually climbs up to the rim of the Quilotoa crater, offering stunning views of the lake at the finish.
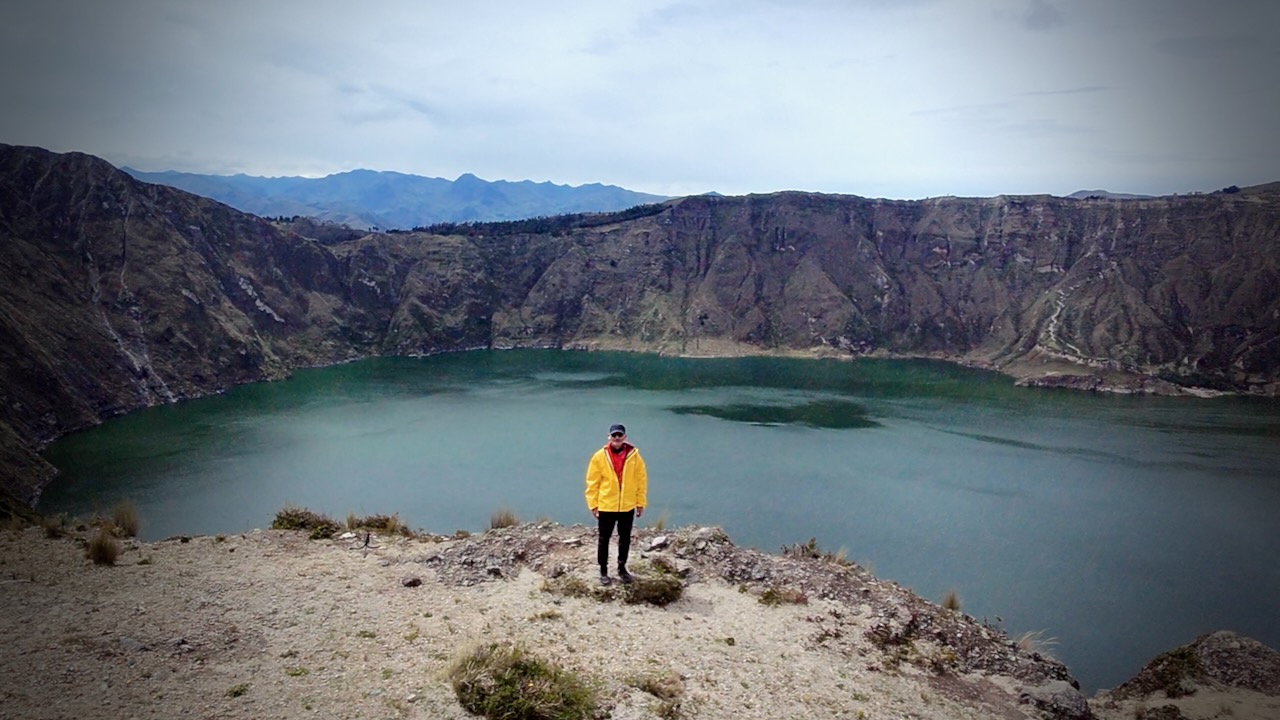
Once at Quilotoa village, most hikers catch a bus back to Latacunga. I stayed overnight in the village to be able to complete the additional 10.8km Quilotoa Crater Circuit next morning. Not easy. That’s an extra 795m elevation gain.
Day 1
I stayed one night in Latacunga, gateway city to the Quilotoa Loop. Hostal Café Tiana was excellent. I opted to carry ALL my gear rather than leave anything behind at the hostel.
Next morning caught the bus to Sigchos. And began the walk to Isinliví.
I didn’t get my feet wet.
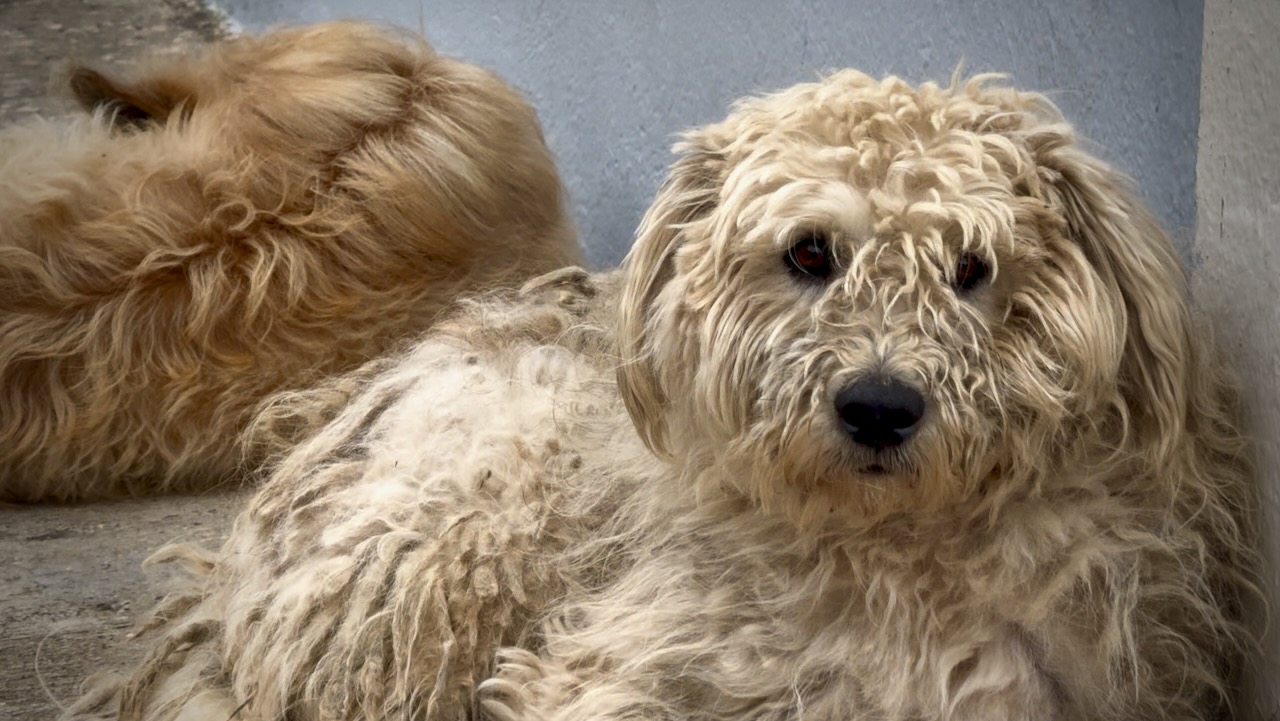
Dogs are all loose. These two not at all menacing.
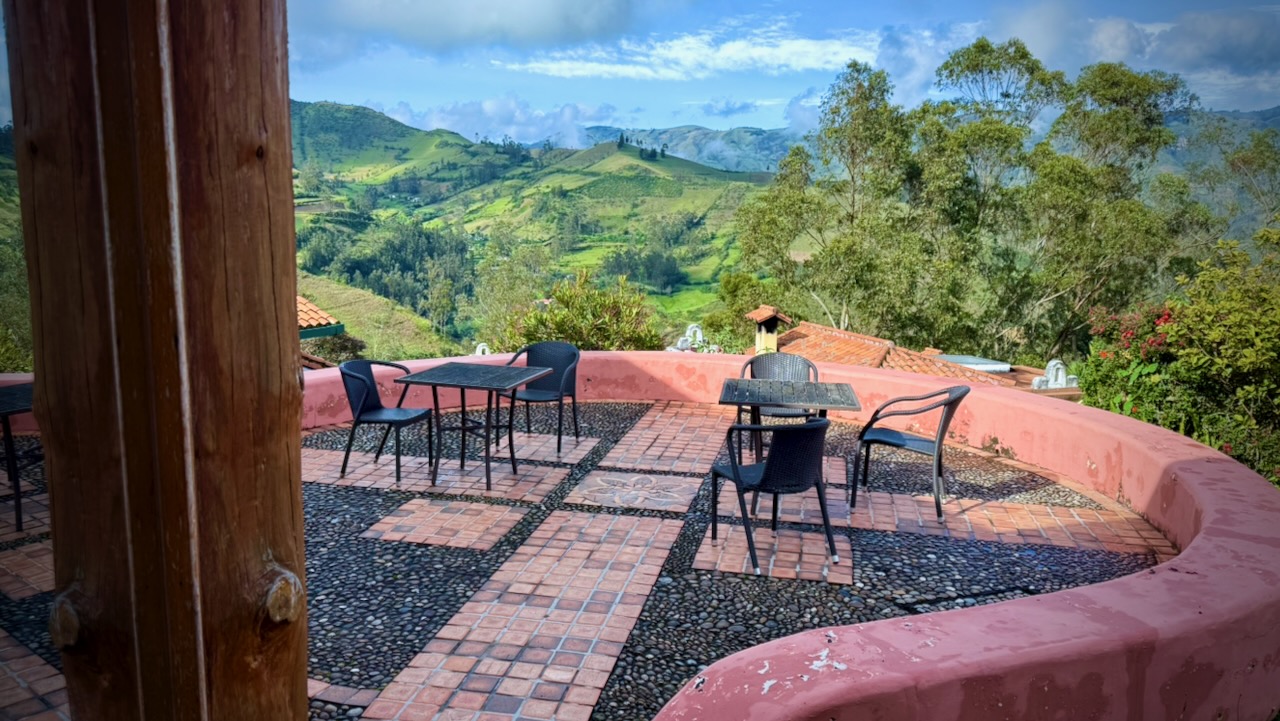
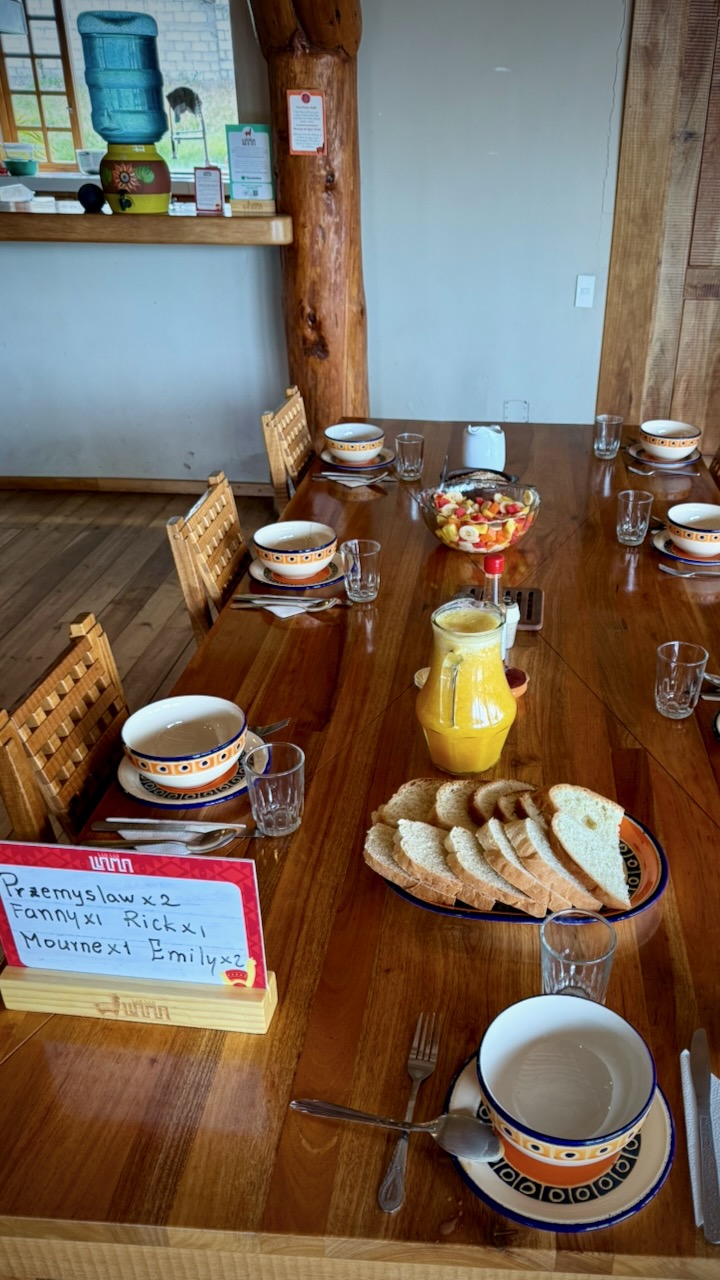
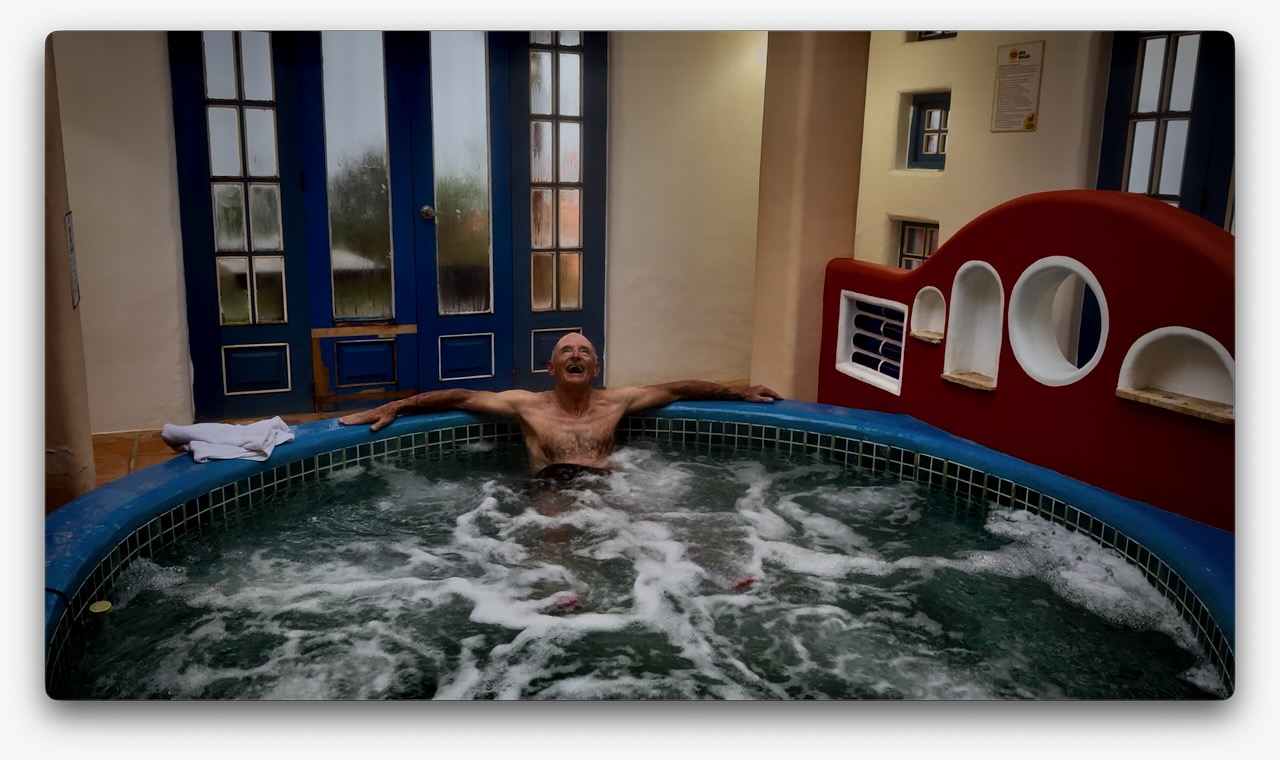
It was a relief to finally reach Llullu Llama Mountain Lodge, the best hostel on the Loop.
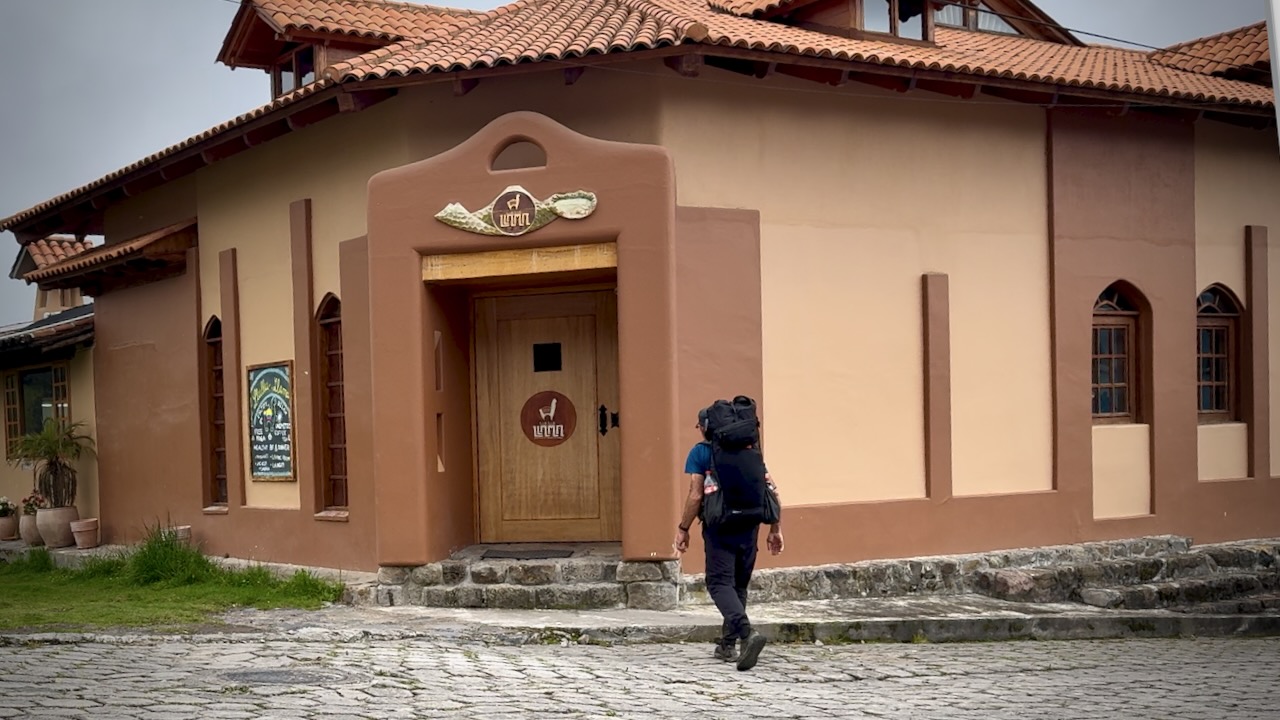
What a facility.
Excellent dinner and breakfast included.
$5 / person for the jacuzzi.
Day 2
I was enjoying Llullu Llama Mountain Lodge — so didn’t start walking until 11am. Not smart. You should get going as early as possible each day.

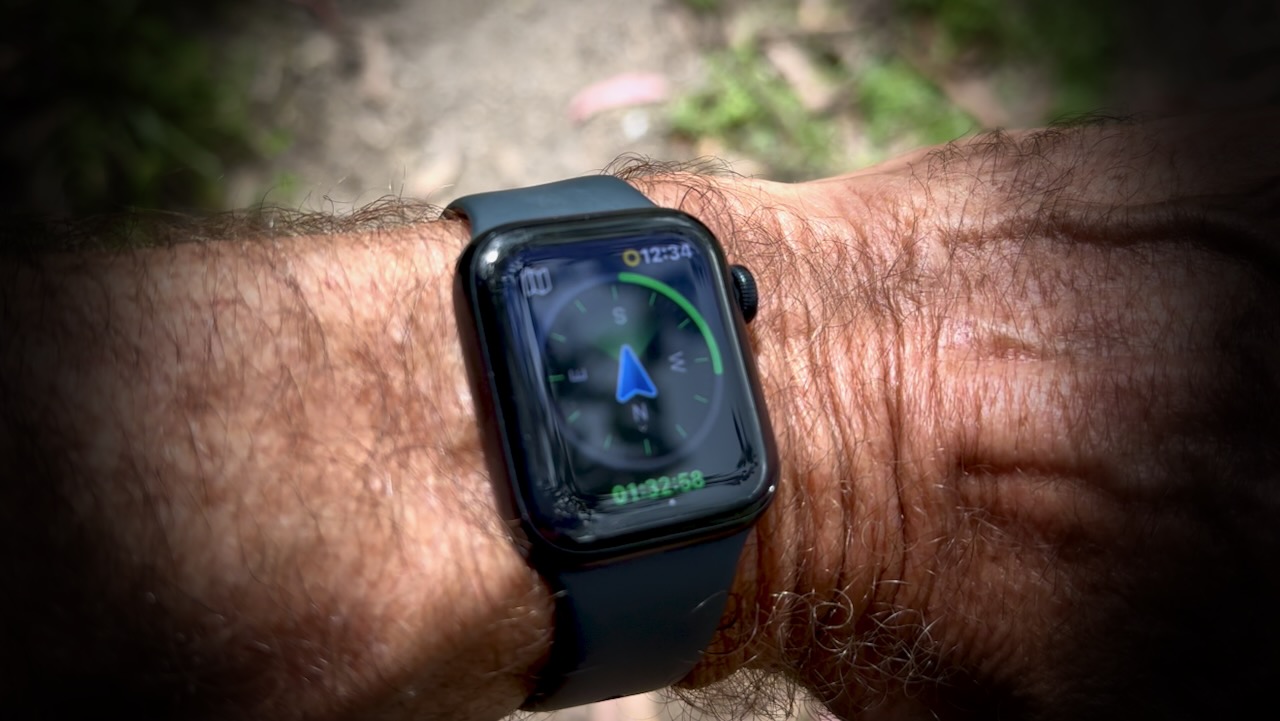
As we’d all missed many small trail turn-offs the day before, this time I opened the AllTrails app on my Apple Watch. In general, the green means you’ll be turning in that direction. It did help. I missed fewer turns. BUT this does kill the watch battery quickly.
Day 2 was tougher and wetter.
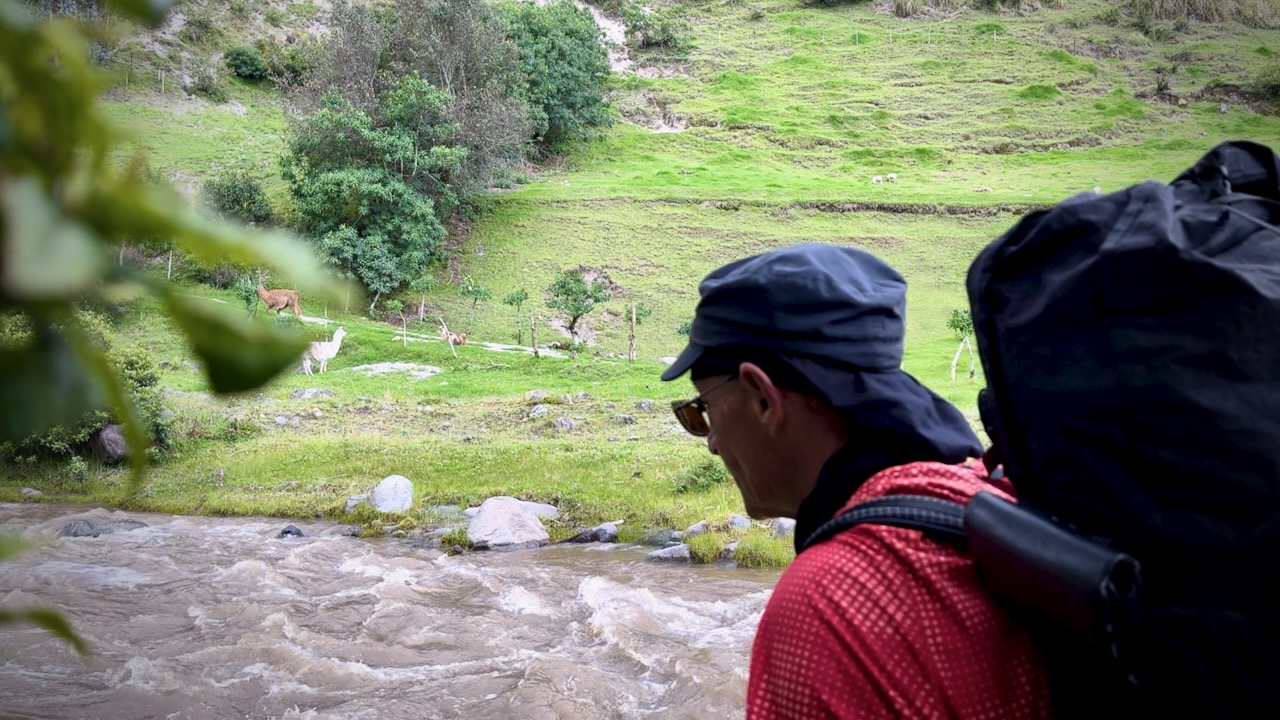
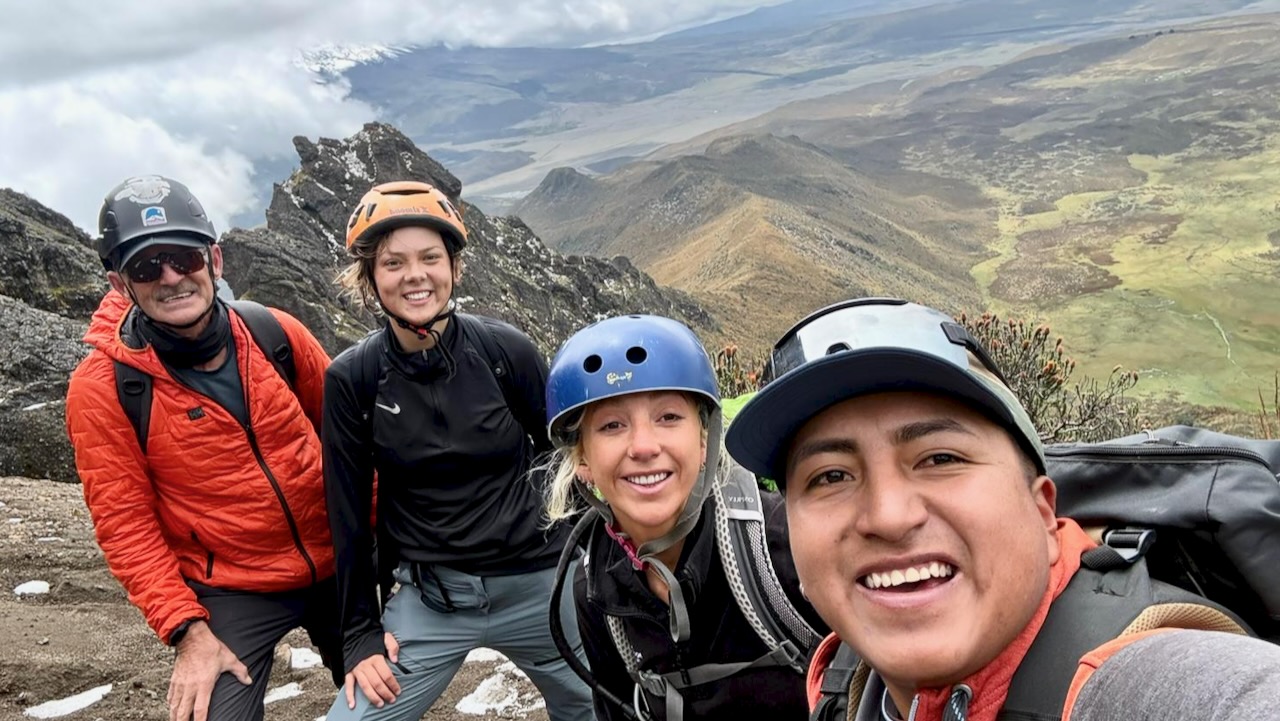
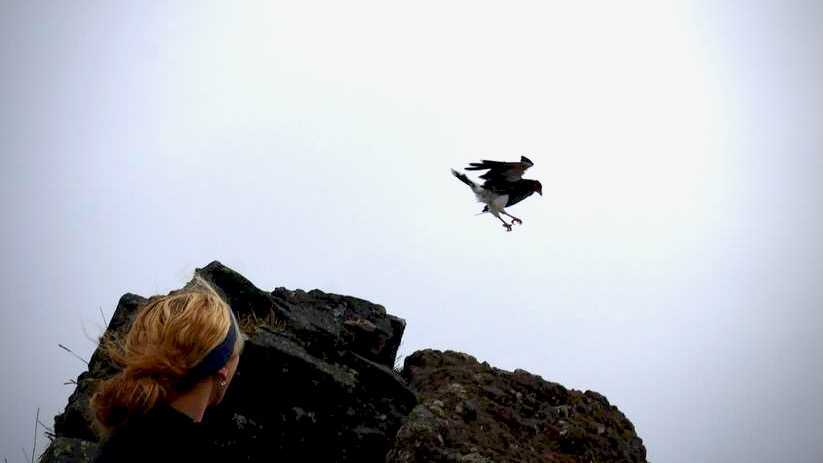
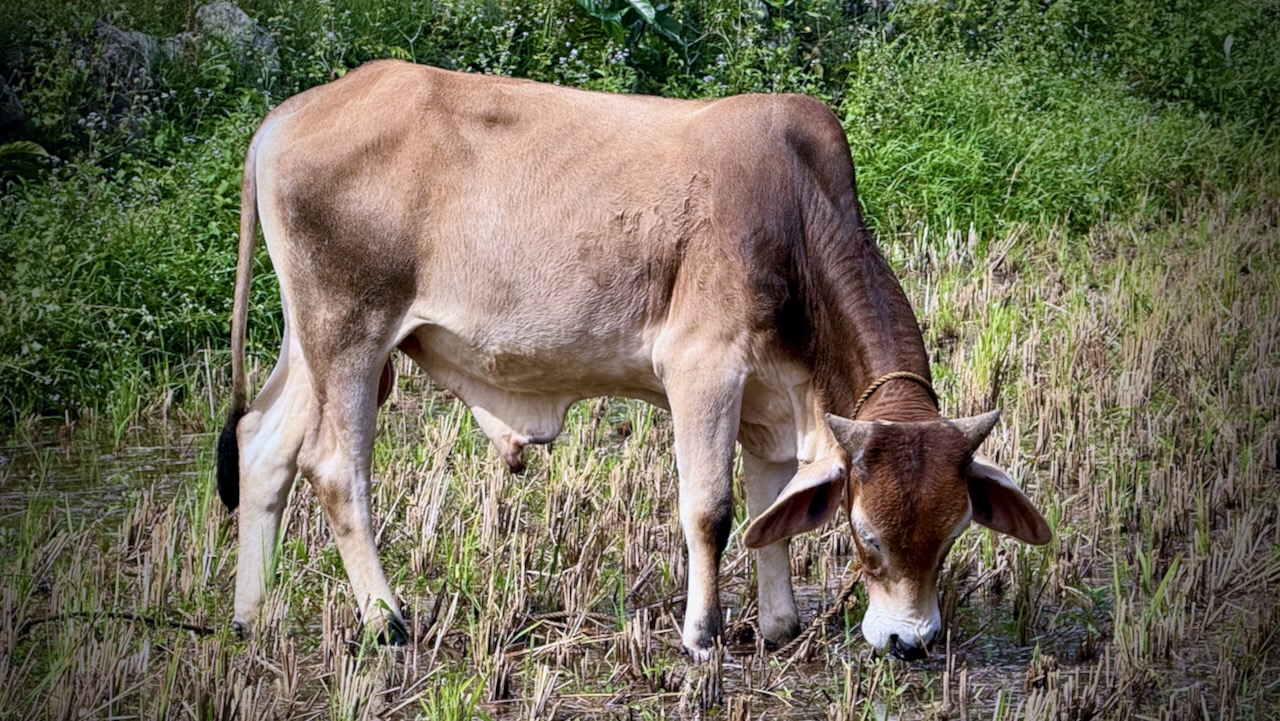
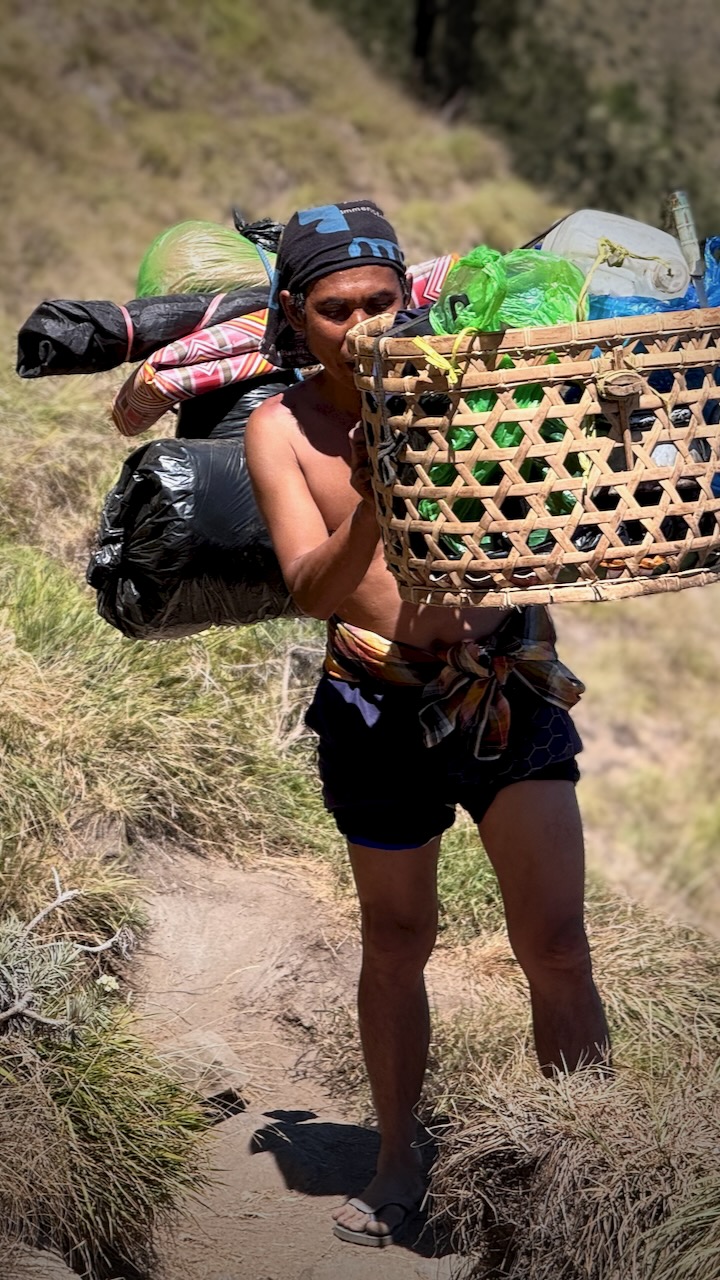
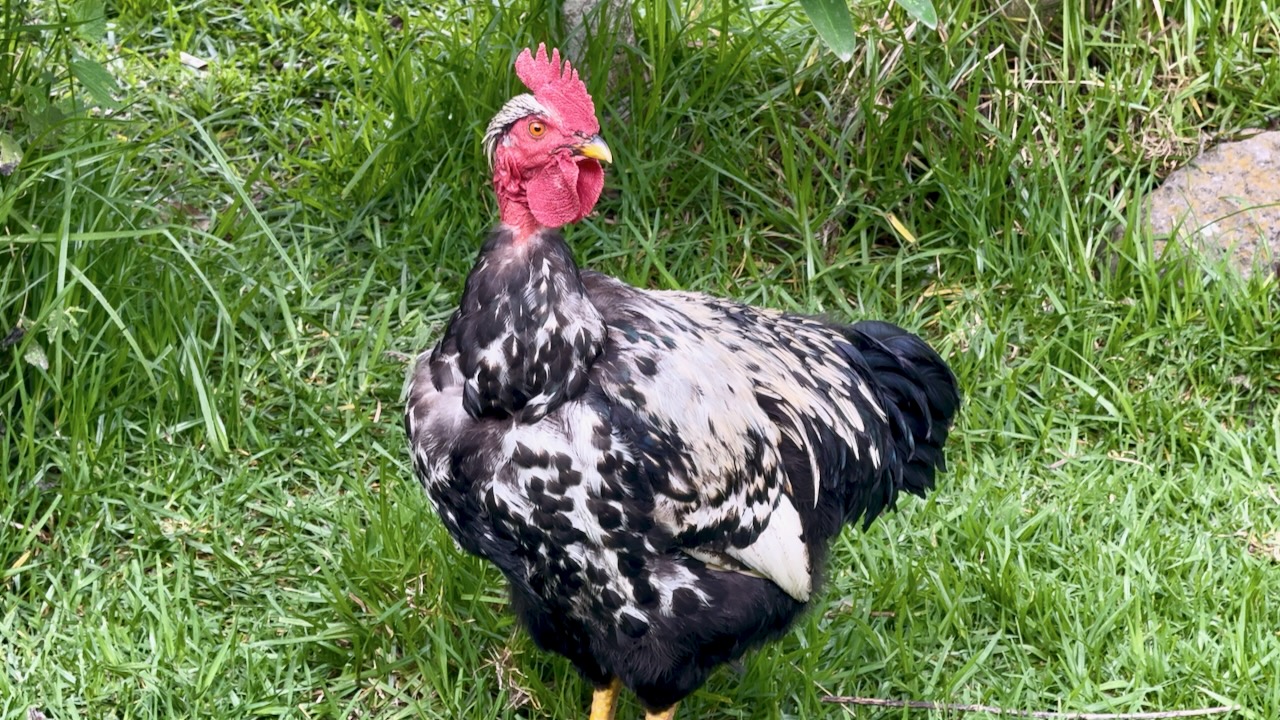
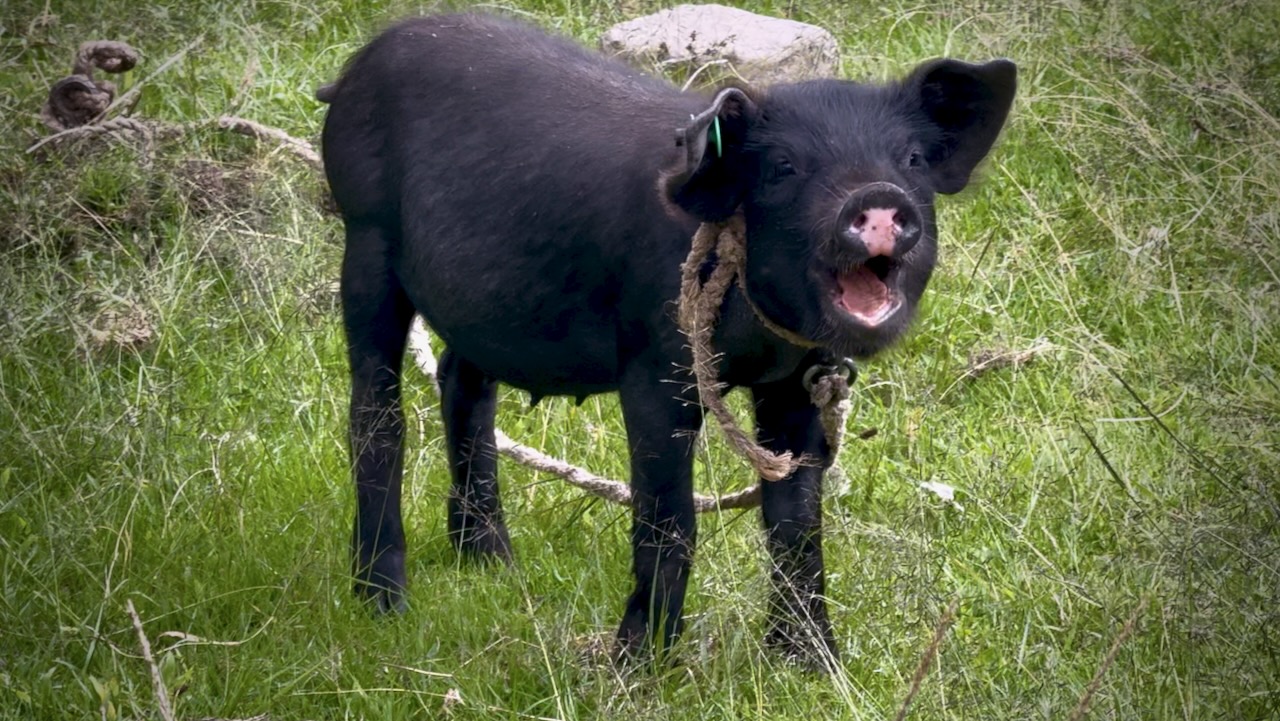
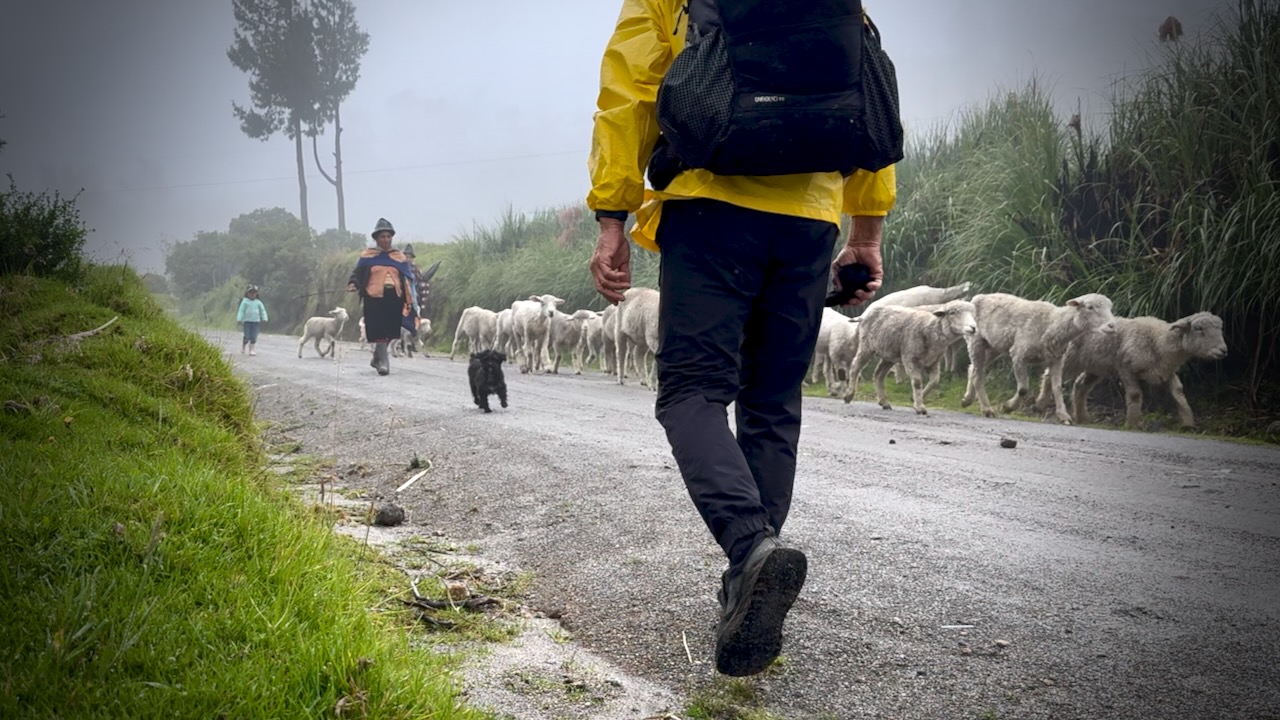
I saw few hikers each day as we were all walking the same direction. BUT was never lonely. Domestic animals are everywhere on this trail.

The sun was out for several hours. Dangerous near the equator. It’s easy to sunburn. I should have covered-up up better.
Peanut butter for lunch on the bridge.
As is typical of the weather here, rain began in the early afternoon. My phone ran out of juice and would not be recharged by portable battery because the cable was wet. My Apple Watch died.
Without electronic navigation, I could really have gotten lost.
Even worst, the last part of day 2 has multiple possible routes. I ended up on one which was stunning, but more difficult. Somehow I still made it to Chugchilán, a larger town. We stayed at the Cloud Forest which featured a Sauna.
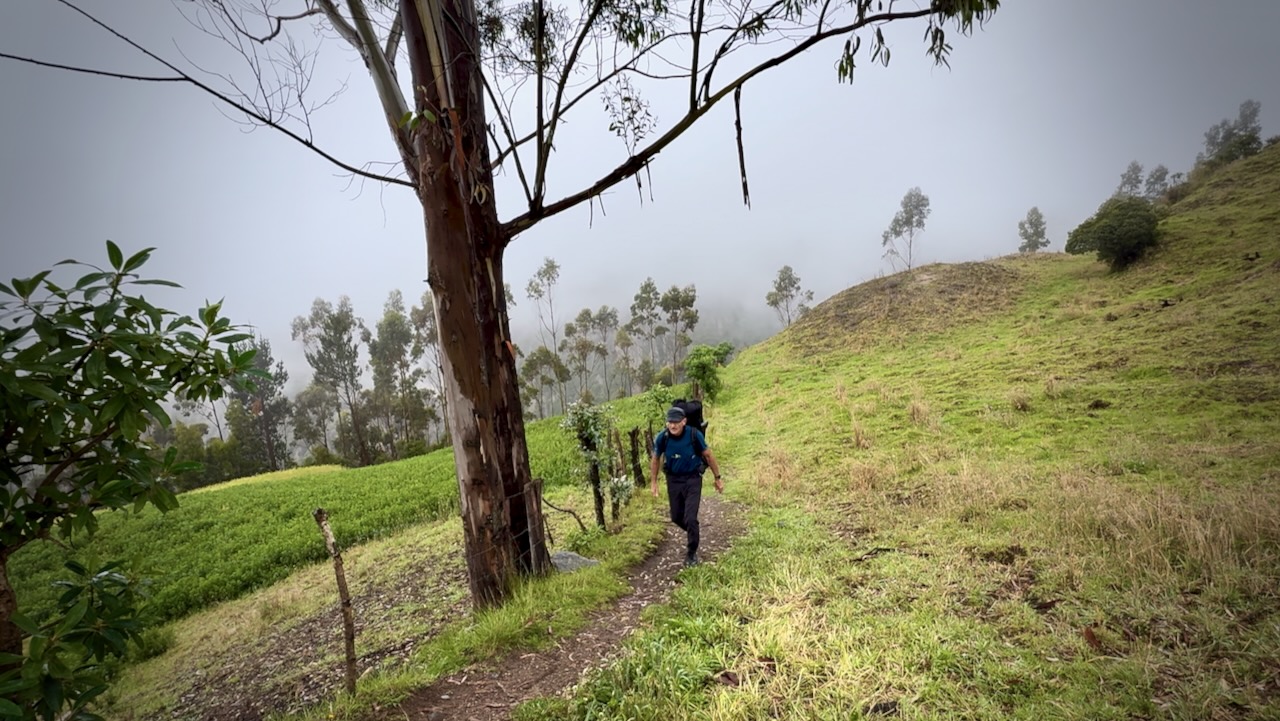
Day 3
Having learned my lesson, I started early.
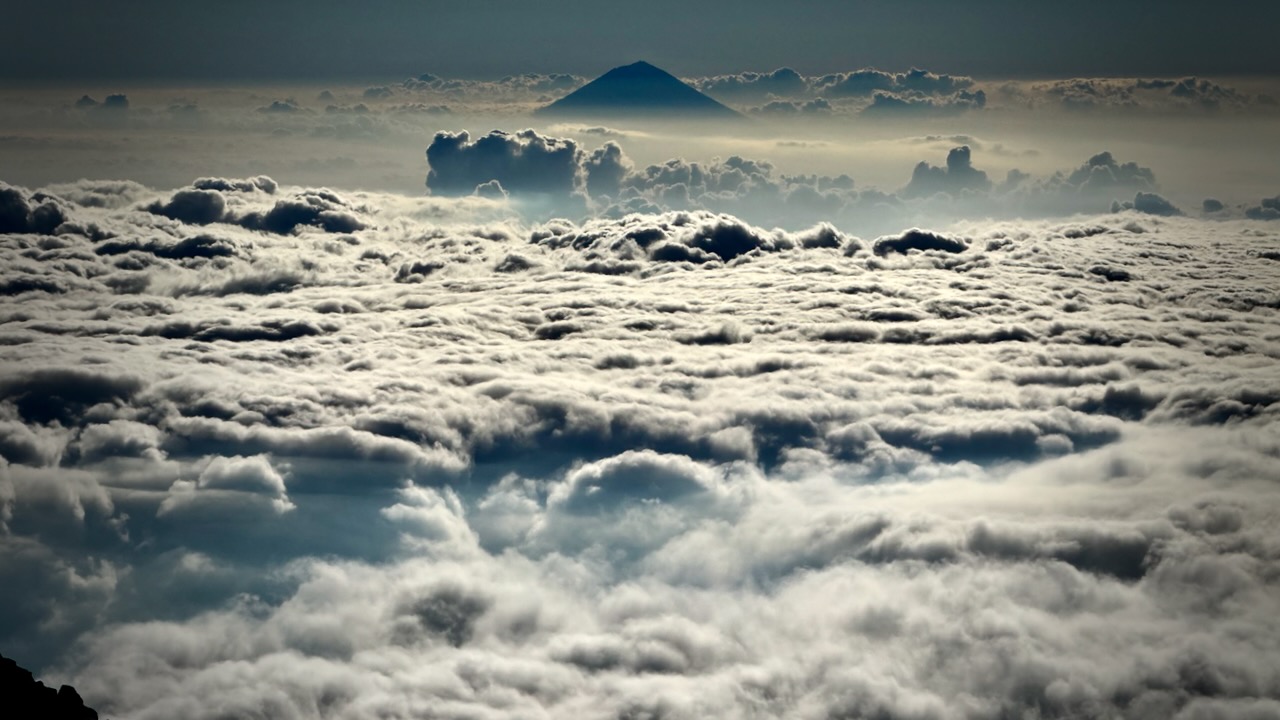
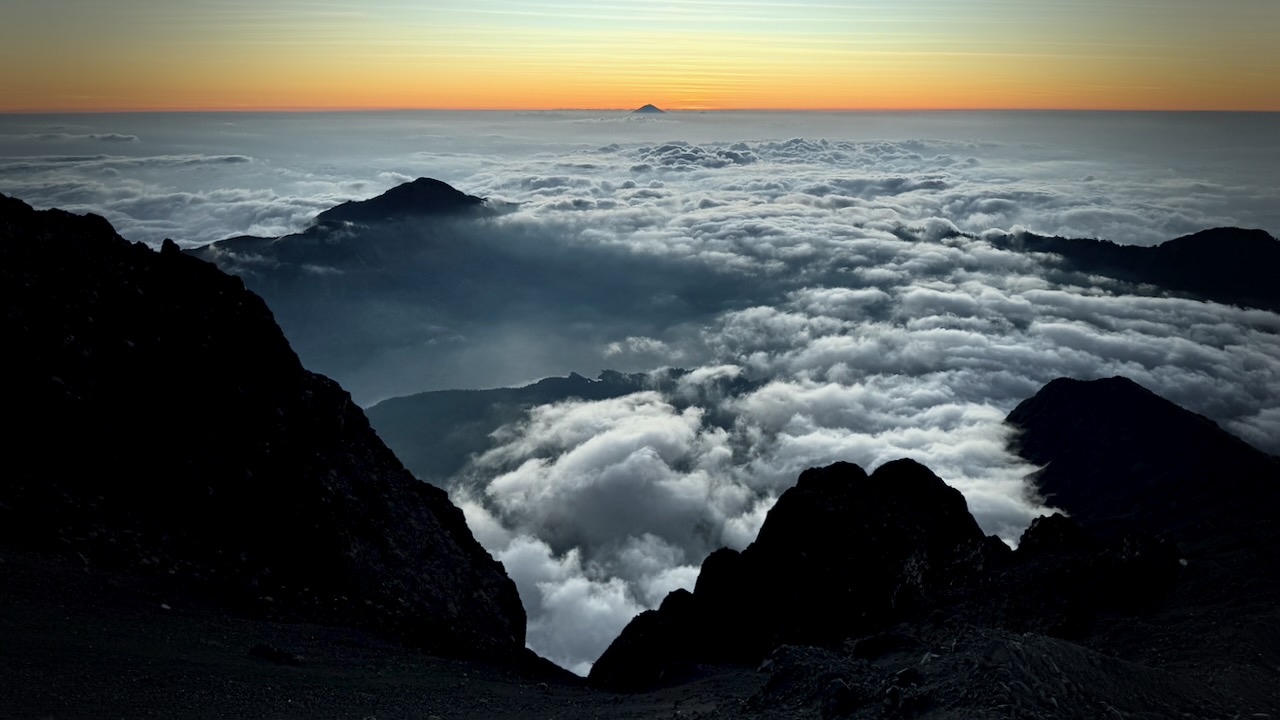
As elevation increases, I had more cloud.
Hikers debate which is tougher ➙ day 2 or day 3. Both are challenging.
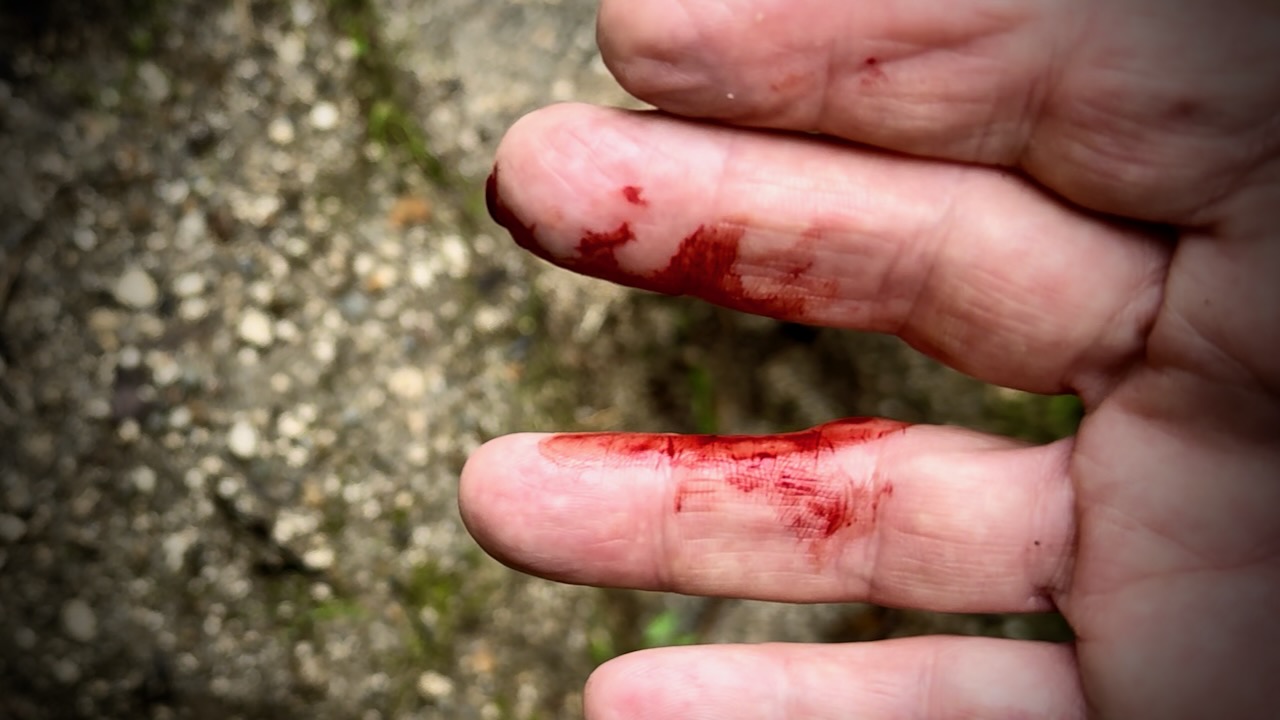
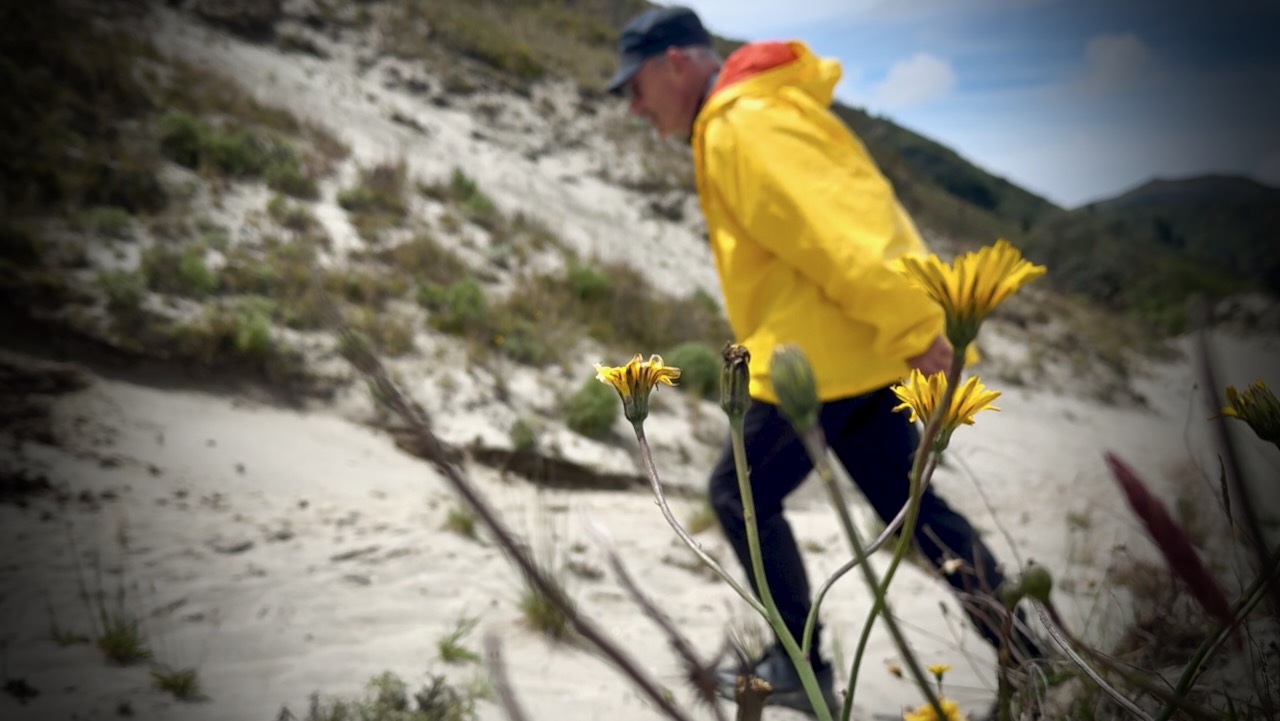
My fingers were bleeding at least 3 times. Some of the vegetation is thorny.
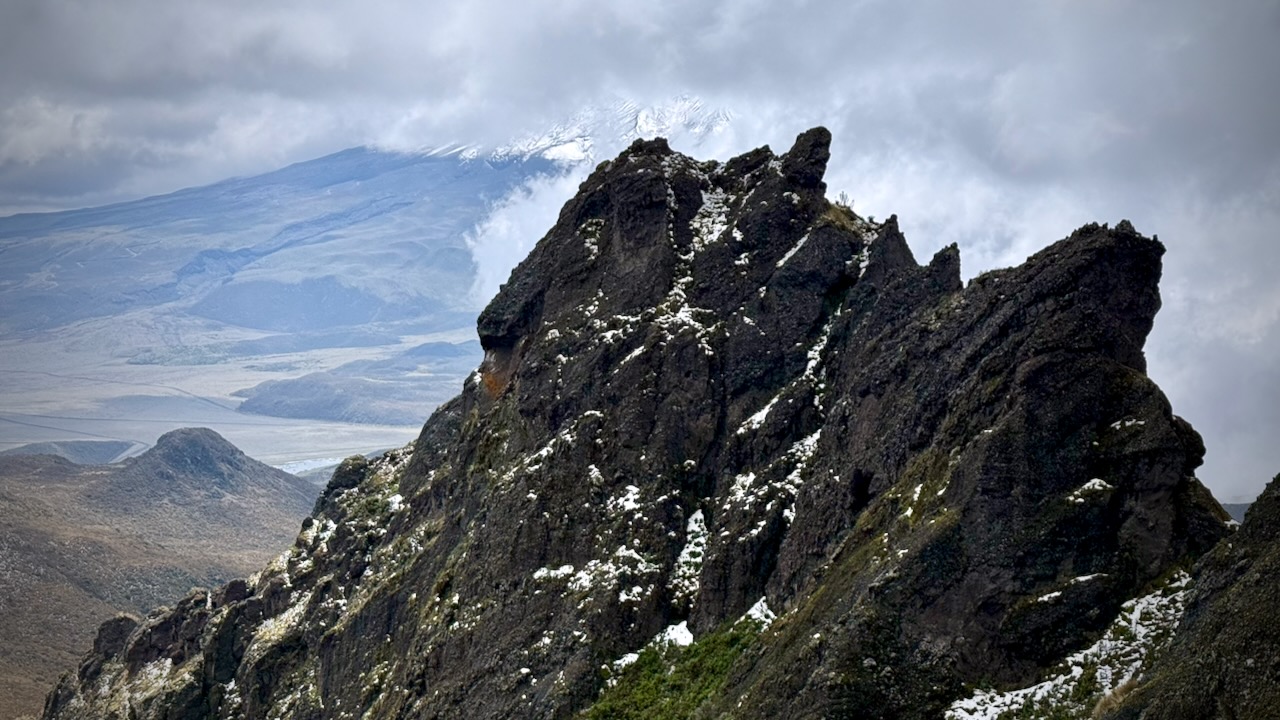
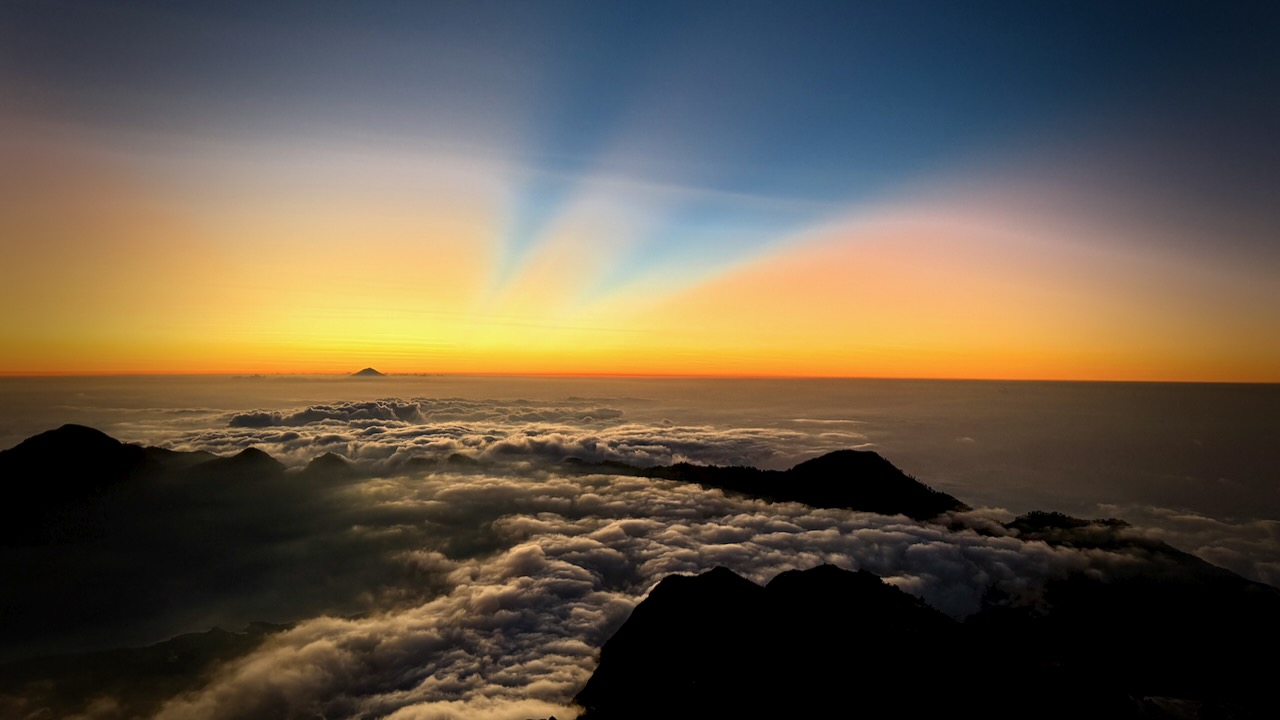
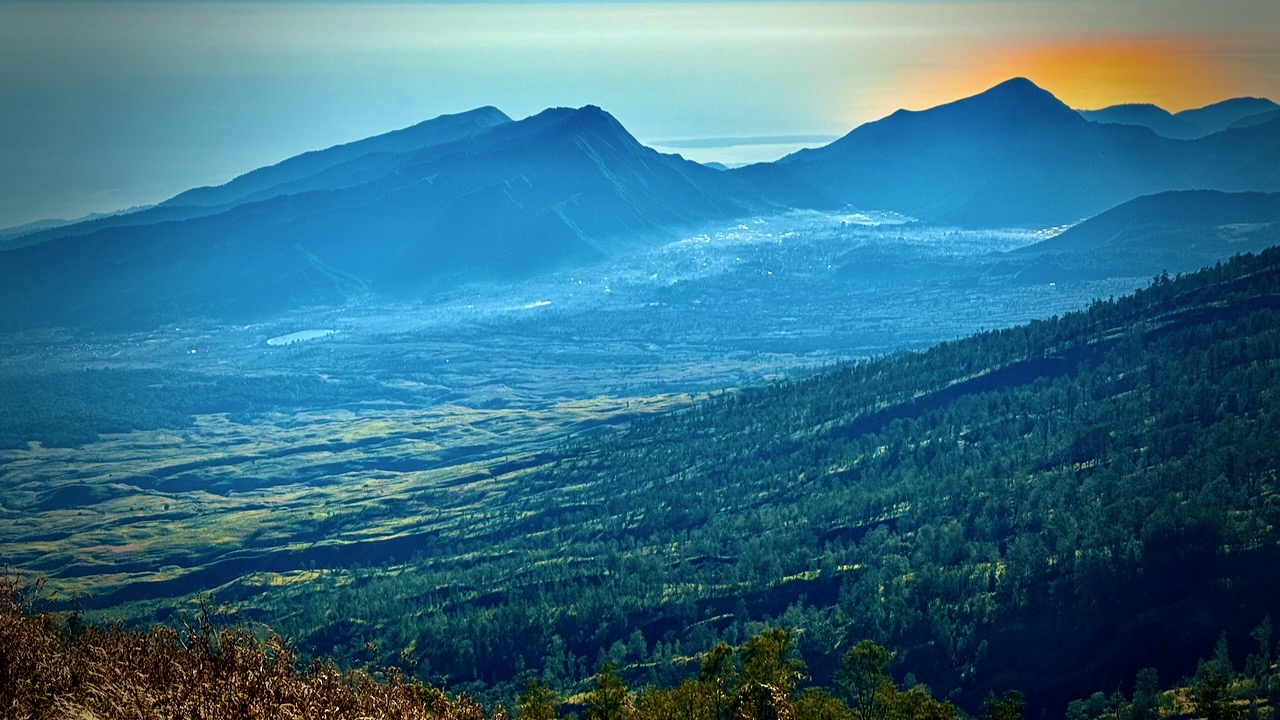
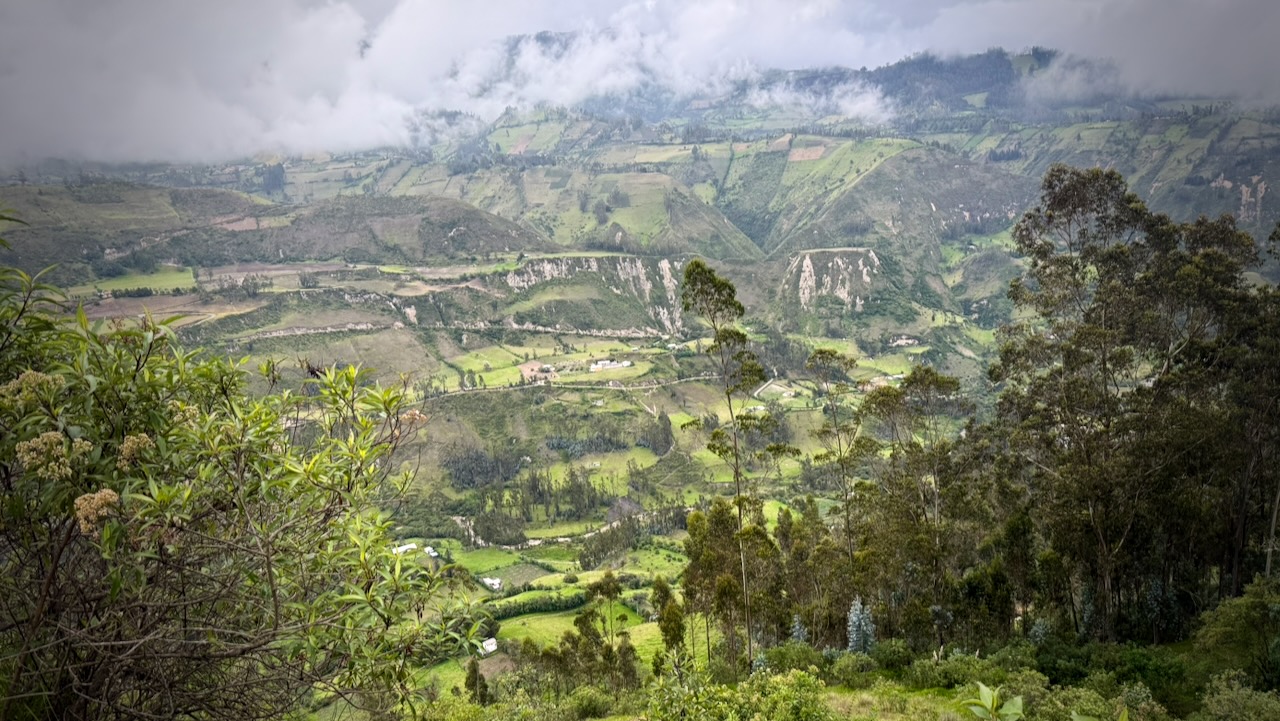
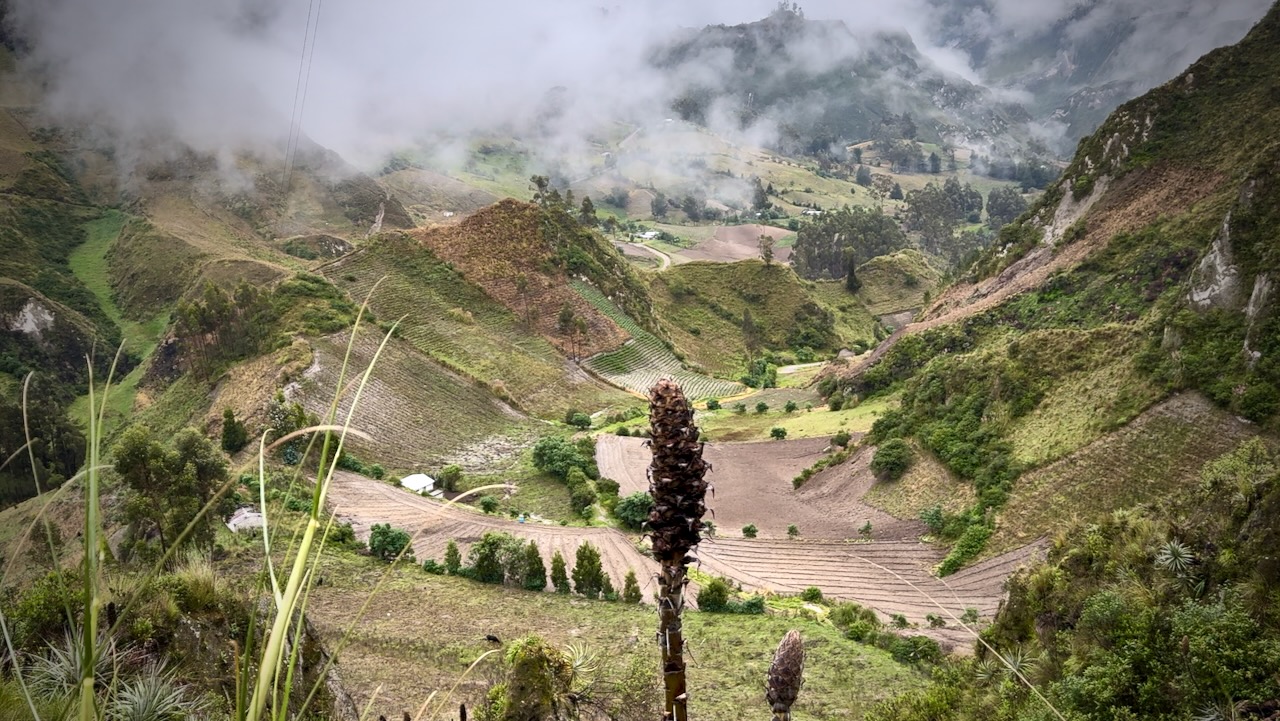
There are some astonishing valley vistas this day.
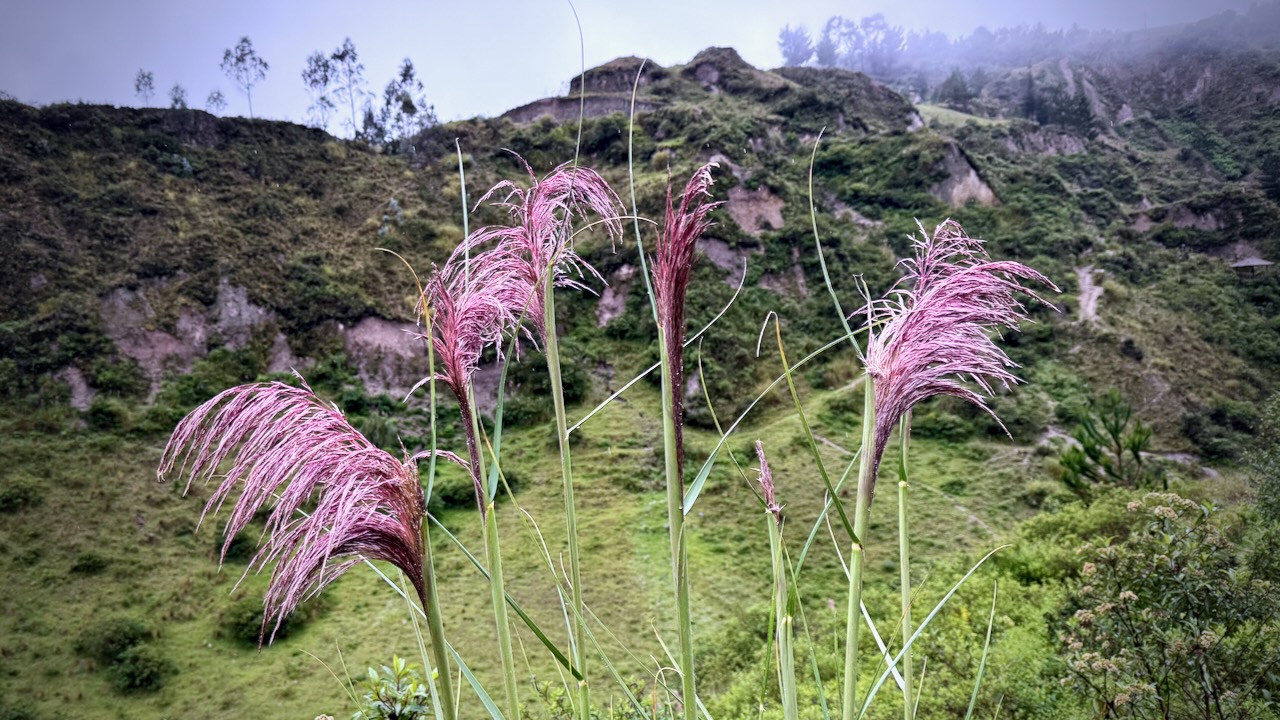
Vegetation does change with elevation.
Rush hour.
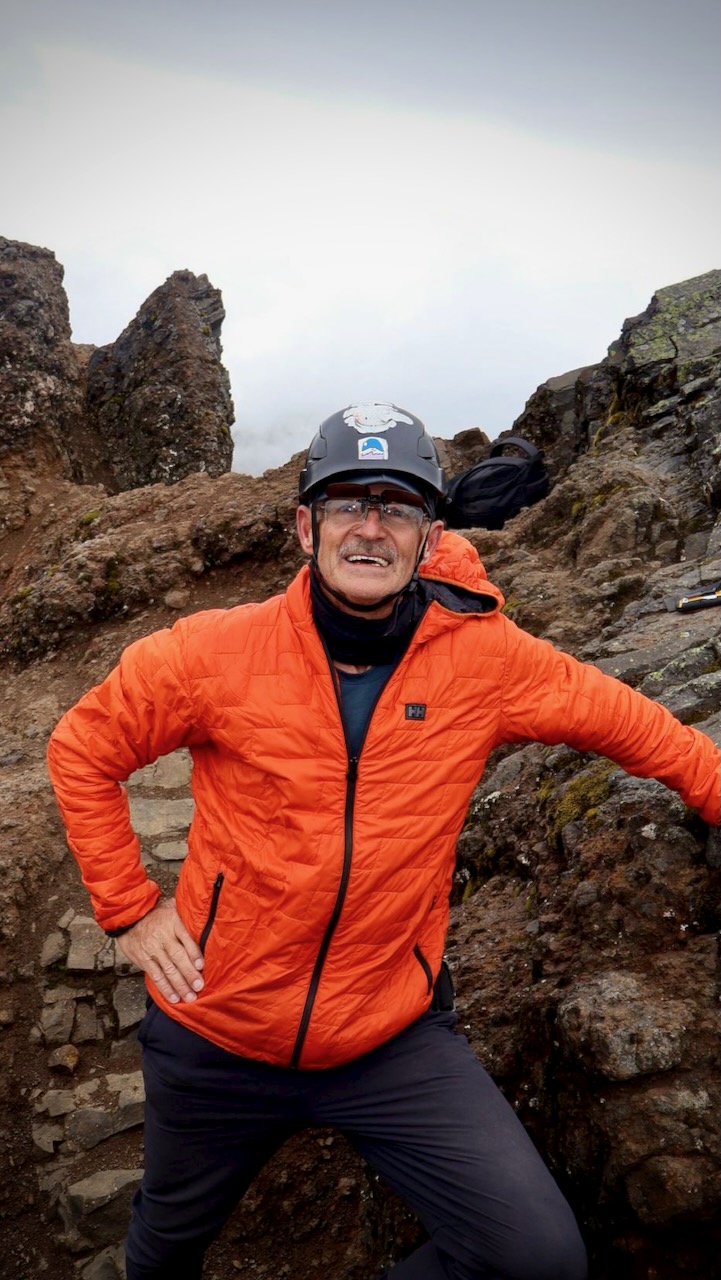
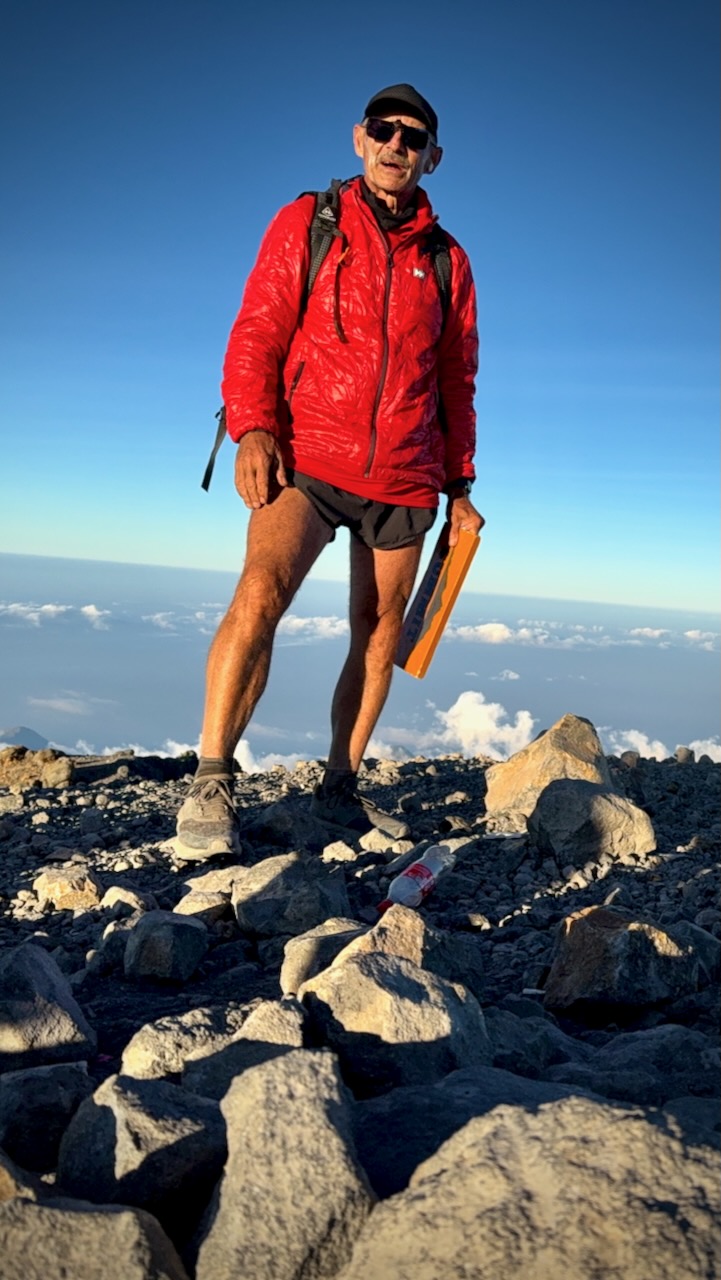
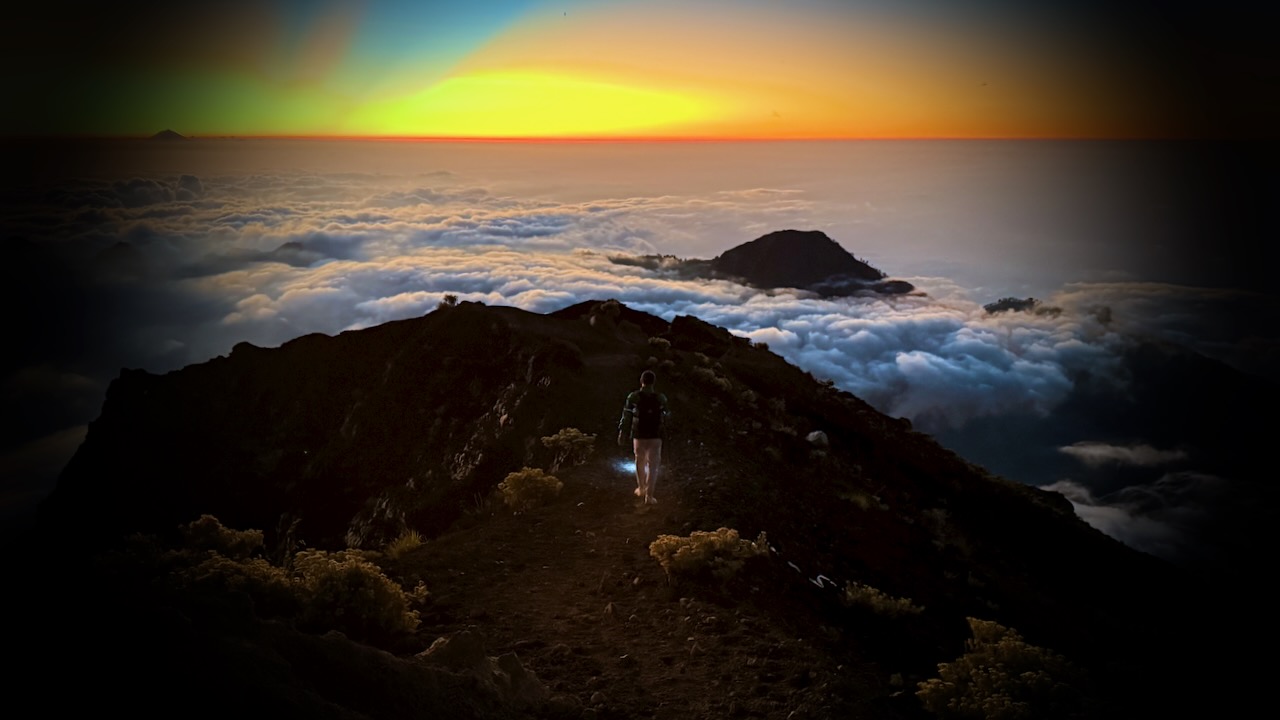
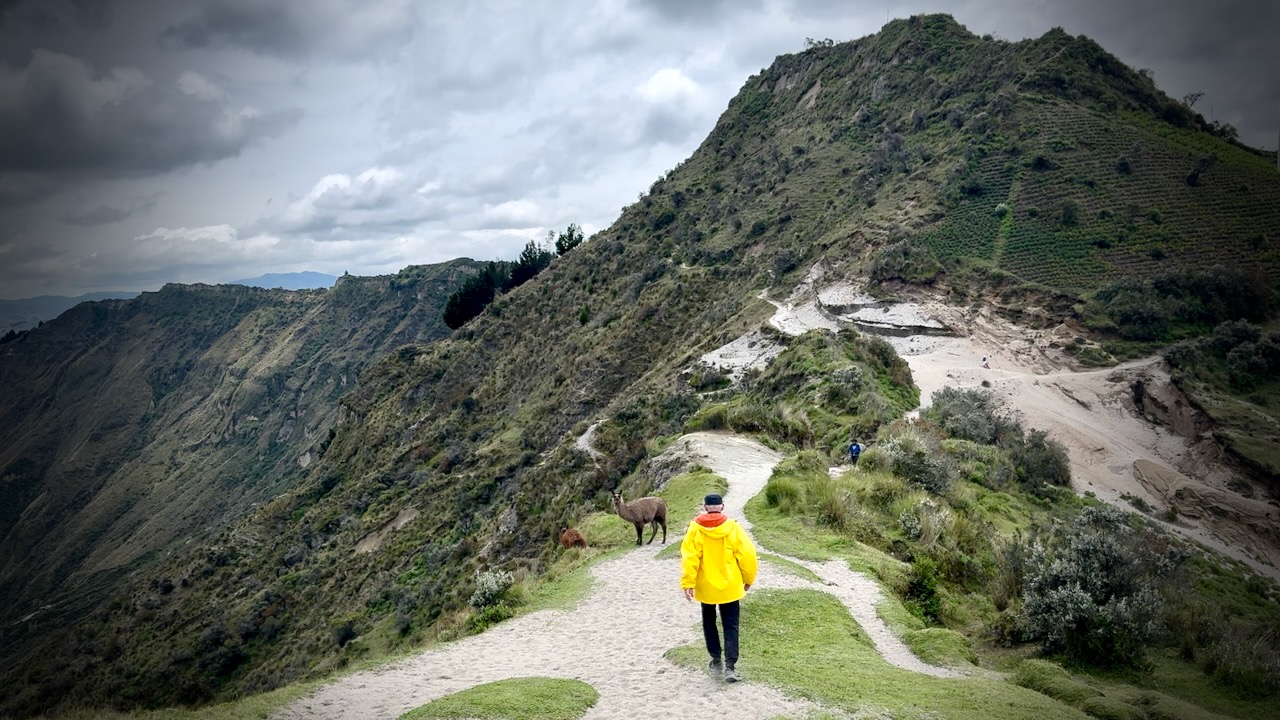
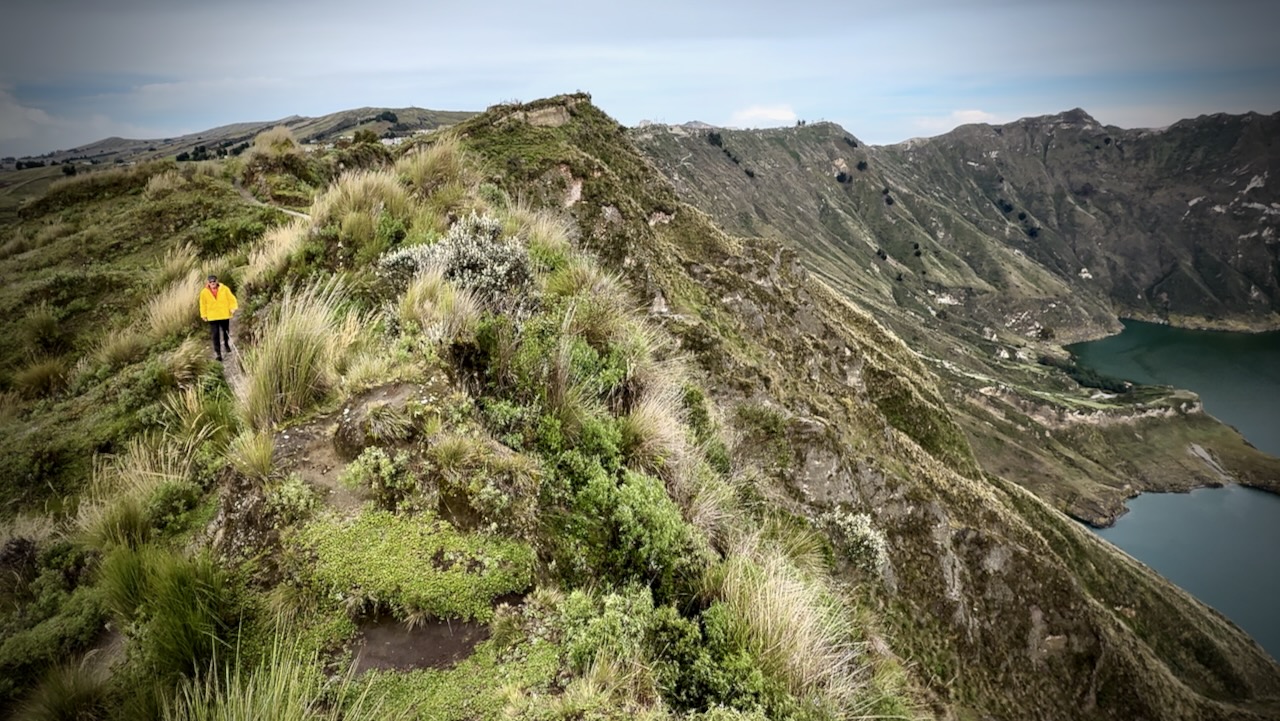
Celebration time when finally reaching the crater ridge.
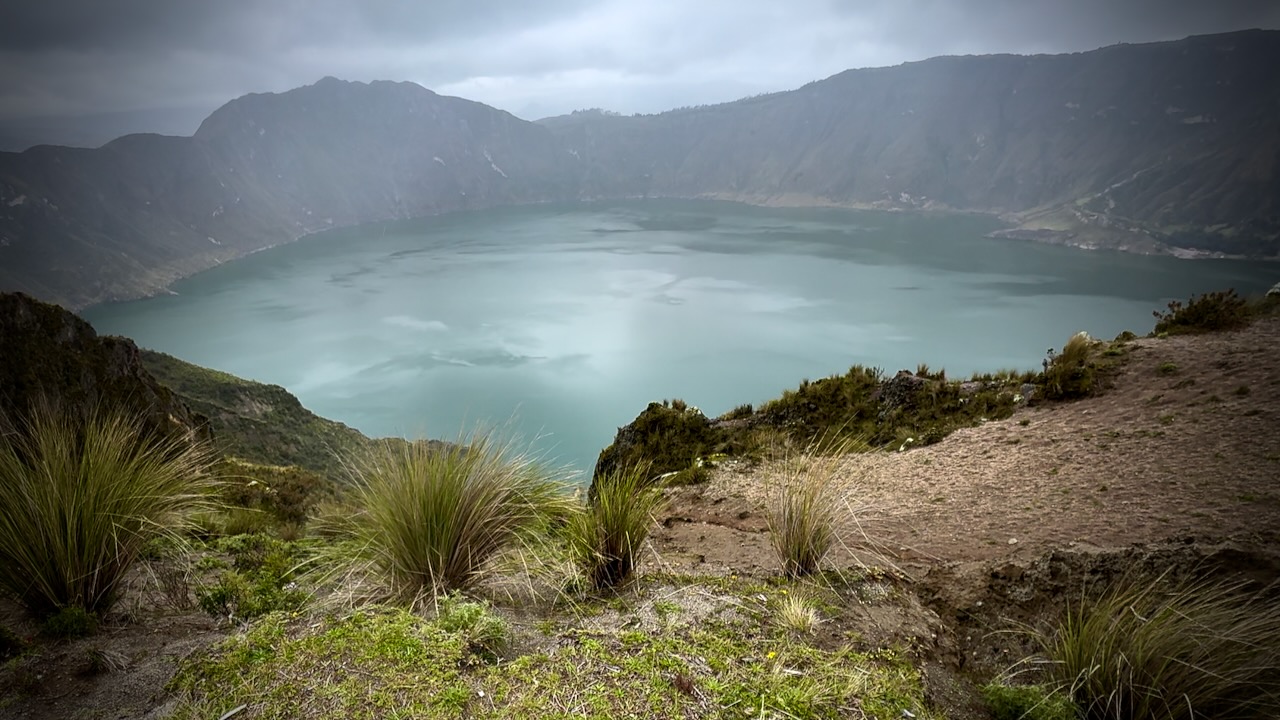
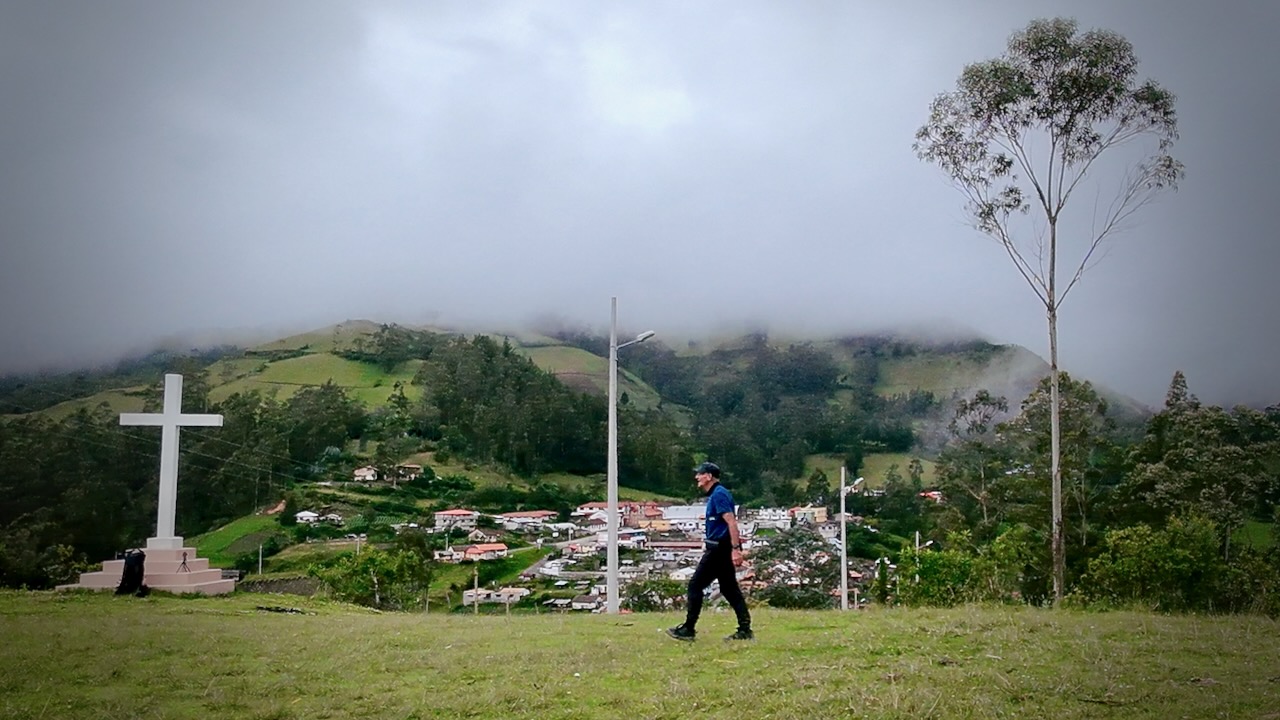
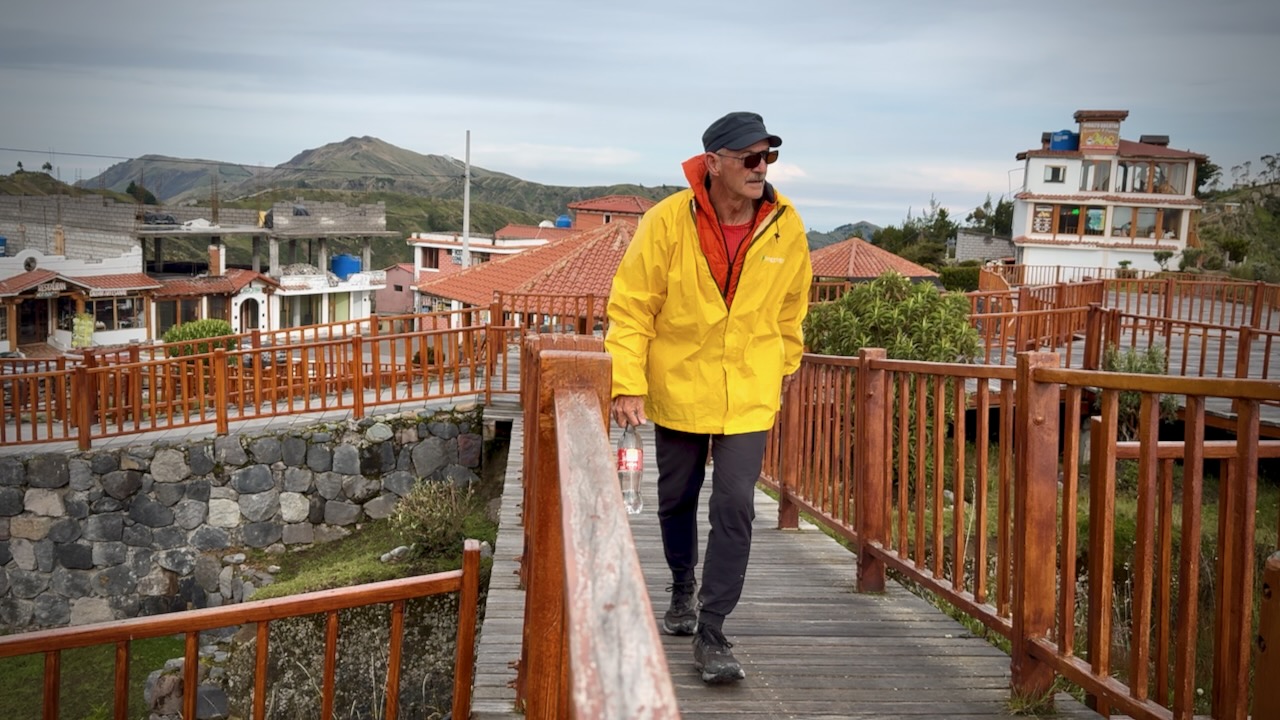
From this point, it’s still about an hour’s walk to Quiloto village, a 100% tourist trap.
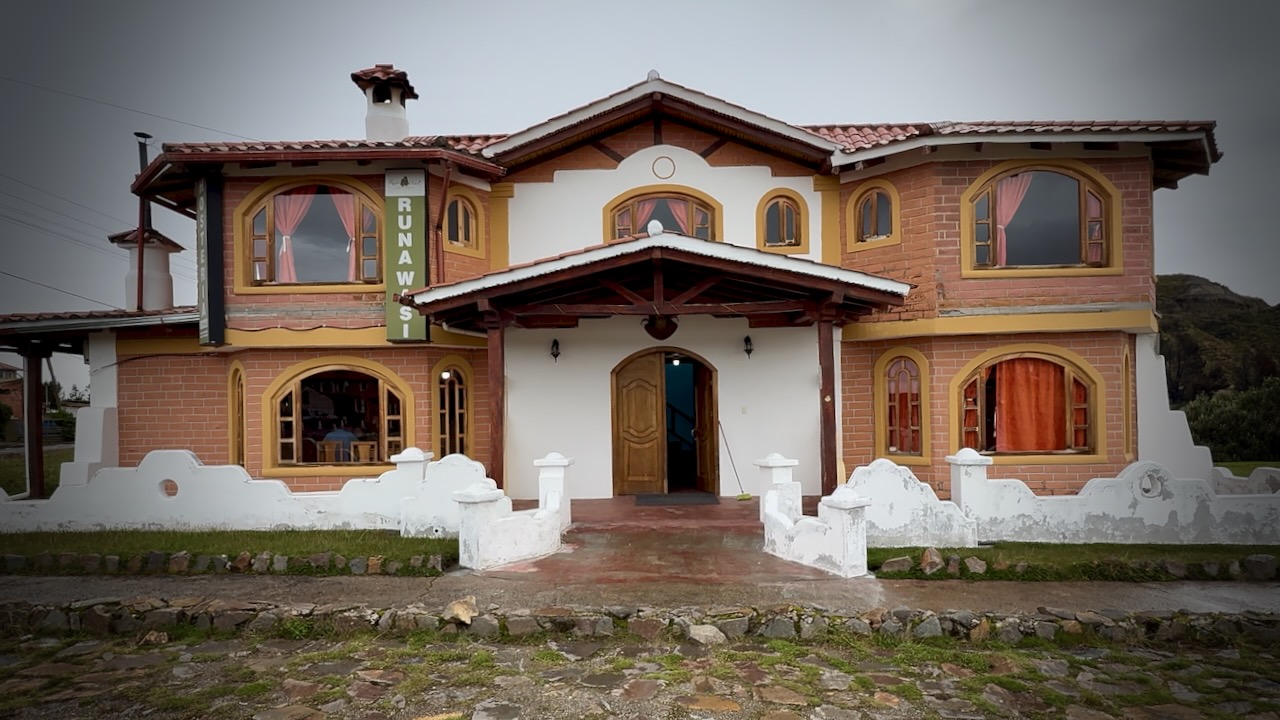
I was happy we decided to stay at Runa Wasi hostel. Classy, friendly accommodation.
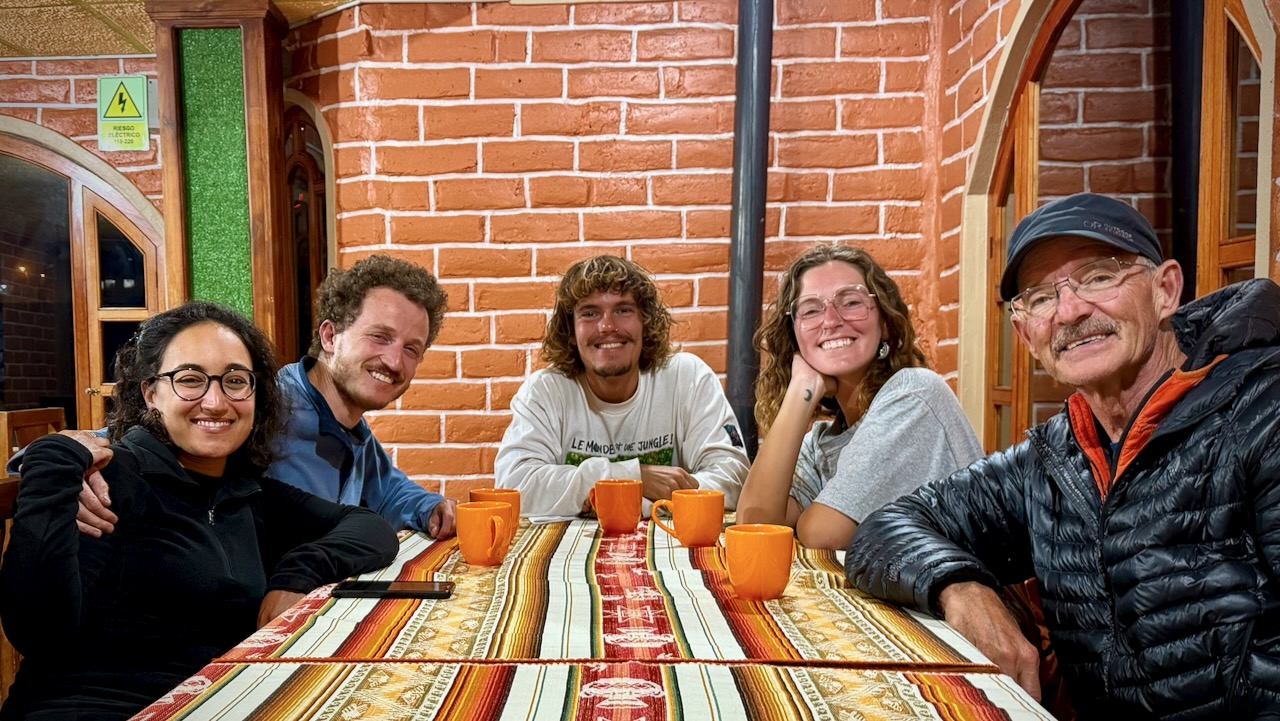
By the end of day 3 you’ve gotten to know hikers on the same schedule. Celebration time.
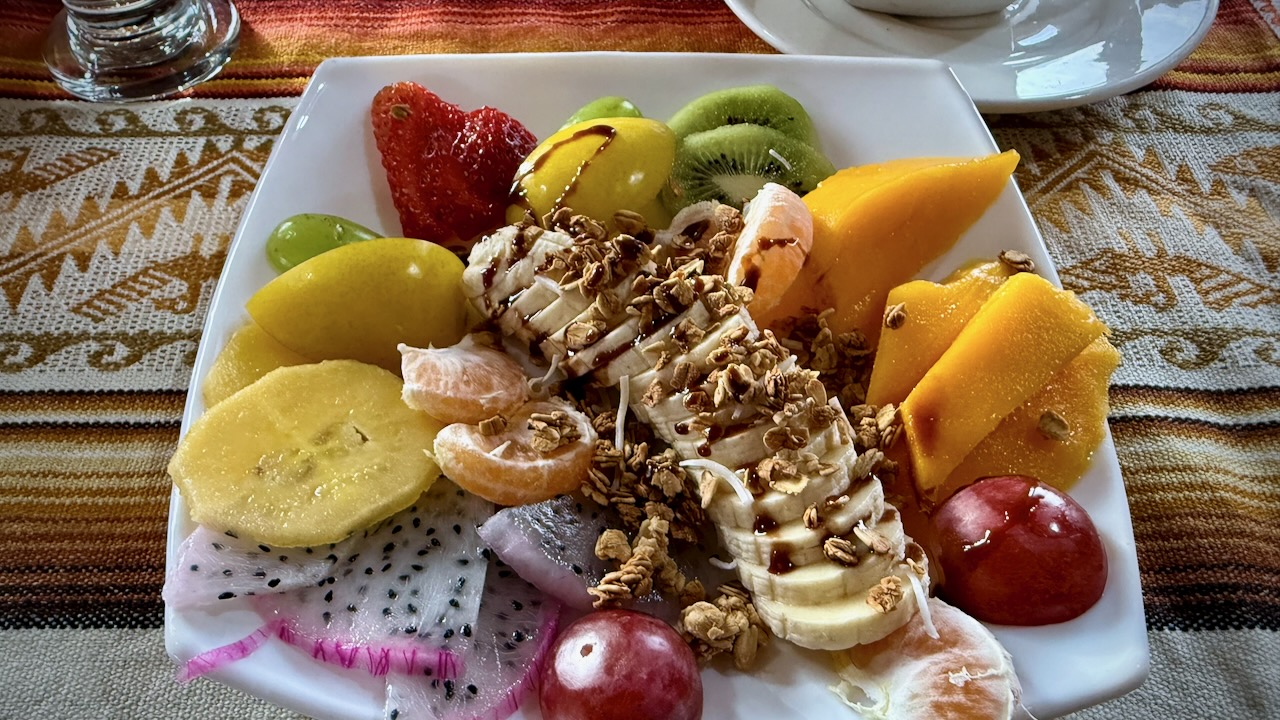
Great food, as well.
Day 4
Breakfast as quick as possible ➙ then off while the weather was good.
The 10.8km Quilotoa Crater Circuit next morning took me 4-5 hours. An extra 795m elevation gain with MANY photo & video stops.
After 3 days with a heavy load, I decided to chug a litre of water. Then speed hike the Circuit with no day pack.
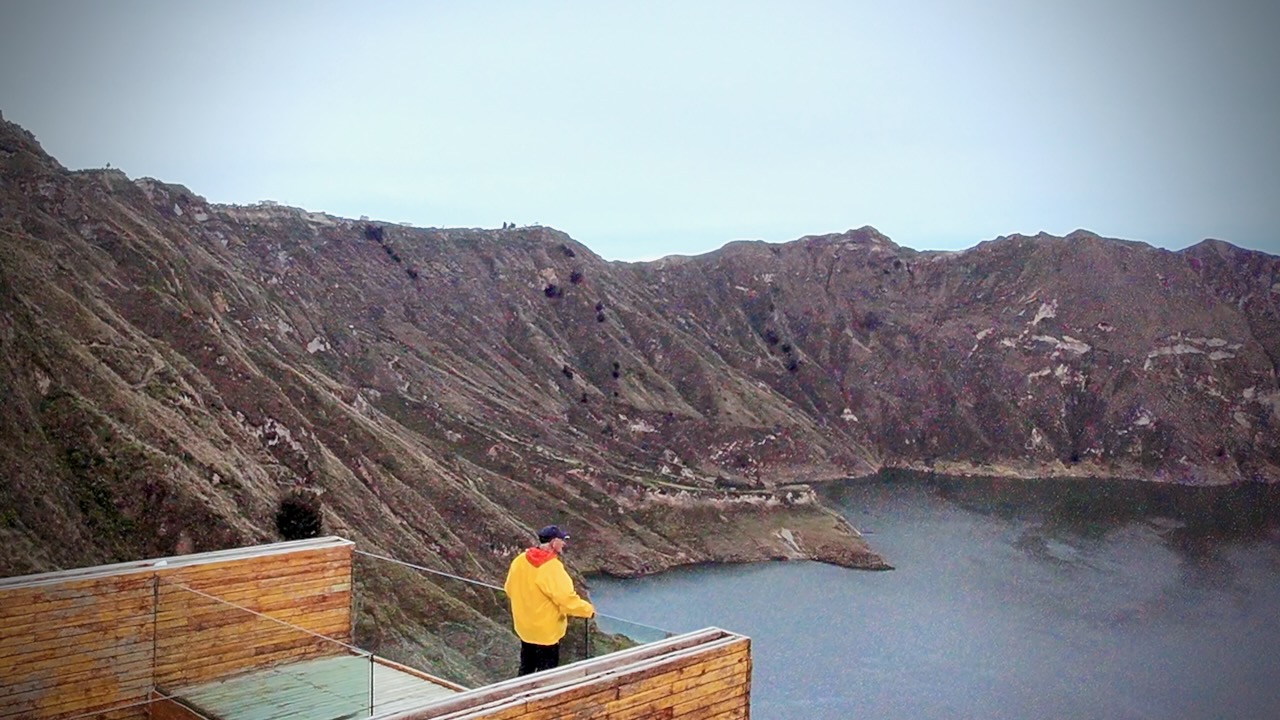
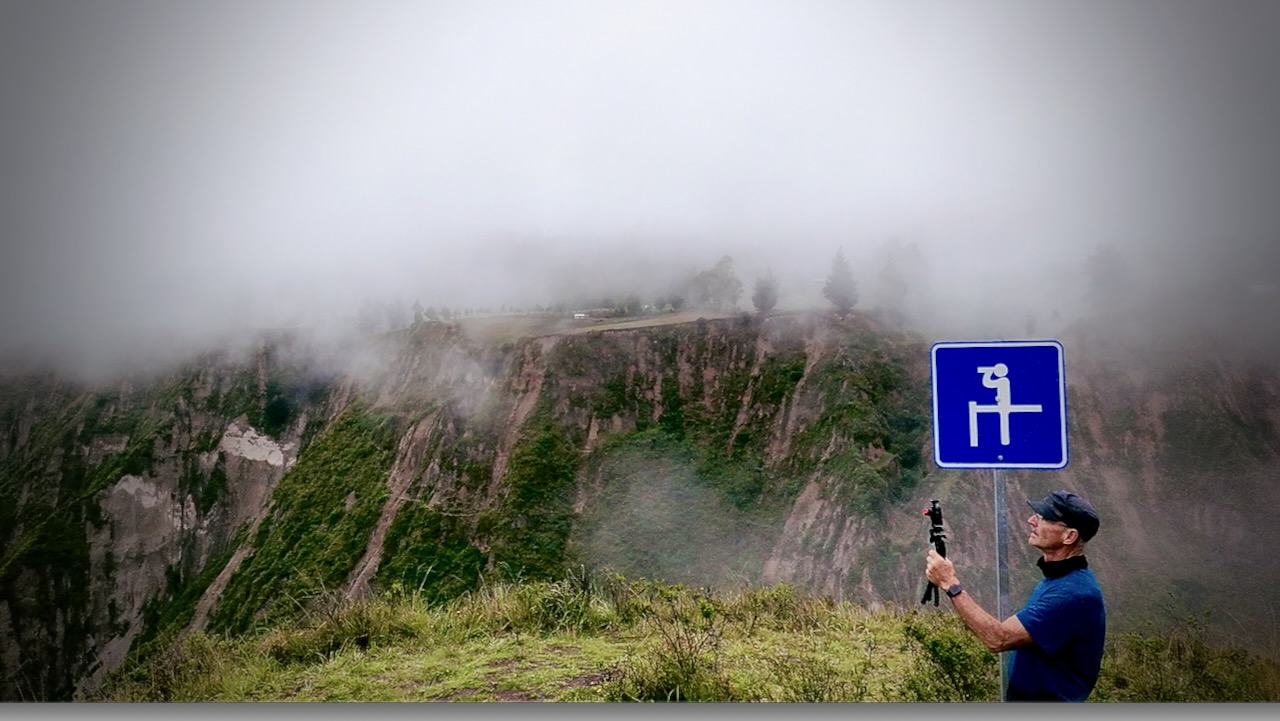
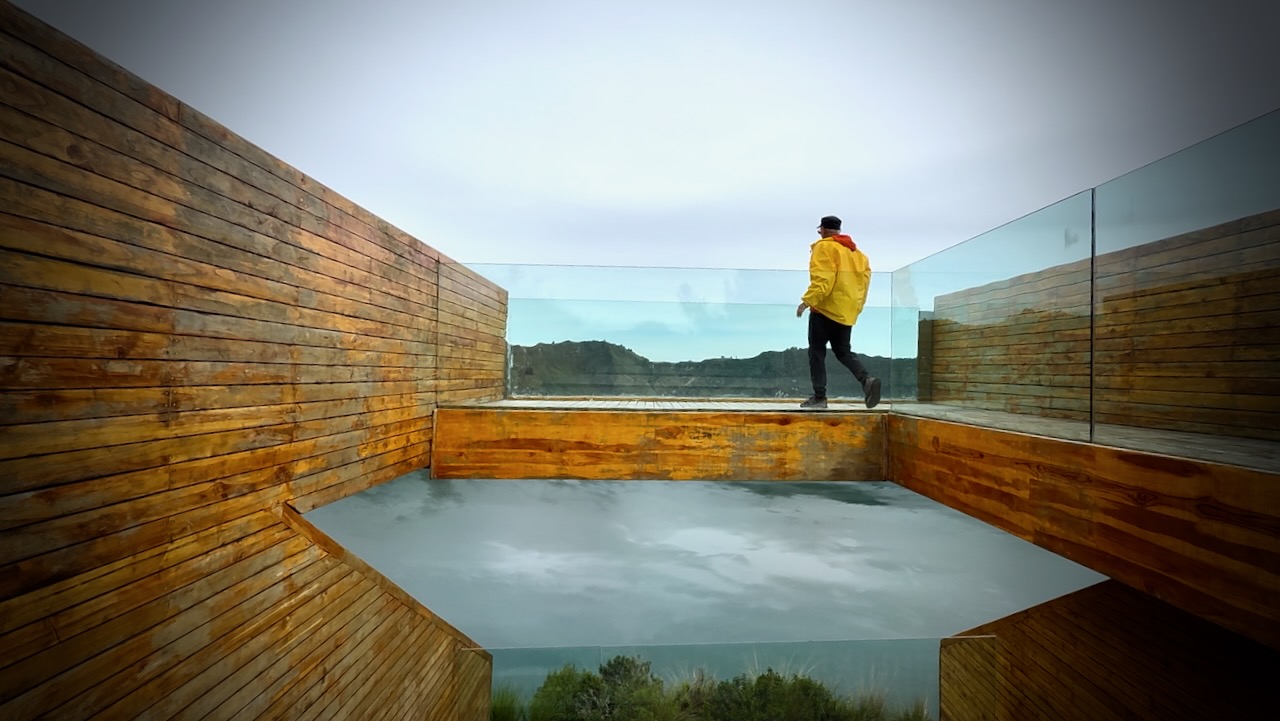
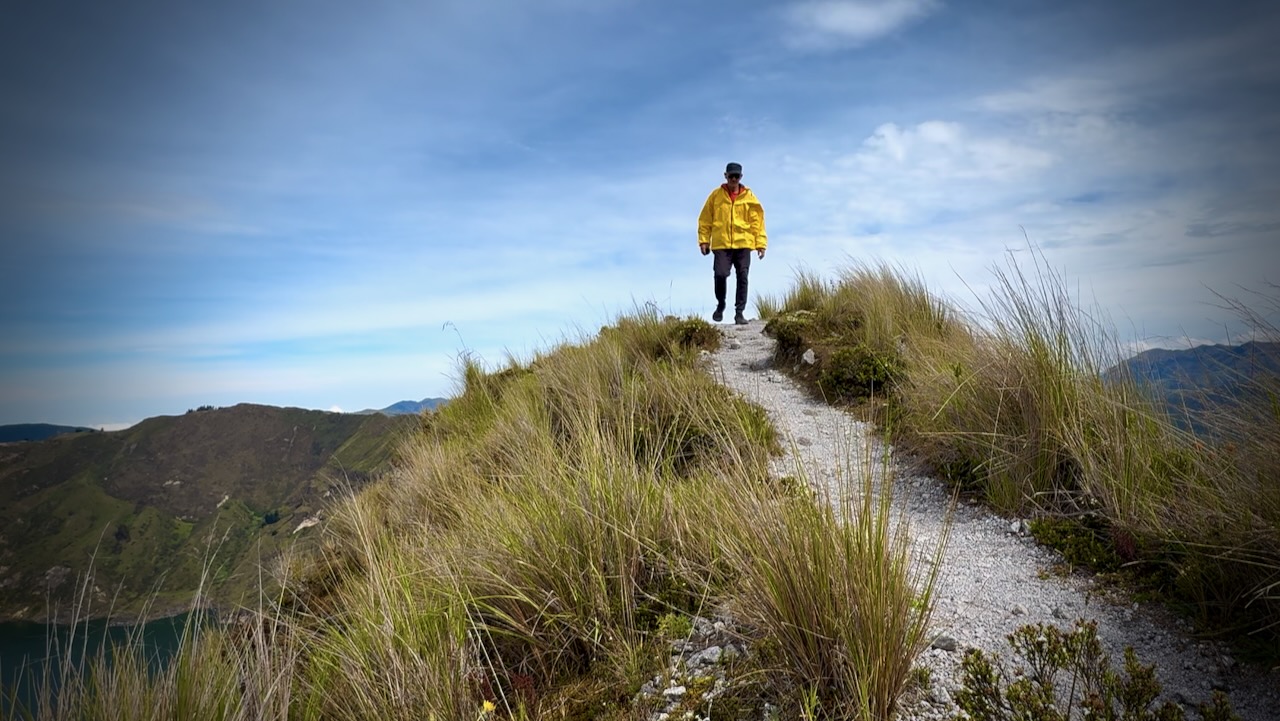
There are a number of viewpoints. This one with the glass floor the most impressive.
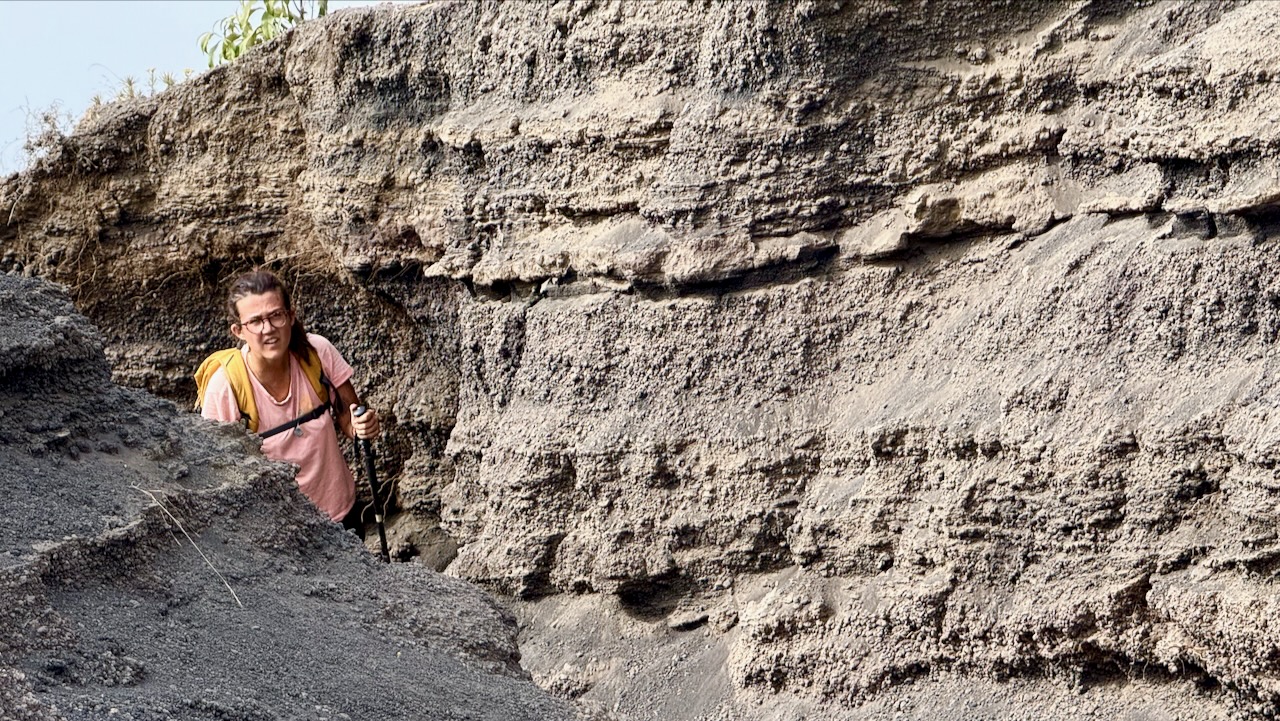
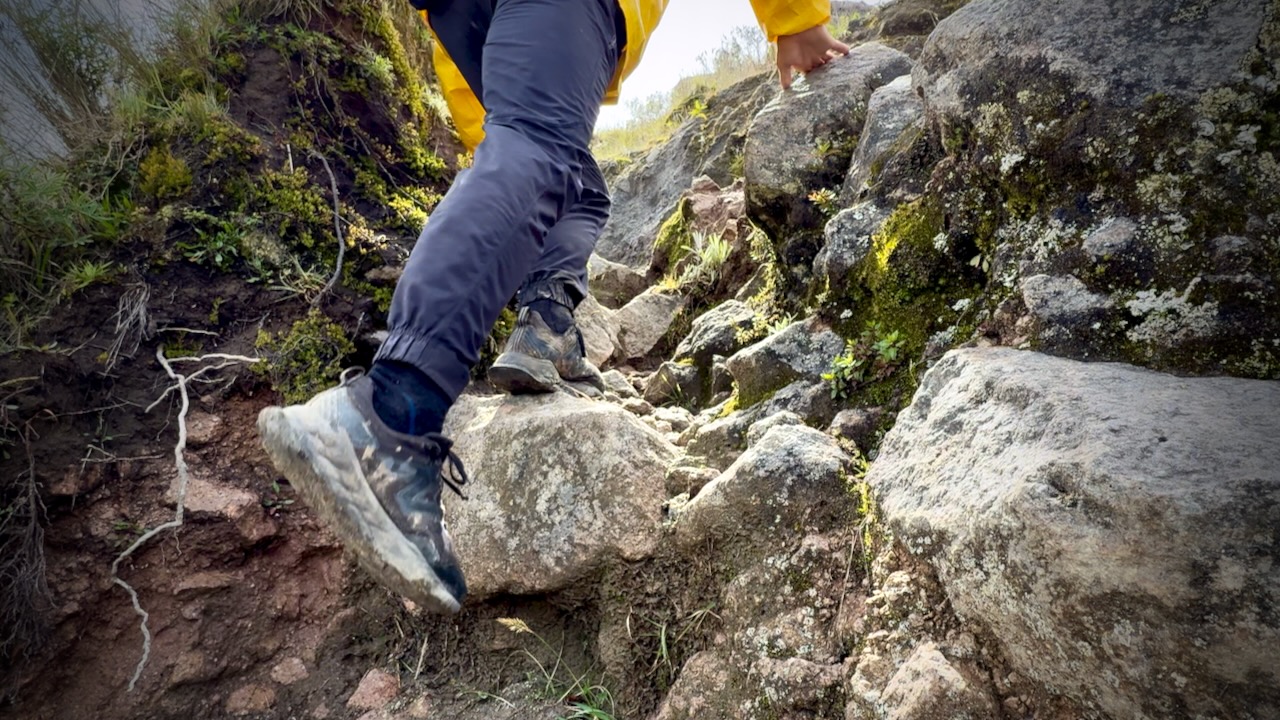
I’d decided to turn right from the village as this was considered the more difficult part. And I wanted to do it first in case of rain later. There is some scrambling.
There are some random llamas on the rim. Village children ask $1 if you want to take a photo.
With no day pack, I made good time.
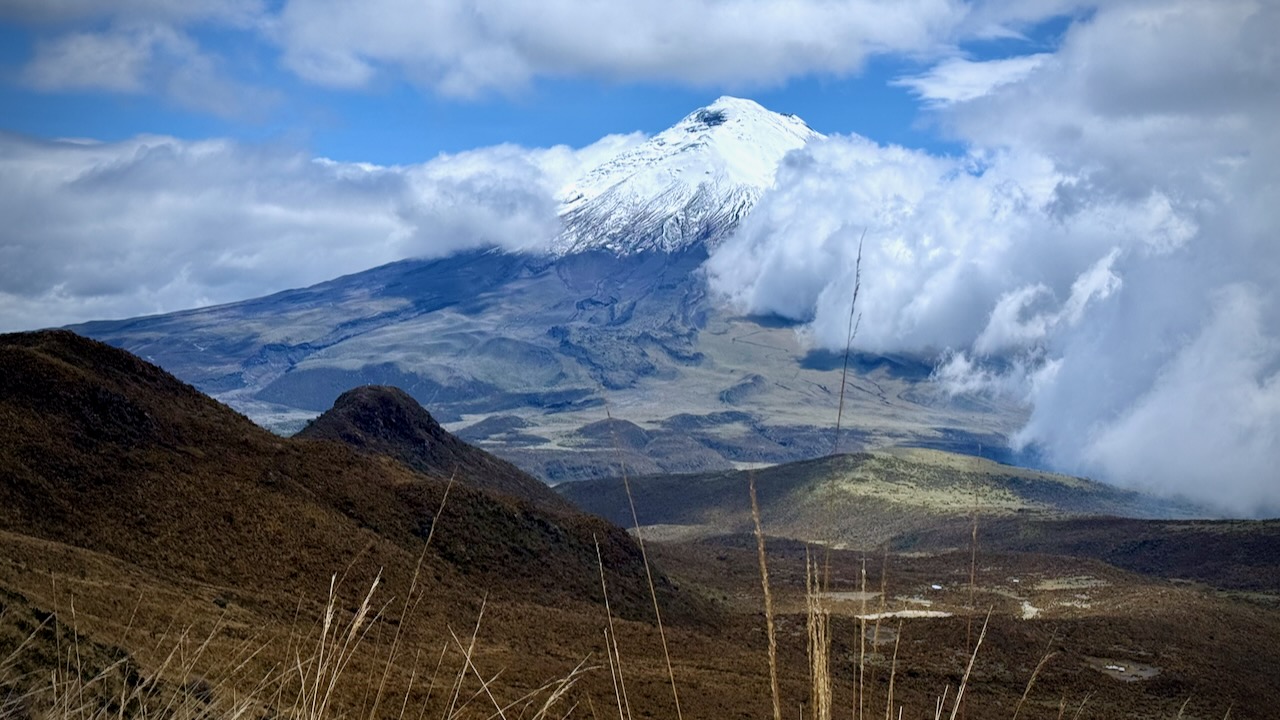
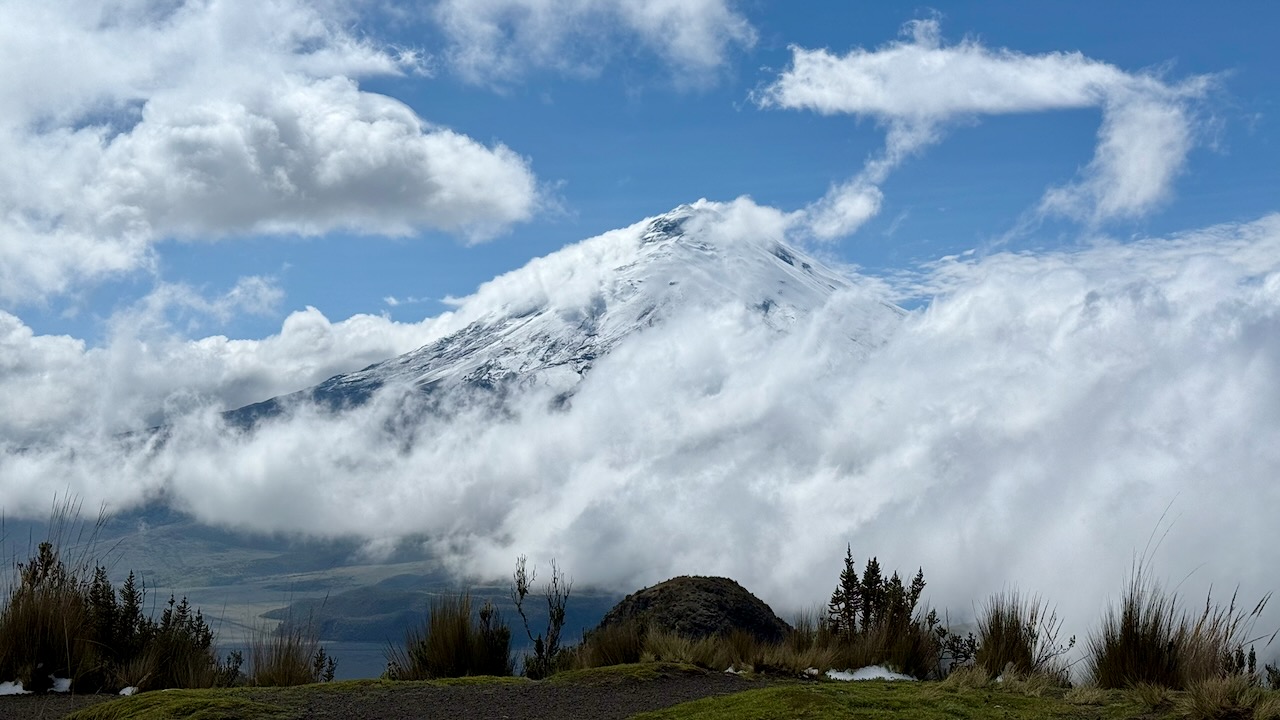
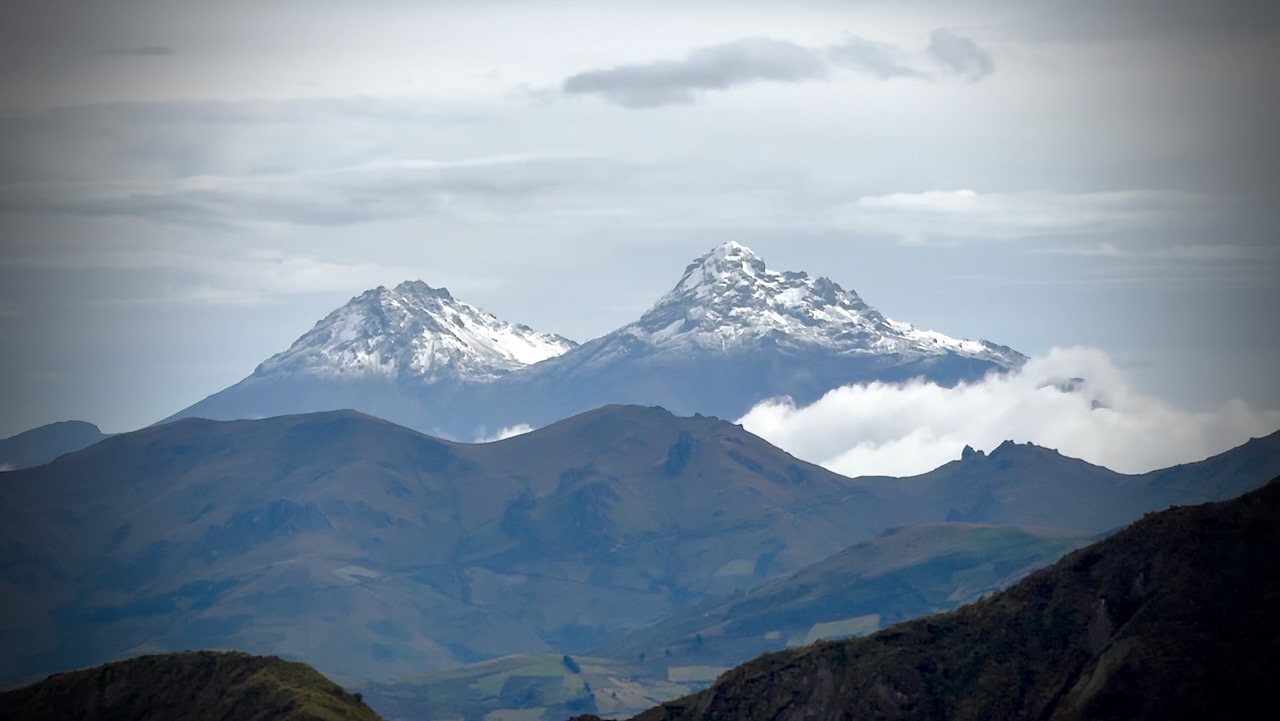
Weather excellent this morning. Though quite windy.
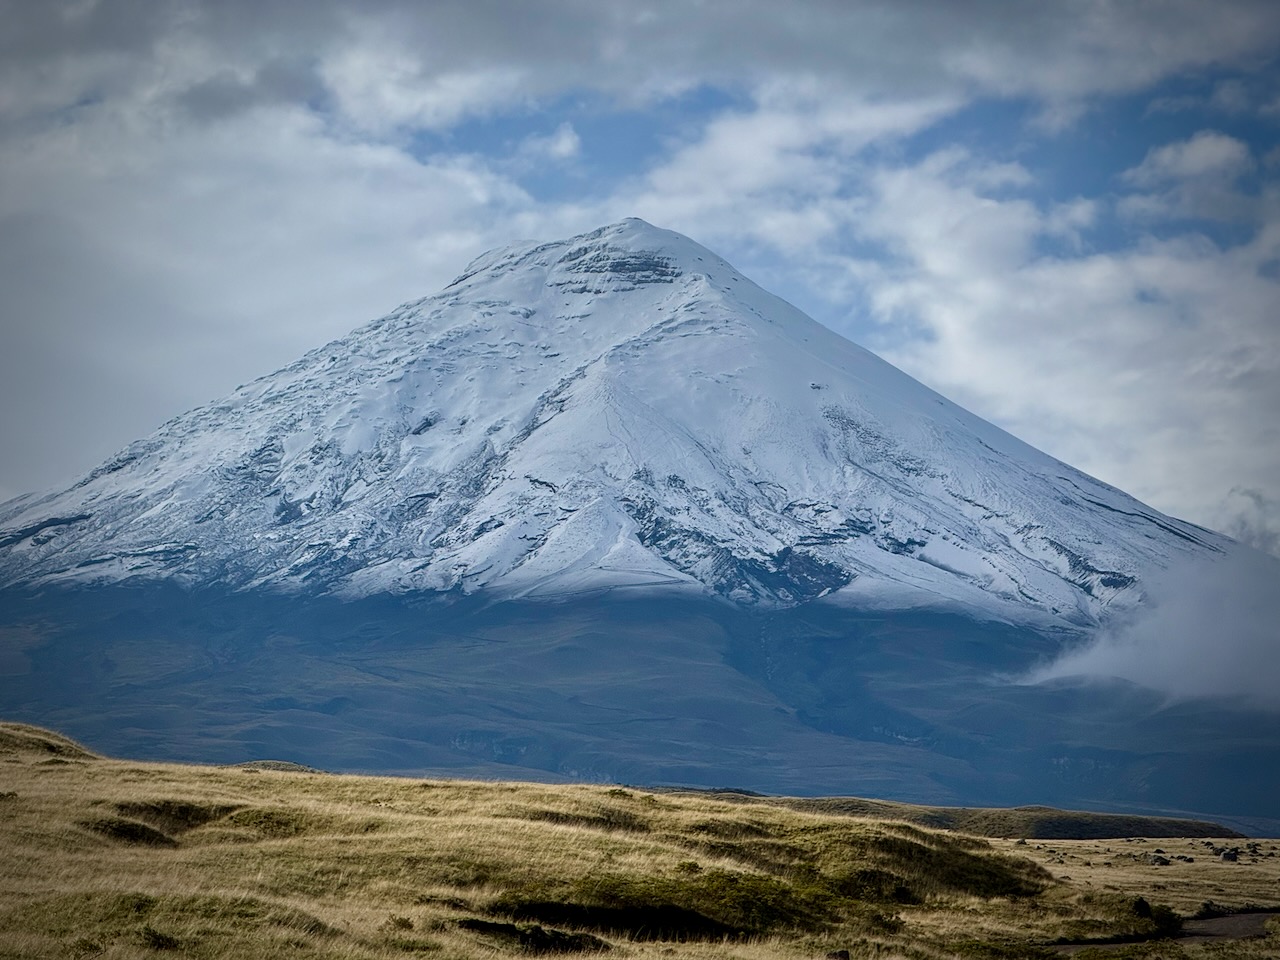
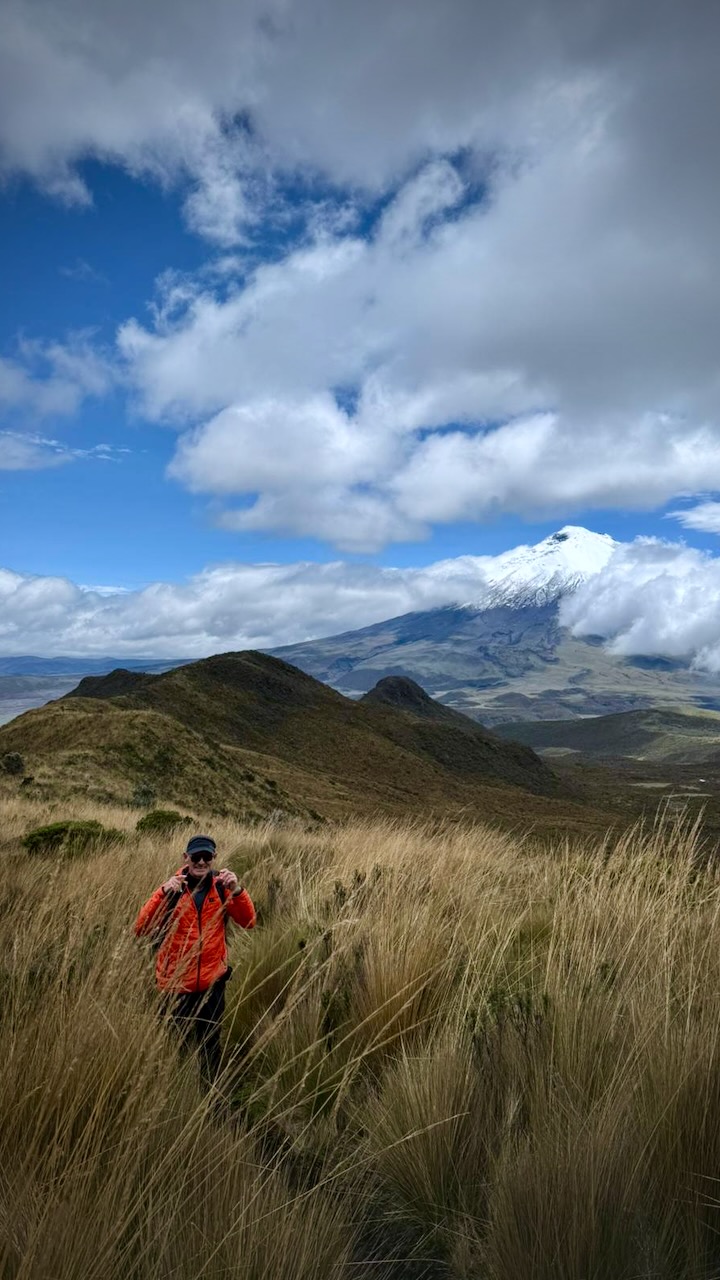
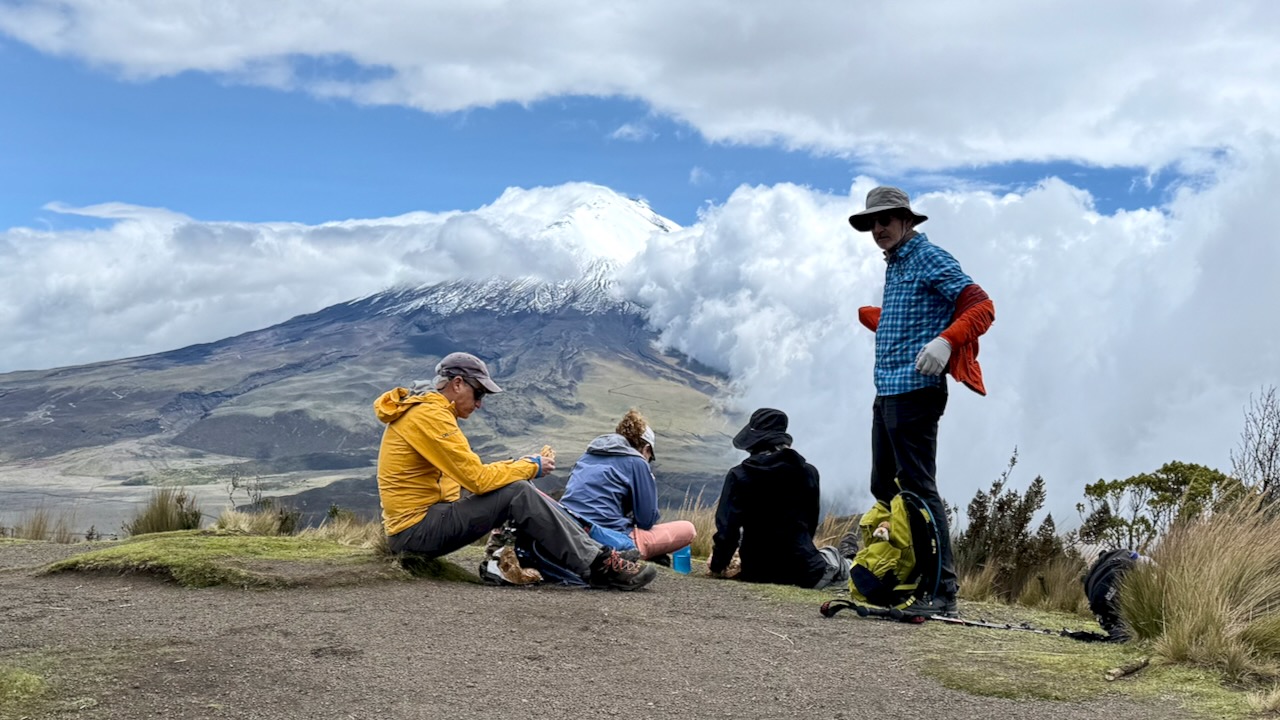
Good views of snow-capped volcanoes Cotopaxi and Chimborazo.
For me, this was the best hiking day.

You could drive or bus up to Quilotoa village and just do this Circuit.
I caught the bus back to Latacunga. And connected to Quito.
All and all, a terrific hiking adventure.