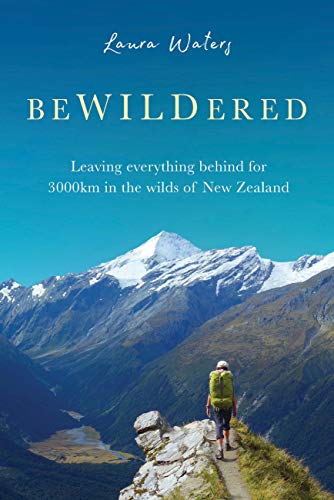
Laura Waters spent 6 months on the trail. Her hiking partner quit on the first day.
Best hikes, treks, tramps in the world.
Misleading and unsubstantiated claims are a problem in the increasingly confusing assortment of options for filtering water.
Here’s the most comprehensive evaluation I’ve ever seen. See how your product rates.
Survival & Backpacking Water Filter Tests

LifeStraw Mission and MUV Survivalist look to be the units that best suit my needs. They are both about 350 grams.
You can day hike here independently. But the multi-day trip must be guided.
Located west of the beach resort town of Hurghada, the Red Sea Mountain Trail is created from a network of ancient routes used by local Bedouin tribes over the years. Owned and operated by the Khushmaan clan of the Maaza, Egypt’s largest Bedouin tribe, the trail aims to bring travelers away from Egypt’s main tourist path and to the clan’s traditional territory. The trail benefits the Bedouin community by creating jobs and helping preserve the culture.
“We want the Red Sea Mountain Trail to diversify Hurghada’s tourism and create a space for slow, immersive travel in which the Bedouin can . . . communicate their rich knowledge of their homeland to outsiders,” …

Cost is about $80 / day and up.

Sam Fox sets out to break a trail running speed record on the Pacific Crest Trail, and to raise money in honour of his mother’s Parkinson’s Disease diagnosis.
It doesn’t take long before Sam realizes he’s in way over his head.
Scott Williamson, already 17 days ahead of Sam on the trail, is also attempting a new record, but for very different reasons.
The full documentary will be available VOD on October 1st.
Click PLAY or watch the trailer on Vimeo.
Here’s a challenge for hikers and trail runners.
Click PLAY or watch it on Facebook.
(via Adventure Blog)
This organization is blowing up.
70,000 members and growing rapidly. And it’s free to join.
Established in December 2015, Girls Who Hike is a nationally recognized hiking organization based in the United States. …
We have 57 chapters throughout the nation with additional chapters on the radar for 2018. Our closed communities are reserved for individuals who identify as female.
Check out their Facebook page.

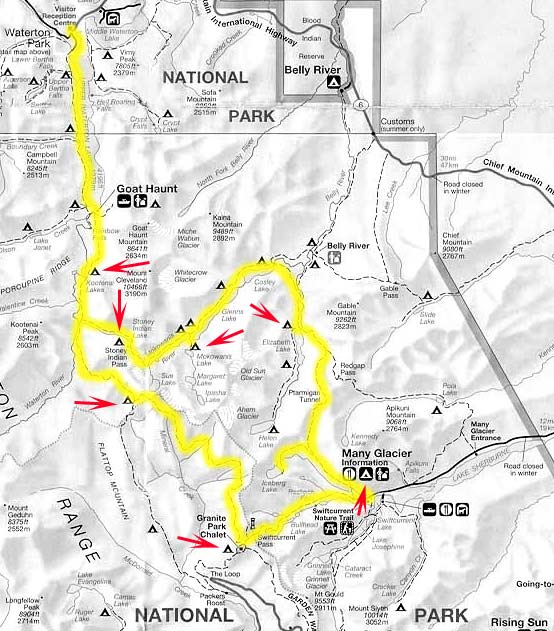
Glacier North Circle in Glacier National Park is one of our top 10 hikes in the world.

Our recommended route connects to Waterton National Park across the border with Canada.
backpackers-review has a variation:

They started near the Many Glacier Ranger Station where they picked up the required wilderness permit.
It’s highly likely you’ll see bears on this adventure.
Click through for an excellent, detailed trip report:
by BestHike editor Rick McCharles
Dustin Walker put together a list of less well known trails on his site Slick and Twisted Trails:
Dustin picked Keeha Beach/Cape Beale Trail, B.C. — a wild challenge.
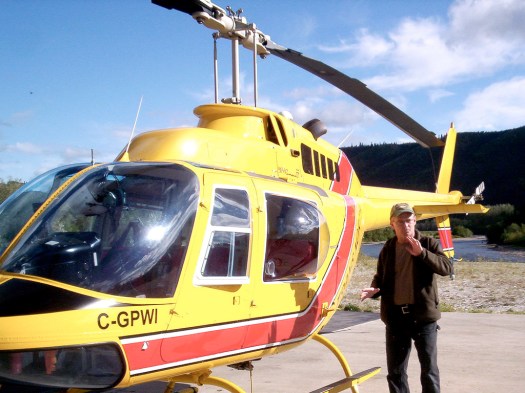
I shared my trip report from our very memorable 2007 adventure. This incredible in the north had only been designated a Provincial Park in 2004.
There are a number of ways to hike Tombstone. The best is to chopper in, hike out. At $20 / minute, we each paid over $200 for the one way flight.
This was a bit of a hiking honeymoon for Dana and Bill who had been married just a few weeks earlier.
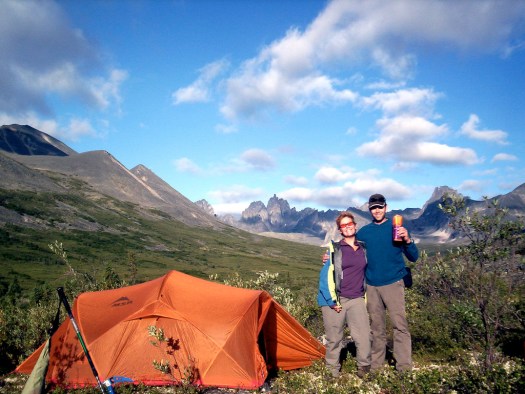
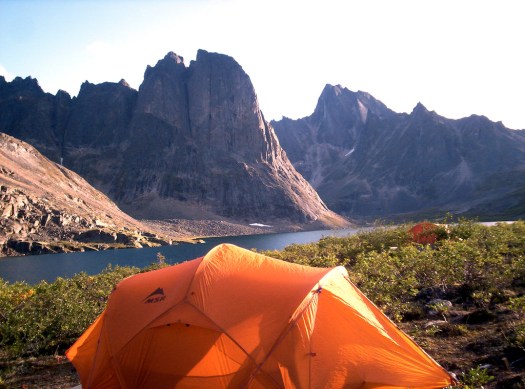
Grizzly Lake campground is just as lovely as Talus and Divide.
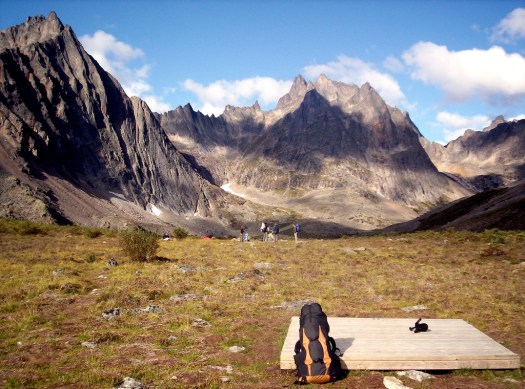
View over 125 photos from this trip on flickr.
Tombstone Park – Yukon government
Read my trip report.
One Canadian Rockies hike I’ve not yet done is Tonquin Valley. It sounds excellent.
Ultimate Gear Lists has a great write-up:
The main Tonquin Valley route is a 27 mile (44 km) relocation hike, taking you from the Astoria Creek Trailhead to the Portal Creek Trailhead, or vice-versa. …
From late-August and into September there are generally no mosquitoes left, and the Tonquin Valley can be a far more peaceful place because of it.
Late-August or early-September is a beautiful time to visit the Tonquin Valley. Nonetheless, be aware that temperatures can begin to drop by early September, so pack accordingly. Be prepared for cold overnight temps (e.g. near freezing) and potentially even snow (although snow can happen any time of year in the Canadian Rockies!).

For at least 10 years we’ve hemmed and hawed trying to come up with a defendable list of the best day hikes around the world.
Here’s (finally) our first draft. Two from Norway!
Each is unique. Unforgettable. Each just might change your life.
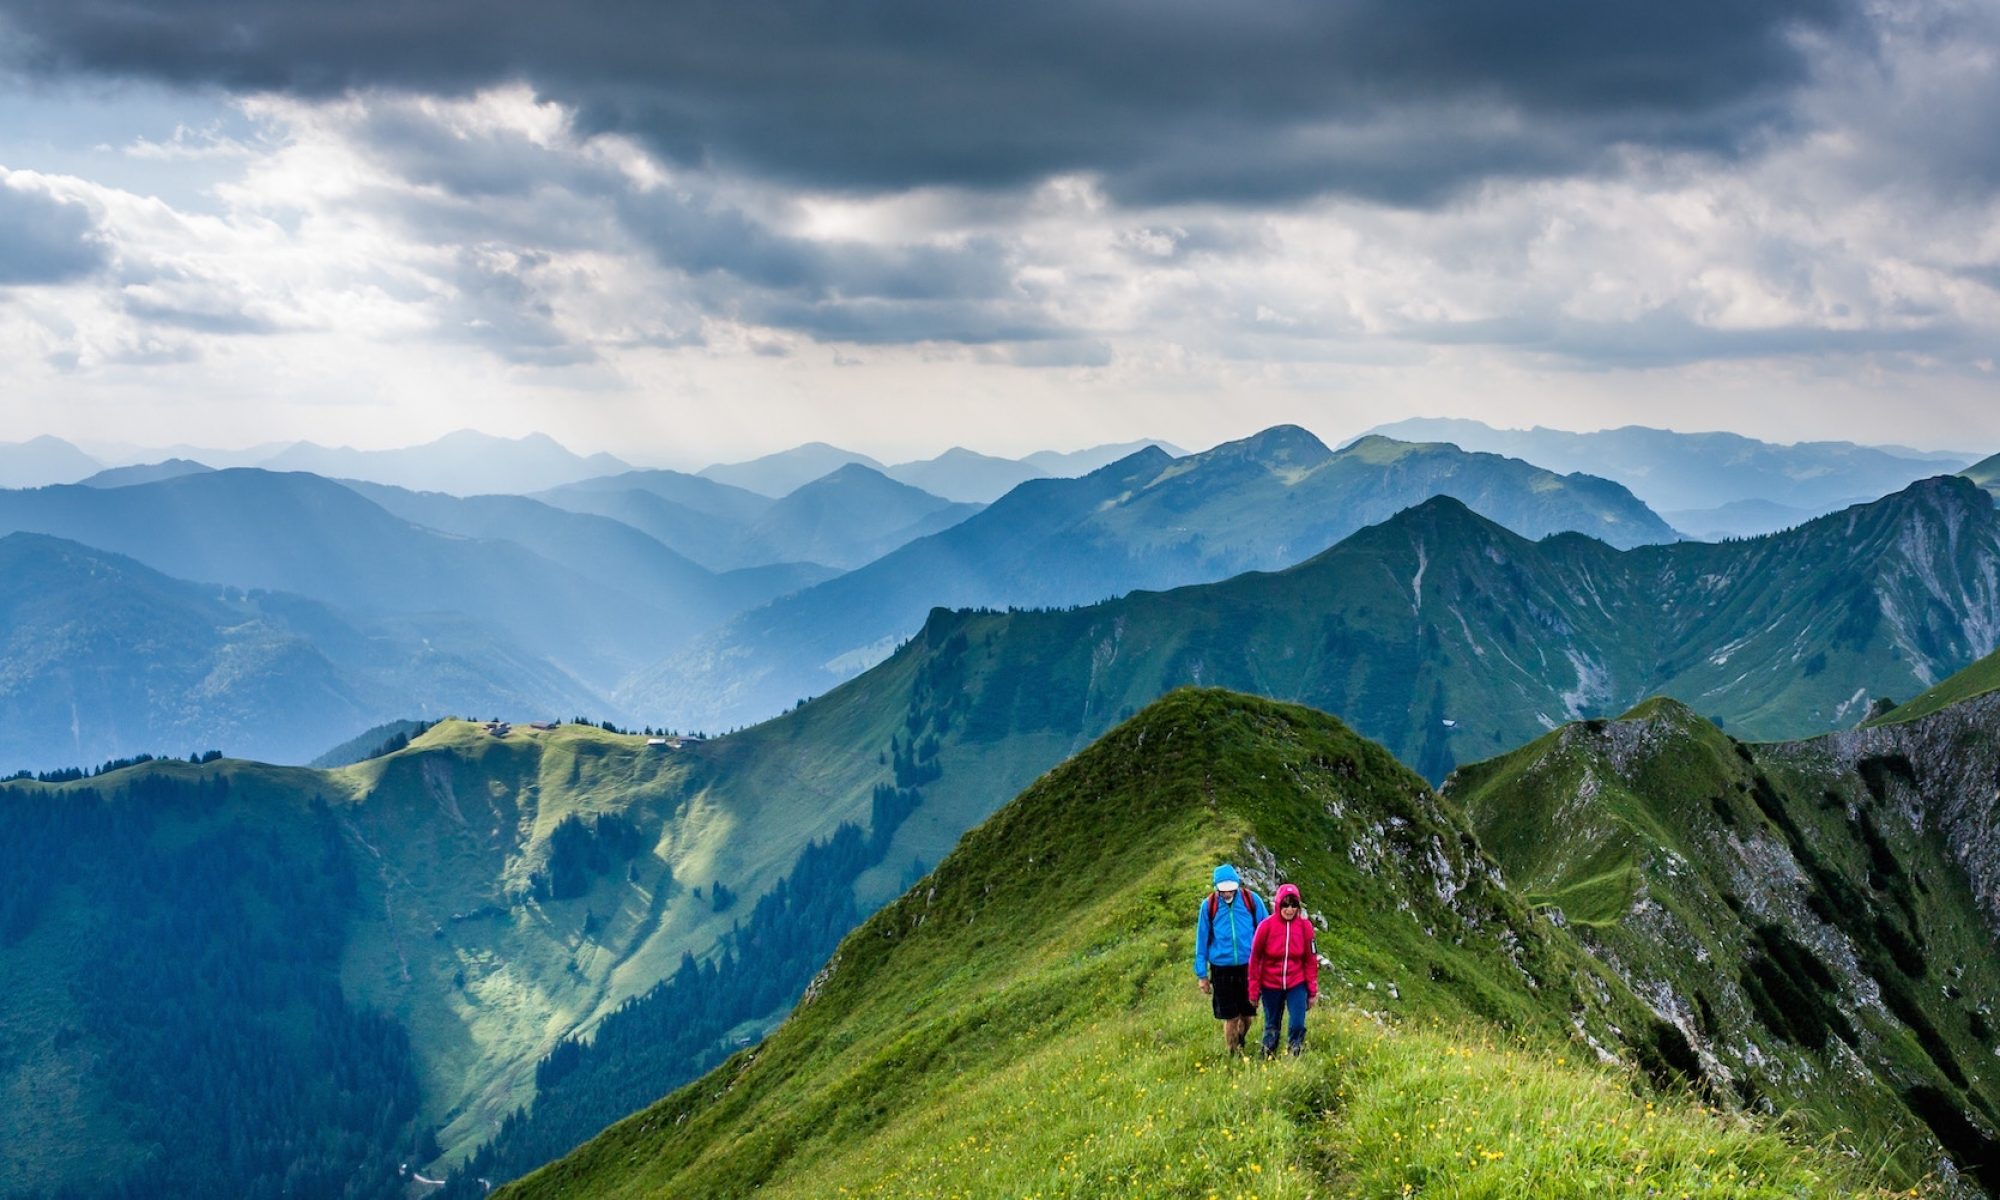
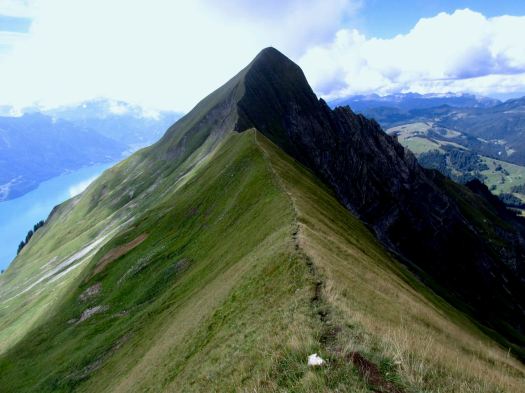
 #1) Harder Ridge, Interlaken, Switzerland
Leave a comment if you have any great day hikes to add.

Update:
Julia recommends the Dawson-Pitamakan Loop in Glacier National Park, Montana. And one of the many great day hikes out of El Chalten in Patagonia — perhaps Laguna de Los Tres.
