Trip report by site editor Rick McCharles.
Just before dark, the previous evening, I found a perfect tent site by a waterfall just above this bridge.

Wild camping is not illegal in the National Park. But it’s best to be discrete.
Feeling good, I decided to climb all the way to Dingboche at about 4,530m (14,800 ft). Likely I’d need a rest day there doing one or the other of a couple of different side trip options.

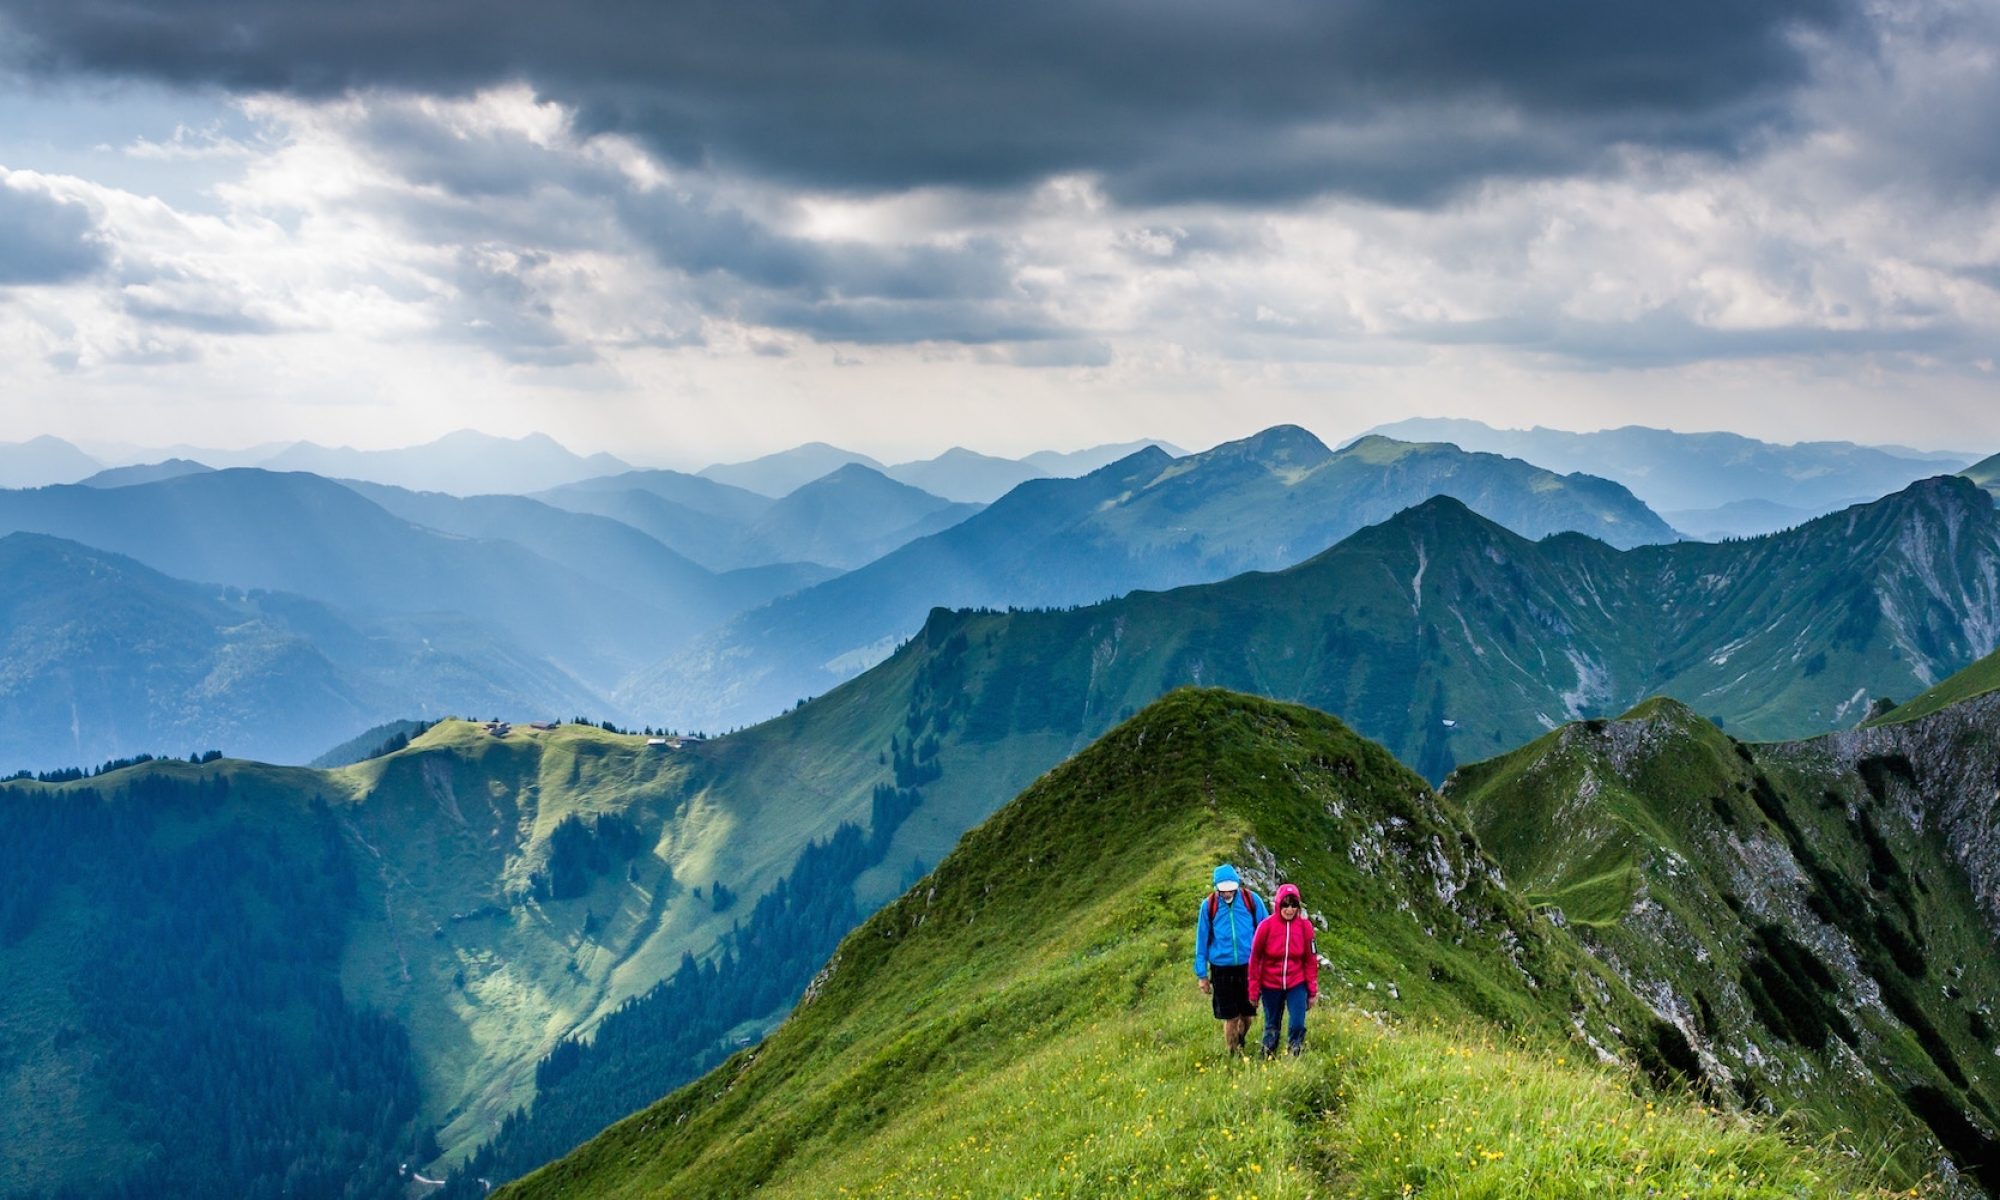
Ama Dablam began to loom large.

The trees were gone. Increasingly the scenery became bleaker.


Though nobody ever seemed to mention it, we were disappointed with the weather. In November it should be sunny, clear and cold.

I was psyched, however, upon reaching Dingboche, a memorable village. This is the jumping off point for the excellent Island Peak climb, by far the most popular of the trekking peaks.

The biggest change I found from my last trip to Nepal 11ys ago is mobile phones. All guides and lodges have them. Some European hikers had phones. And phones seem to work almost anywhere.

At first put off by telephone contact in the “wilderness”, I quickly realized what a life saver they must be. Literally. Lives have been saved, I’m sure, by communication.
The second biggest change is that internet has arrived over the past few years. Here is the highest internet cafe in the world.

Actually it was the highest in the world. The owner recently put one laptop and a connection at Gorak Shep 5,164m, right on the doorstep of Mt. Everest.
I took every opportunity to post online my exact whereabouts, as a safety precaution.
Here are the Yaks coming home to my Guest House after a day of grazing barren hills late in the season. I ate much better than the Yaks that day. In fact, I took the ultimate Himalayan culinary challenge … I ordered Yak steak. (Eating meat is strongly discouraged by every guidebook.)

I turned out to be fine. … But I never ordered meat again for the rest of the trip.
all photos from day 6
… on to day 7
days: 1|2|3|4|5|6|7|8|9|10|11|12-13|14|15|16|17| info page


 1) Travel to Cortina, Italy


