This turned out to be the most memorable day of many amazing days.
The weather was terrible. All day. Terrible.
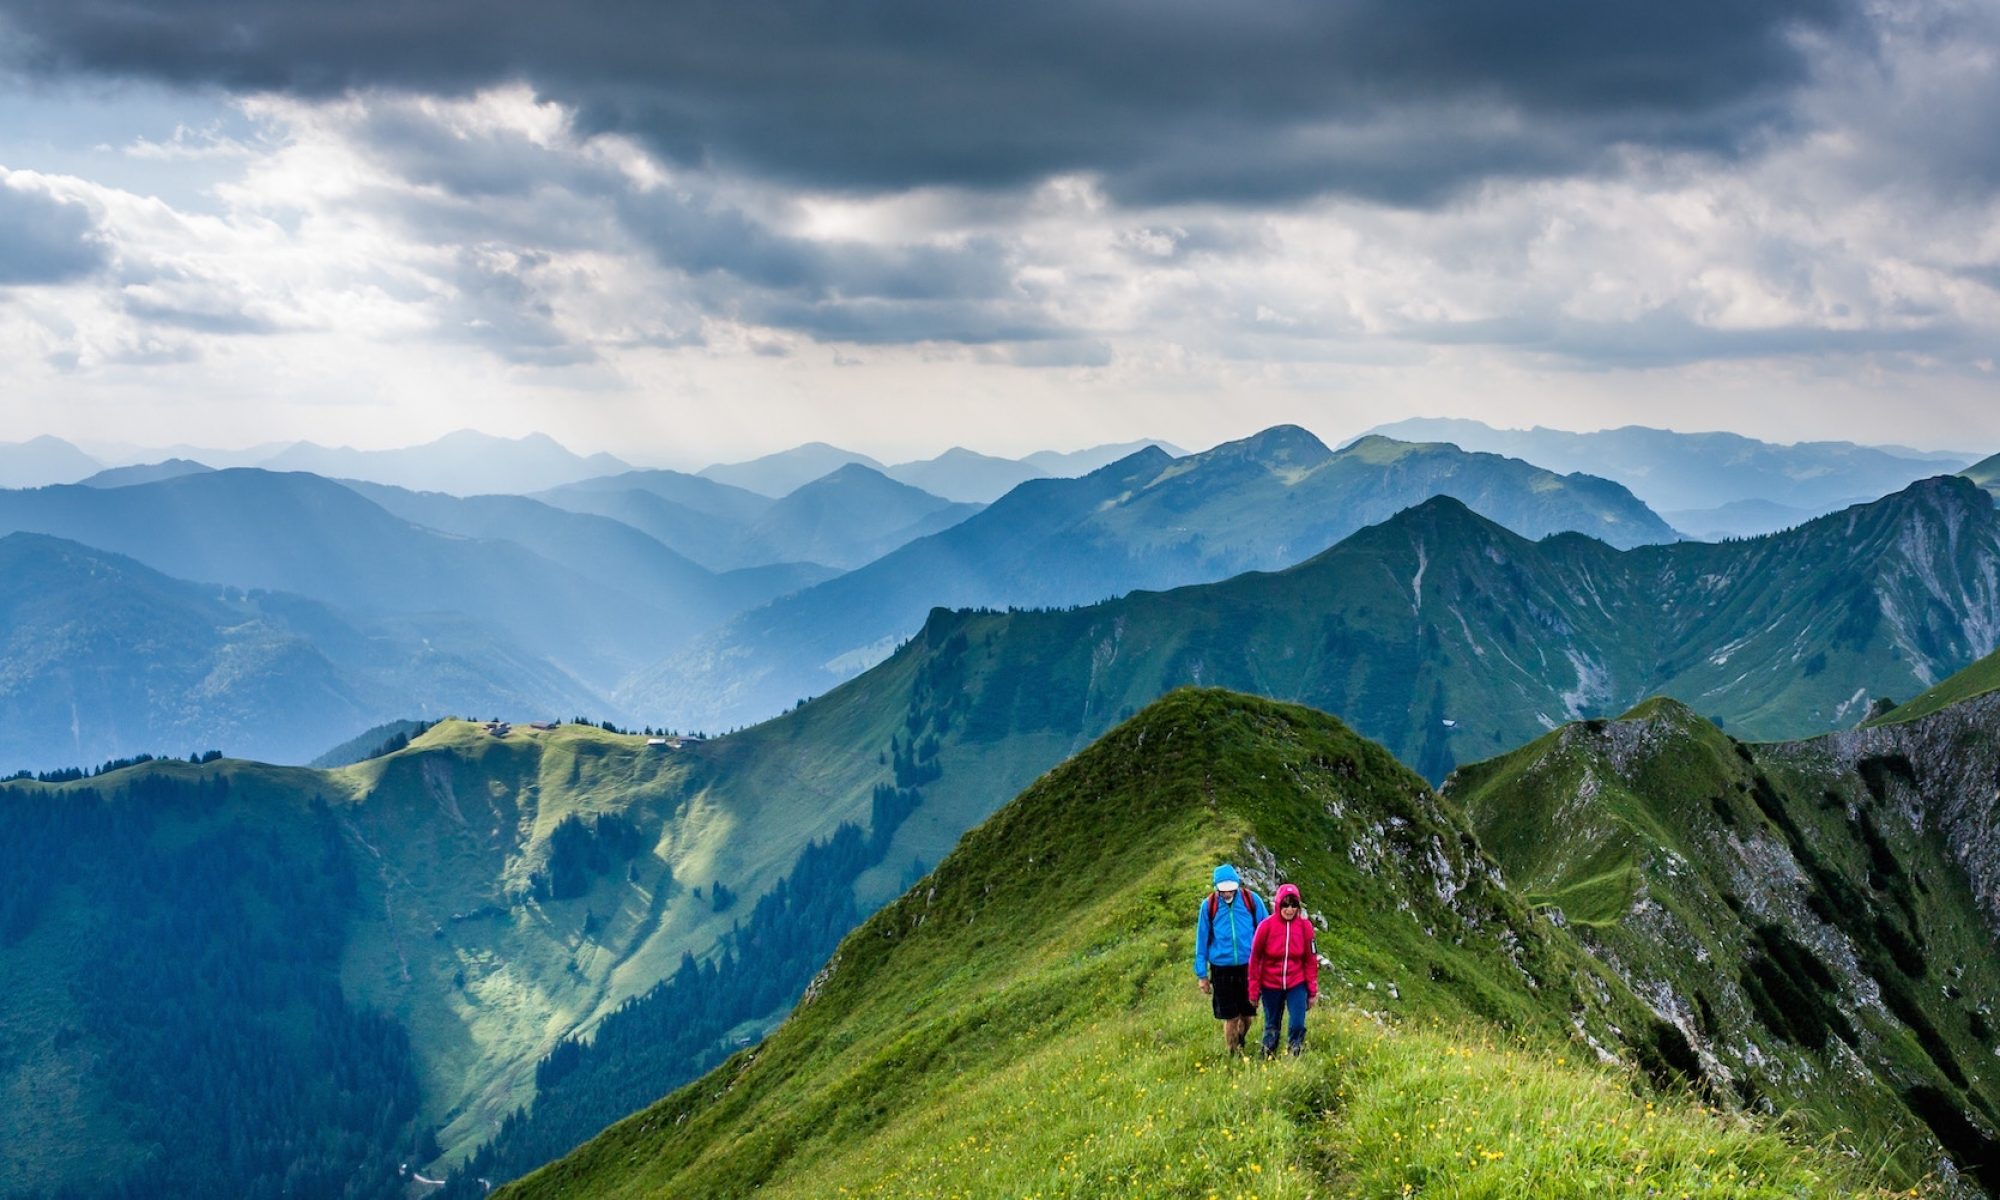
The most remote and wild terrain of the entire route.
intensely glaciatedsurreal glacial tarn
I was quite happy to finally arrive at Cabane de Prafleuri.
alpine hut
These refuges offer accommodation as well as food. Nice.
Rosti
I got a chance to dry out. And warm up. Then walked on when the rain slowed.
Very impressive this day was Lac Dix, man made, created by one of the highest dams in the world.
Lac Dix (Lake 10)
The wildflowers and wildlife this day, were the best of the entire Haute Route. It’s an animal reserve.
marmot
In the early evening the weather worsened. Again.
I decided to stay at an alpine hut rather than try to climb out of the valley.
A long, impressive ridge would take me up to Cabine Dix.
That photo I shot the following morning. The night before, in the rain and dark. I thought I’d never get there. It’s very high. Nearly 3000m. Higher than the pass I would cross next day.
Cost for dinner, bunk bed and breakfast was US$65.
The dinner was excellent. The bed very comfortable. The breakfast the worst I had in Europe.
I was the only Anglophone that night. Ordered about like a German soldier.
Overall, I’d rather sleep in my tent and cook my own food.
It was a beautiful sunny day in Chamonix. I had my perfect gear set. And far more quality food than I needed to start a week long hike. (Note the British Old Cheddar. Buying that imported merde is not chic in France.)
Cheddar and Diet Coke
Effortlessly, I found myself atop the first high pass of many.
Rick at Col de Balme, France
Effortlessly because I took a bus and cable car to get up to altitude.
My guidebook author Kev Reynolds would not approve. The best way to do the Haute Route is walking every step from Chamonix to Zermatt, 180kms or so.
Another guidebook editor, Hilary Sharp, advises not to walk underneath any working cable car.
Everyone I met doing the Haute Route cheated at one point or another.
My plan was to cheat on the lower valley sections, and opt to take every higher, longer, more scenic option. There are many trail alternatives on the Haute Route.
The main goal for the day was Fenetre d’Arpette, 2665m. It didn’t look so tough.
There is a lower trail alternative … but it was called the Alp Bovine route. (I translated that as COW PATH. Wanted nothing to do with it.)
align=”aligncenter” that small lower notch is the \”Window\”
Instead of sticking to the BORING regular trail, I over enthusiastically decided to climb the edge of the Trient glacier moraine.
That turned out to be a HUGE mistake. I ended up scrambling a cliff – for HOURS – to regain the trail. By the time I finally reached the pass it was close to sunset.
sunset from the Window
A gorgeous night, I pitched the tent right on the pass.
… Authorities recovered the remains of two hikers in the hills near Palm Springs last week. They can tell that they’re hikers based on their clothing, but the bodies are so severely dehydrated that they can’t even pull fingerprints. …
These are the famed and disclaimed 3 Peaks. The most photographed mountains in the Dolomites, I reckon.
… The Drei Zinnen (German for “Three Peaks”), also called the Tre Cime di Lavaredo (Italian), are three distinctive battlement-like peaks, in the Sexten Dolomites of northeastern Italy. They are probably one of the best-known mountain groups in the Alps. …
People come to the Locatelli Refuge (IT Rif. Locatelli) to enjoy a fine meal at high altititude.
I’ve never seen so many hikers in one place at one time before, except on the Tongariro Crossing in New Zealand.
Why are they here?
It’s easy to take a bus right to 2300m (7545ft), the very base of the mountains.
But, for some reason, the crowds did not bother me. It was wonderful to see so many people exposed to hiking in such an easy and painless way.
If you hate crowds of enthralled visitors, go hike Alaska.
I adored everything about this hike.
I loved the wild flowers. Alpine meadows. The WW 1 history. The tunnels. Especially the Via ferrata (Iron Way) side trips. I think I’ve found a new life passion.
Hiking in Italy is far easier than I expected.
1) Travel to Cortina, Italy
2) Buy a bus ticket to TRAILHEAD at Rif. Auronzo
3) Wander where you like for as long as you like
4) Take a LOT of photos
I used Walking in the Dolomites: 28 Multi-Day Routes by Gillian Price. This Cicerone title is the best available in English for this region. This area is covered by hikes 1,2 and 3. Buy your guidebooks in advance of travelling to Italy. English books are not widely available here as there are so many other titles in German and Italian.
No need to carry a hiking pack. There are great mountain huts every hour or two. Hosts will feed you and give you a bed for 40-50 Euro a day.
hiking in the clouds
I left a Summit Stone on behalf of artist DSD. Look for it in the cairn atop the carved stone steps starting the Via ferrata closest to Refugio Pian de Cengia. (That’s a FUN Via ferrata by the way. Exhilarating, but safe.)
If looking for more inspiration to plan a trip to Italy, see all 134 of my photos. (I went crazy with the camera.)
We’ve combined state of the art cookware with revolutionary stove design to make the Reactor stove the fastest, most fuel efficient stove system ever. The Reactor stove’s radiant burner is enclosed by a unique heat exchanger for unmatched performance in windy conditions while an advanced pressure regulator provides optimal heat output over the life of a fuel canister. Stove and fuel stow inside of the high-efficiency 1.7-liter pot that’s great for everything from solo trips to cooking for groups of up to three people. A collapsible handle locks the unique see-thru lid in place for safe and easy transport.
Unmatched Wind Protection: Radiant burner head is enclosed by heat exchanger for maximum protection in even the windiest conditions.
Unrivaled Boil Time: Out-performs the competition in lab tests—boiling a liter of water in just 3 minutes—with a far greater advantage in windy conditions.
Maximum Efficiency: Patent-pending radiant burner and heat exchanger make the Reactor the most efficient all-condition stove system, so you carry less fuel.
Integrated System: State-of-the-art stove and high-efficiency pot are combined into one compact, easy-to-use system.
The greatest backcountry boozer I’ve hiked with is Kelly Mock, then living in Whitehorse, Yukon. It was Kelly that carried a “Bubba” (mini keg of beer) over the Golden Staircase to Happy Camp on the famed Chilkoot Trail in Alaska.
Arriving on the solstice, Kelly bought a round for the house at Happy.
He’s been one-upped.
Michael Popov carried 20lbs of beer up 4,000′ of Mt. Whitney, the highest peak in the continental USA. He was doing some kind of loco carbo loading / altitude acclimatization for his record breaking unsupported John Muir Trail run. (4 days, 5 hours and 25 minutes from Mount Whitney to Yosemite Valley)
Incidentally, Aaron Sorensen will be starting June 28th an attempt on the Unsupported Record on the Lake Tahoe Rim Trail. No one has claimed this record yet. Aaron is looking at 55-60hrs for the 168 miles.
… I’ll be sure to pack some GU for the run and mtb leg, as well as some of GU’s new Chomps, which are like gummy bears, but with lots of calories as we’ll need. …
Despite the weight, I think I’ll stick with mine instead of buying an Ursack.
Here’s another happy camper:
… I found that the vault slipped in quite nicely to the top portion of my 60 liter pack. It was also great to have a waterproof container to put dry clothes in (in a zip-lock bag so they didn’t absorb food smell). Towards the end of longer trips its nice to have a waterproof place to put all of our garbage.
Around camp they are a godsend. I’ve used the vaults as stools, chairs, cutting boards, tables, water jugs, and hammers. Just having a flat surface in camp is a treat. Another handy feature is that they are transparent. You can see what you’re reaching in for. Other cannisters I’ve used are a solid plastic and you have to fish everything out/around to find what you’re looking for.
Now I know what you’re thinking. How can you do a good review of a bear cannister without having it attacked by bears? I’m way ahead of you.
While camping this summer by Lake Colden in the High Peaks region of the Adirondacks my BearVaults were put to the test. For those who don’t know, this area is notorious for its black bears. We placed our BearVaults a fair distance from our camp site. In the middle of the night I woke up to hear smashing sounds coming from the direction of our vaults. Thuds came from the vaults smashing into the soil. Loud bangs from the vaults hitting each other and hitting the fallen trees that we had placed them beside. For a good hour these sounds drifted over to our campsite. Then they stopped. In the morning I found the BearVaults 10-15 feet from where I had left them. They were dirty, one had a small scratch on it, but other wise they were intact and the food within in them untouched. …
Still … the entire system is dangerously unstable. (The centre of gravity too high for the small base of support.) I never use it without stabilizing the unit by burying the base in the sand, or bracing it with rocks.


 1) Travel to Cortina, Italy


